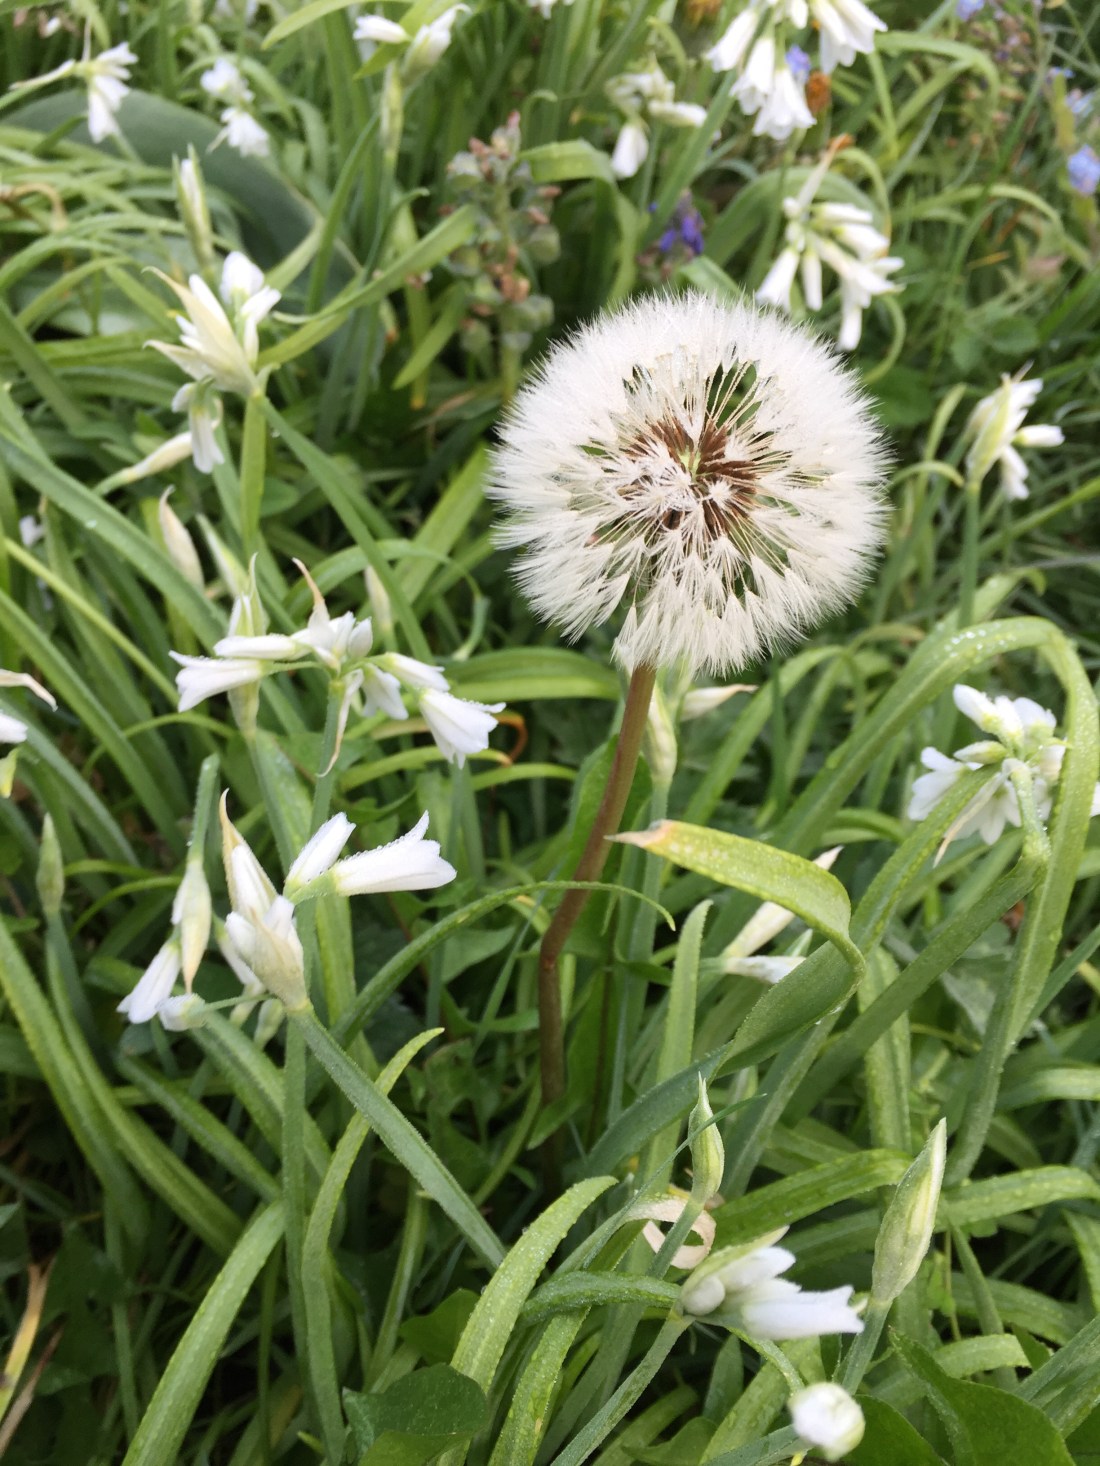
As a first reference I use my dandelions: I wanted to create a round shape and as long as I was yarns for this I could achieve the soft and wool-like hand feel.
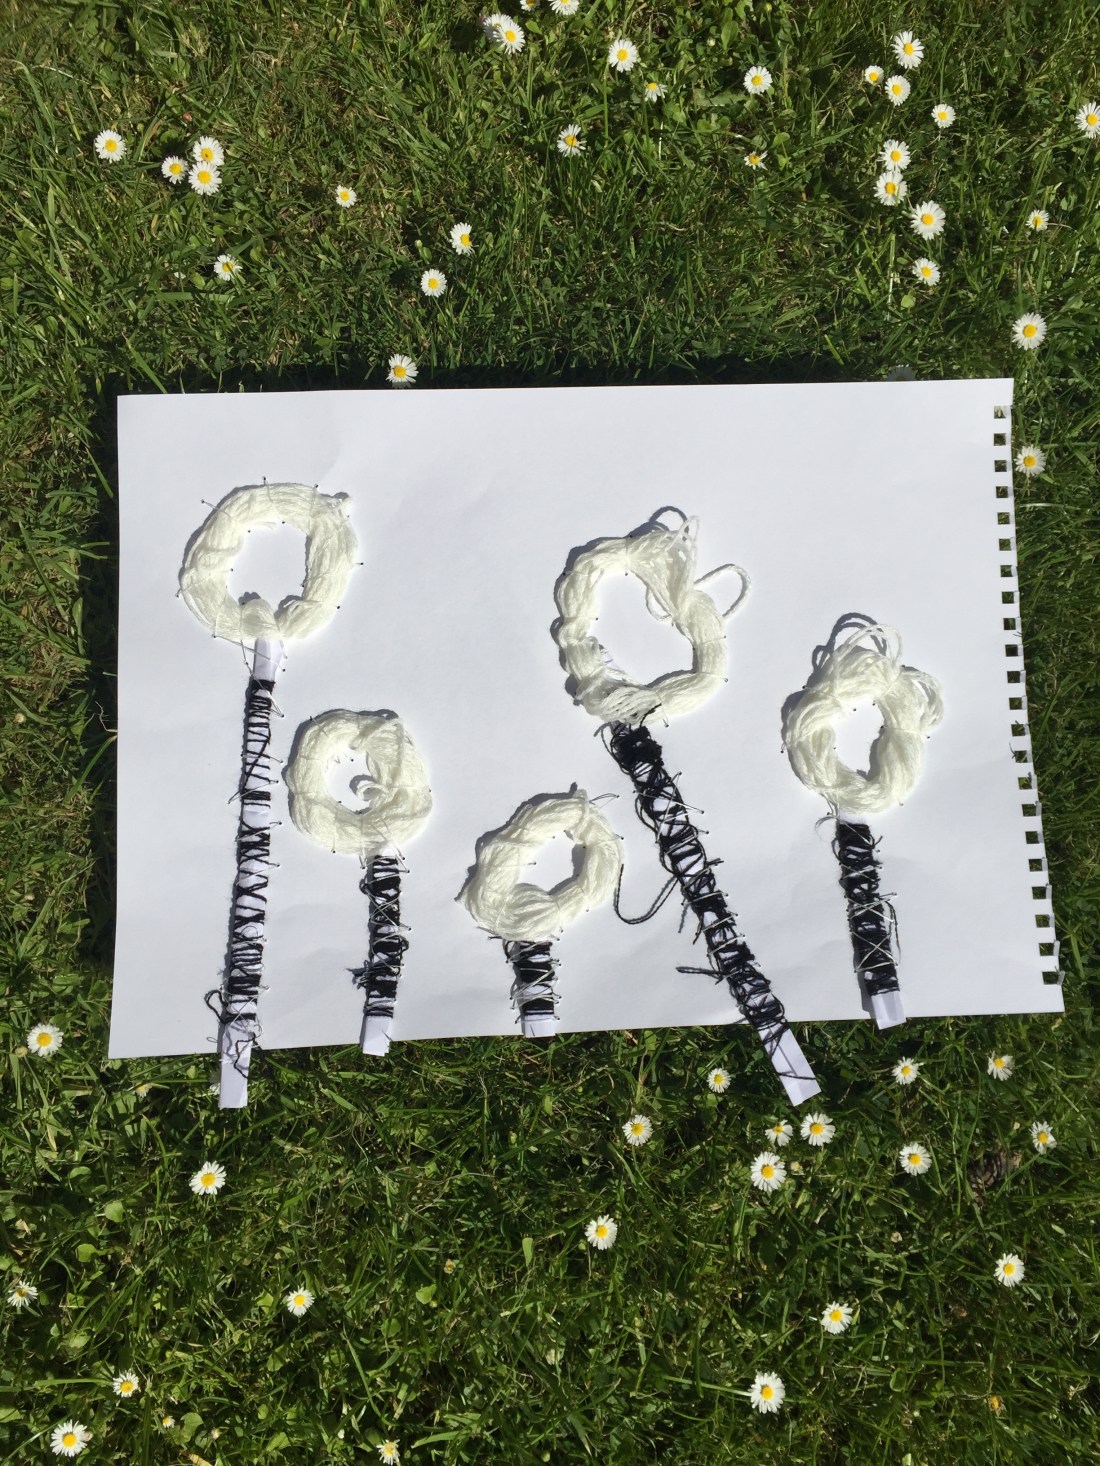
firstly I took a cone of yarnformed a round shape and stitched on A3 paper
my dandelions are finished! some of them were placed in an ankle in order to give the illusion of wind blow….
I’ve trimmed the edges. And it’s ready.
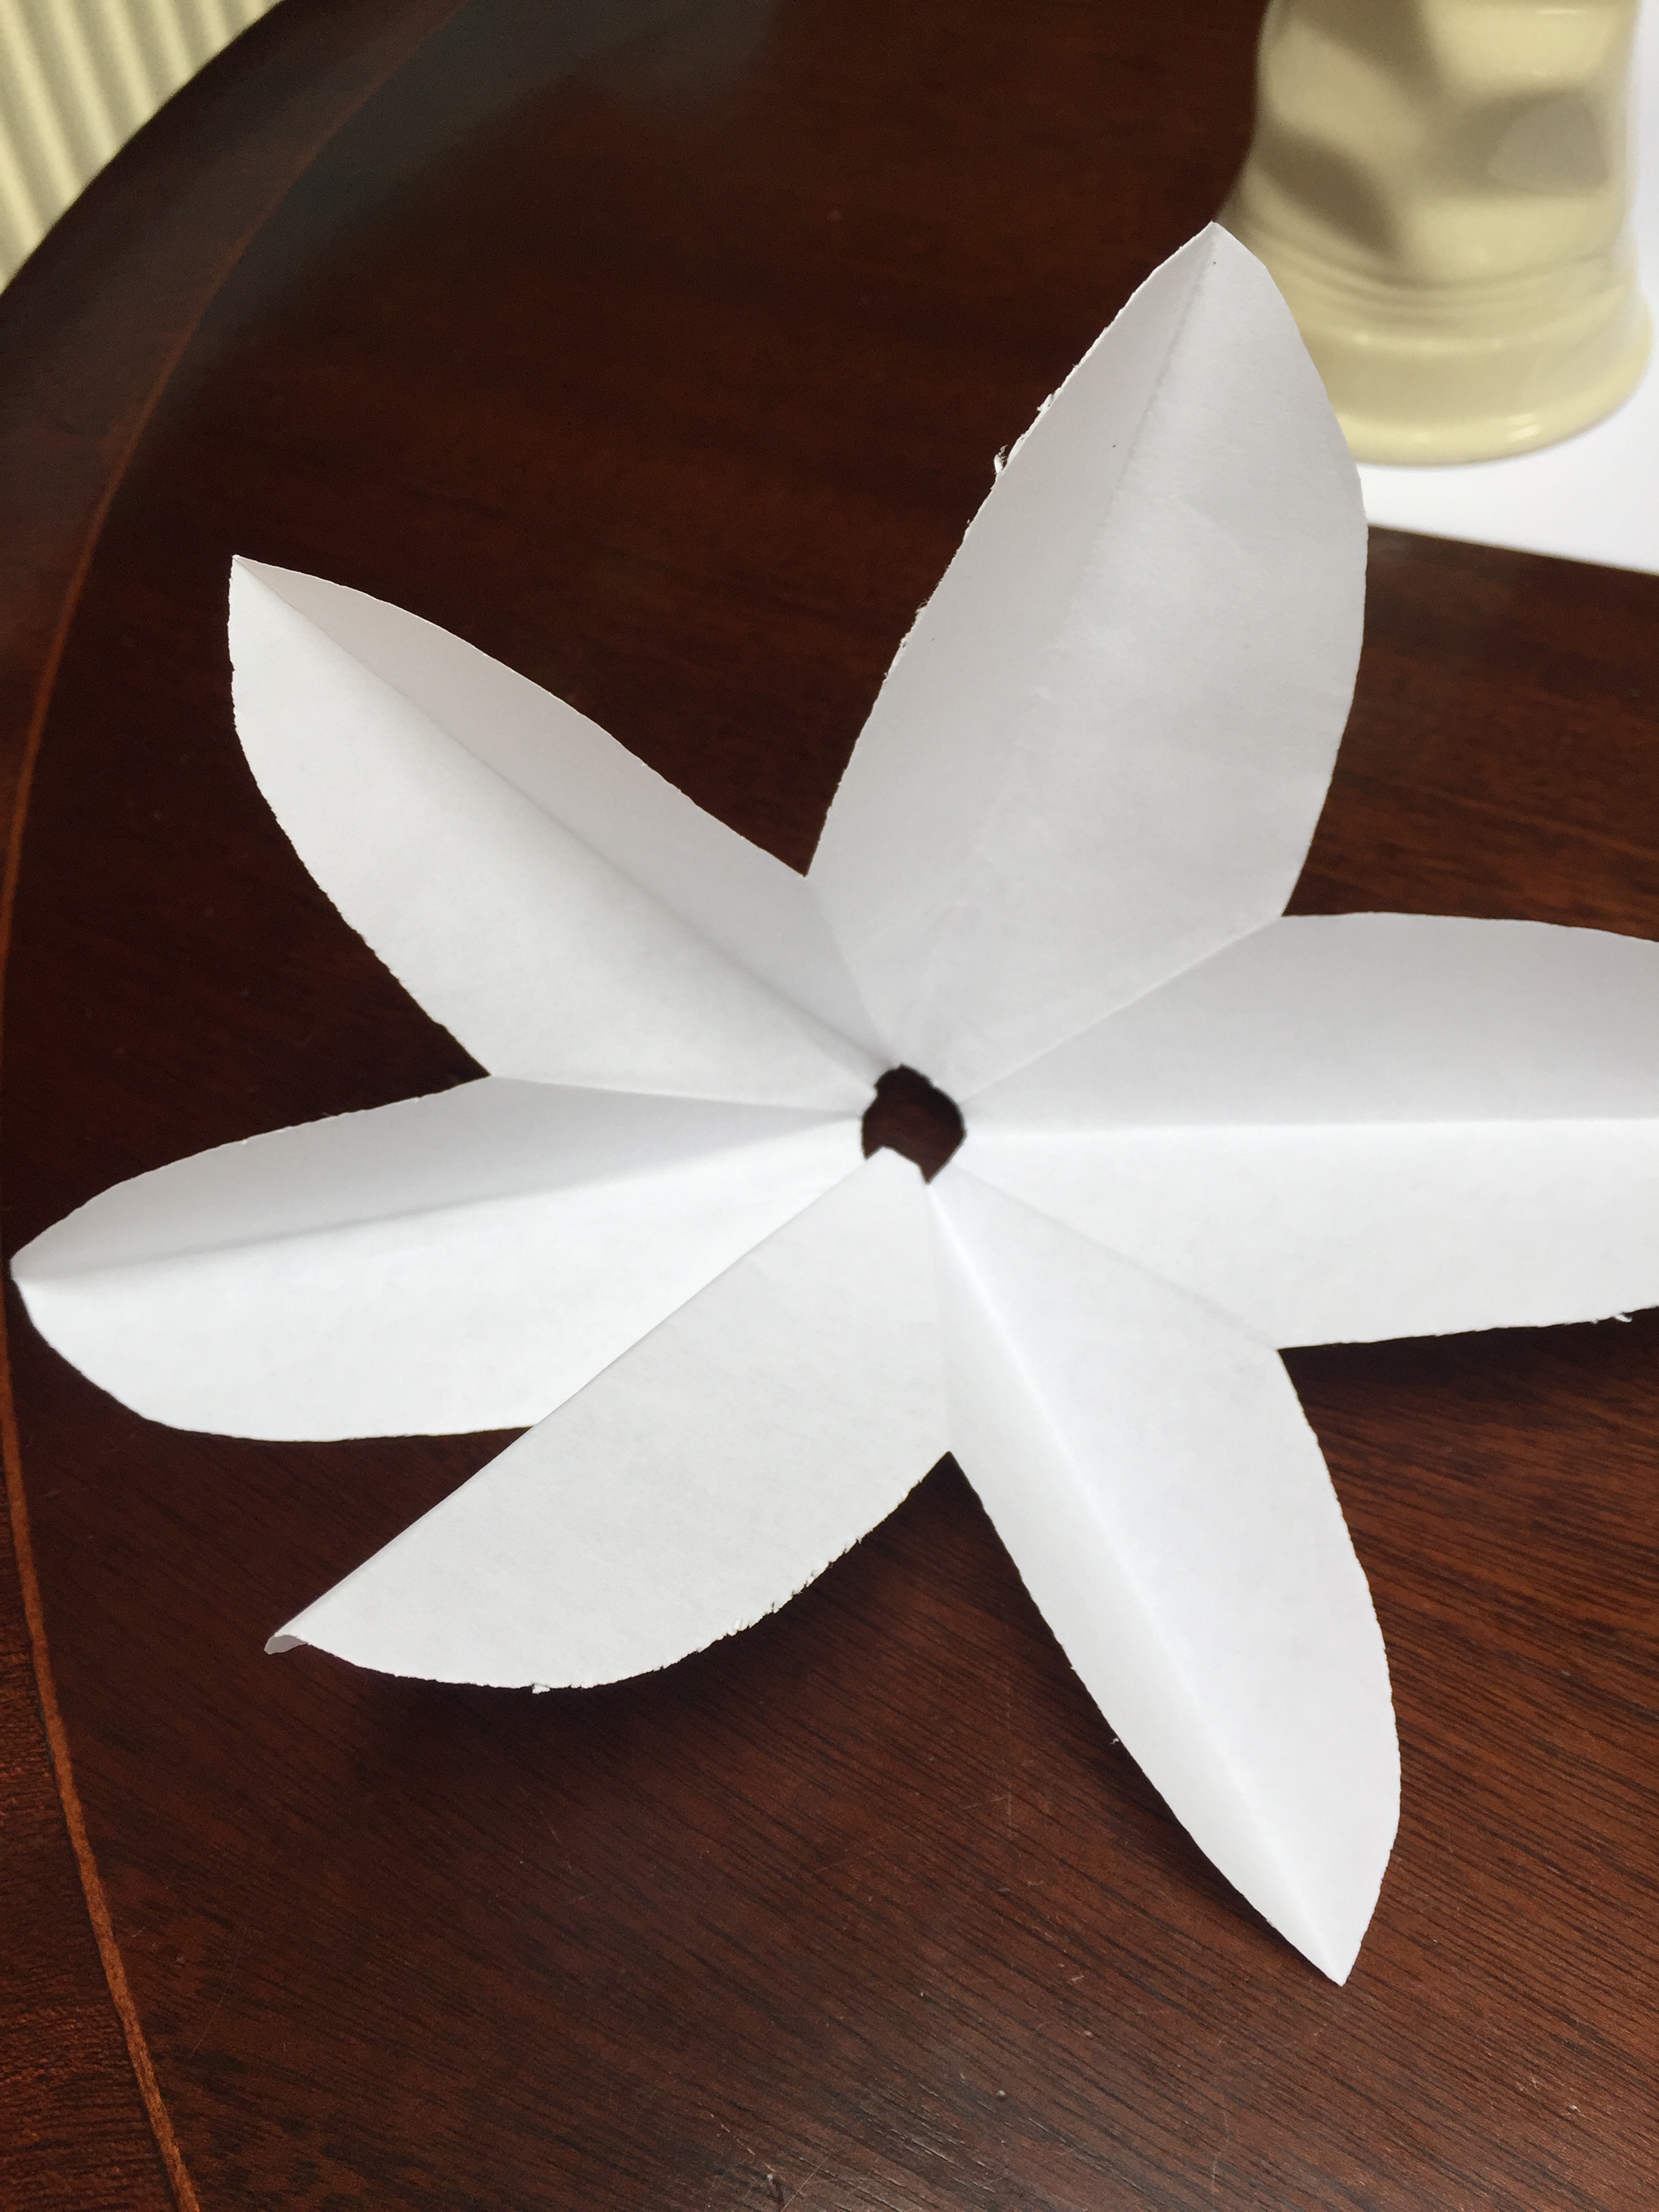
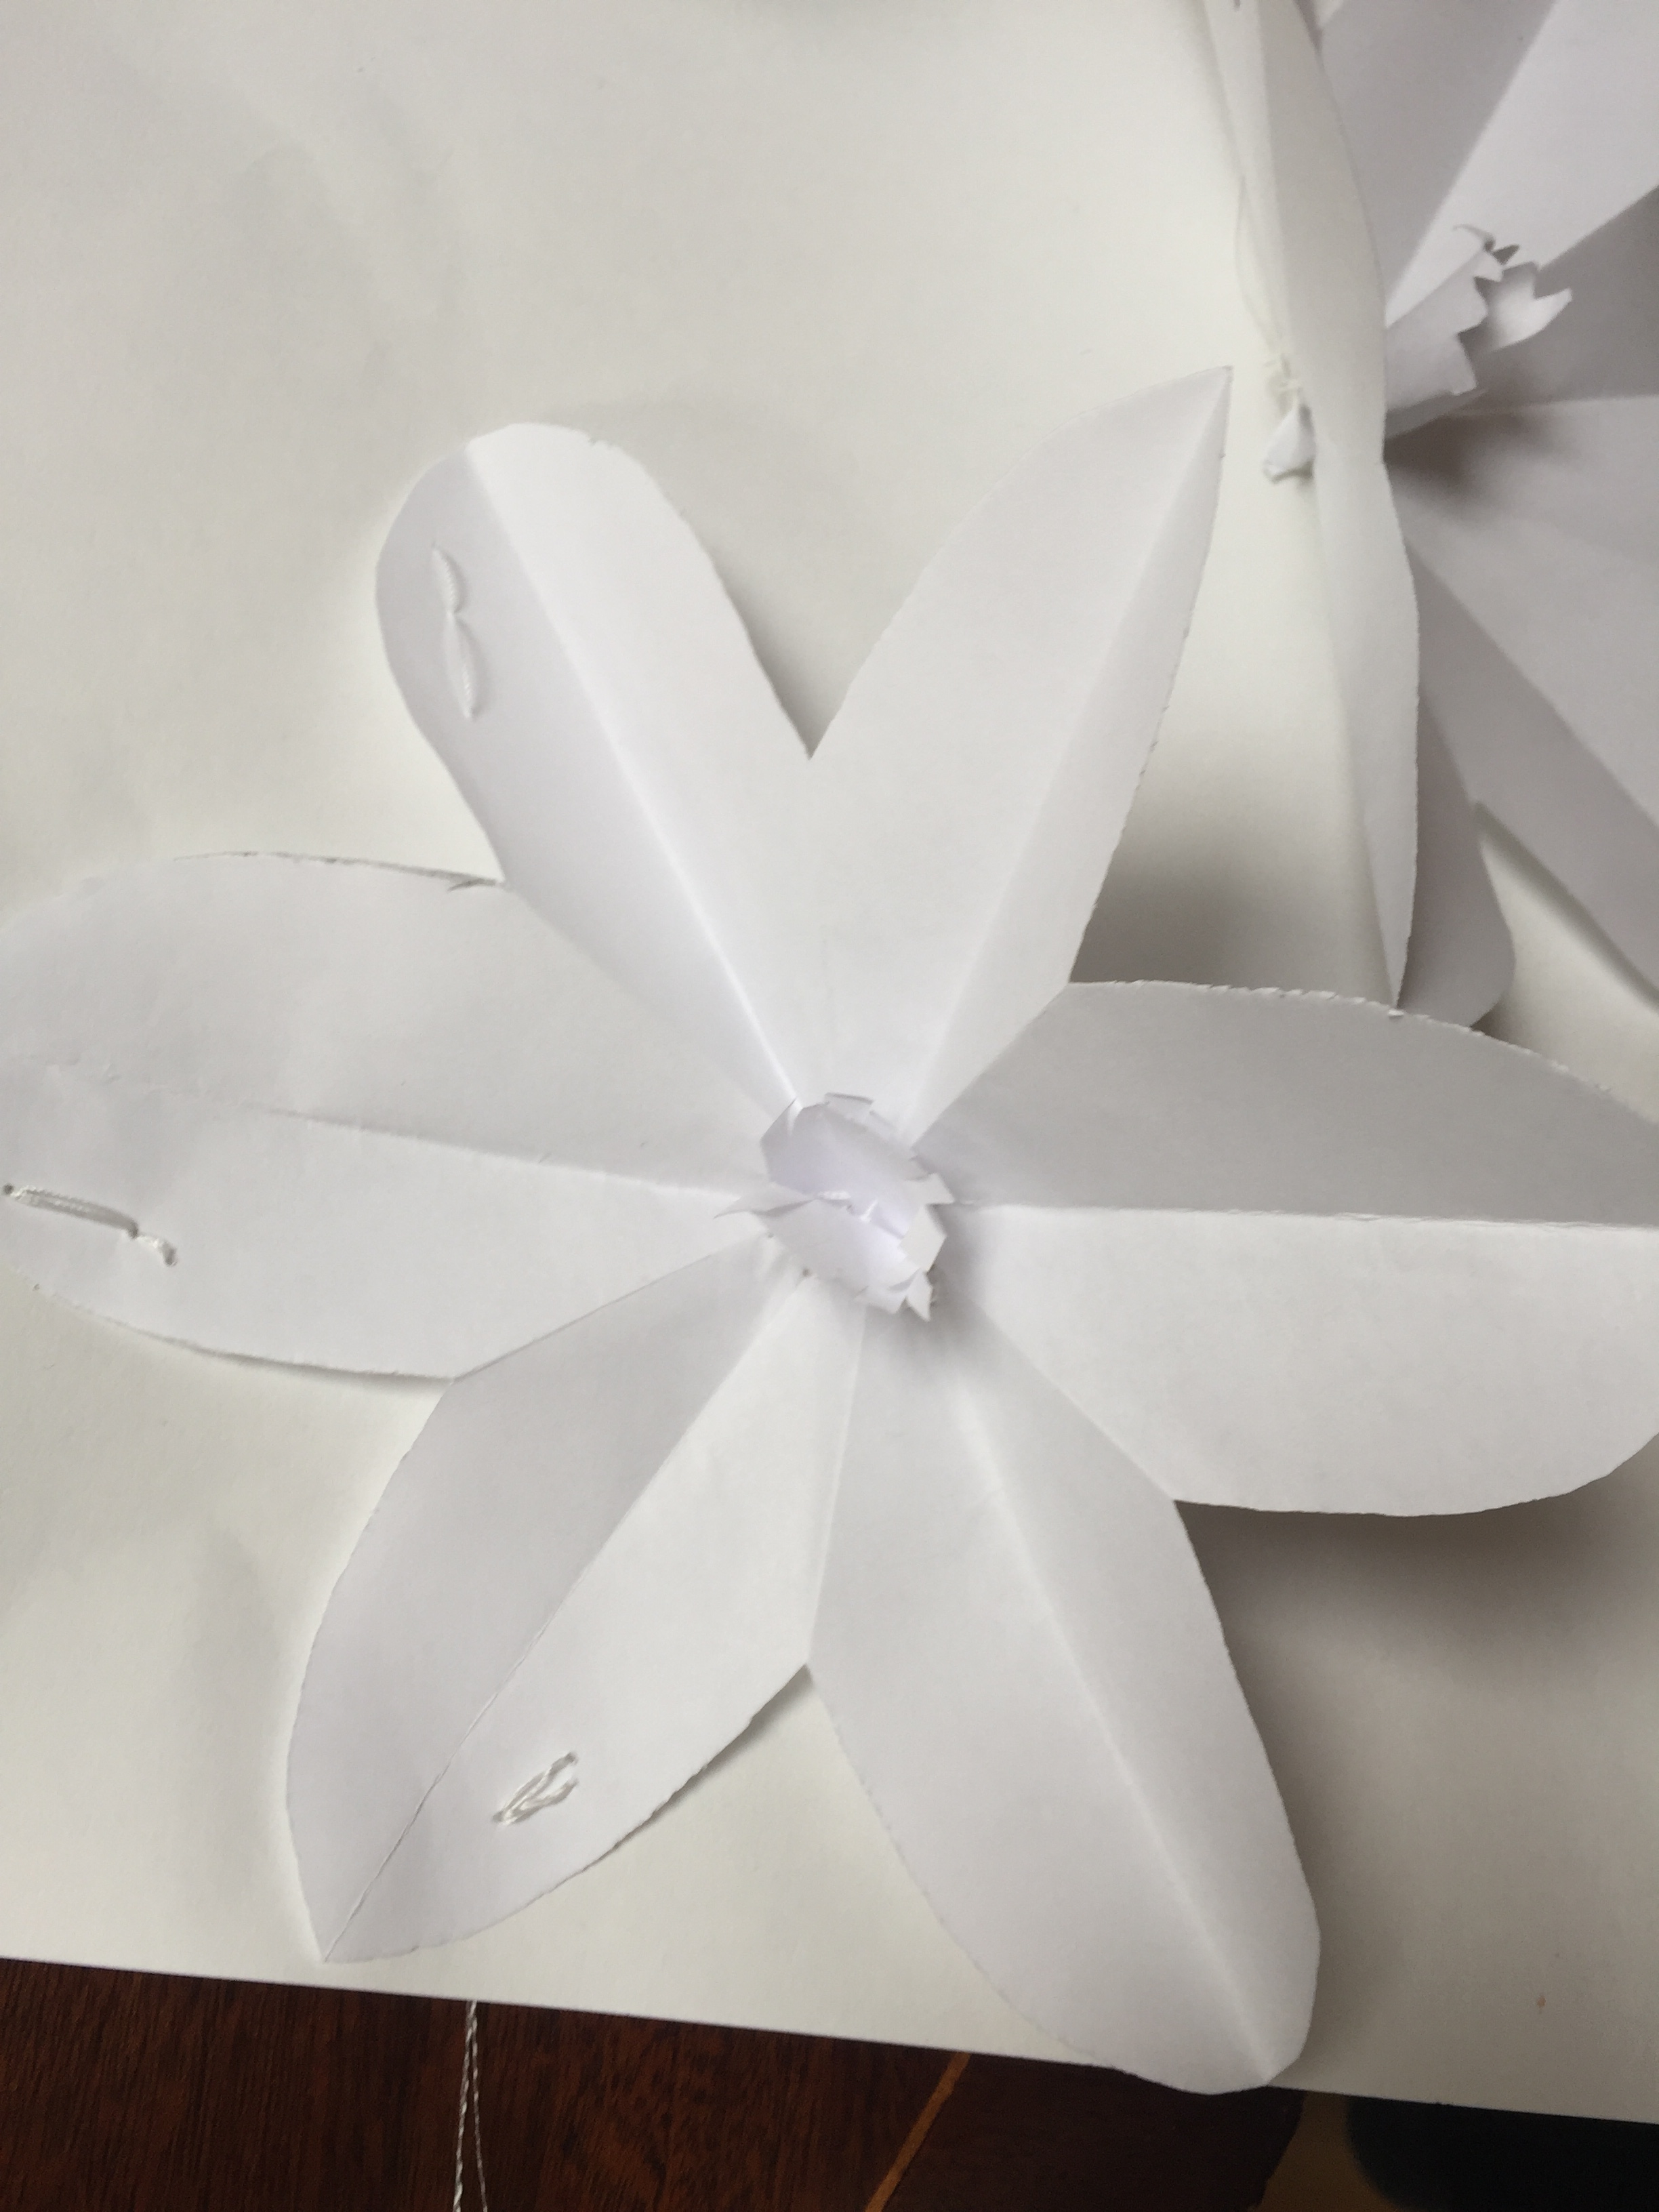
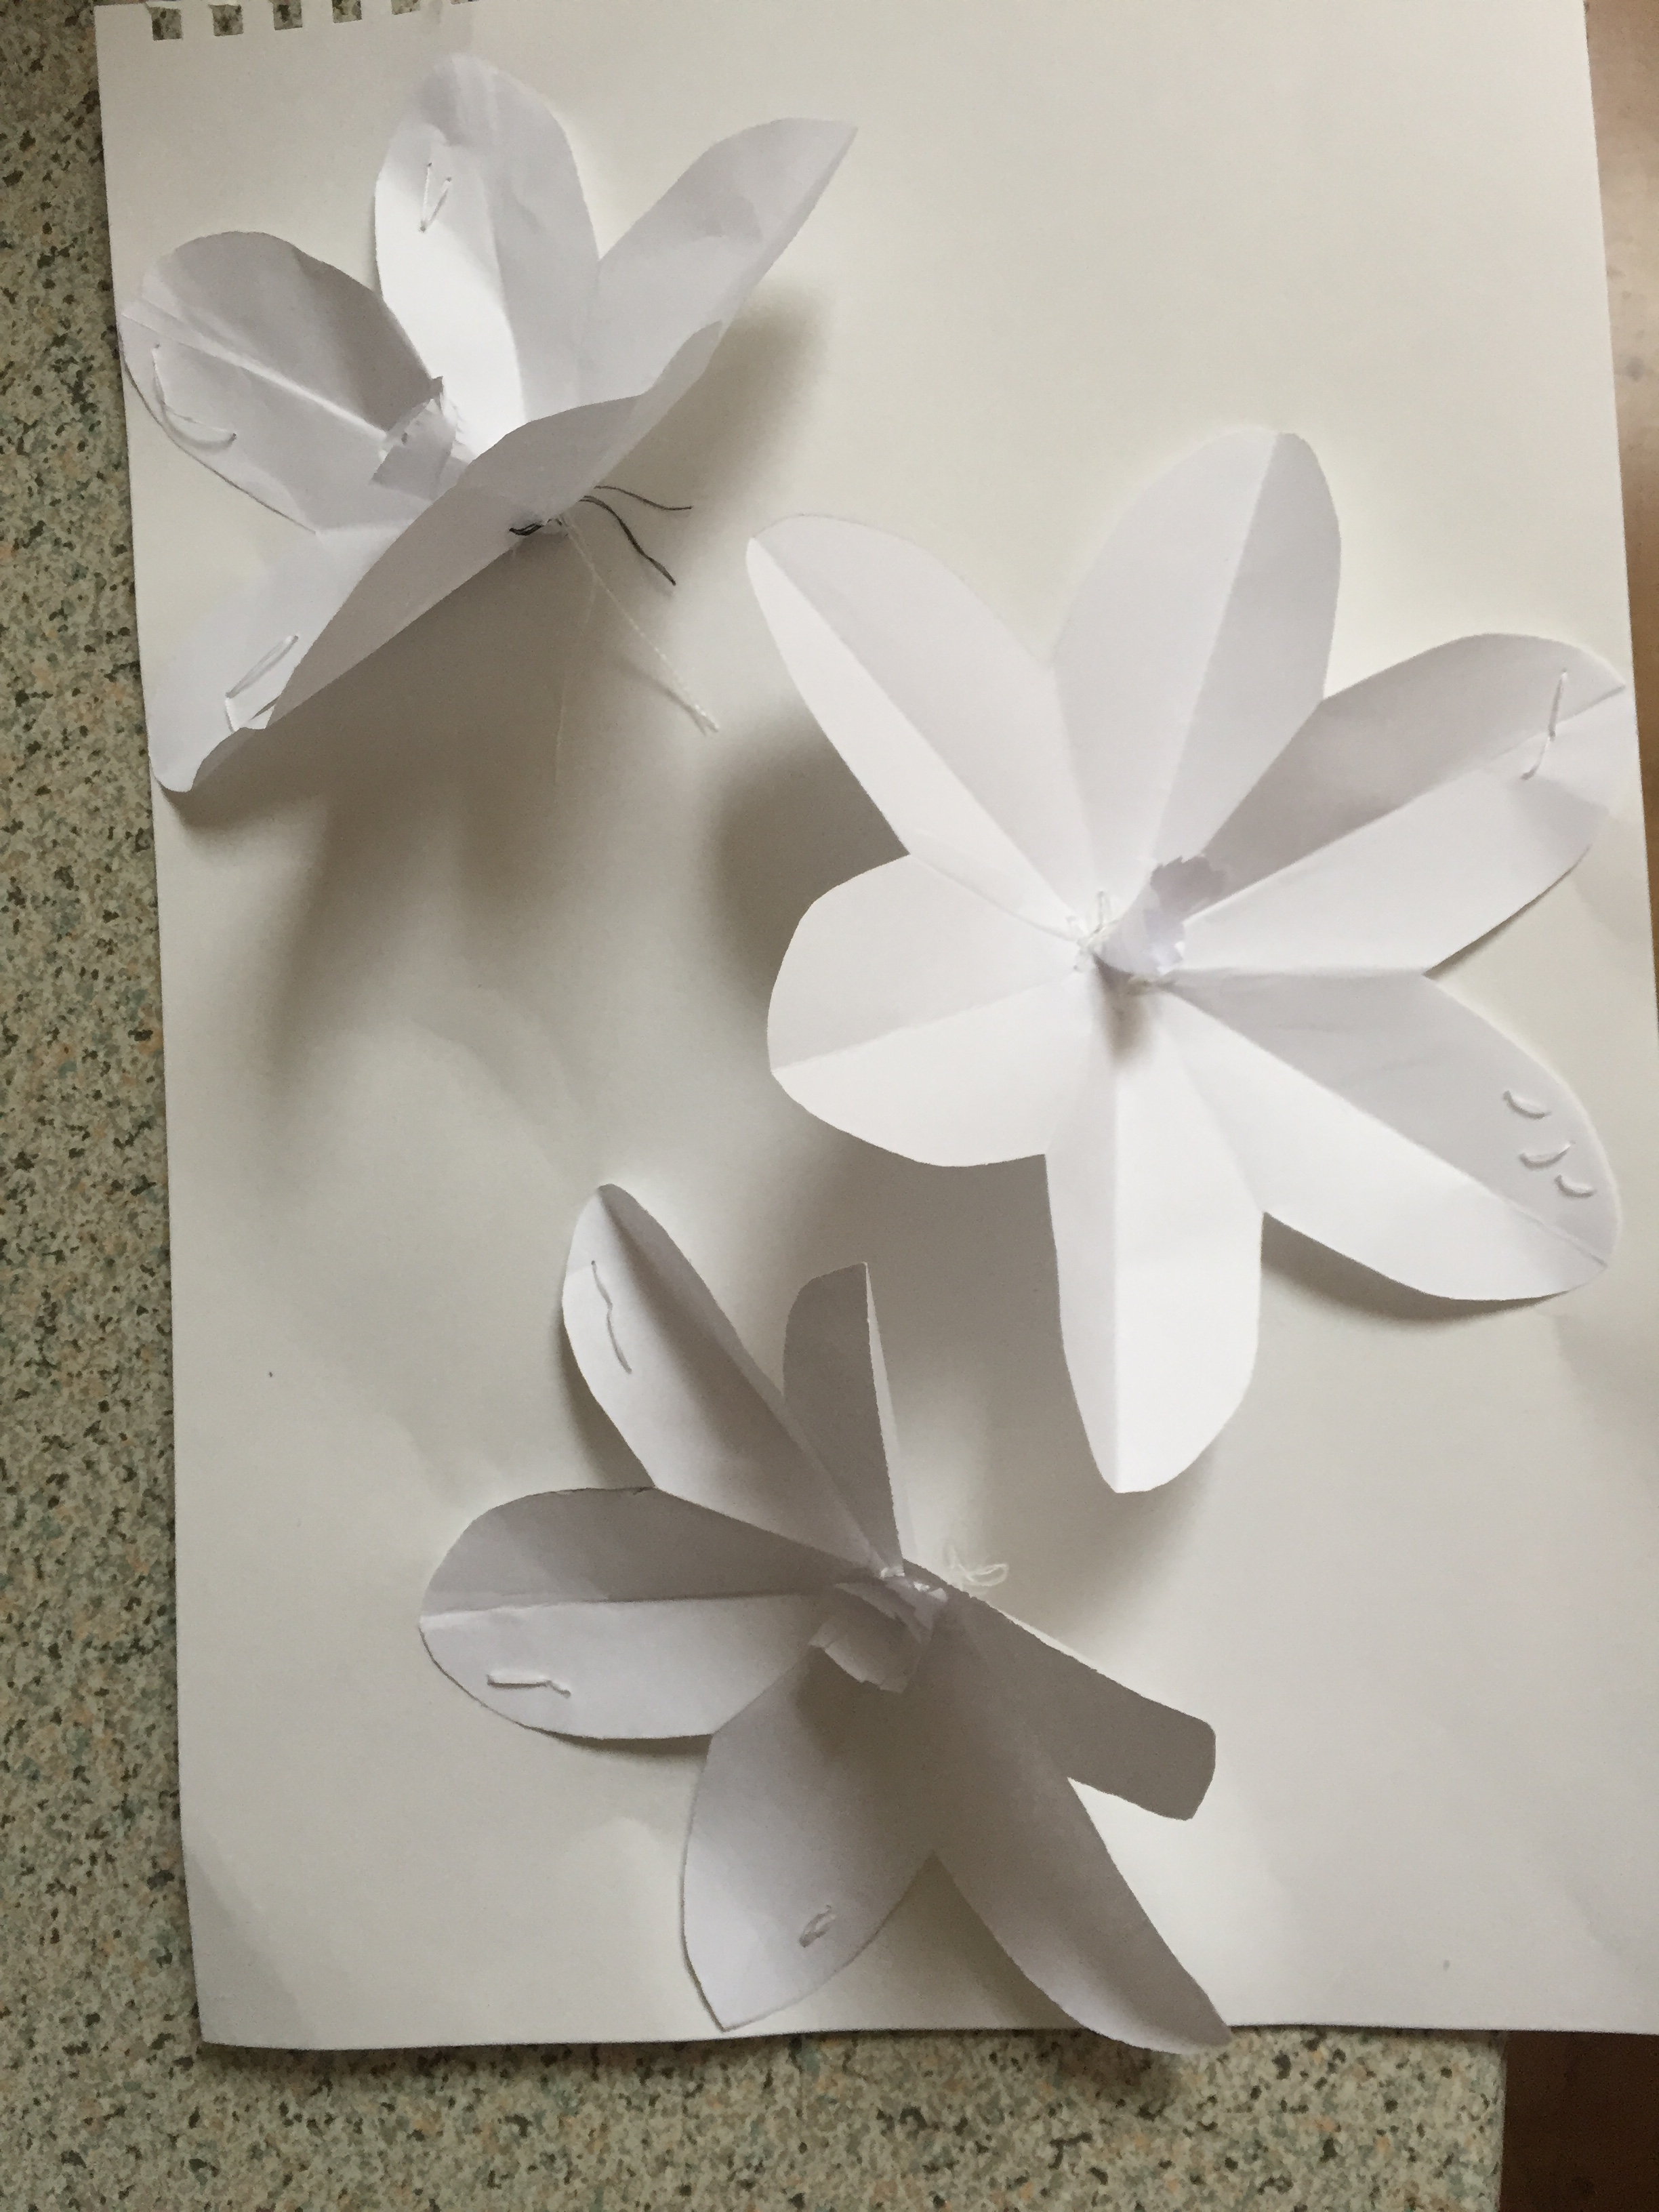
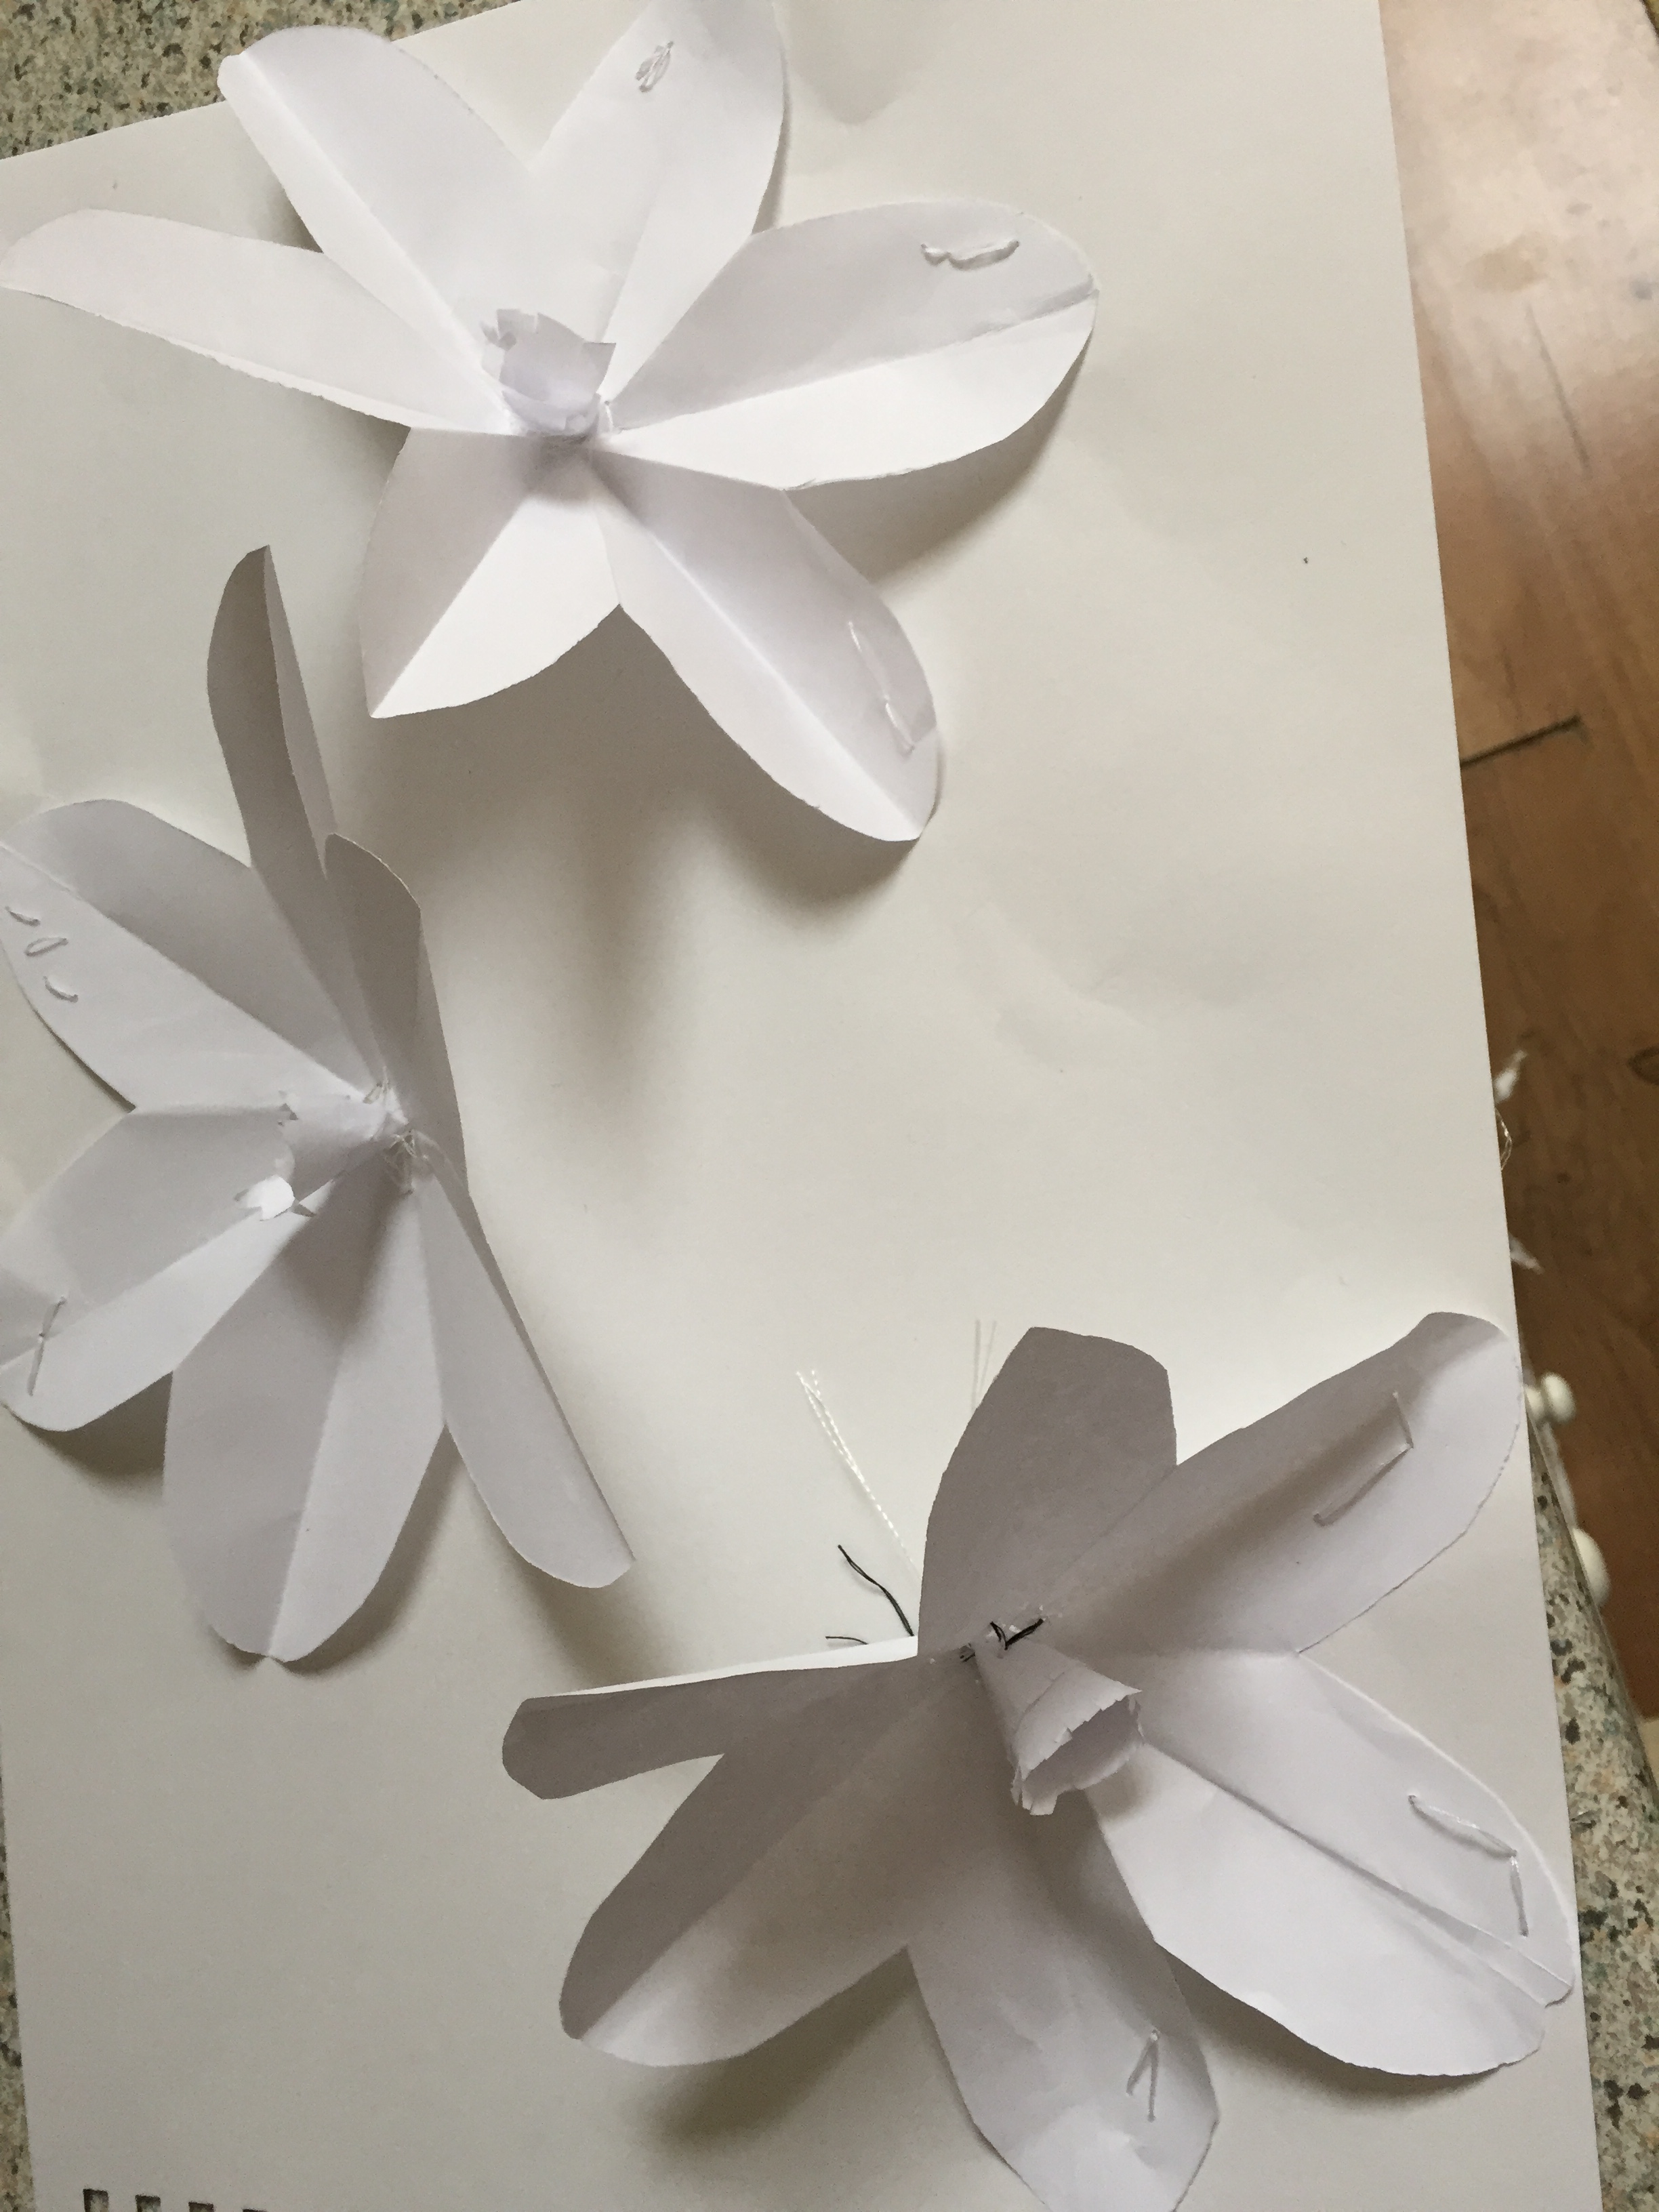
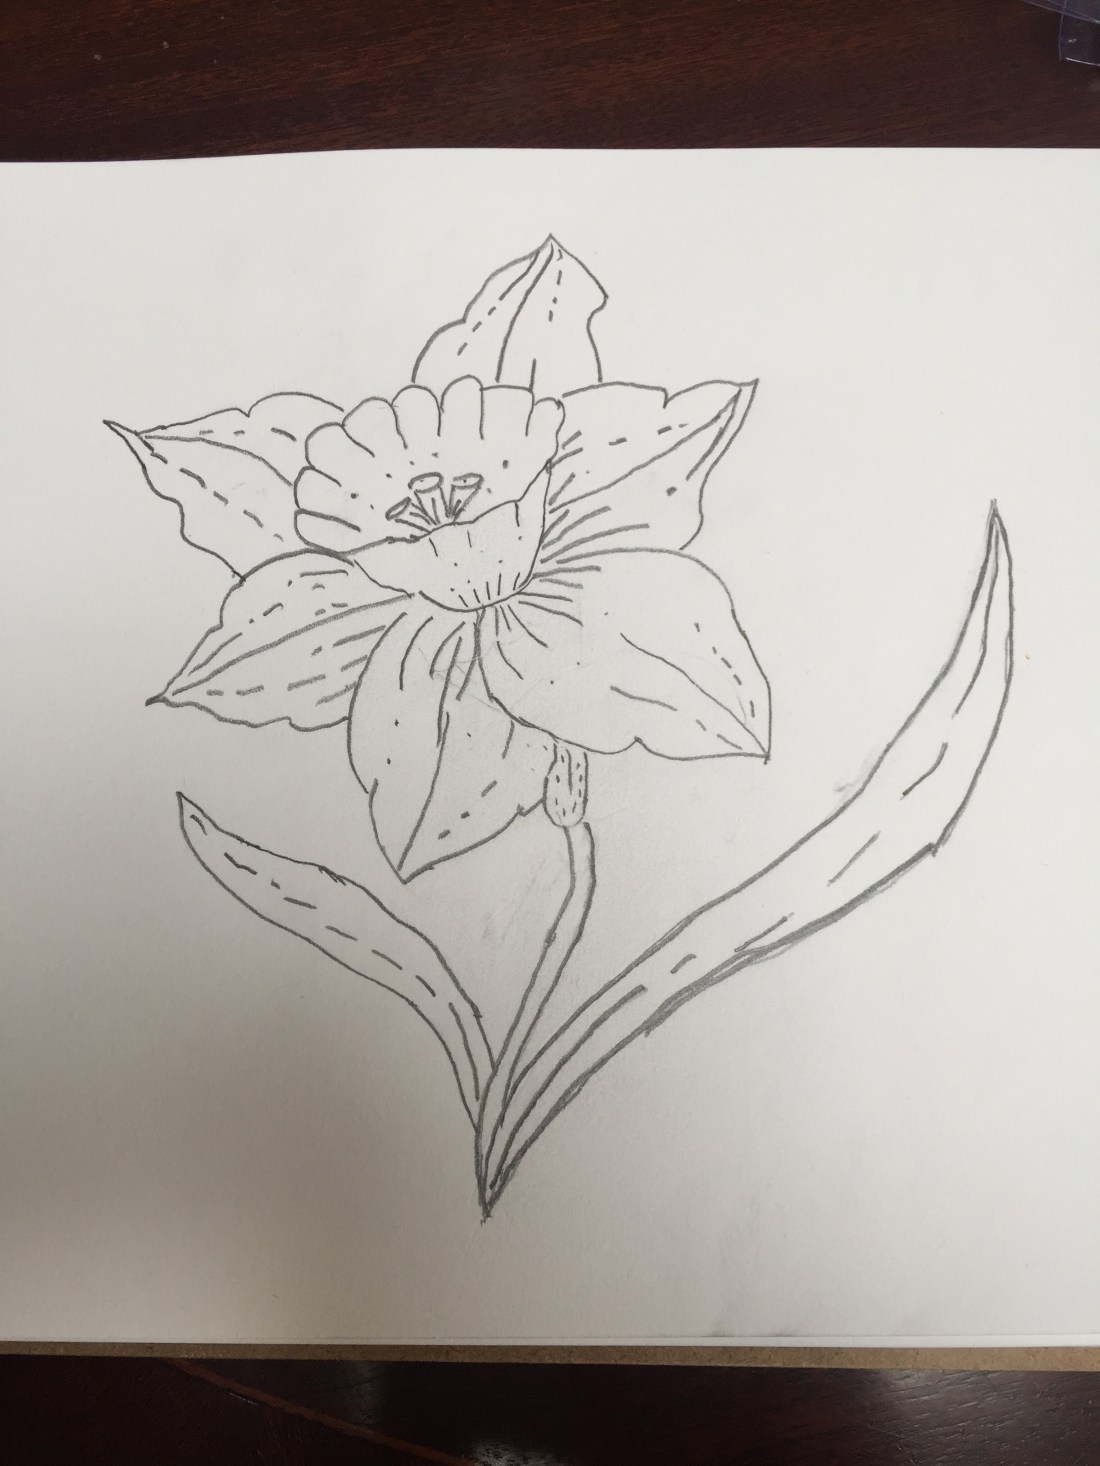
As a second assignment I’ve decided to make daffodils…
Inspiration
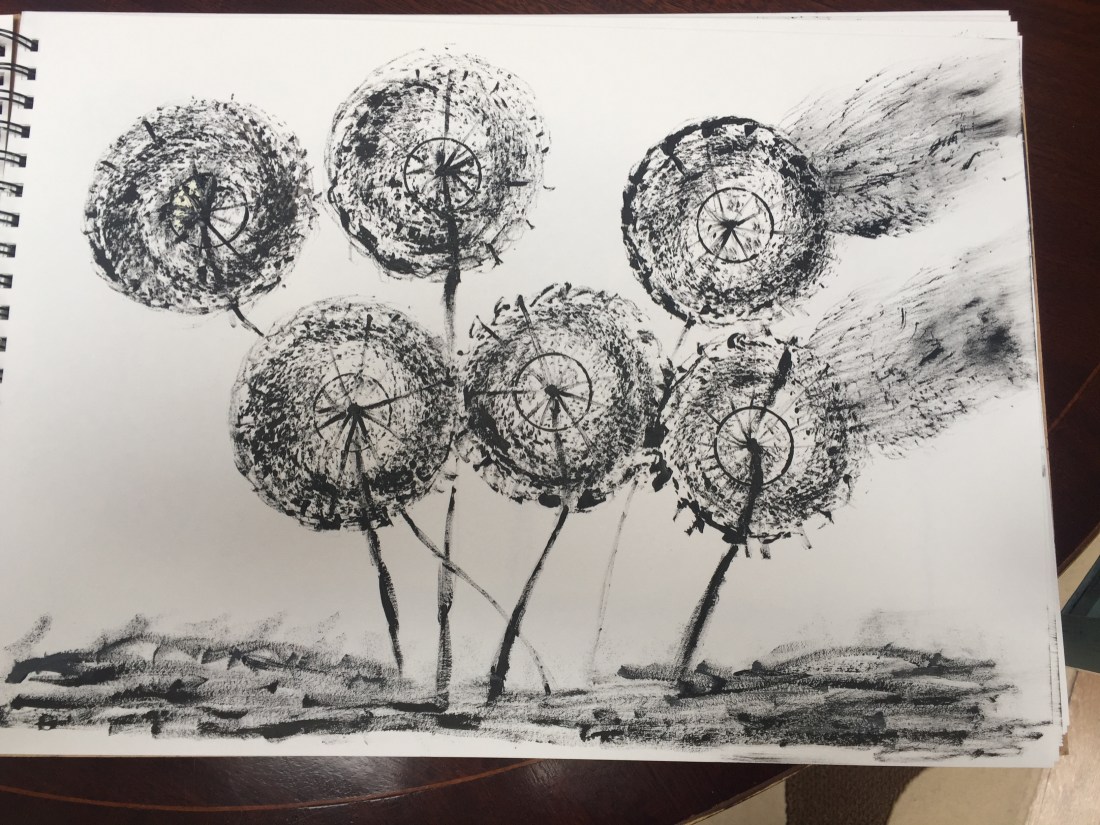
my drawing.
3 paper daffodils sewn on A3 paper in a way that the look they had just bloomed …
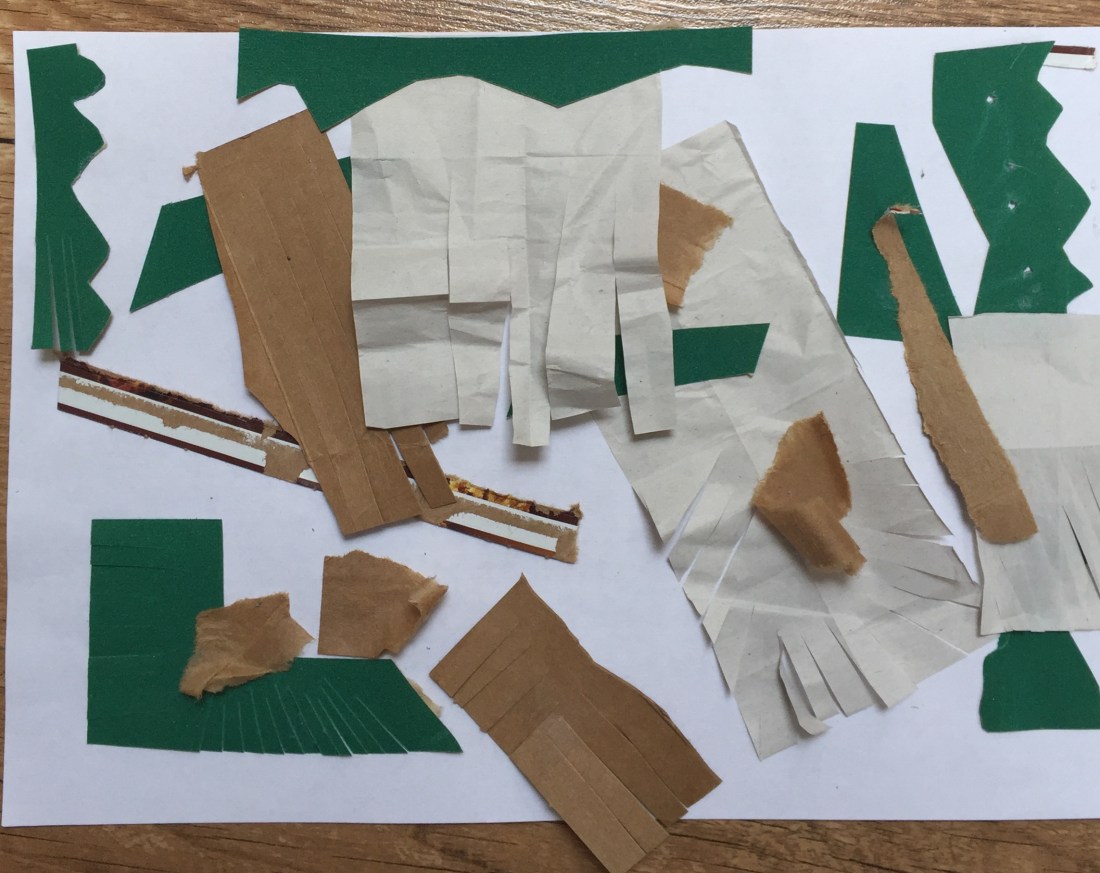
Moving forward to this assignment I’ve decided to follow a different route:
I ‘m cutting pieces from the paper manipulation assignment and then I will stitch them up.
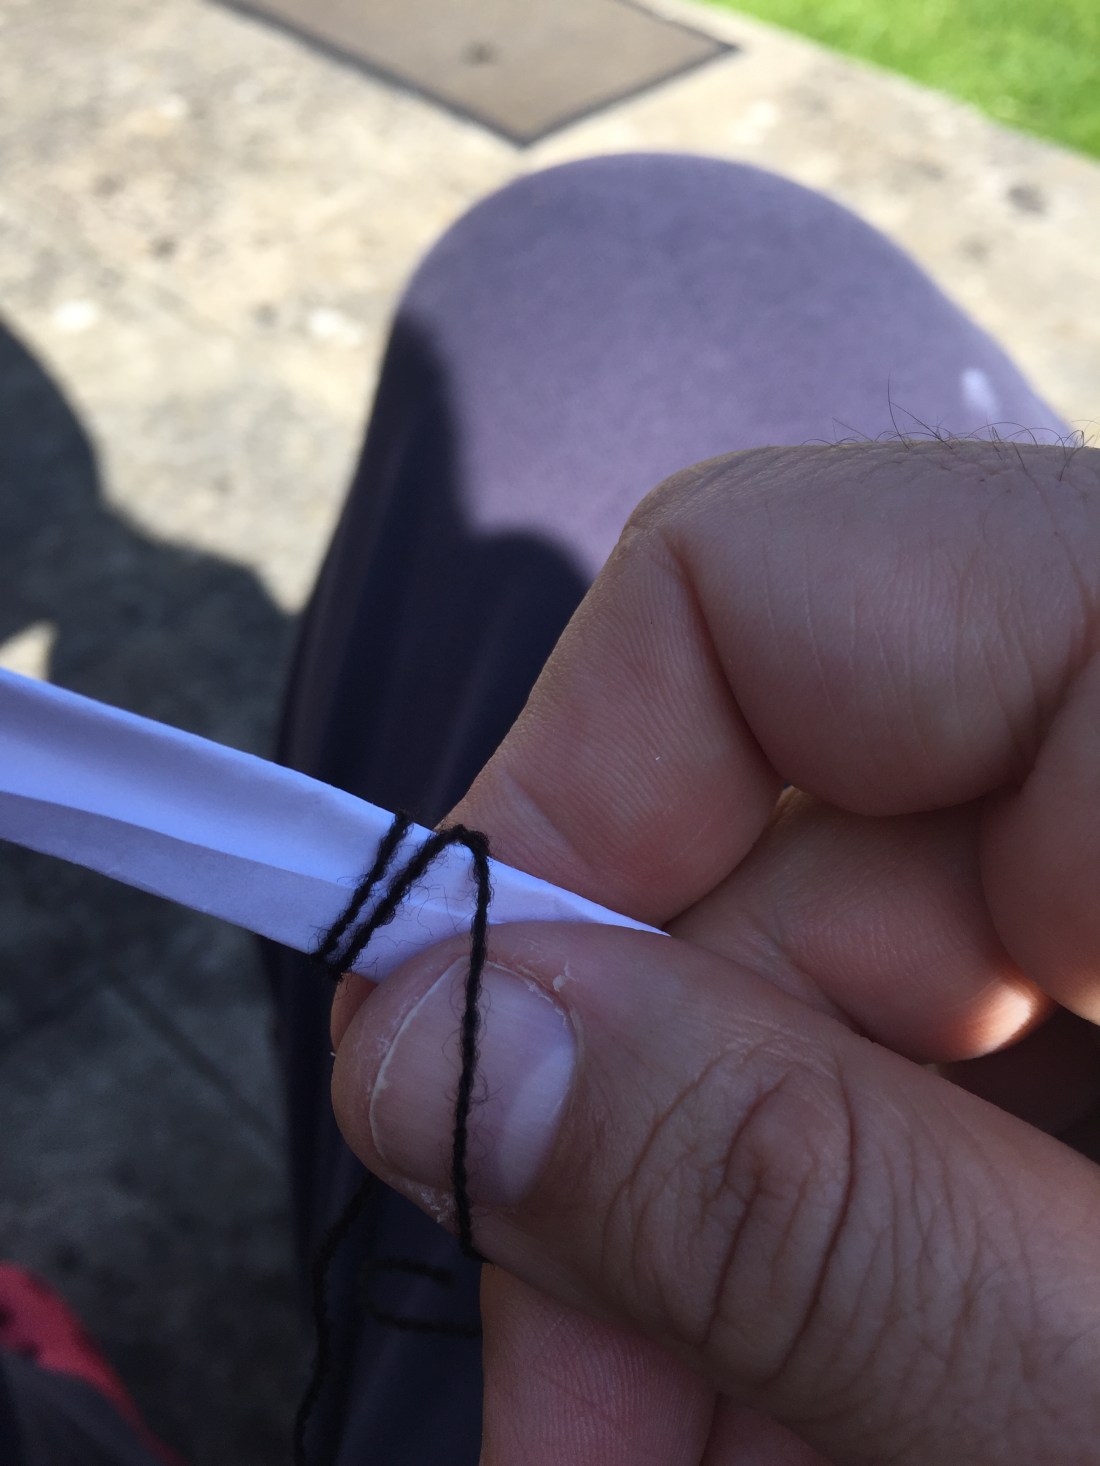
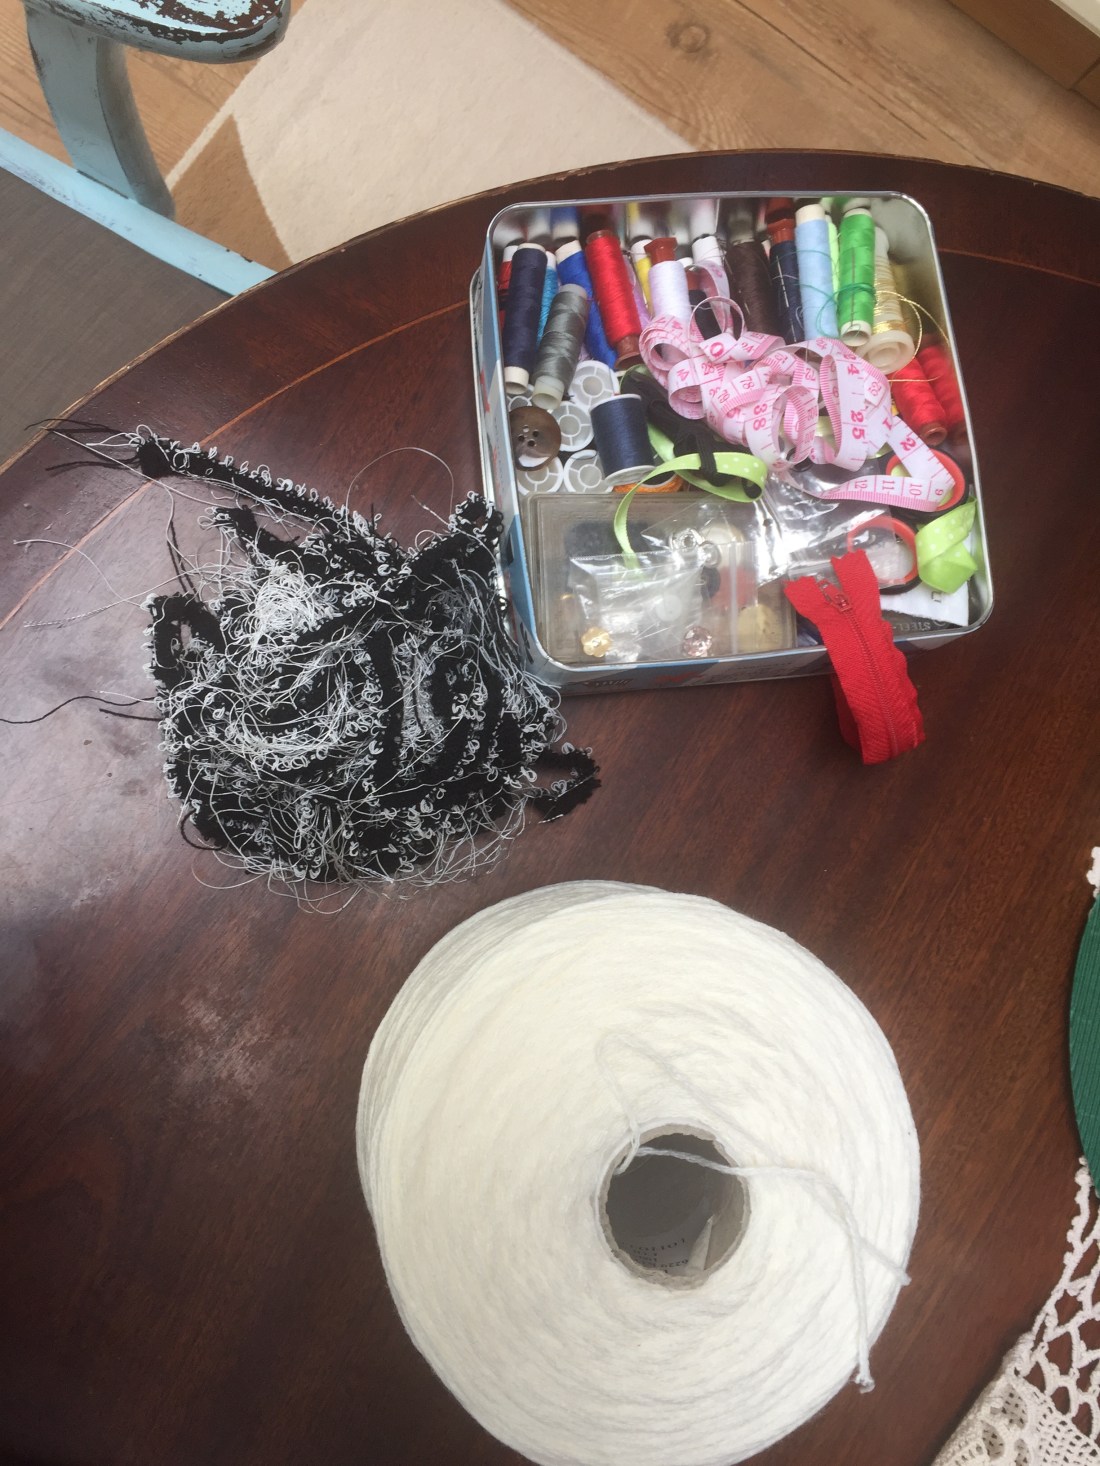
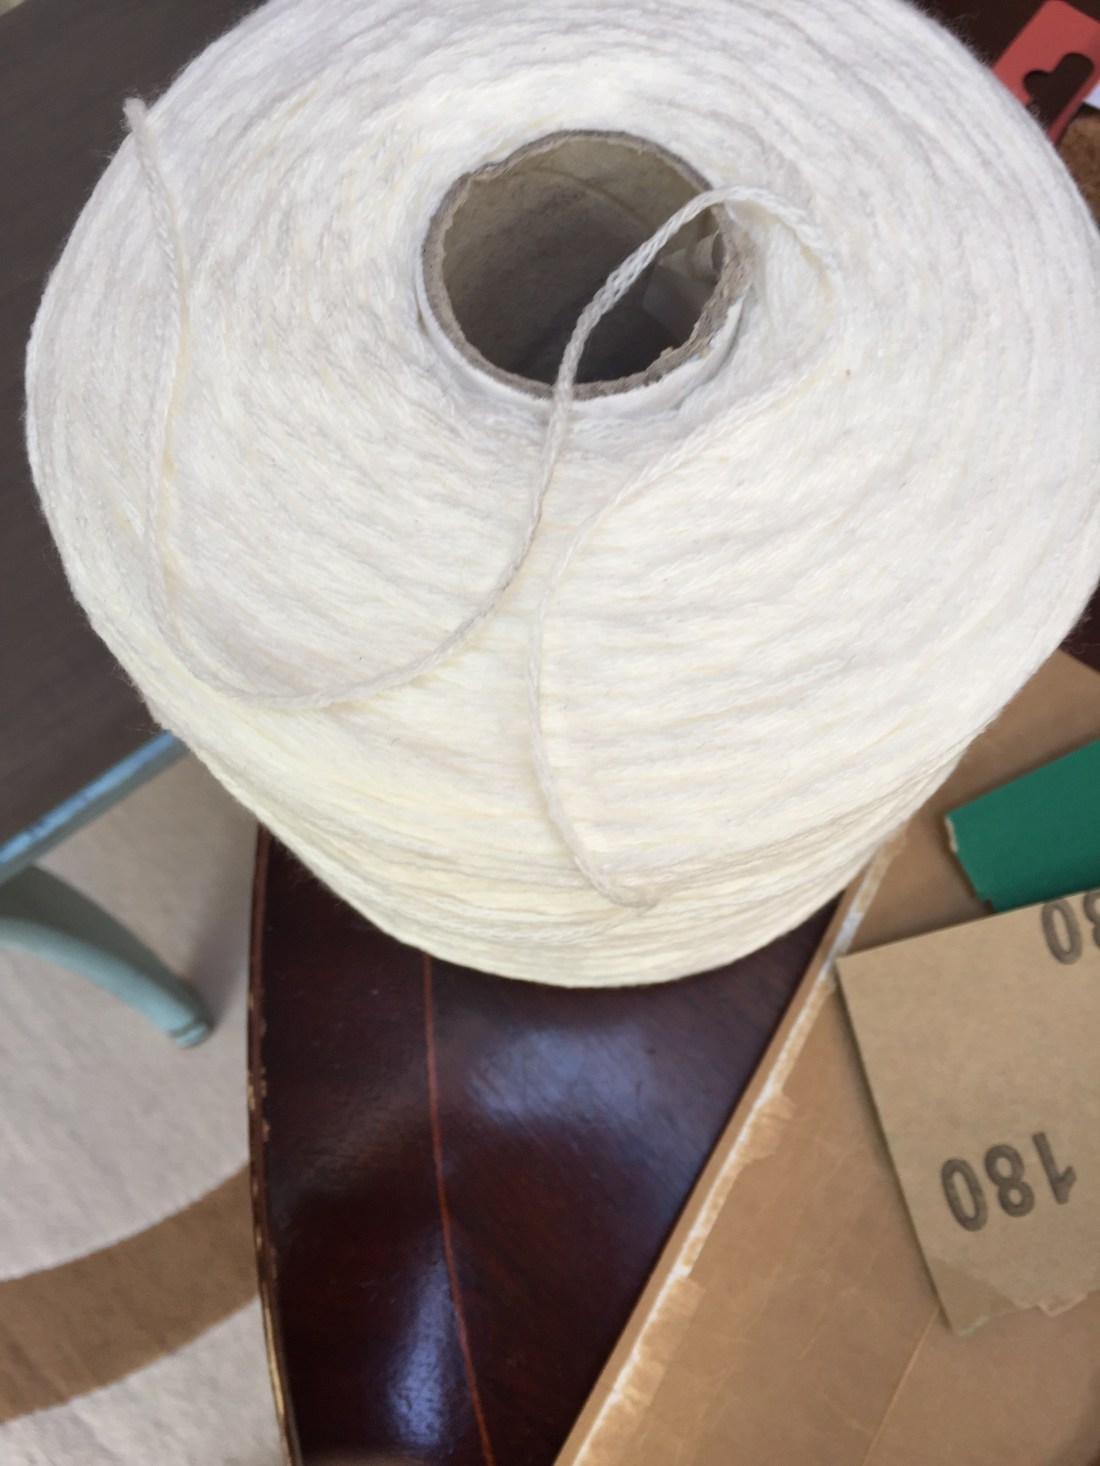
First things first: I’ve gathered what I’m going to use ; A cone of yarn , some waste ribbons were I can extract yarn from and needles to do the sawing.
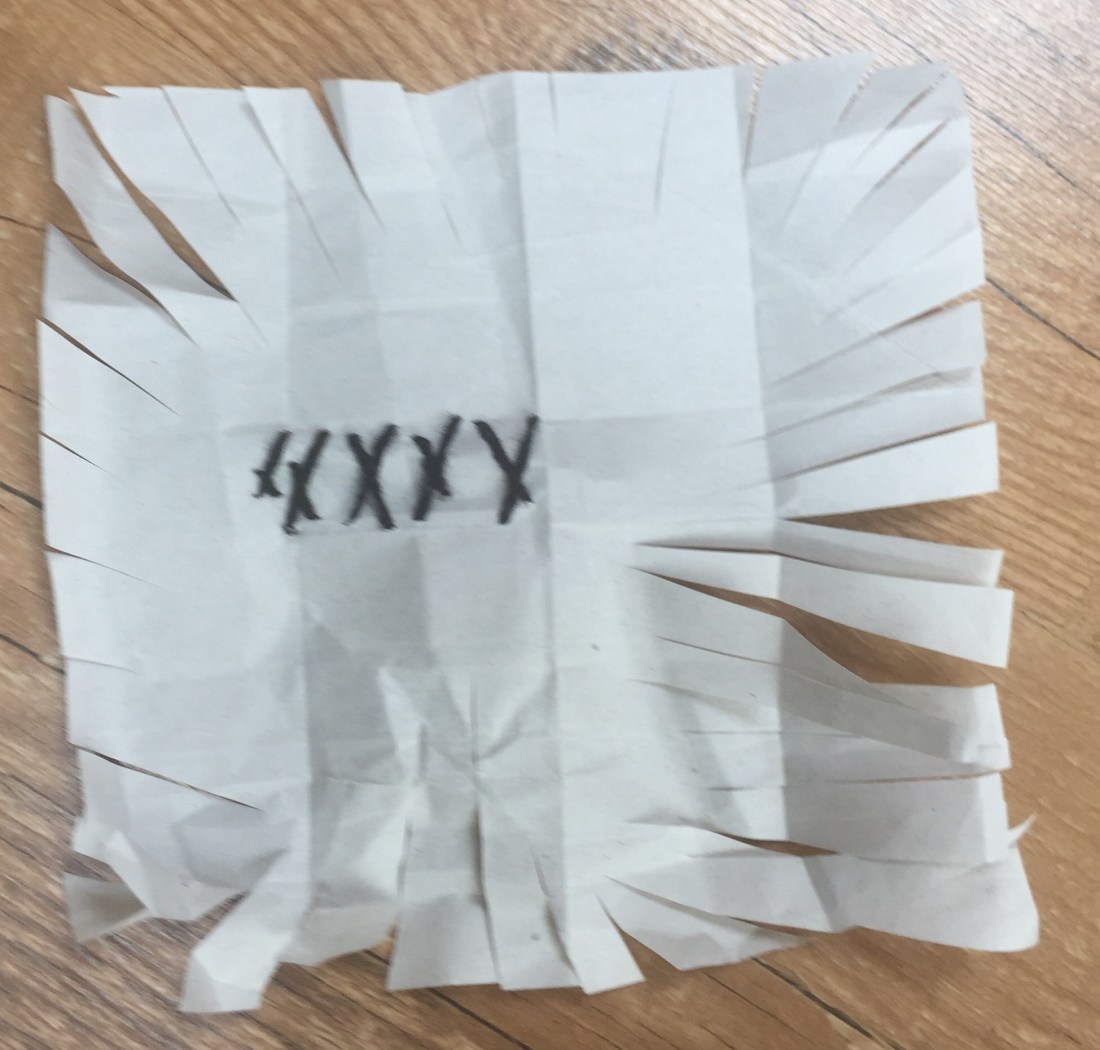
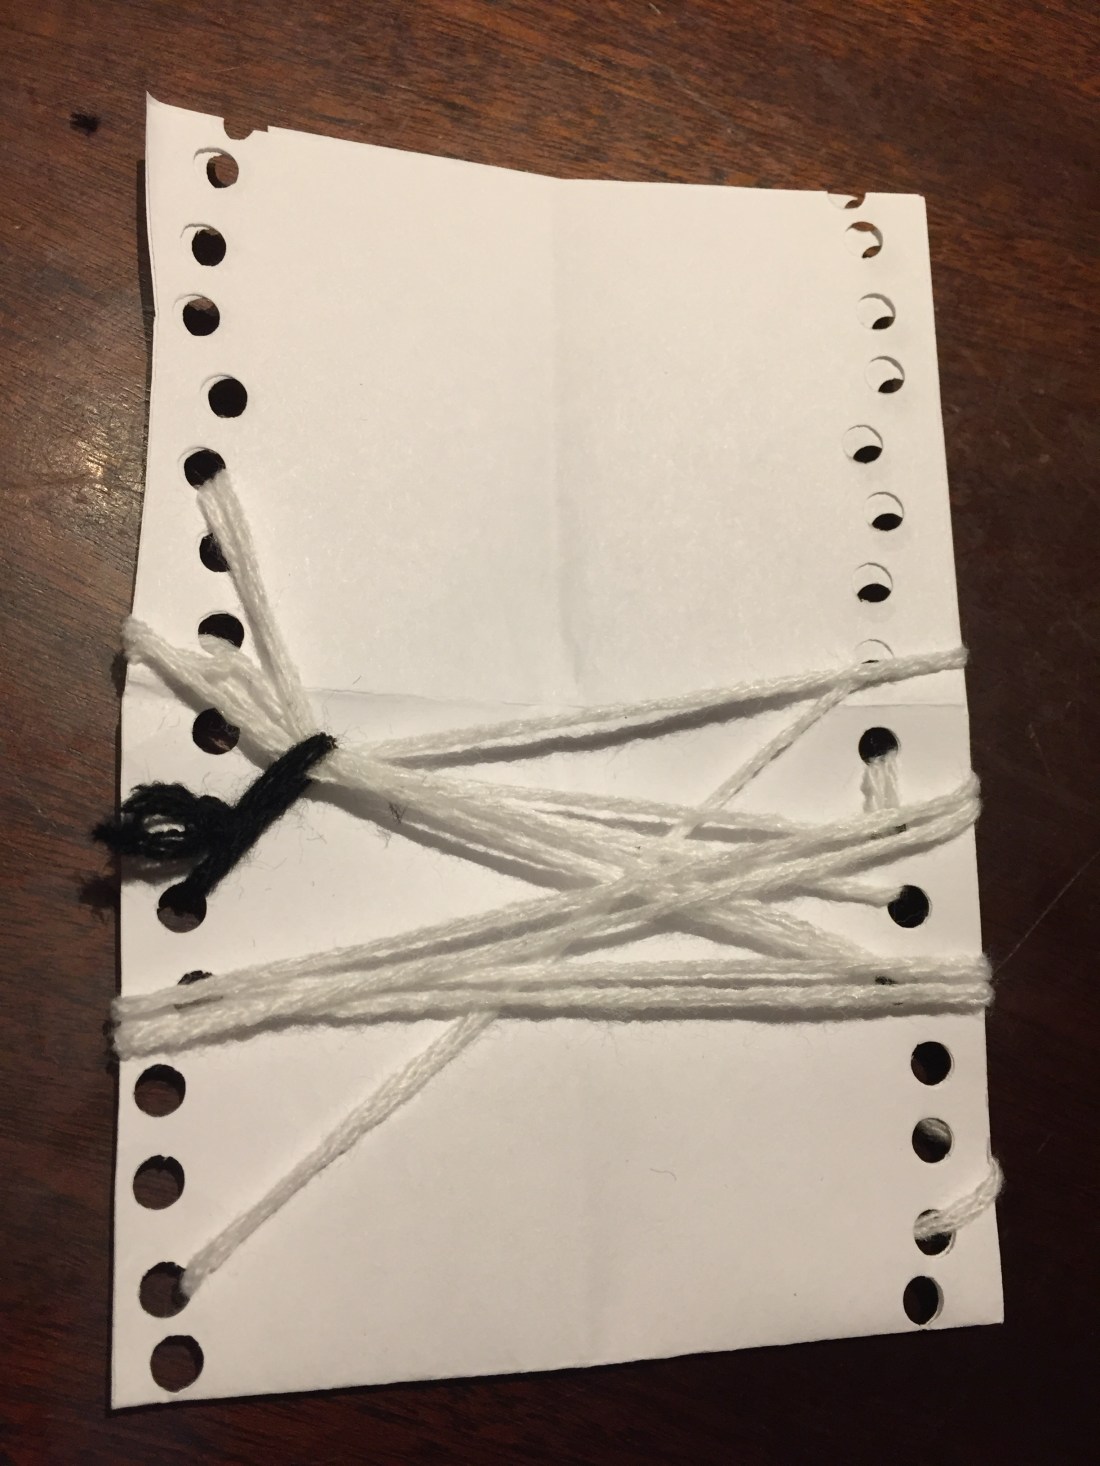
stitch crossovers with continuous yarns.
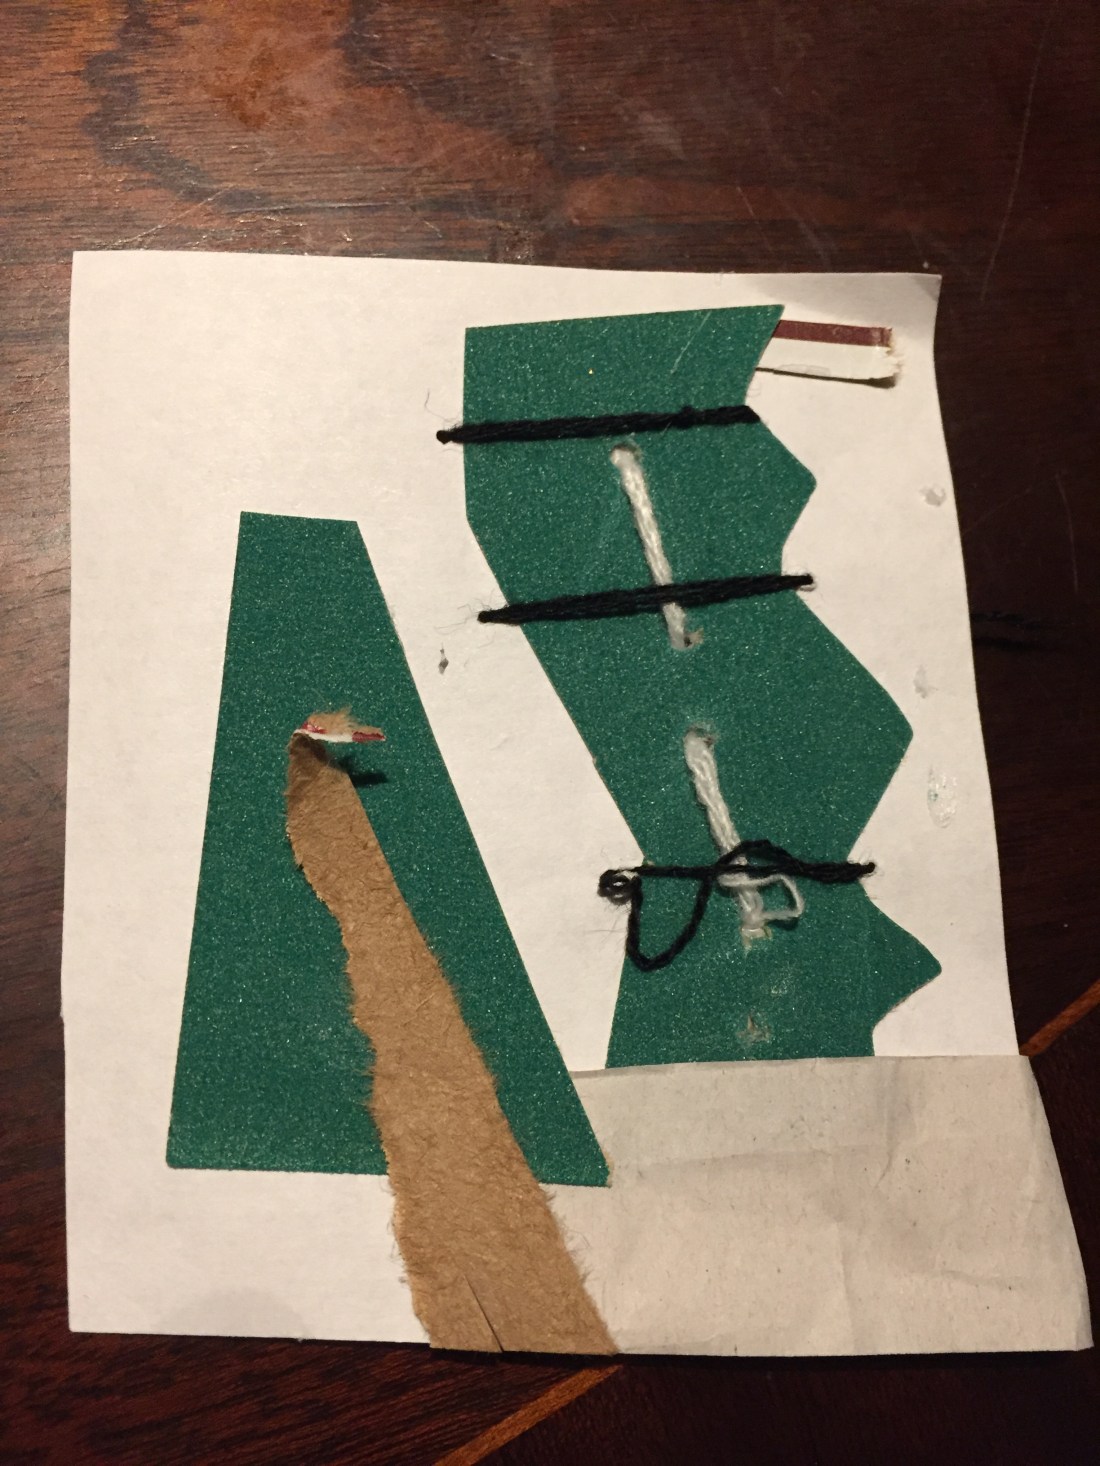
I have decided to use this piece of paper from my previous assignment as I didn’t include this in my paper manipulation take 2 version.
I’ve stitched it onto the carton paper in order to create layers.
I’ve done some stitching(in black and shiny white) on the lower layer
two different yarns used in this : acrylic tape yarn and hard polyester
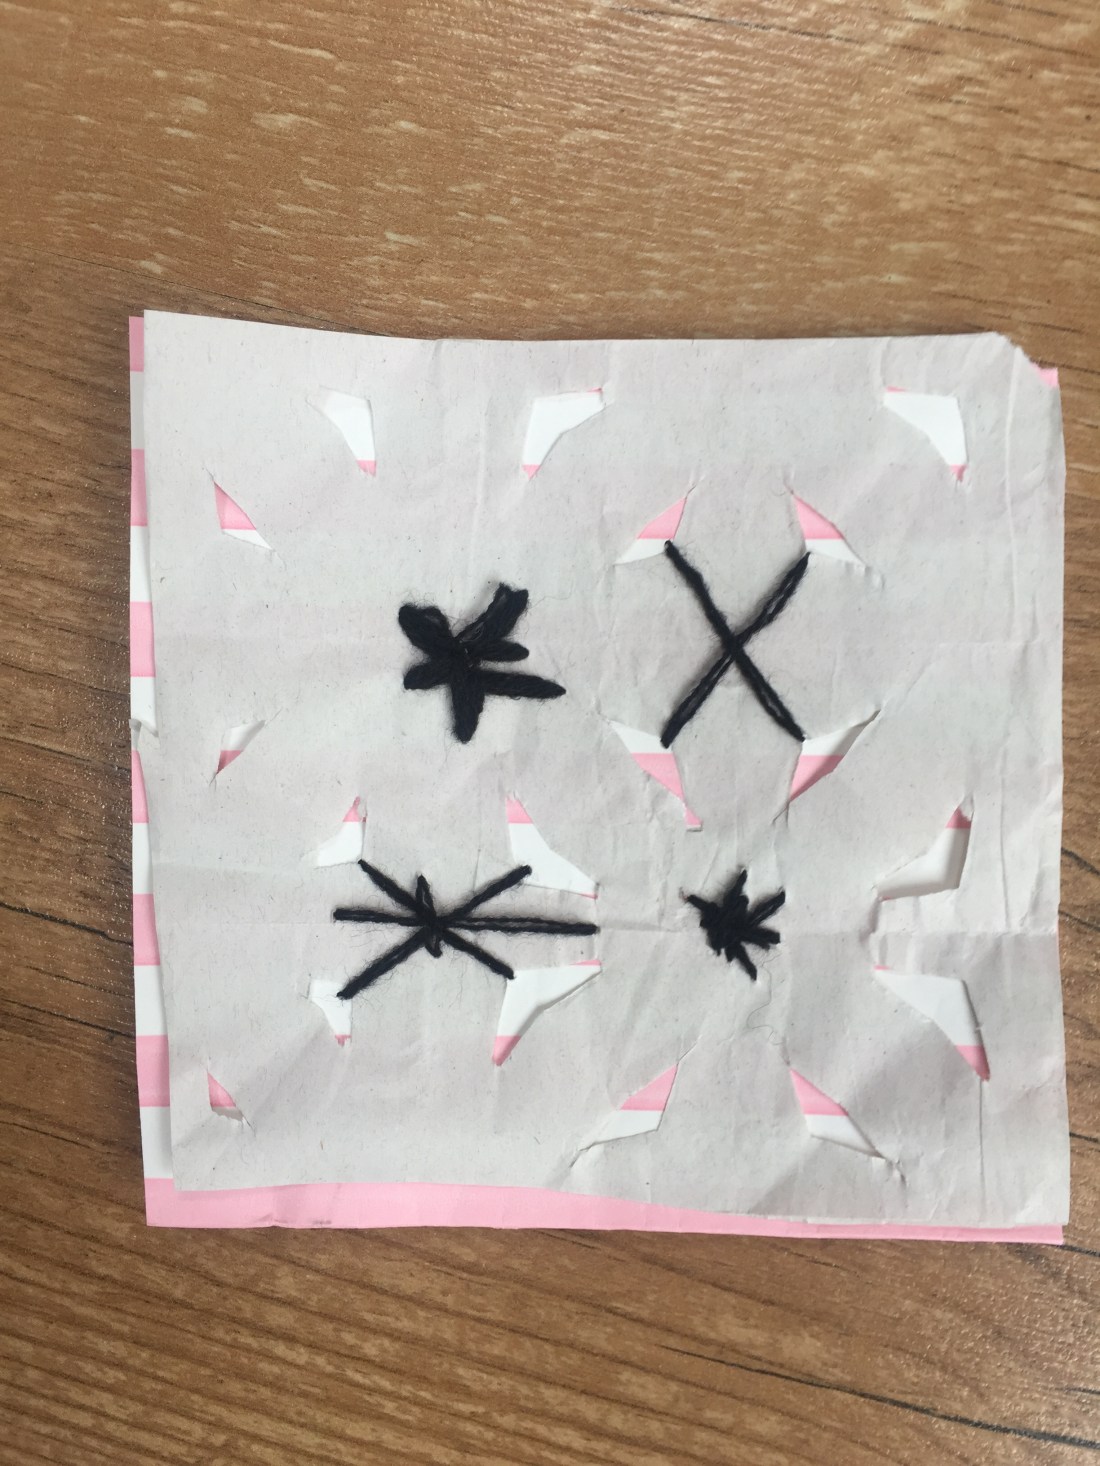
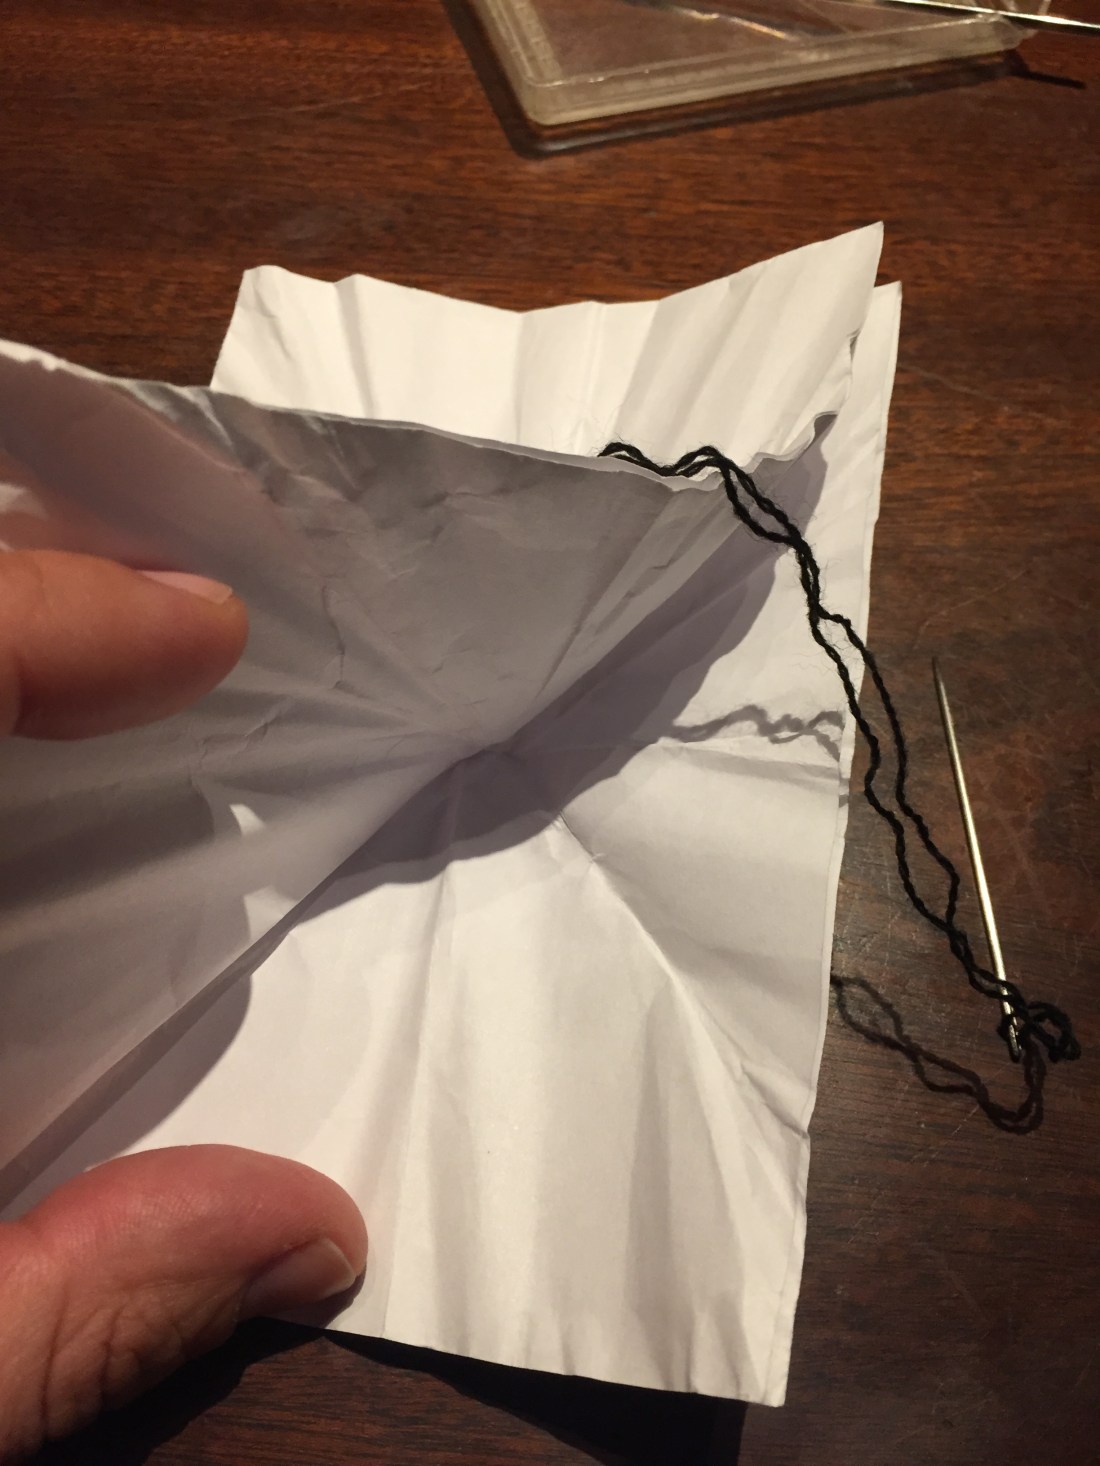
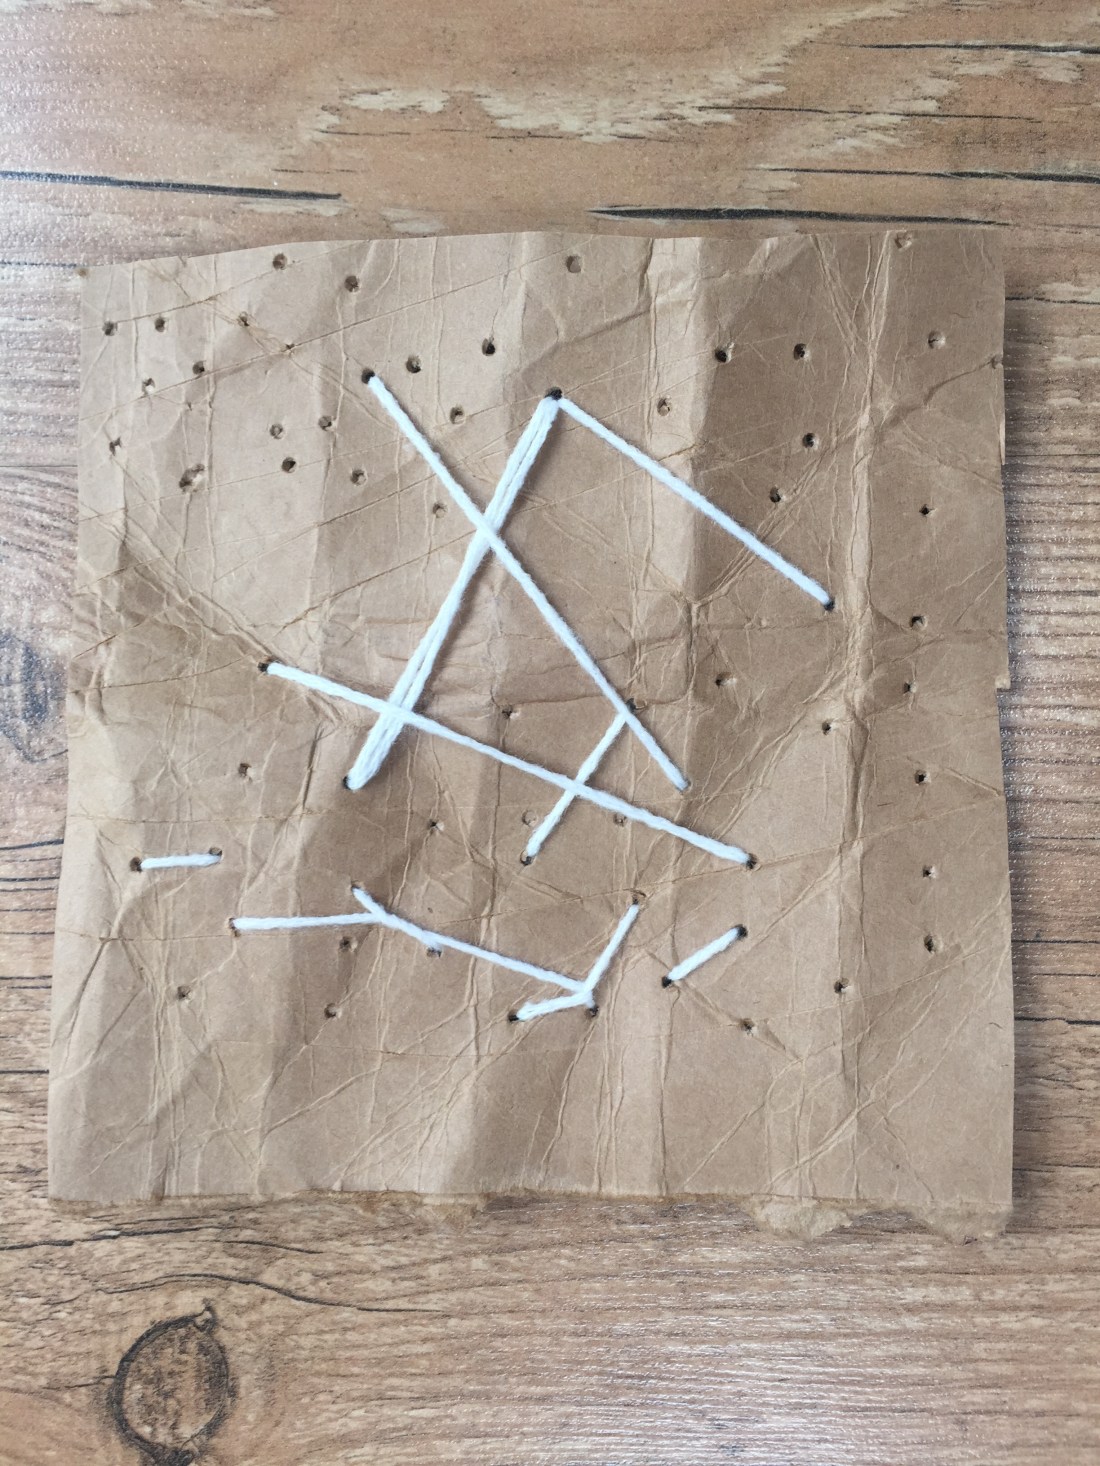
I had to be really careful with this as it was tissue paper and it was very delicate. I’ve stitched a piece of ribbon onto it.
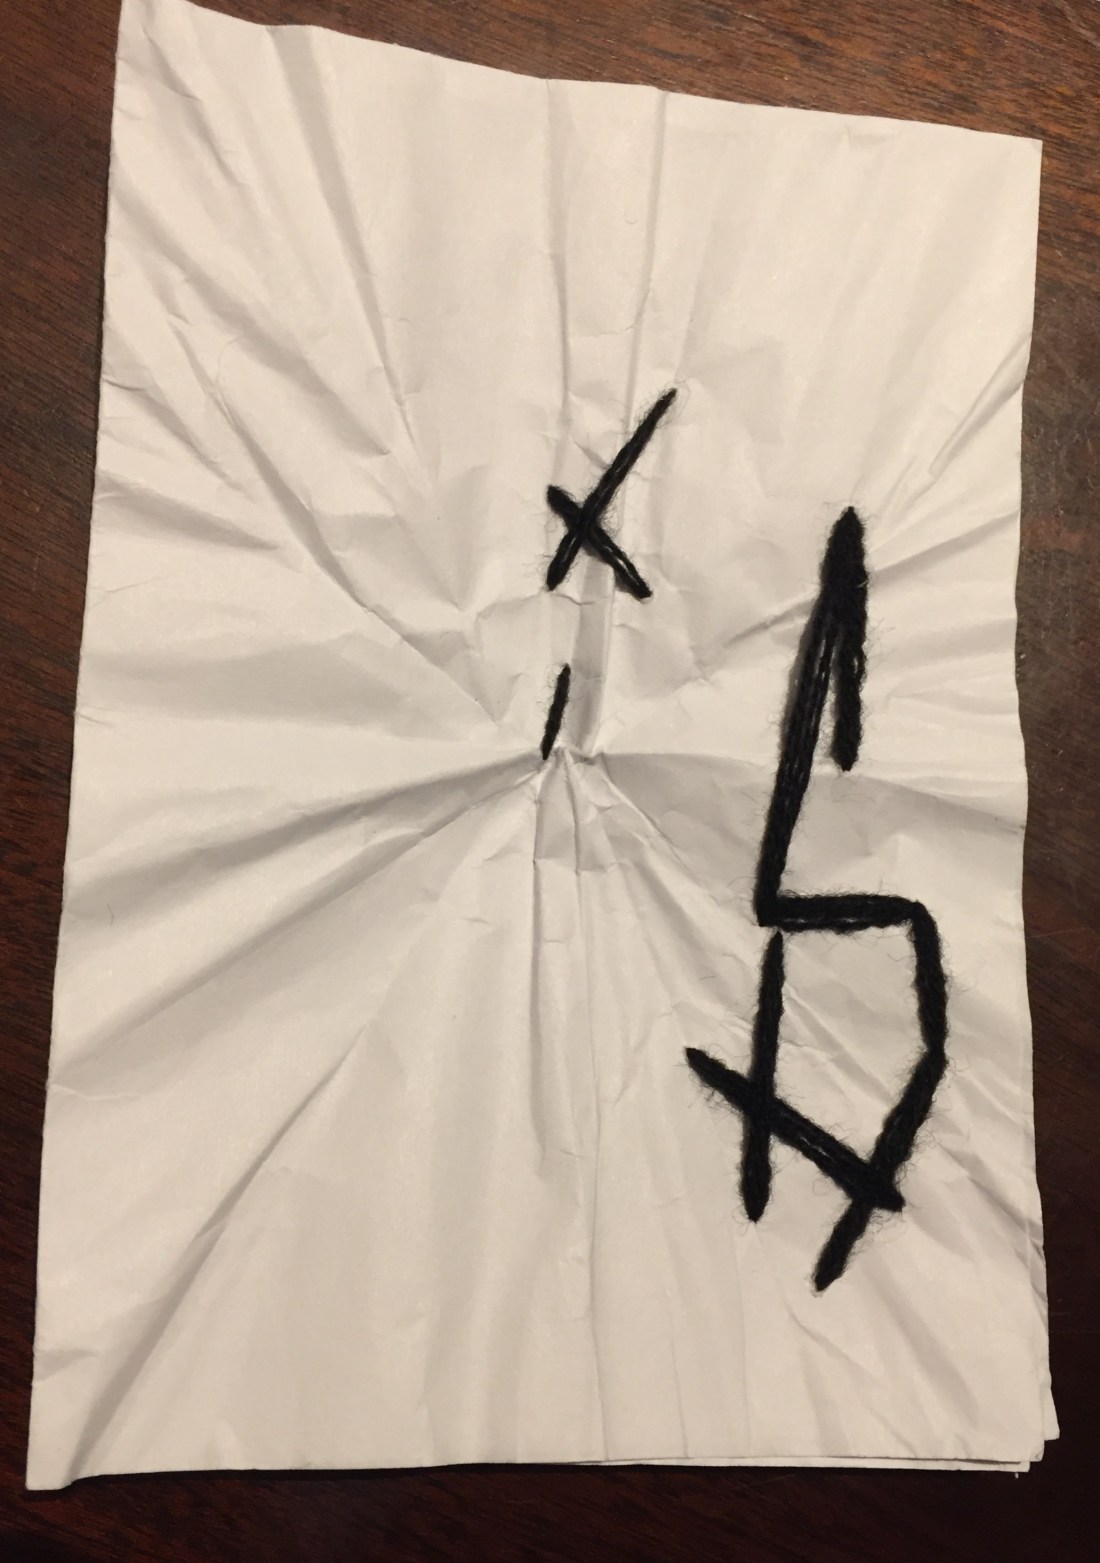
4 different stars created with stitch
polyester yarn fed through the tiny holes.
Ribbon, tape yarn, all stitched together on a delicate wrapping paper.
Draw thread yarn stitched following vertical lines created from folding.
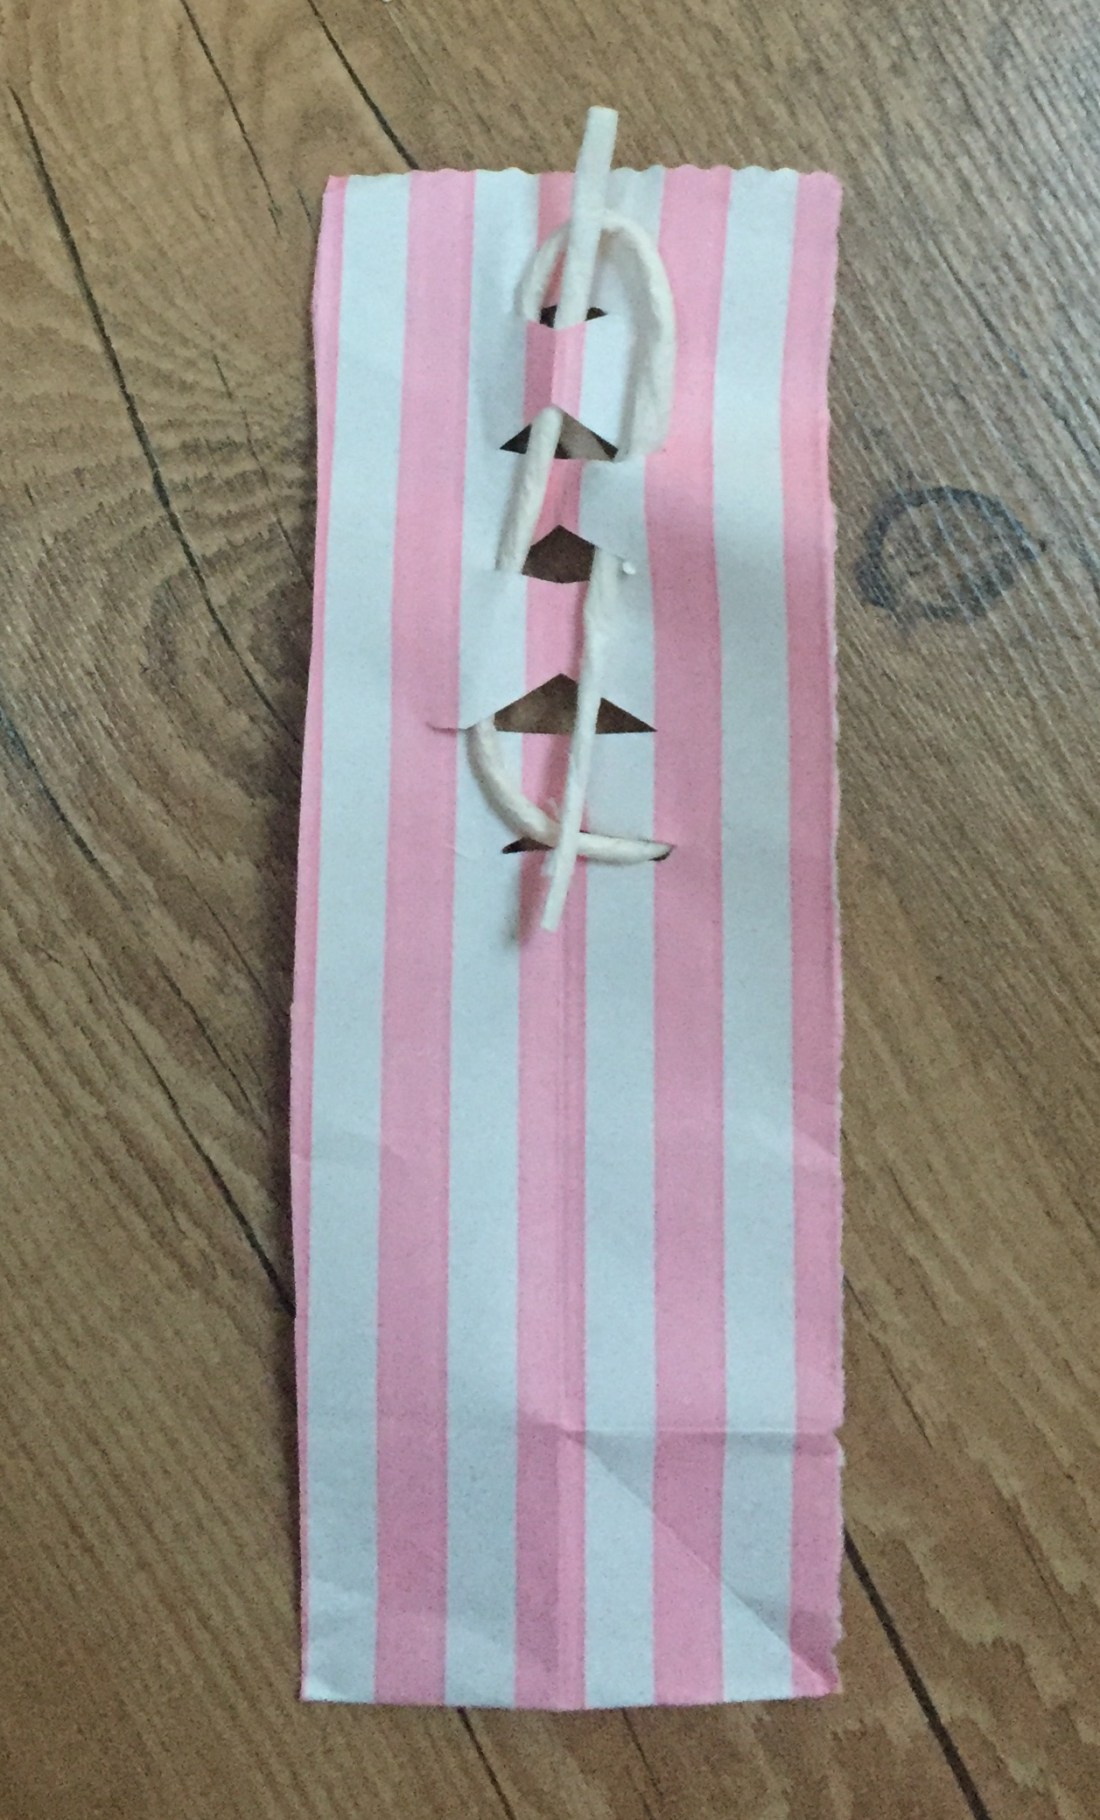
I’ve tried to stitch on top of the handle used as a yarn as well as stabilize it on the paper bag
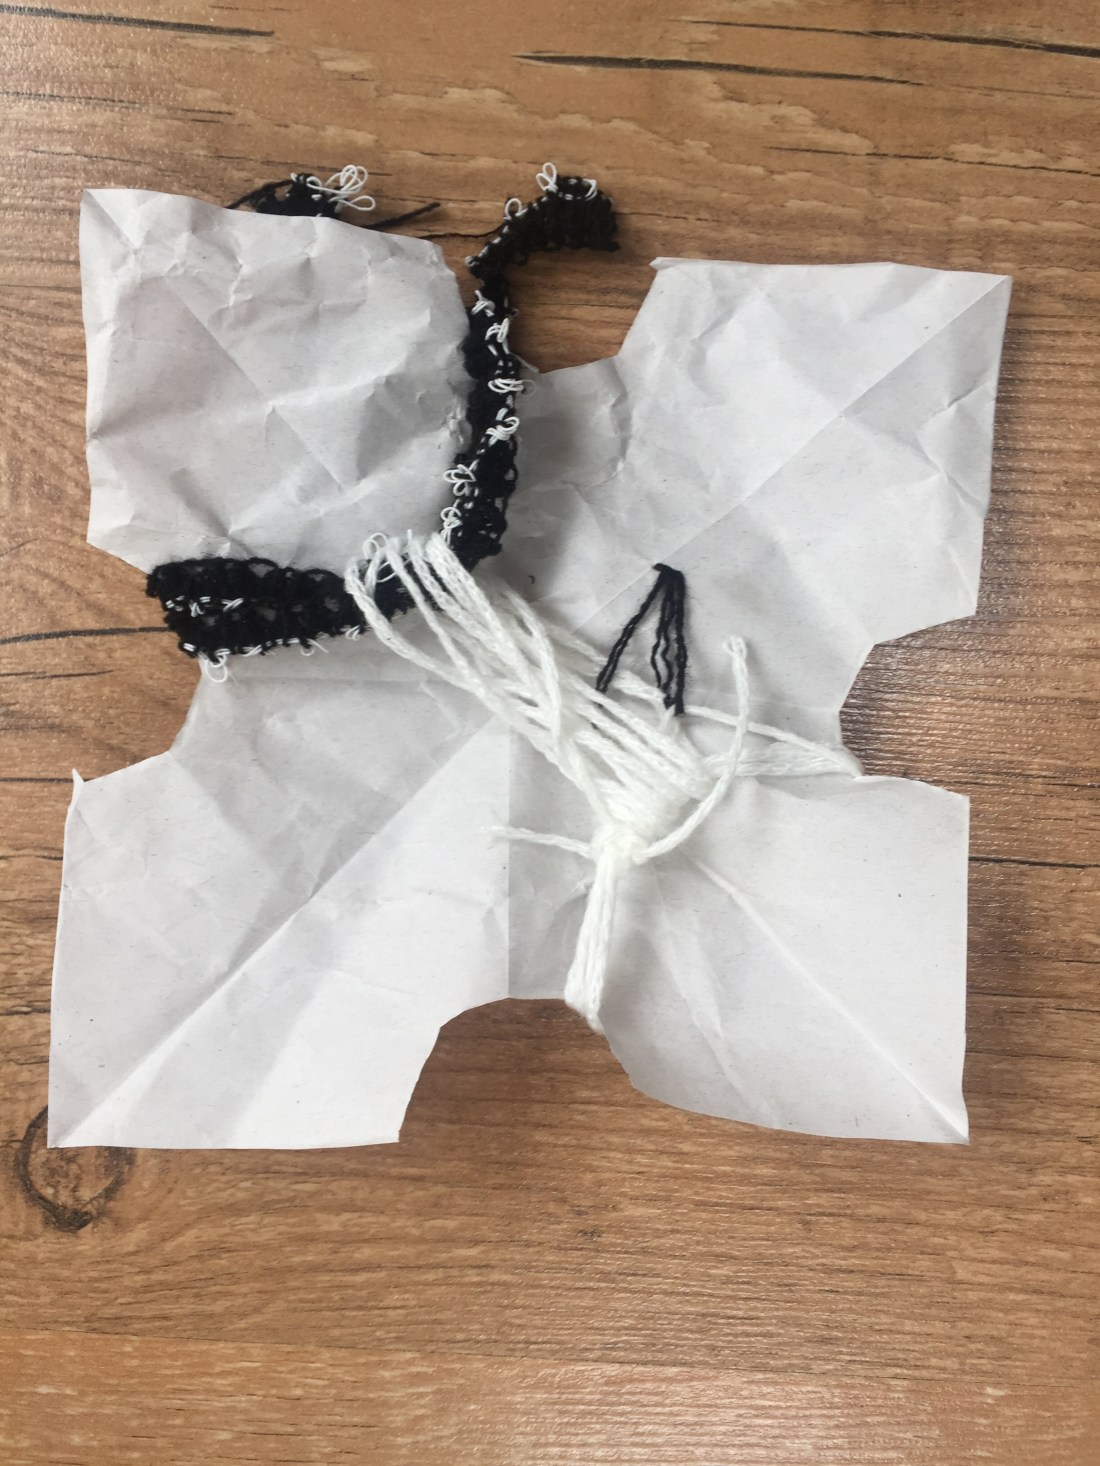
I’ve folded all the layers together and tried to stitch them up
view from the front.
I found the back quite interesting as well.
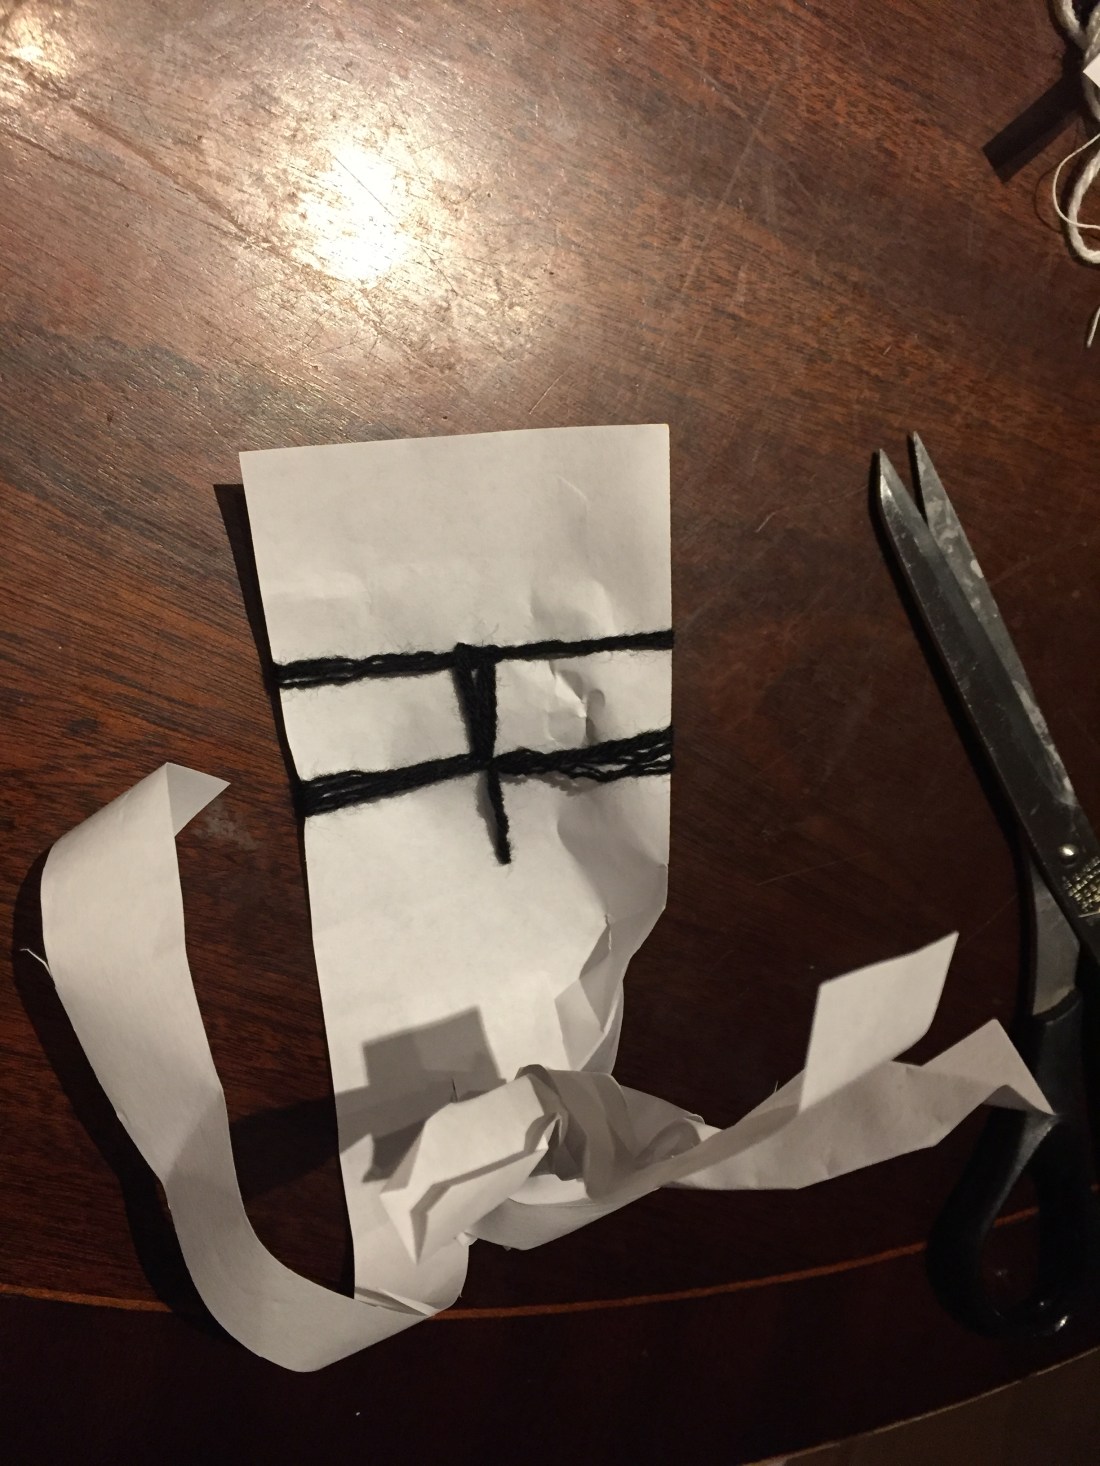
Yarn stitched across in order to create to horizontal and a vertical line
ribbon stitched on the side and a flower created on the folded lines.
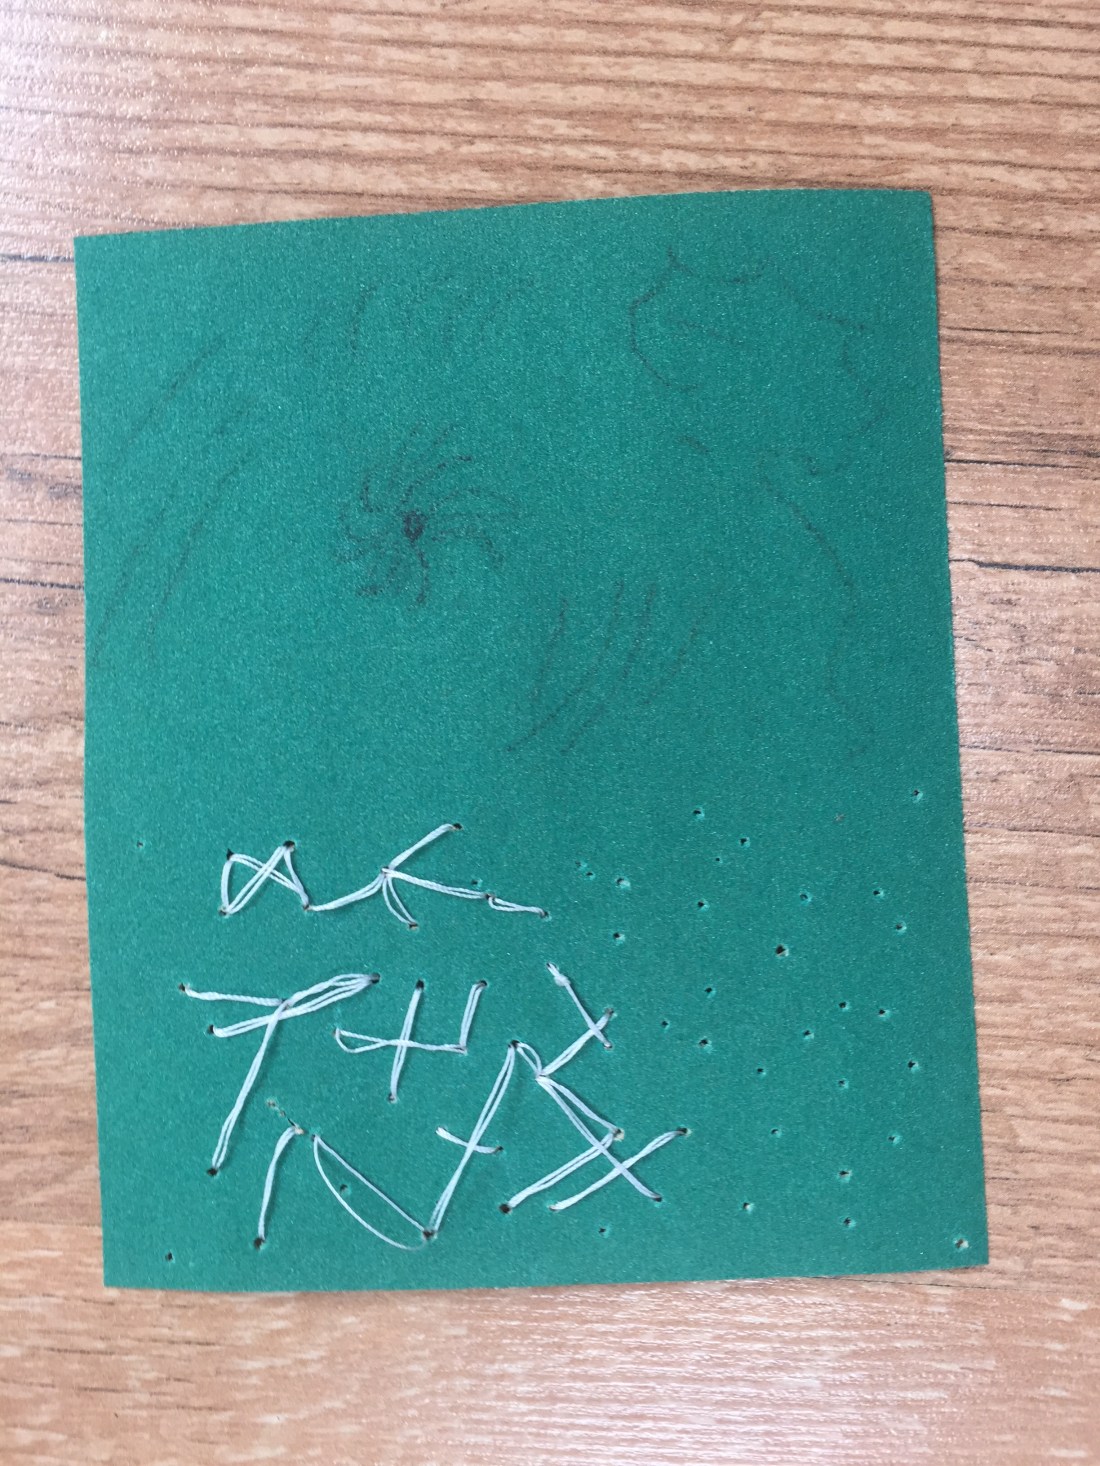
Black acrylic yarn stitched to secure the sandpaper and white tape yarn that goes through holes.
I had to use a large needle with a big hook in order to be able to feed the tape yarn through the holes of this carton paper.
It was quite interesting process of seeing how paper is been transformed by stitching.Took me a while to figure ways around it but I’m quite pleased with what I’ve achieved.
Looking back on my previous work I found out there are certain manipulation techniques that I can use for my ”take 2” assignment.
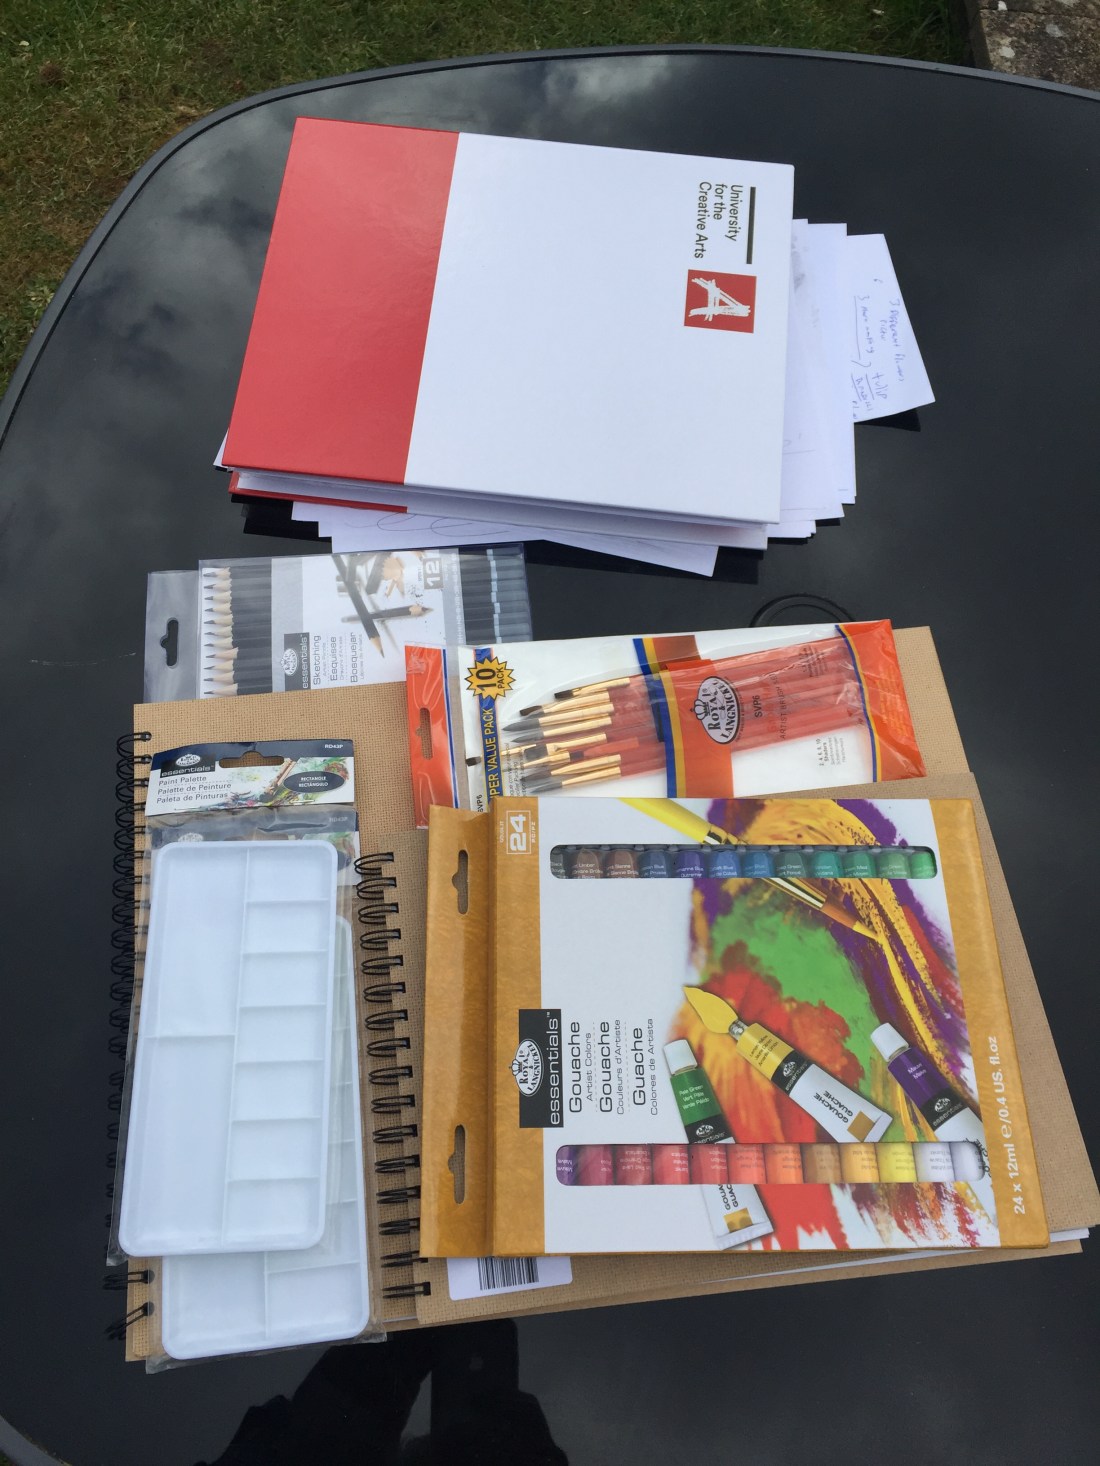
Firstly , I’ve gathered paper in different forms as well as pins and a cone of yarn.
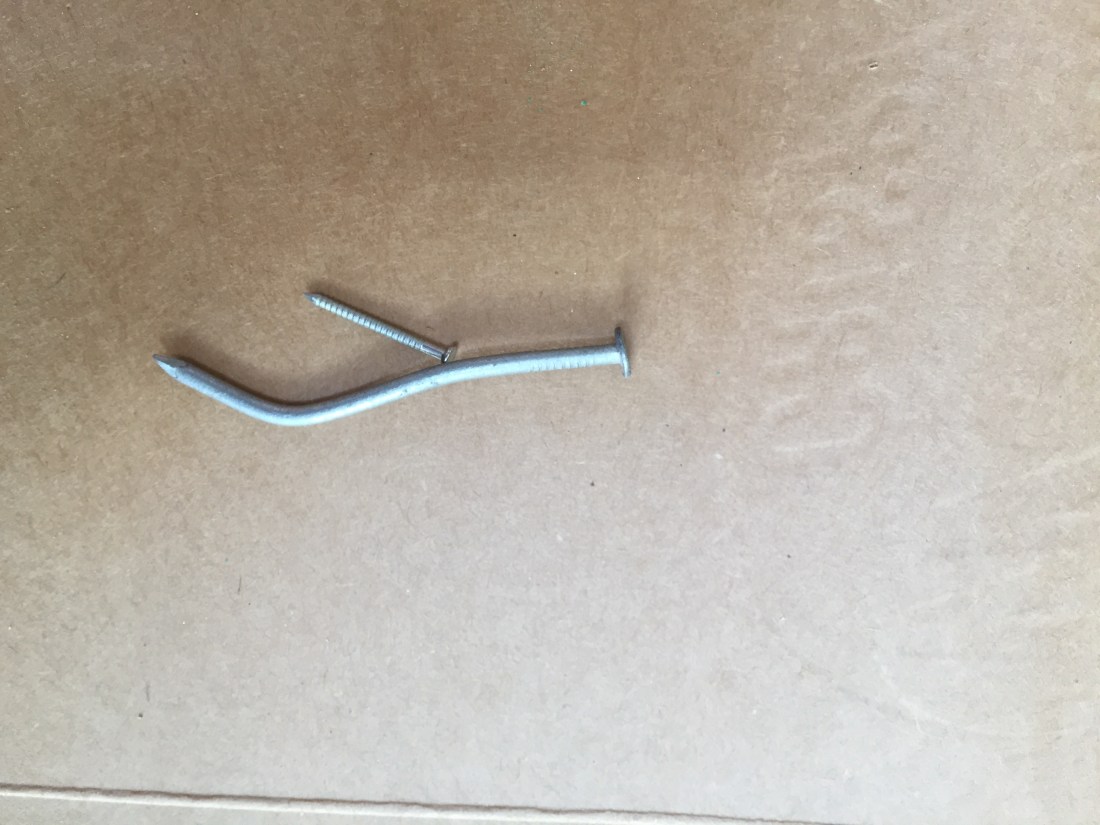
Yarn always inspire me!sand papera paper bagdifferent gauge nailsa cereal box
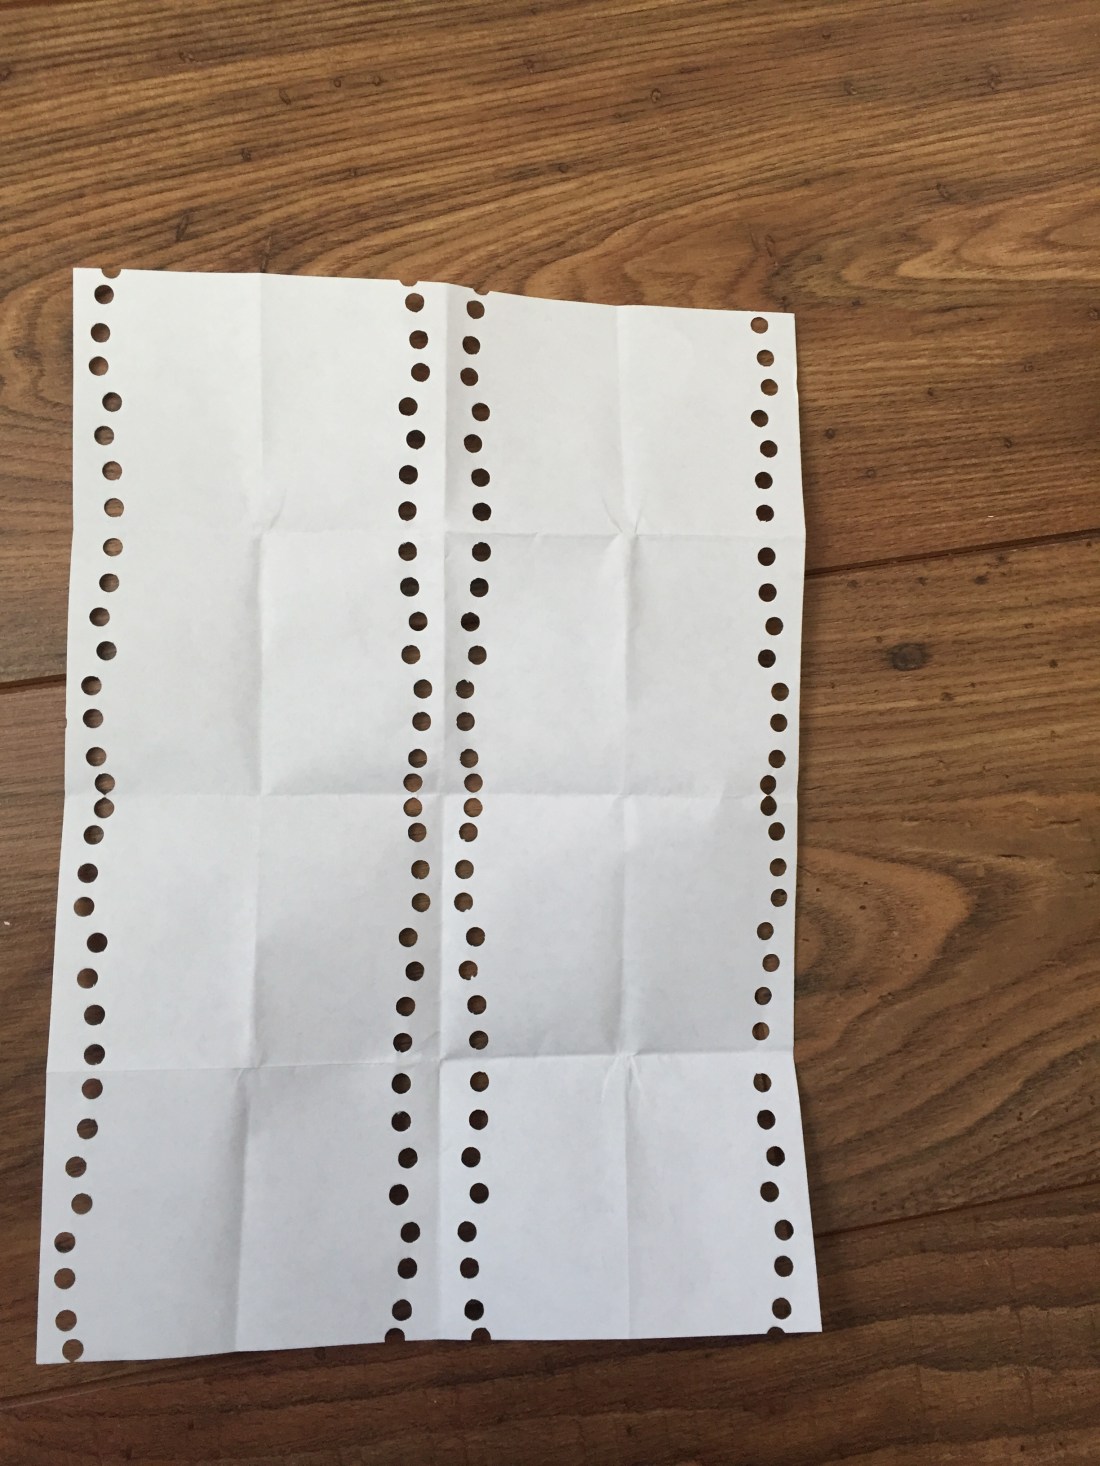
vertical lines and scallops in the edge
squares on a A4 paper halfed
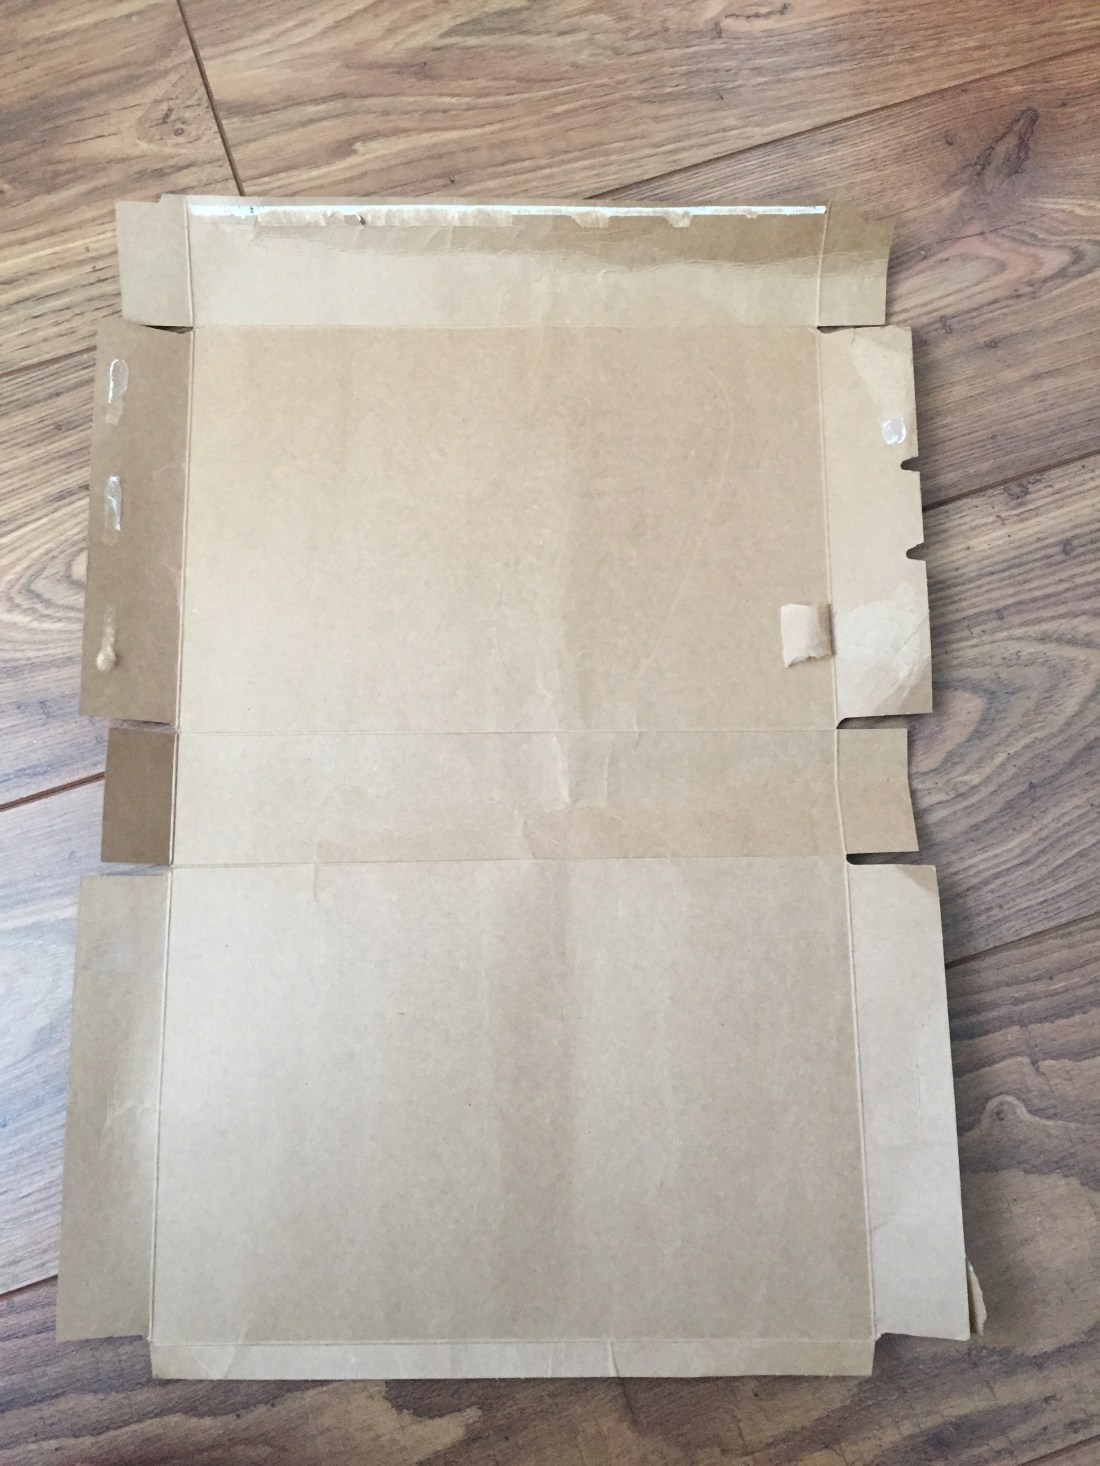
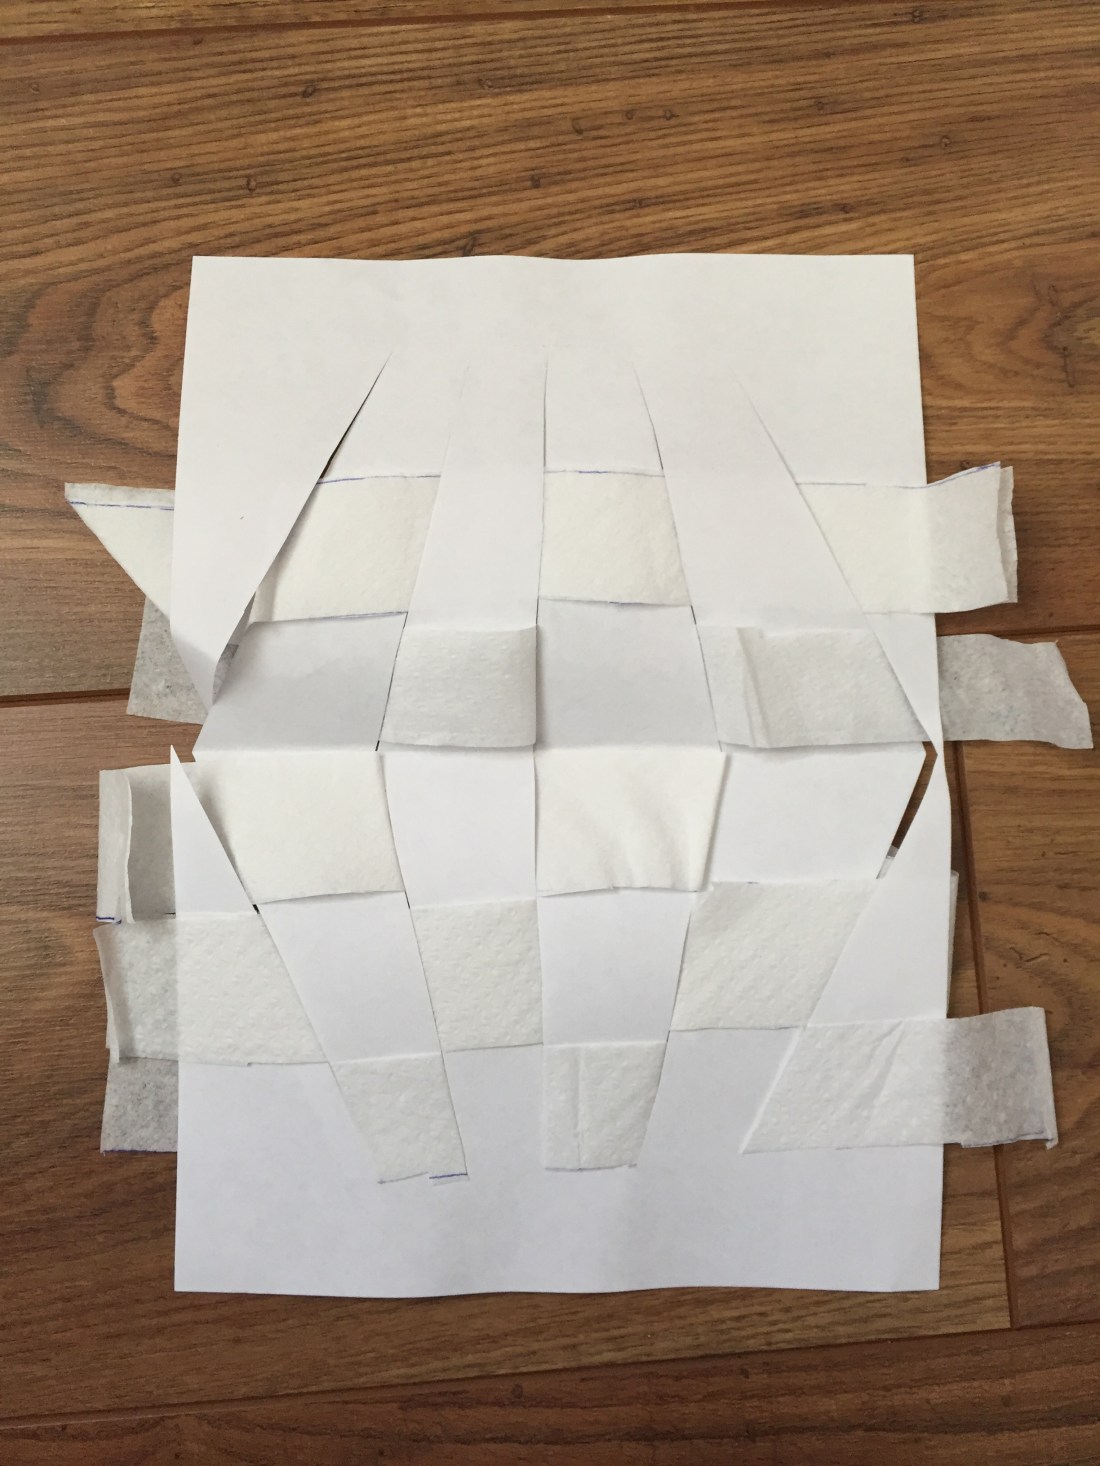
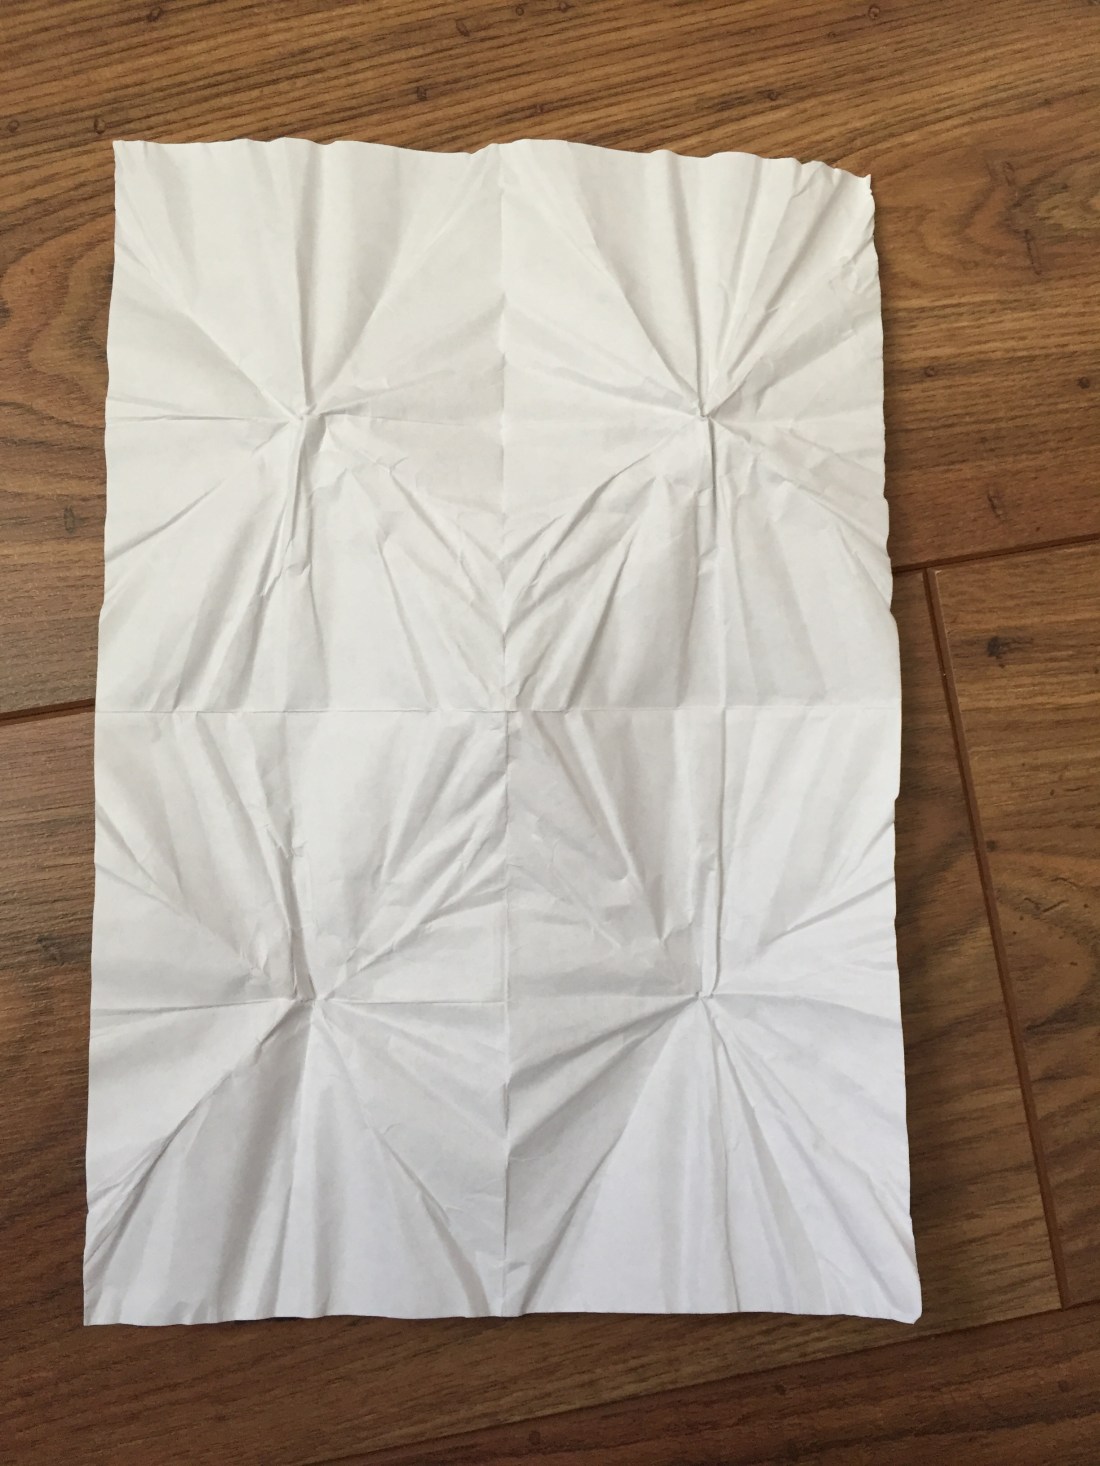
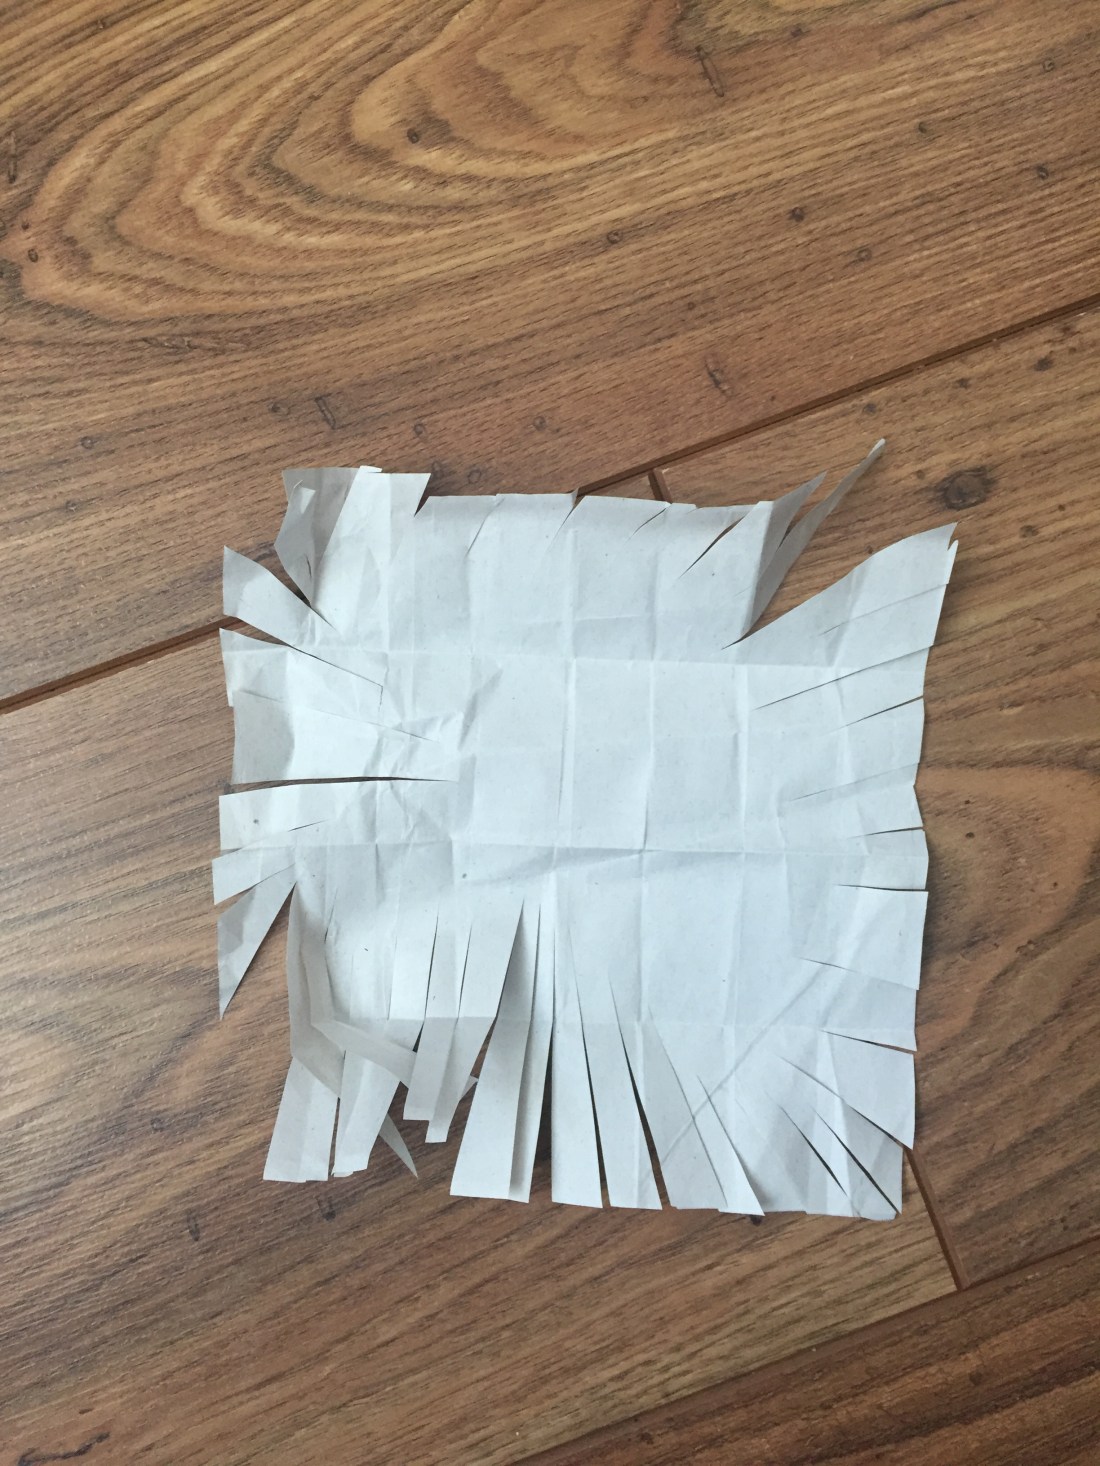
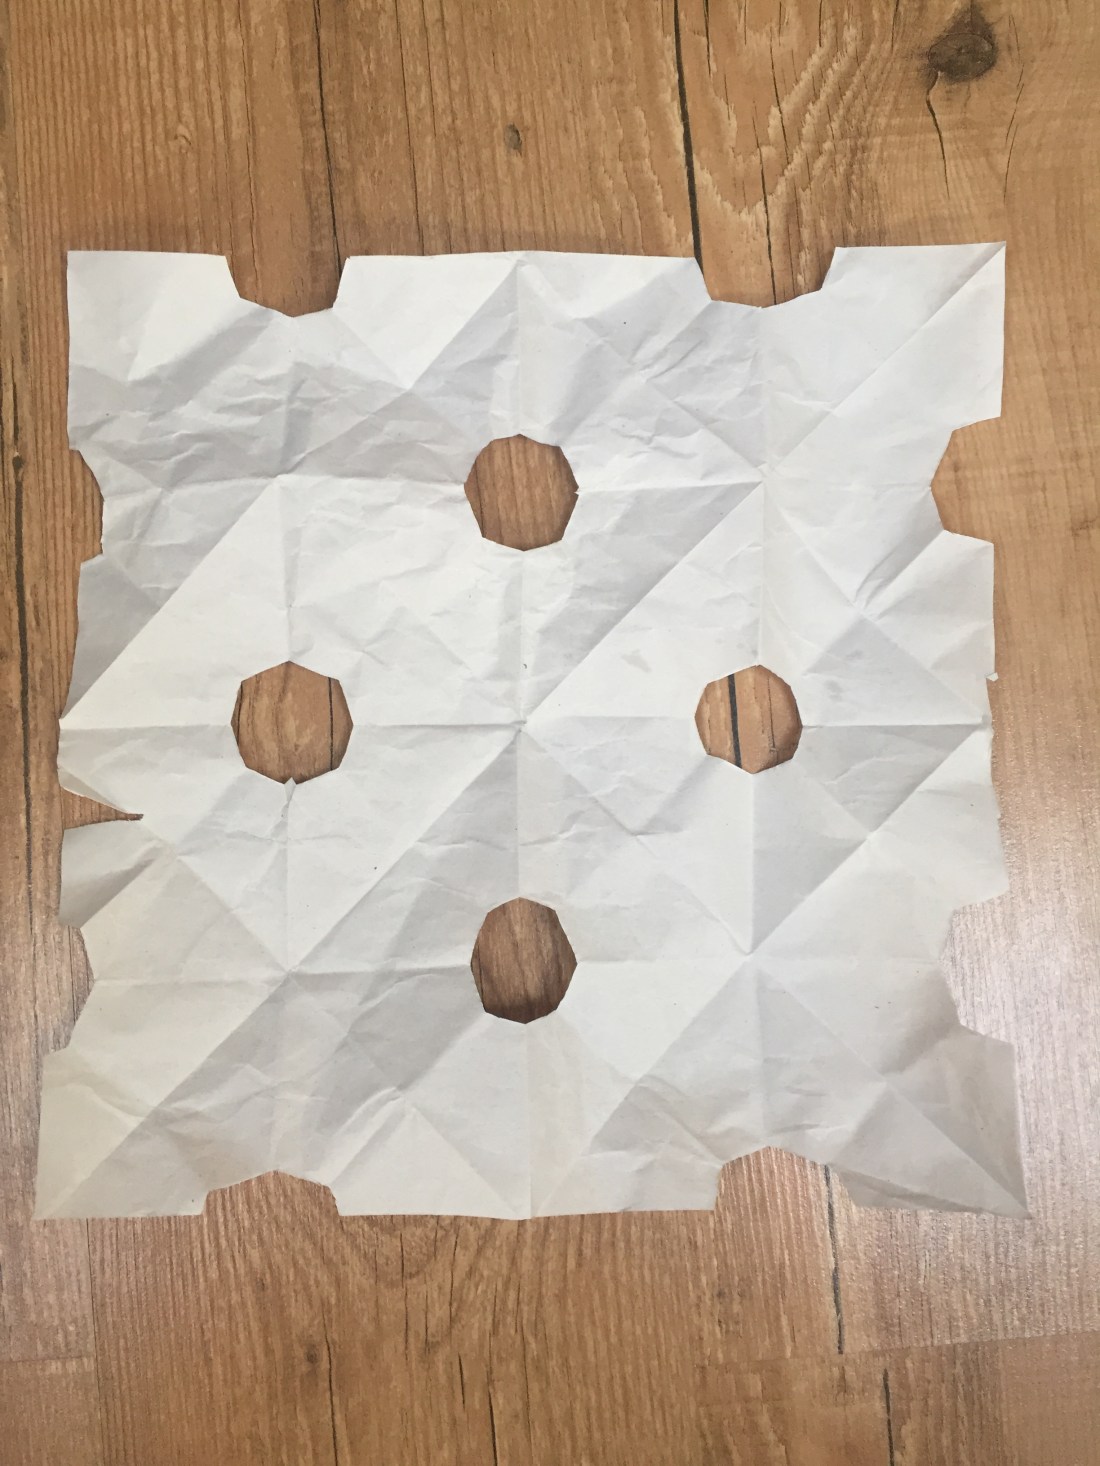
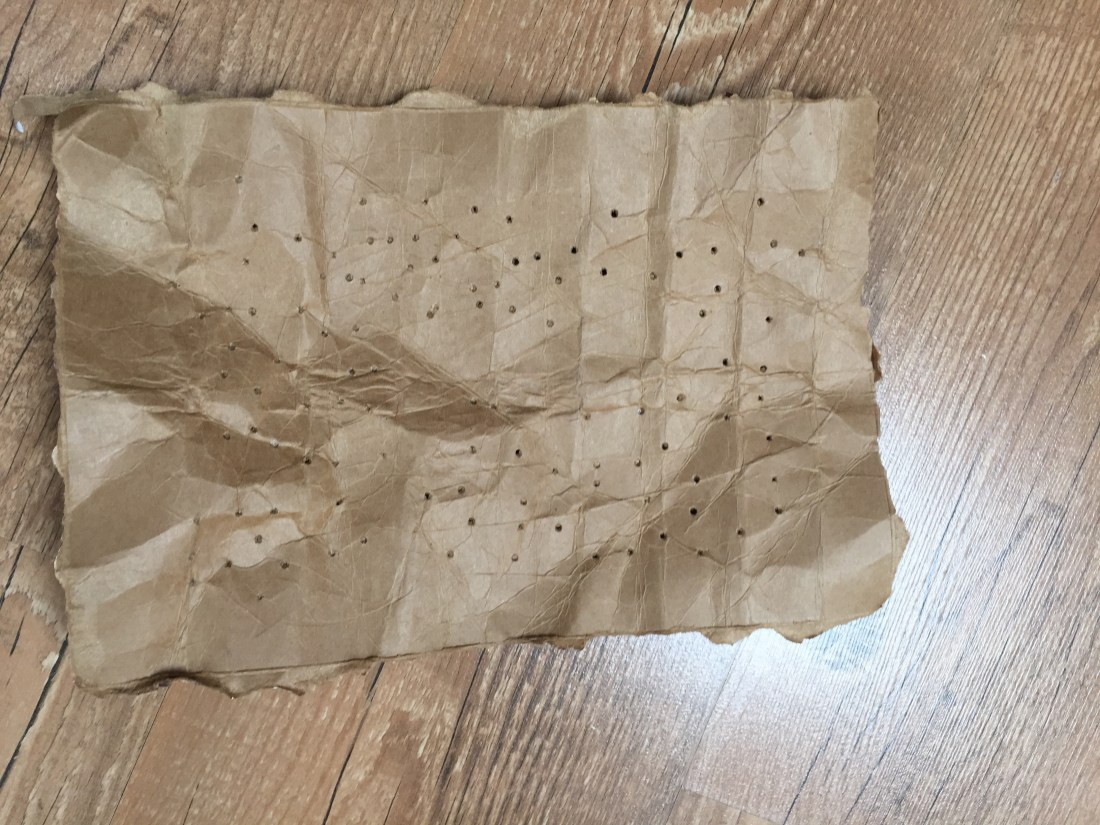
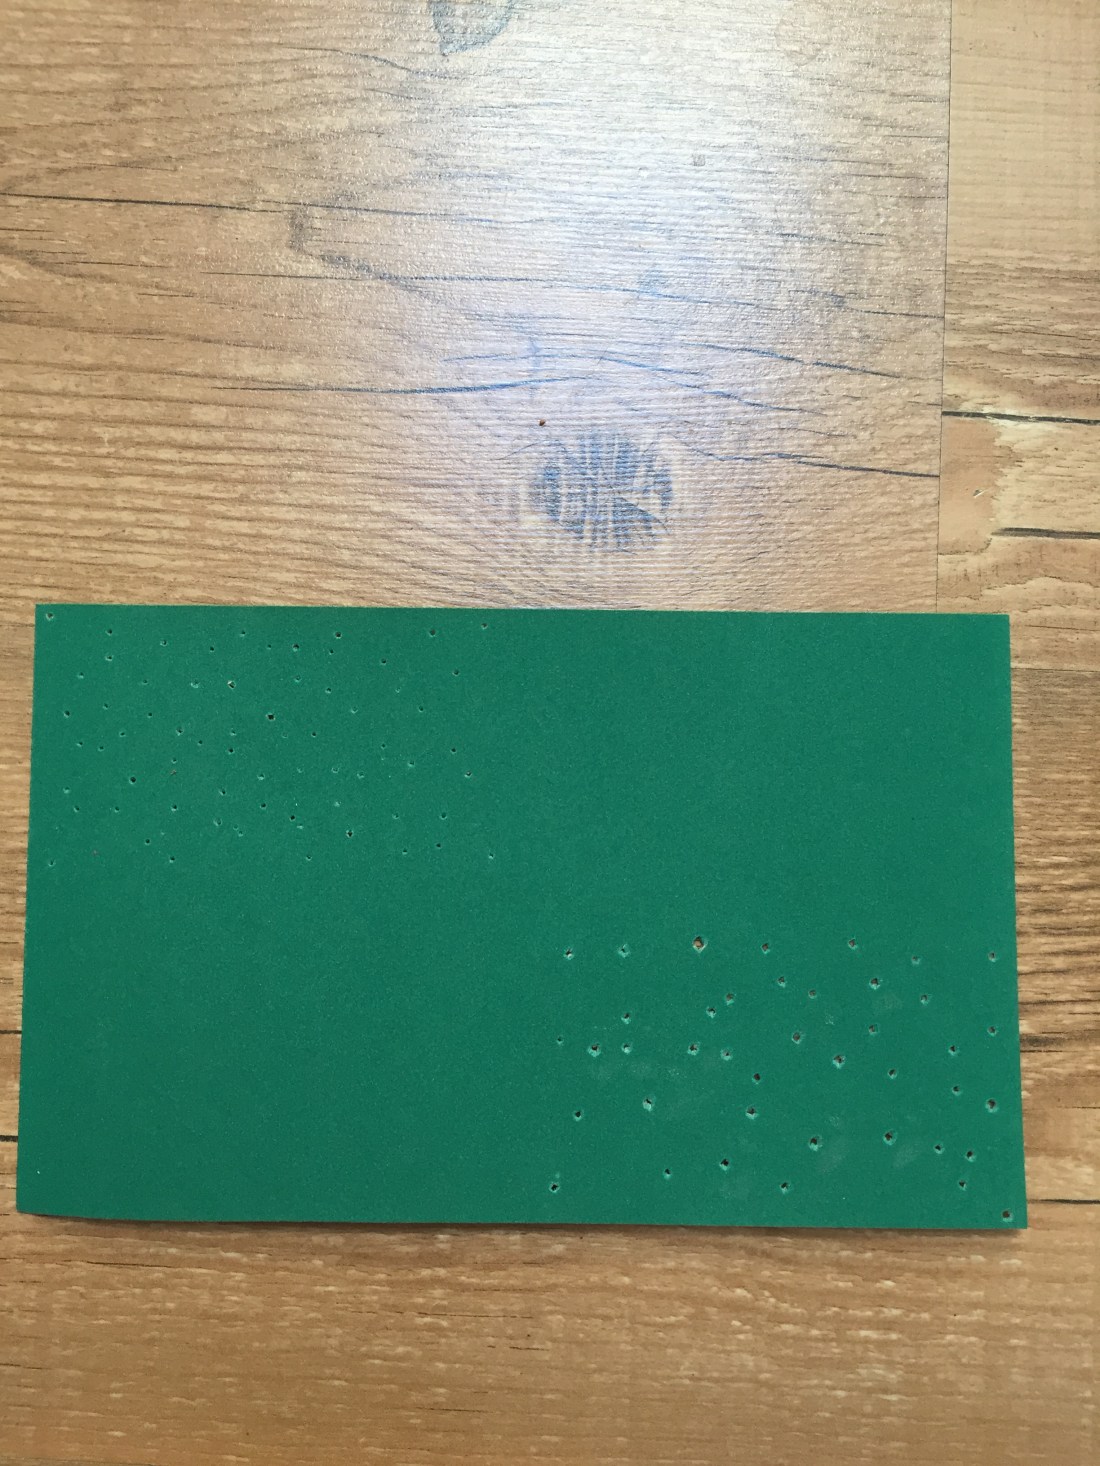
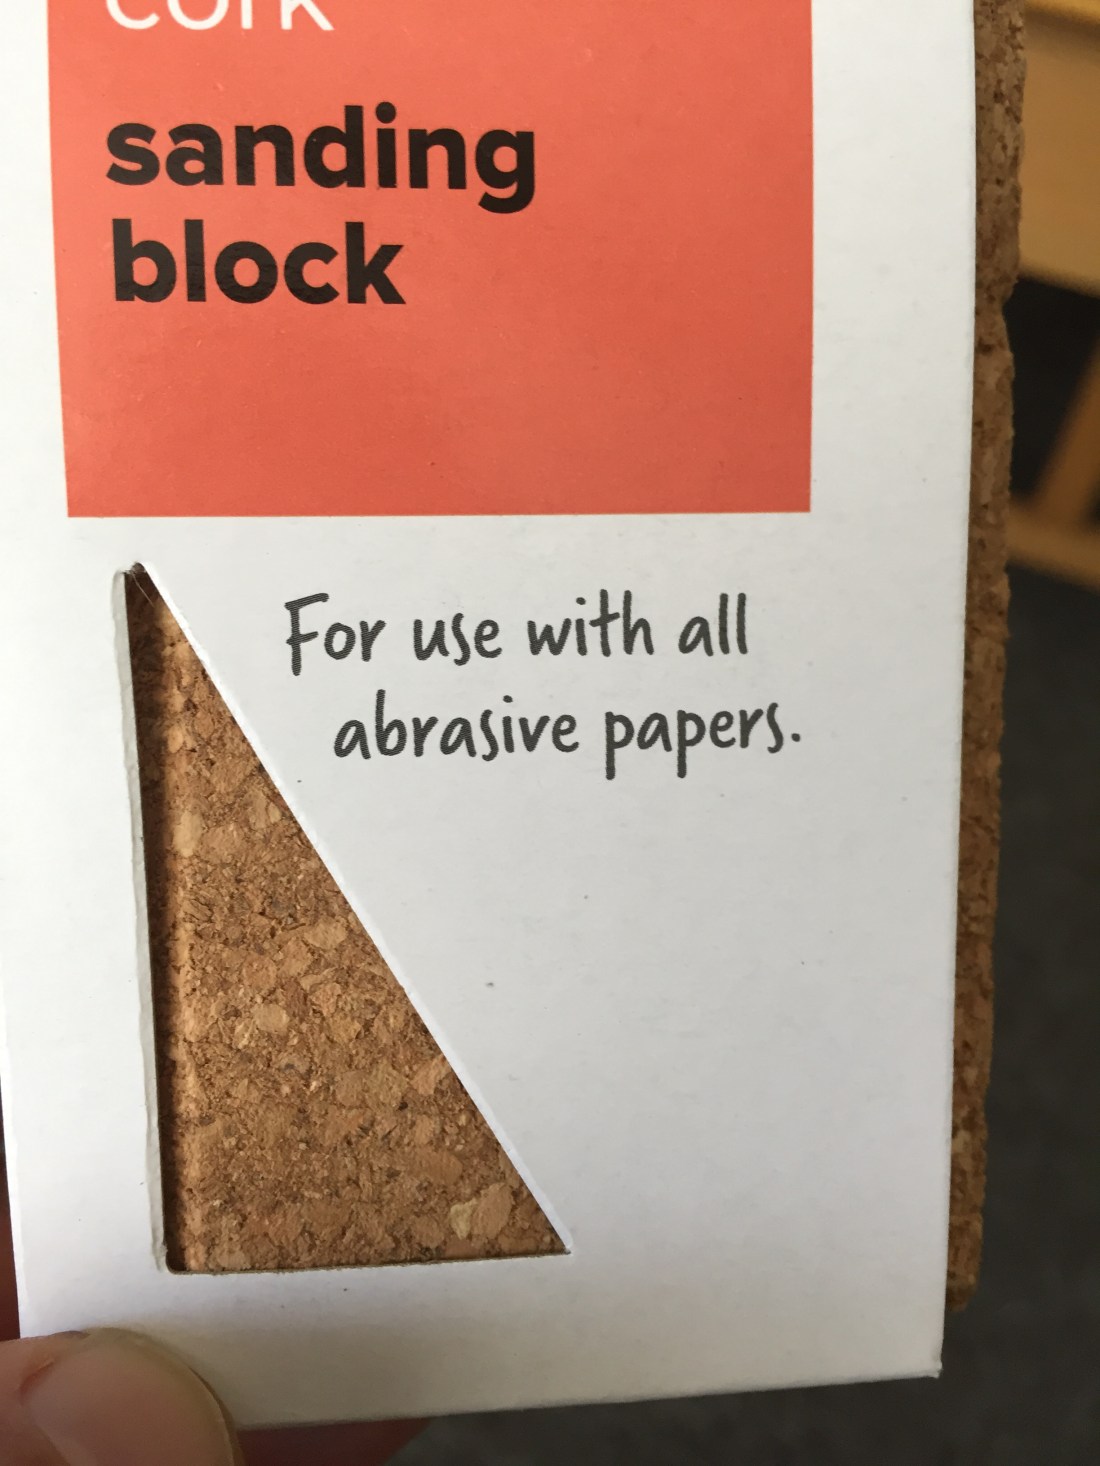
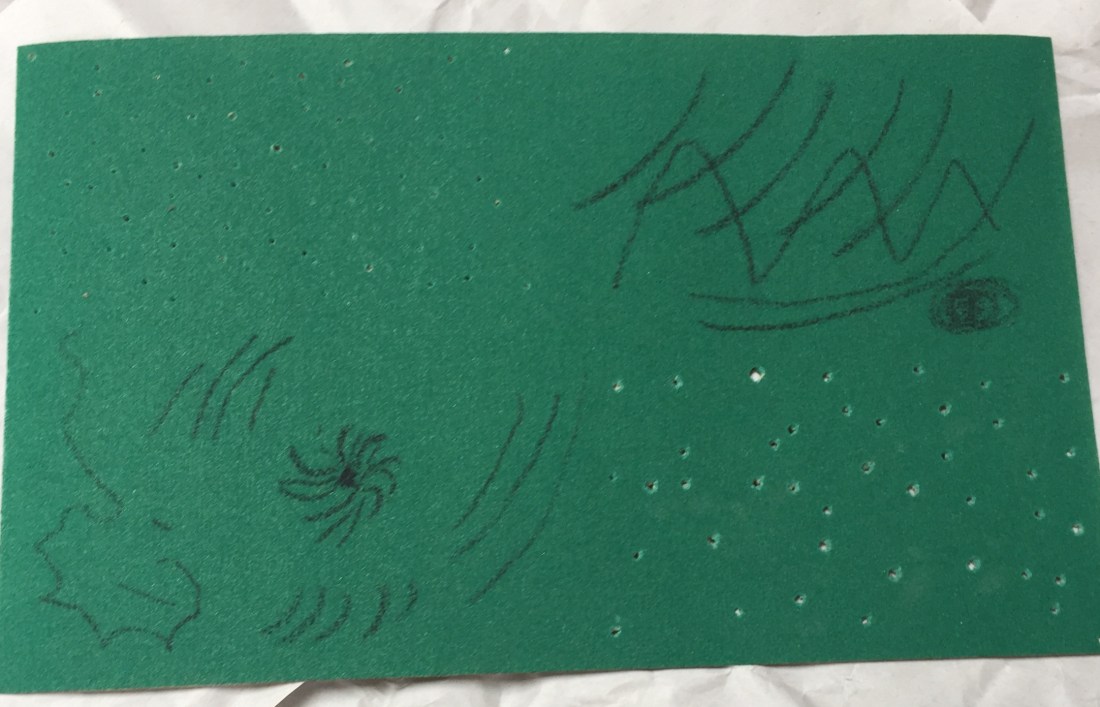
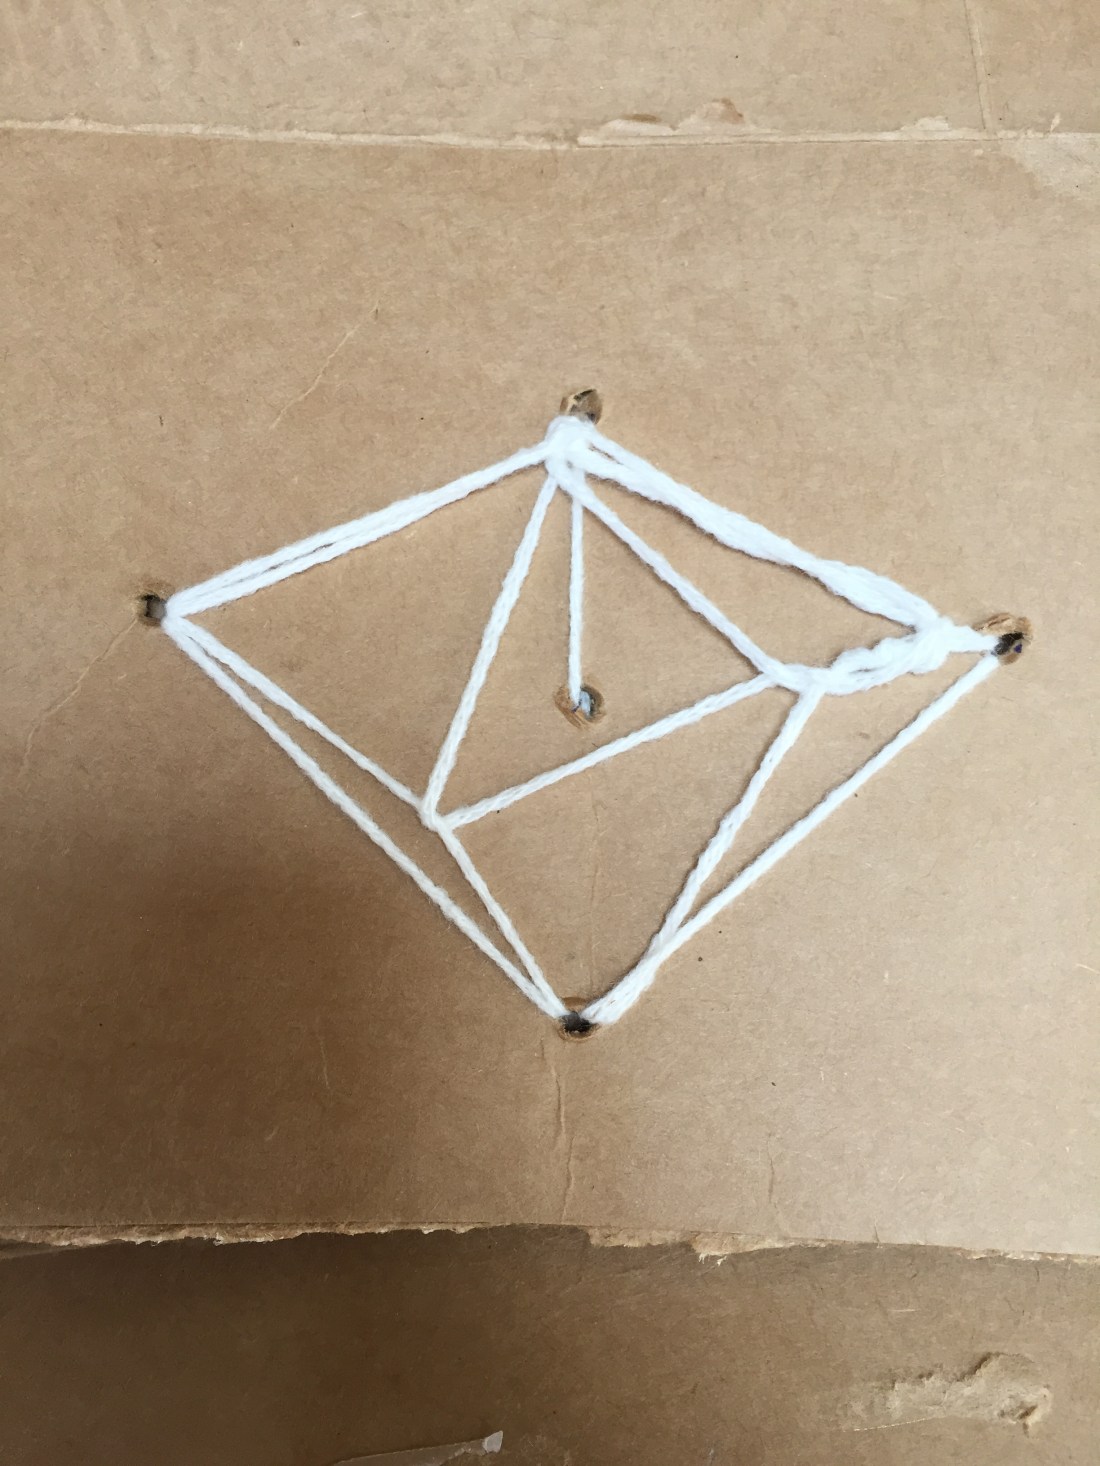
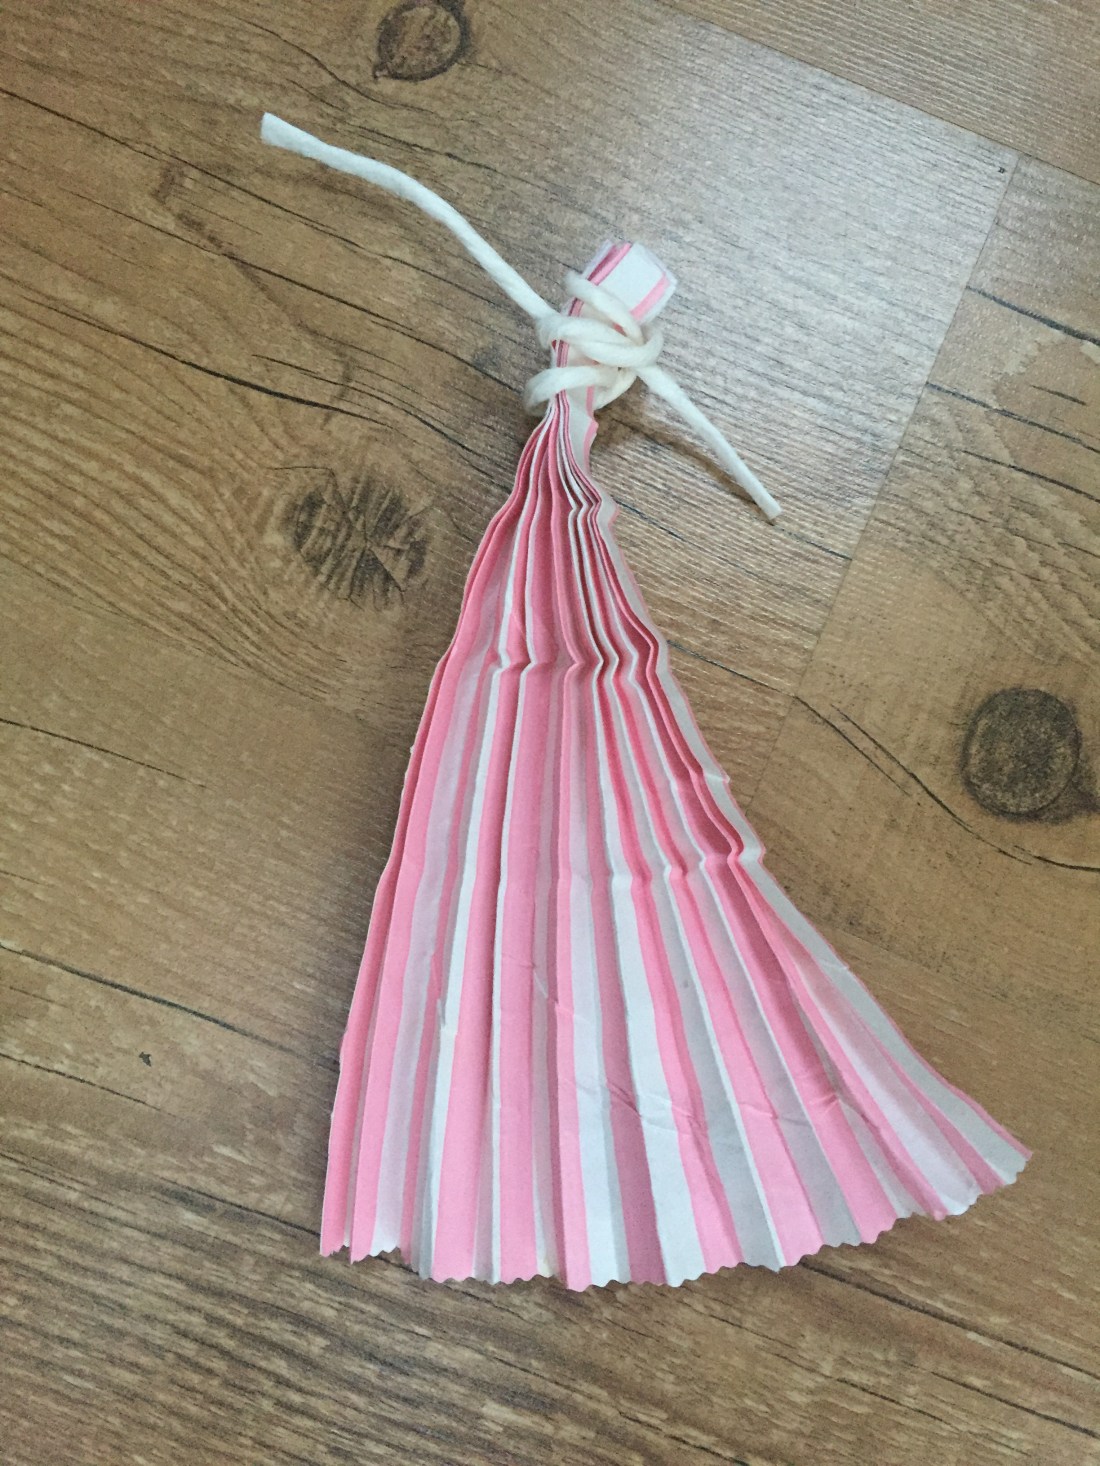
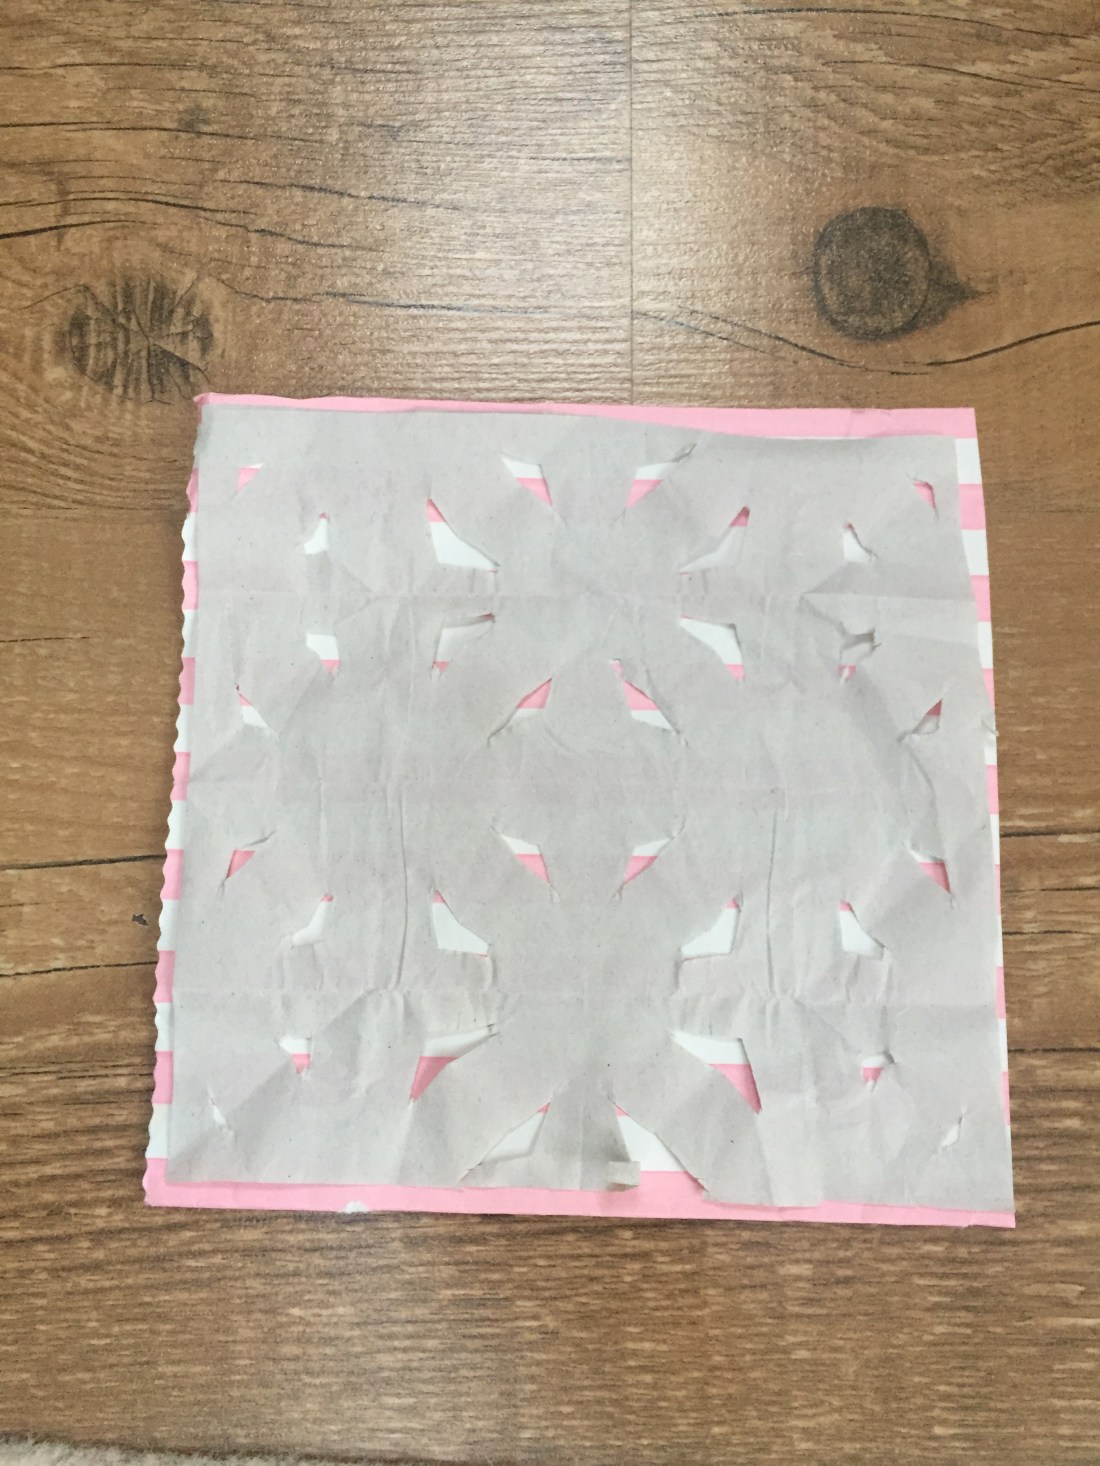
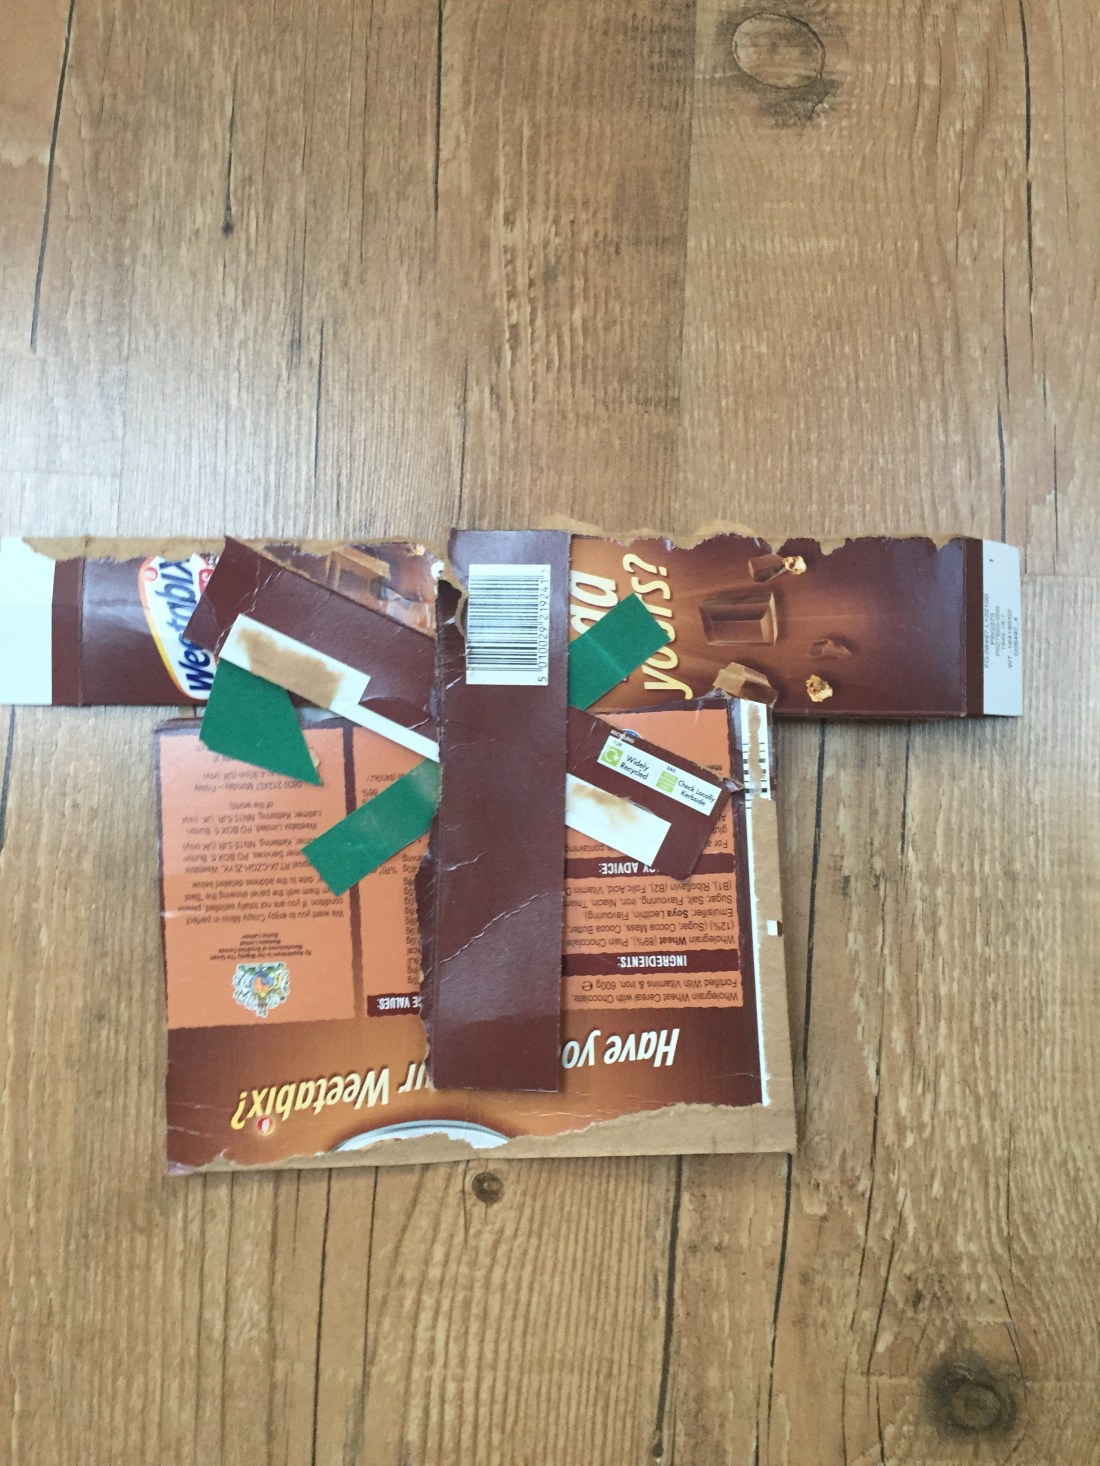
diamonds and waves weaving using tissue paper weaving using A4 paper crumbling using A4 papercrumpling using a soft tissueCurly fringing :I’ve tried to create a sort of cable using the fringing of the paper but it didn’t work out because of the nature of the paper(too stiff)Using a hole puncher, I’ve created a pattern by folding the paperwrapping paper being cut in an asymmetrical patternHole pattern created after folding a wrapping papercereal box paper rolled ,crumpled and hole punched using a pinI’ve used nails of different gauge to create holes in a rectangle shape on either side of a sand paper: Top left , fine gauge, bottom right the coarser one.I’ve used this sanding cork block as a template under the paperwhen I’ve seen it finished with the nails and I took a picture of my paper I thought it was to blunt; I’ve decided to do a bit of mark making drawing on it.holes and a diamond design using yarn on a cereal box paperview from backpaper bag piece using the yarn-look-a-like paper handle to feed through triangle holespaper bag side folded and wrapped using a handle in a way it highlights the wavy tippingwrapping paper folded and cut in a snow flake pattern glued on a side of a paper bag to create a layering effect.different paper layering on a cereal box with pieces glued together view from the backlayering of processed pieces glued on an A4 paper.
Going through the same exercise again and using papers of different quality and texture I can say it was a pleasant surprise to me and I really enjoyed the process. Having more materials and trying to marry them was quite challenging and exciting the same time.
After a discussion with my tutor and been advised that I’ve taken a wrong route into my journey, I’ve decided to start all over again ;
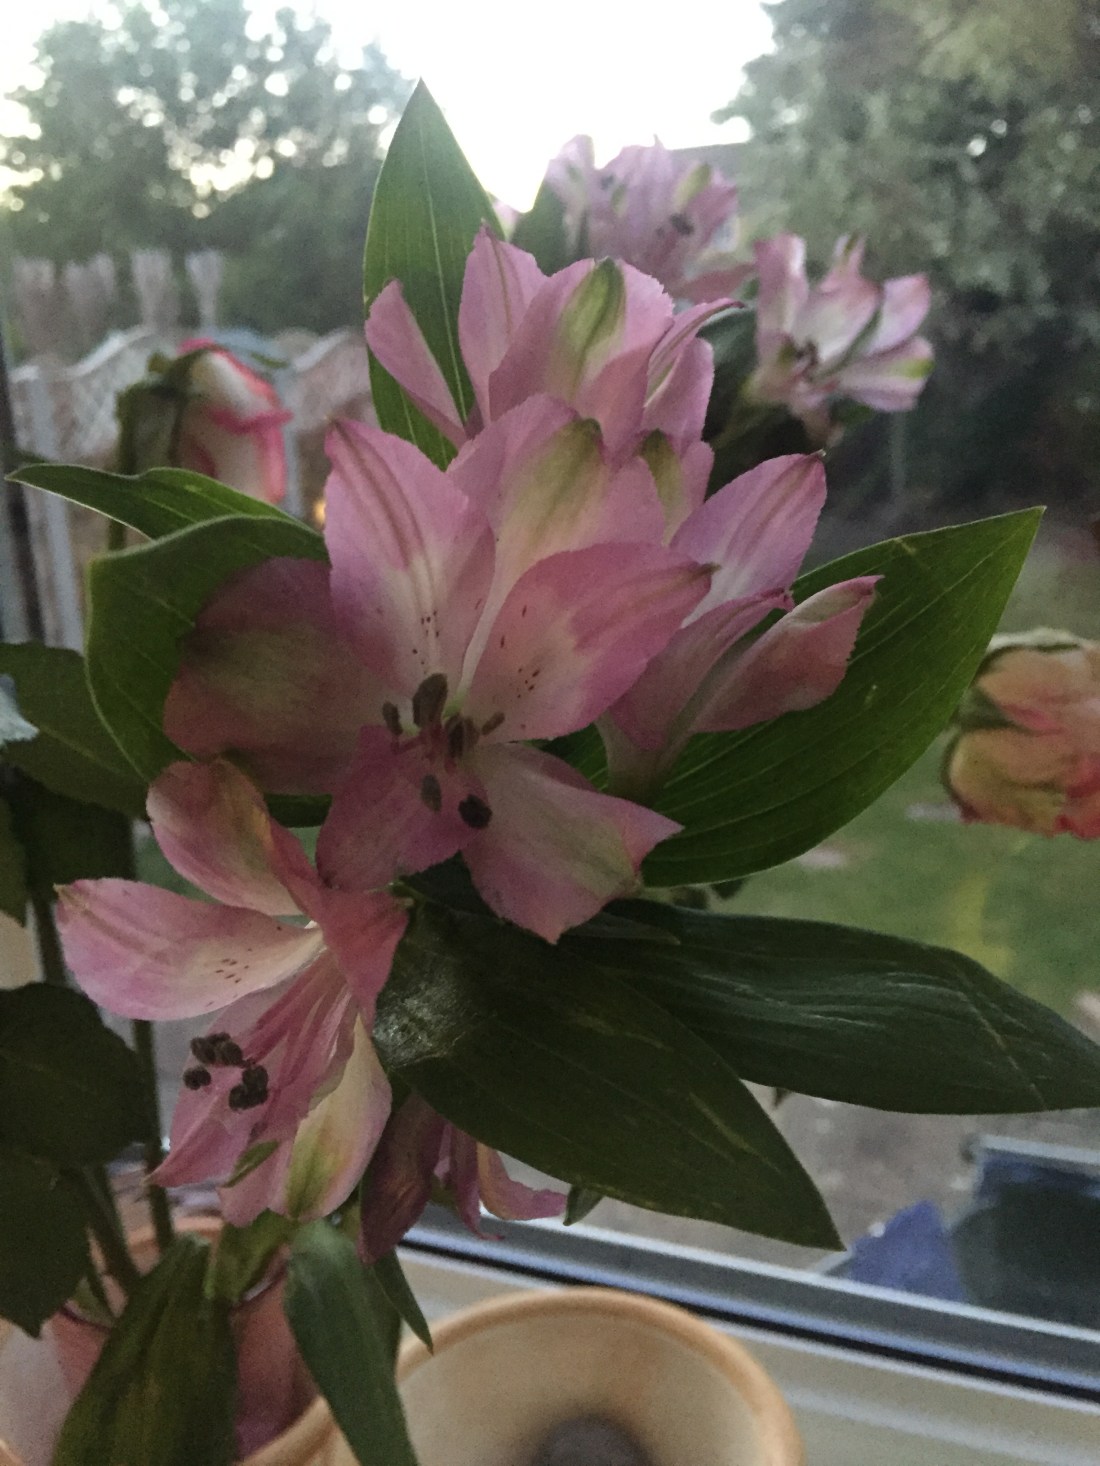
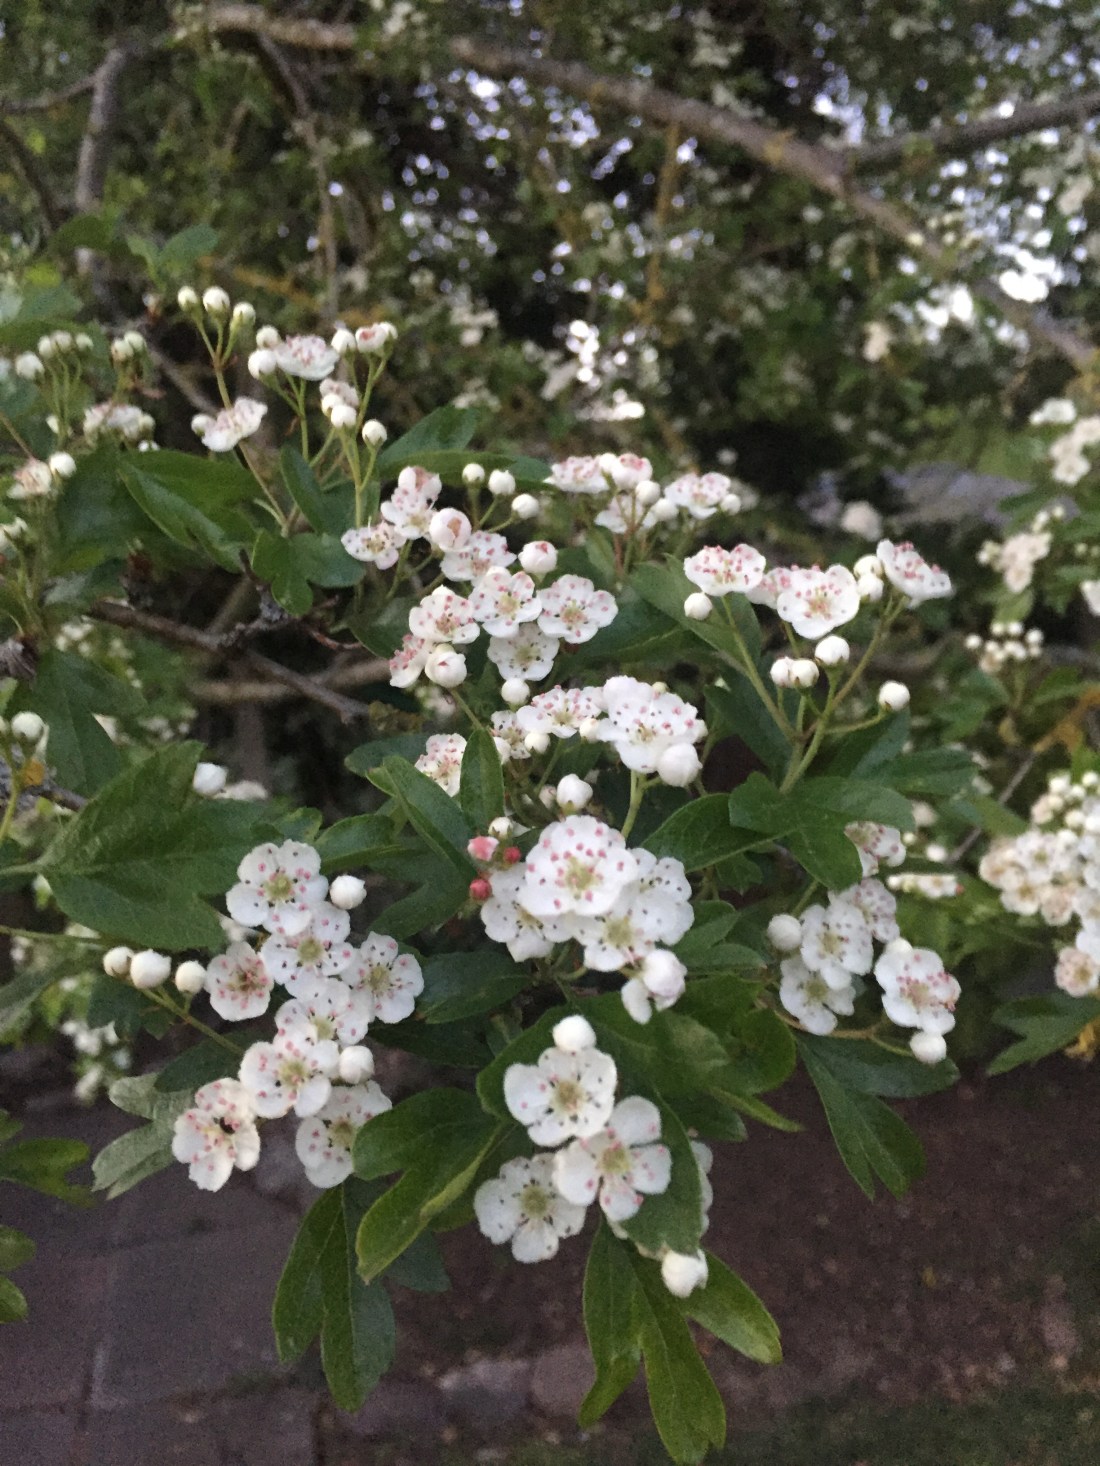
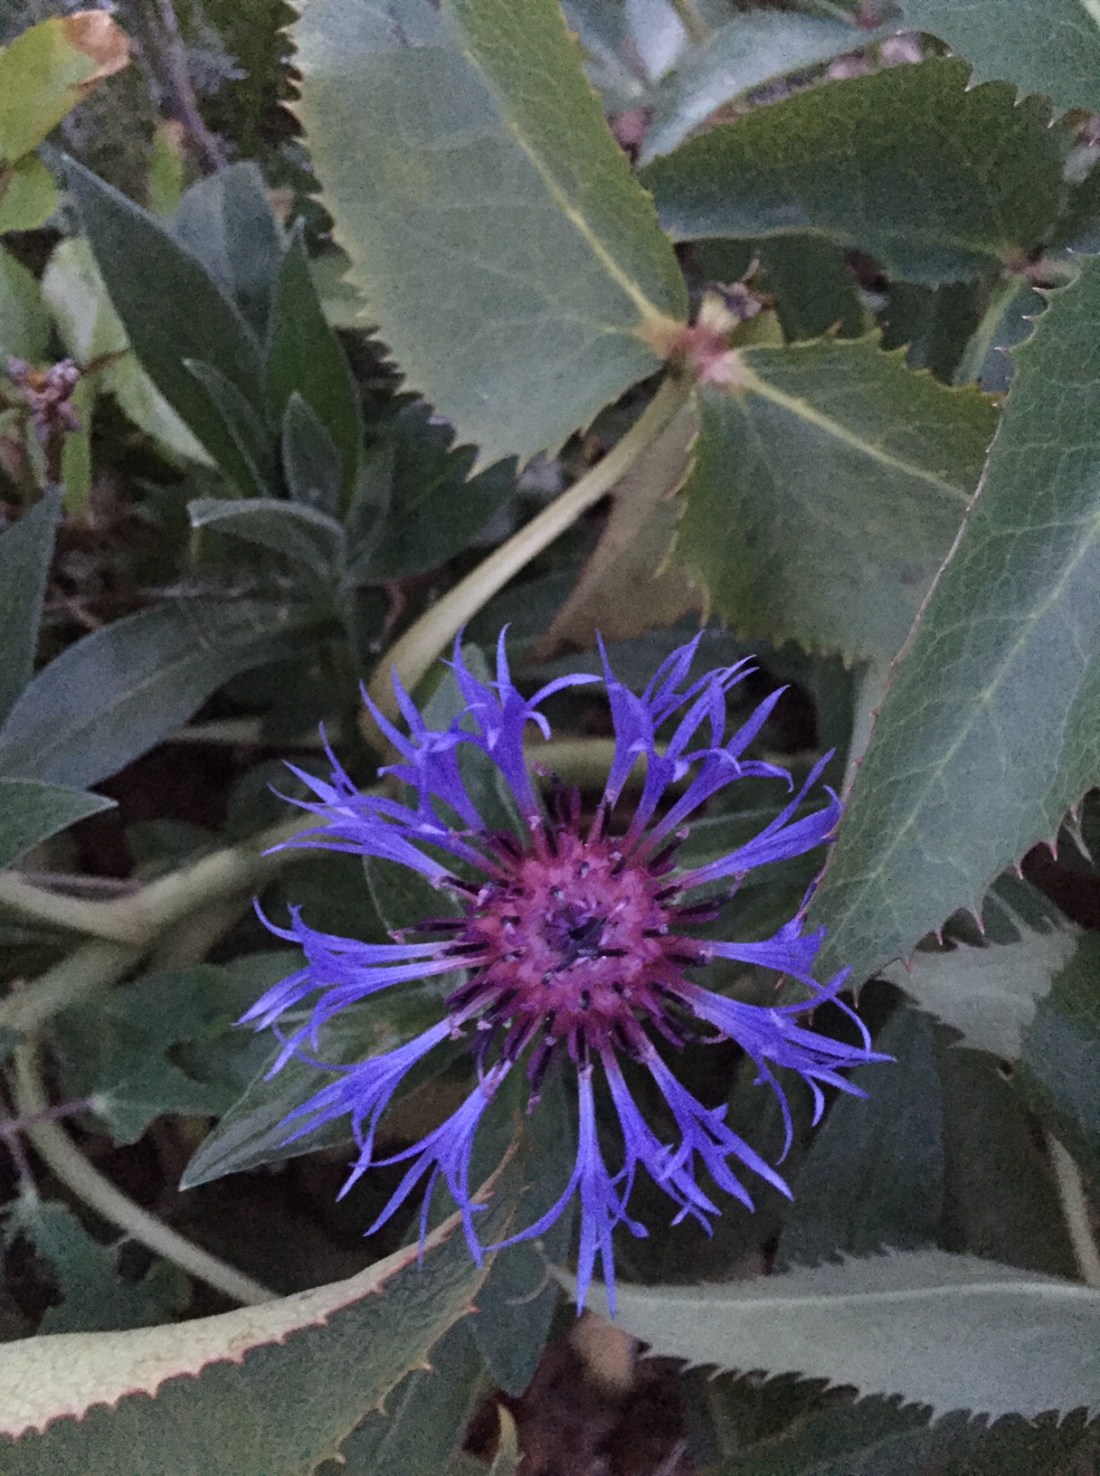
I’ve kept my previous work under the name << assignment 2 old>> and I’m starting assignment 2 from the beginning:the process will be same as before and will begin with posting pictures of flowers and then picking enough to create my drawings.
I’ve picked my stationary up and I’ve started working on drawings
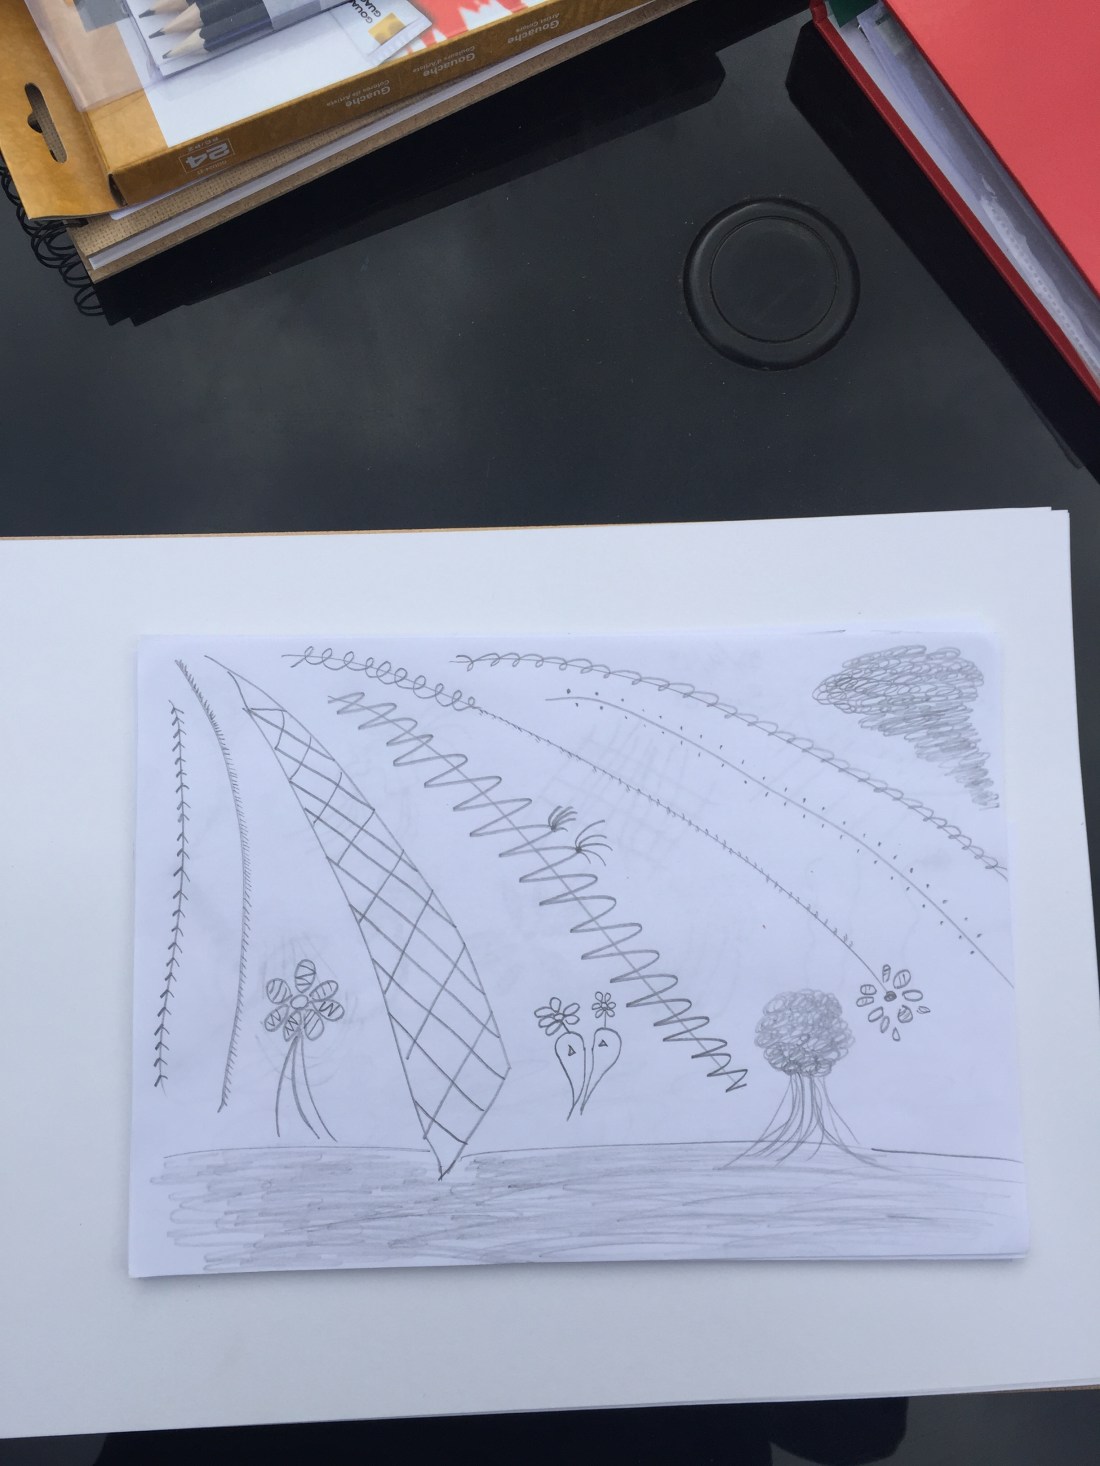
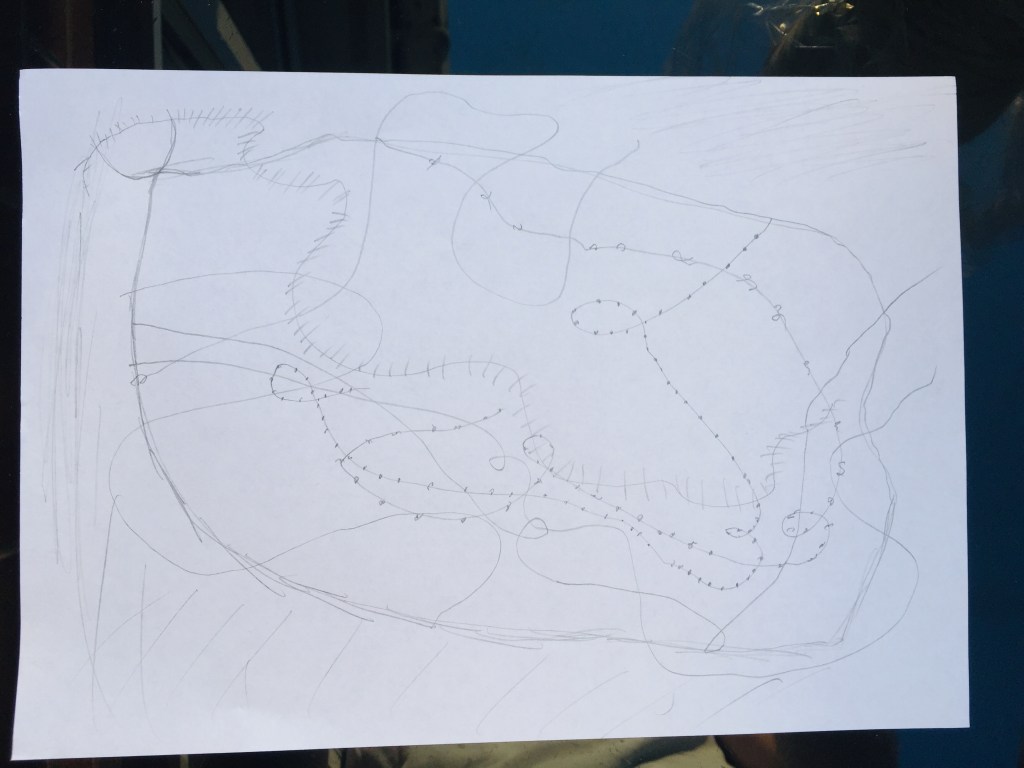
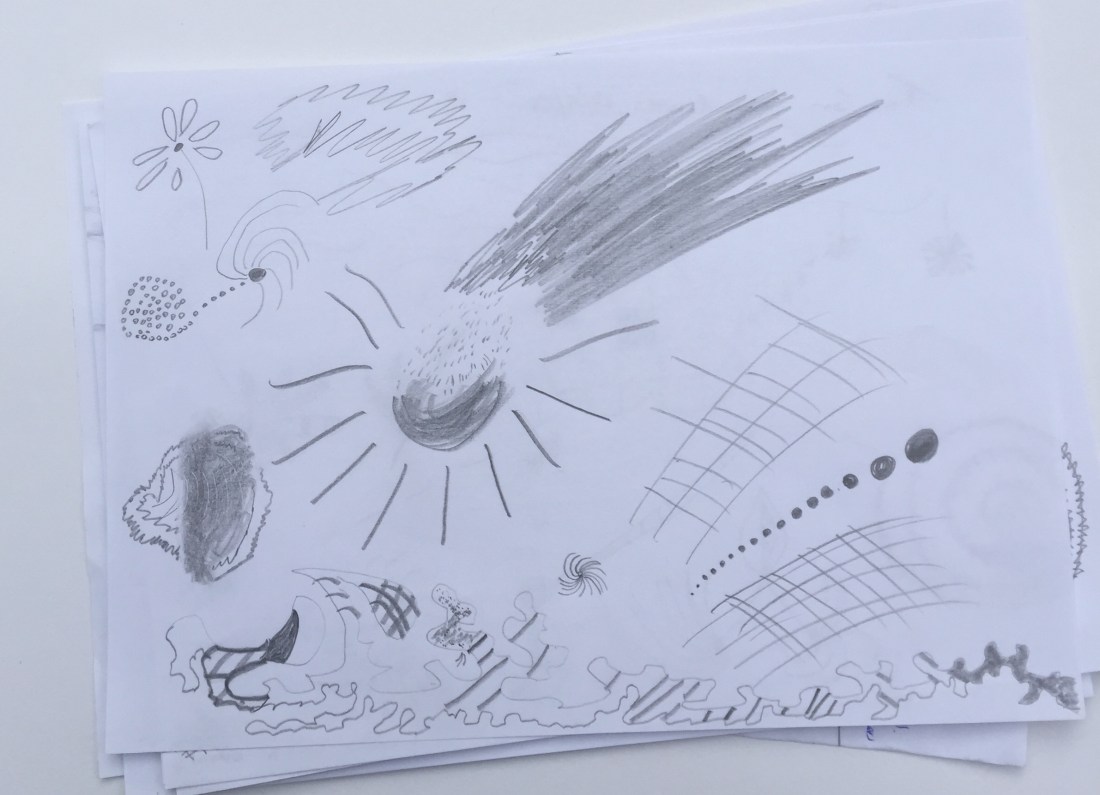
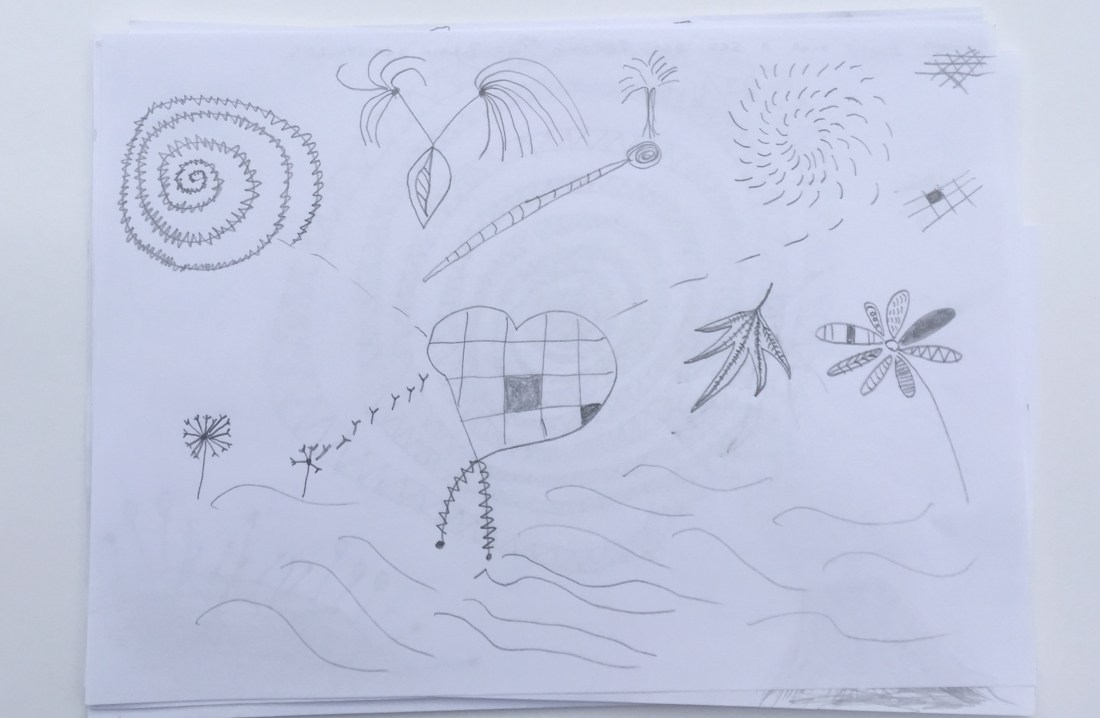
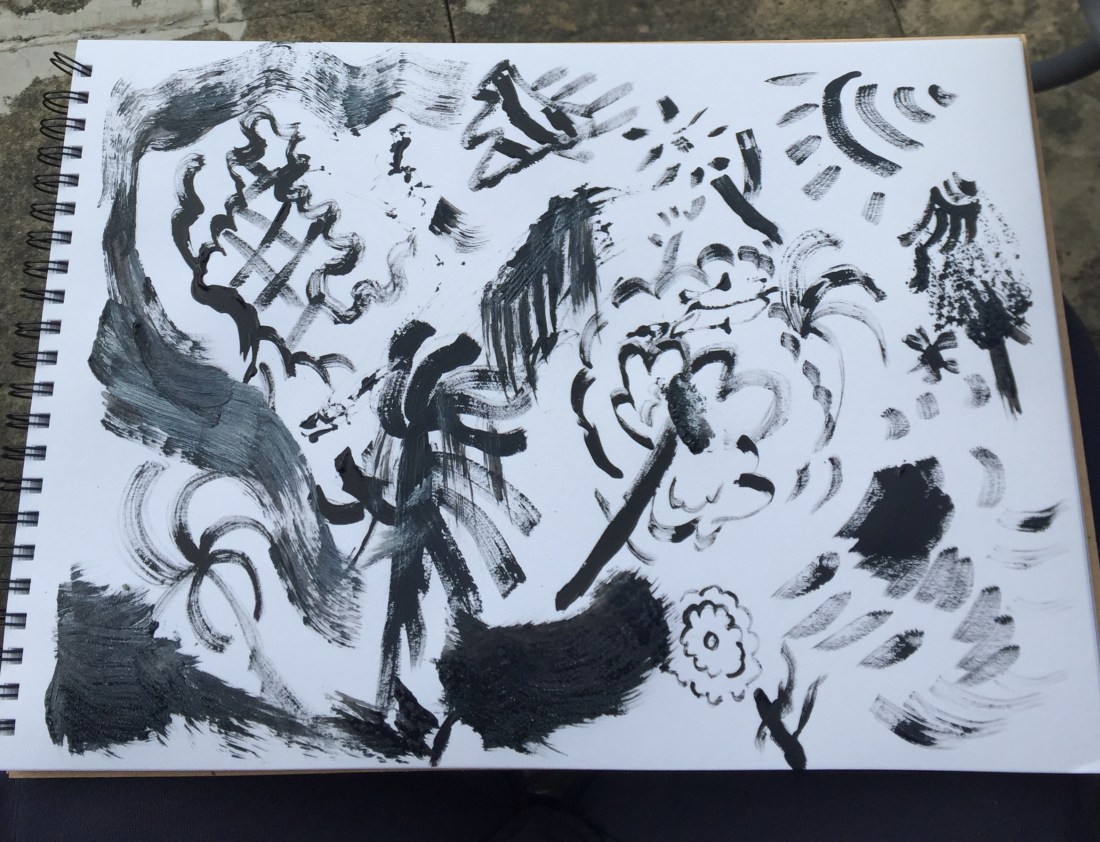
mark making technique
I have started with simple lines, just to be more used to it
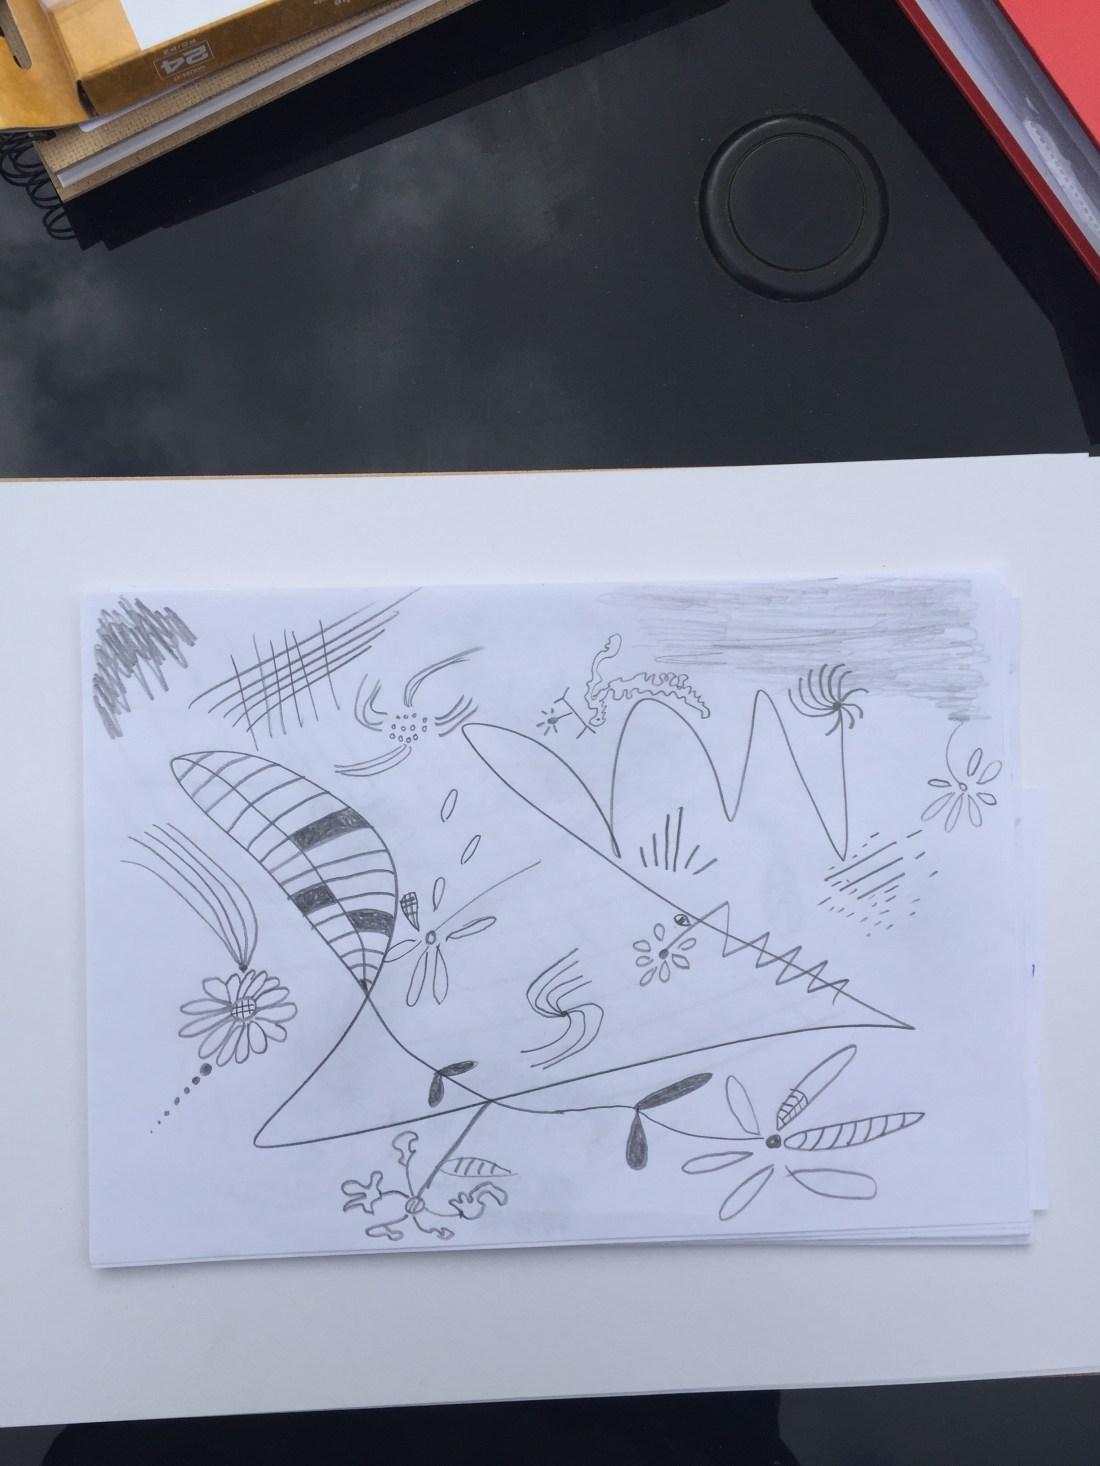
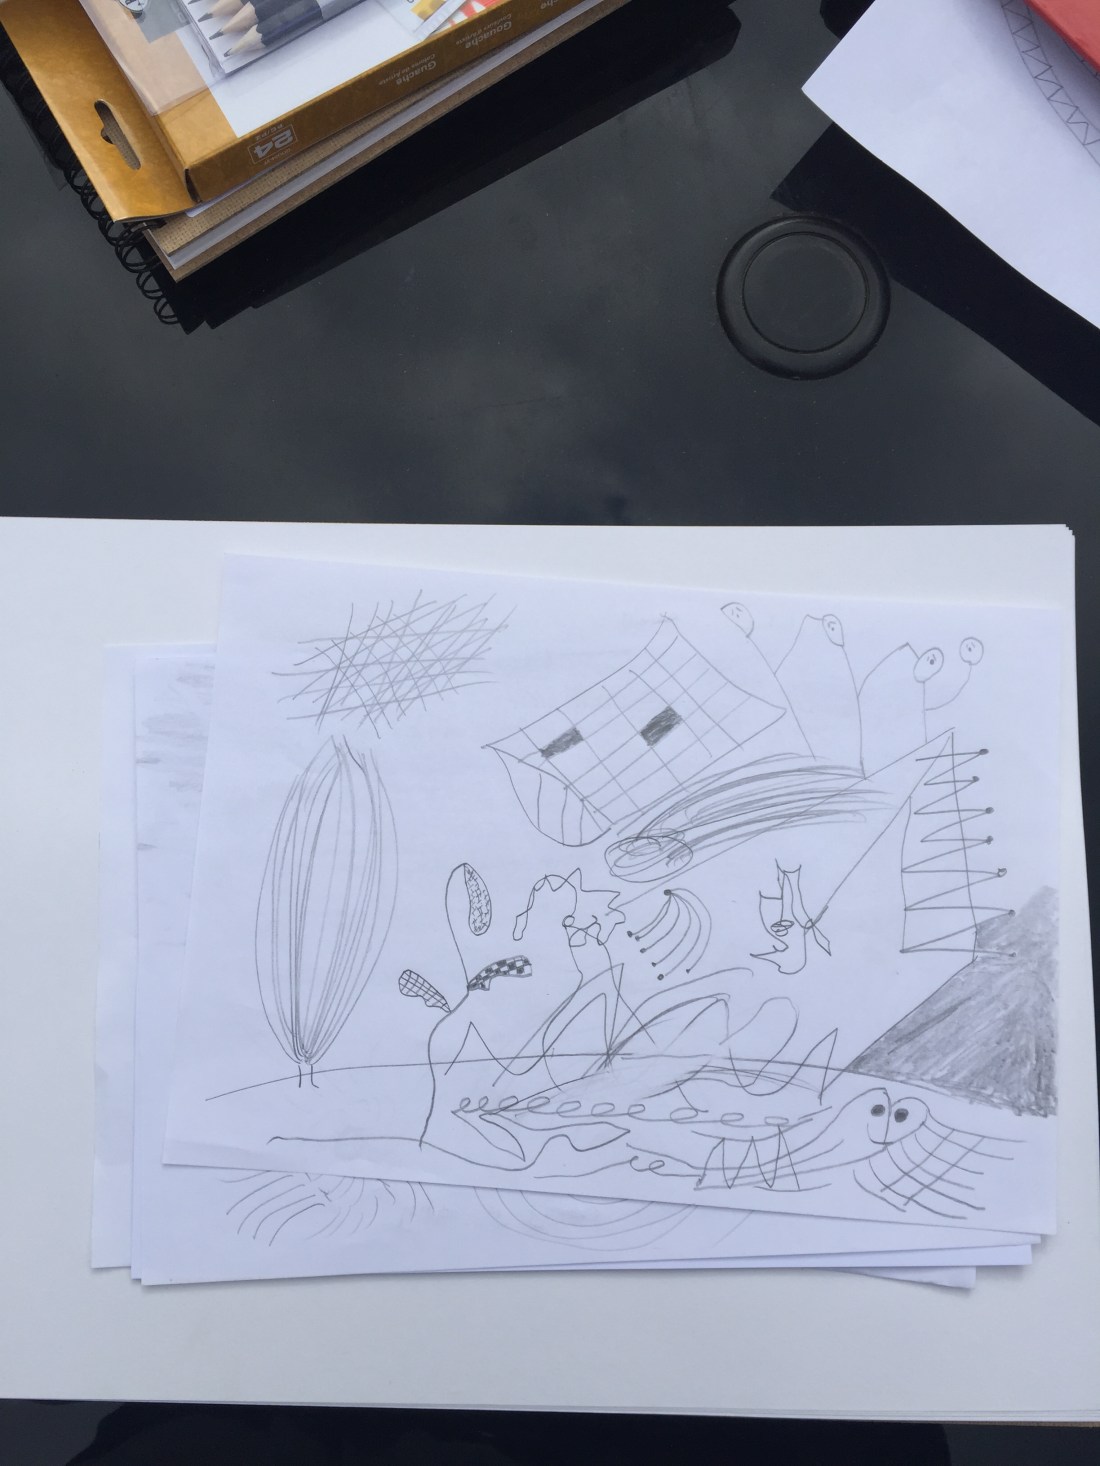
different lines:curly, loopy, circular
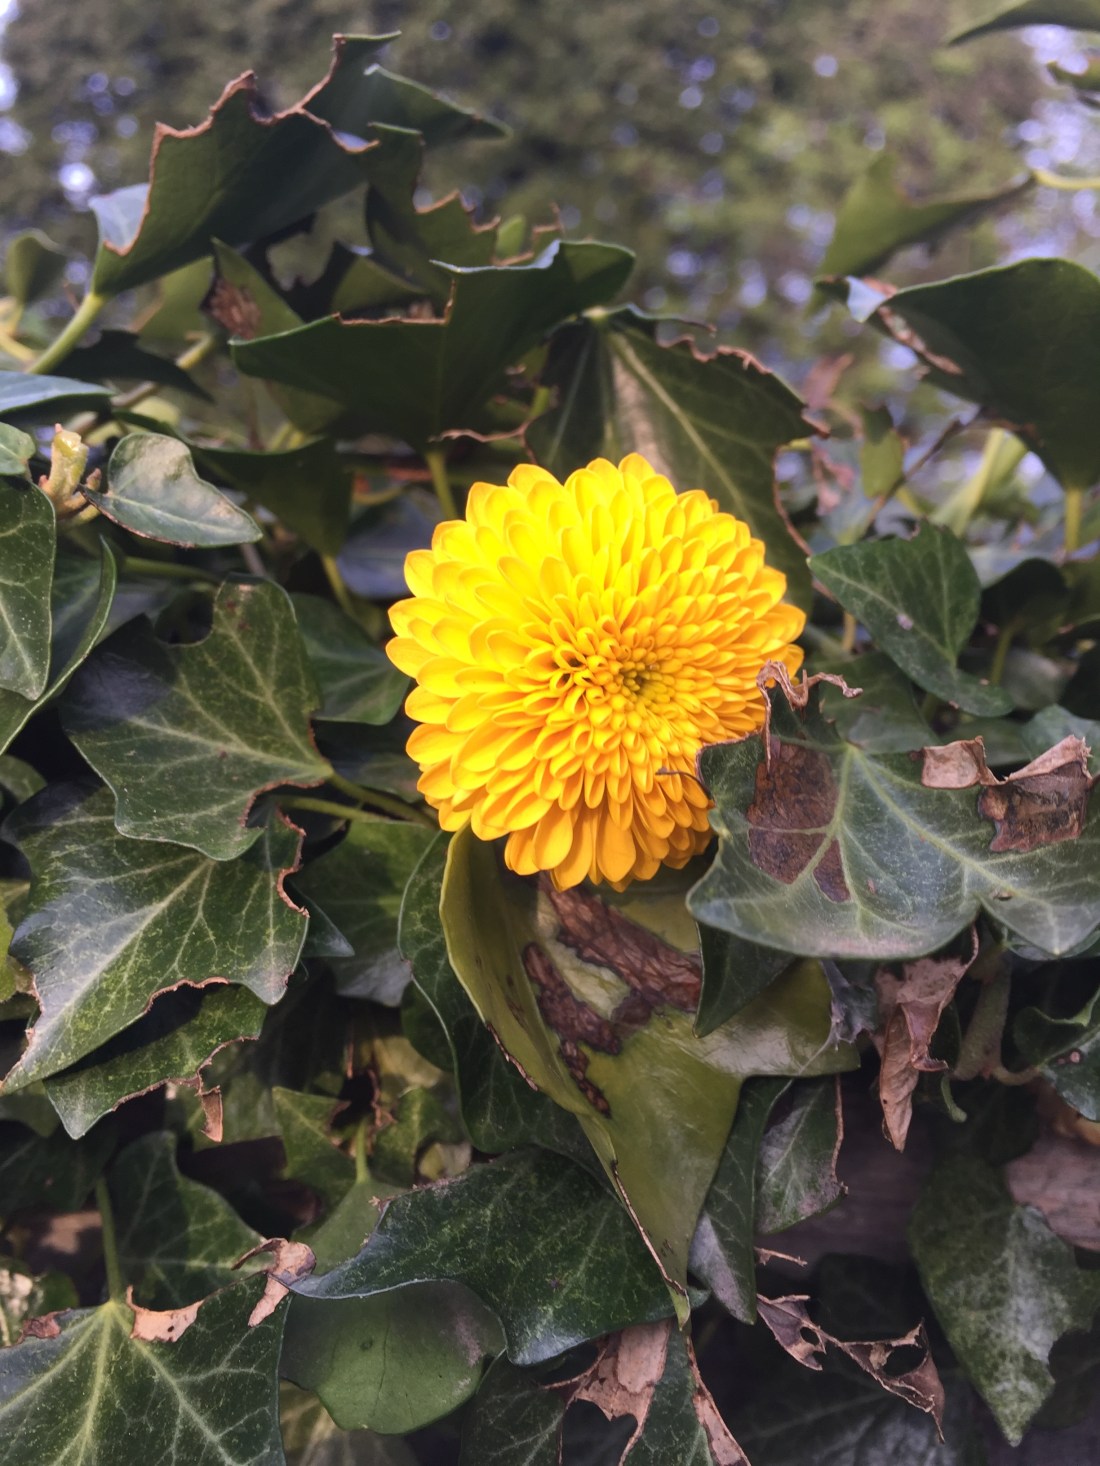
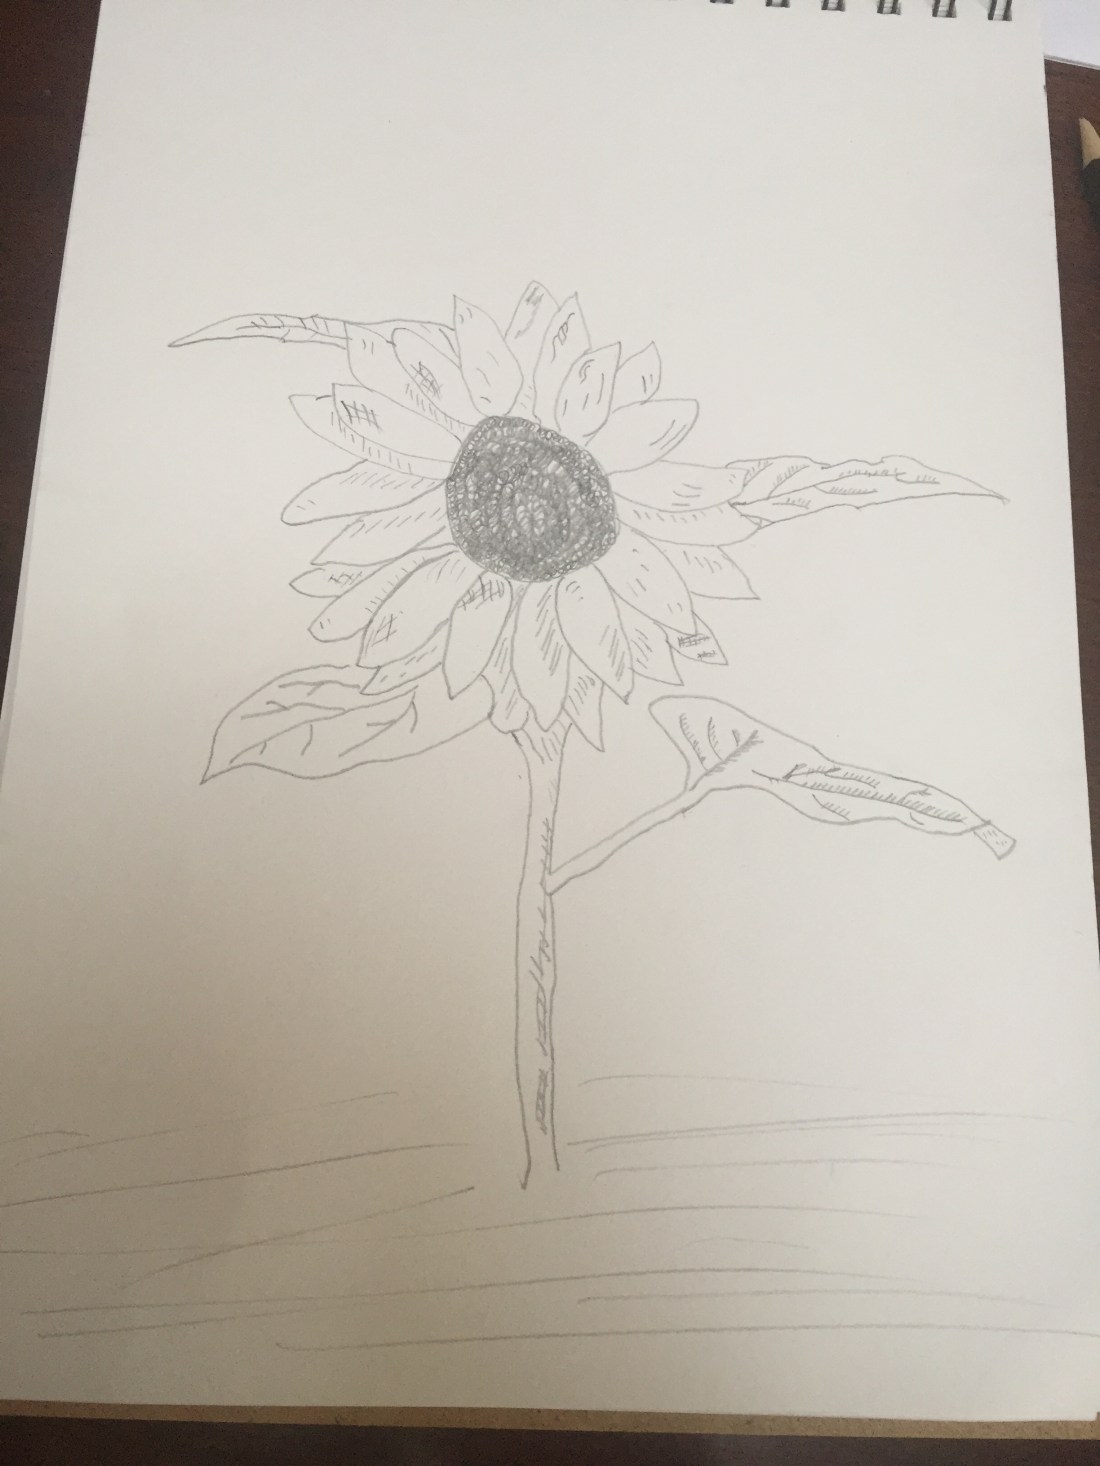
I wanted to see how lines of different shape can interact to each other.I came back to the basics :A tulip sketch inspired by the picture takenDaffodilsunflower my first ever acrylic drawing in mark making technique .
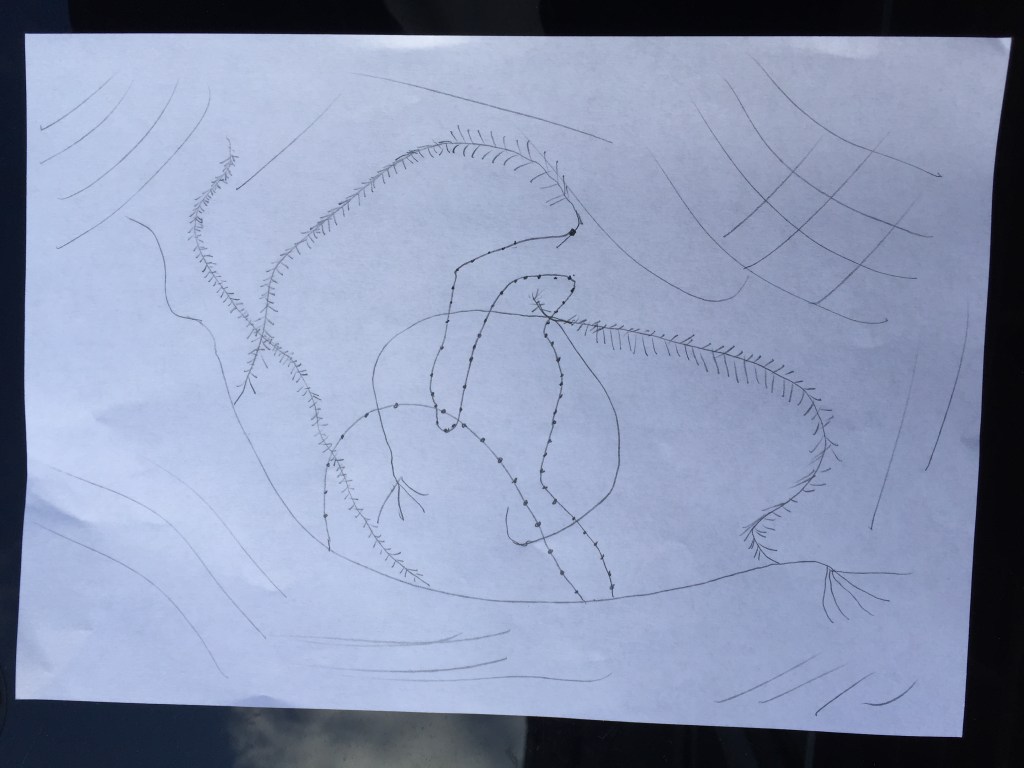
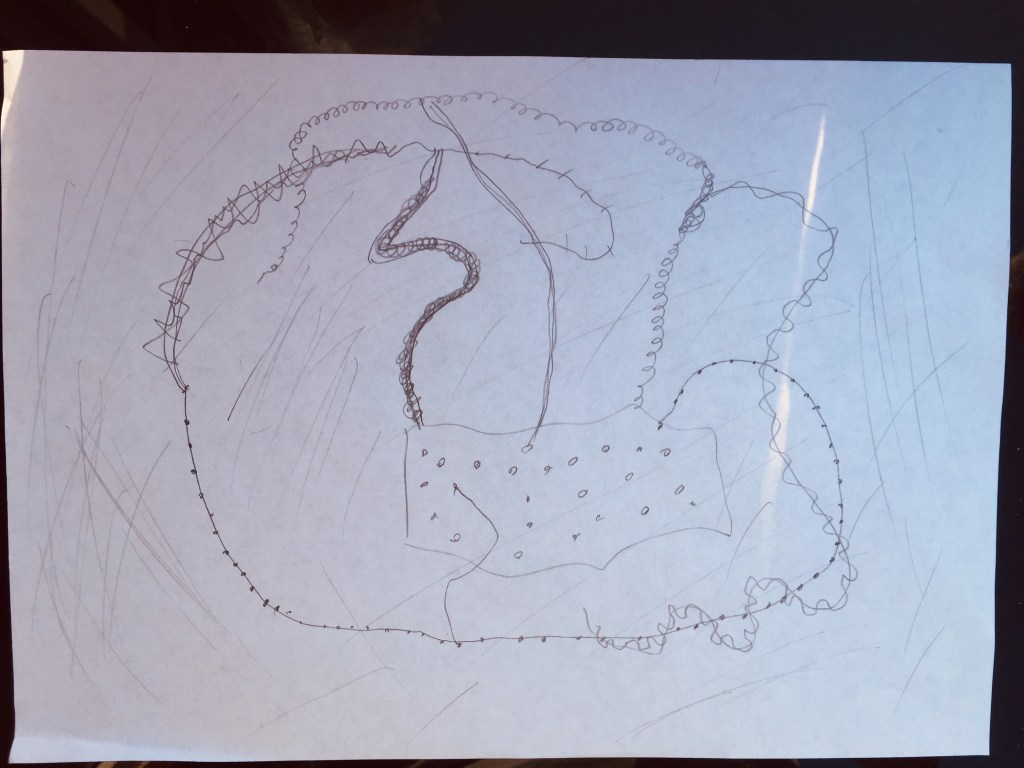
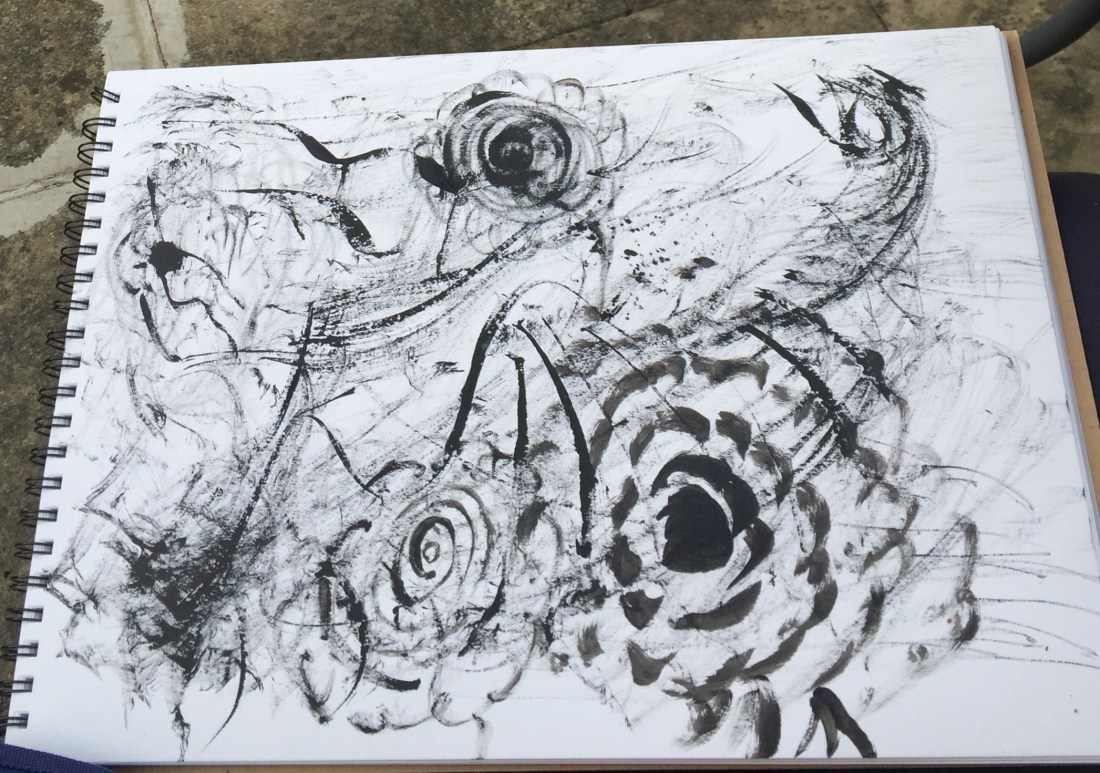
drawing method
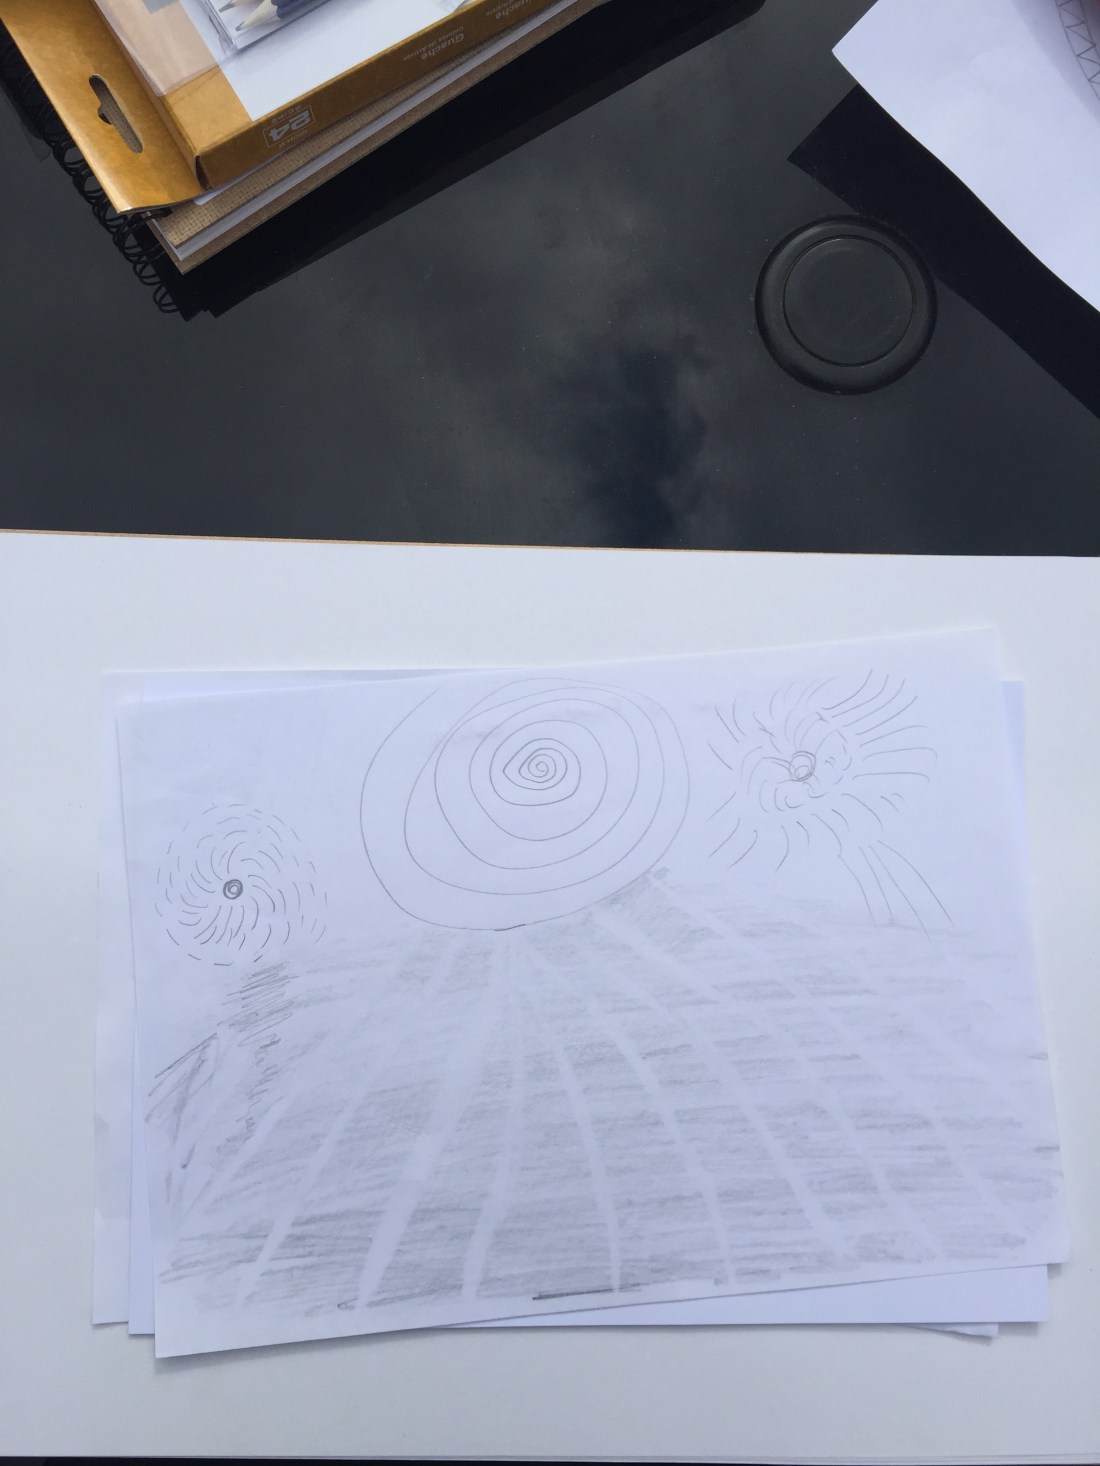
I’ve decided to move from the abstract drawings as I feel more confident now to use more materials and draw more realistically looking patterns:
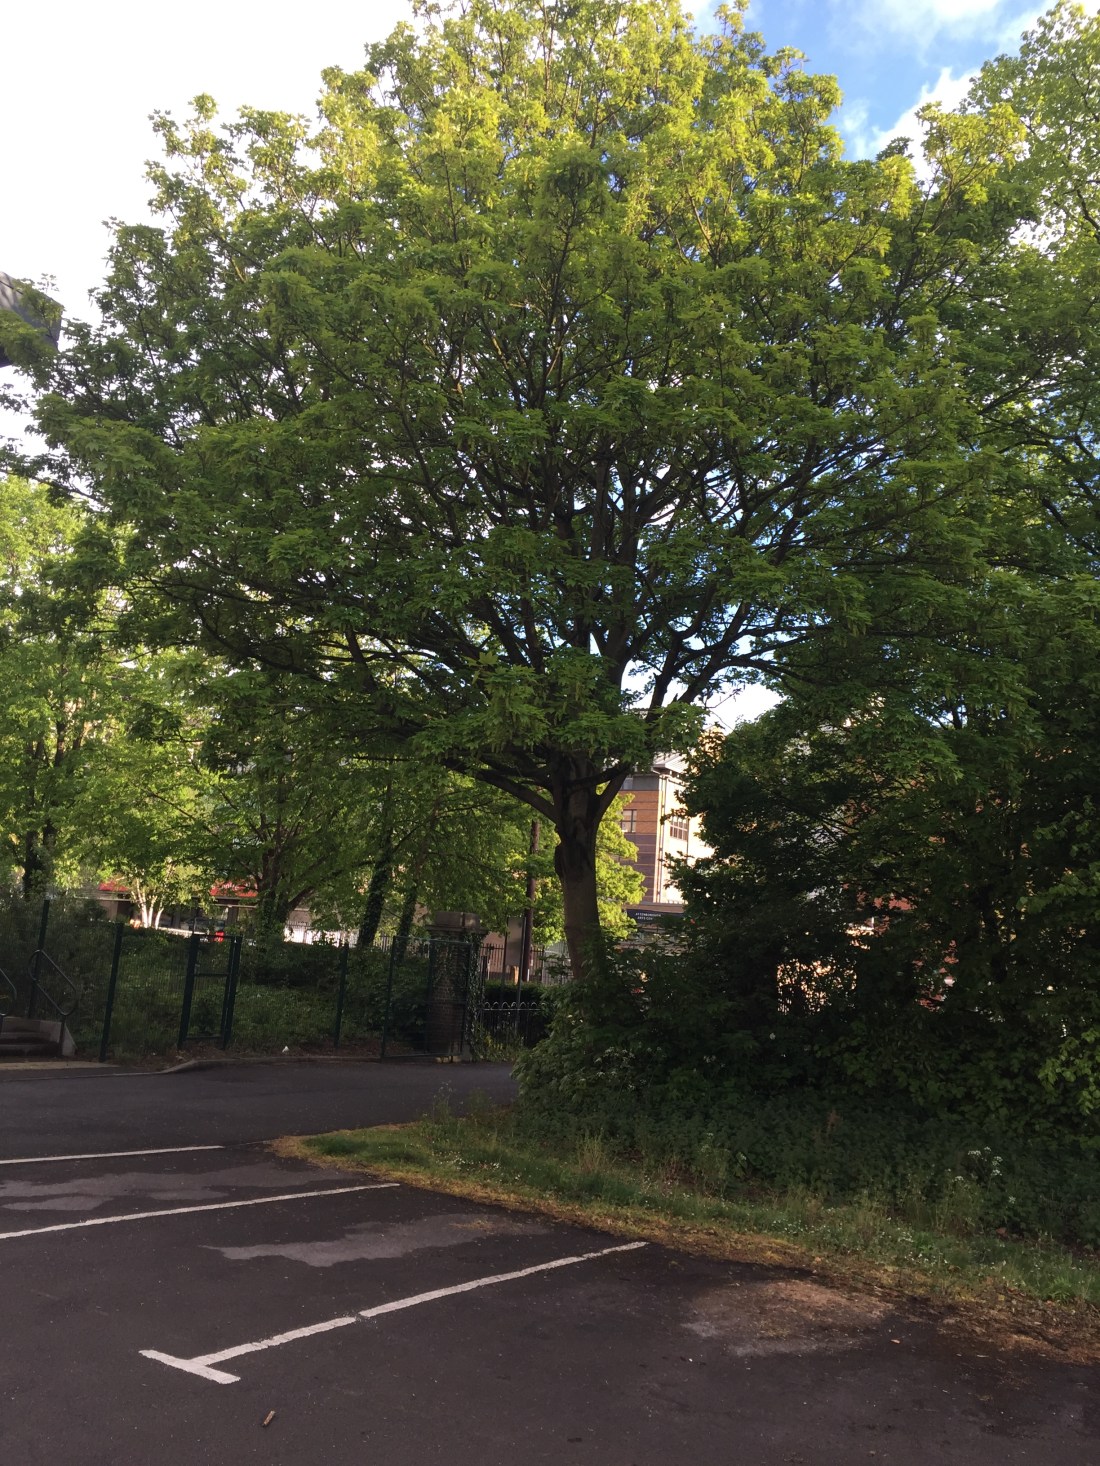
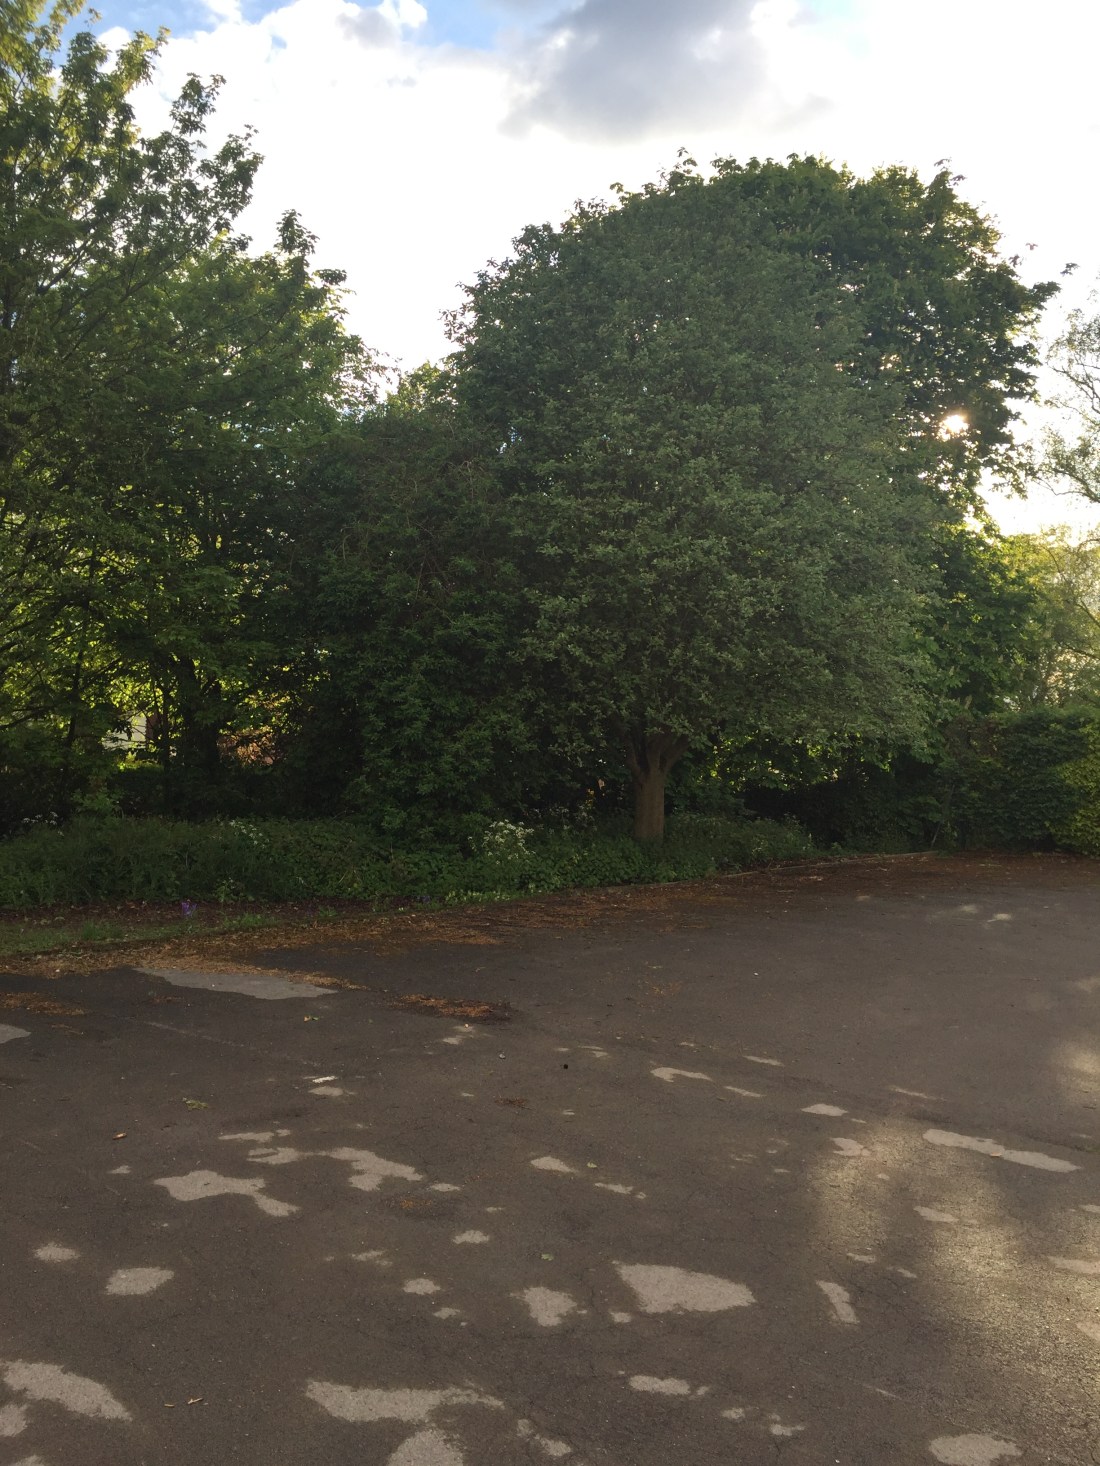
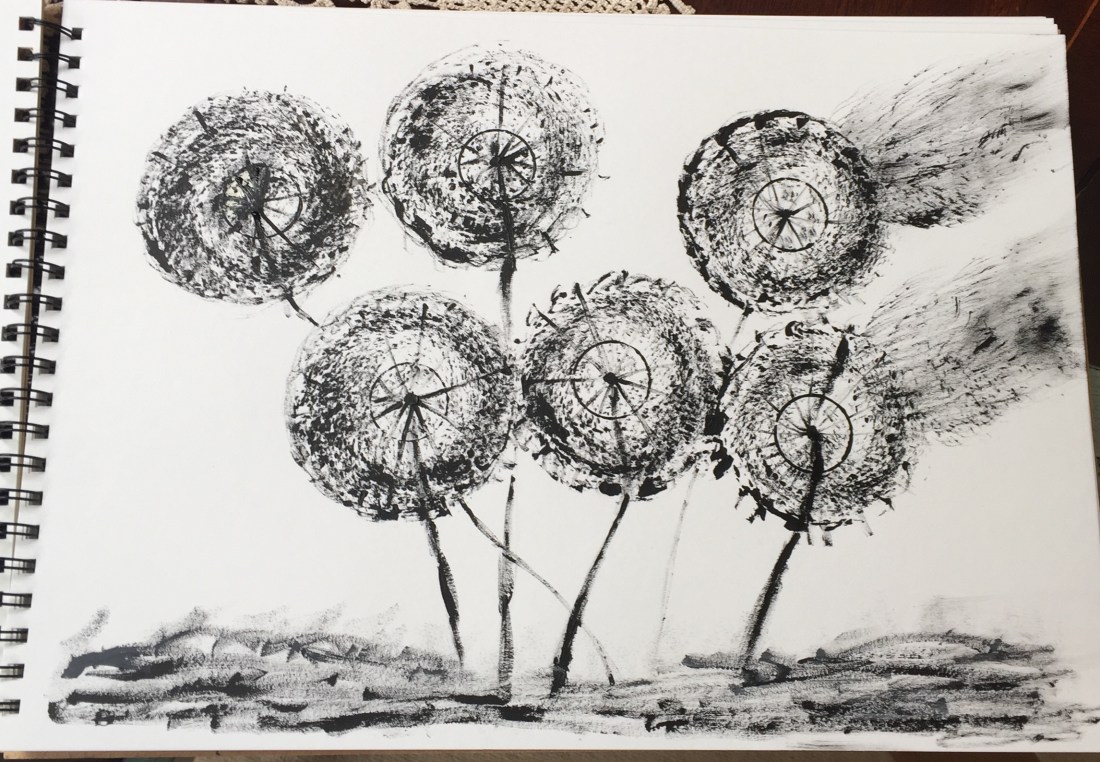
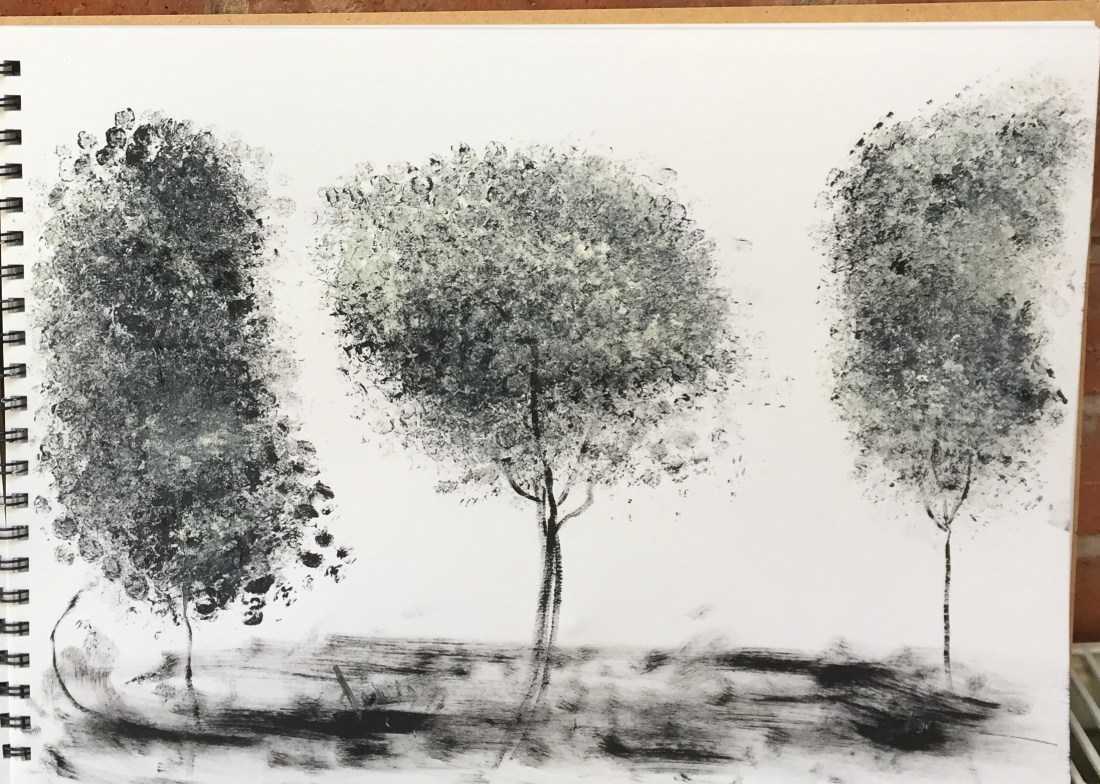
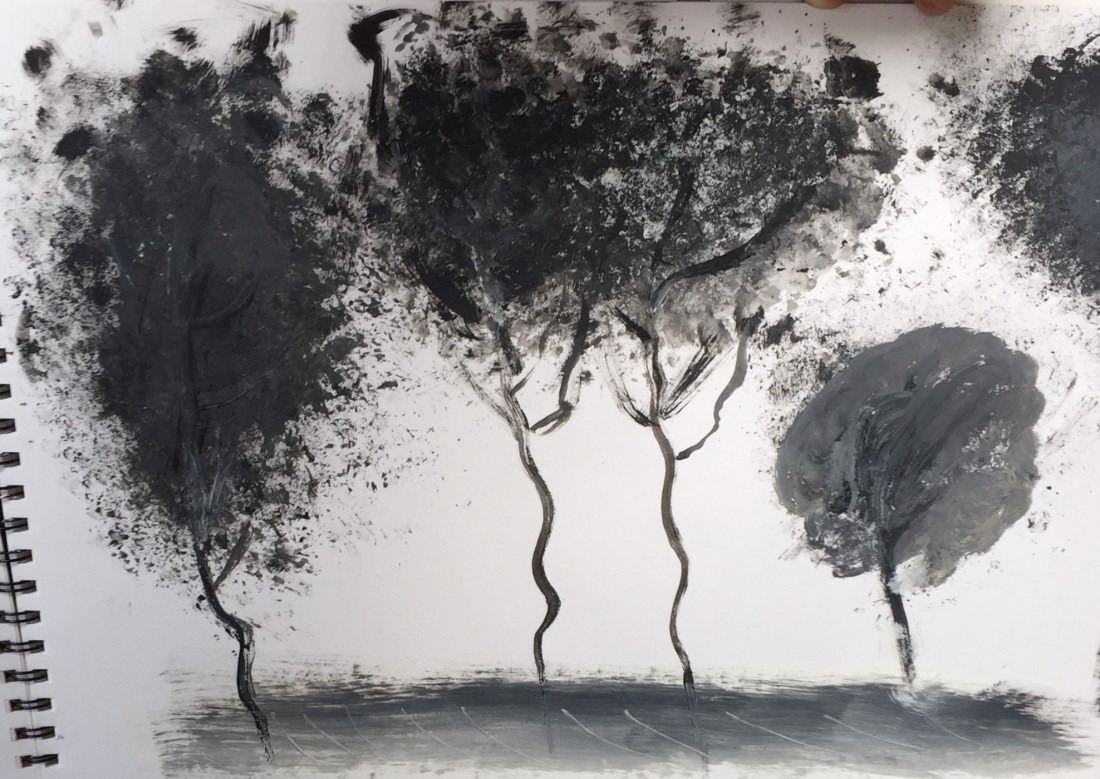
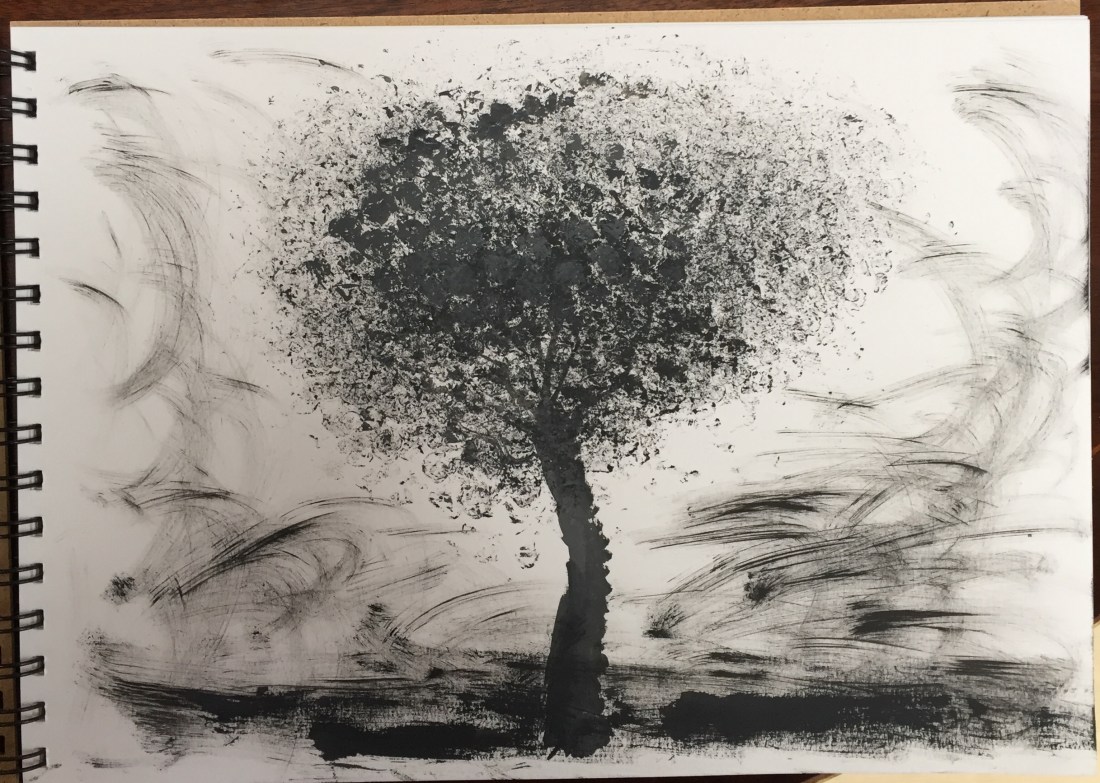
Dandelions.trees look strong as they stand confident facing all natural elementsA single tree; A sum of the techniques I’ve used on the previous paintings.
Going through assignment 2 again, was initially frustrating and disappointing as it was a sense of not doing or learning anything new.
Choosing a totally different path though, has turned all these feelings down as I rediscovered that even though I’ve used the same way of thinking and my starting point in all tasks was the same, there are many routes to take you into different trips in life and this is so fascinating :I found out my thinking and reacting was totally different from day to day even though I was working on the same project!
The spectrum and range of textiles is incredible and working on assignment 2 take 2 I realized I’ve only touched the surface…