Looking back on my previous work I found out there are certain manipulation techniques that I can use for my ”take 2” assignment.
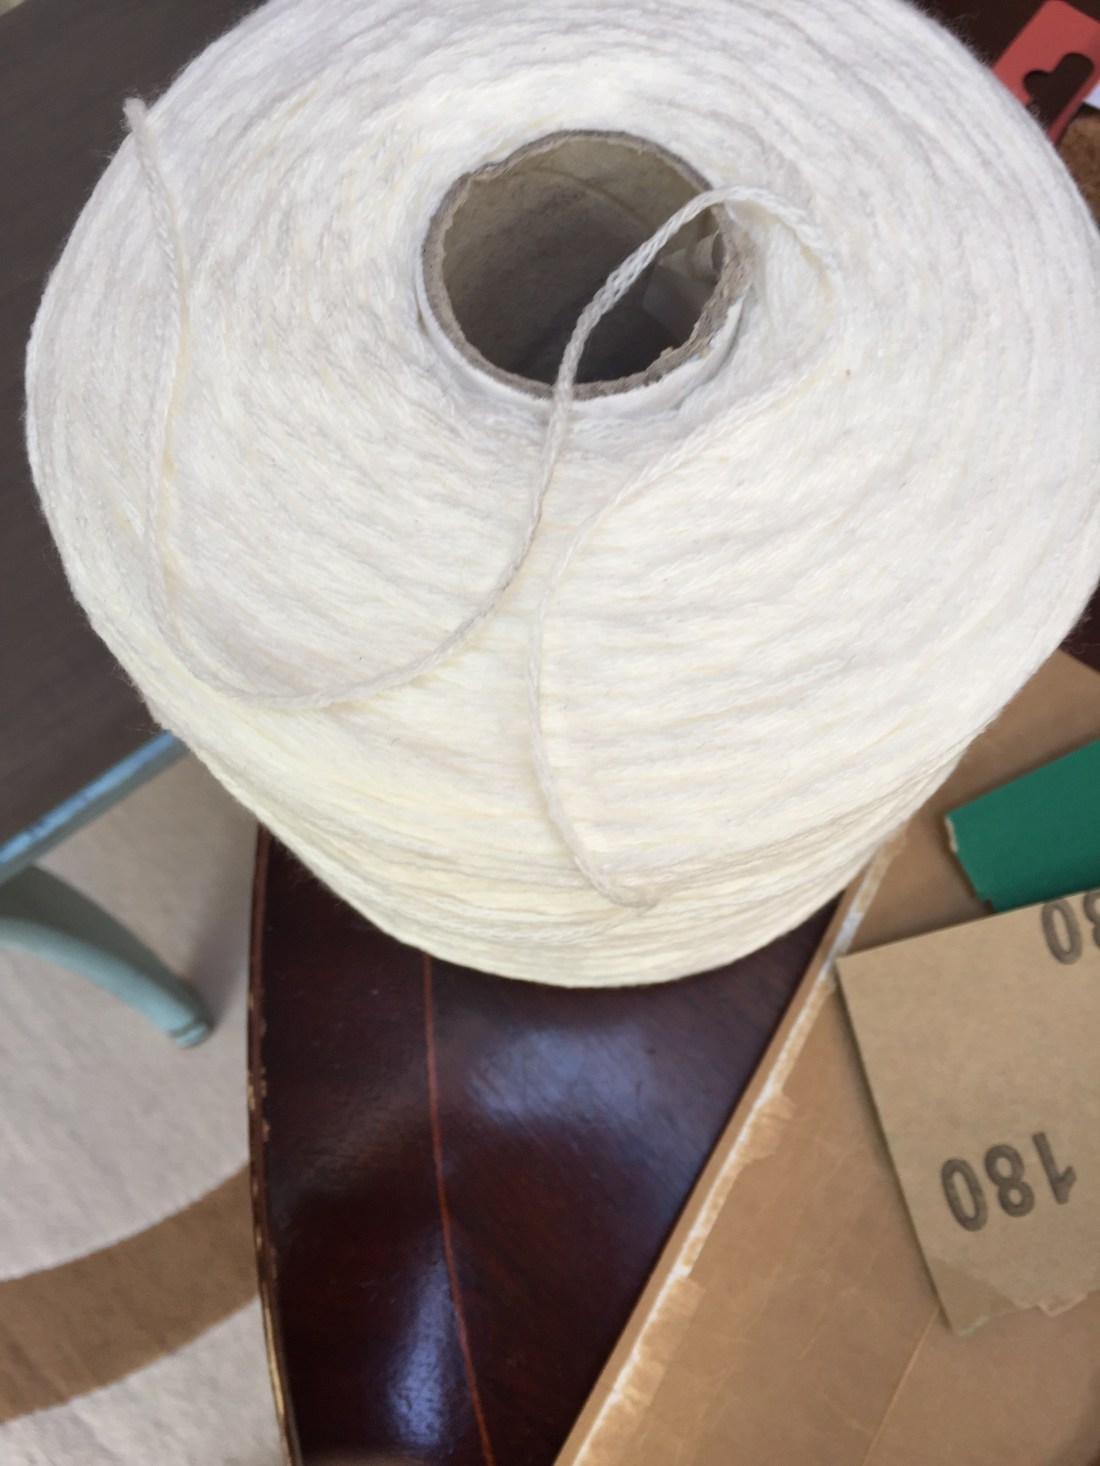
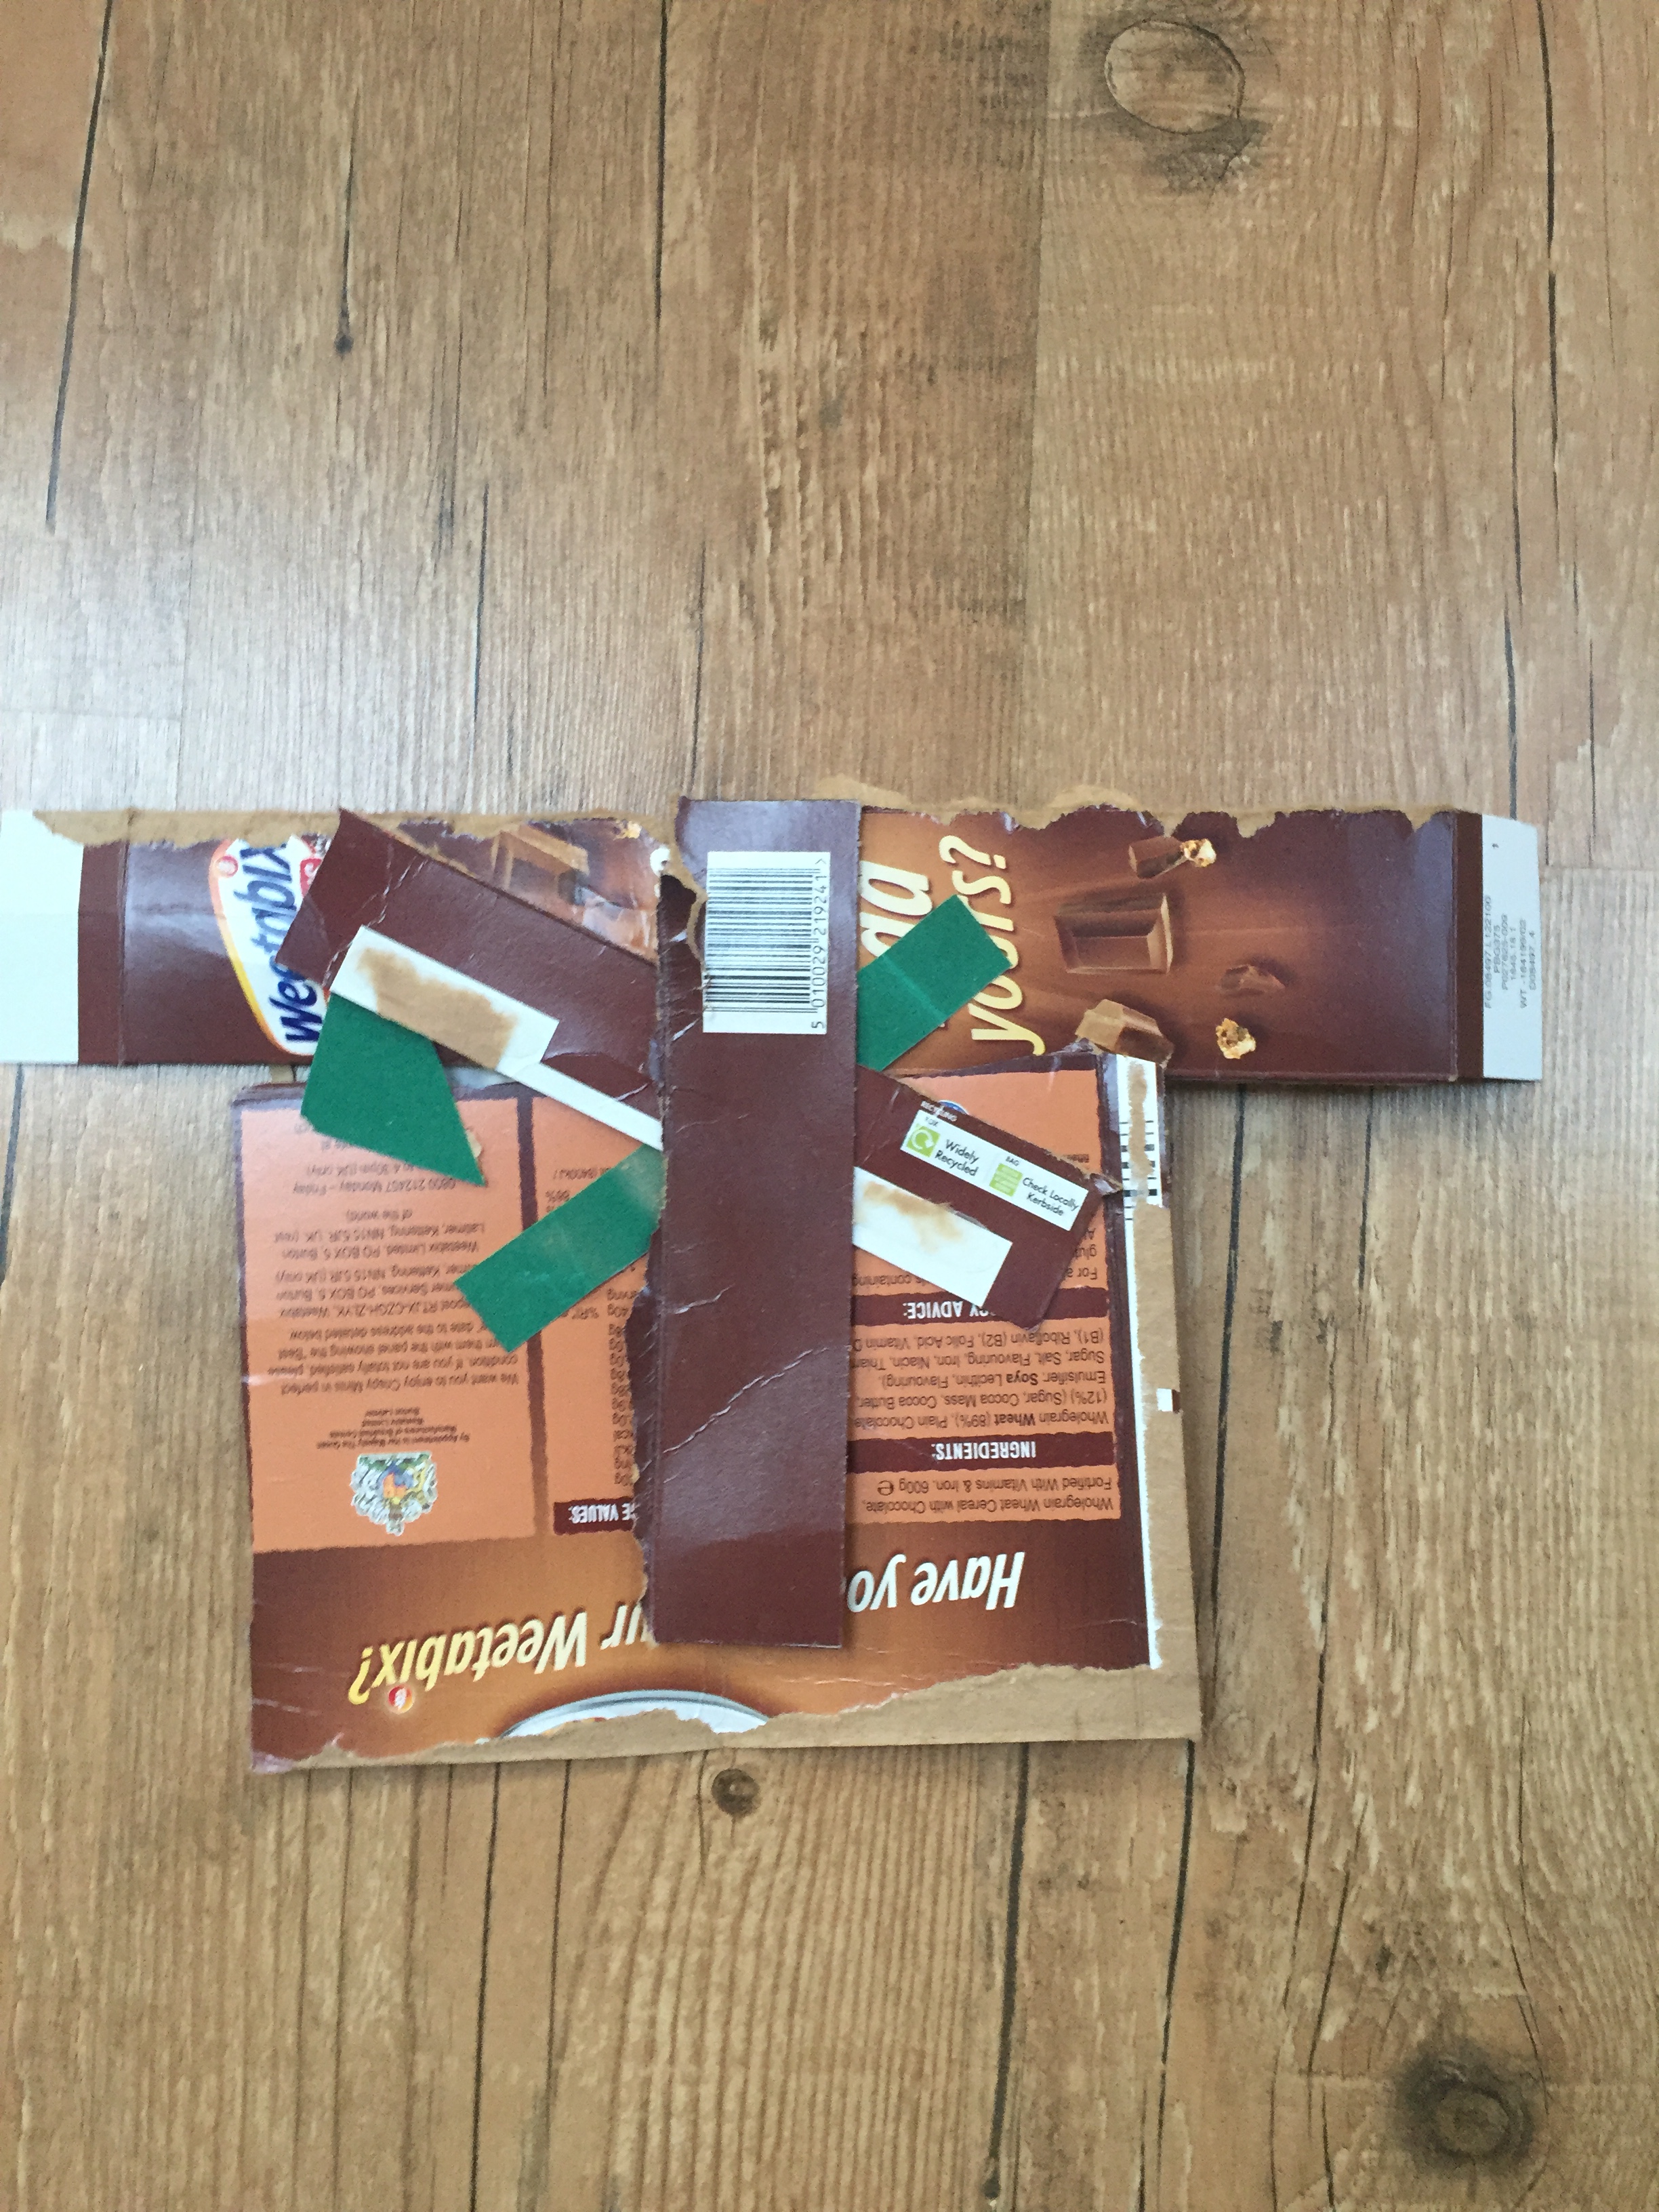
Firstly , I’ve gathered paper in different forms as well as pins and a cone of yarn.
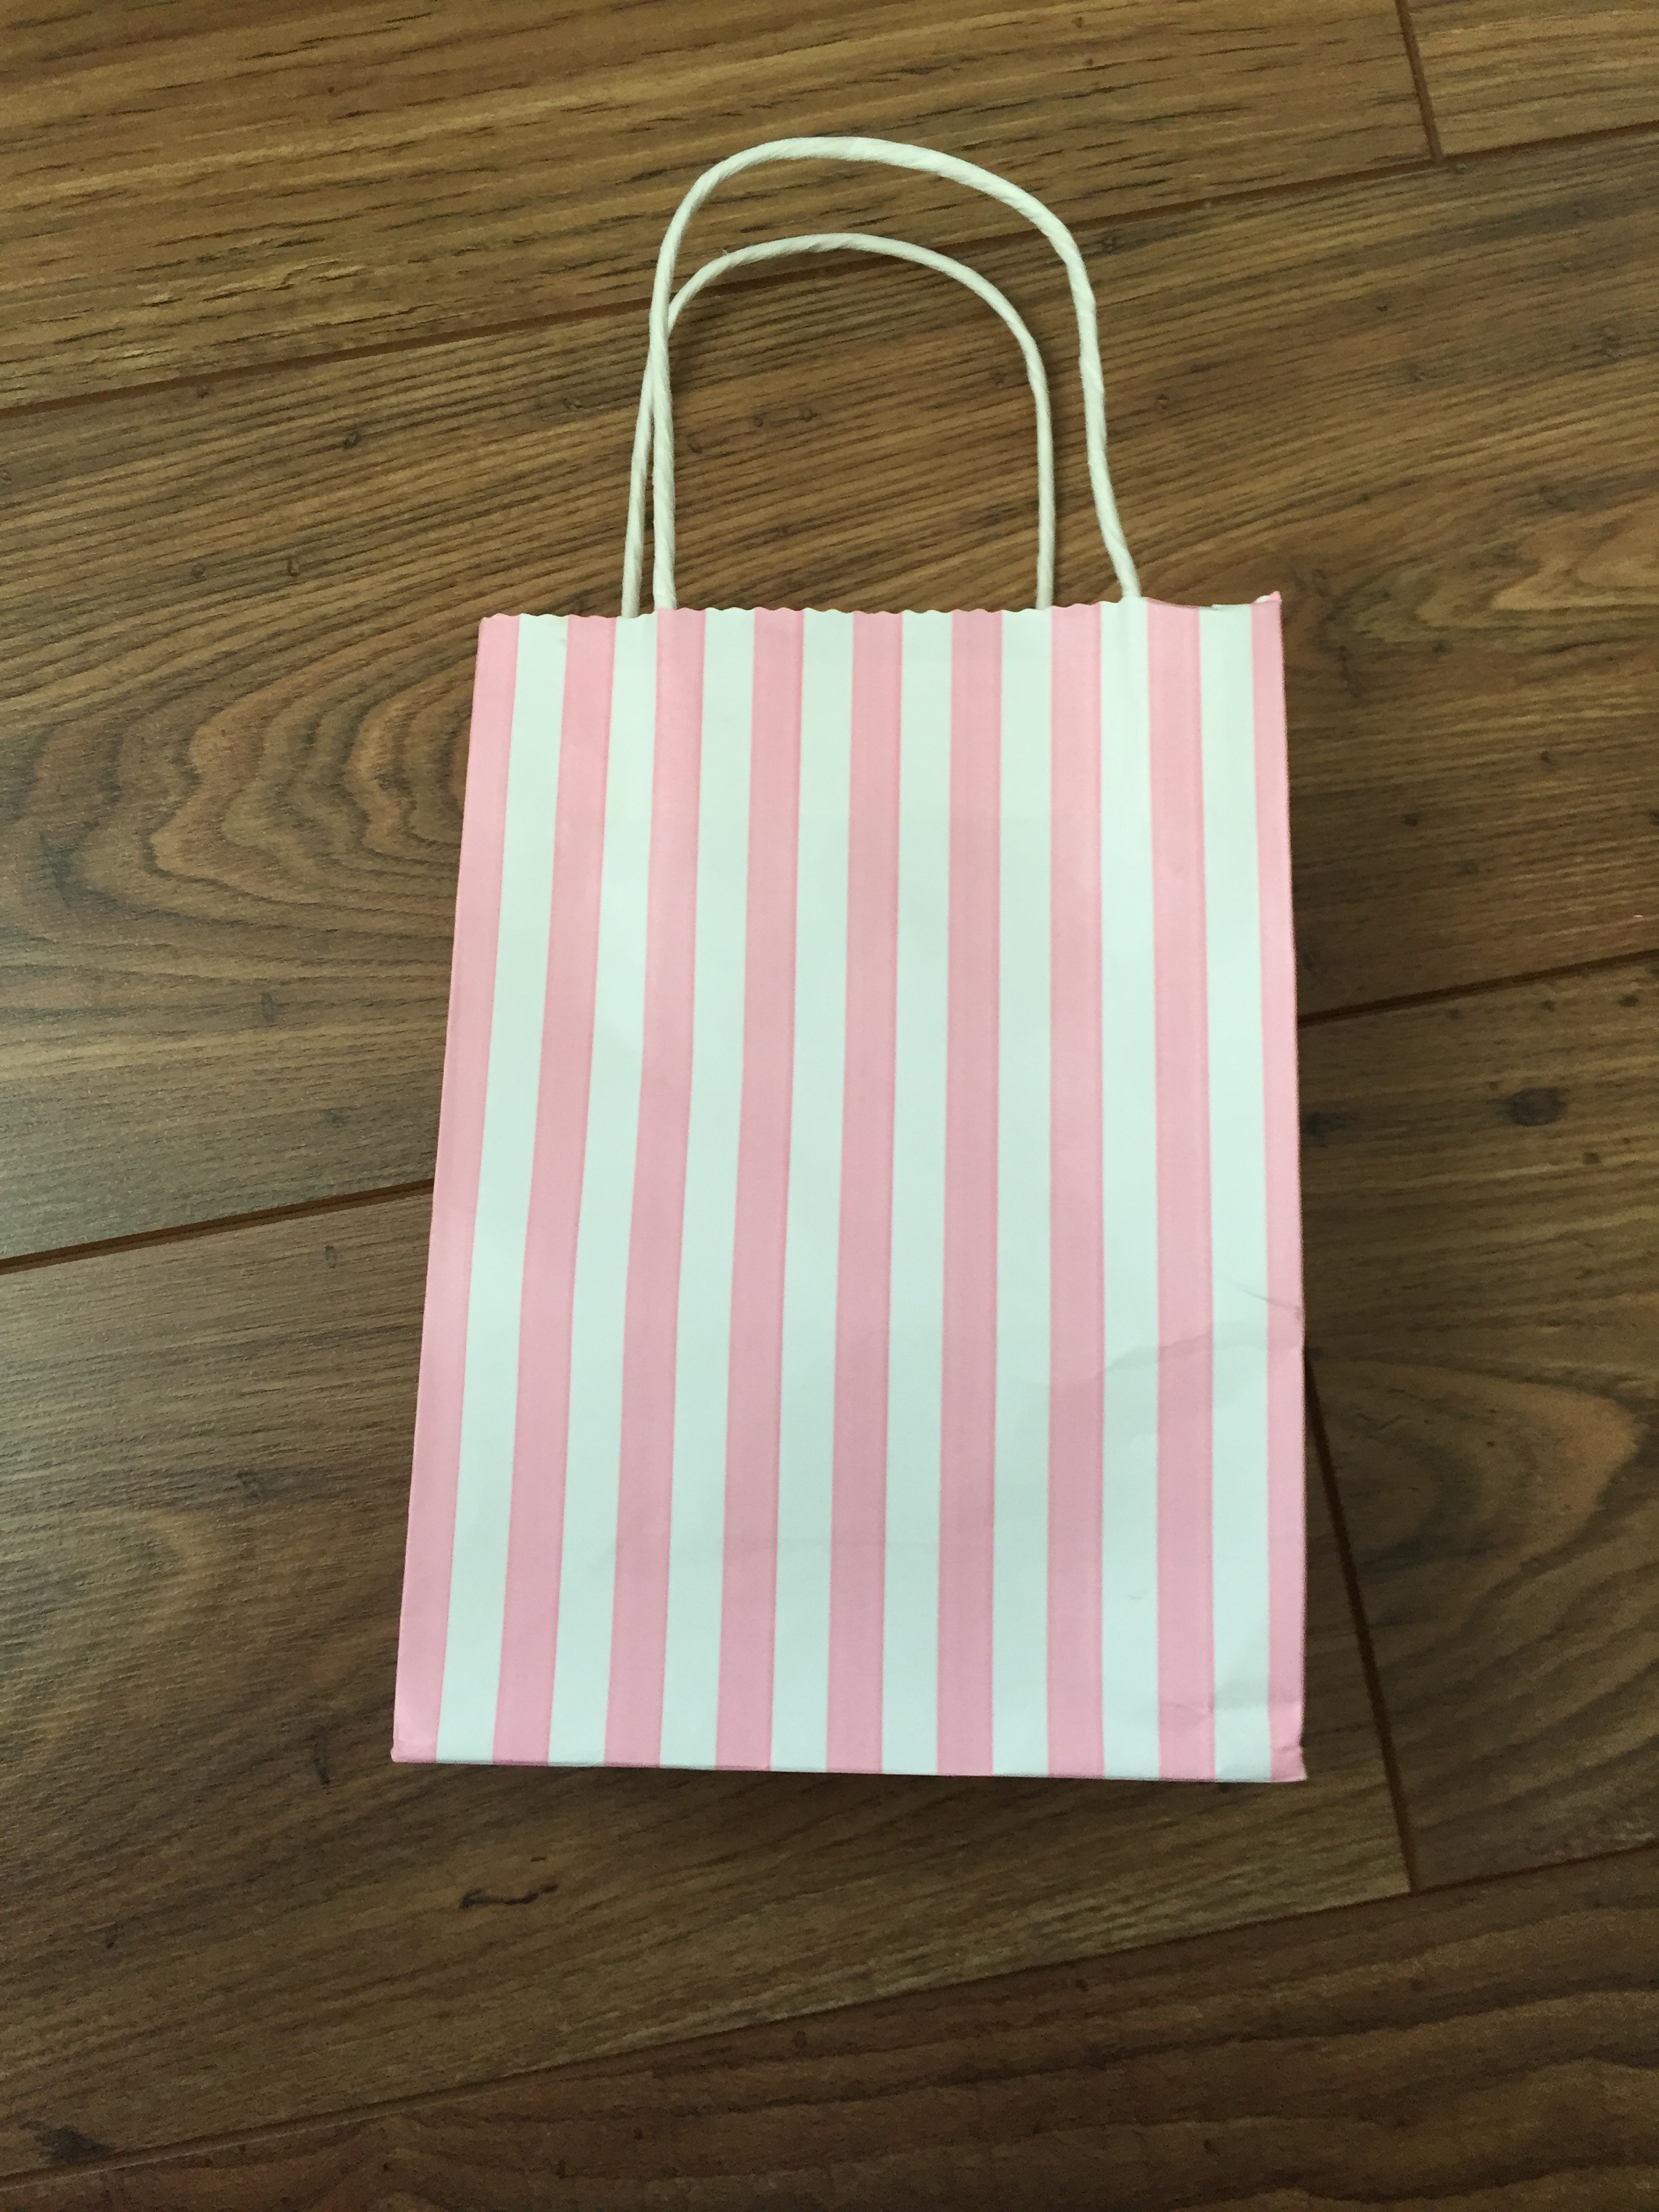
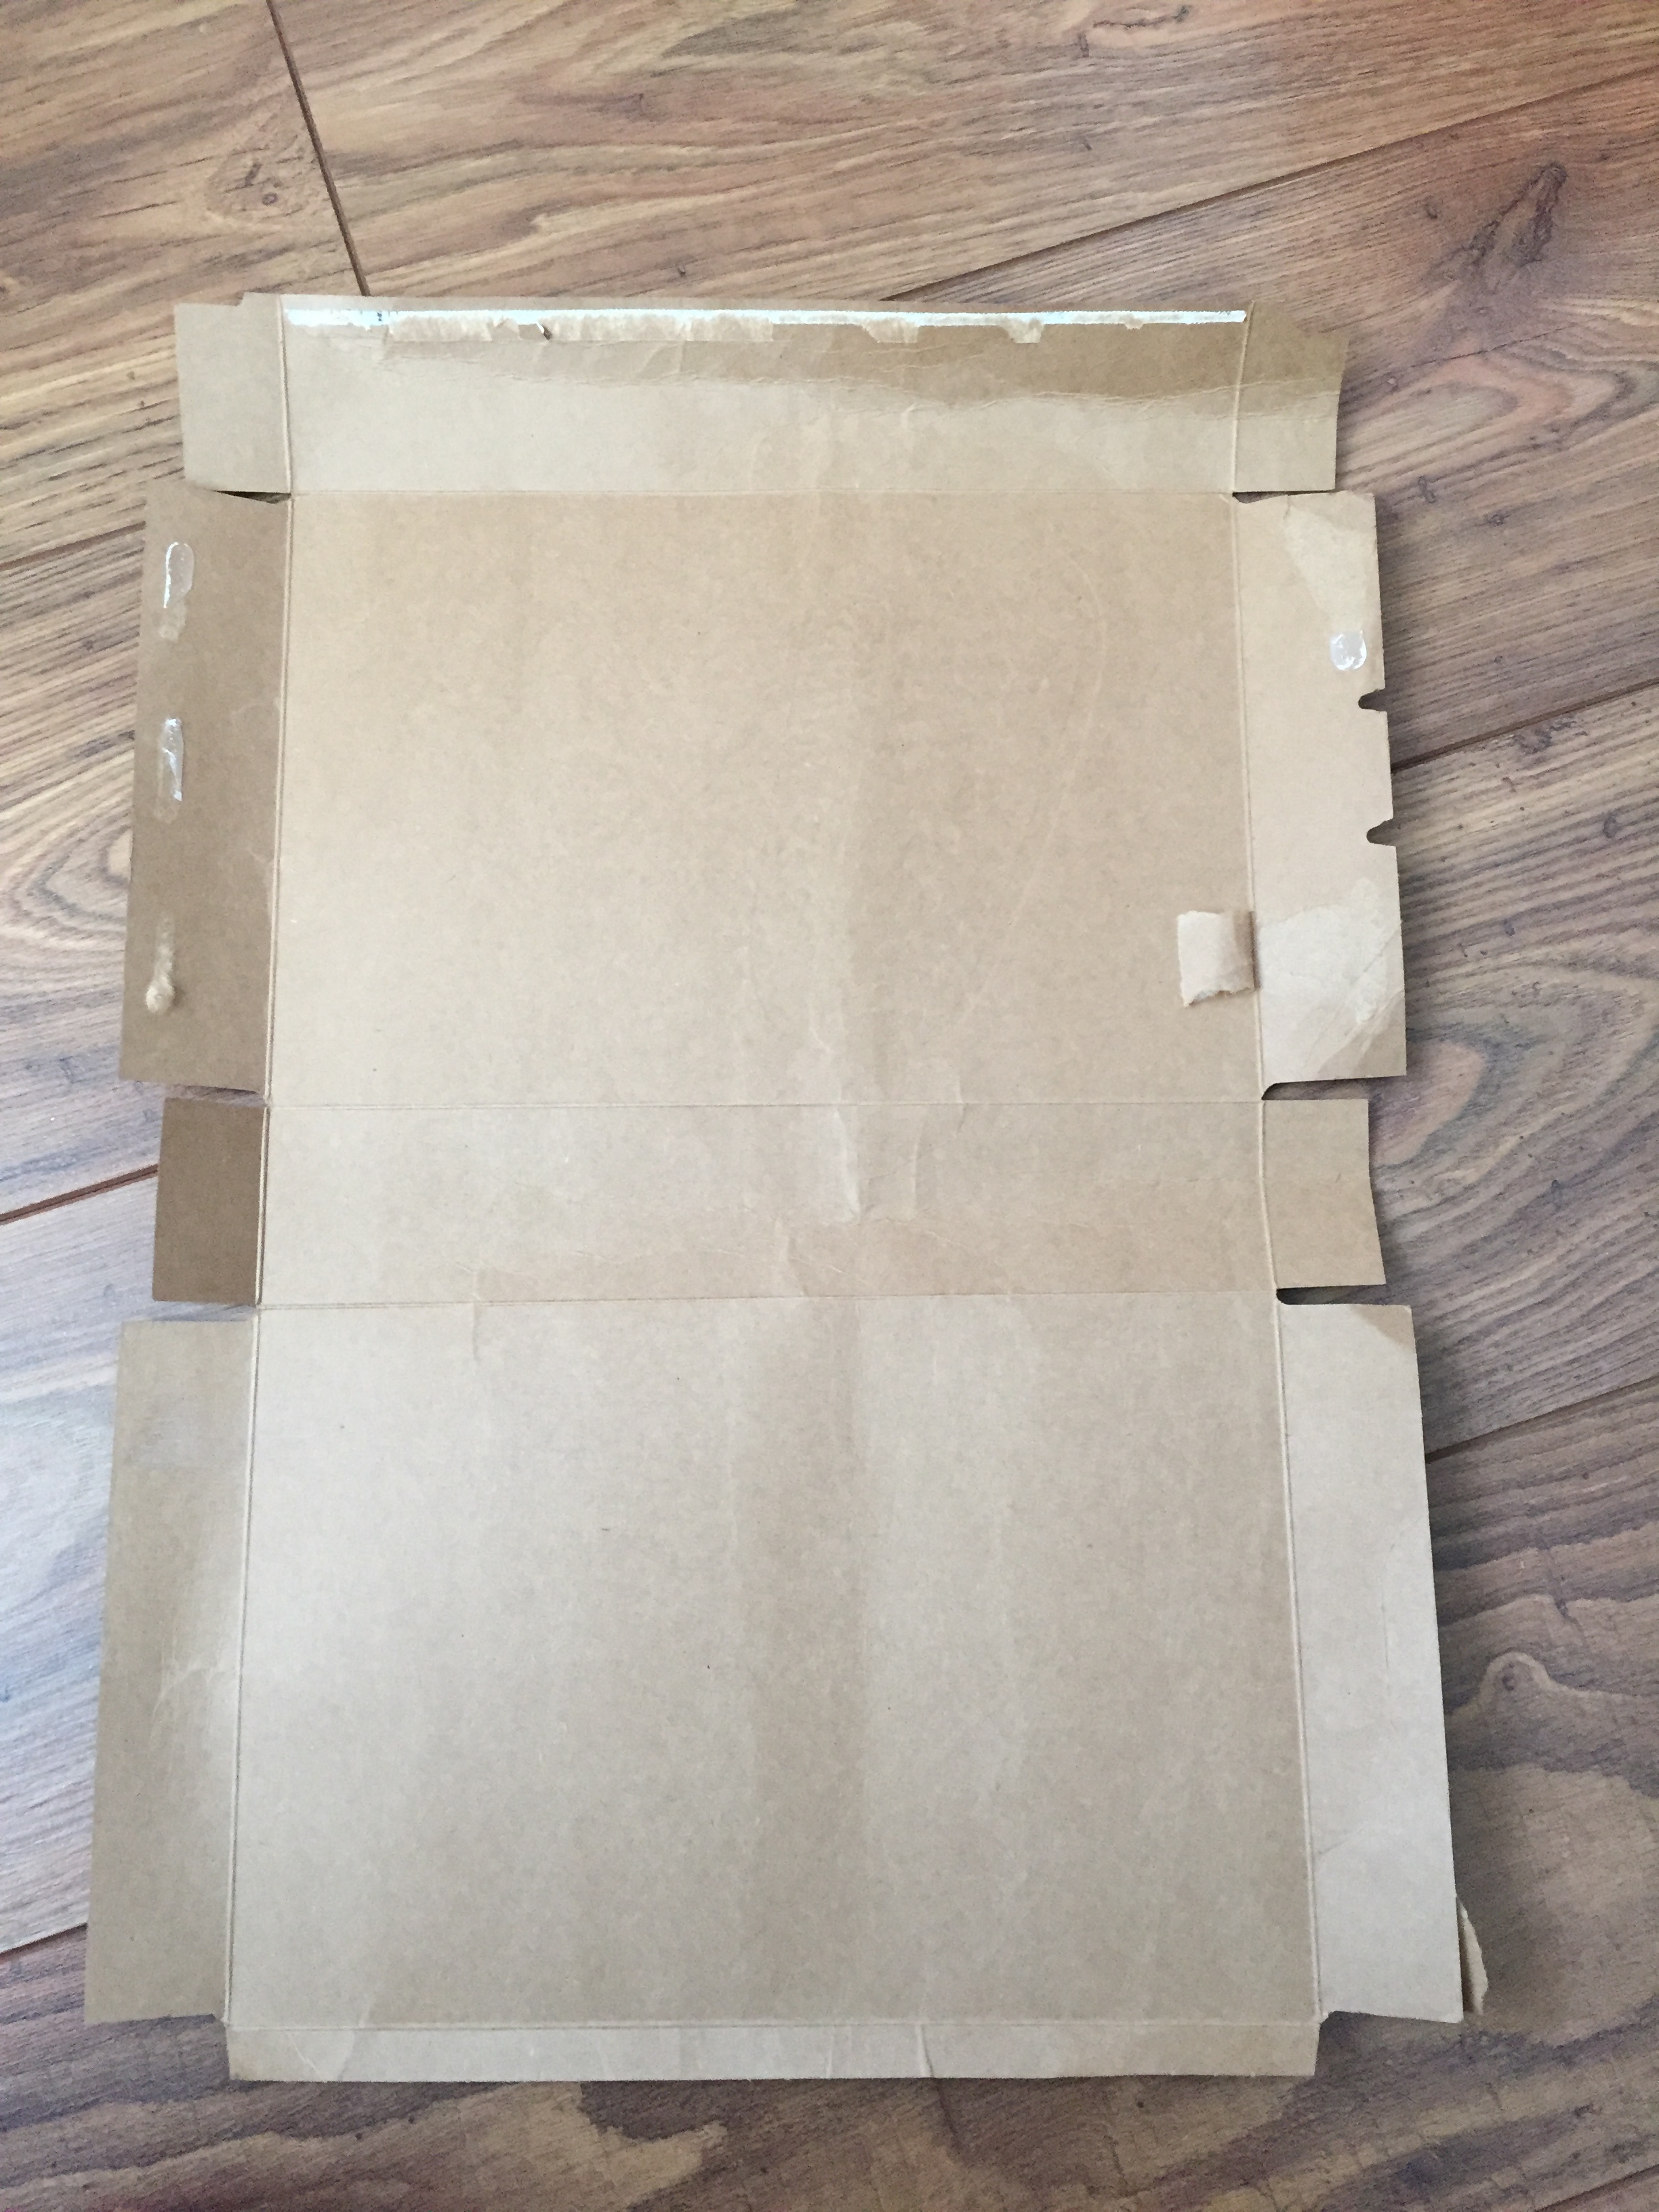
Yarn always inspire me!sand papera paper bagdifferent gauge nailsa cereal box
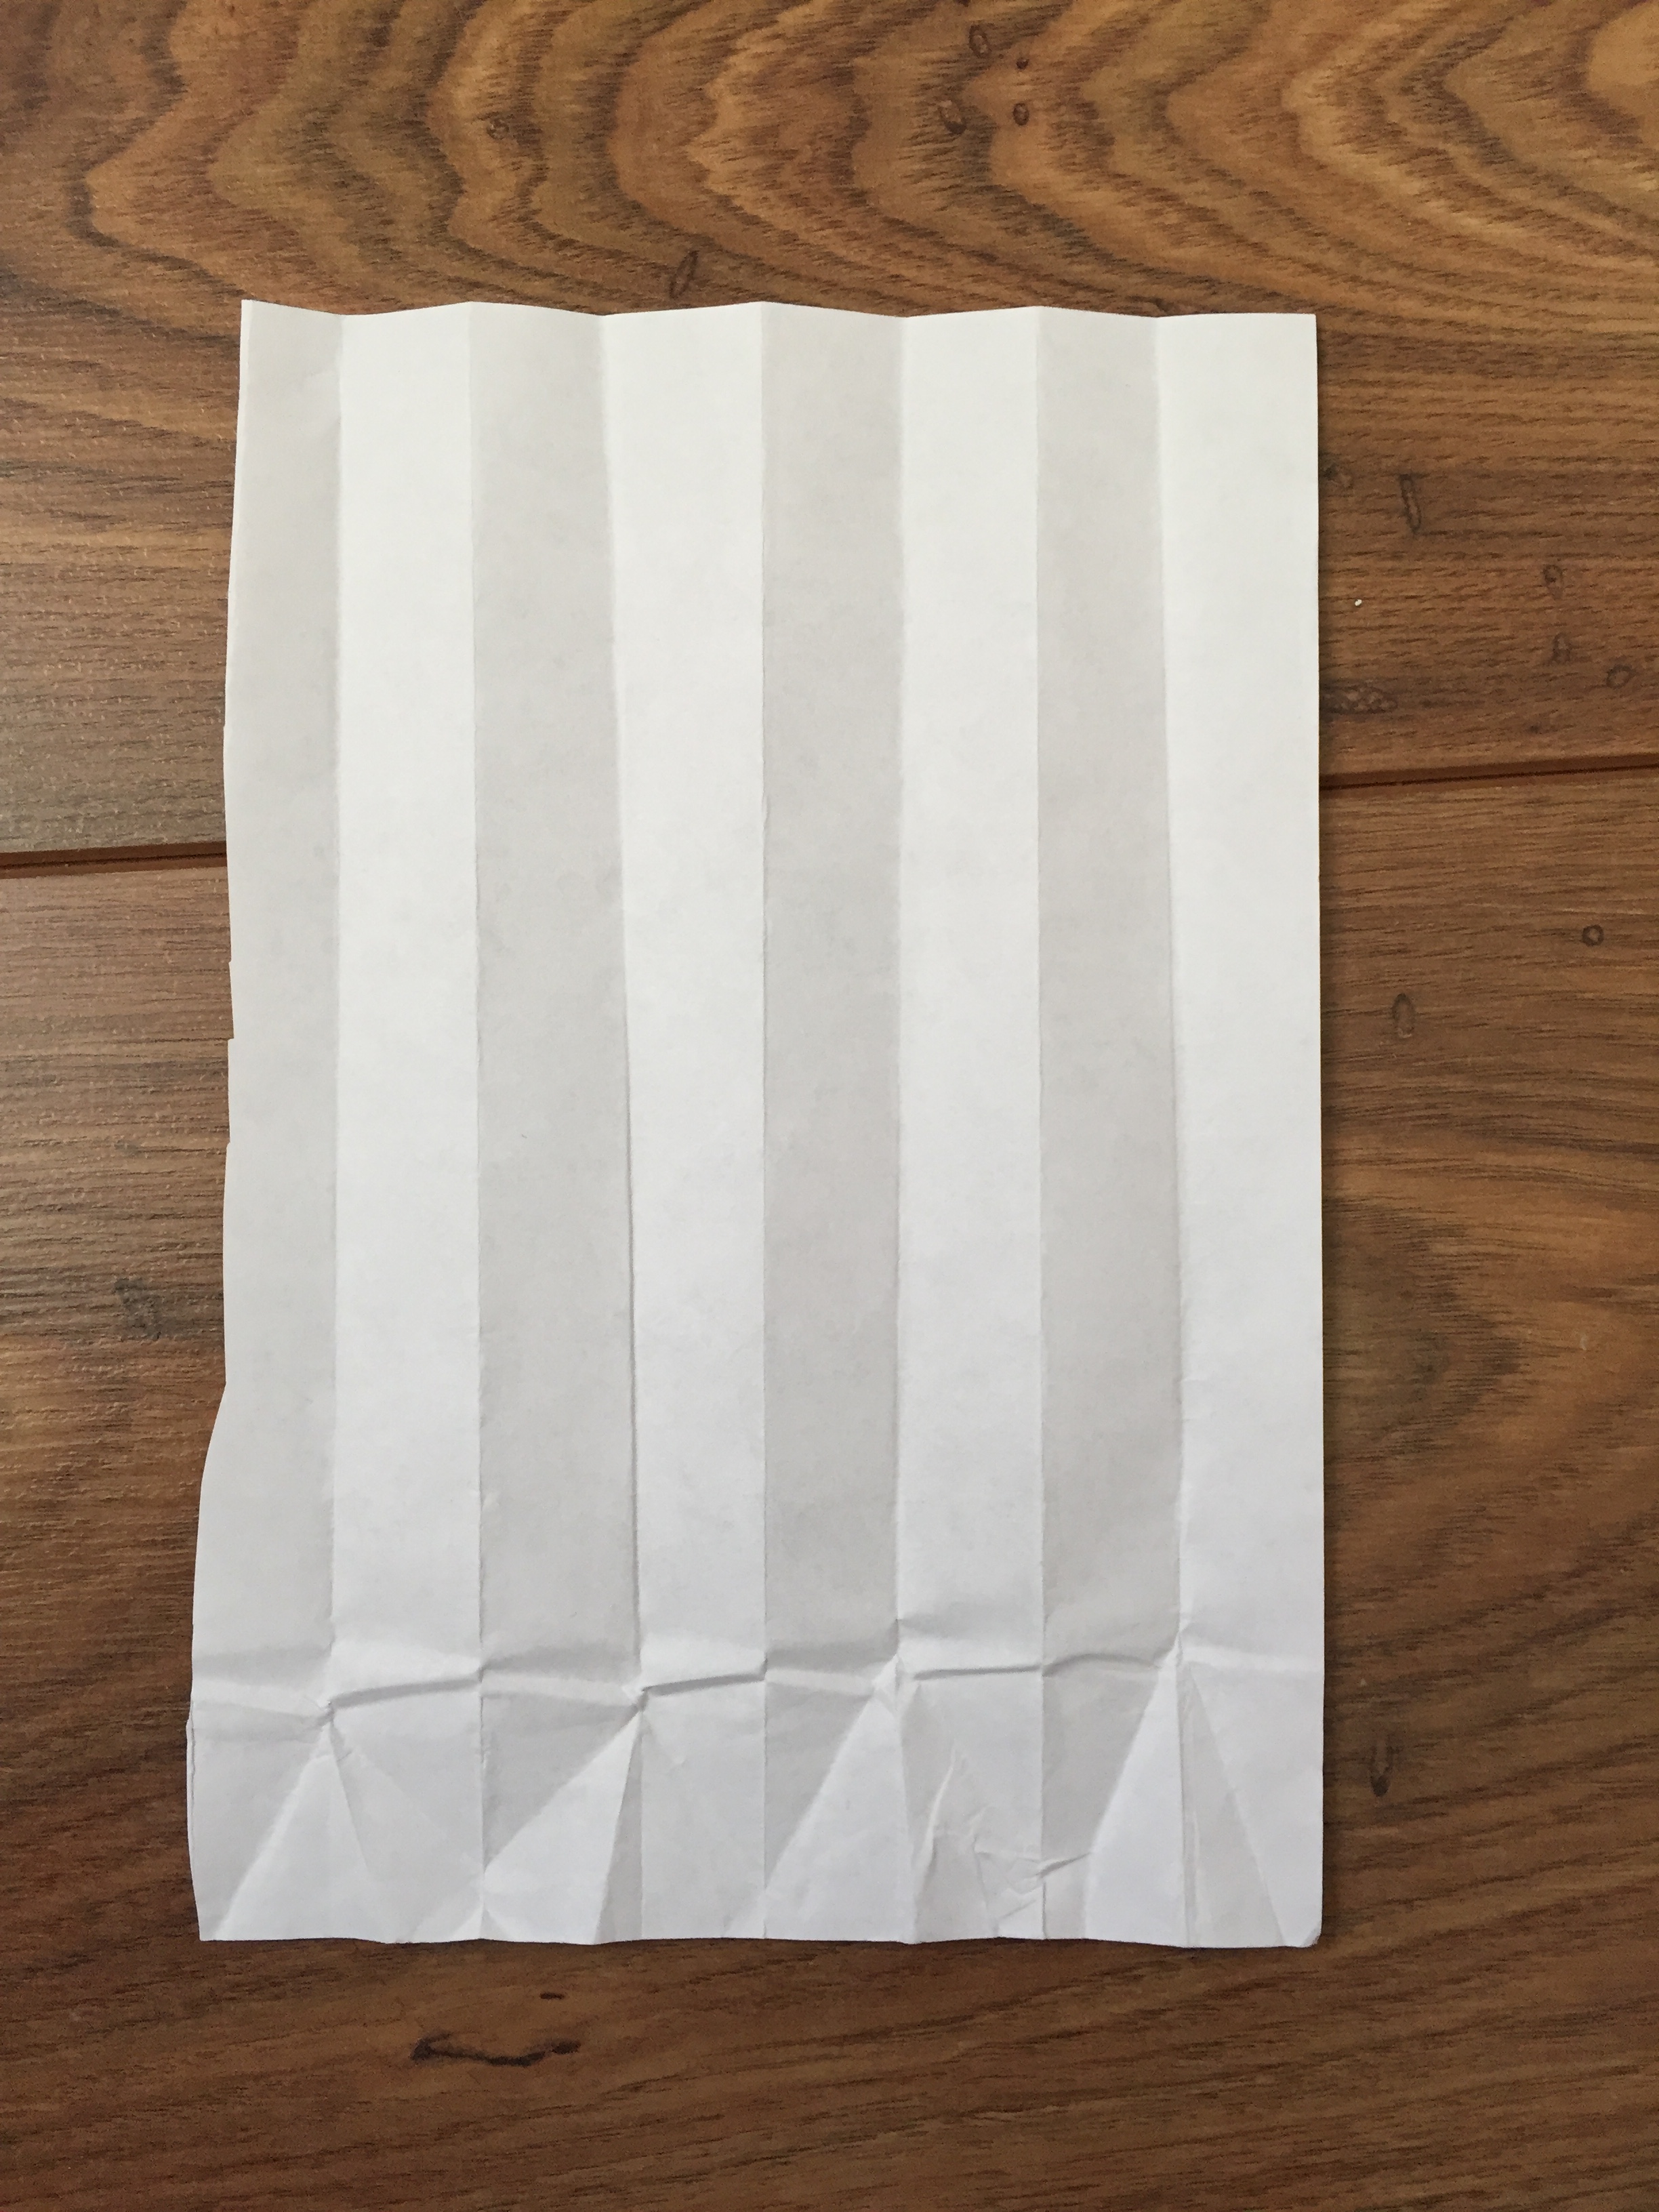
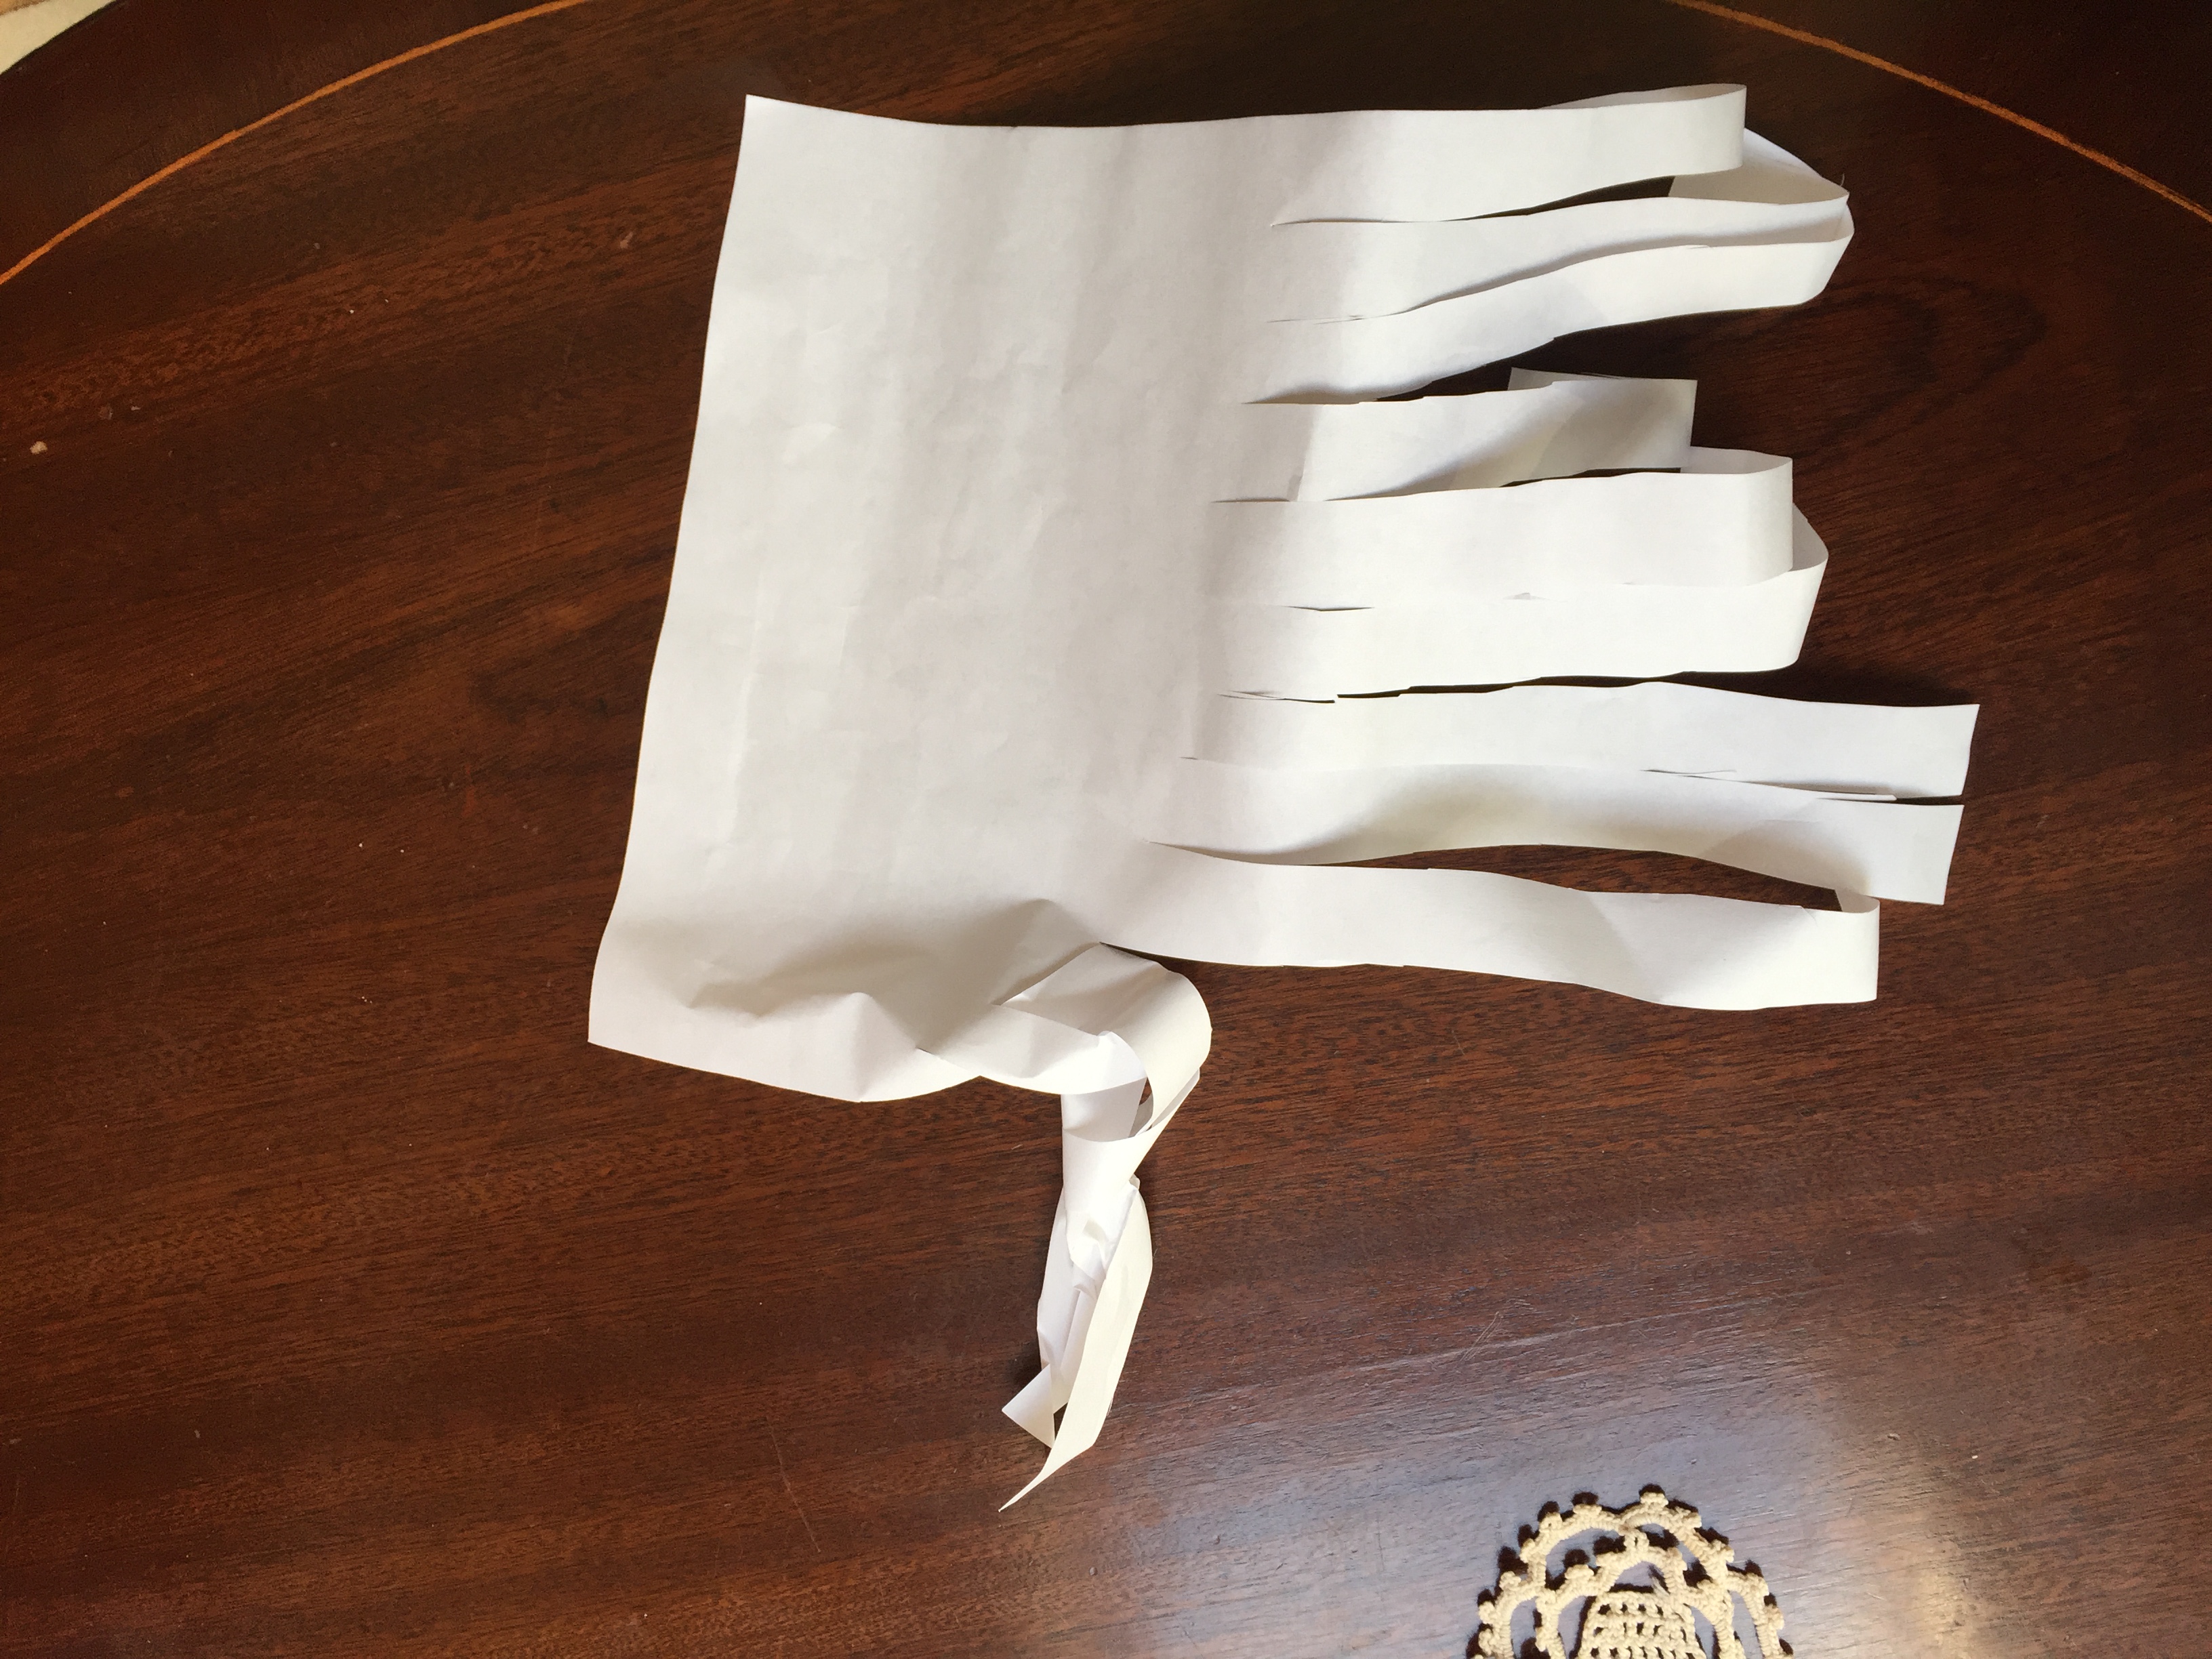
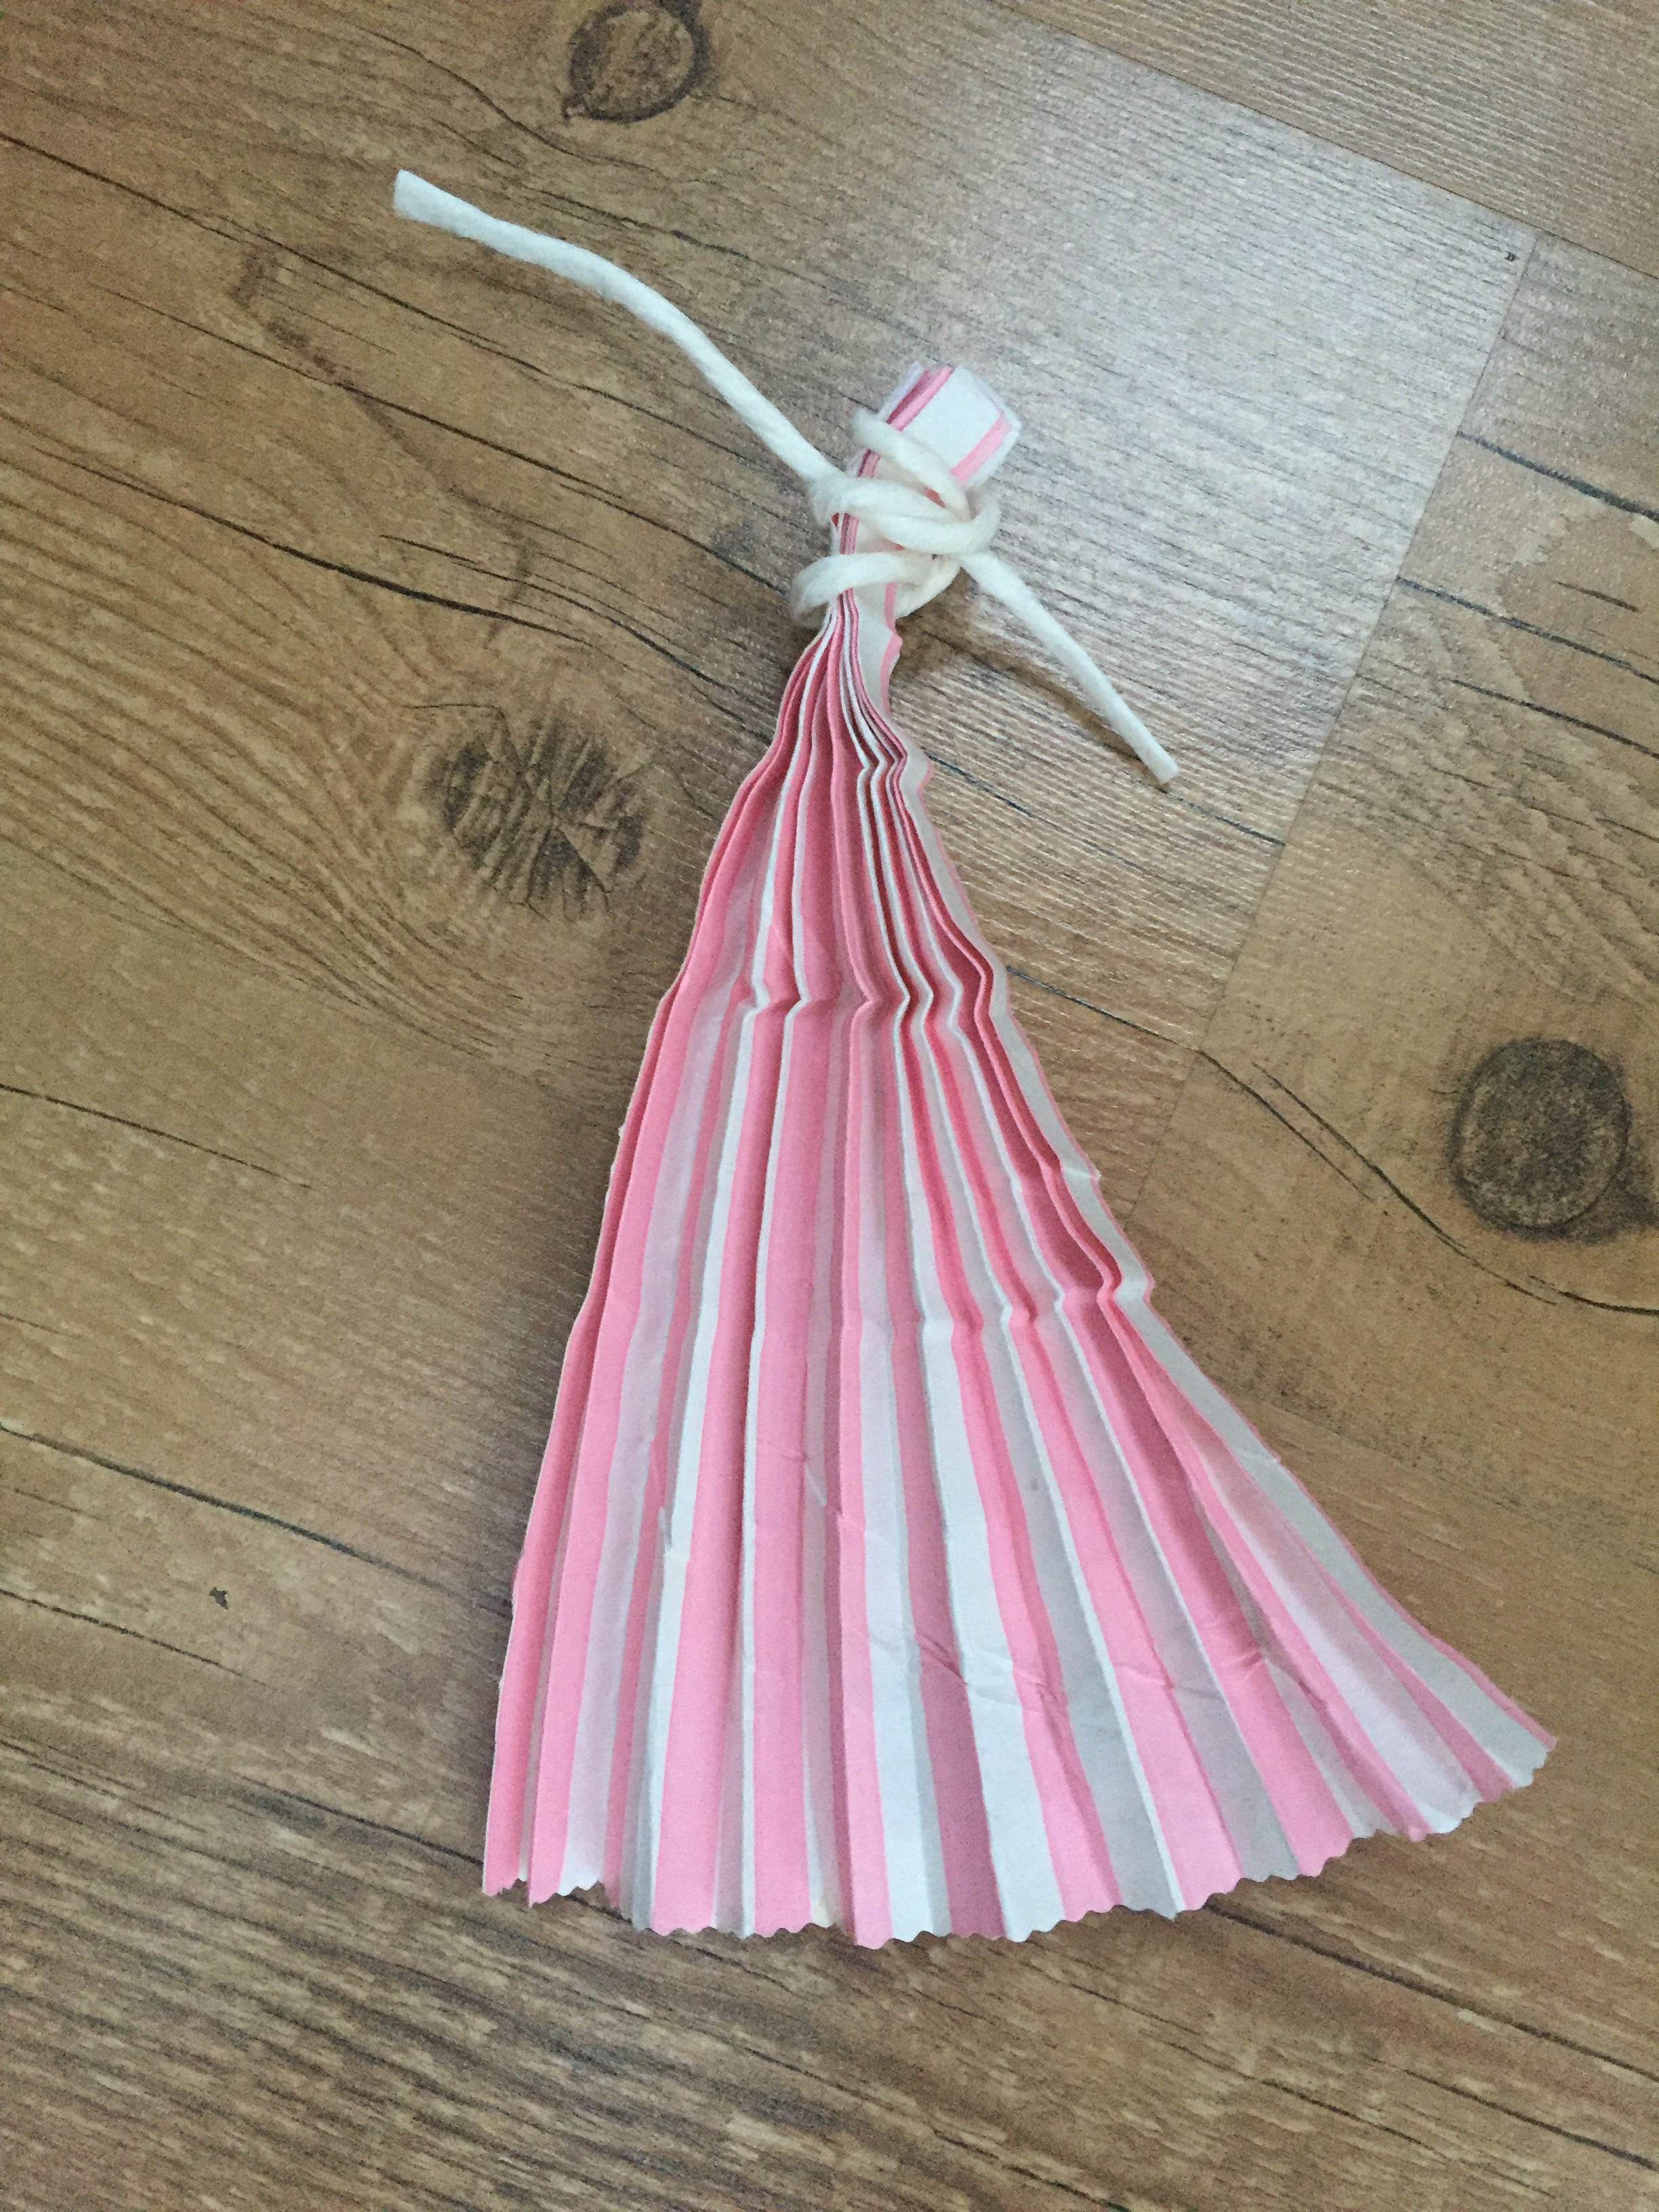
vertical lines and scallops in the edge
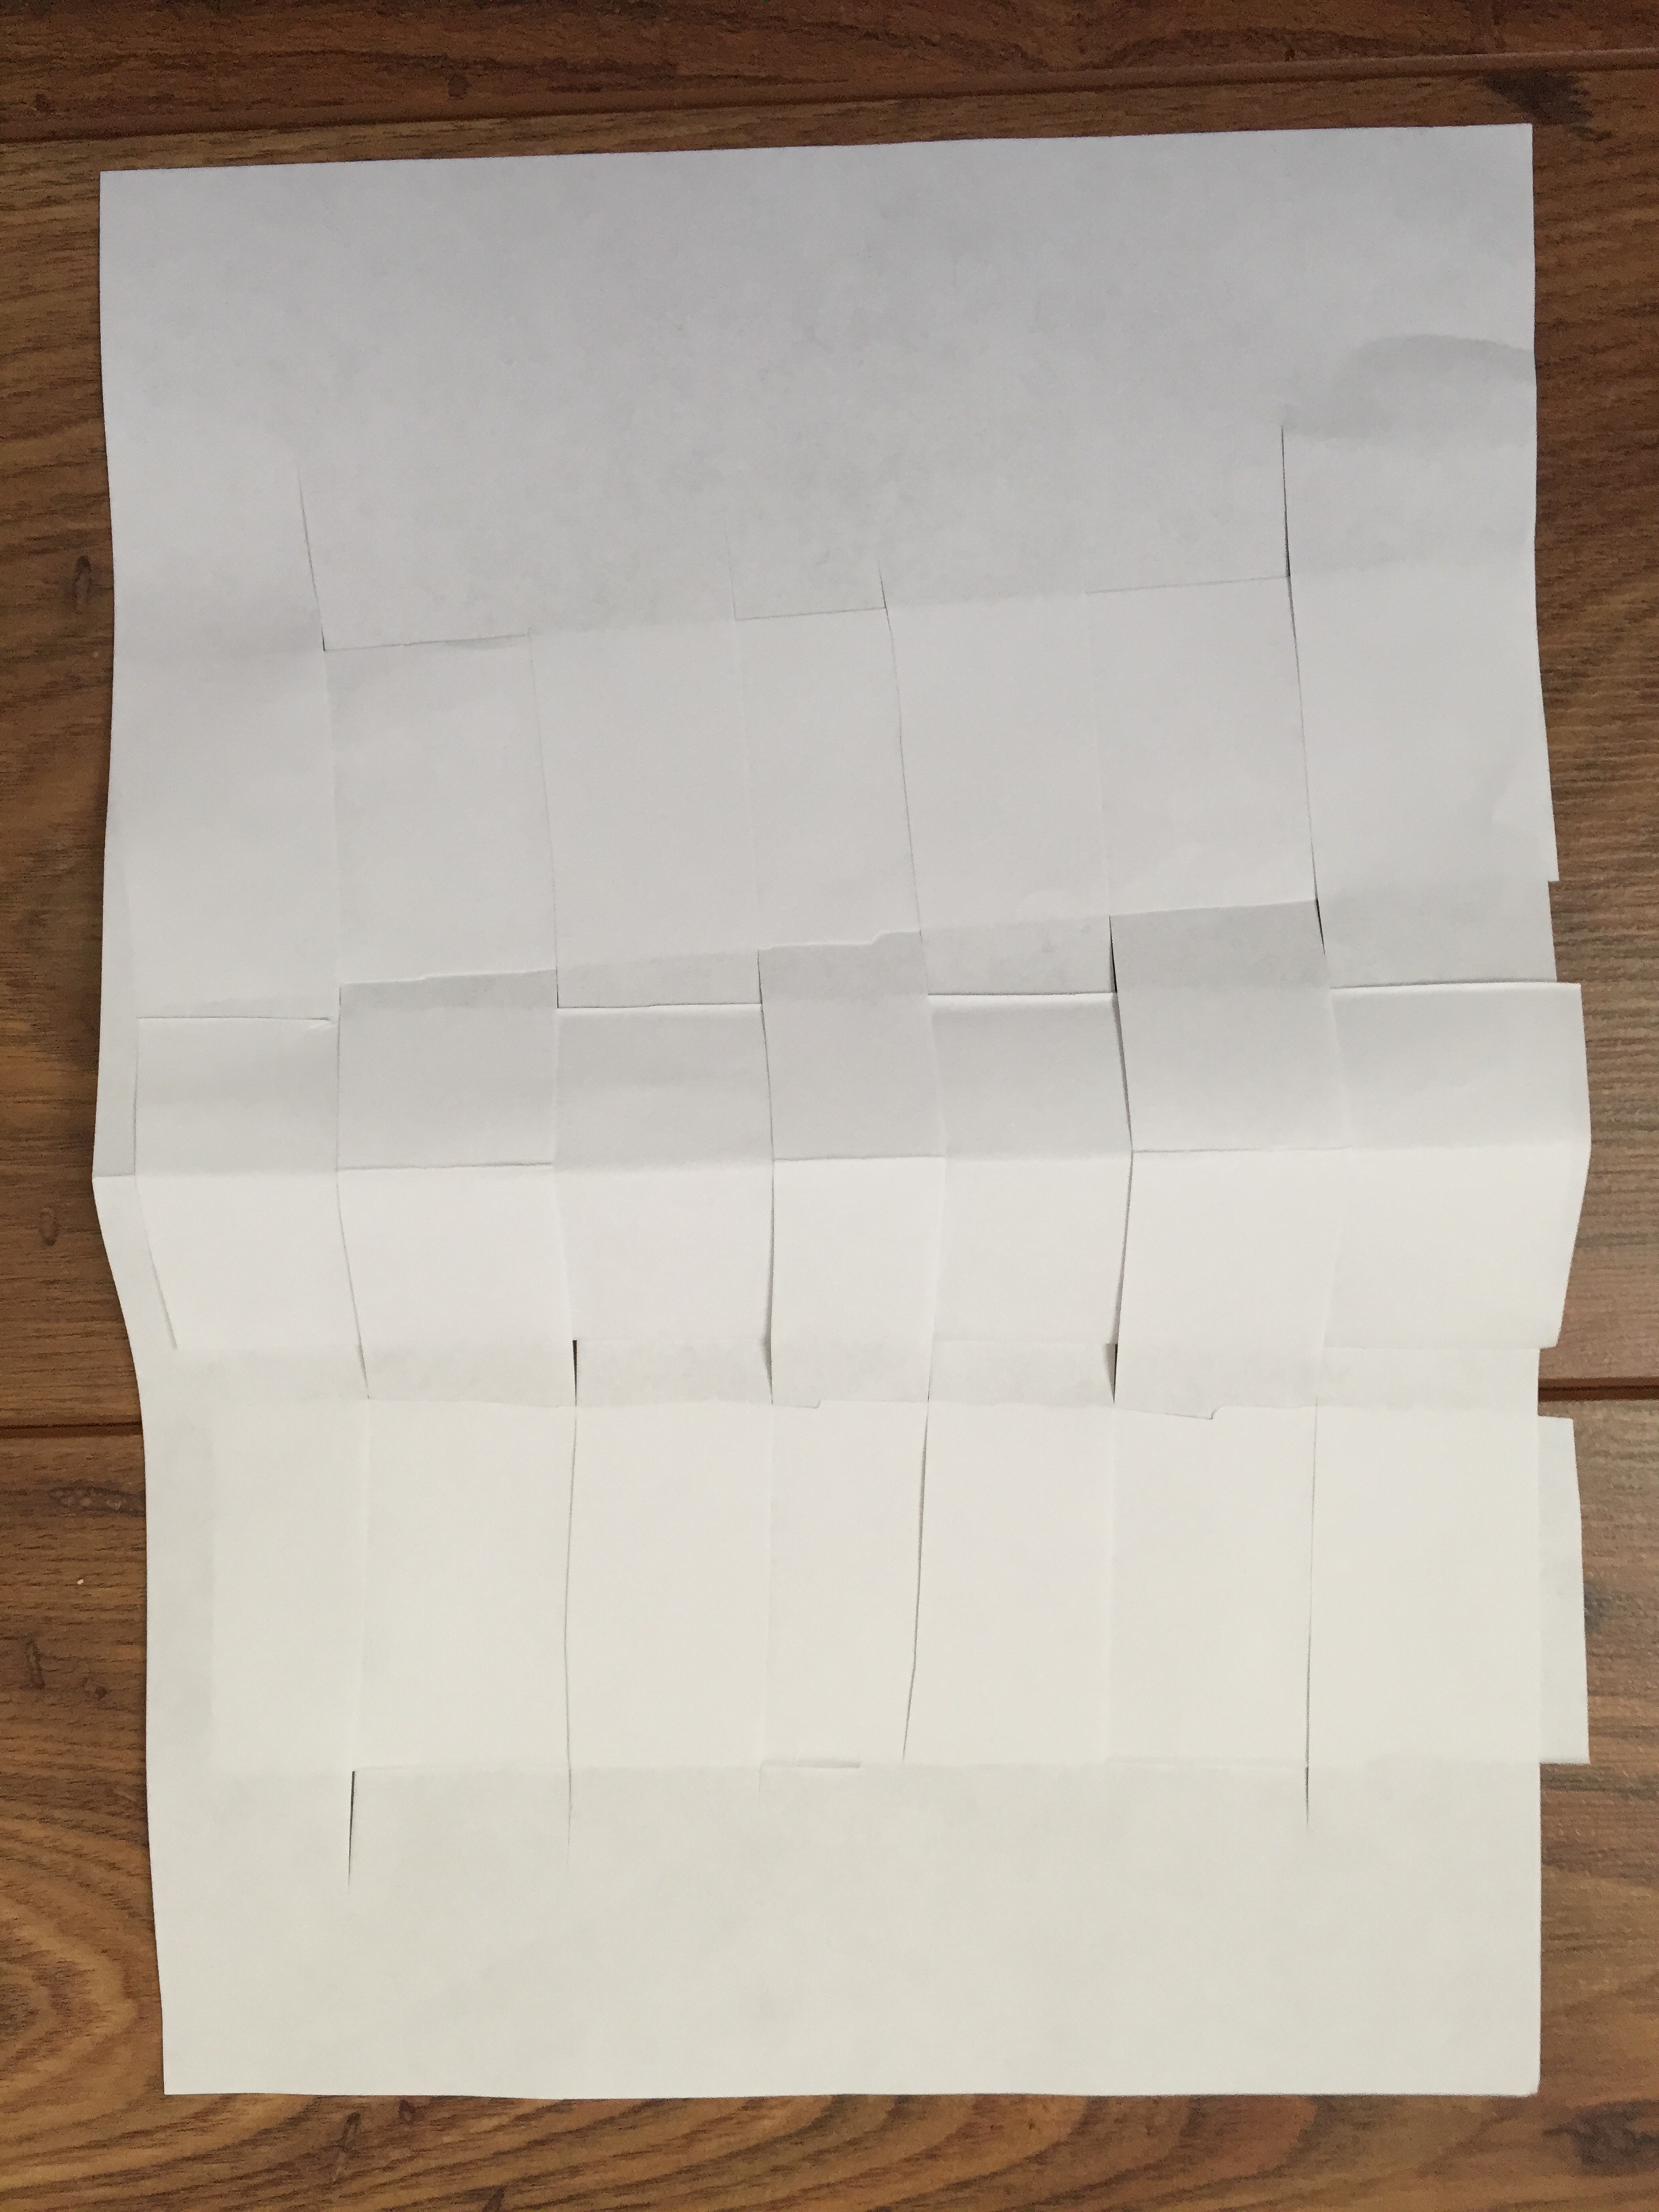
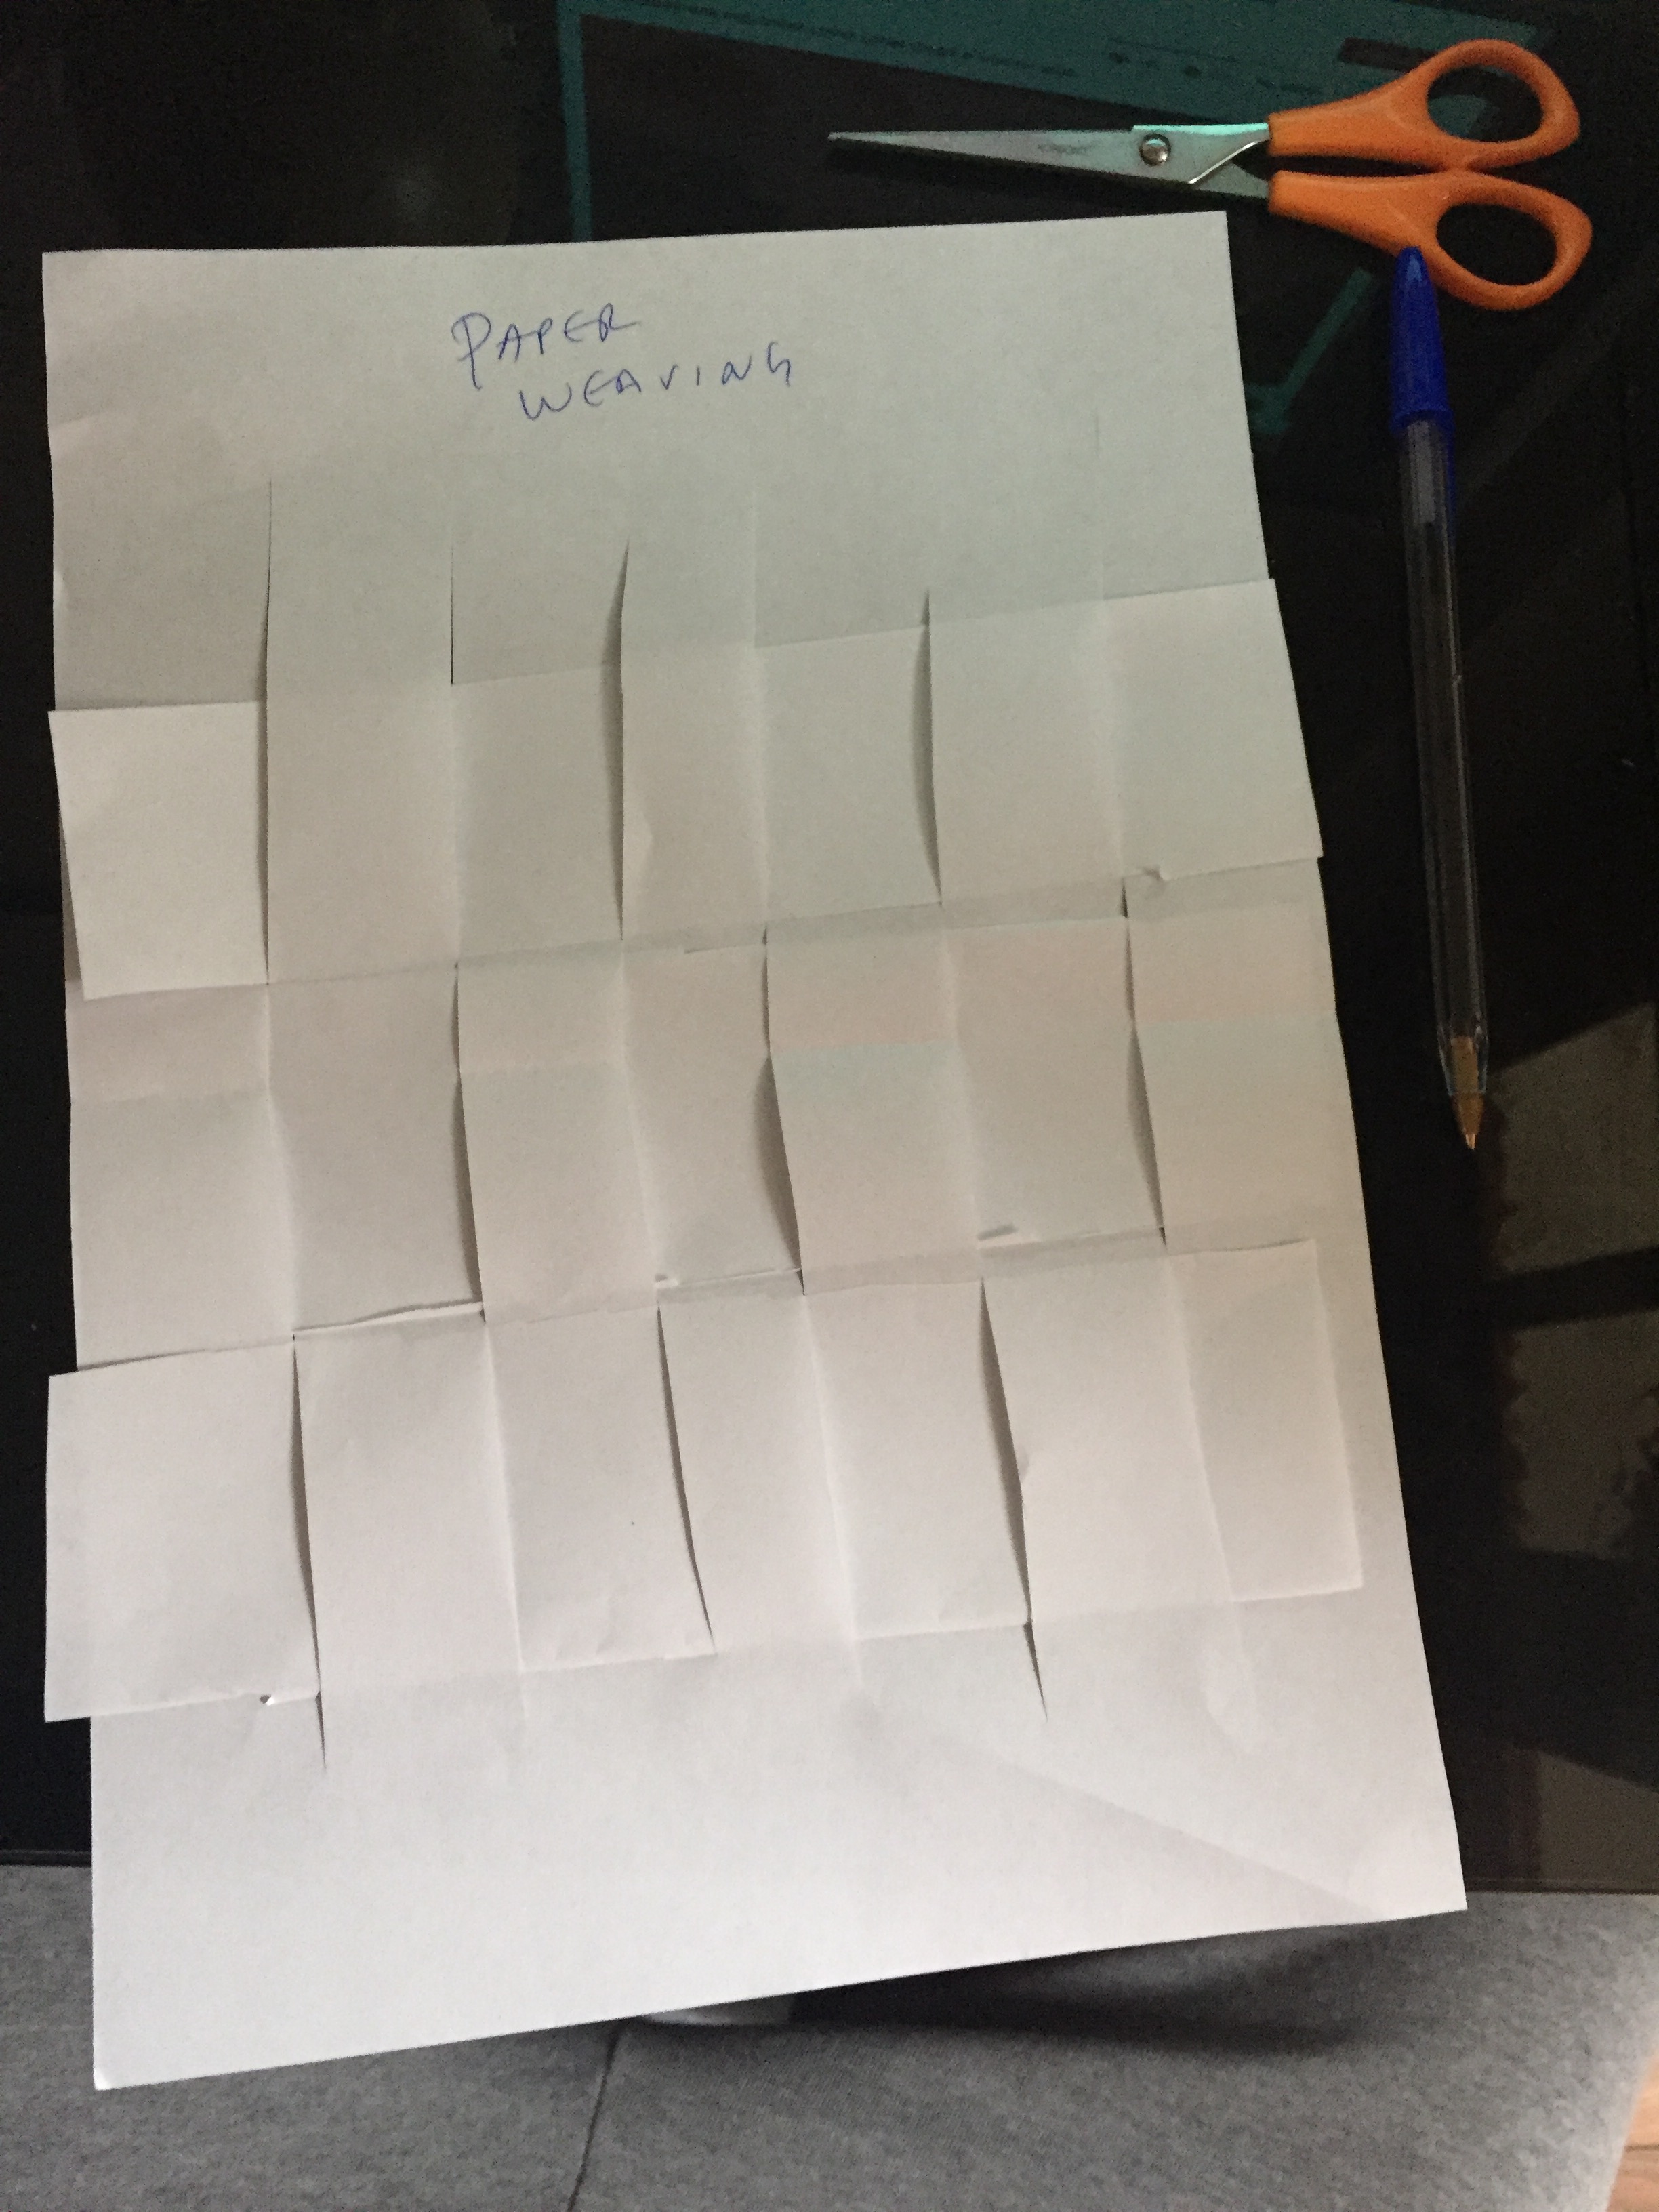
squares on a A4 paper halfed
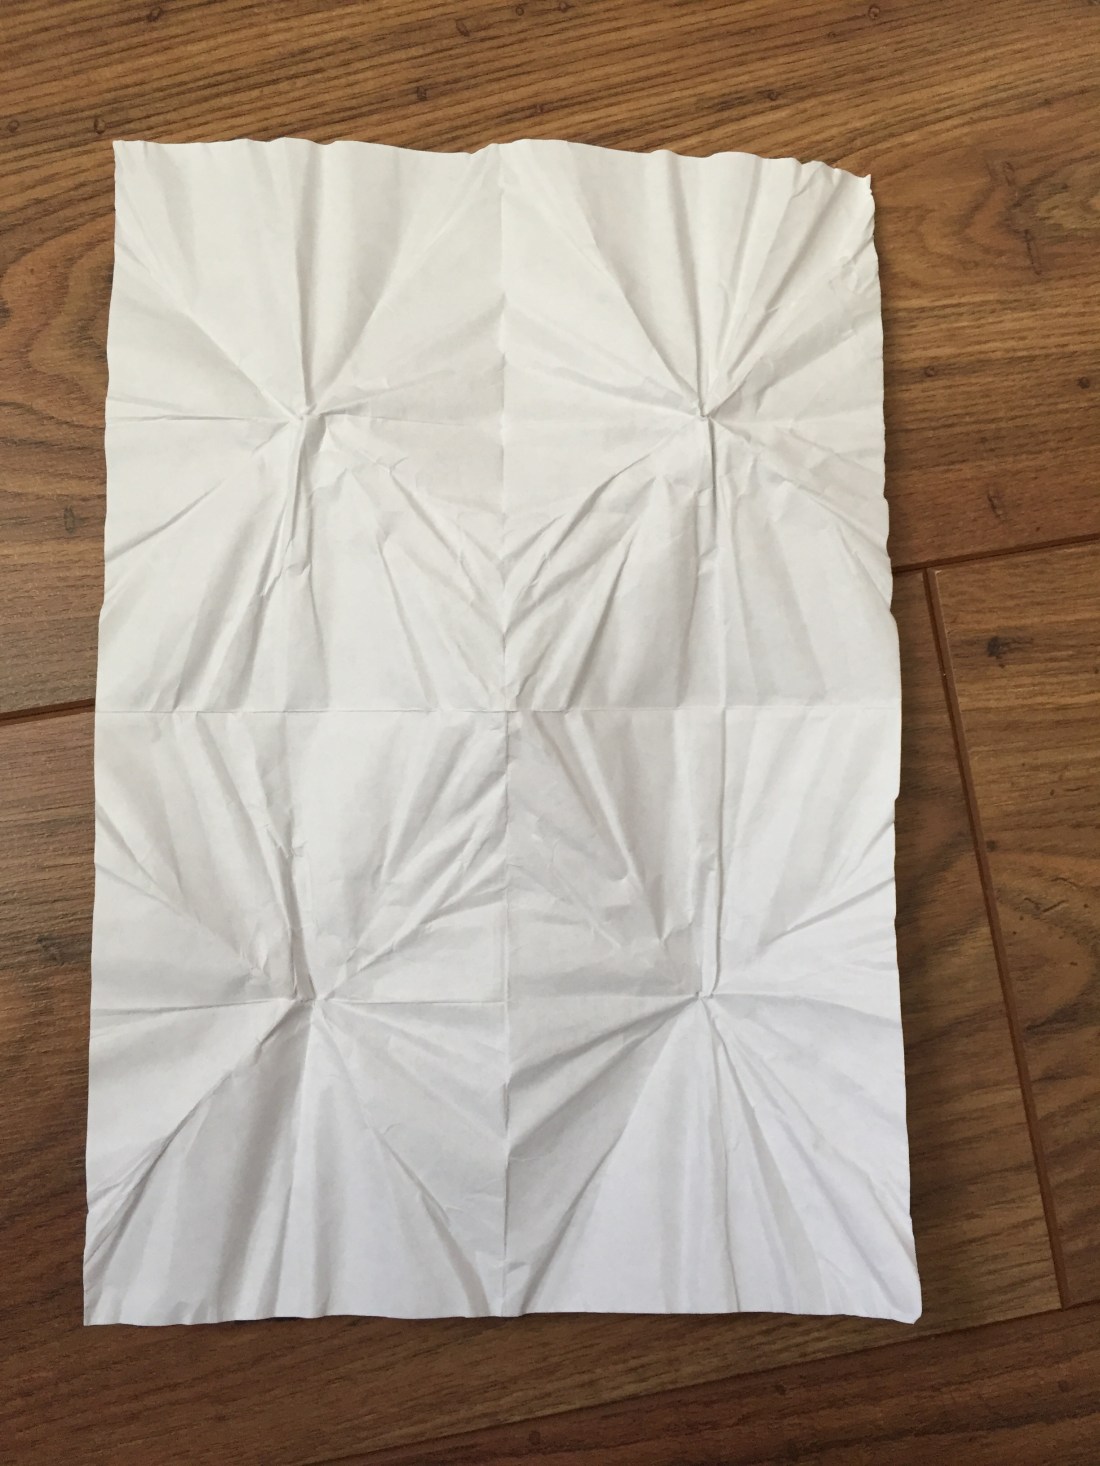
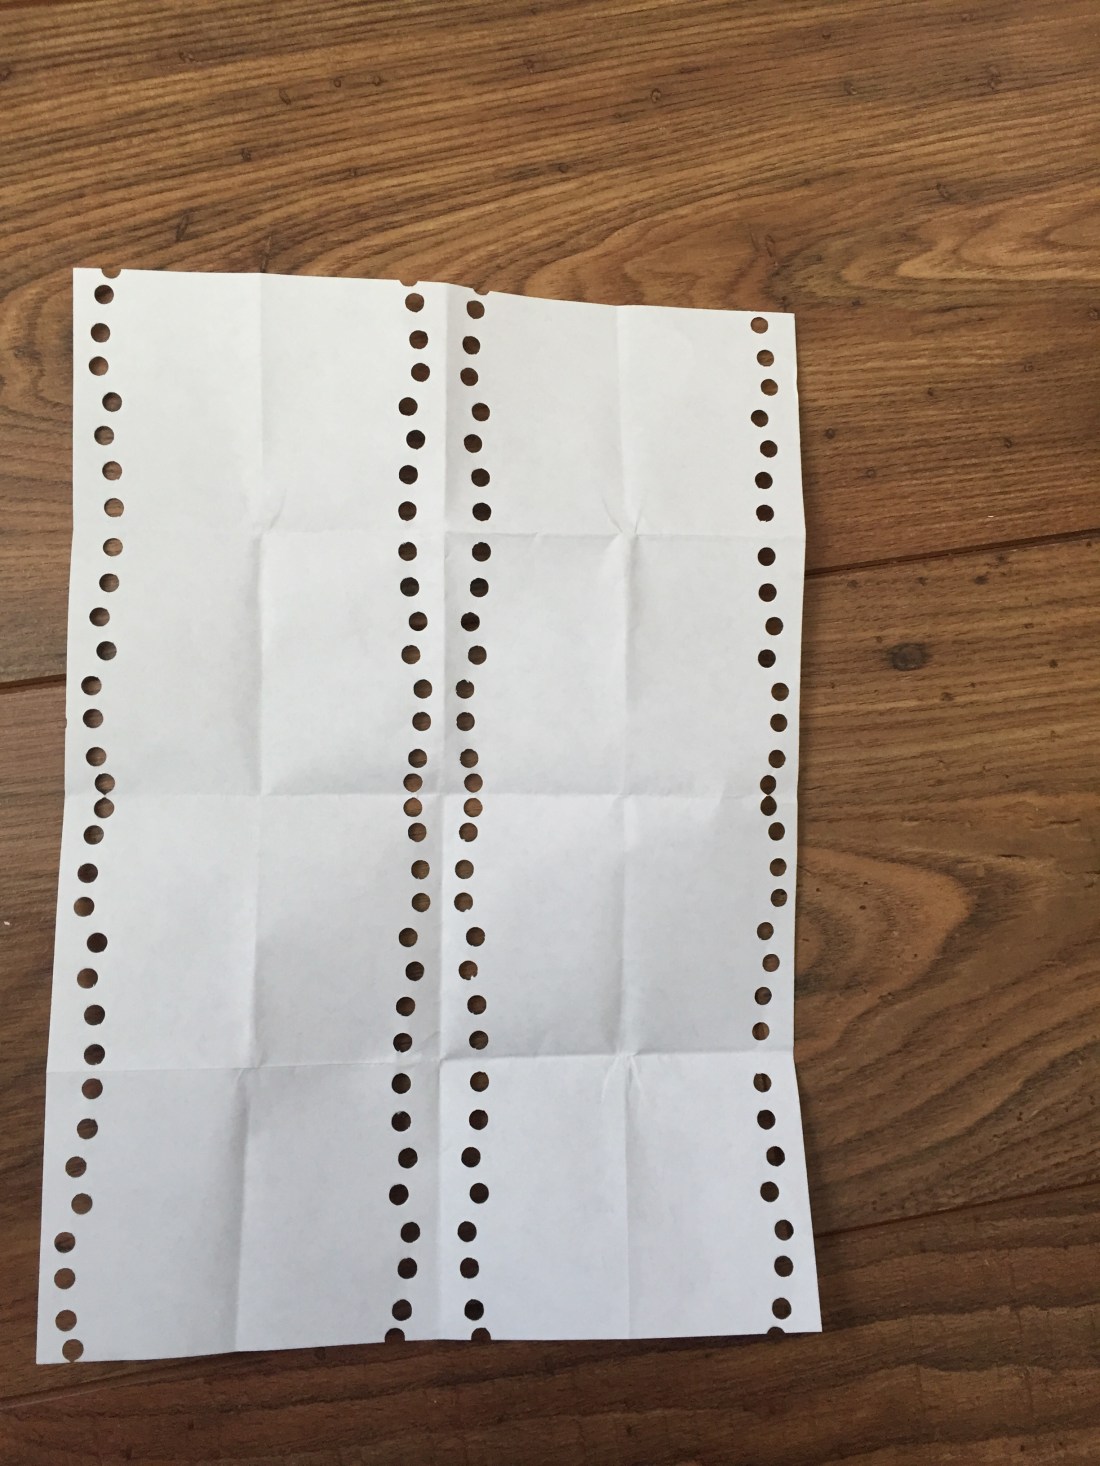
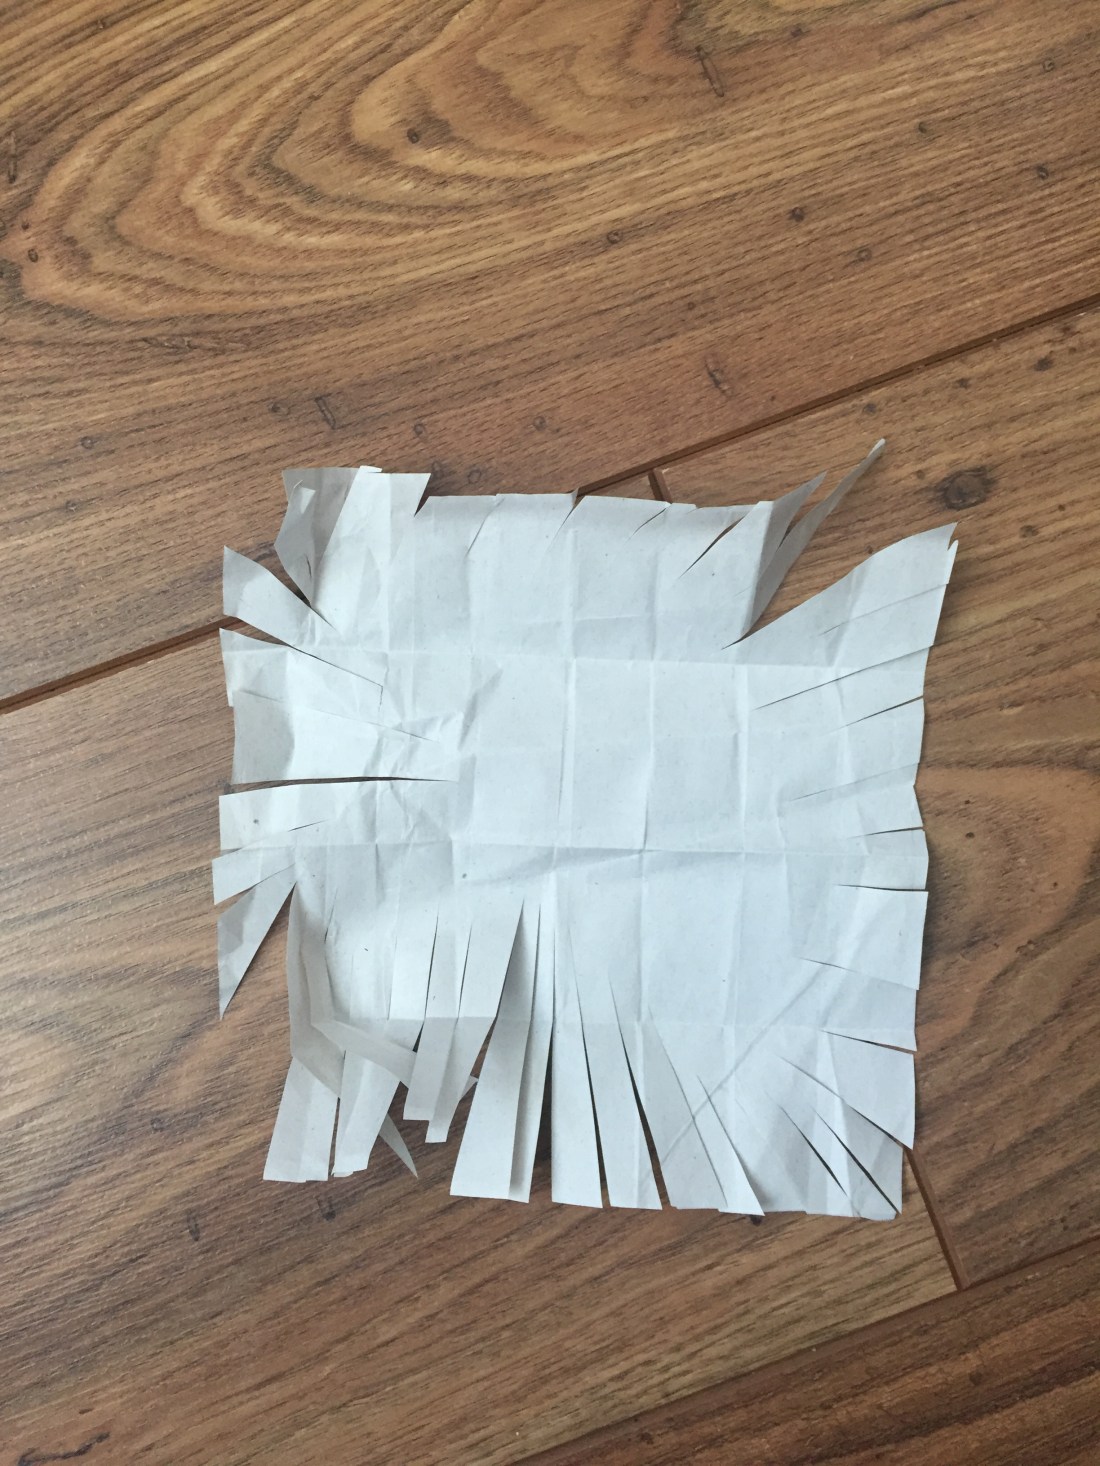
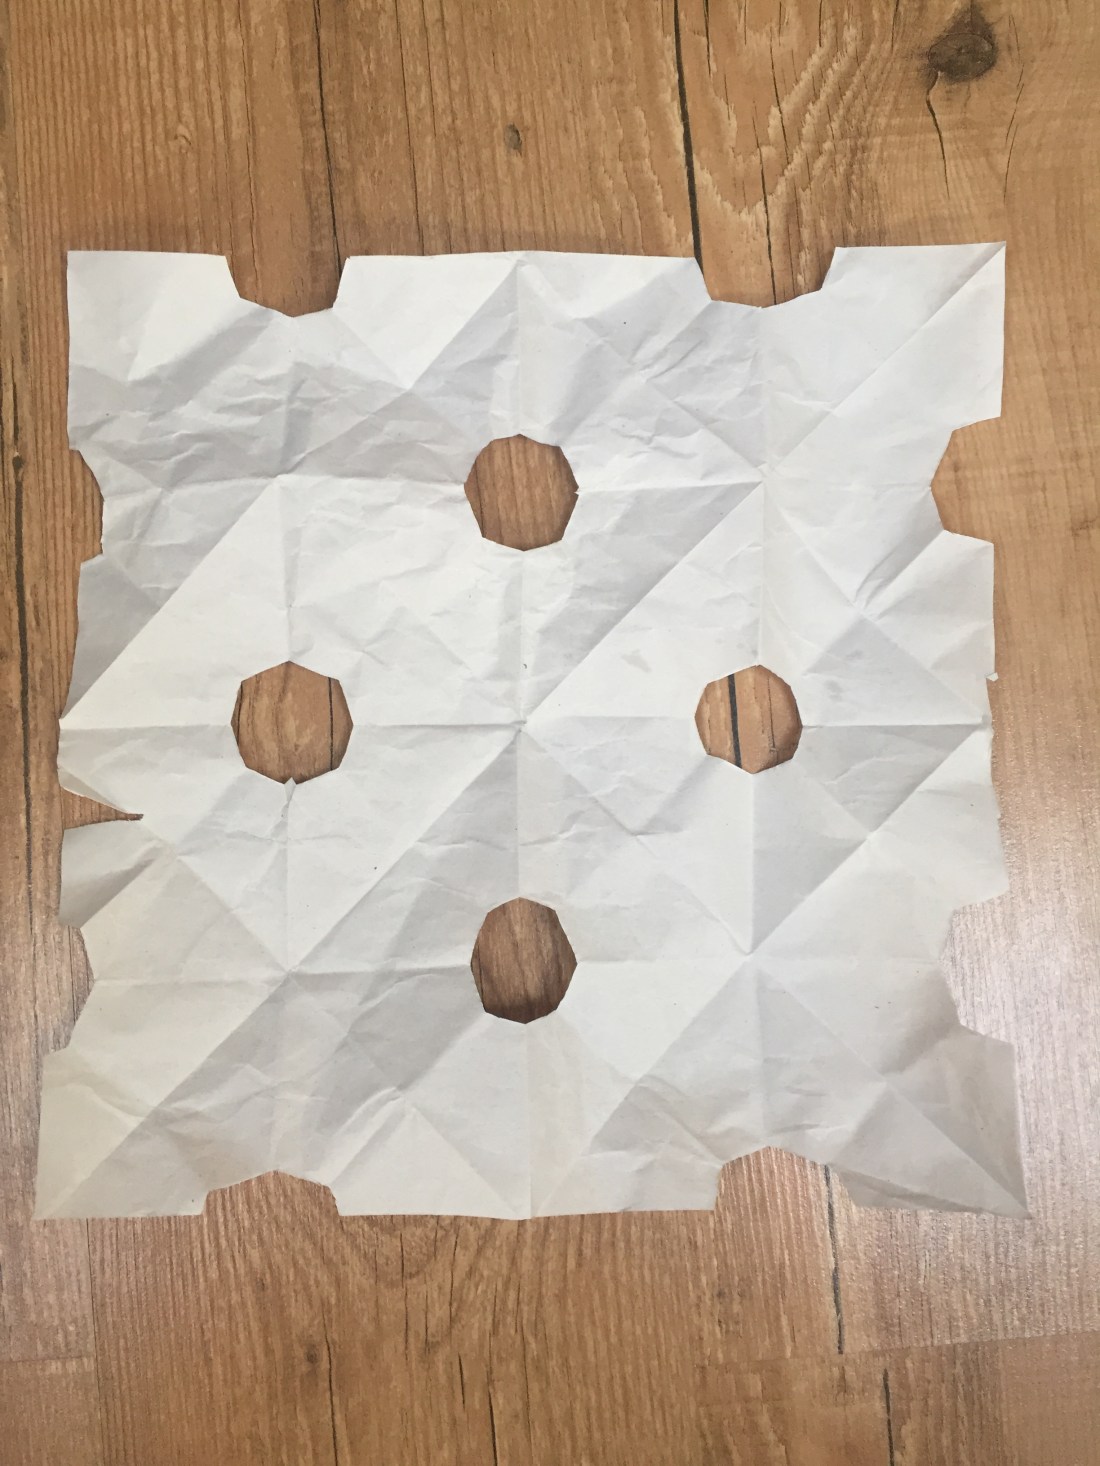
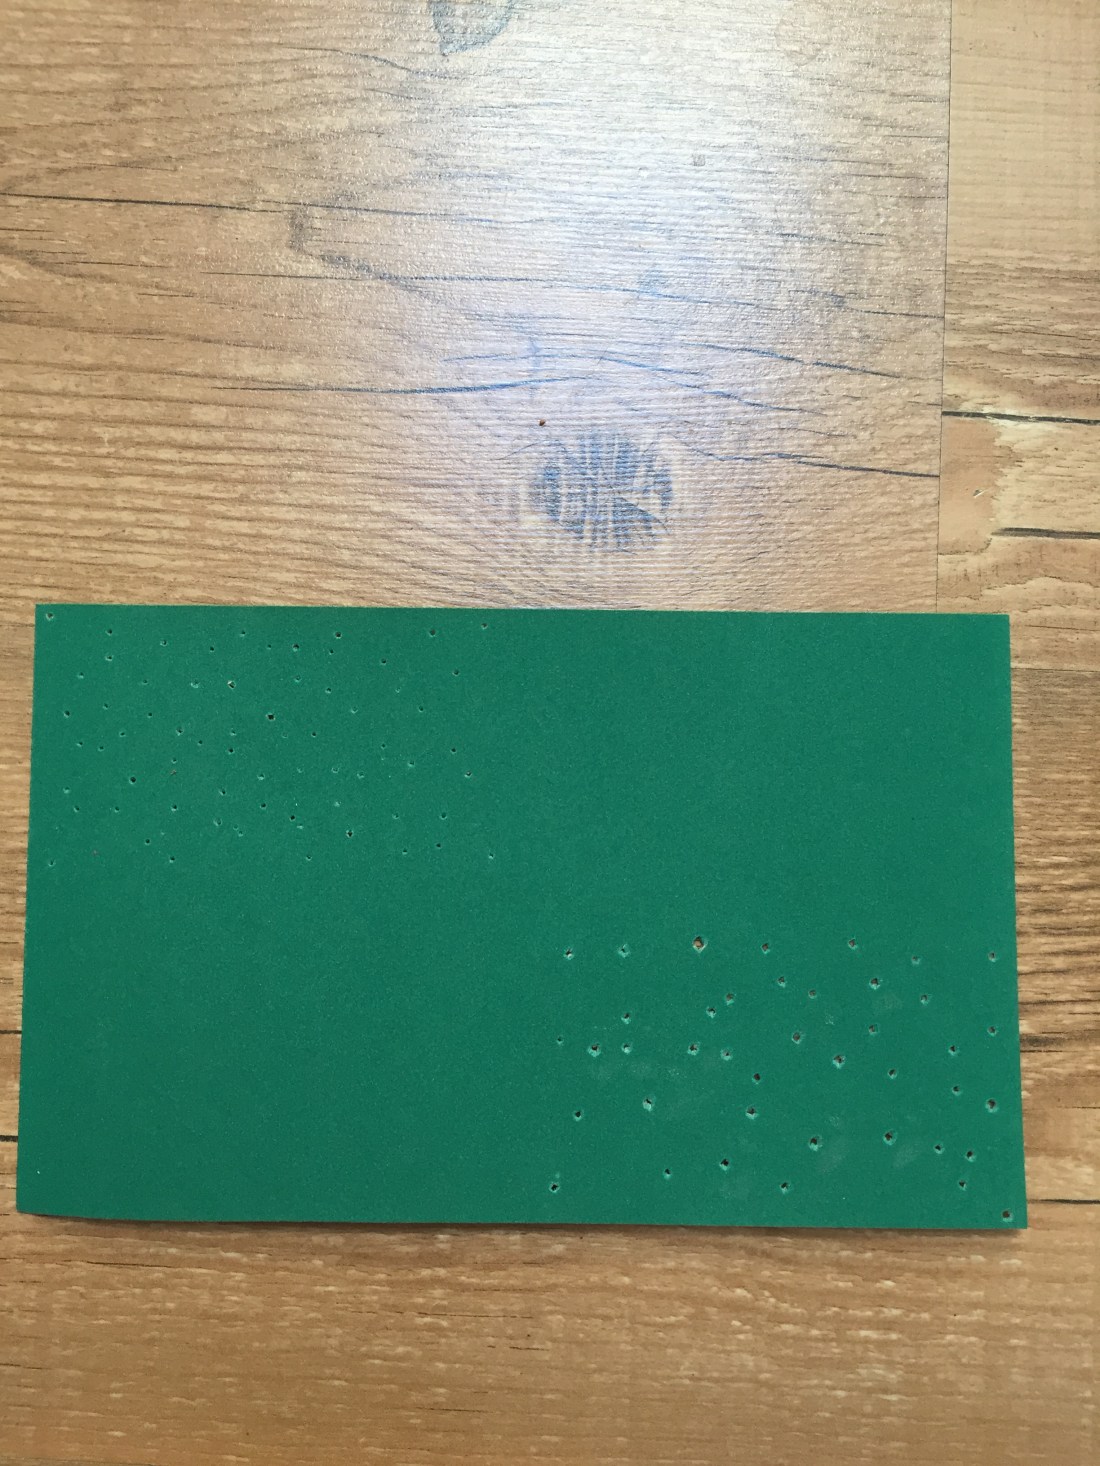
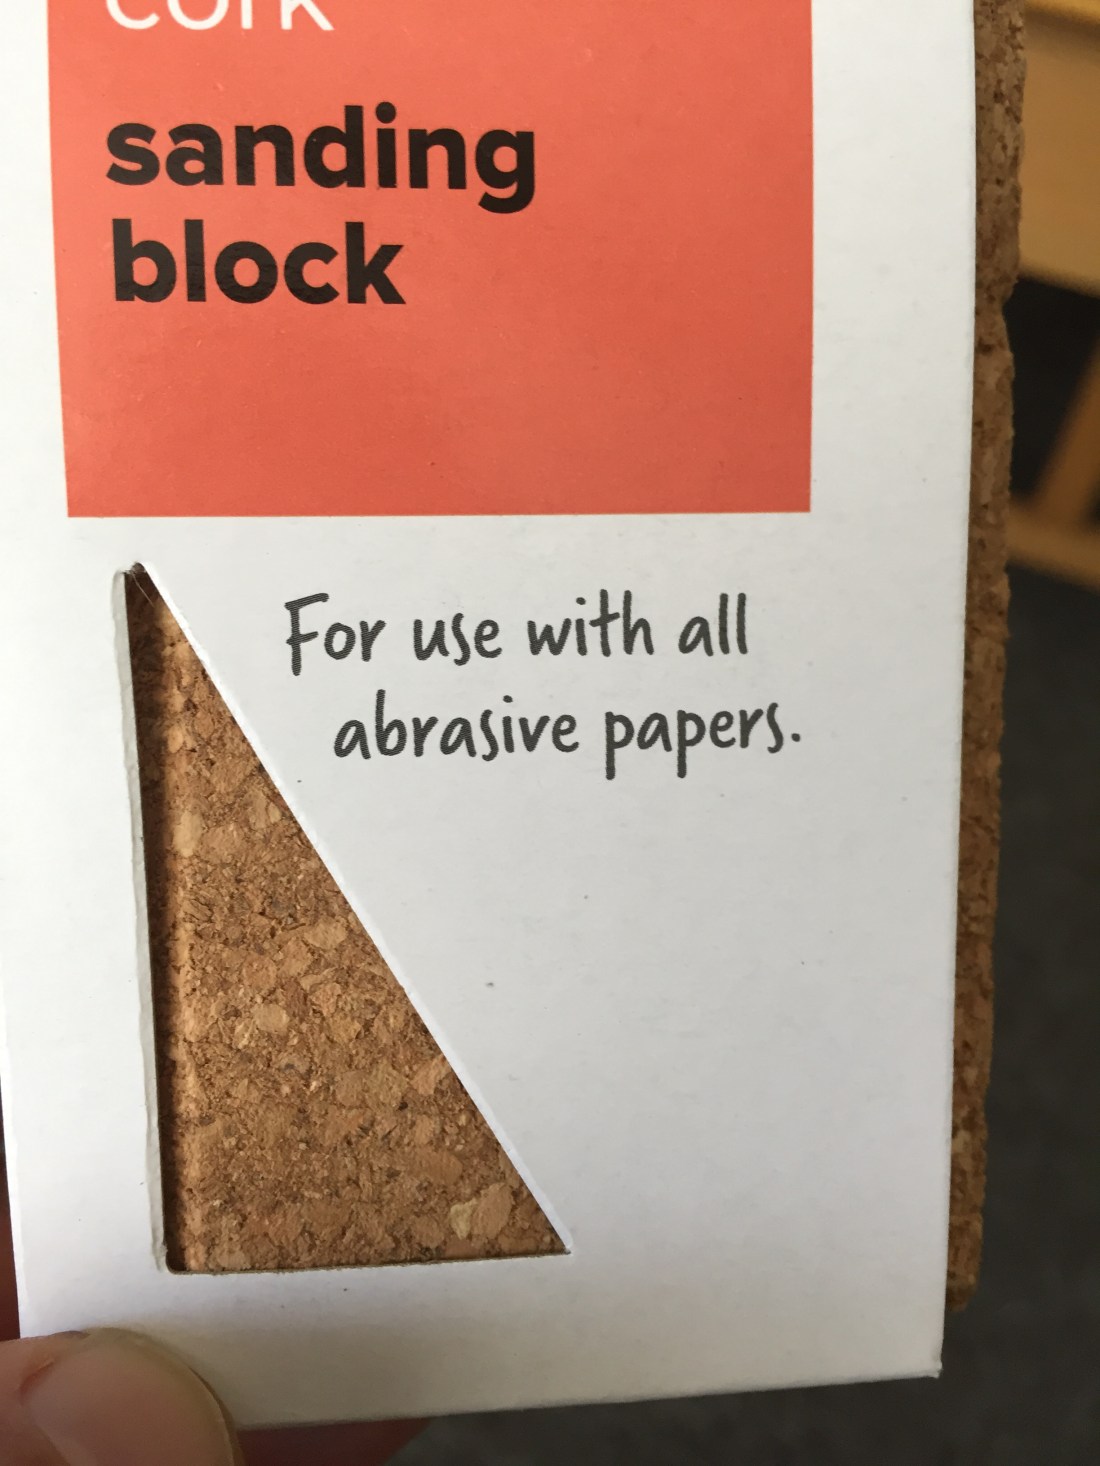
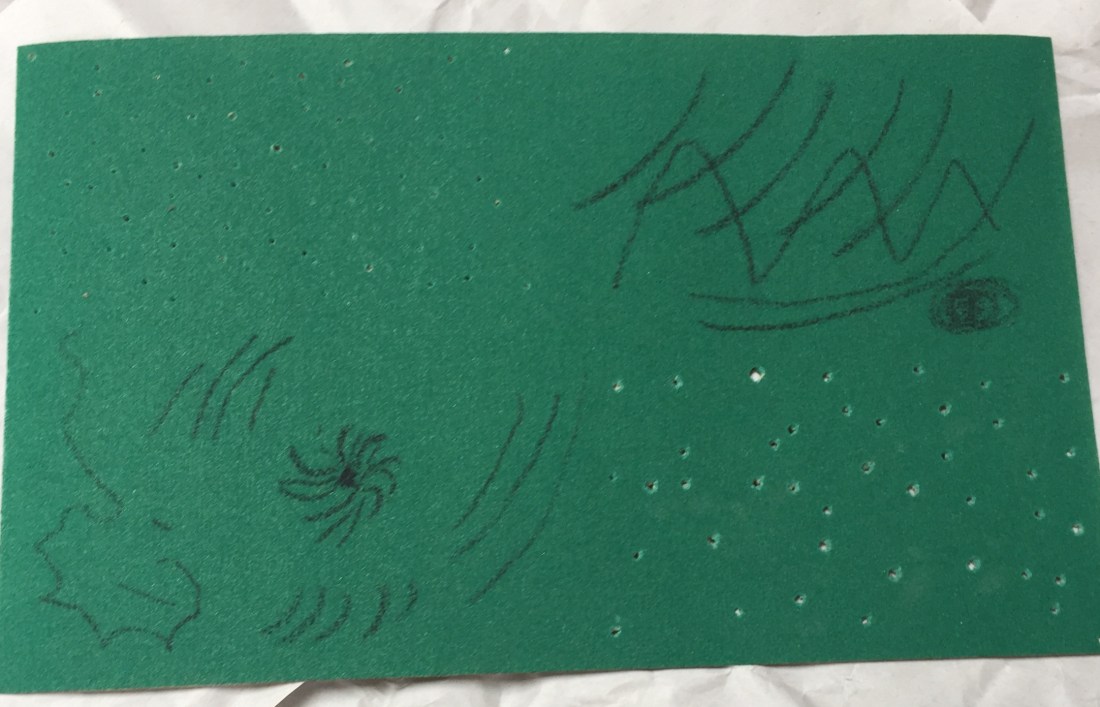
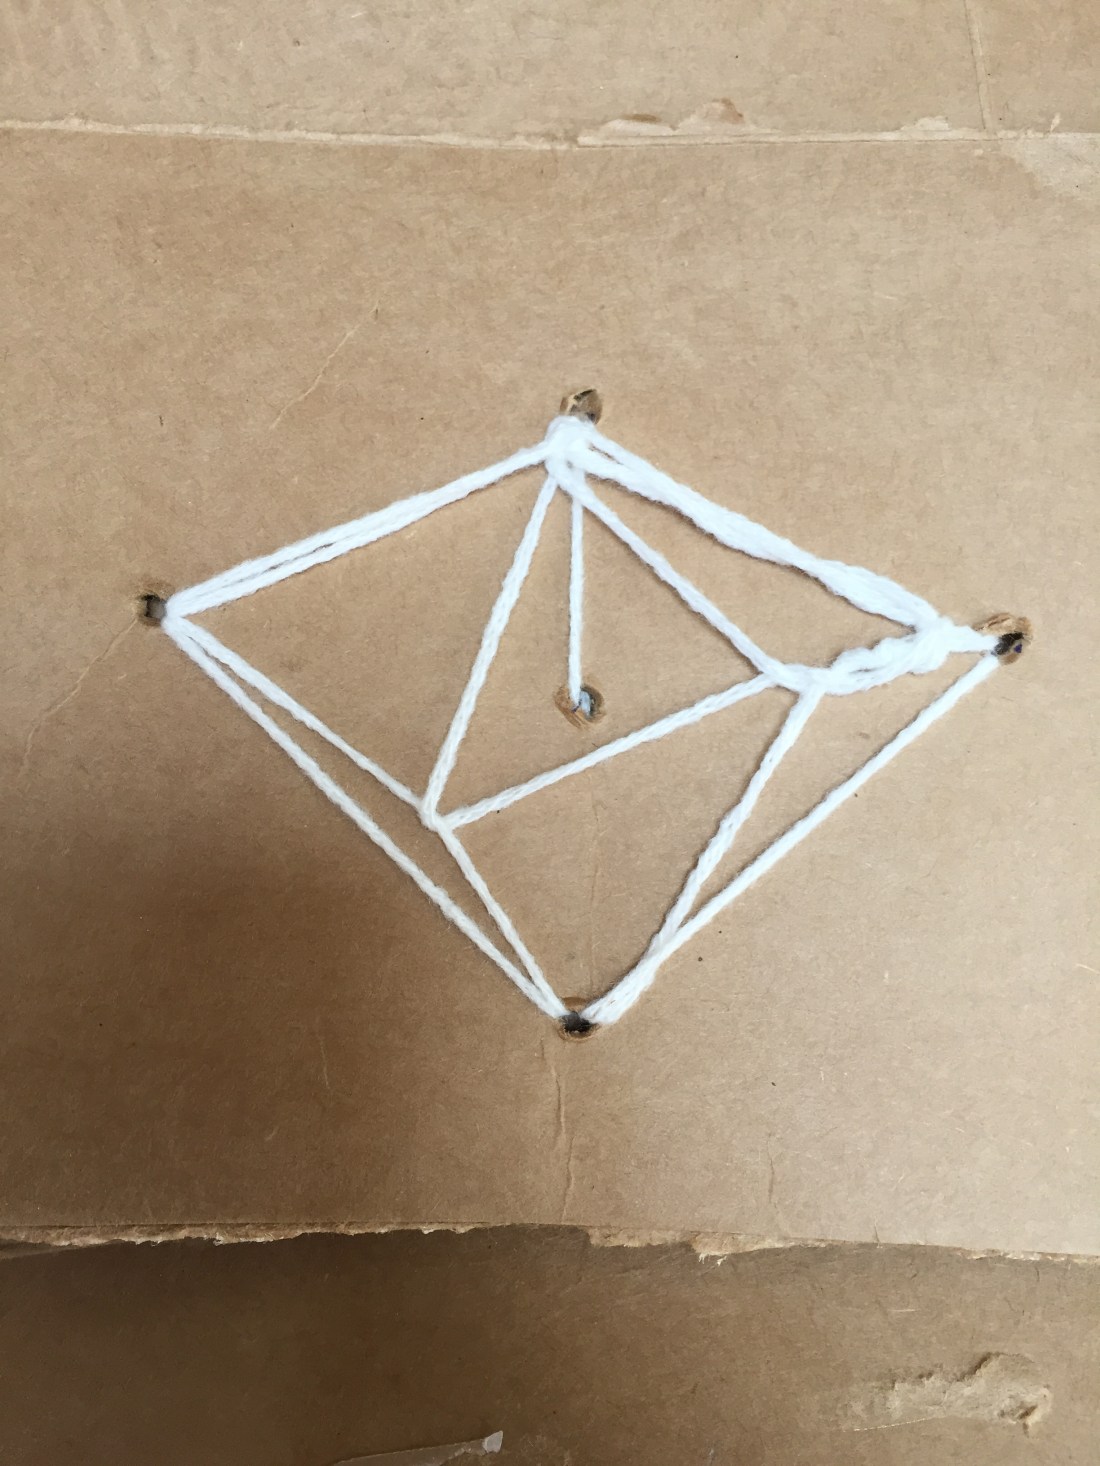
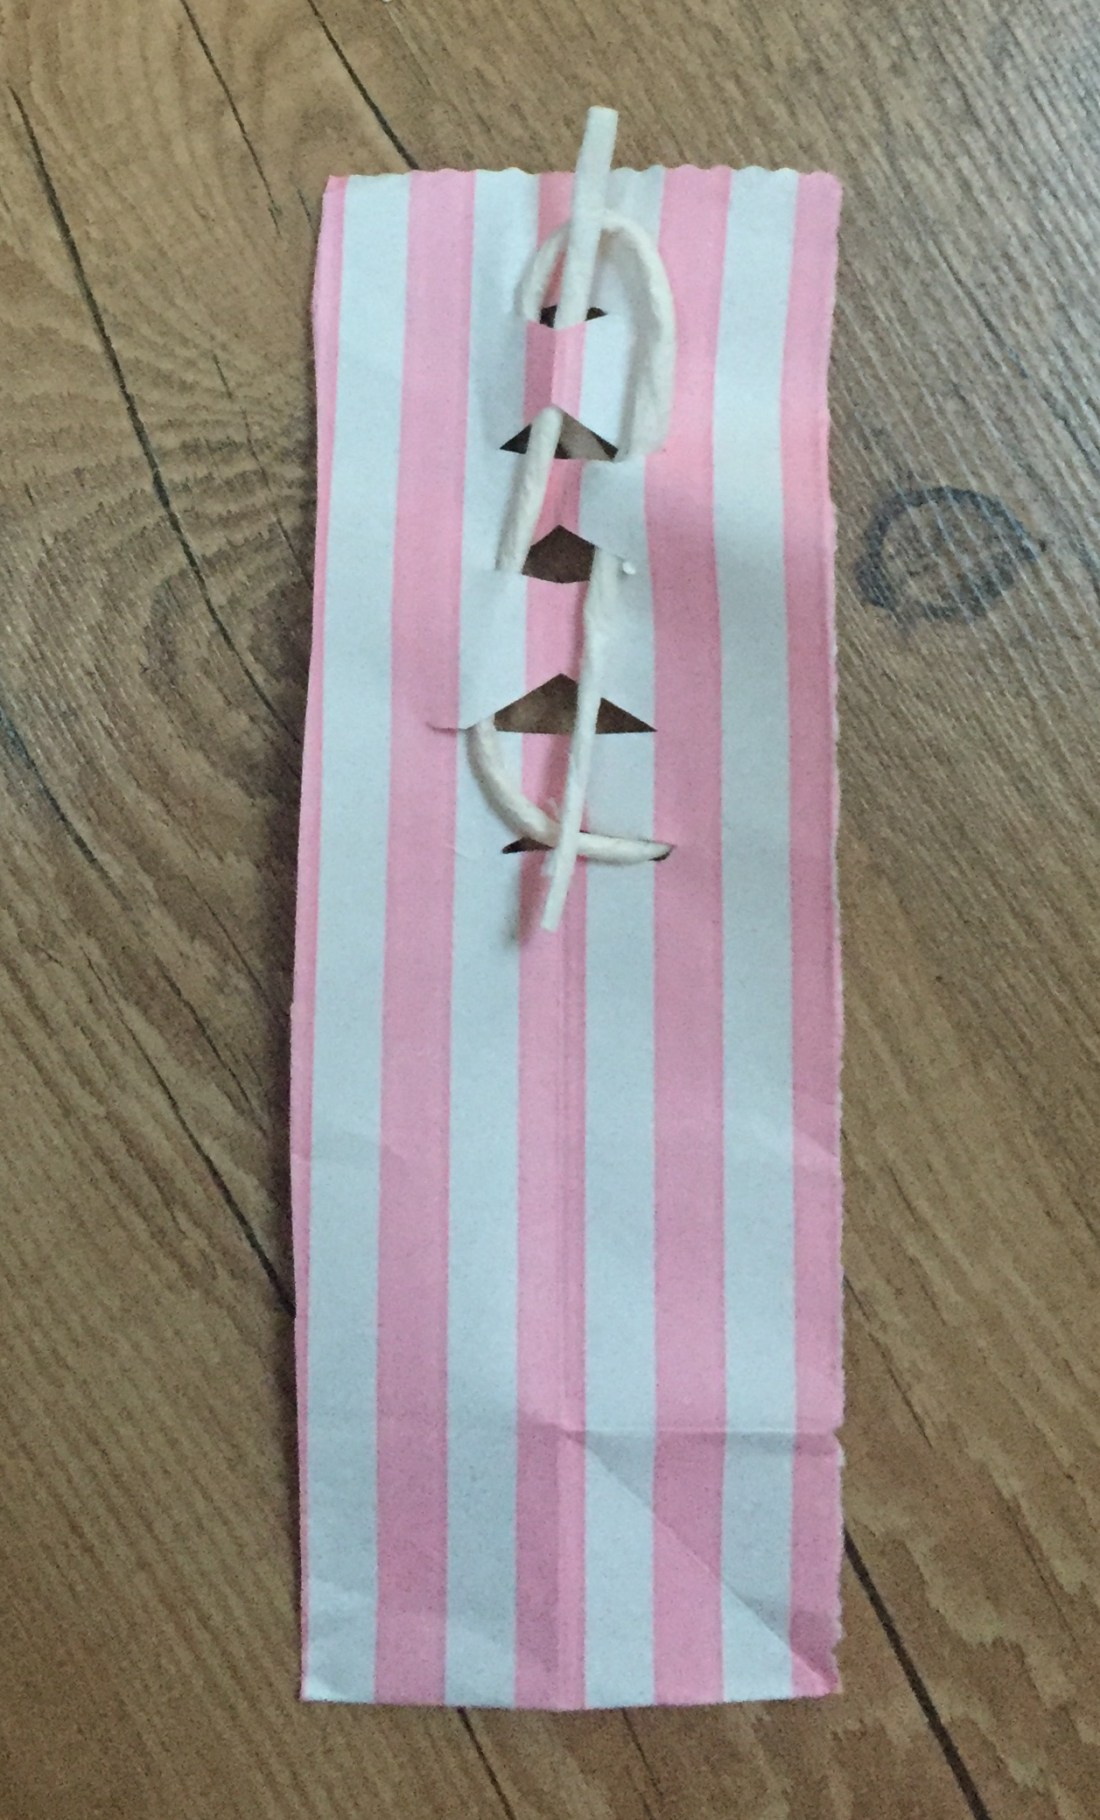
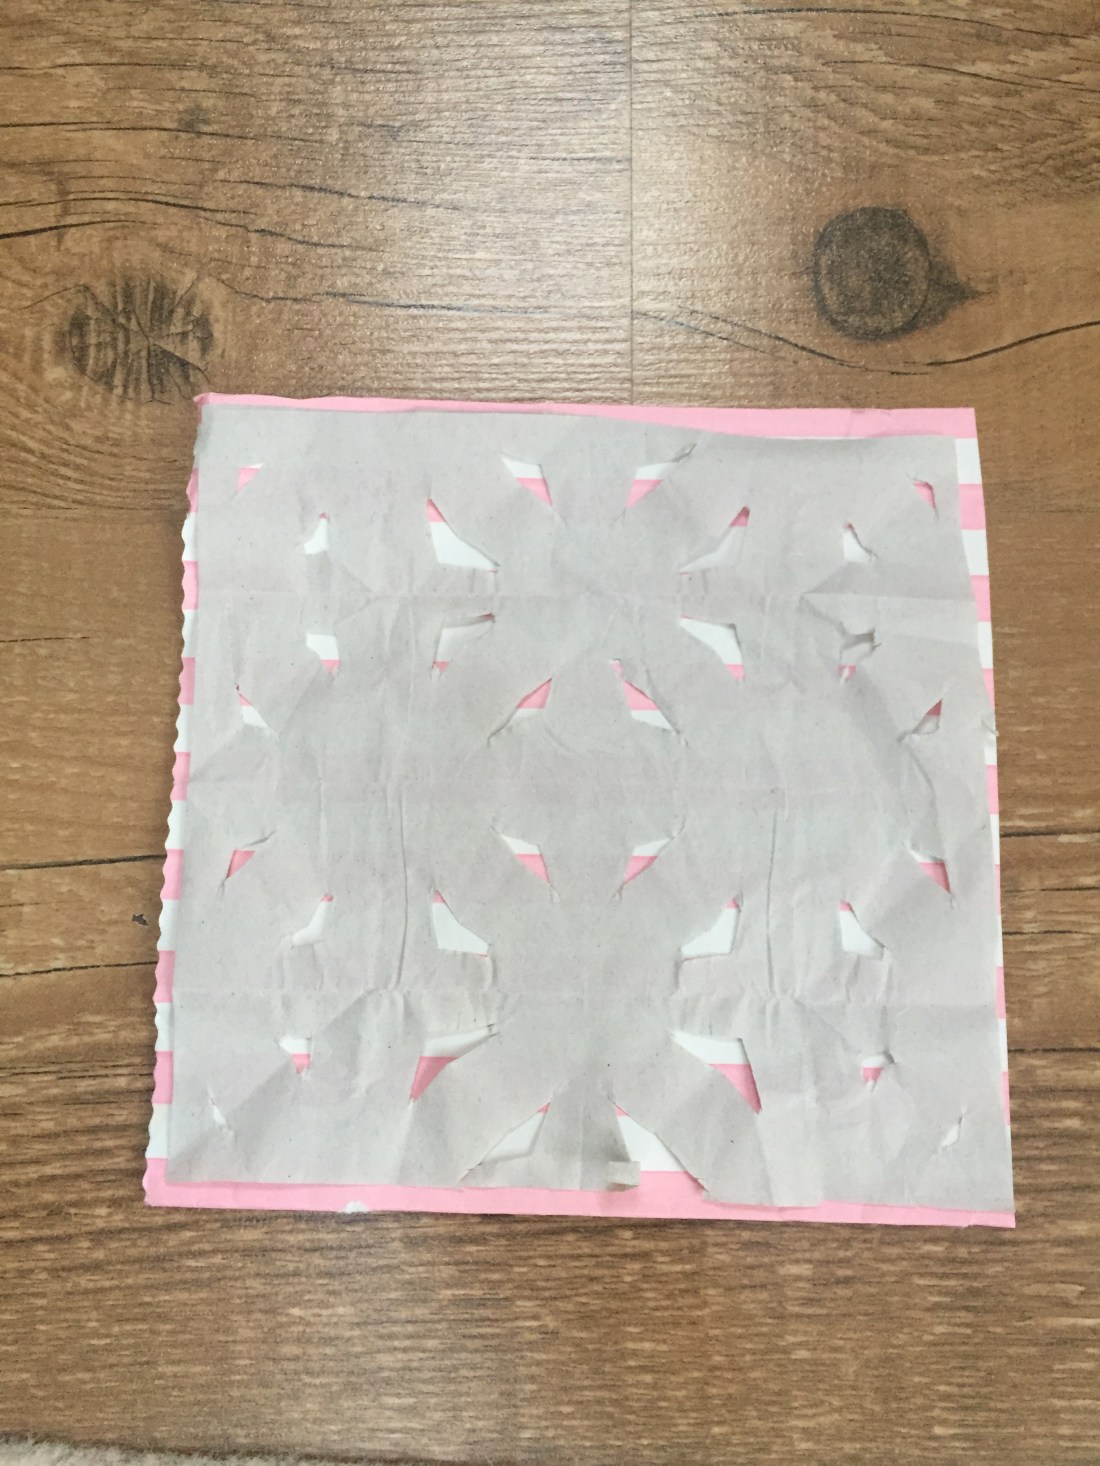
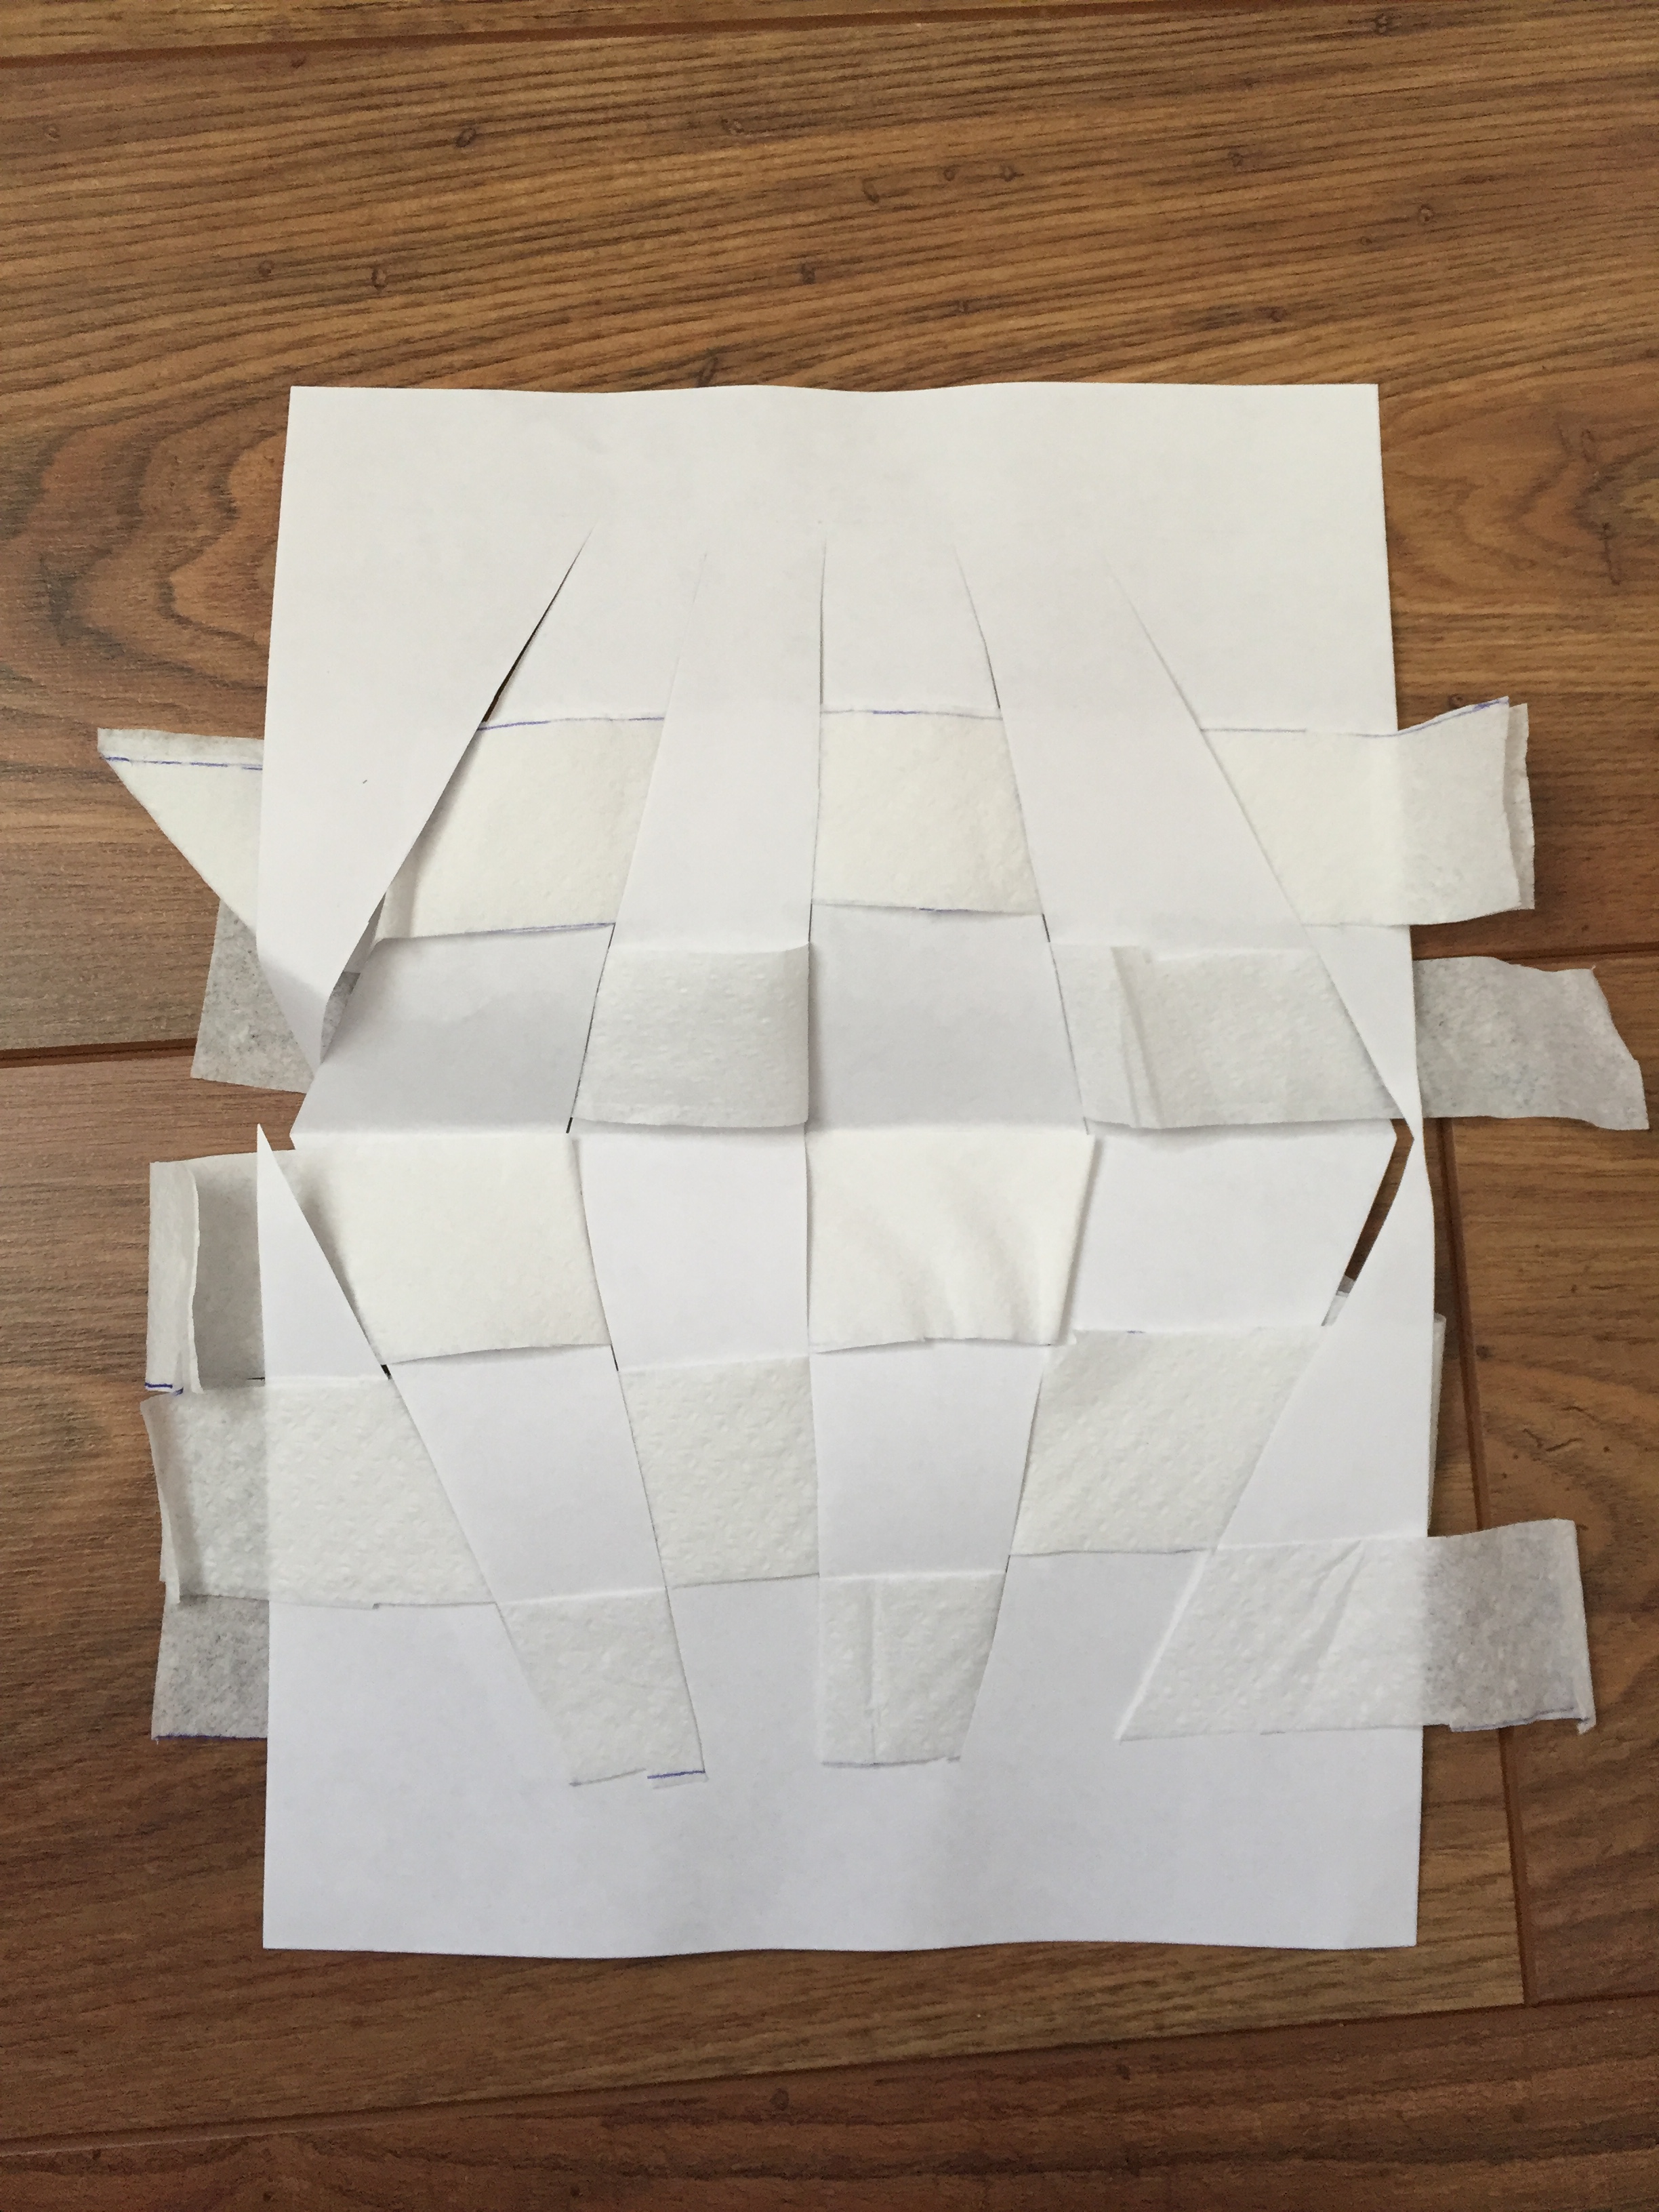
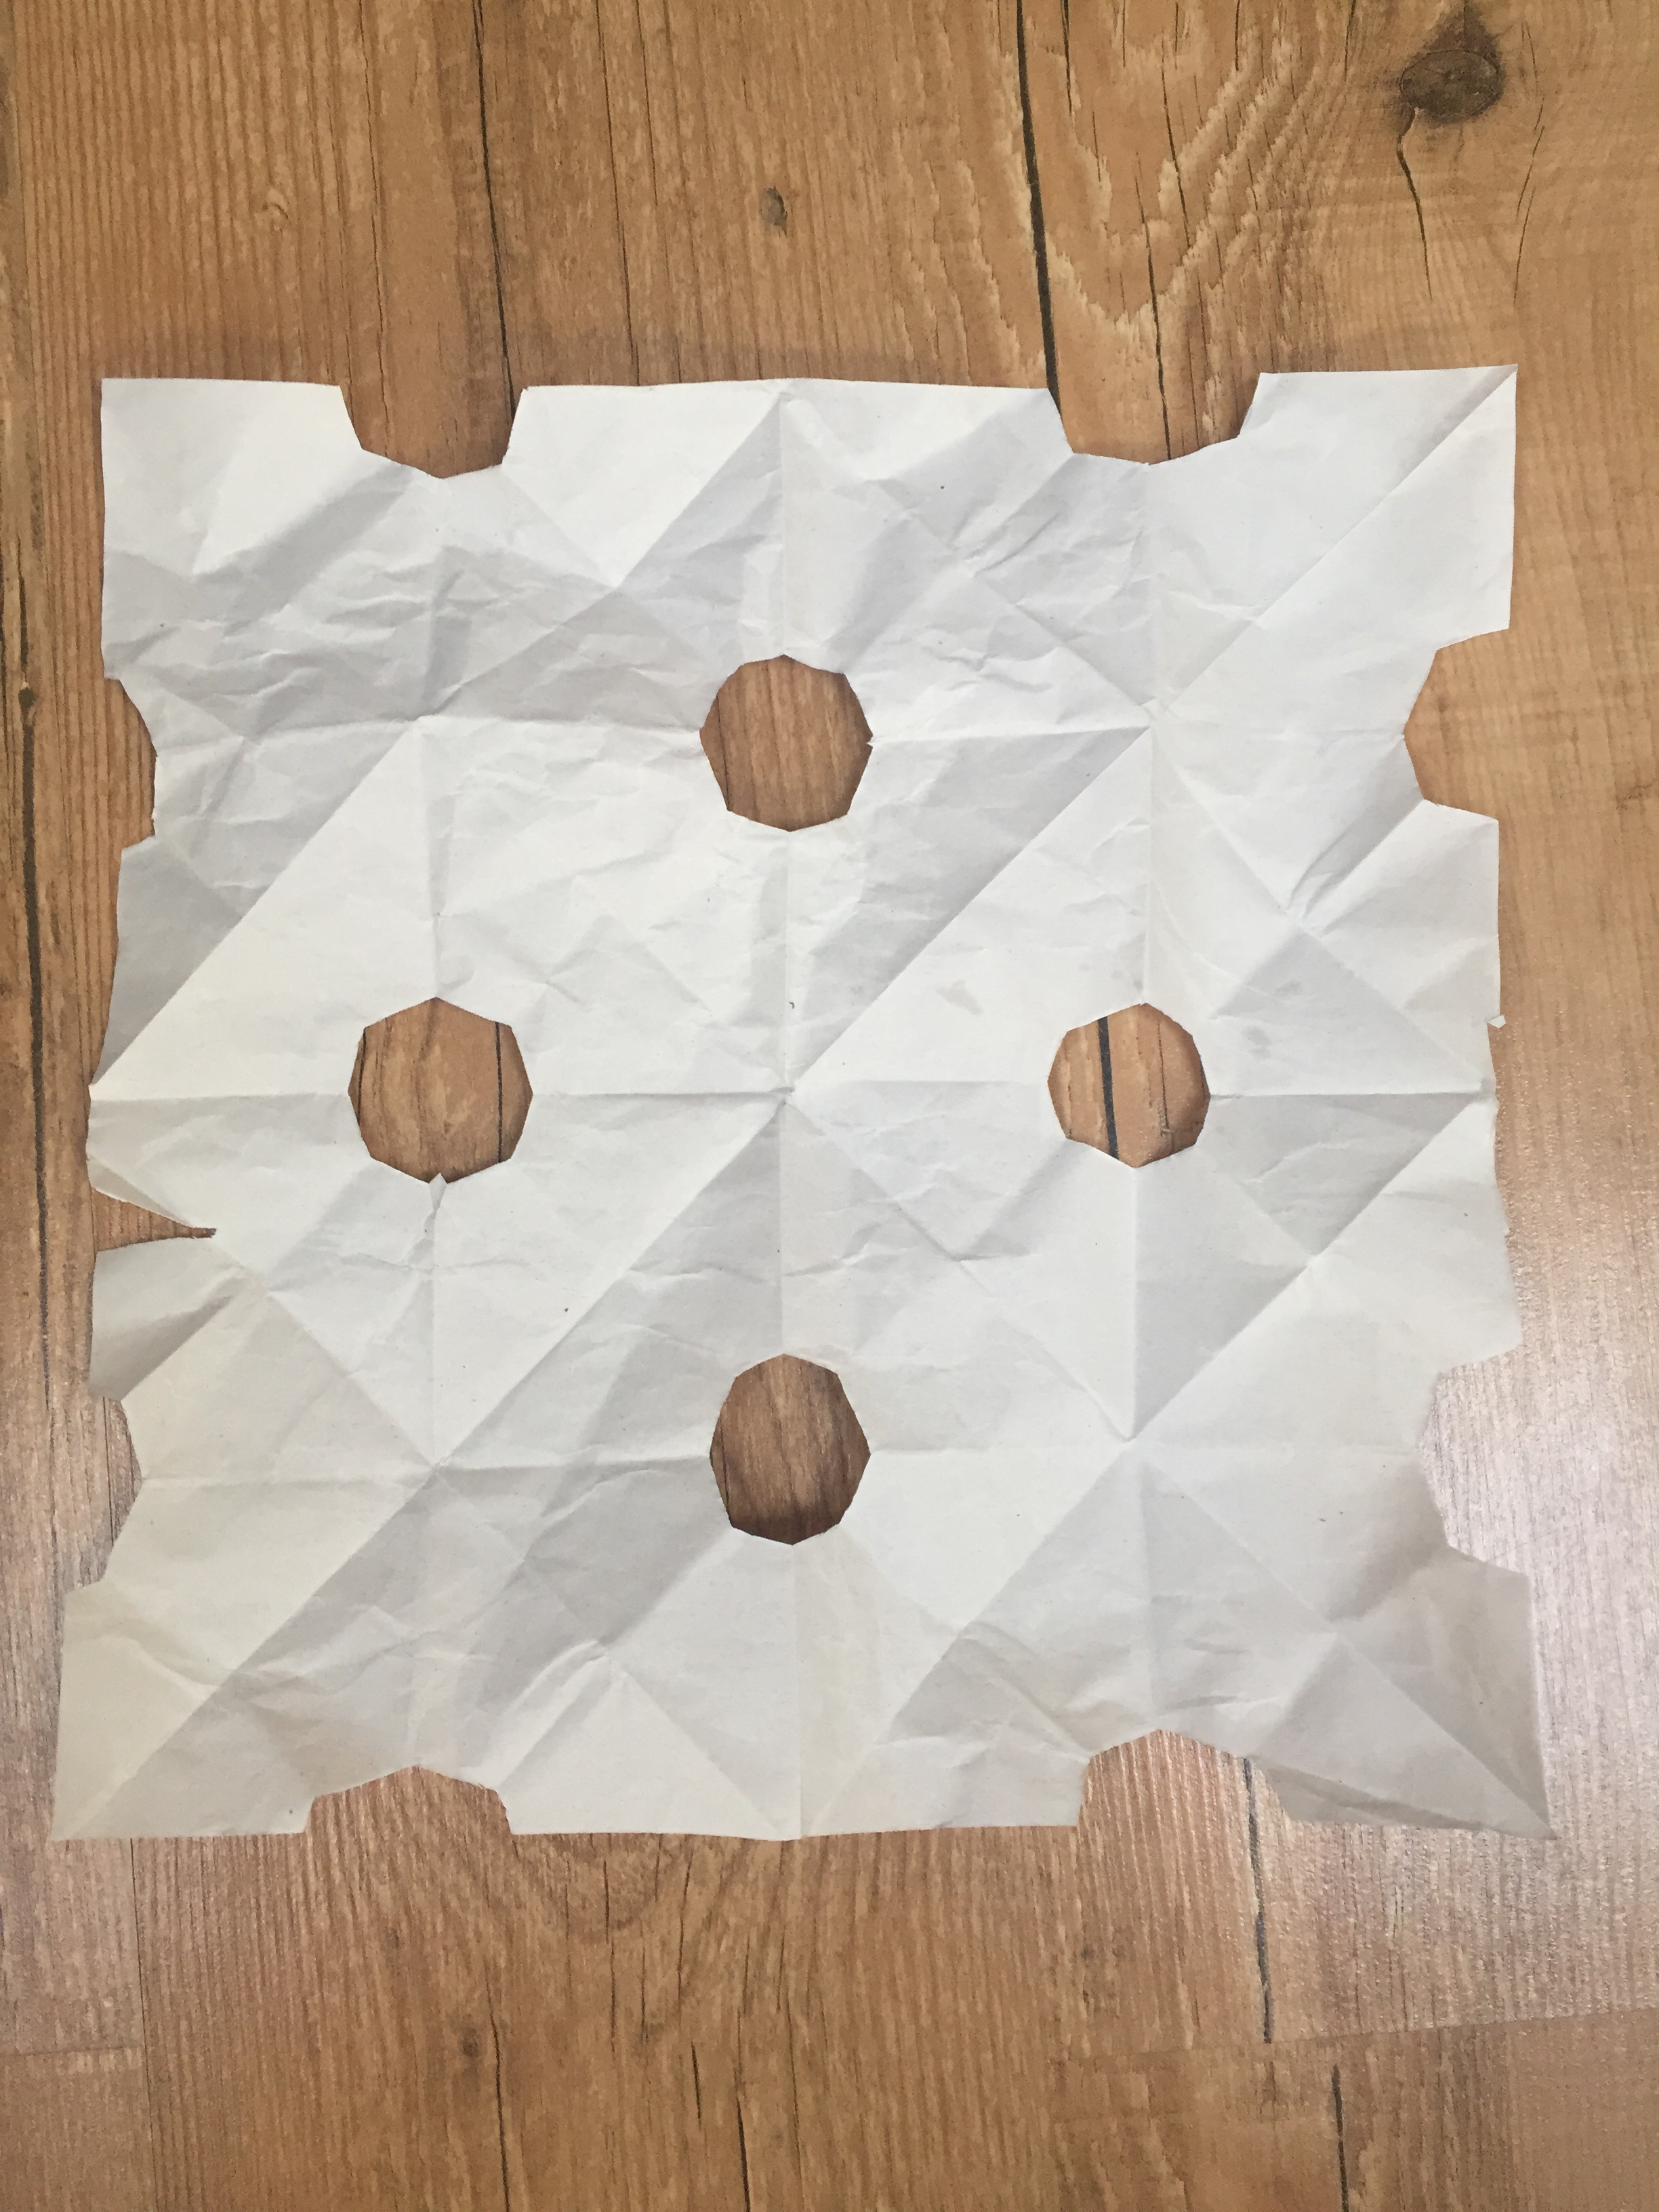
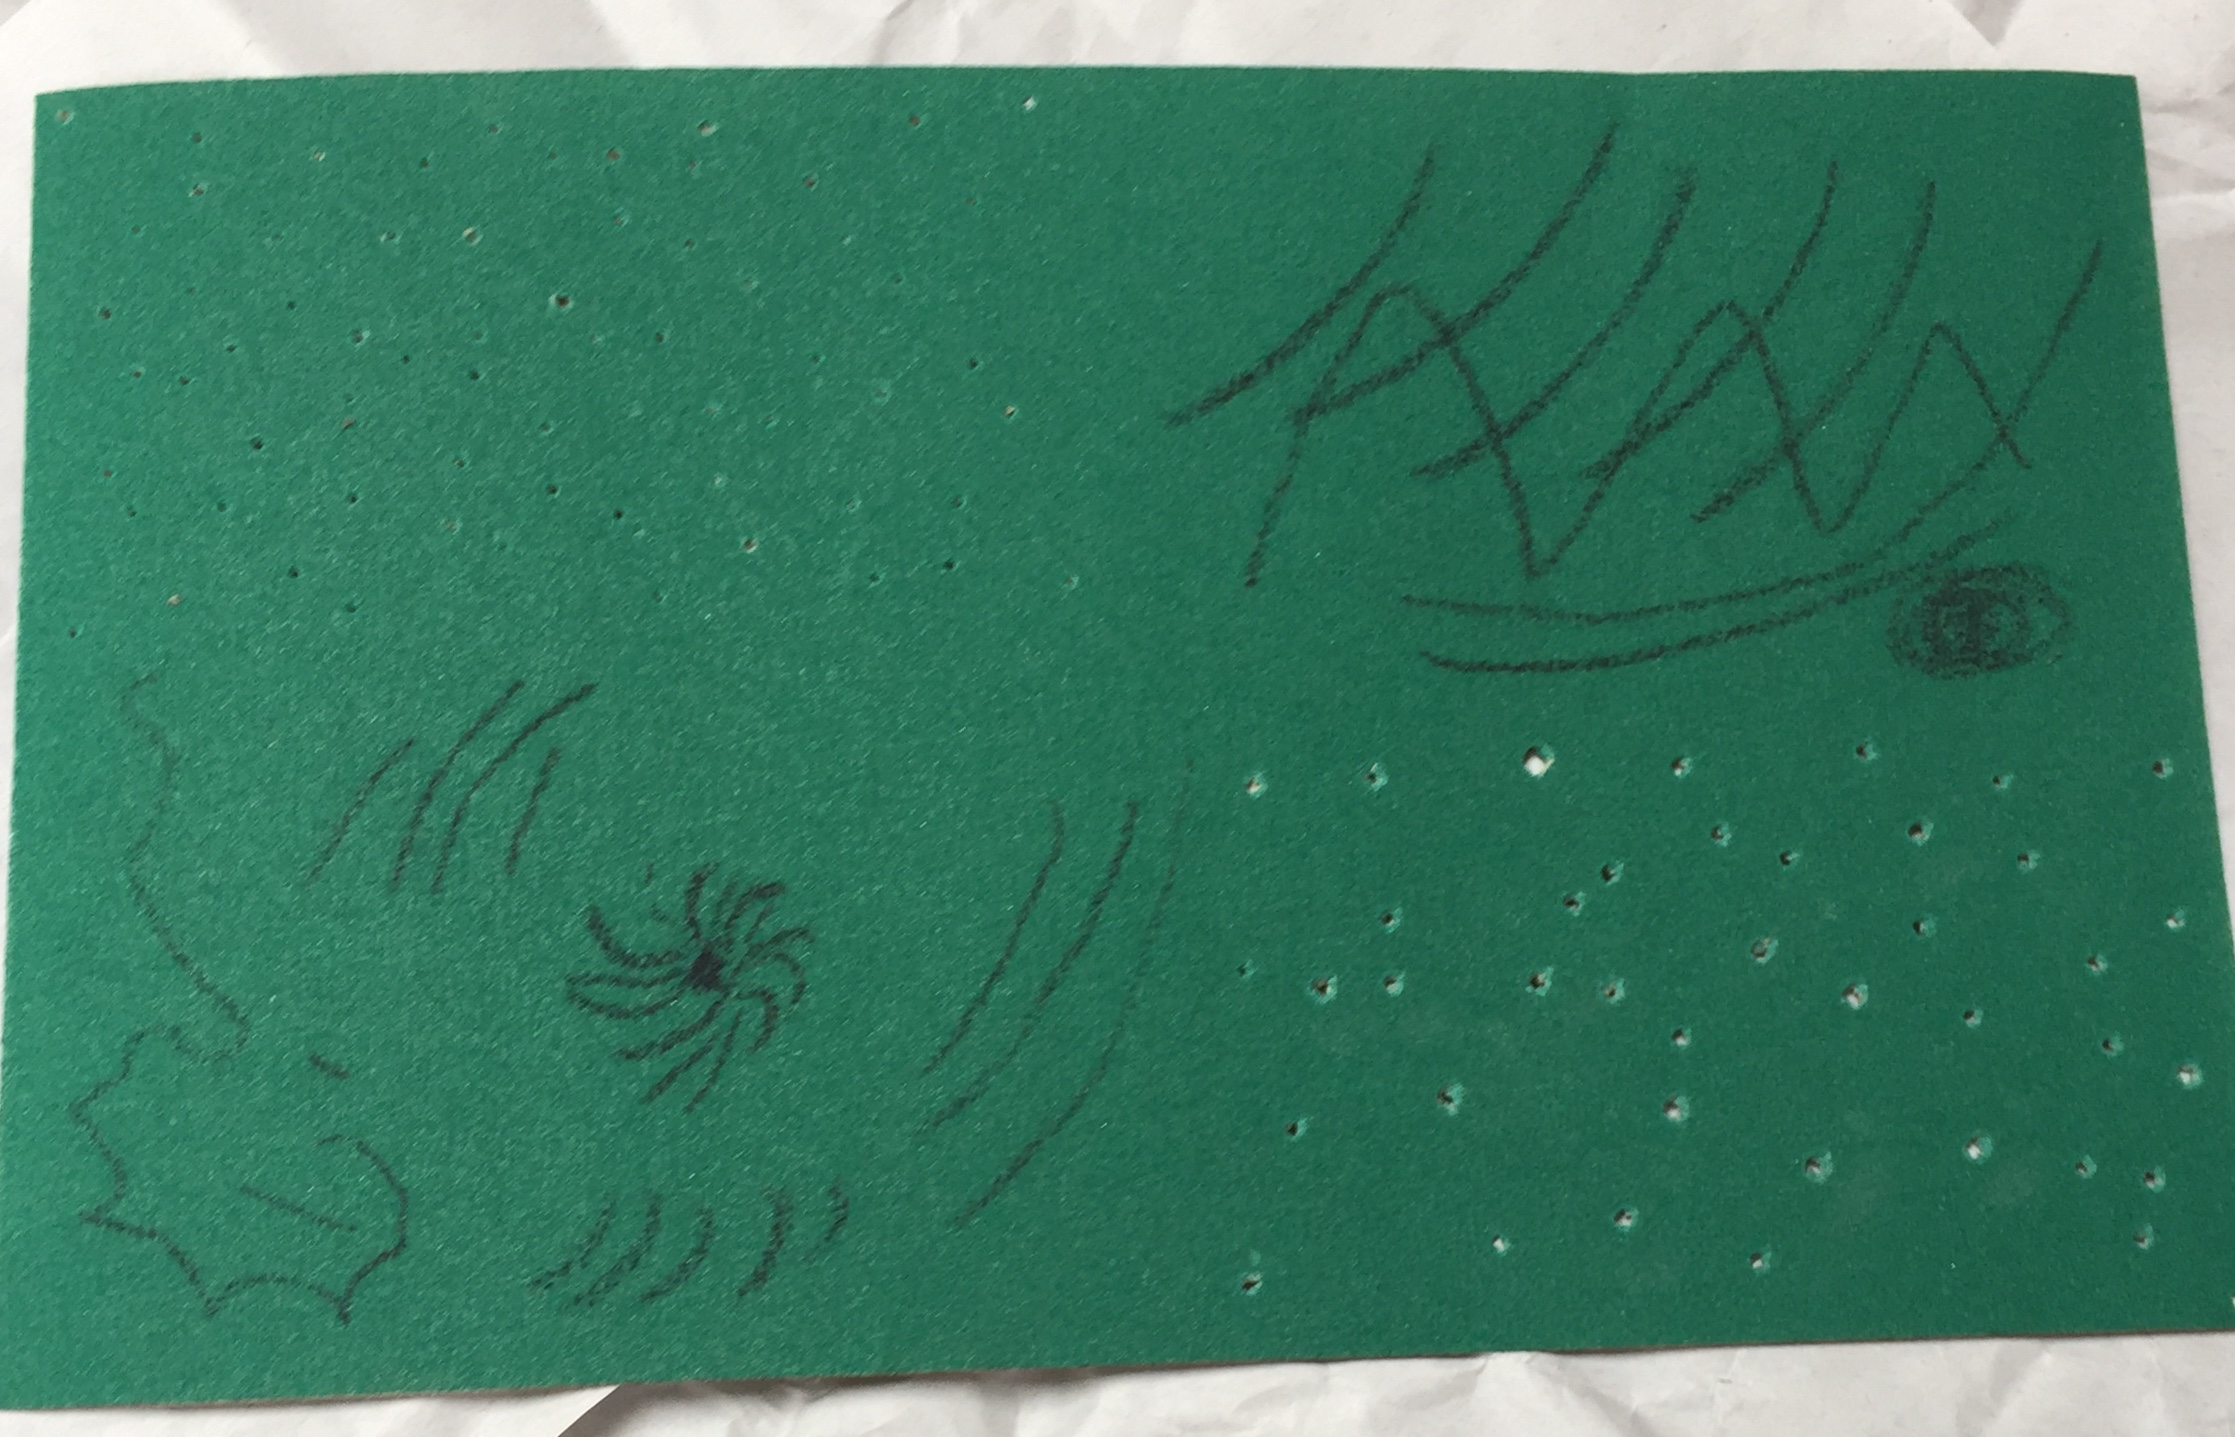
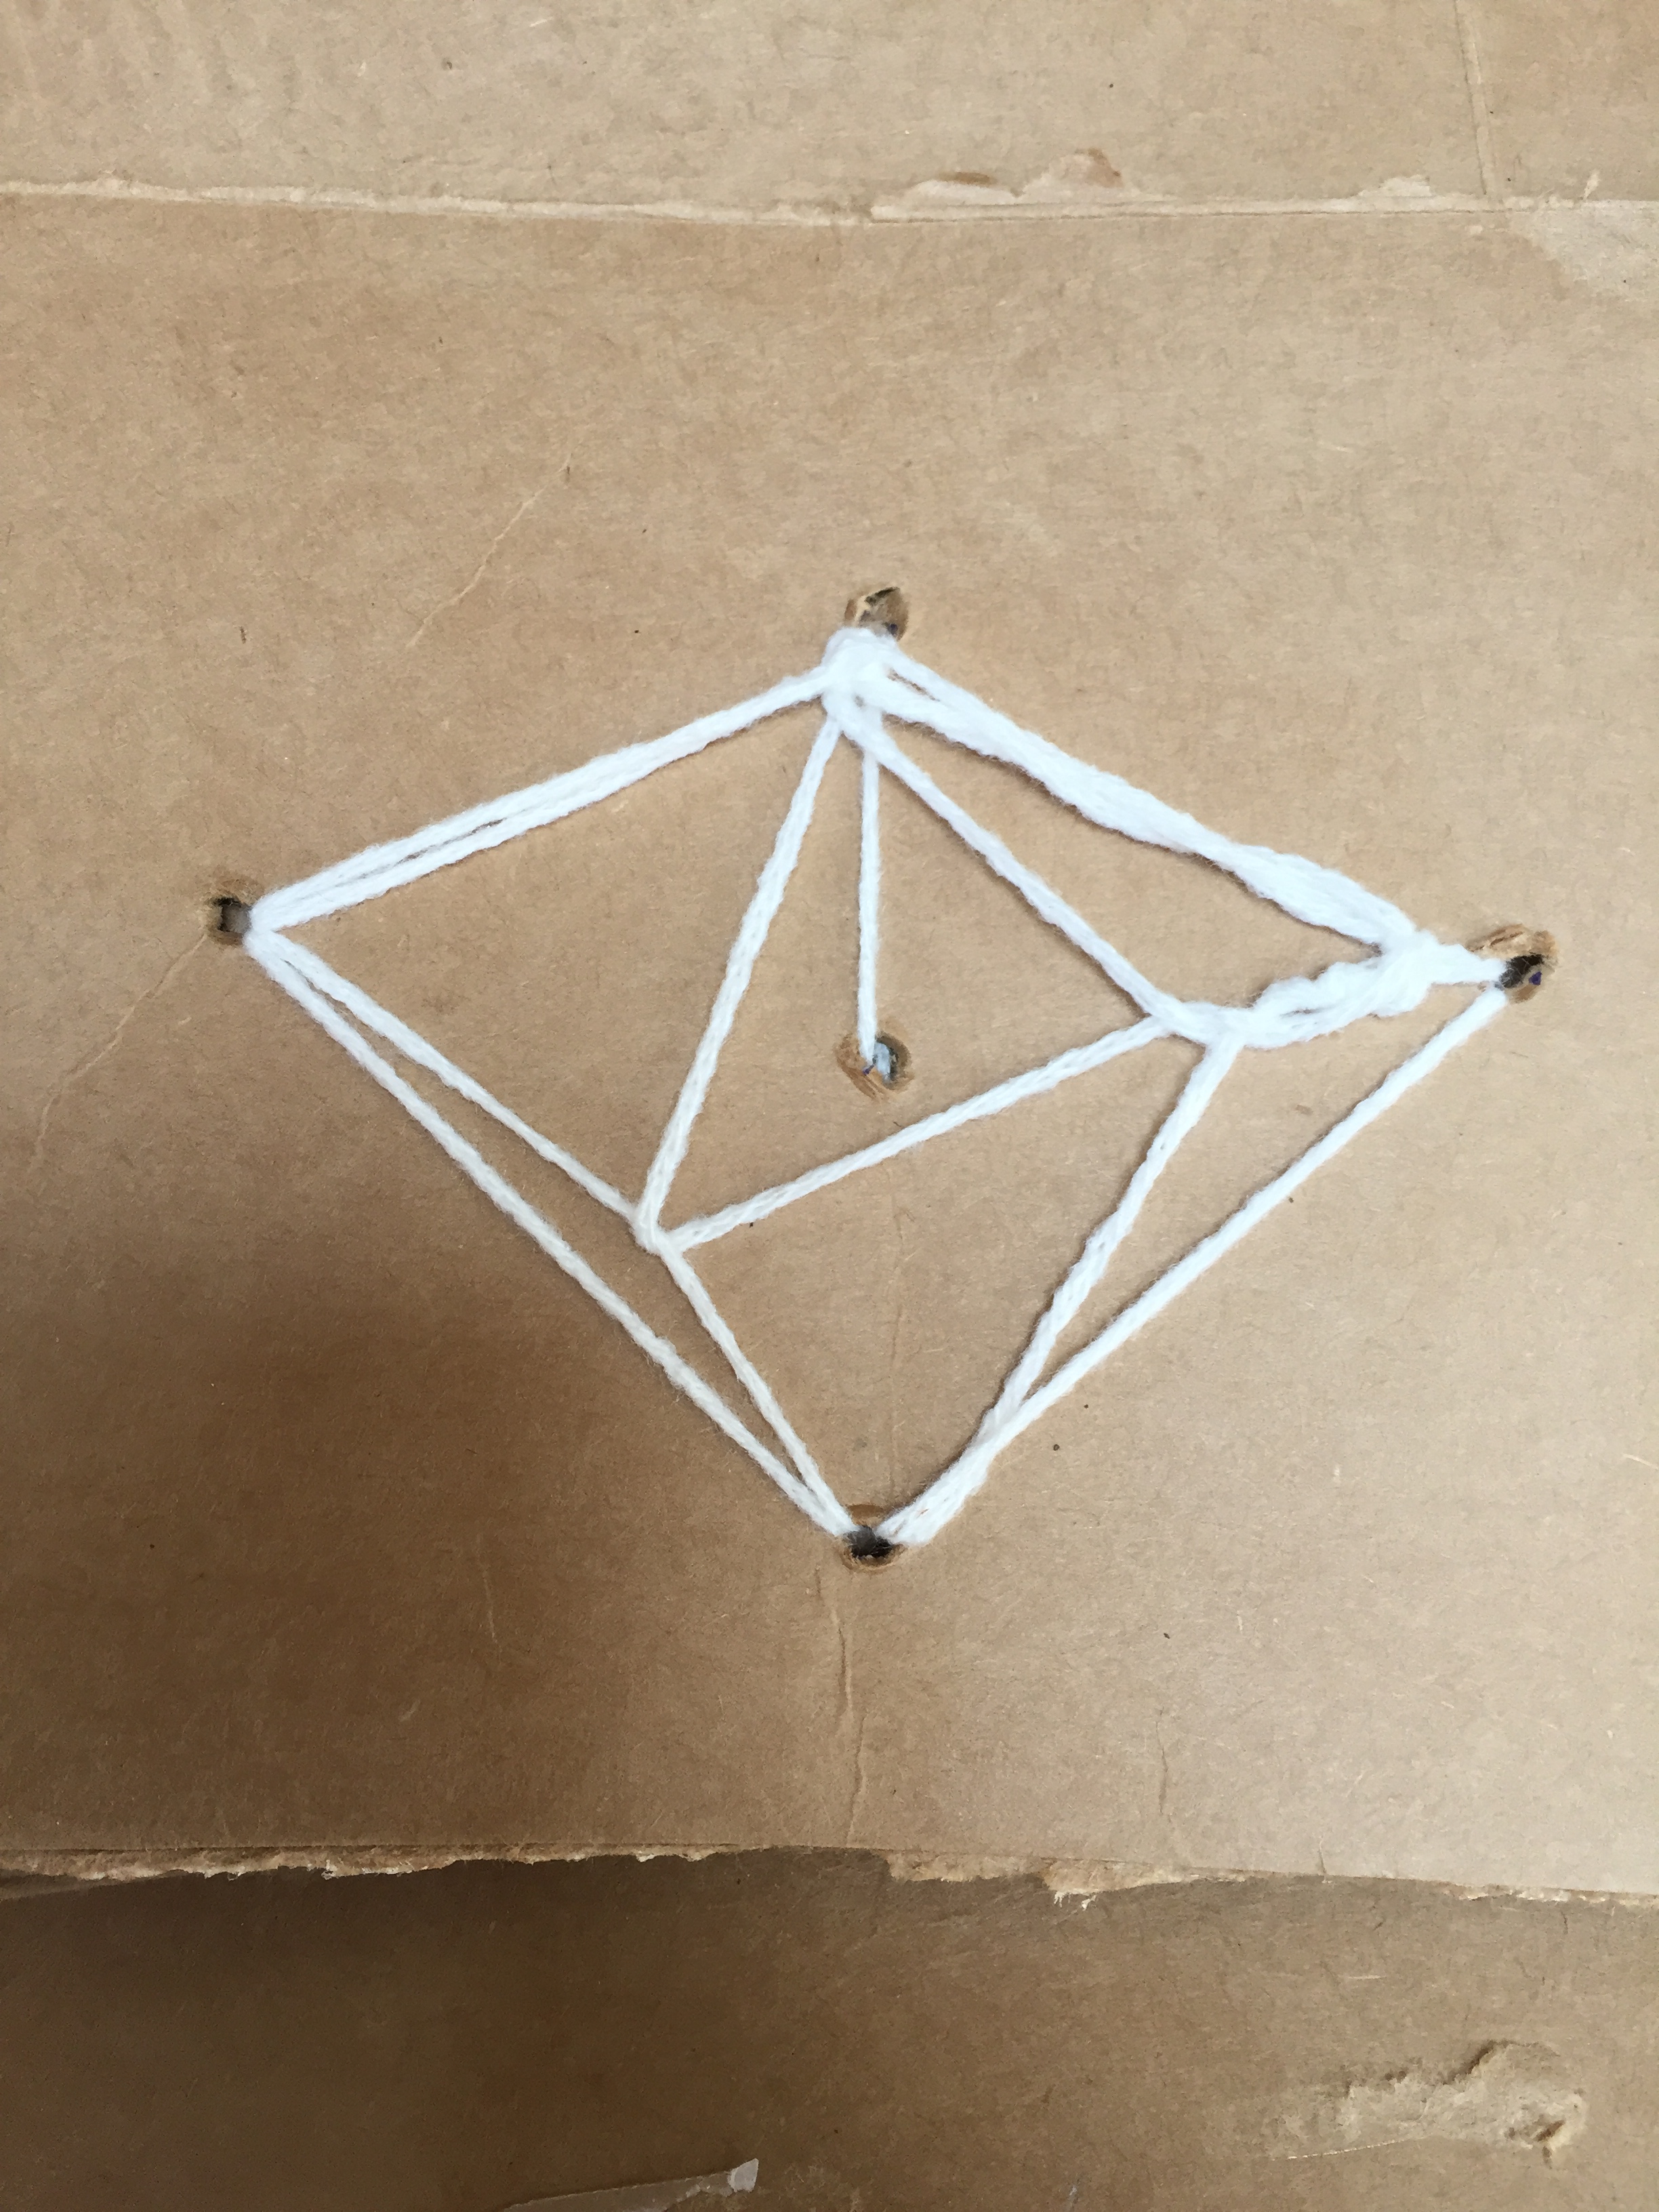
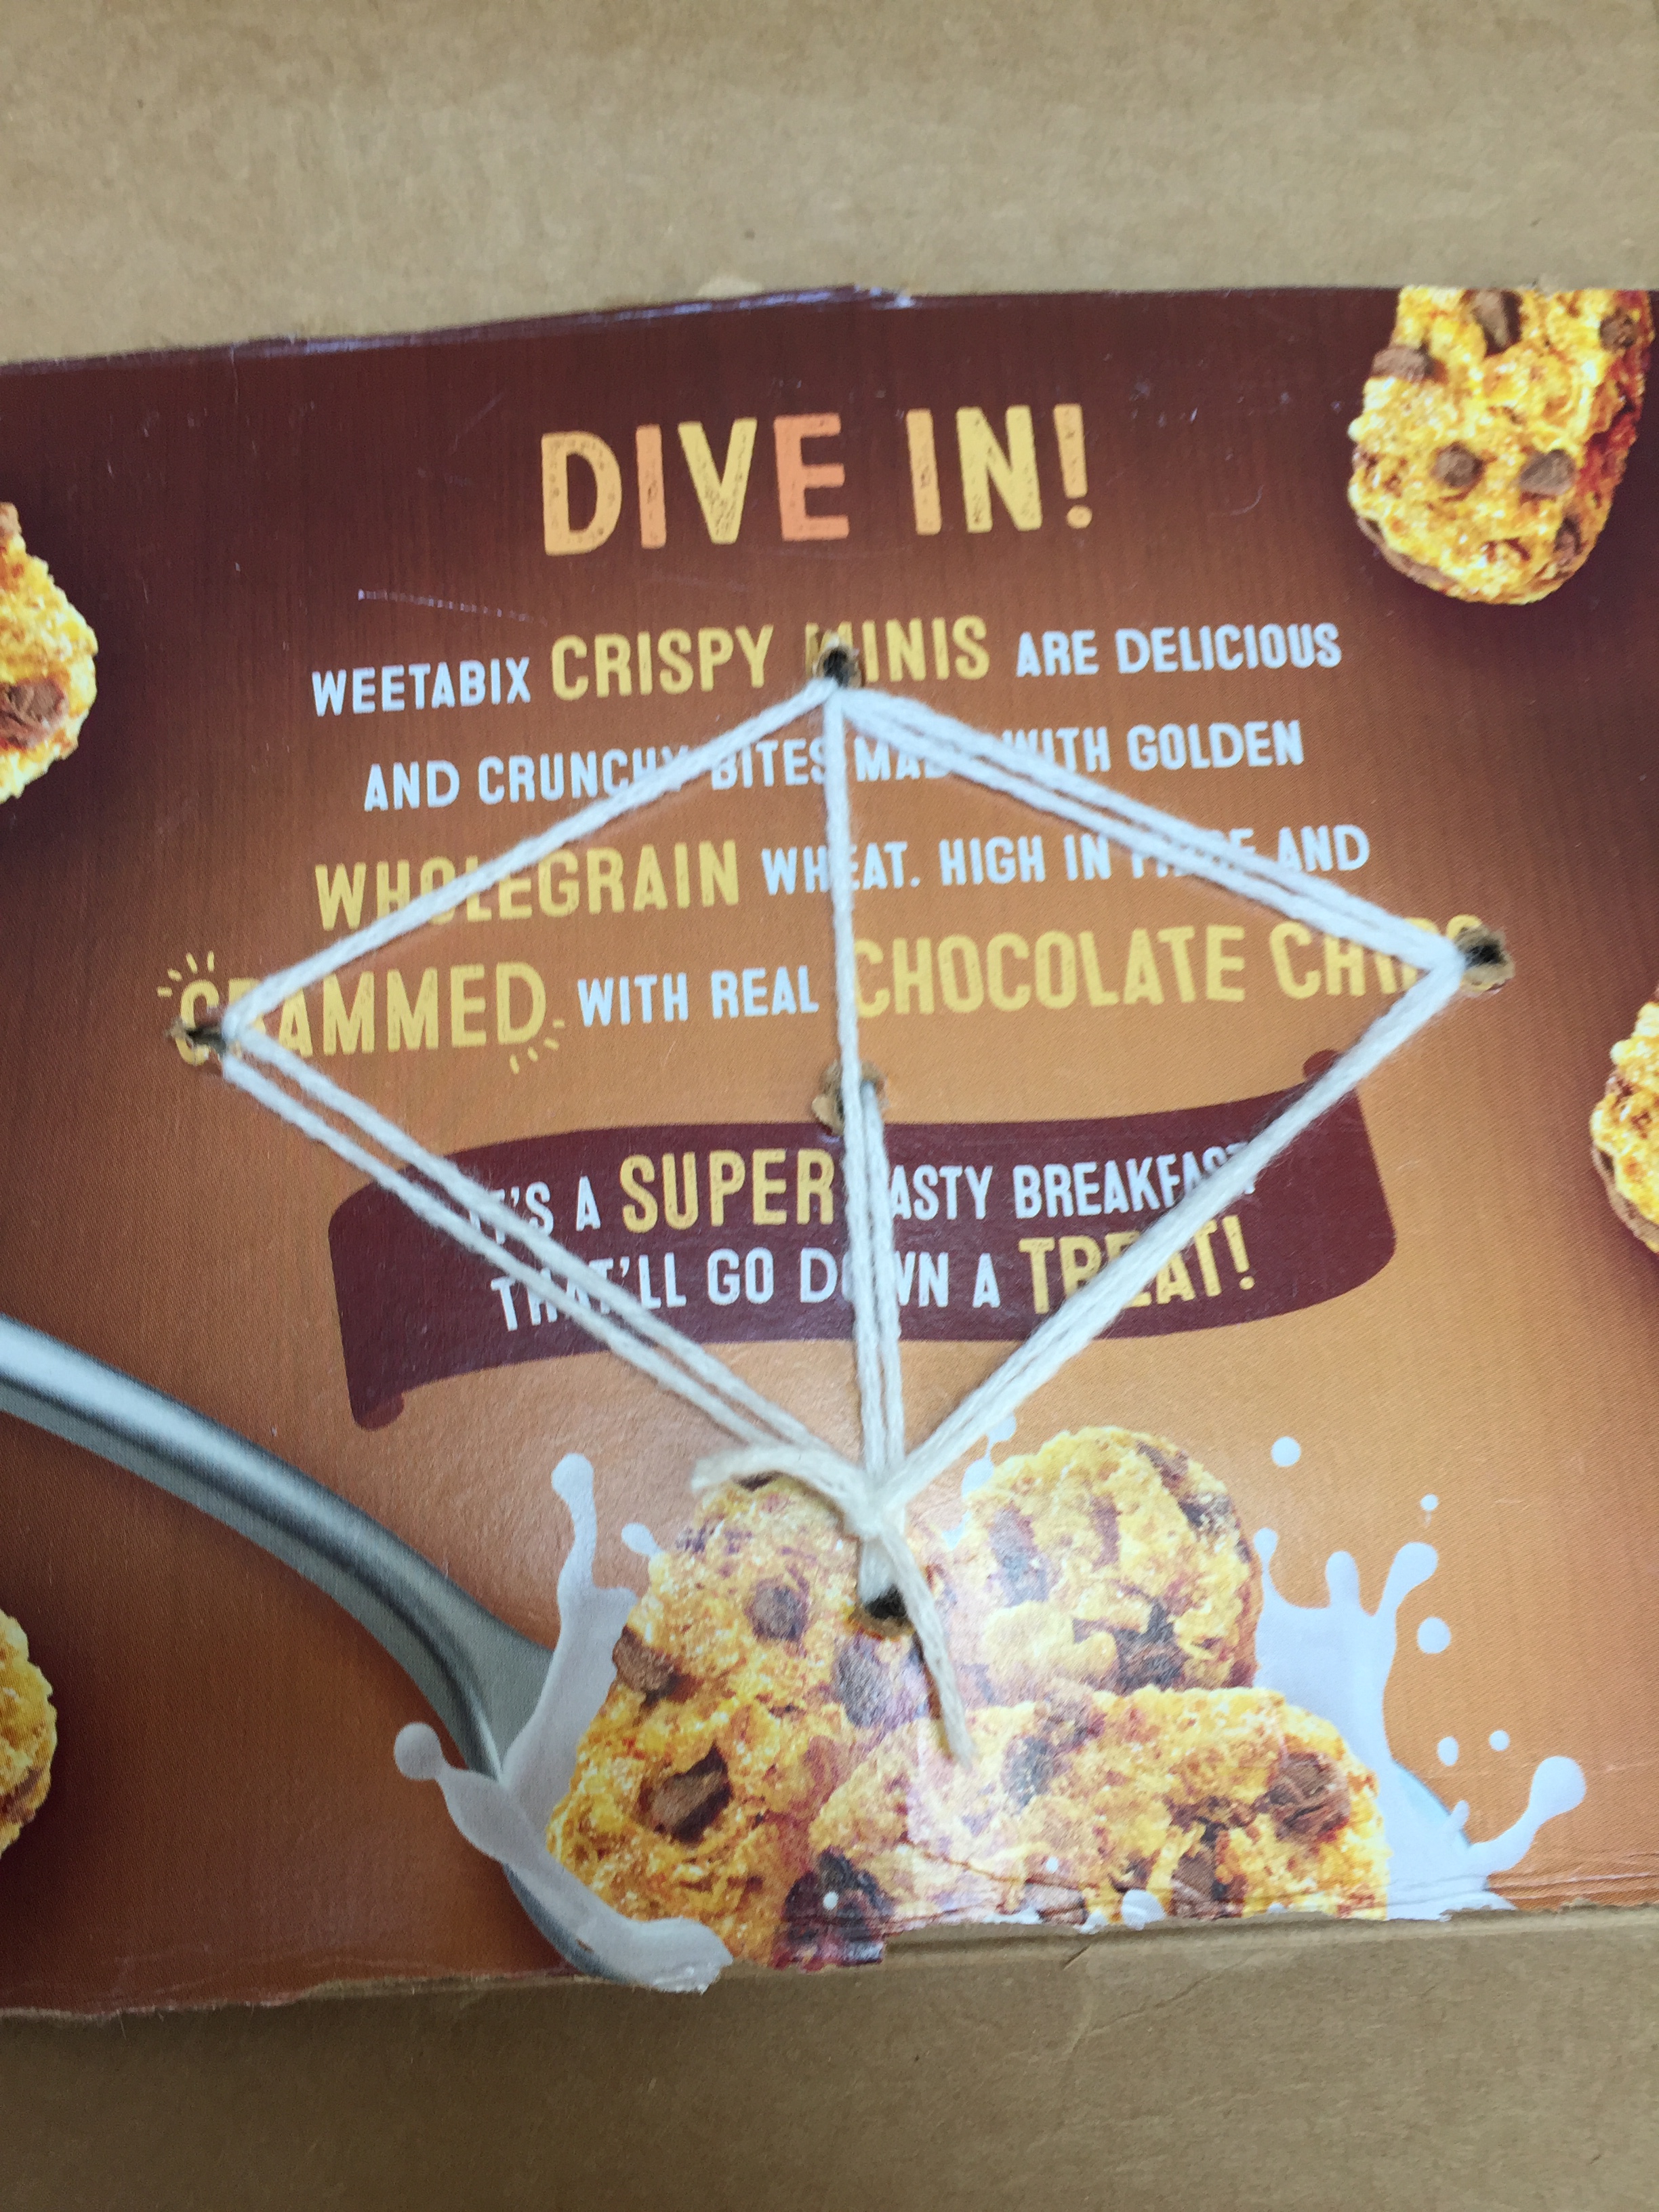
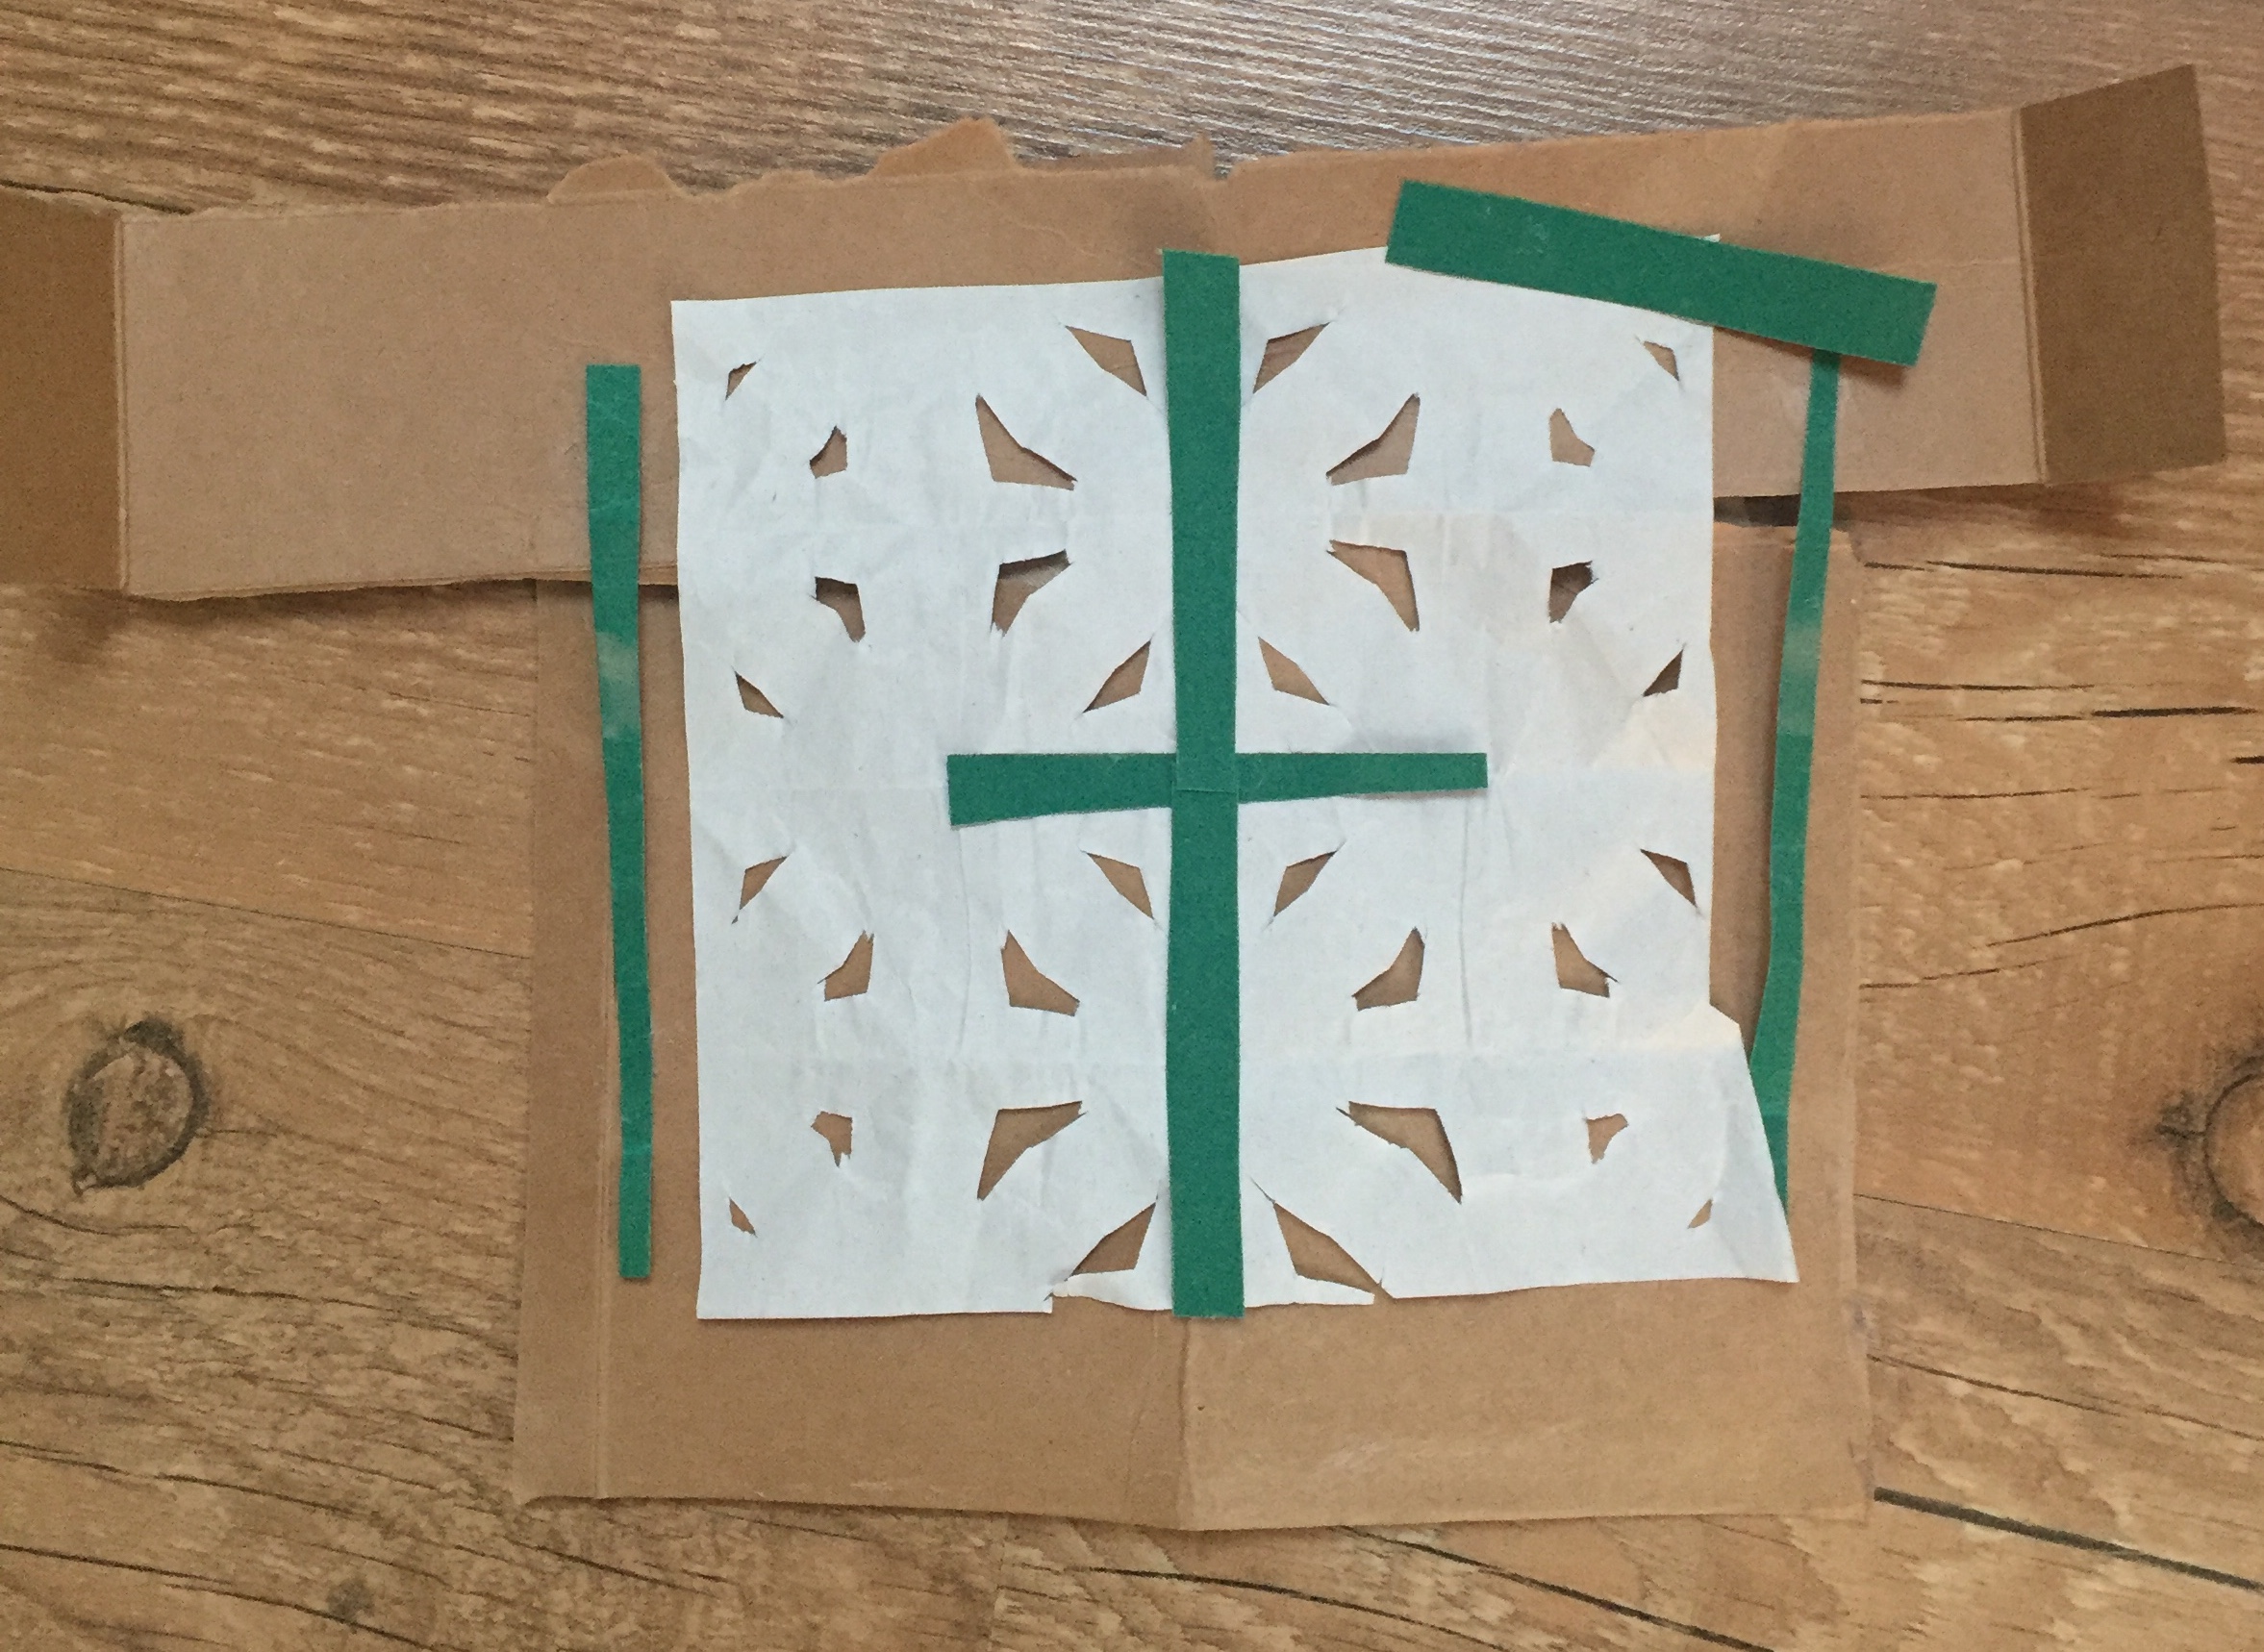
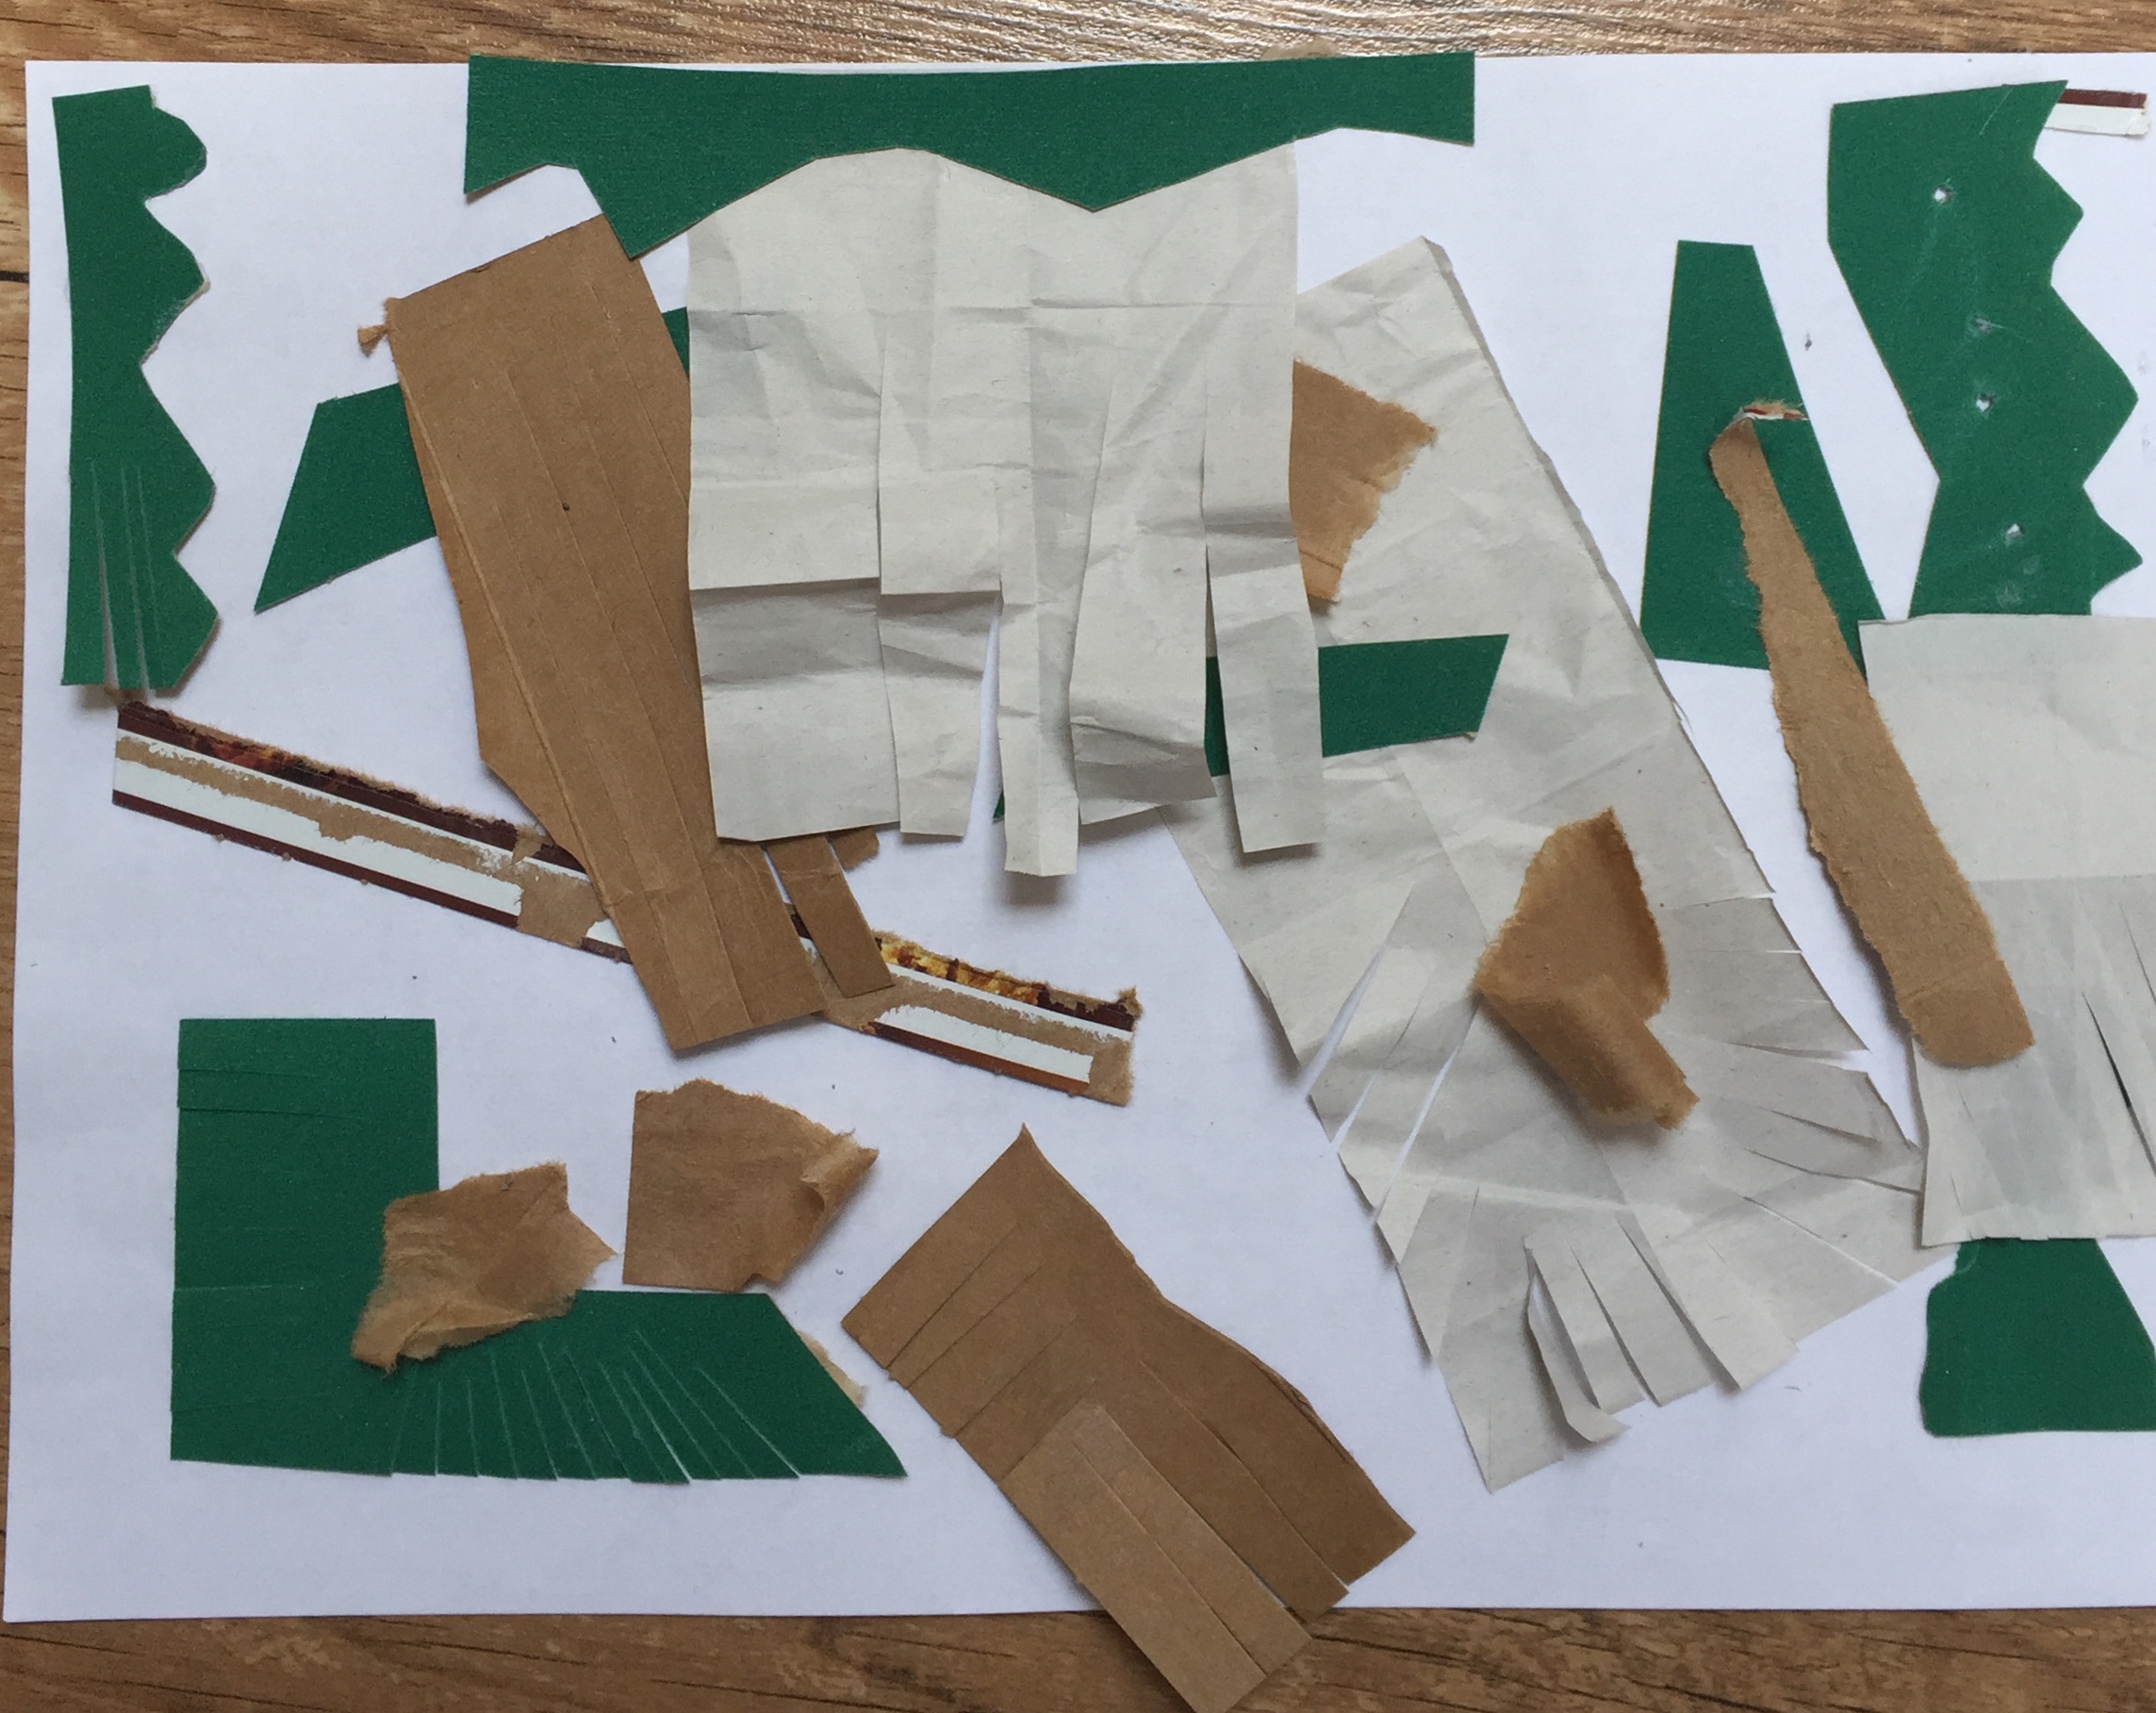
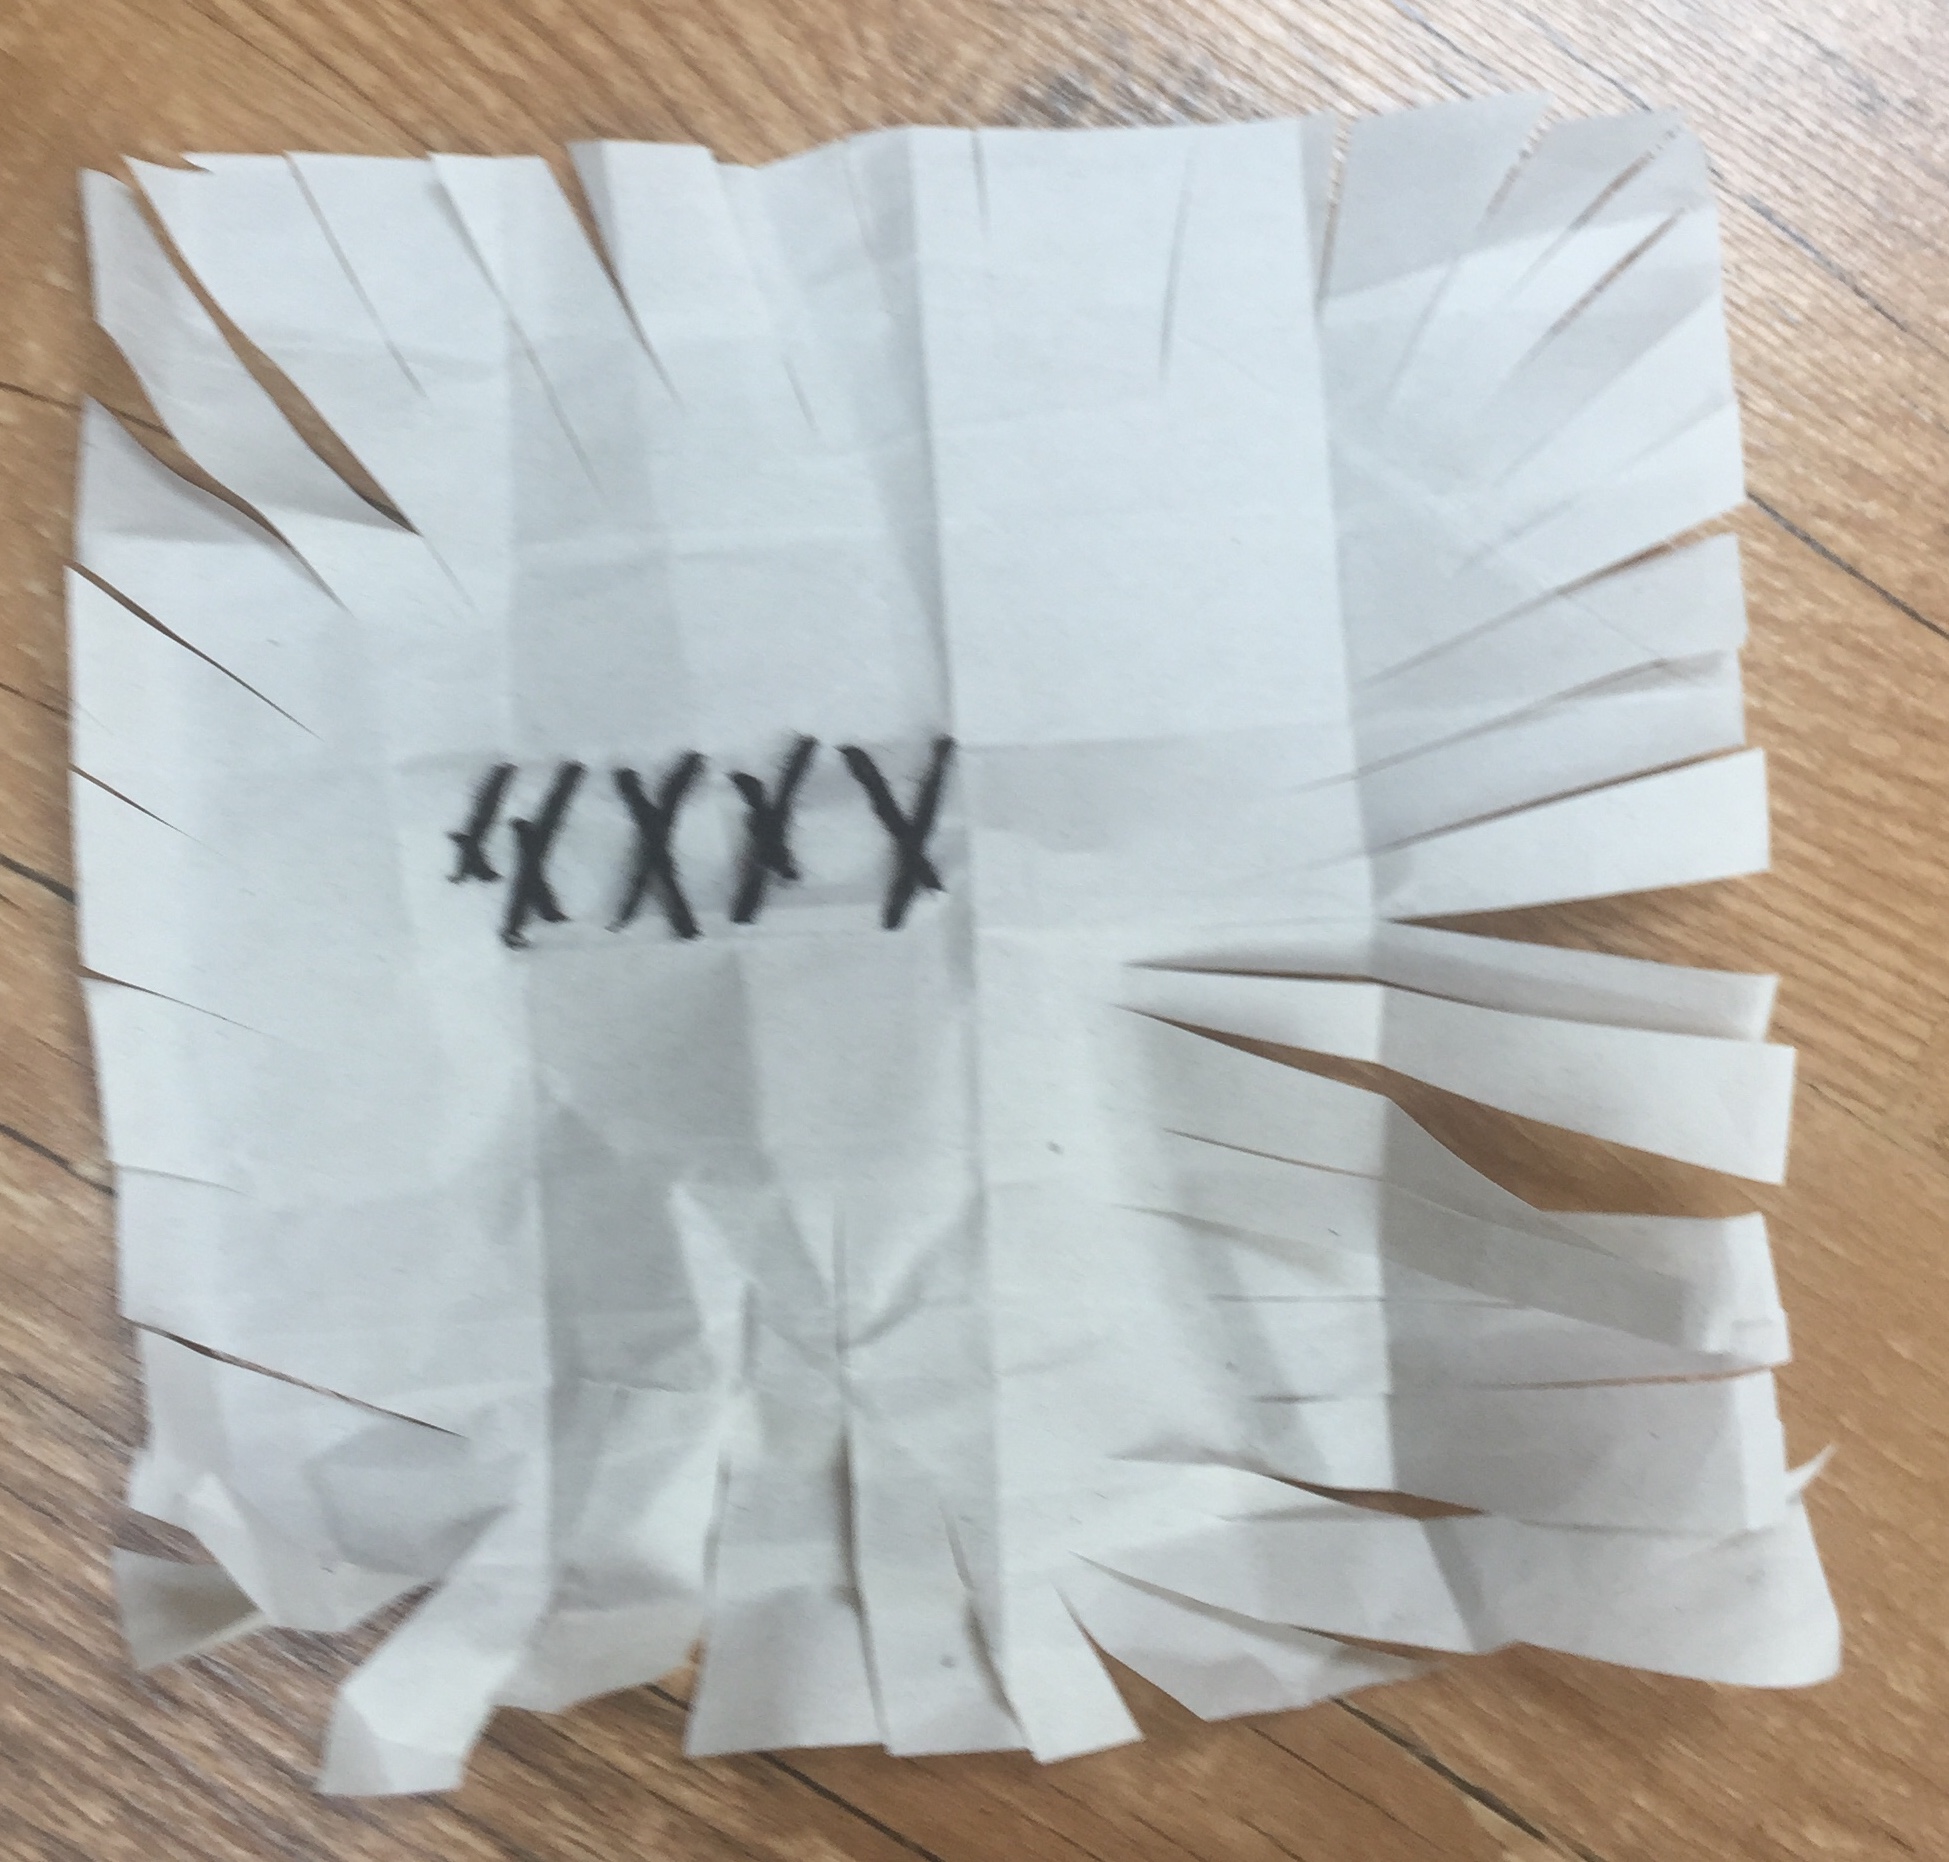
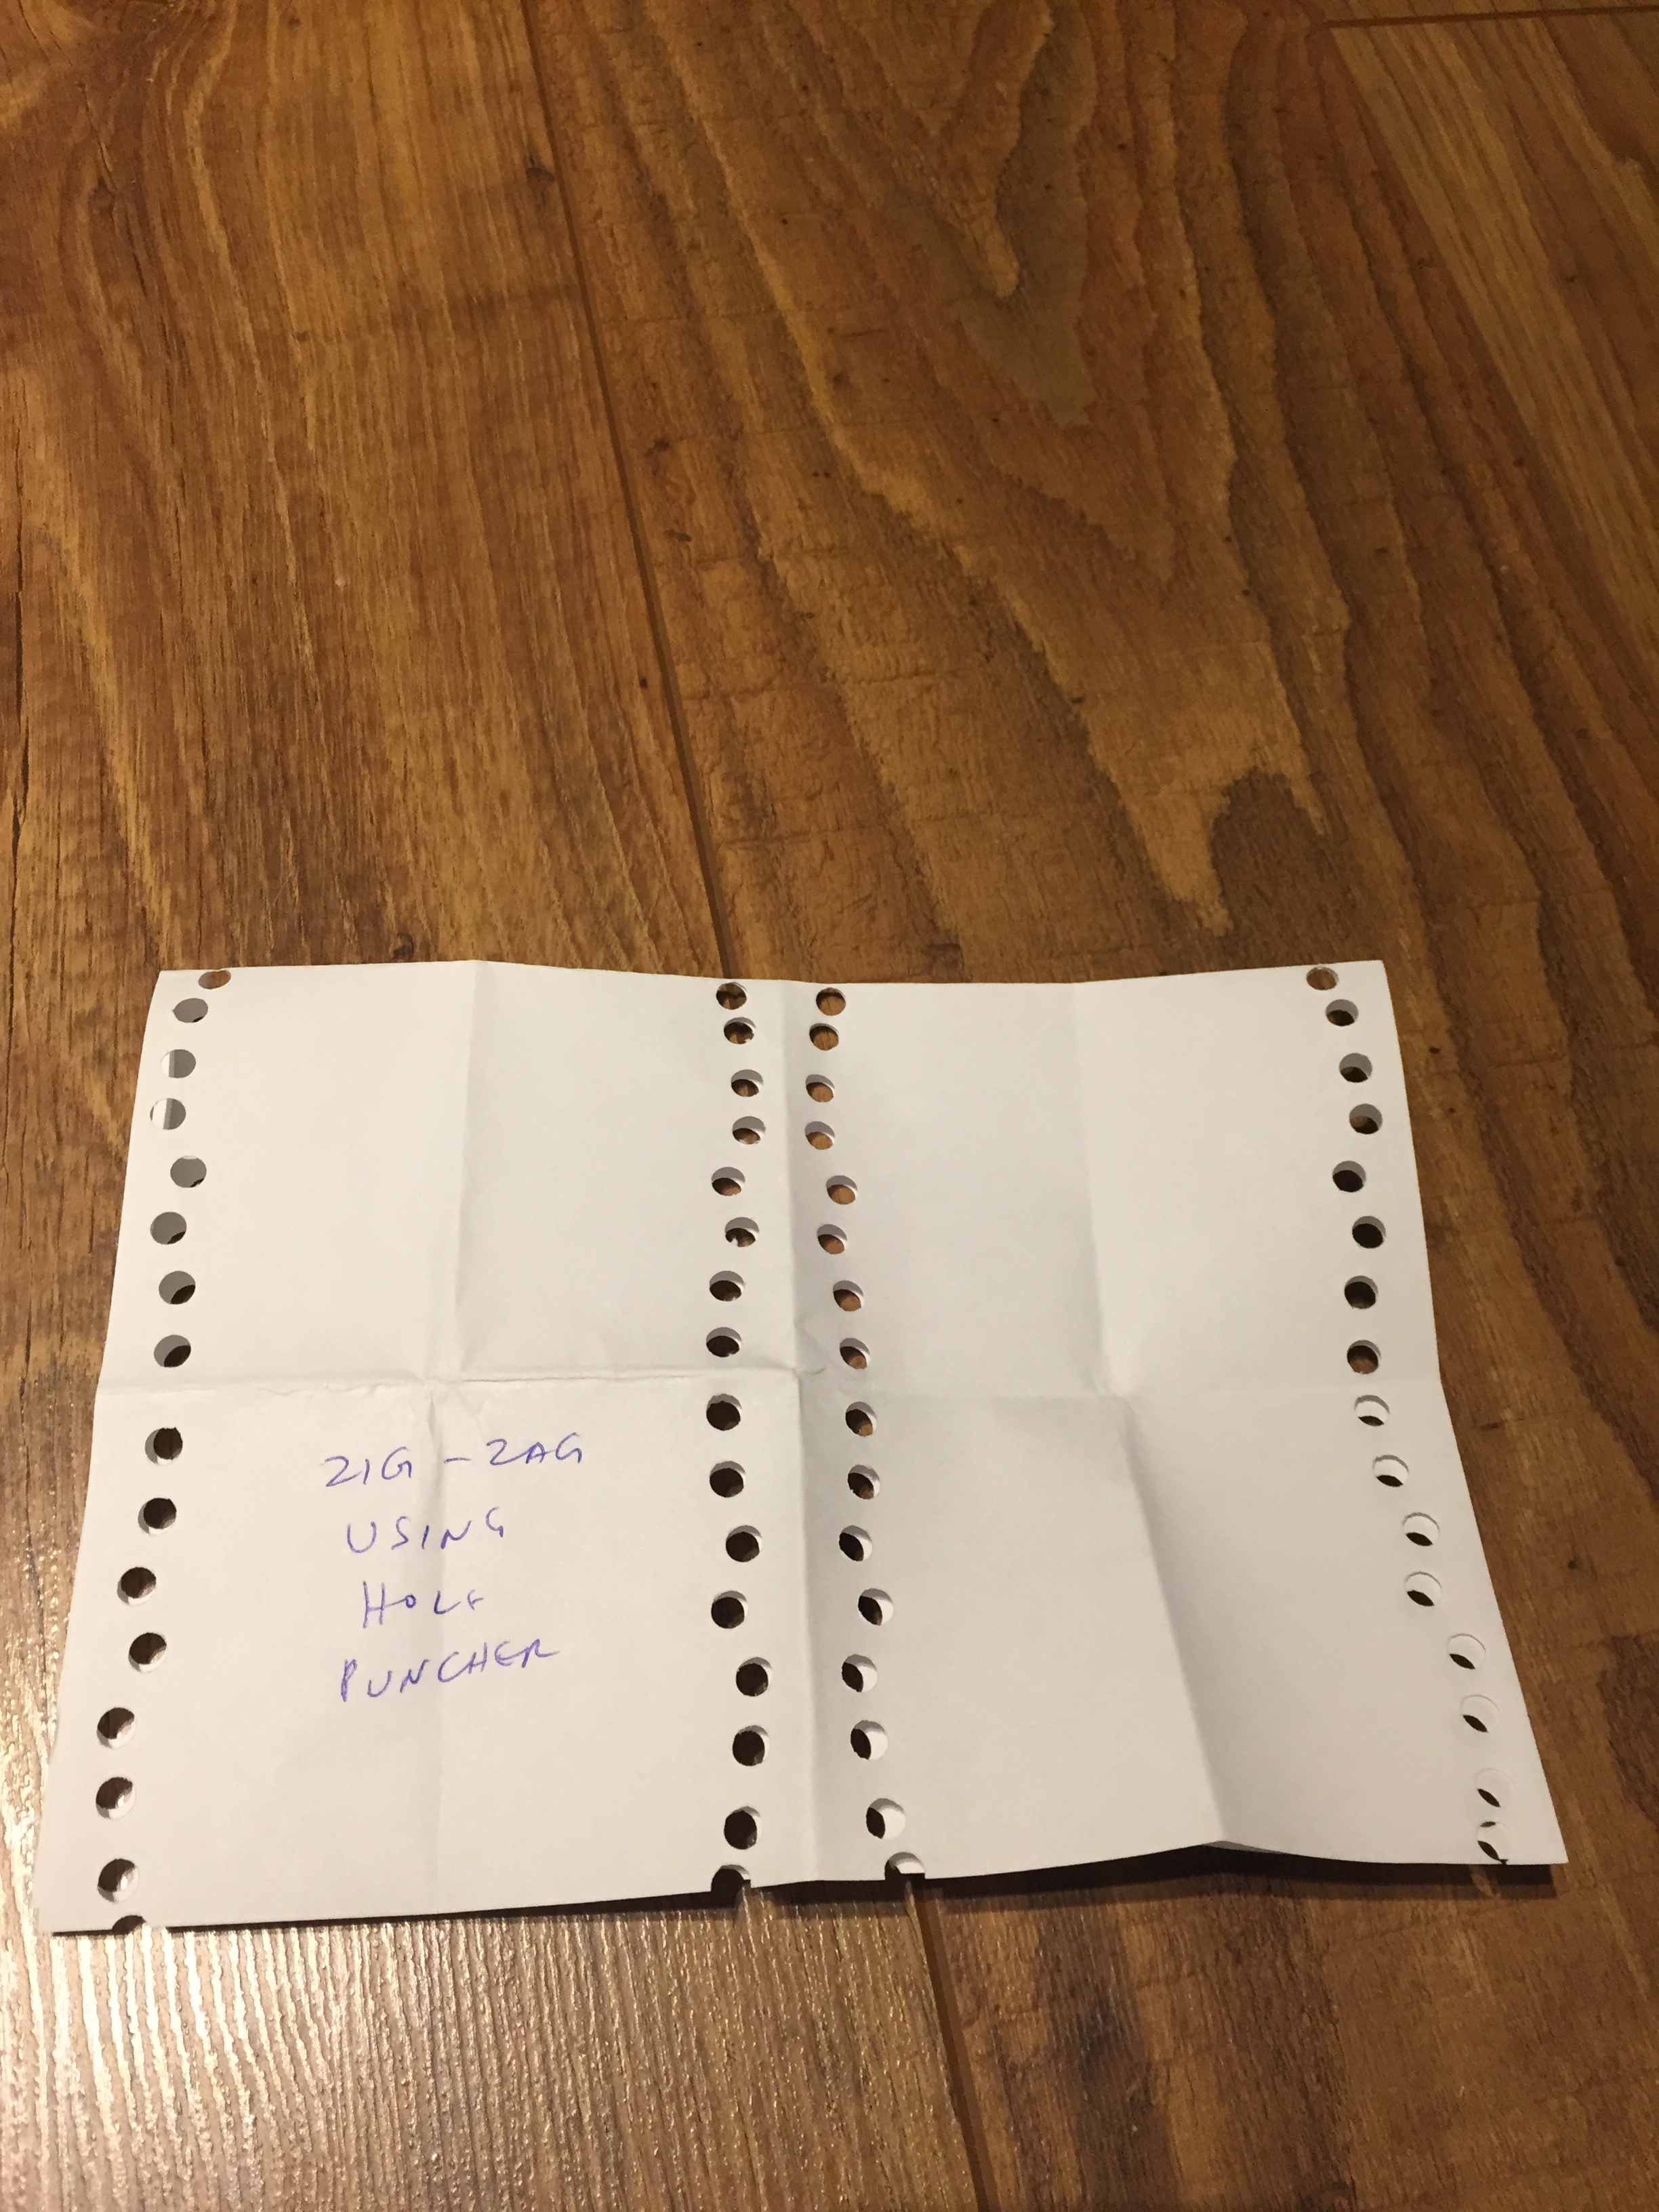
diamonds and waves weaving using tissue paper weaving using A4 paper crumbling using A4 papercrumpling using a soft tissueCurly fringing :I’ve tried to create a sort of cable using the fringing of the paper but it didn’t work out because of the nature of the paper(too stiff)Using a hole puncher, I’ve created a pattern by folding the paperwrapping paper being cut in an asymmetrical patternHole pattern created after folding a wrapping papercereal box paper rolled ,crumpled and hole punched using a pinI’ve used nails of different gauge to create holes in a rectangle shape on either side of a sand paper: Top left , fine gauge, bottom right the coarser one.I’ve used this sanding cork block as a template under the paperwhen I’ve seen it finished with the nails and I took a picture of my paper I thought it was to blunt; I’ve decided to do a bit of mark making drawing on it.holes and a diamond design using yarn on a cereal box paperview from backpaper bag piece using the yarn-look-a-like paper handle to feed through triangle holespaper bag side folded and wrapped using a handle in a way it highlights the wavy tippingwrapping paper folded and cut in a snow flake pattern glued on a side of a paper bag to create a layering effect.different paper layering on a cereal box with pieces glued together view from the backlayering of processed pieces glued on an A4 paper.
Going through the same exercise again and using papers of different quality and texture I can say it was a pleasant surprise to me and I really enjoyed the process. Having more materials and trying to marry them was quite challenging and exciting the same time.
After a discussion with my tutor and been advised that I’ve taken a wrong route into my journey, I’ve decided to start all over again ;
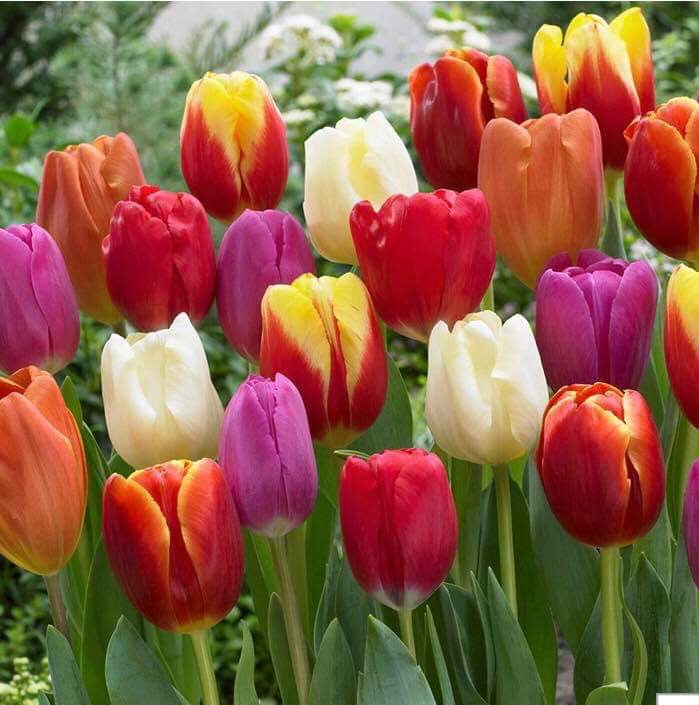
I’ve kept my previous work under the name << assignment 2 old>> and I’m starting assignment 2 from the beginning:the process will be same as before and will begin with posting pictures of flowers and then picking enough to create my drawings.
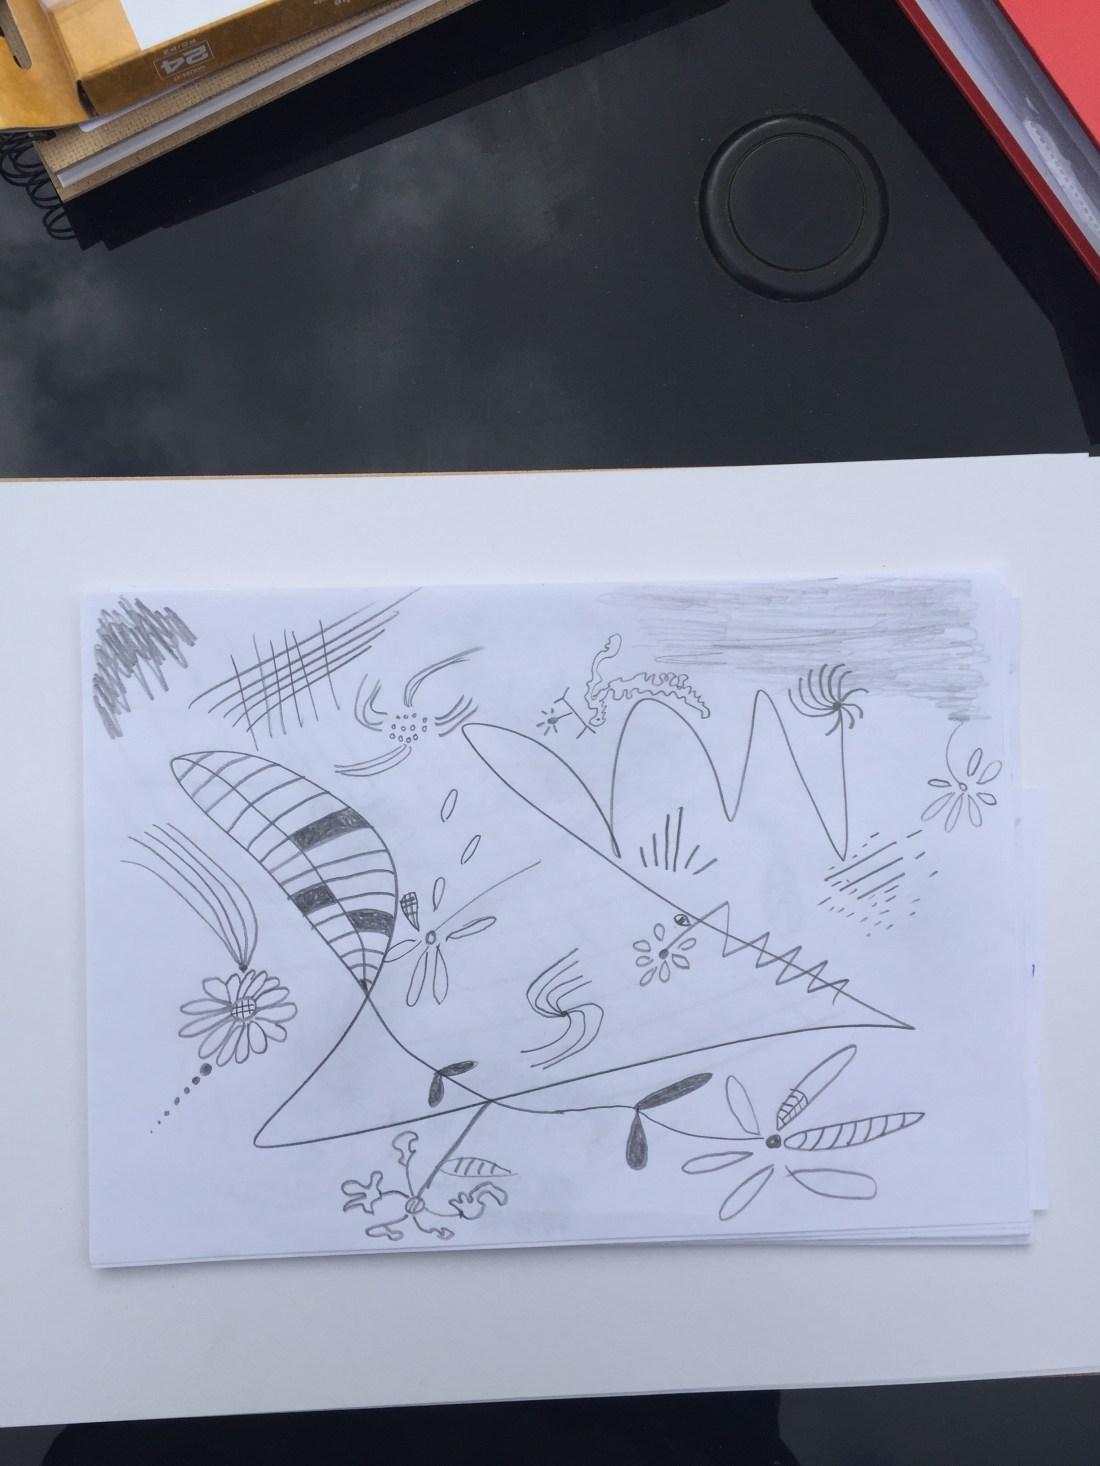
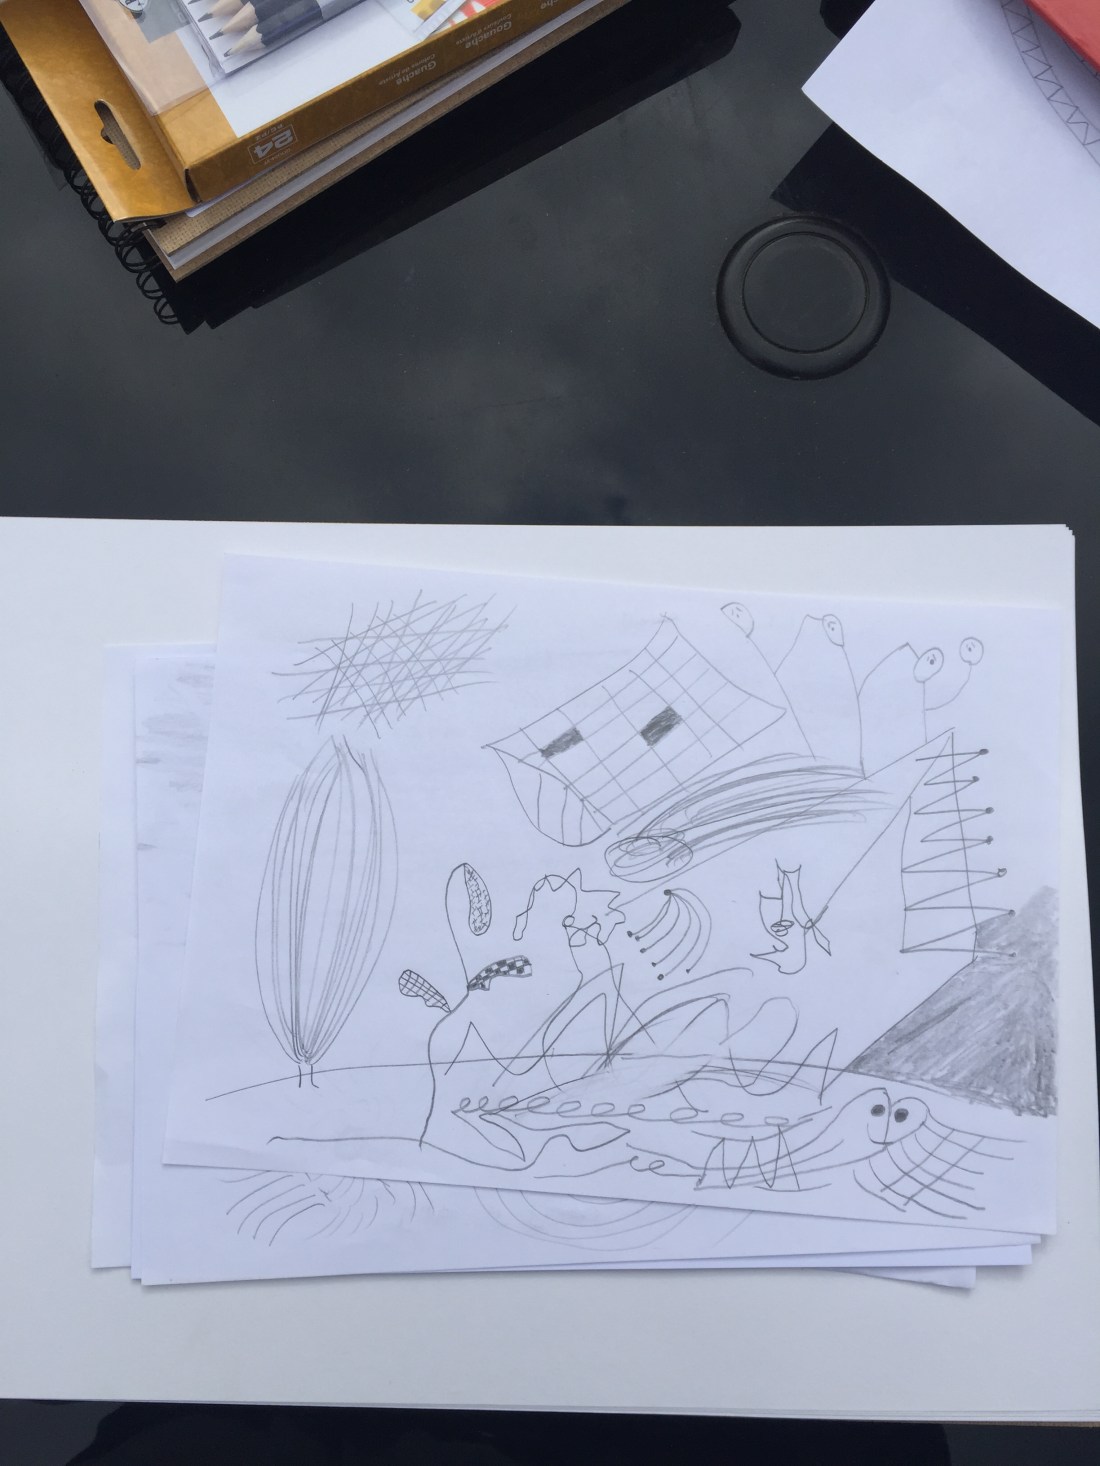
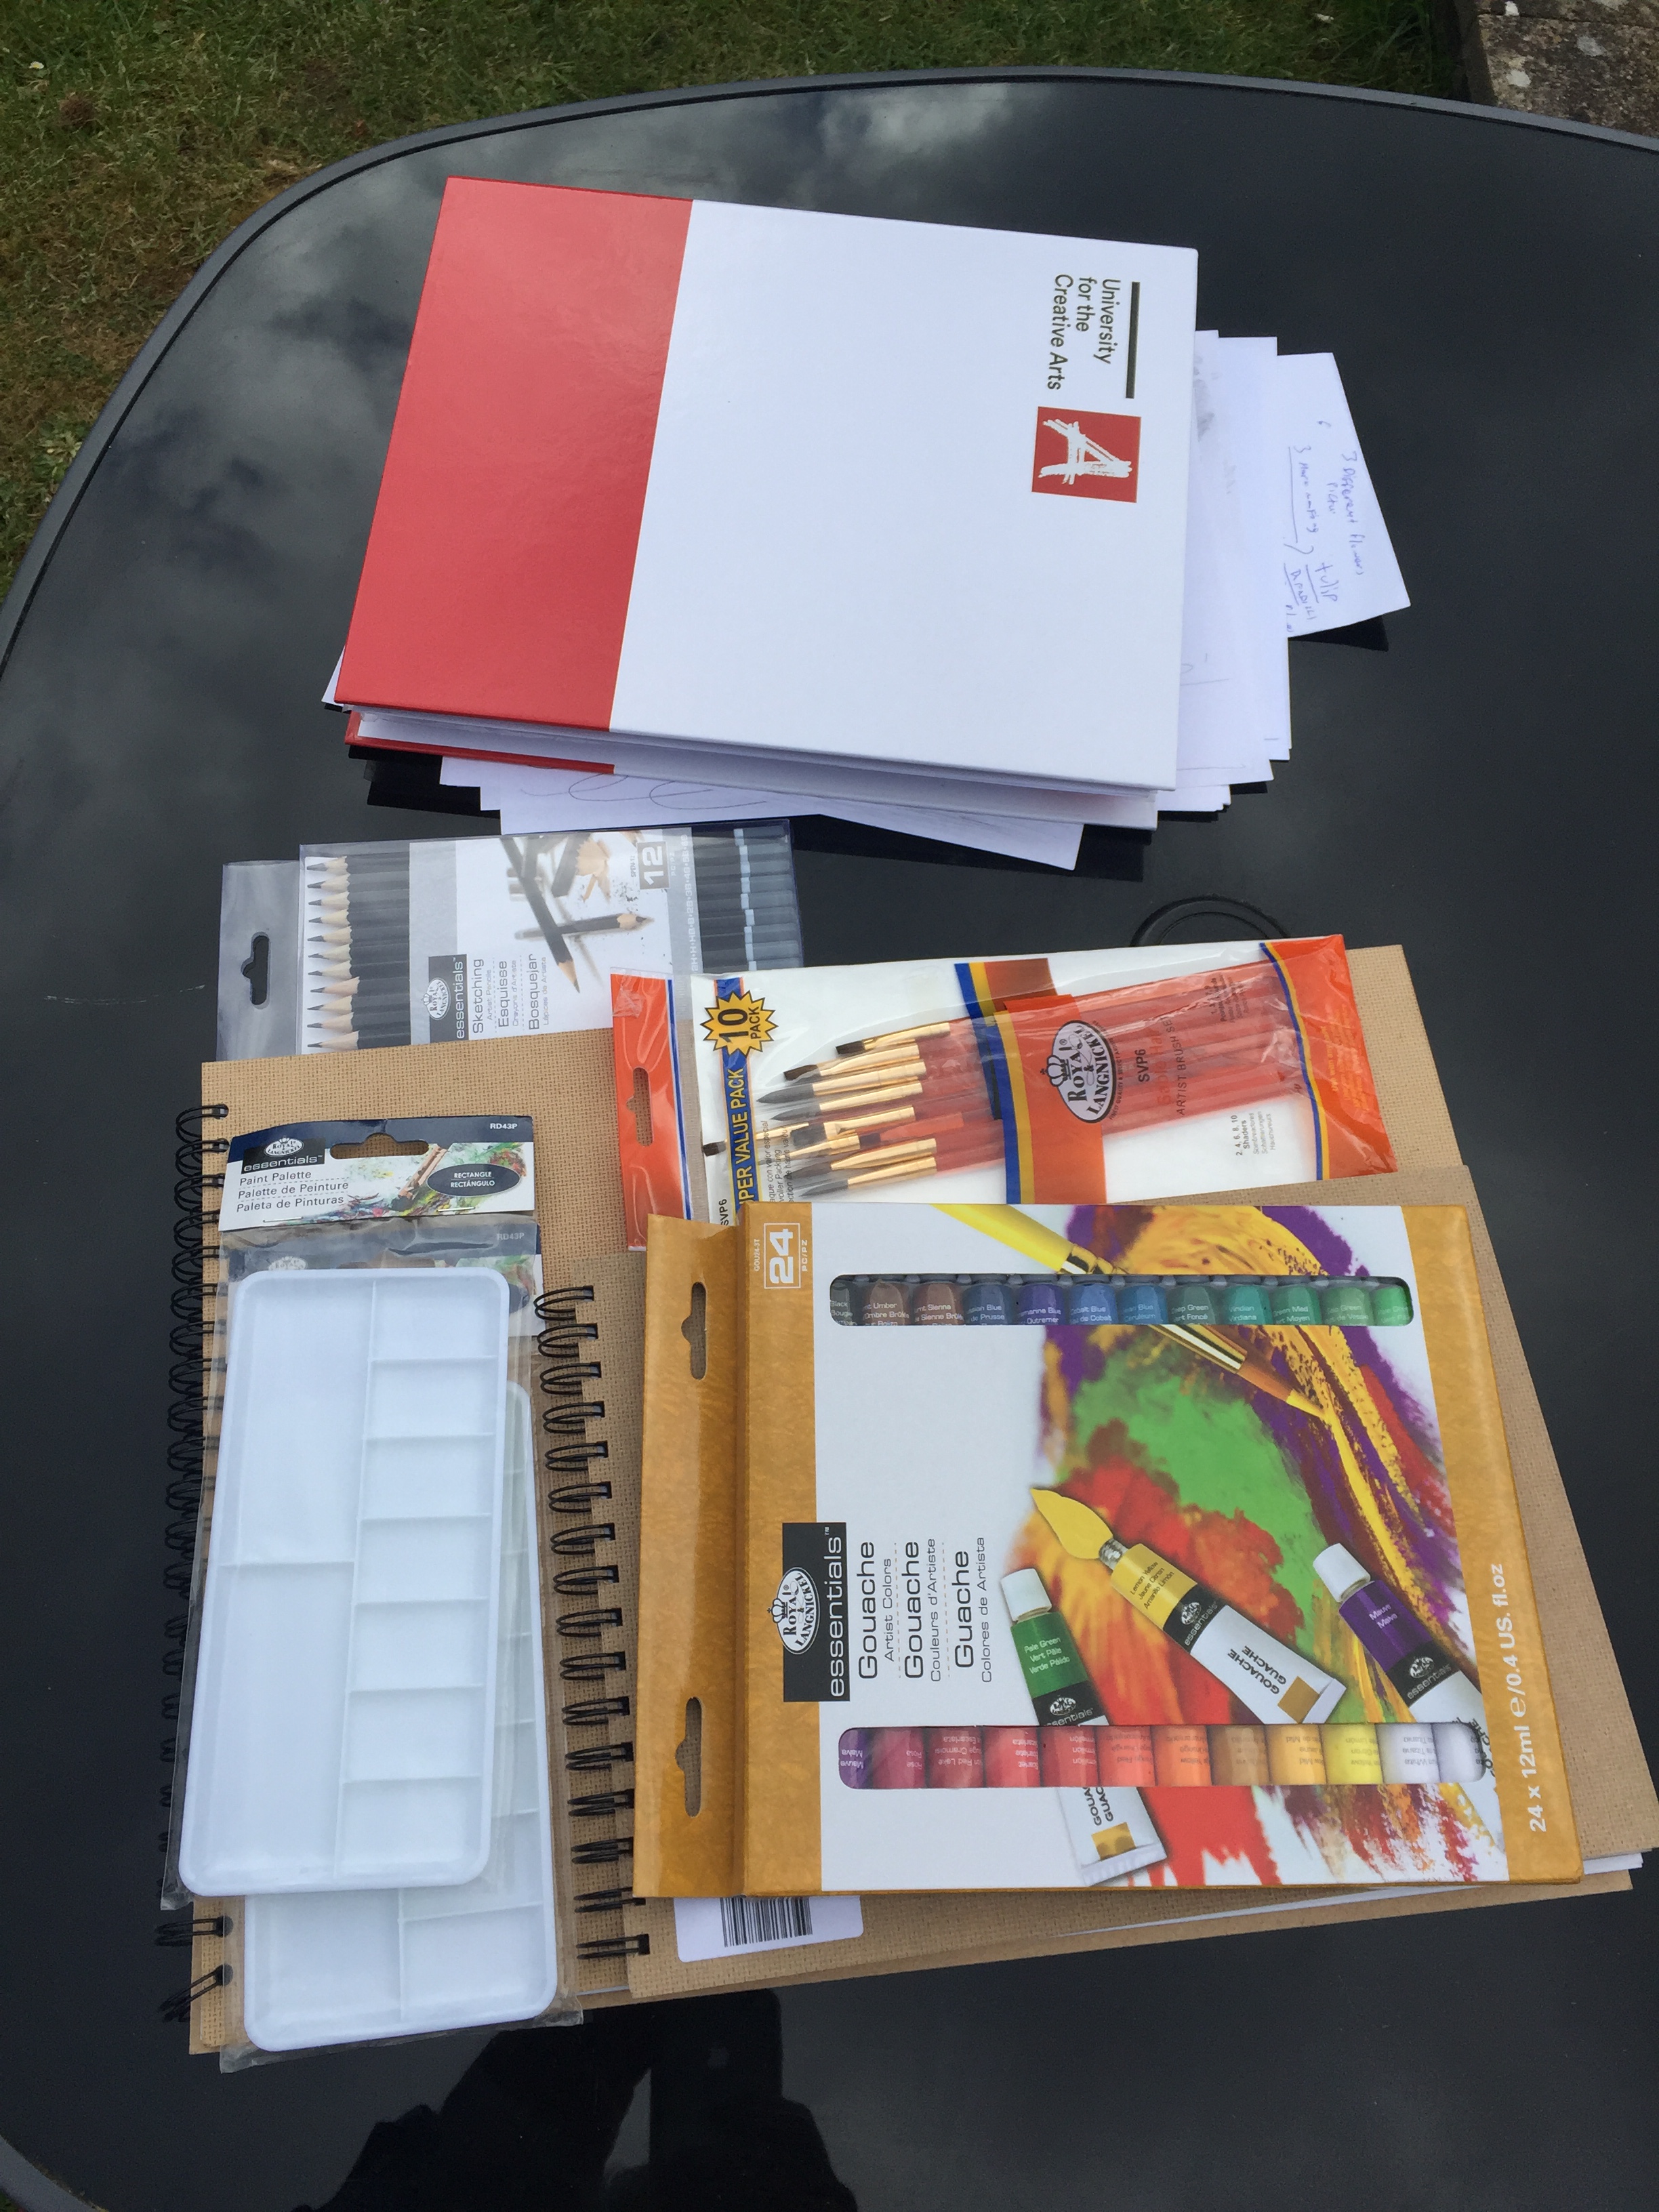
I’ve picked my stationary up and I’ve started working on drawings
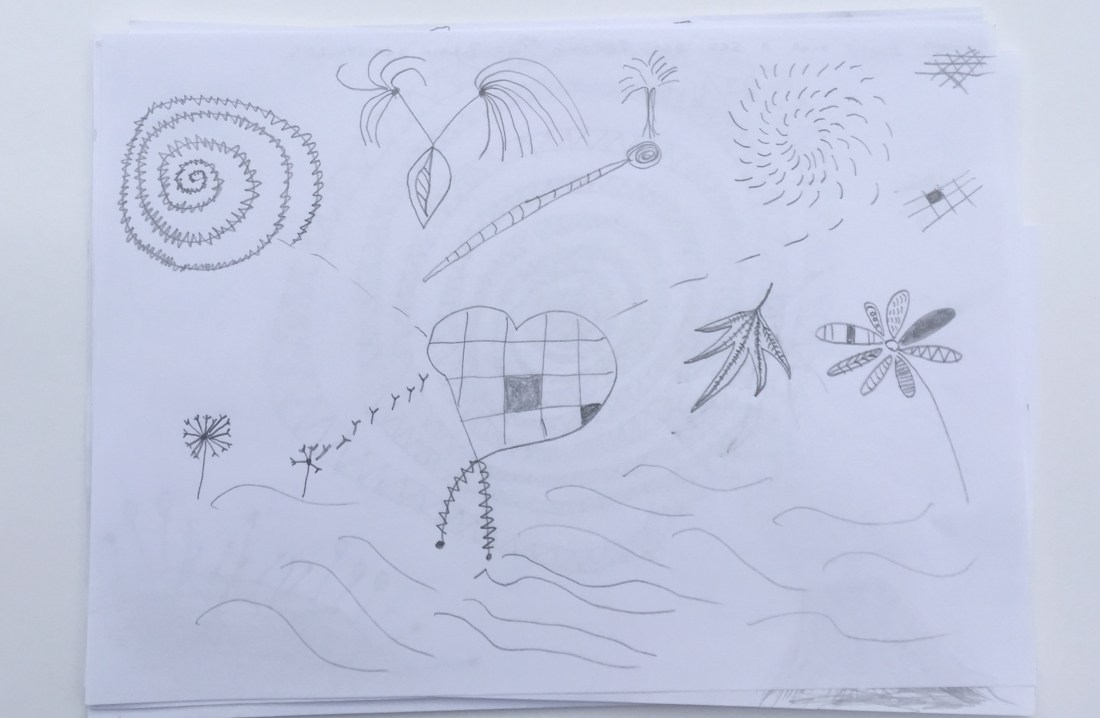
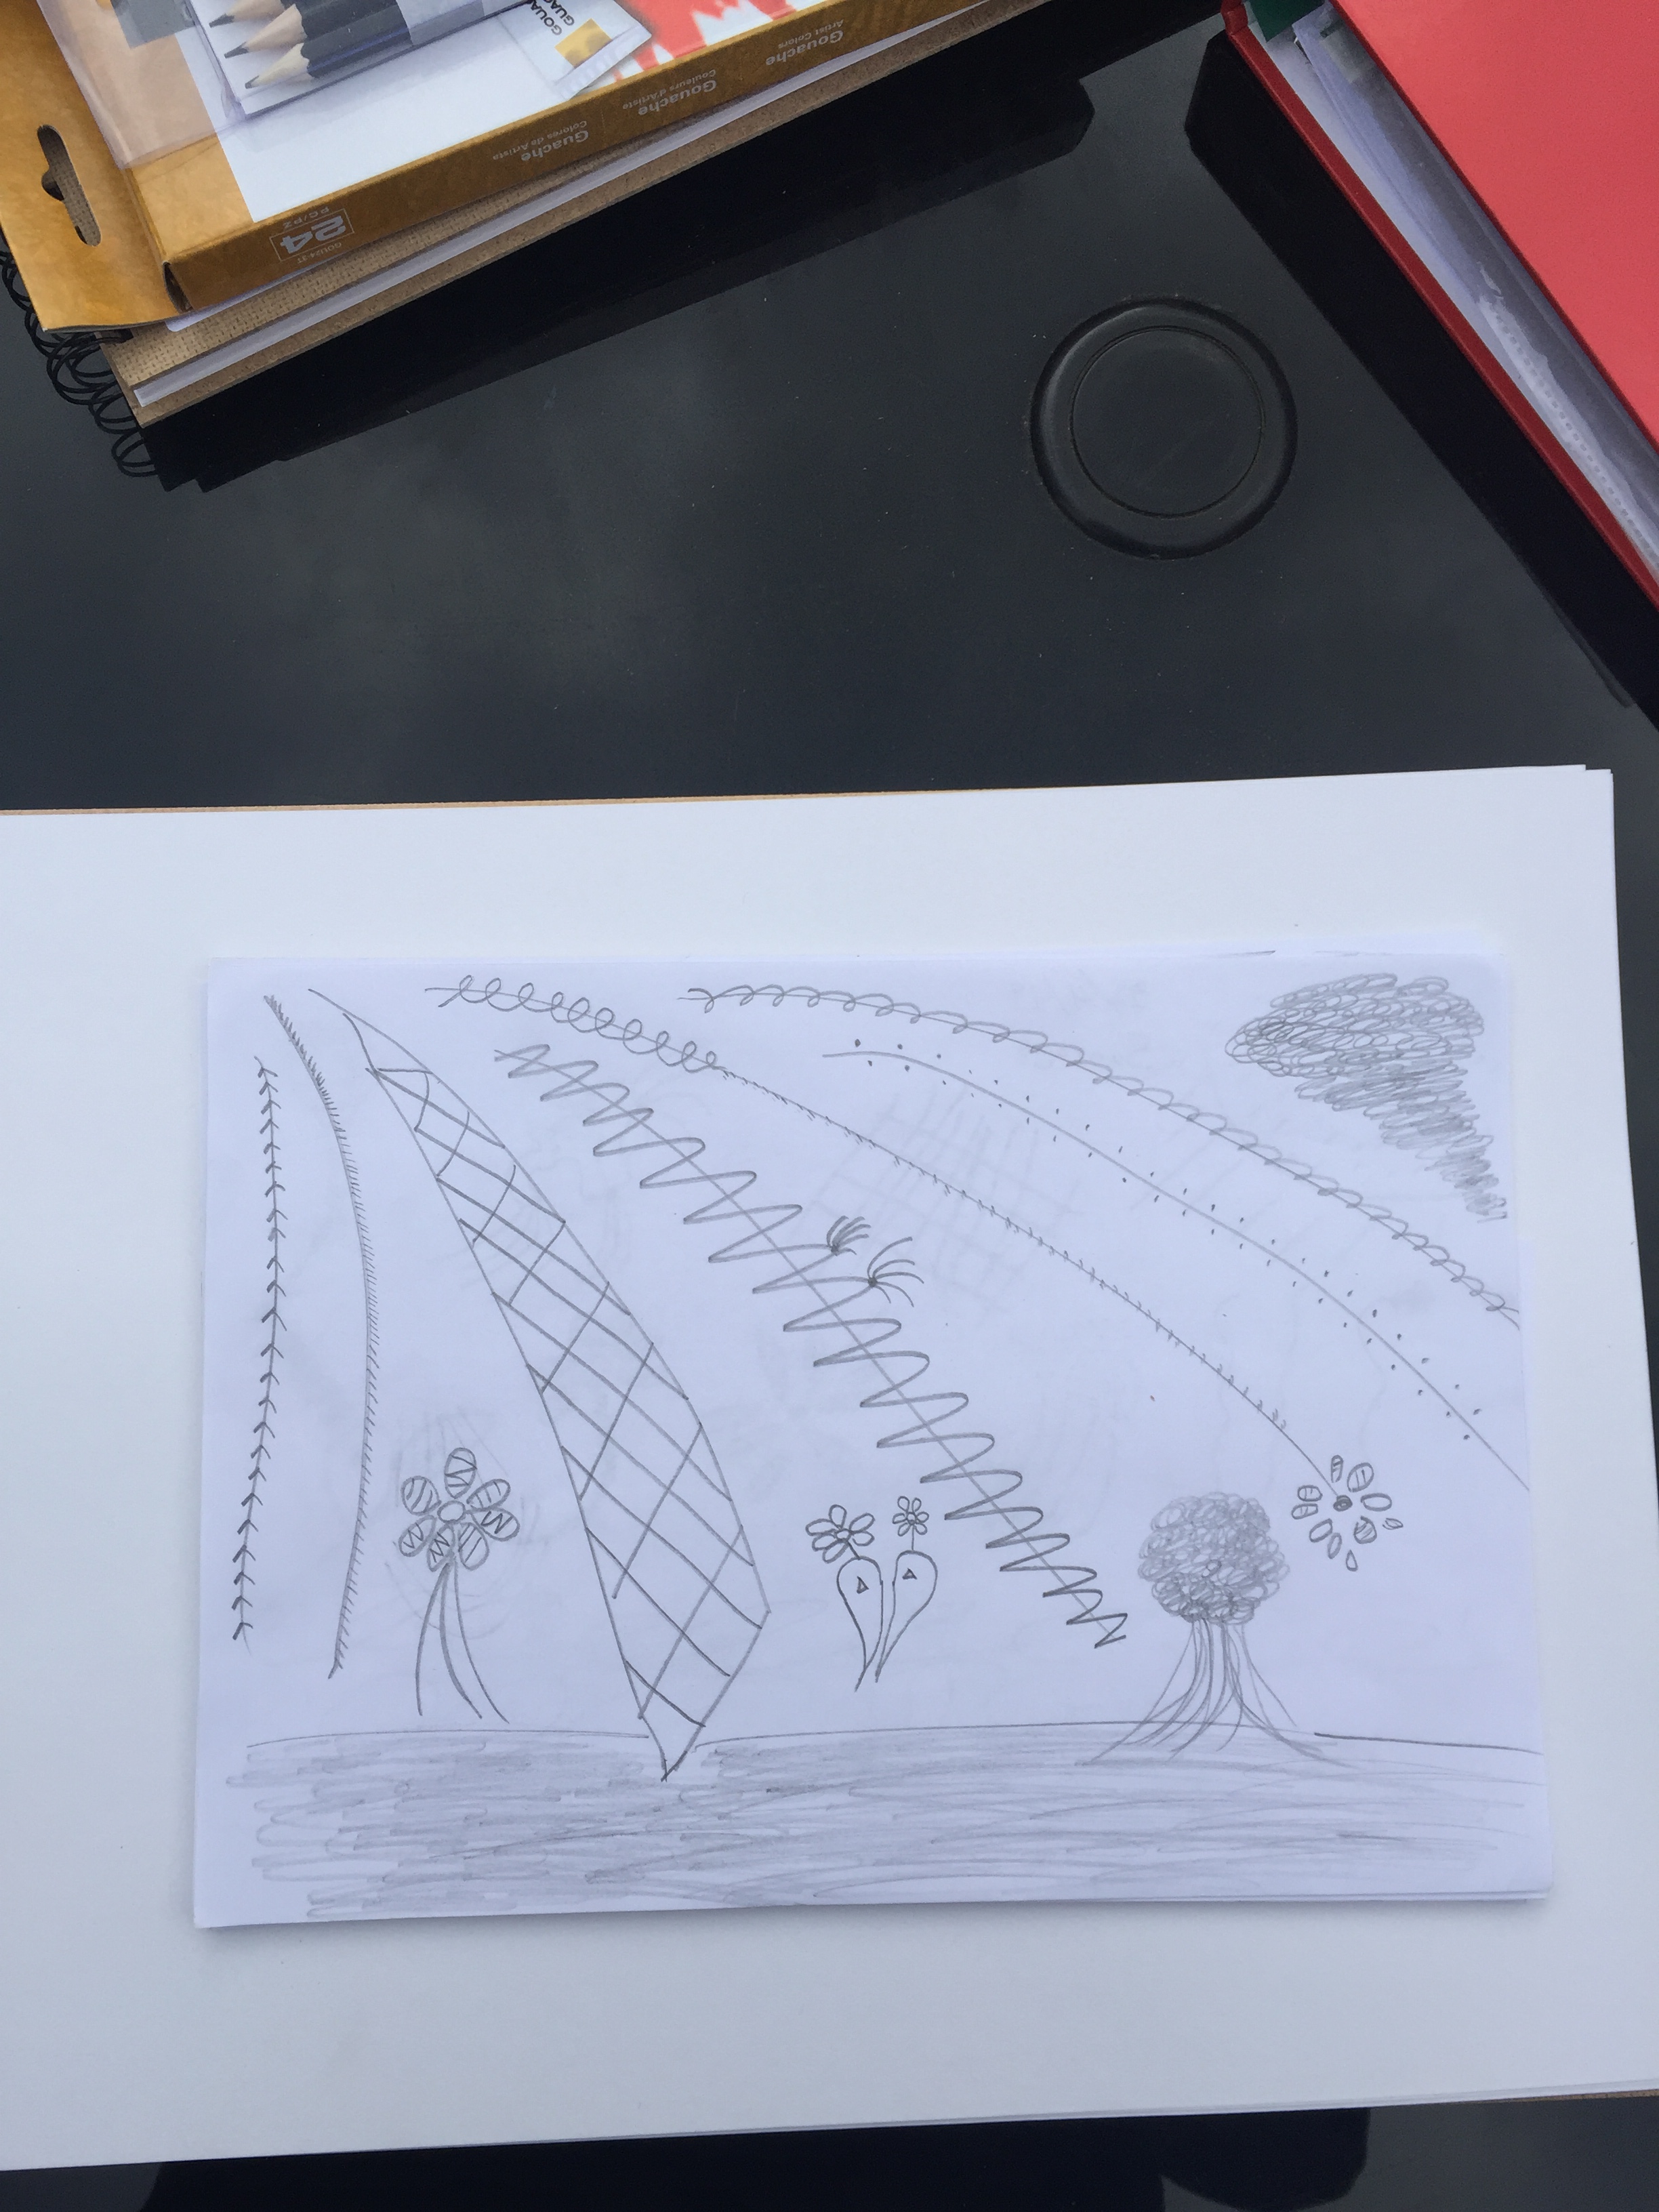
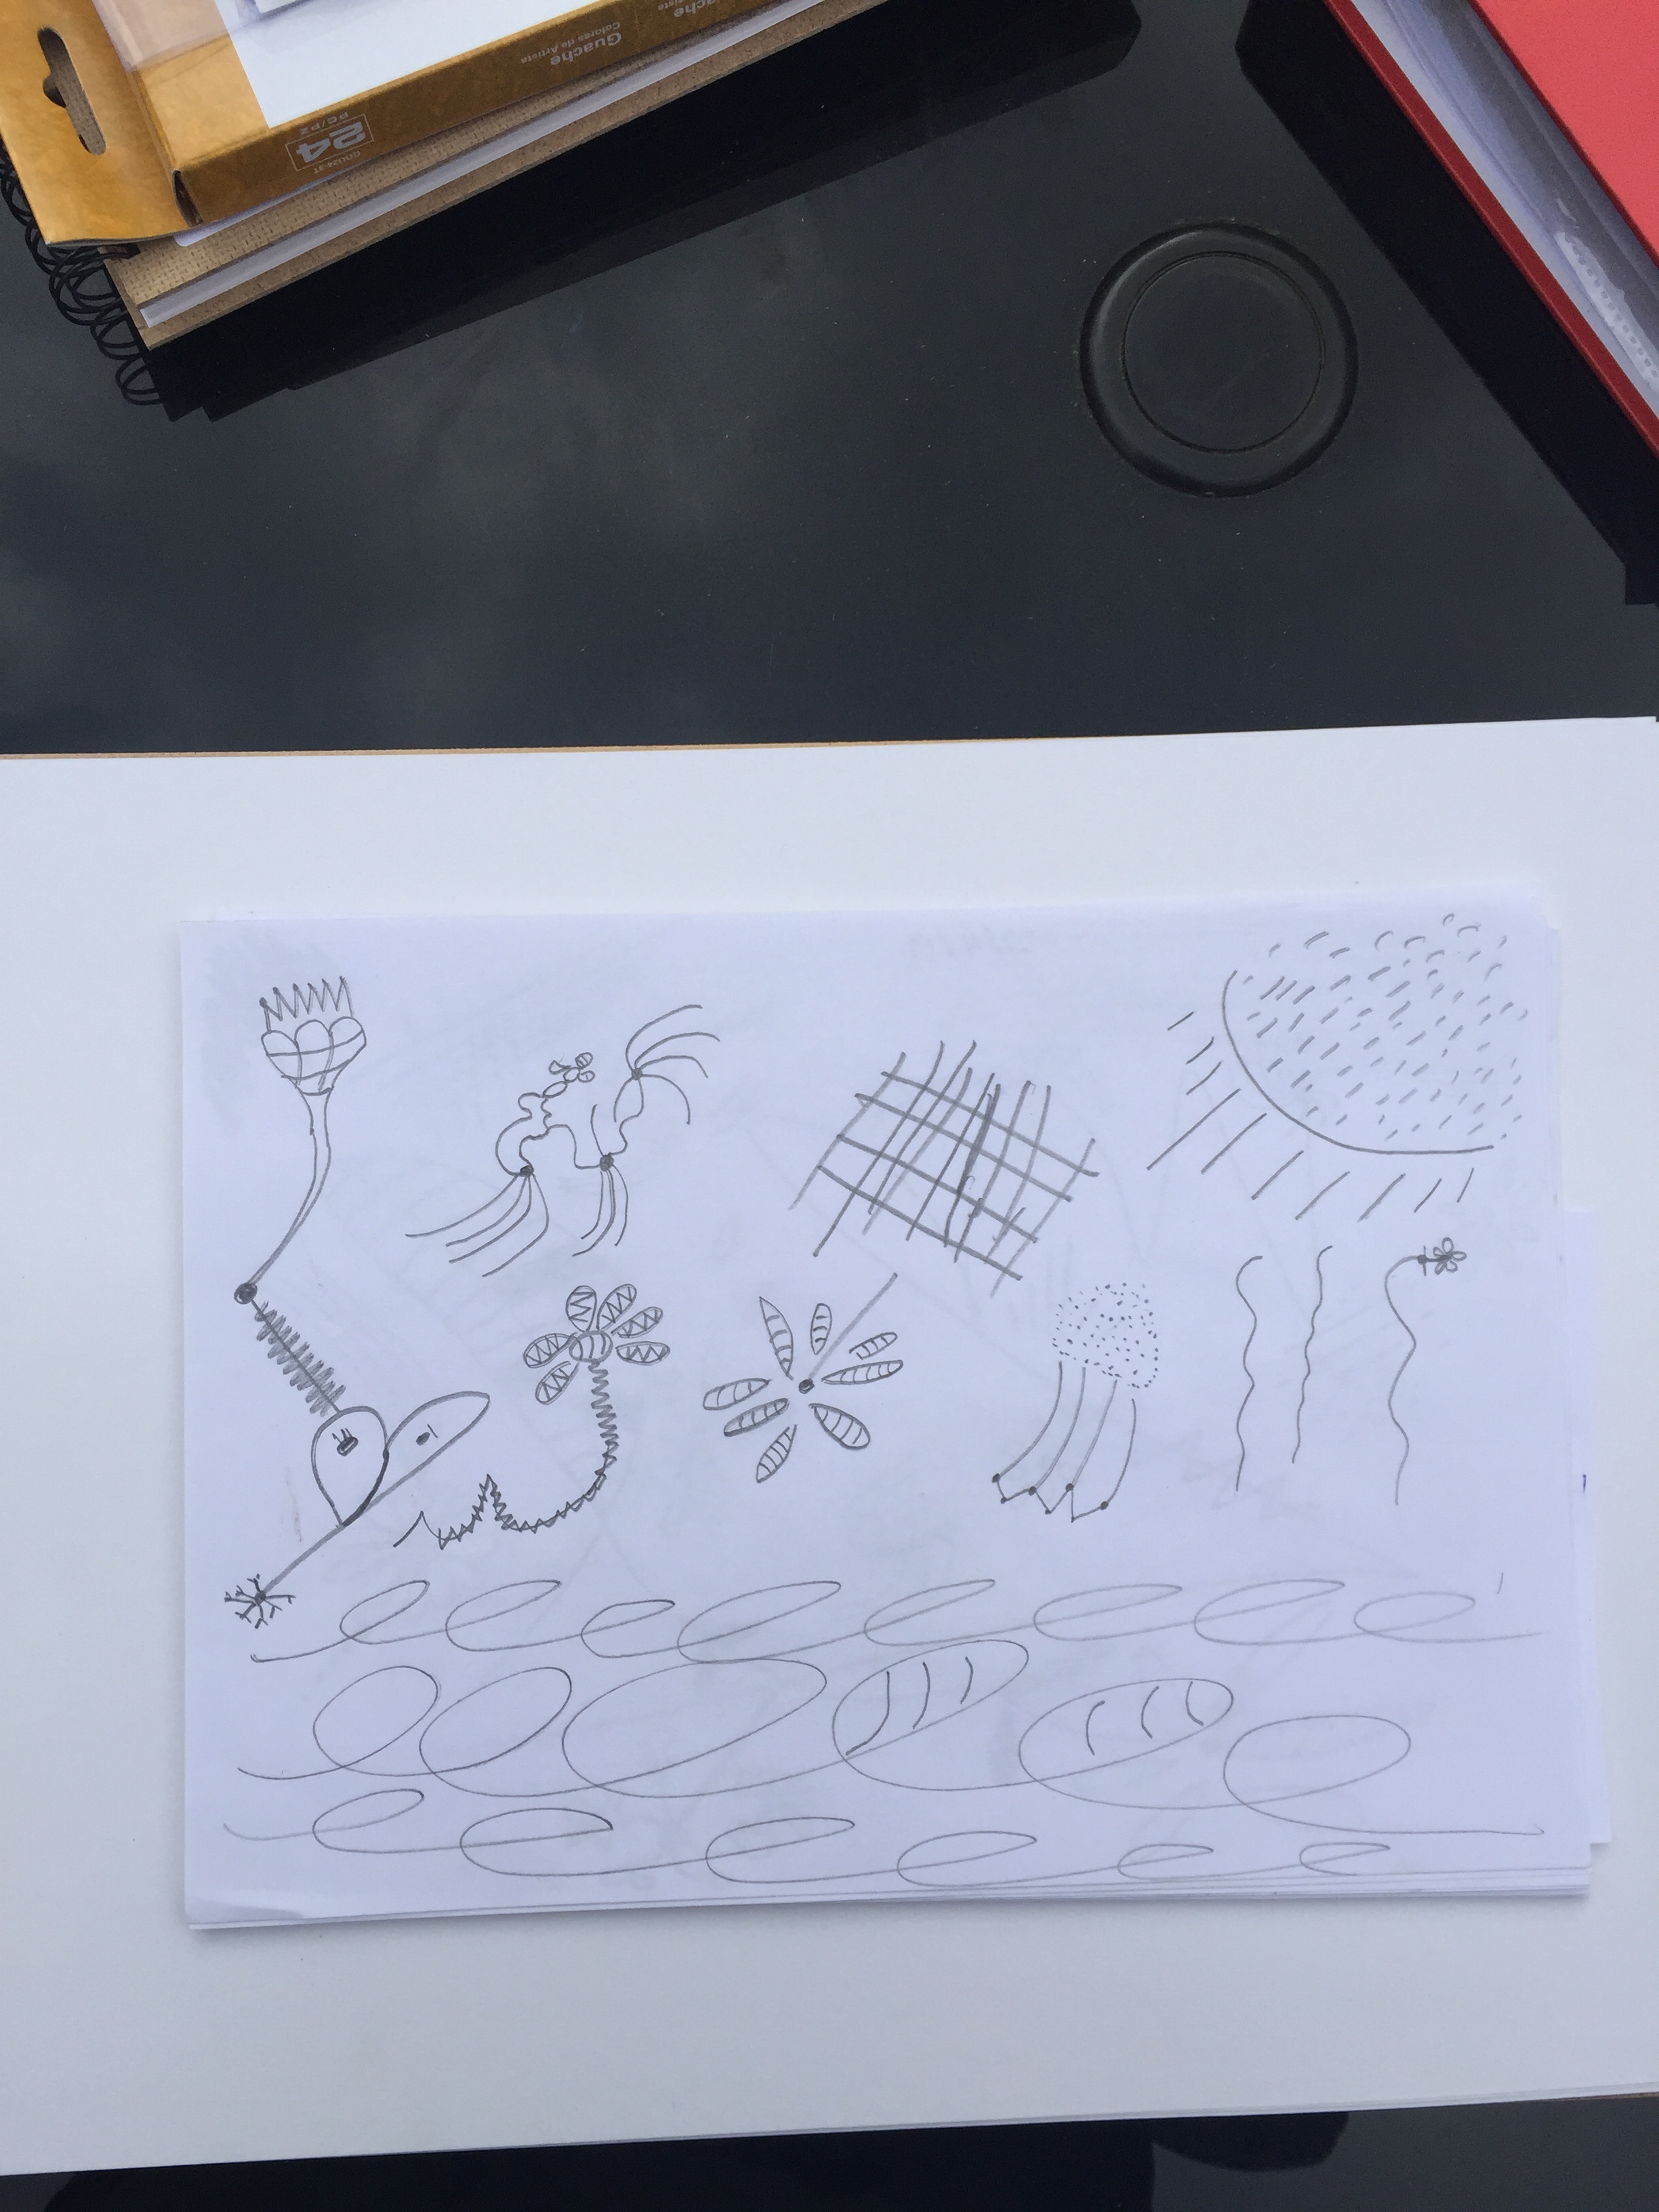
mark making technique
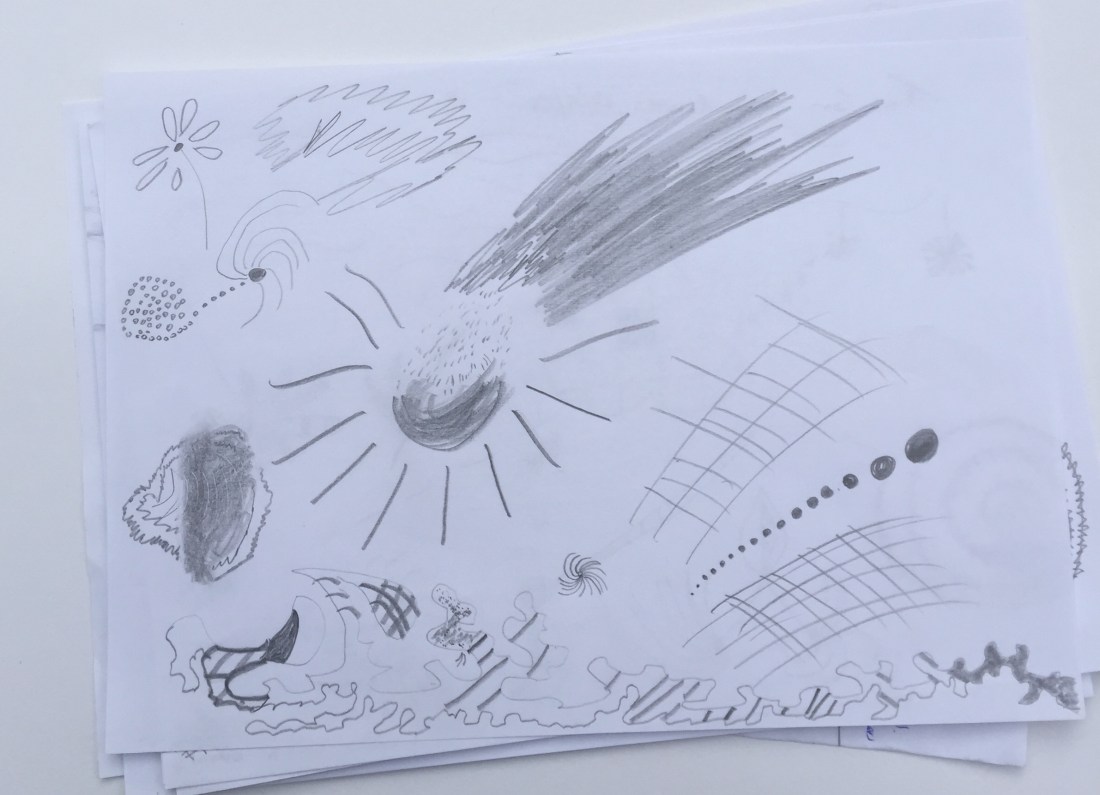
I have started with simple lines, just to be more used to it
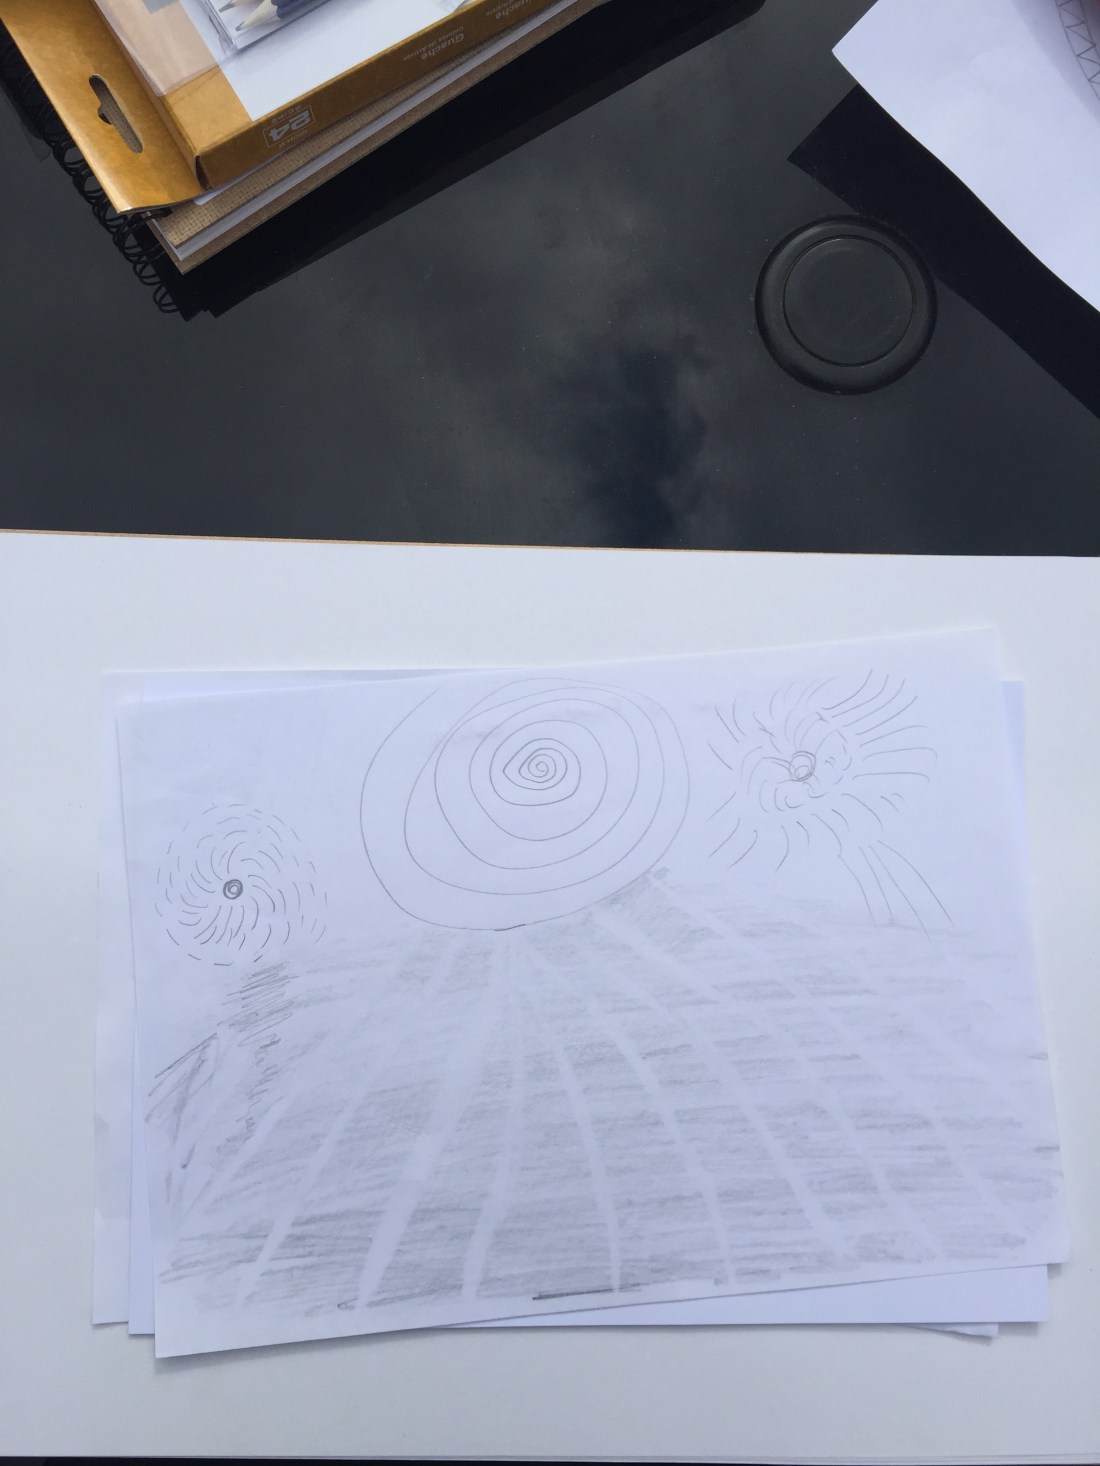
different lines:curly, loopy, circular
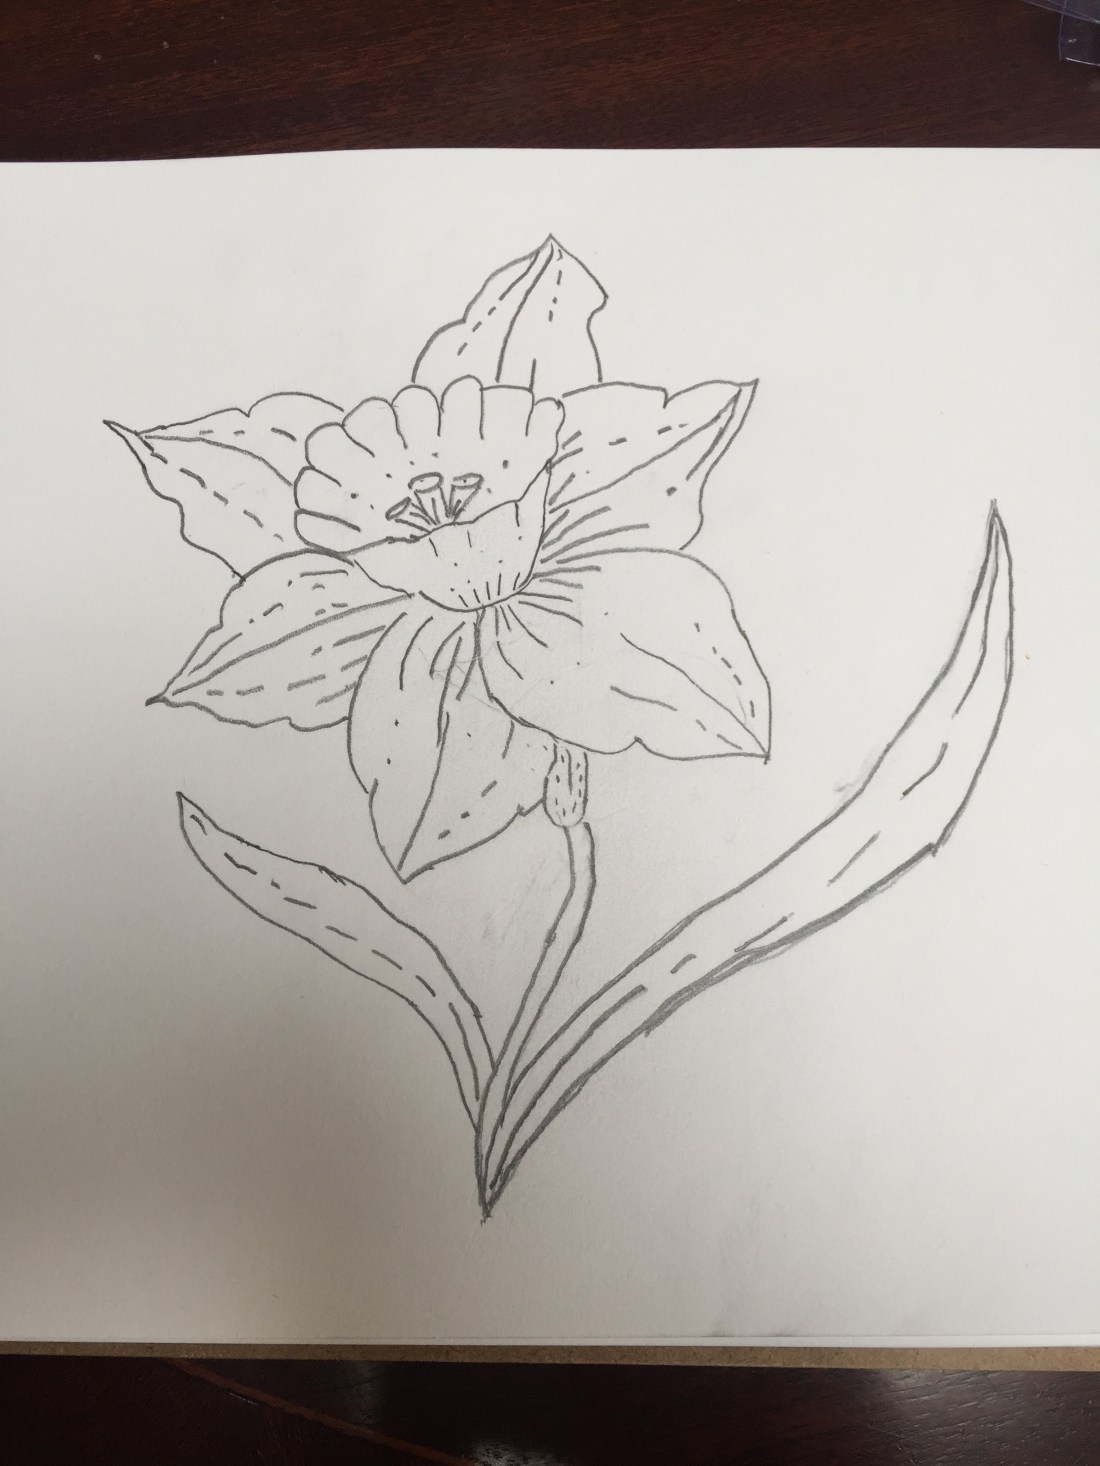
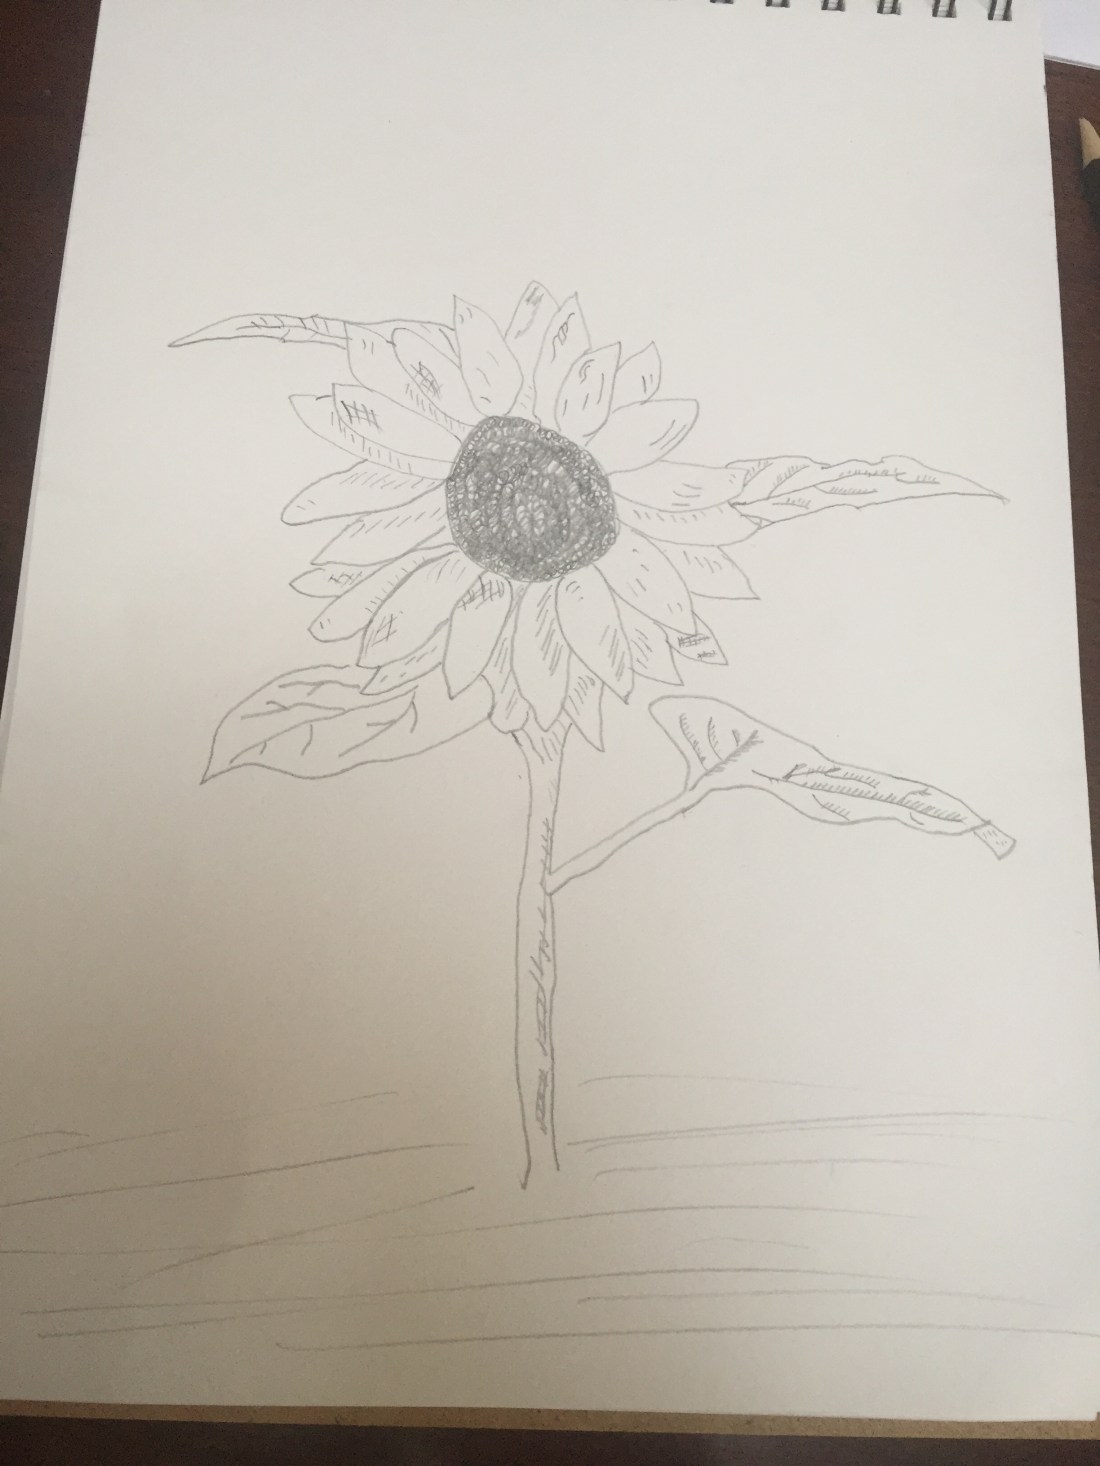
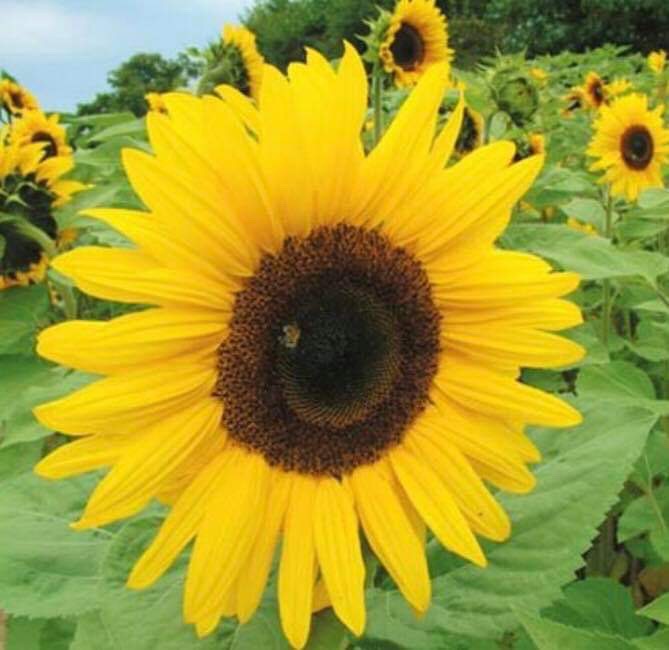
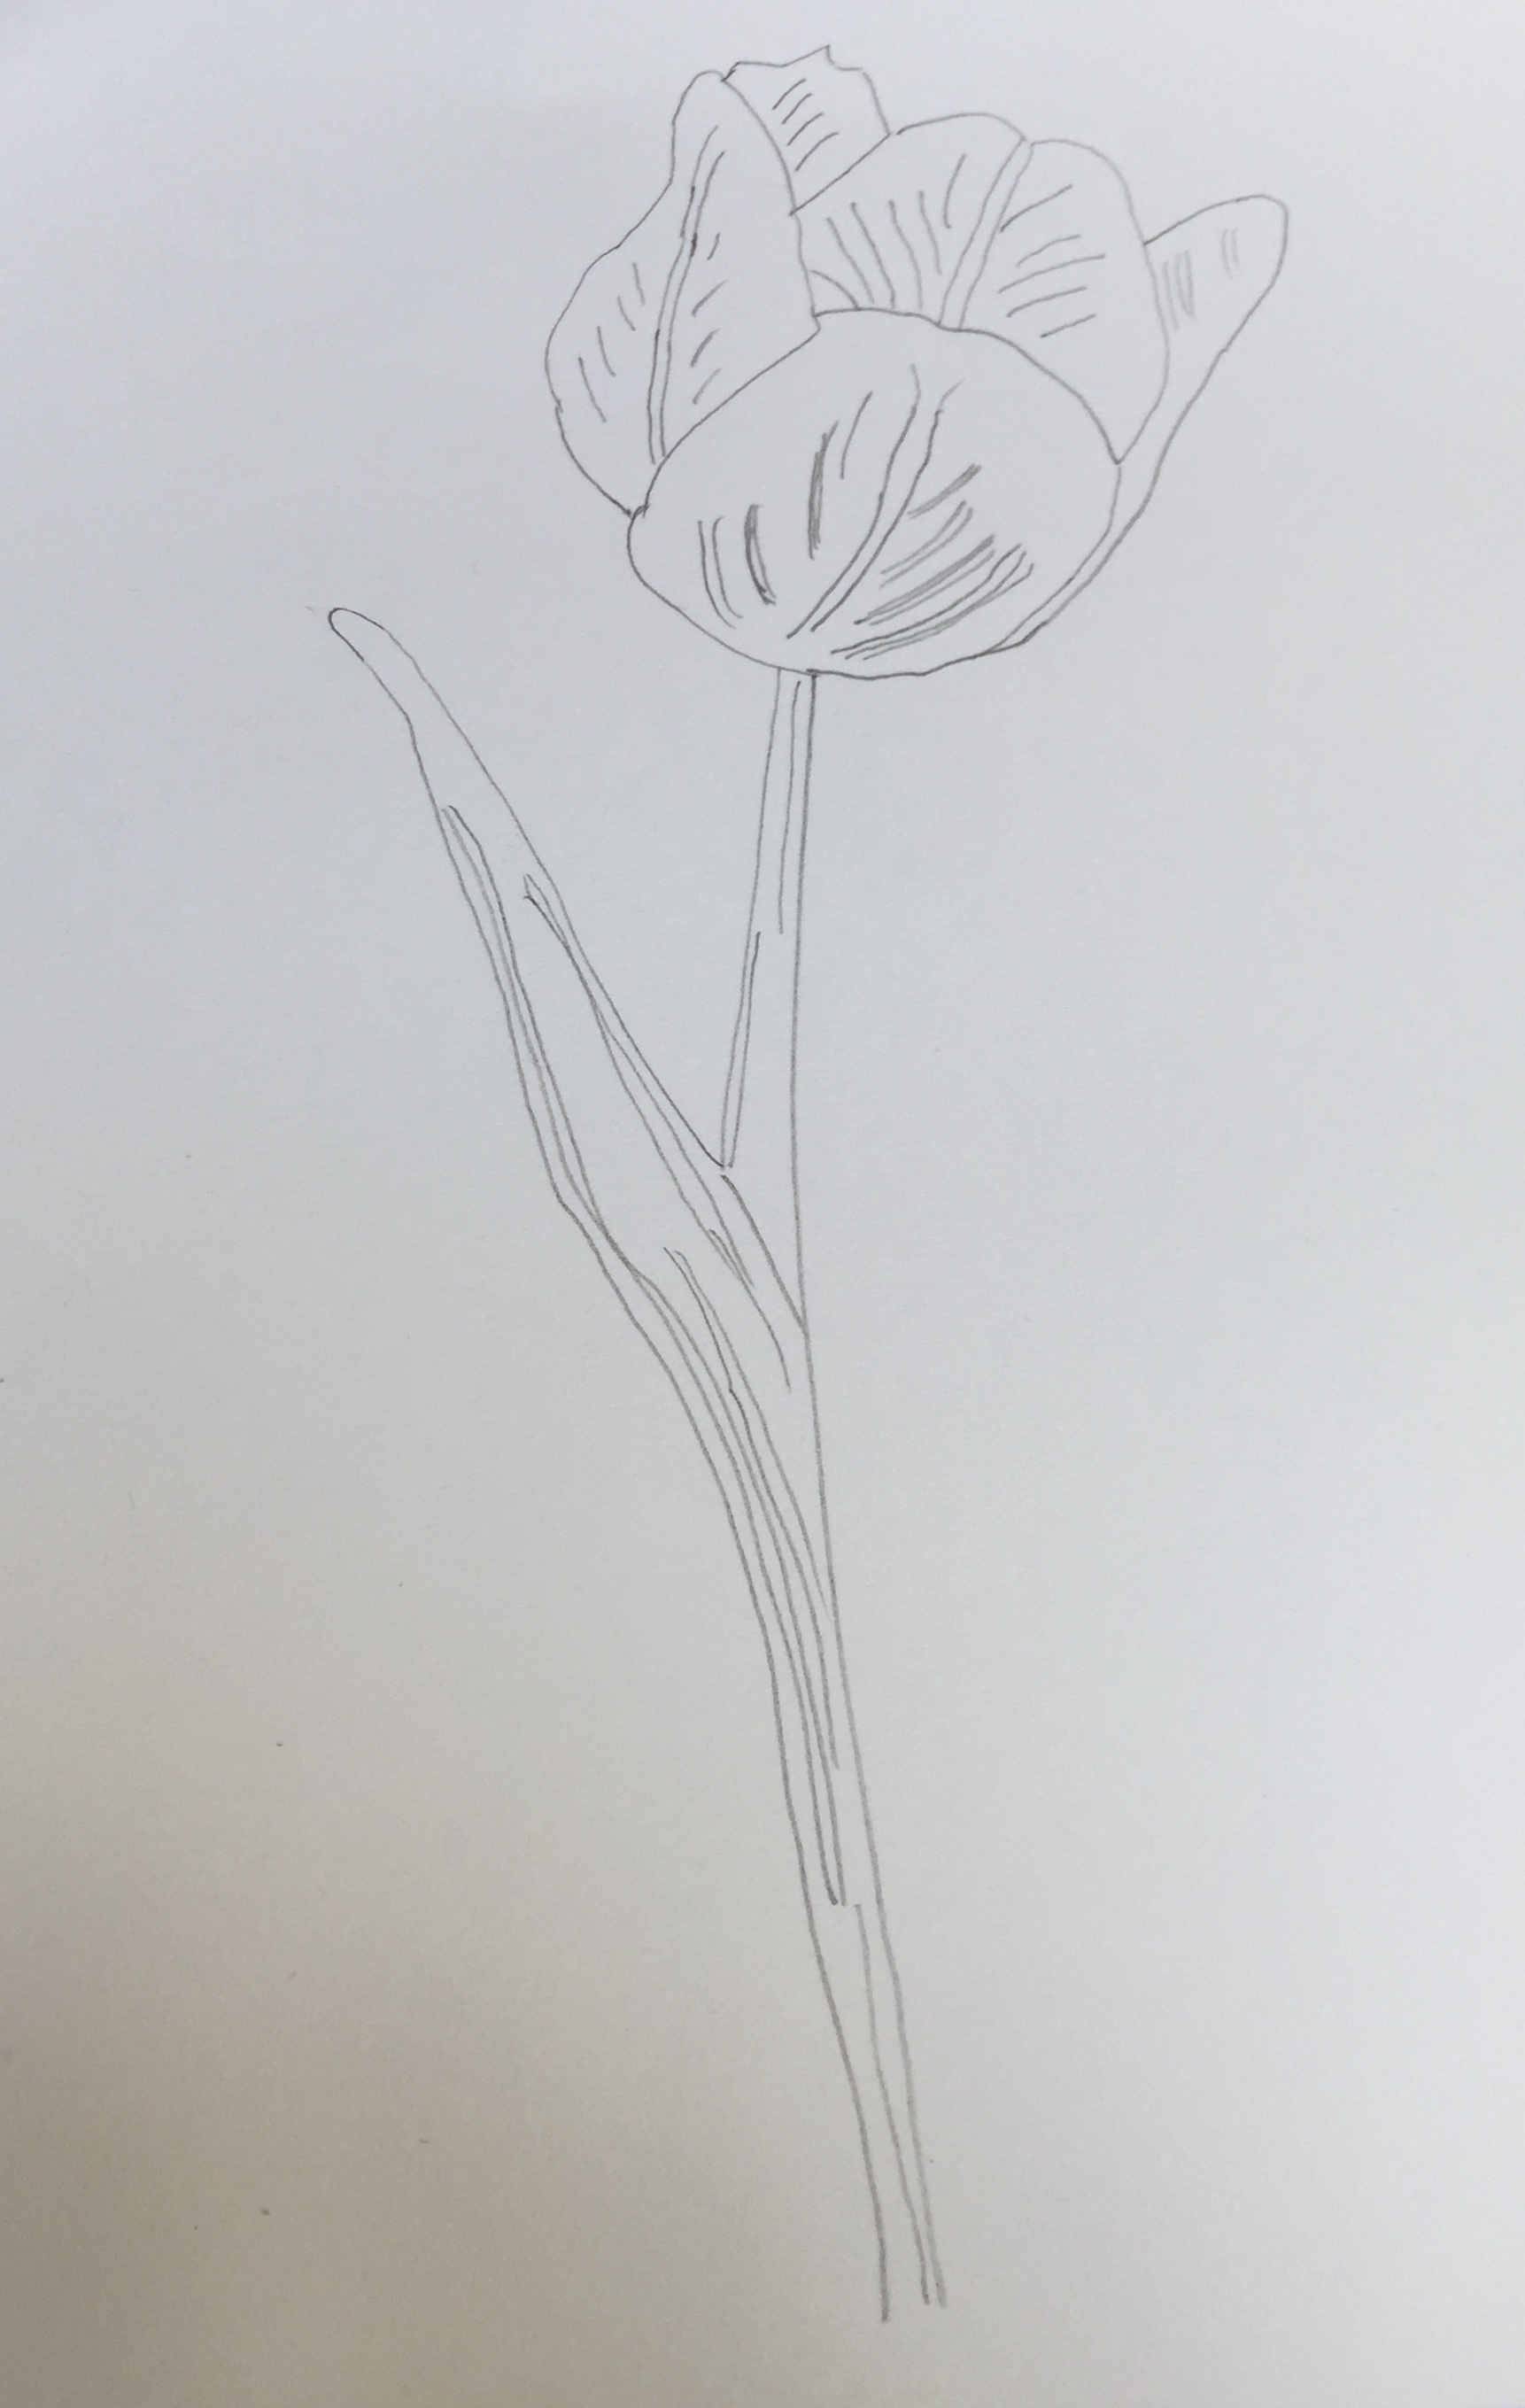
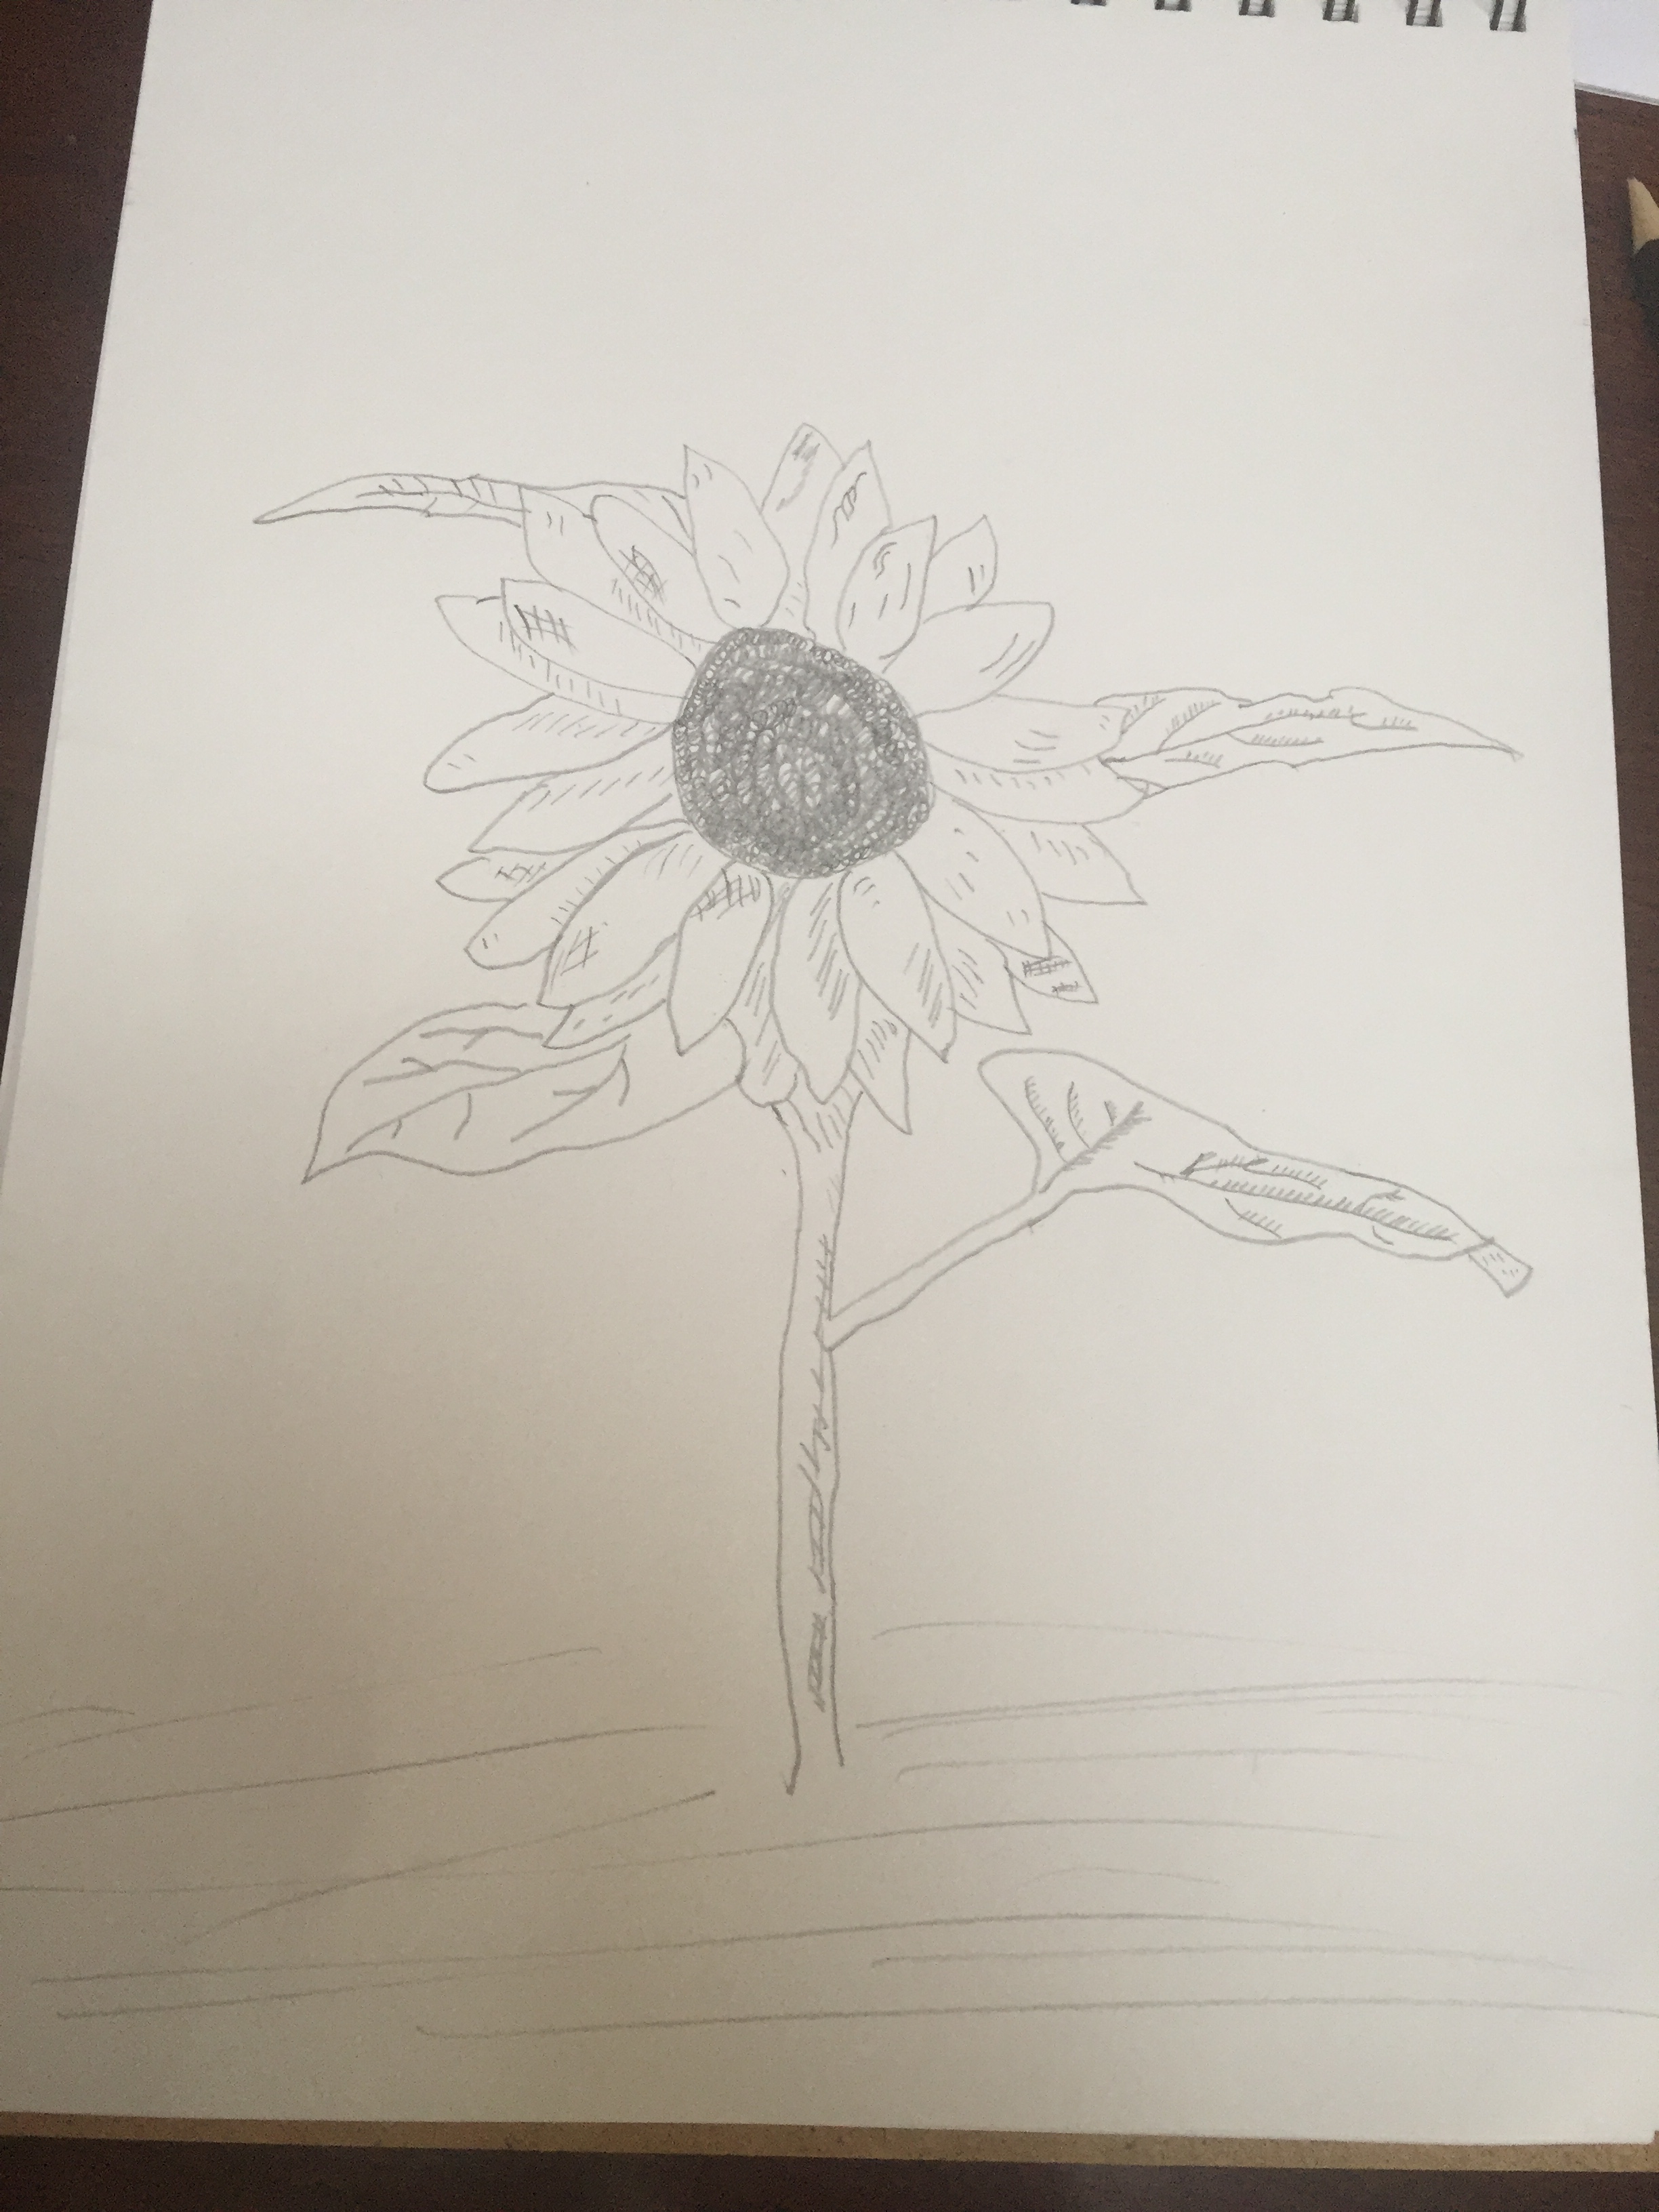
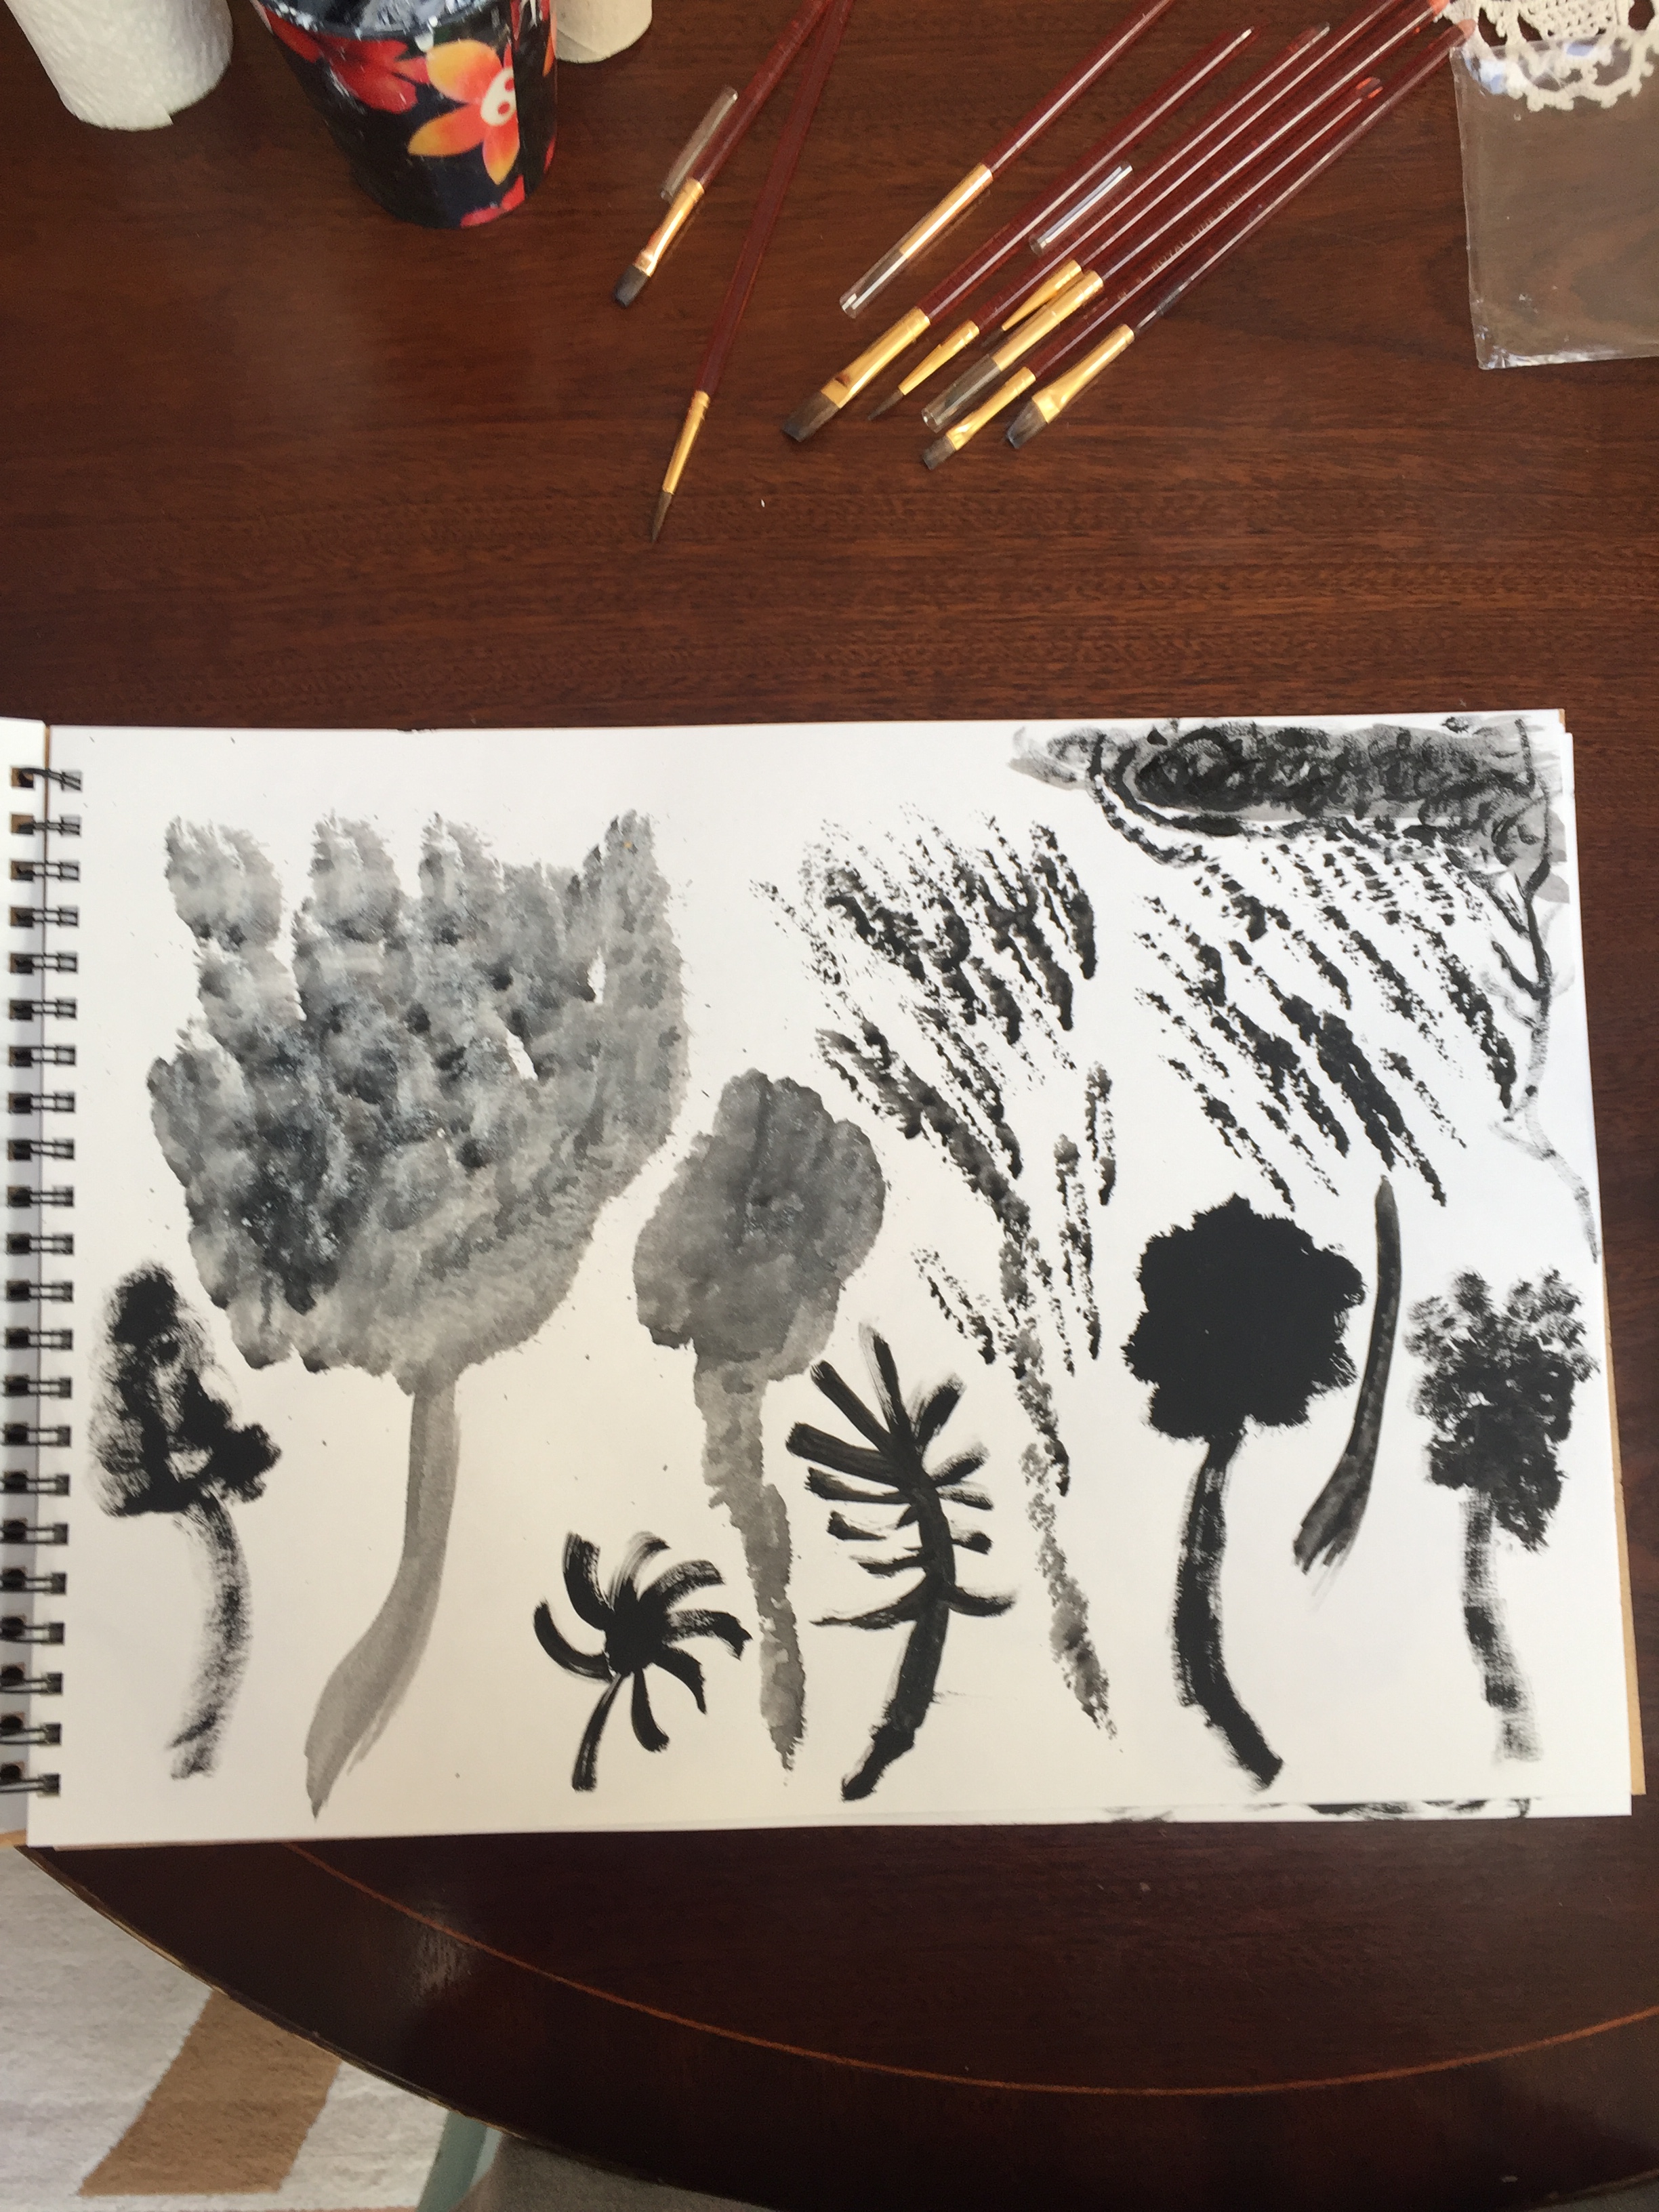
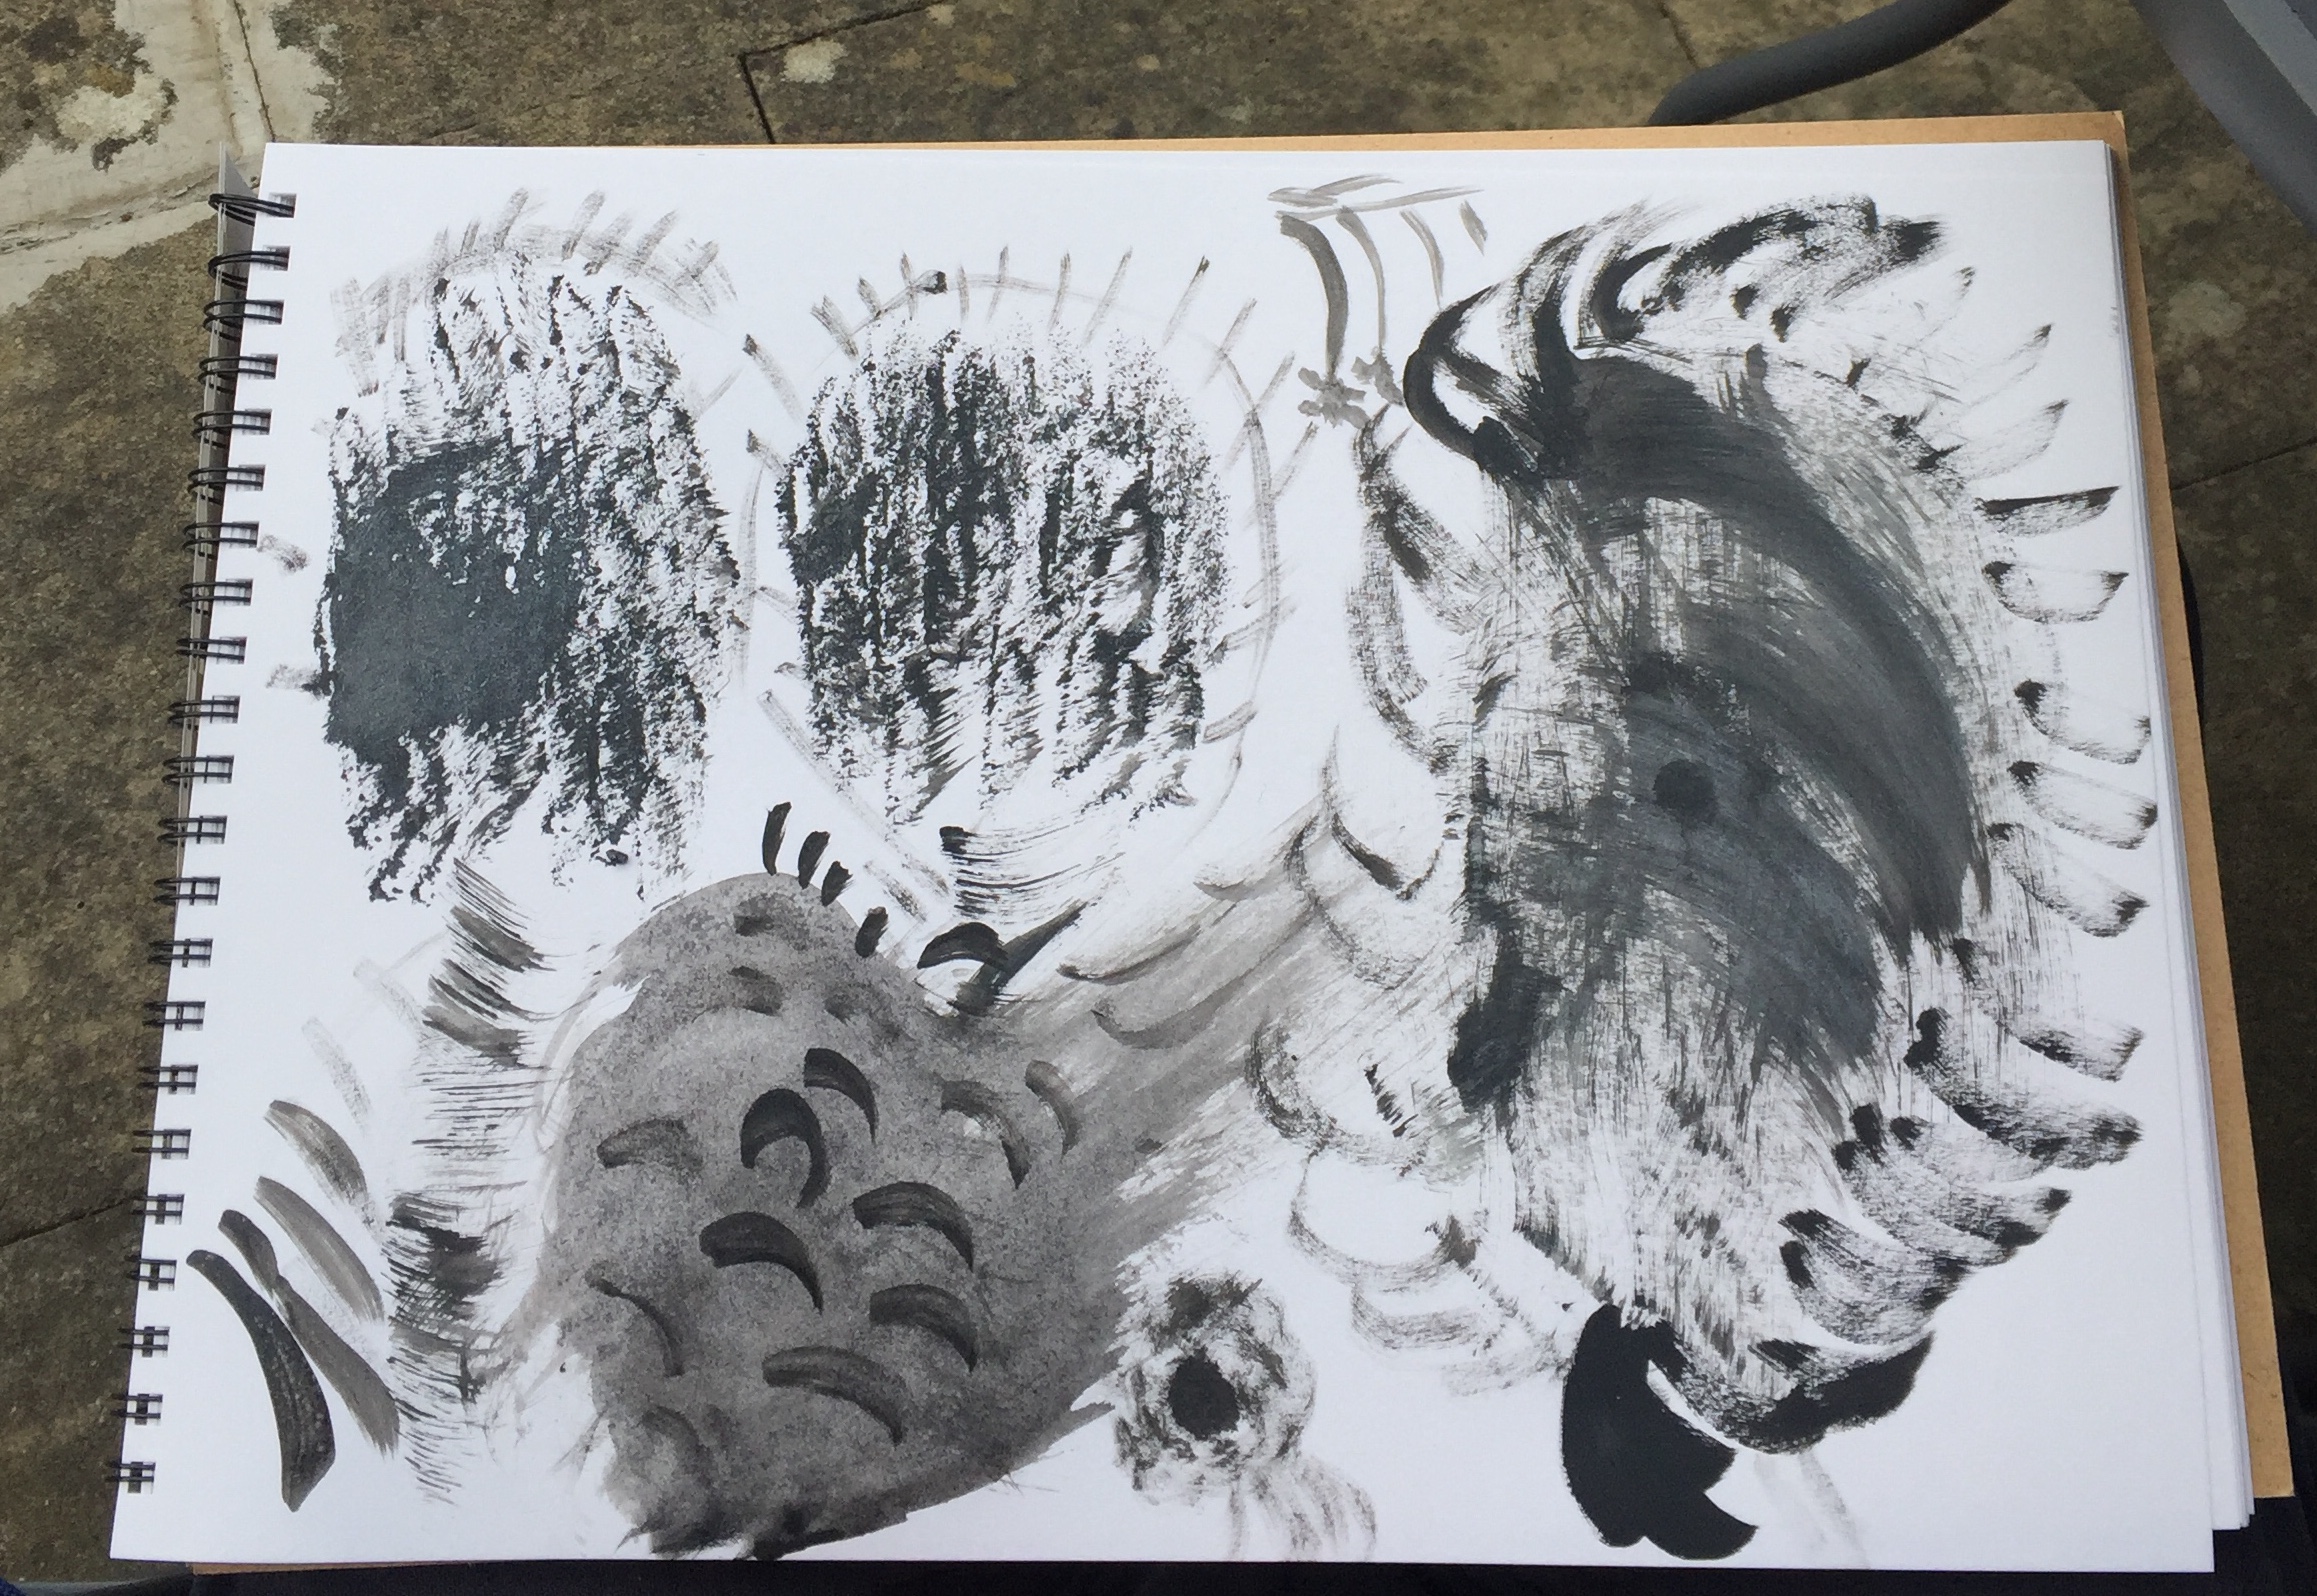
I wanted to see how lines of different shape can interact to each other.I came back to the basics :A tulip sketch inspired by the picture takenDaffodilsunflower my first ever acrylic drawing in mark making technique .
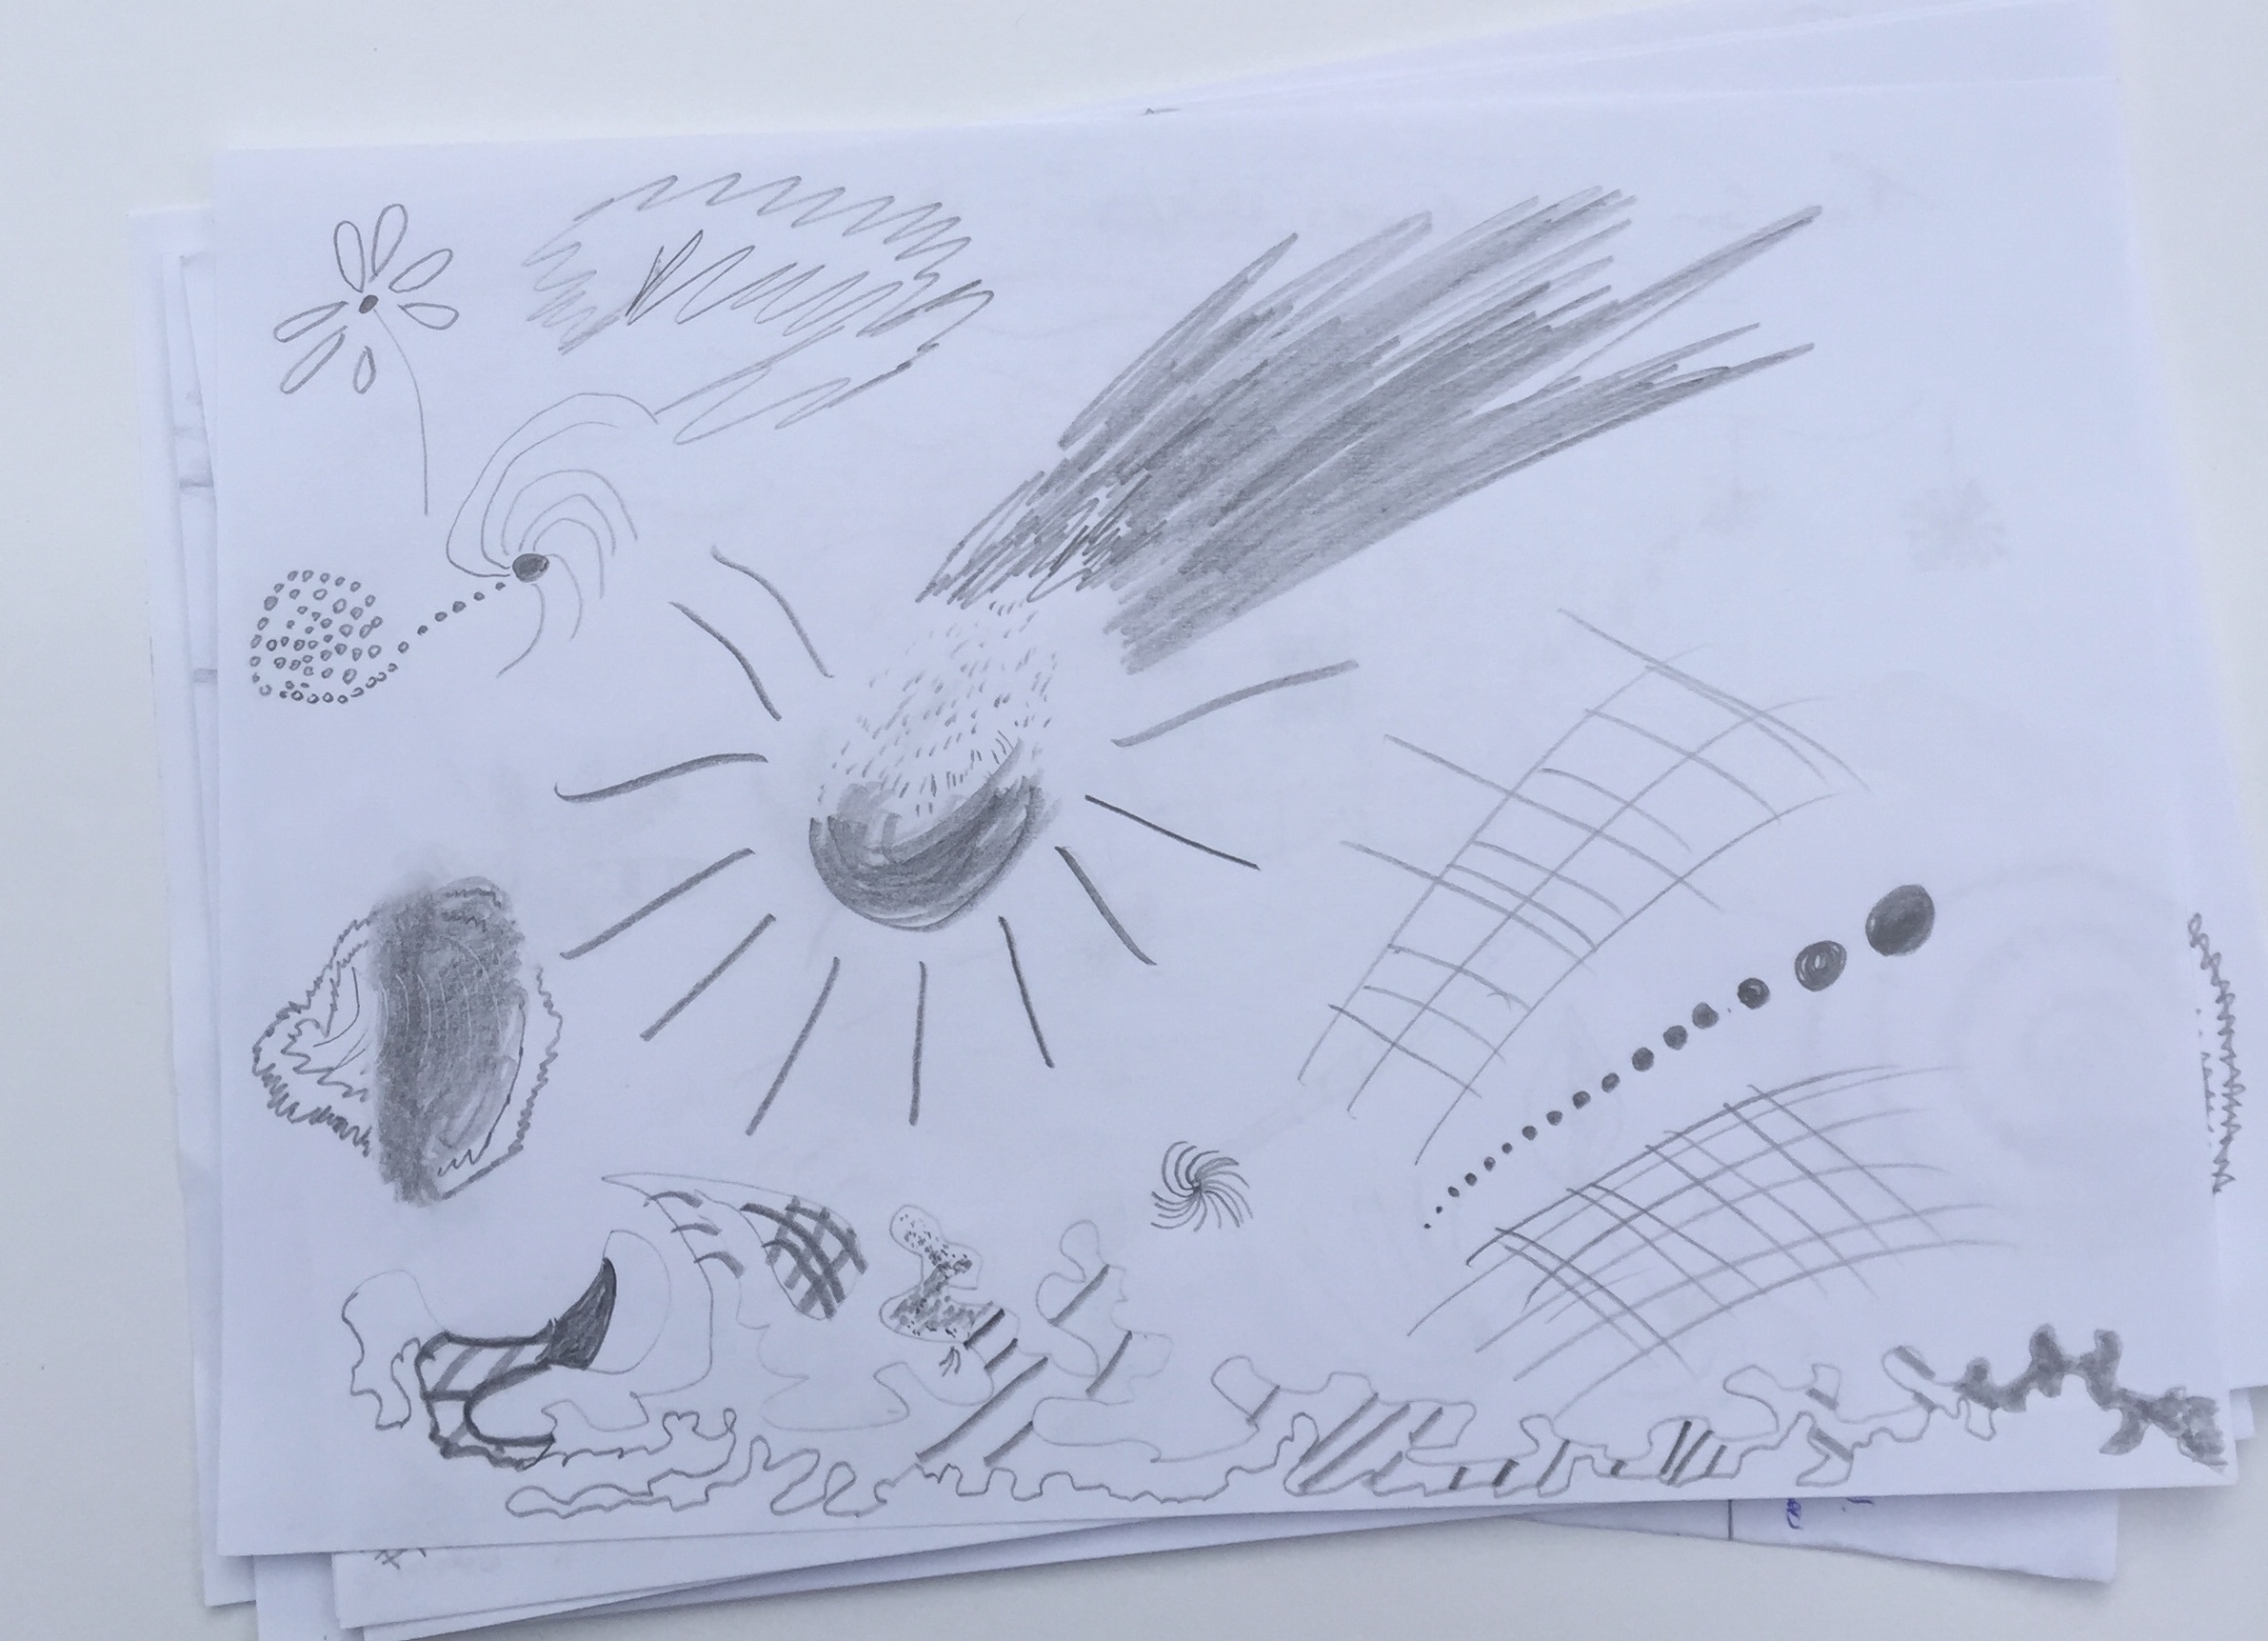
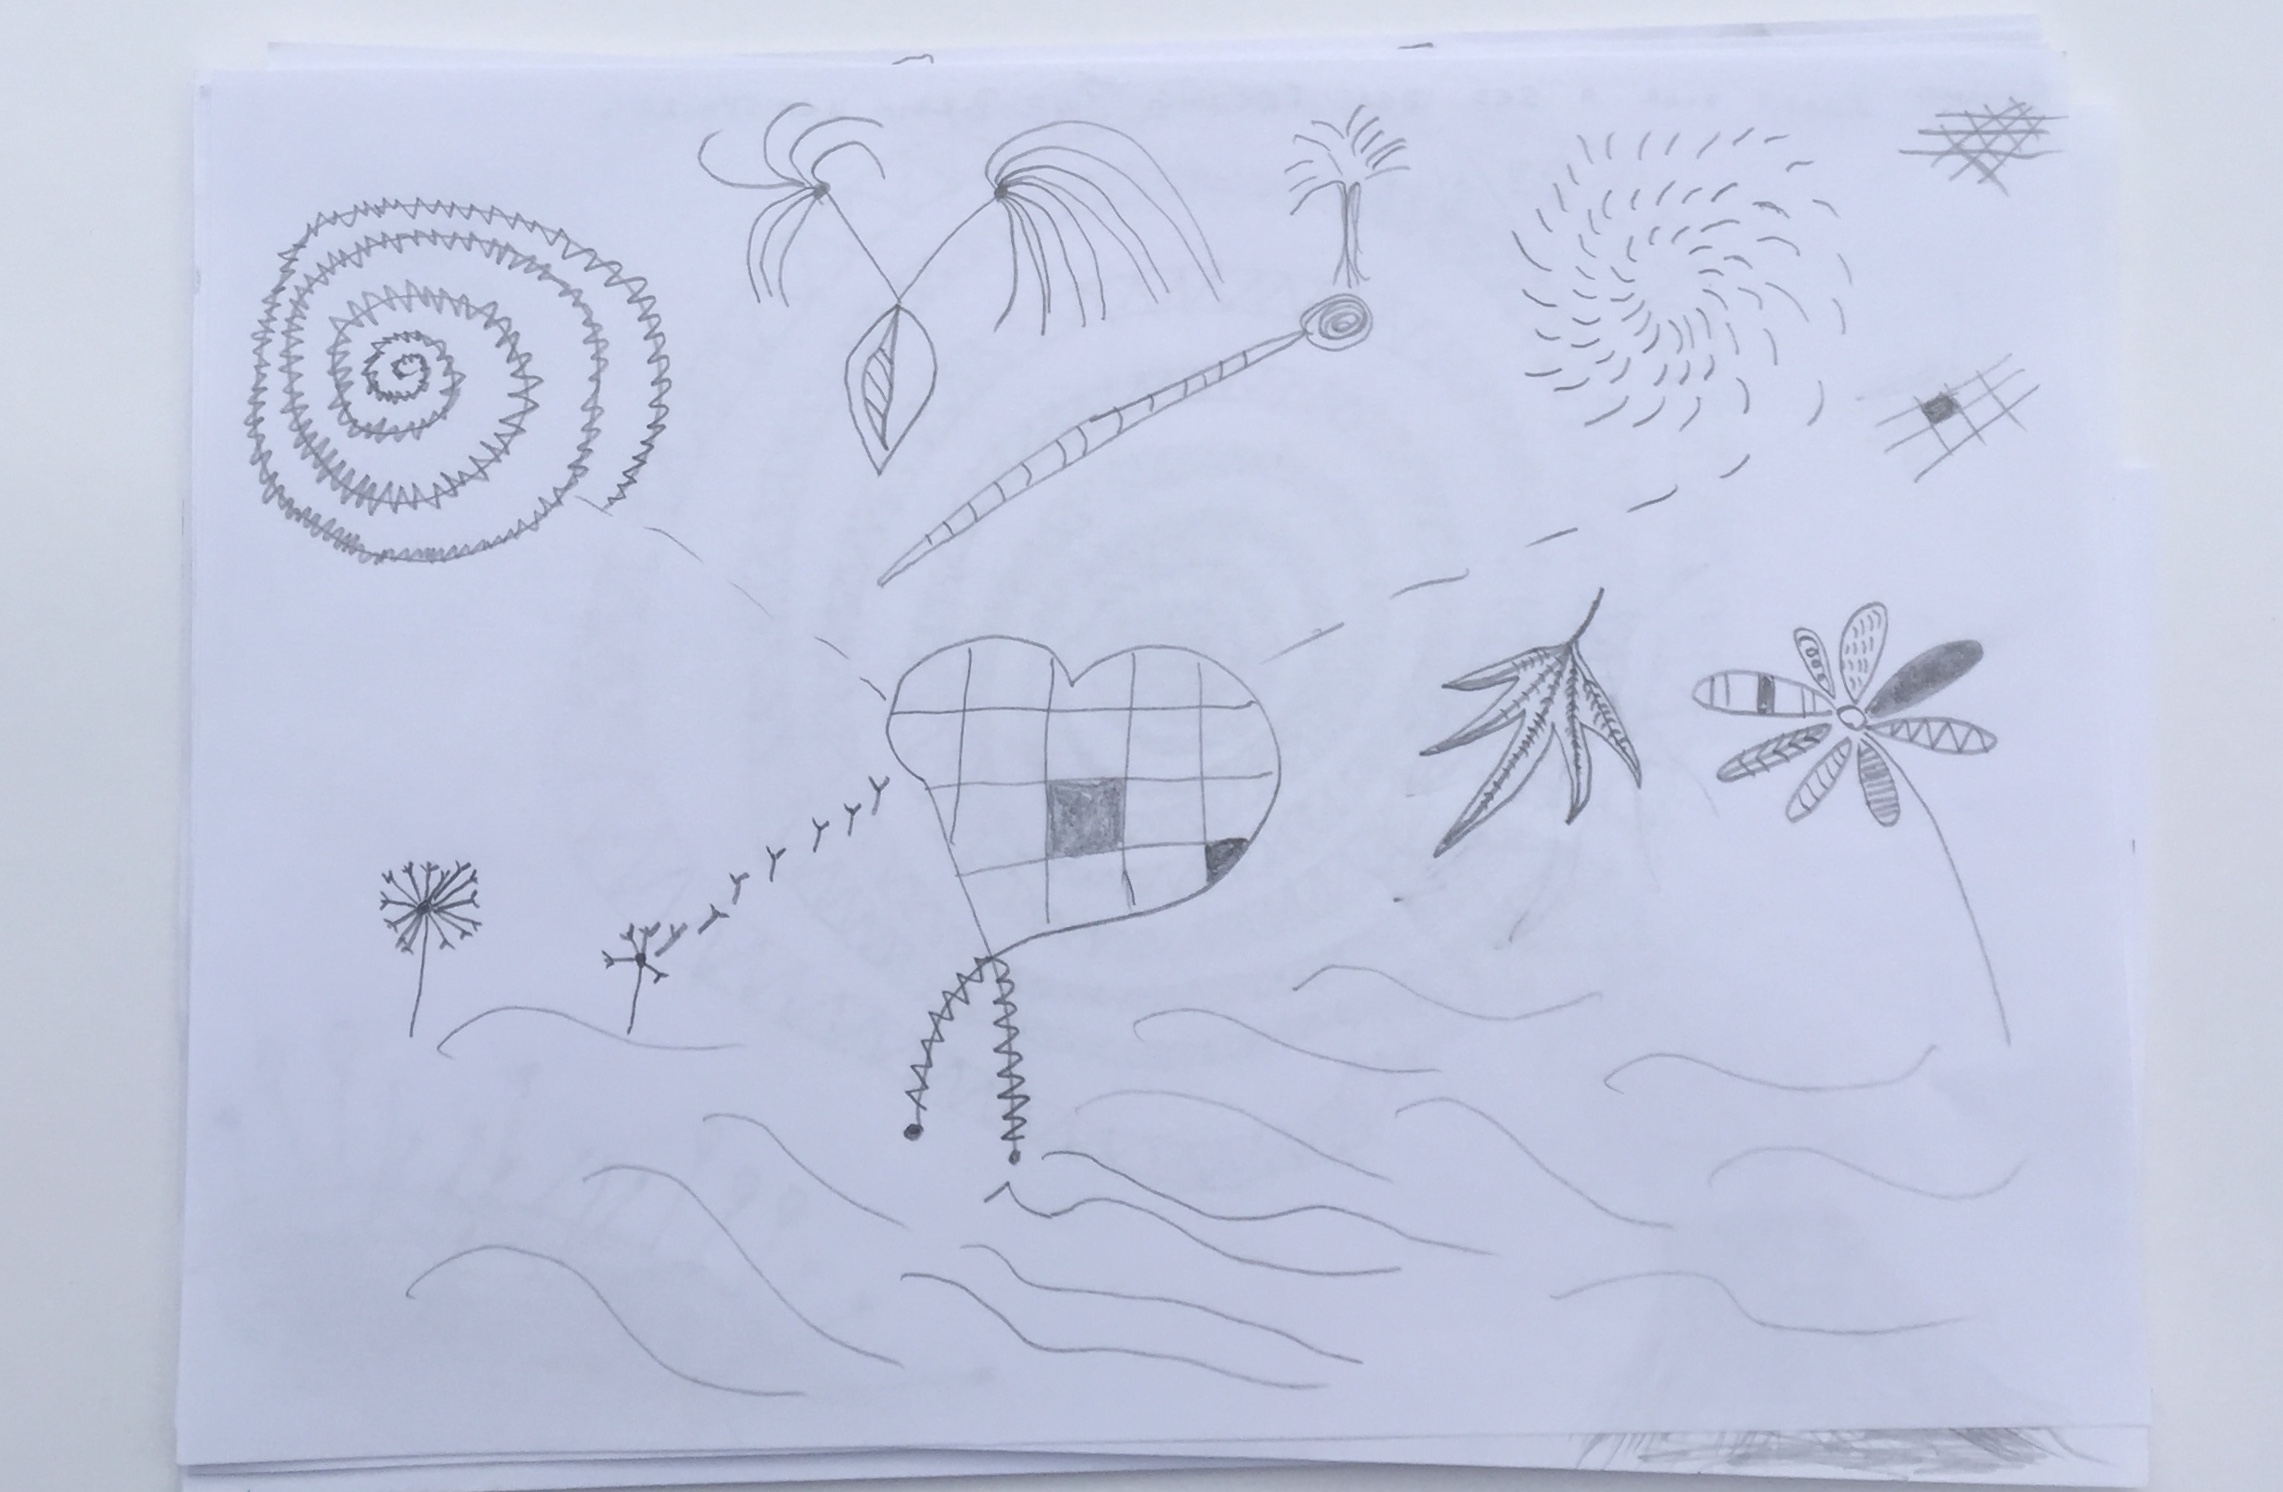
drawing method
I’ve decided to move from the abstract drawings as I feel more confident now to use more materials and draw more realistically looking patterns:
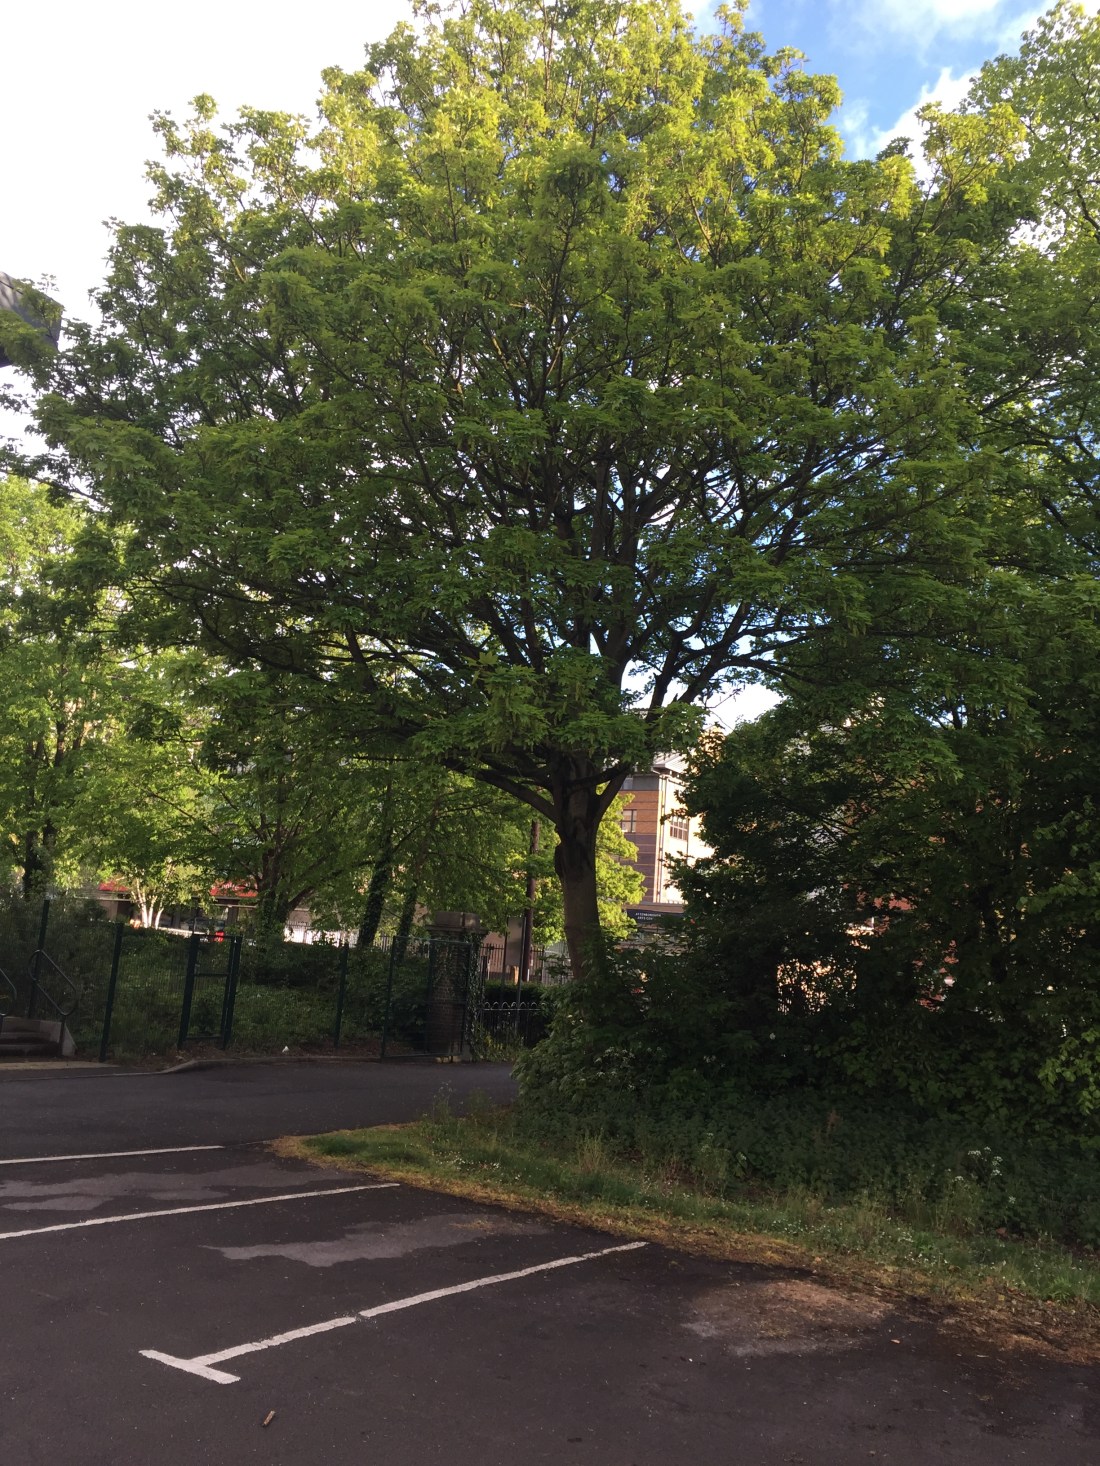
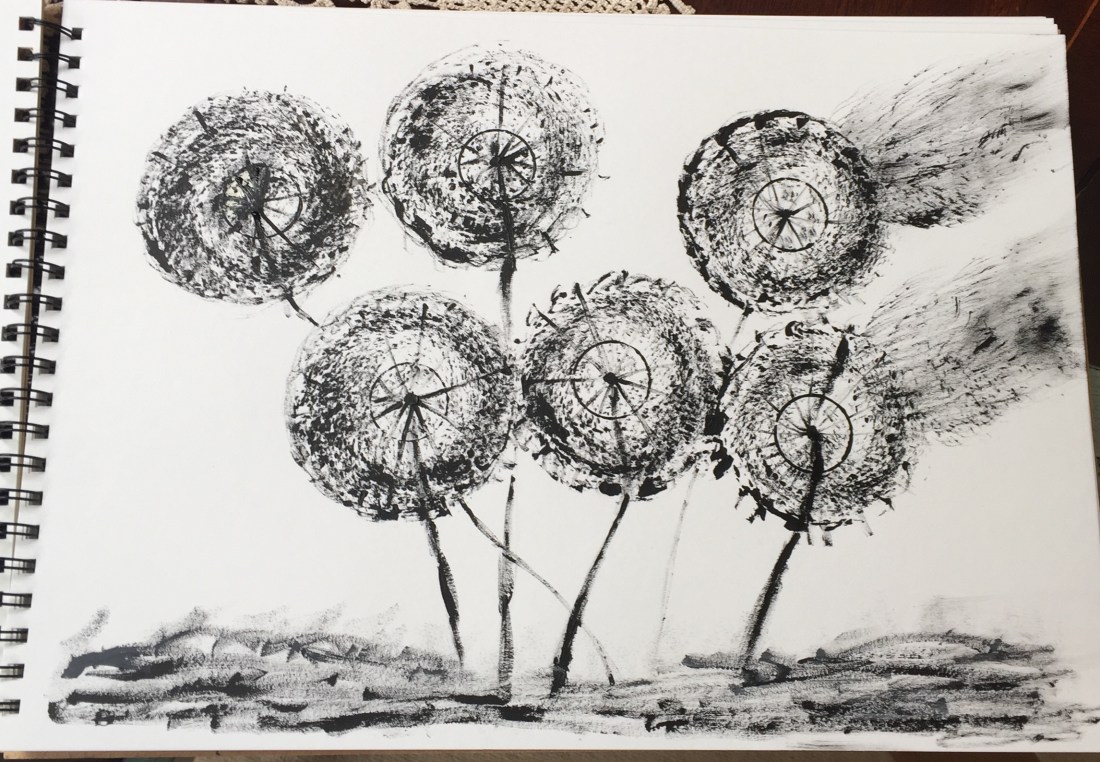
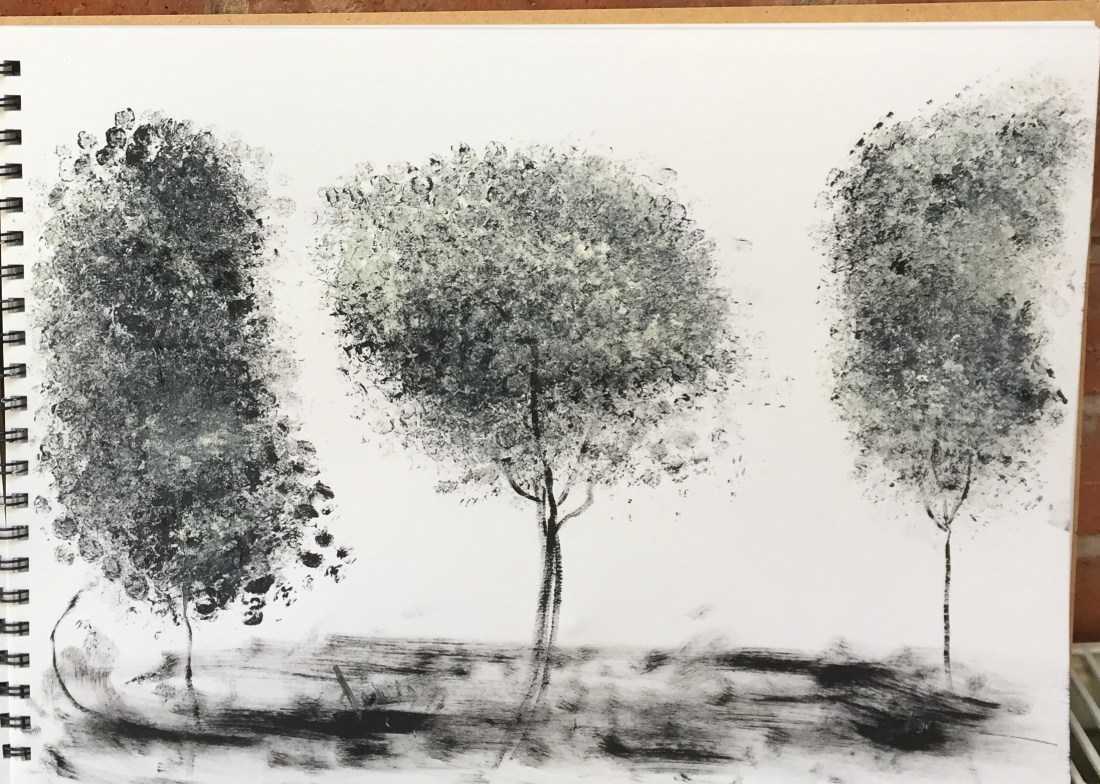
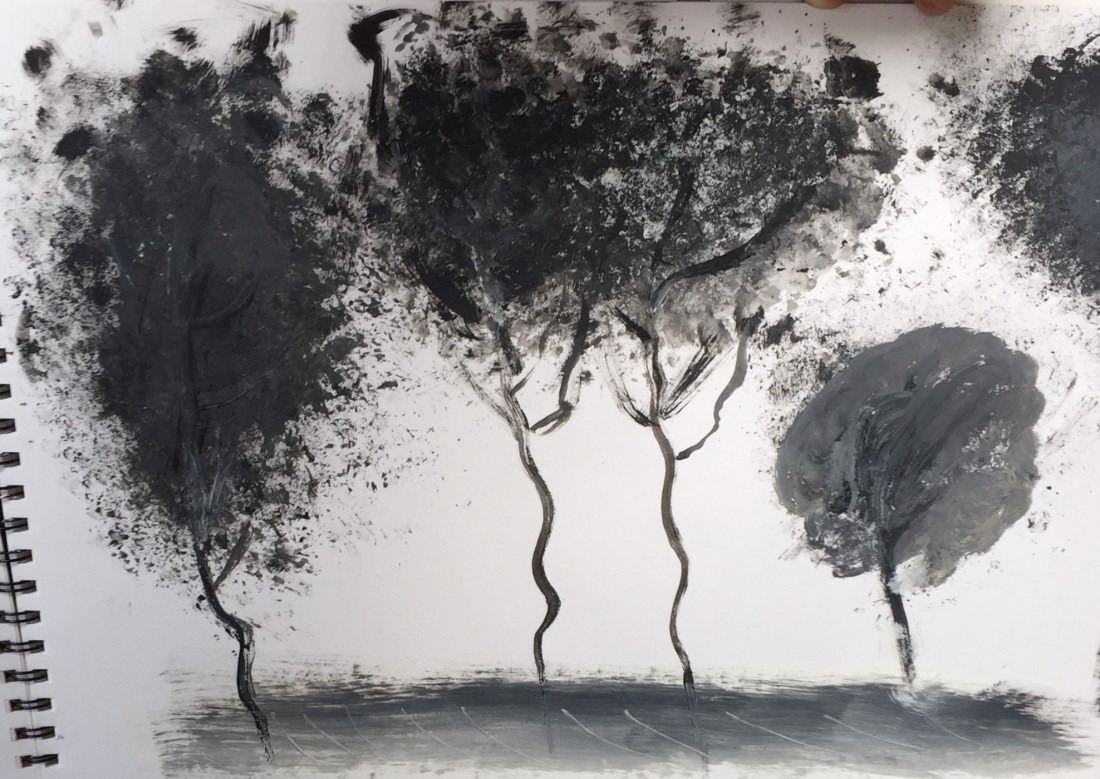
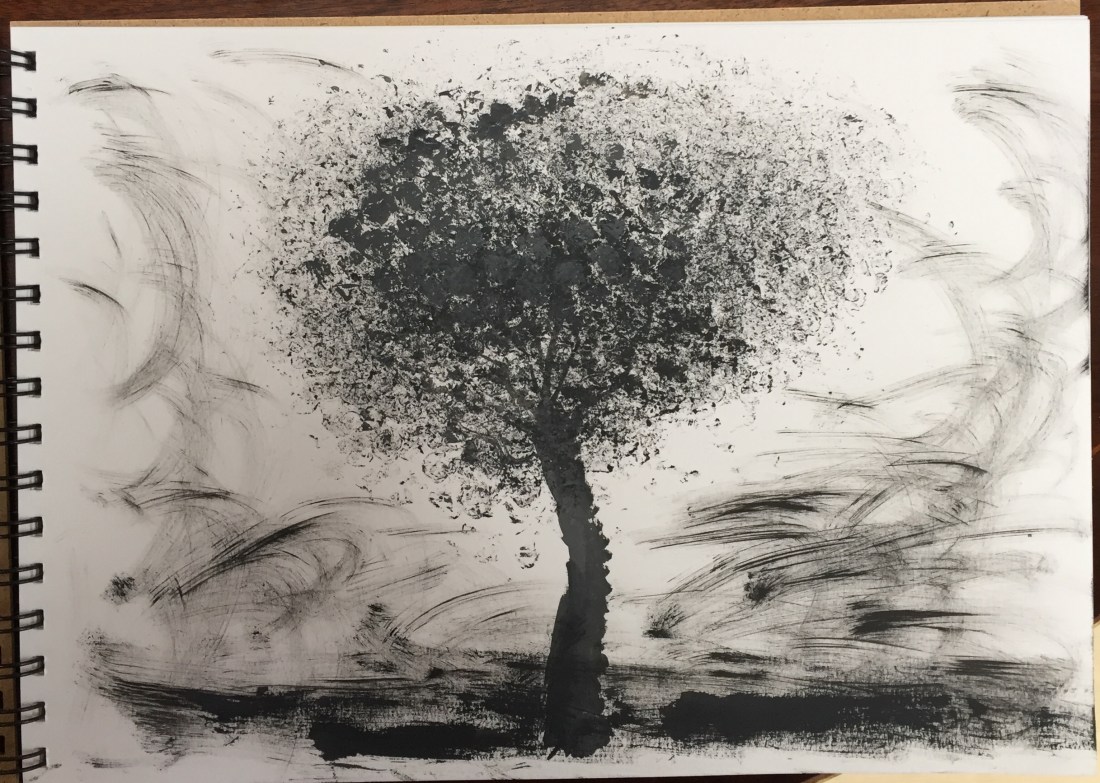
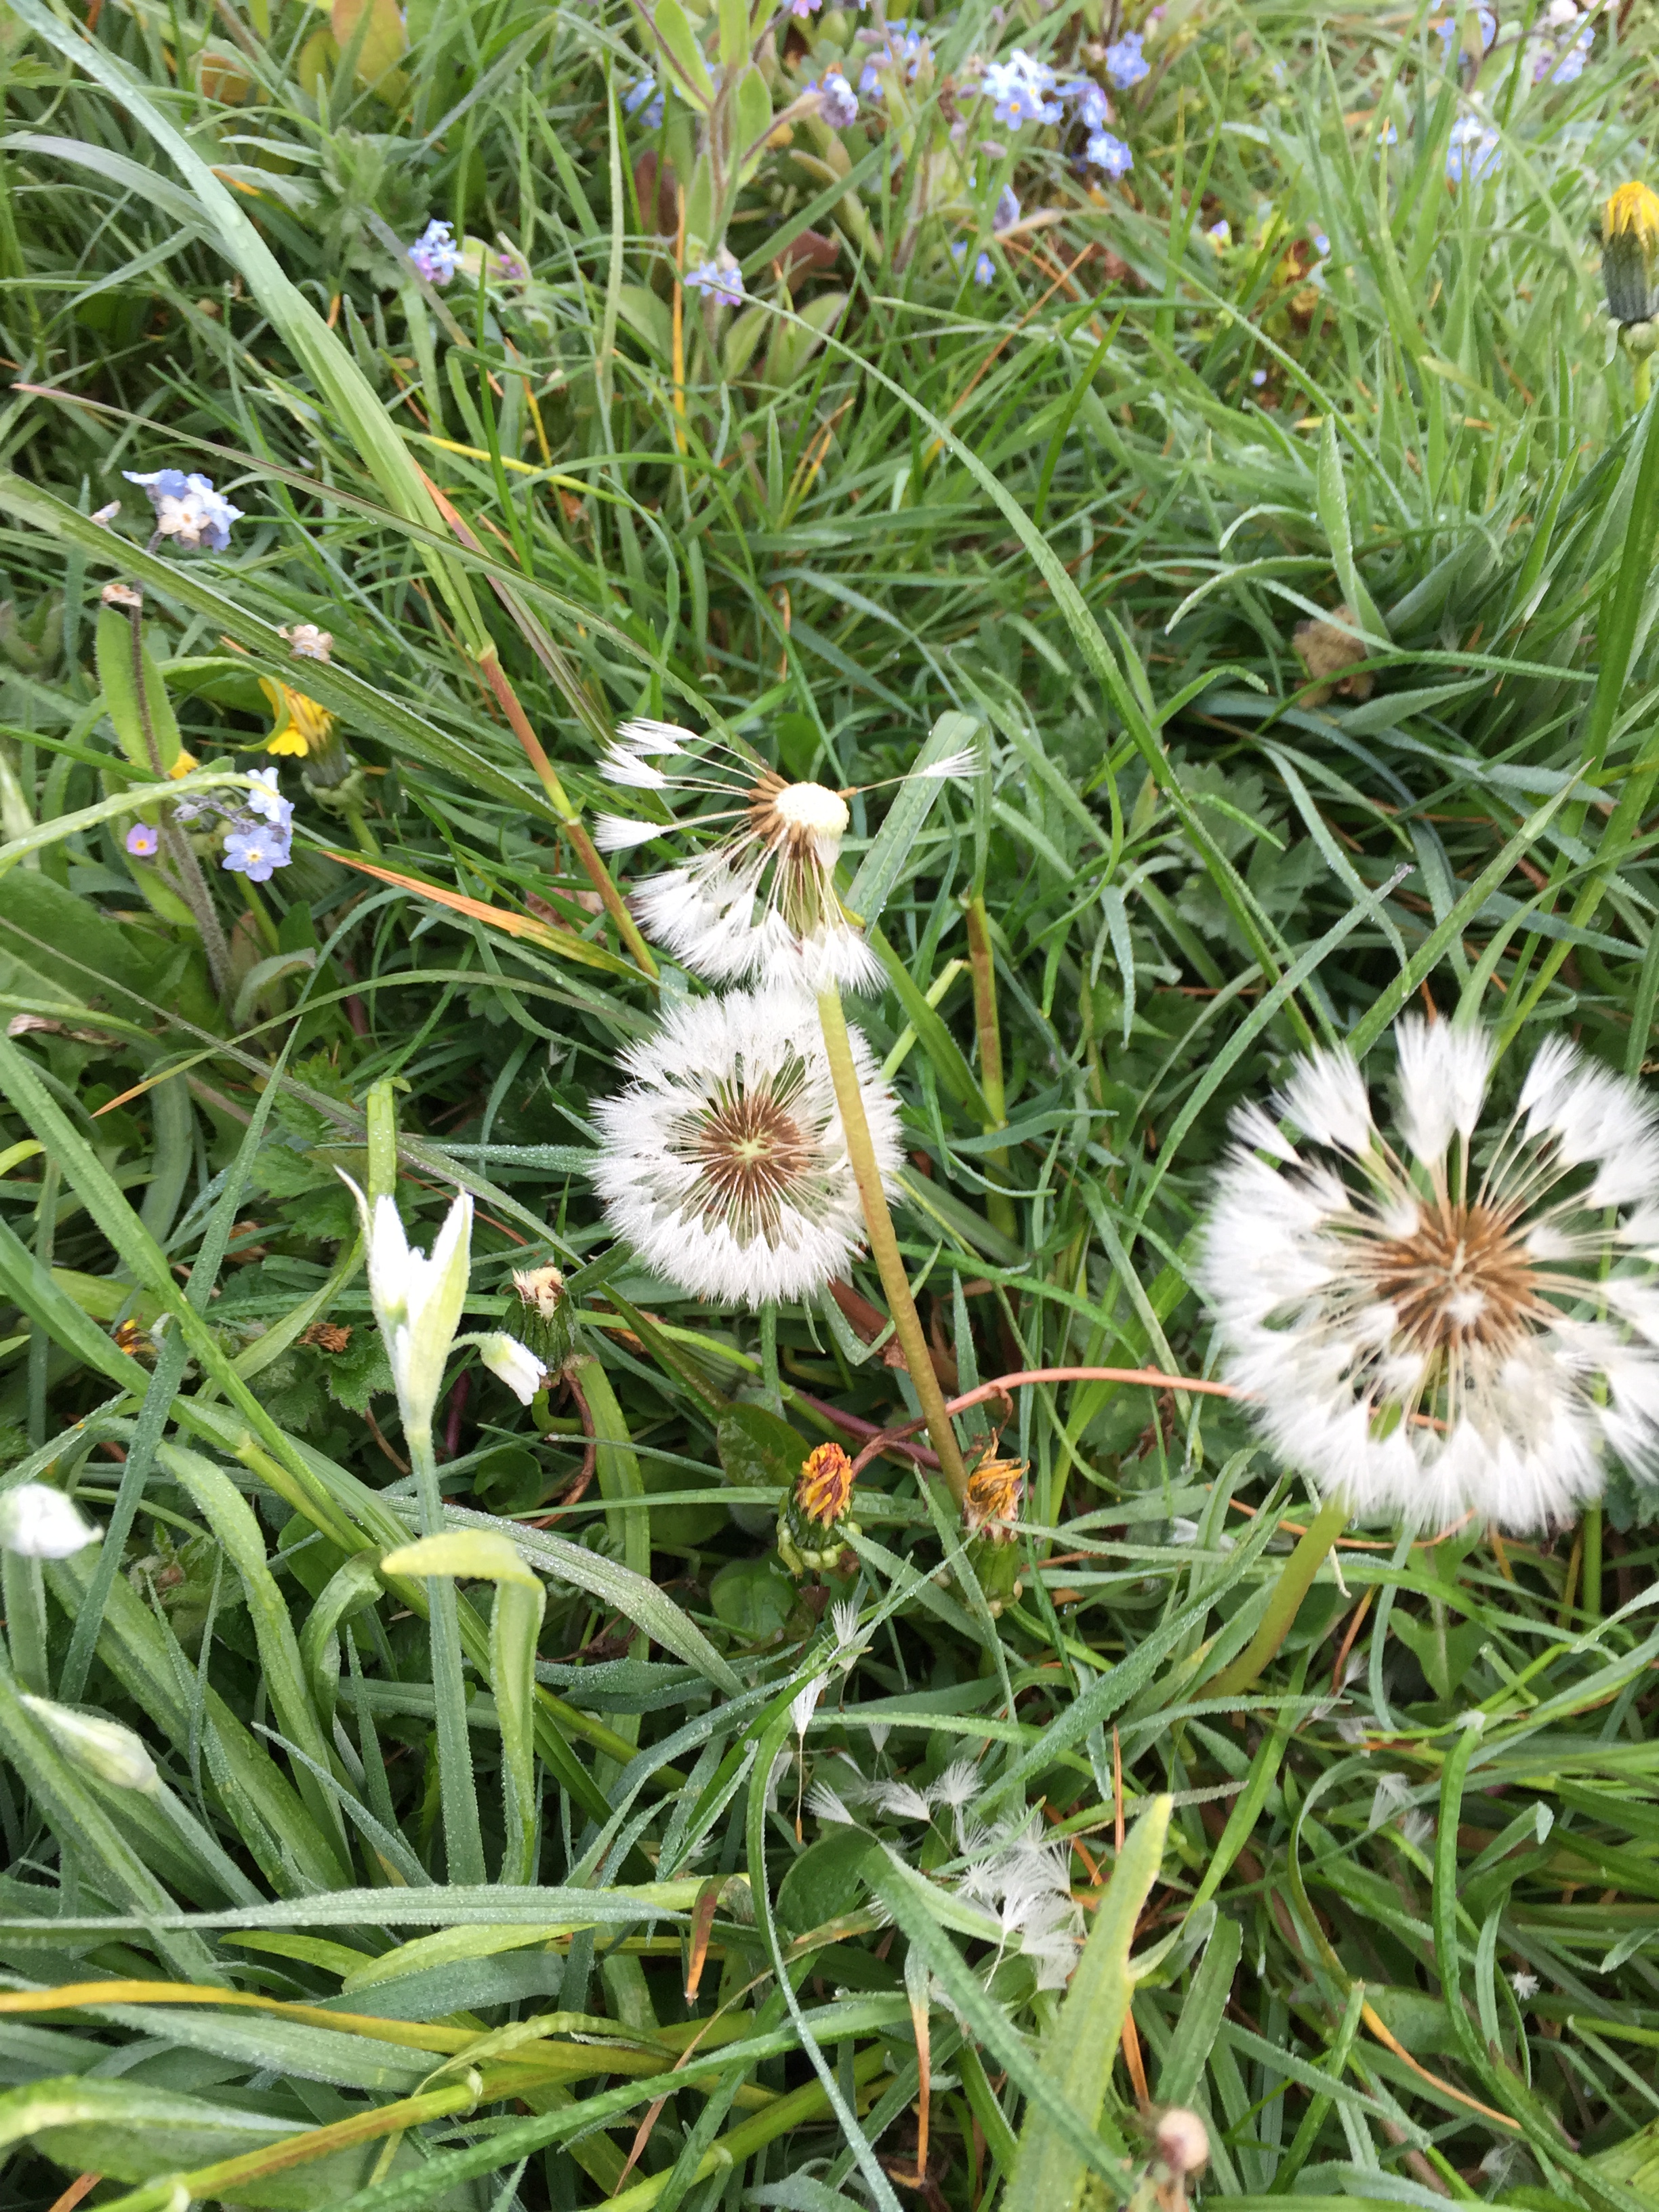
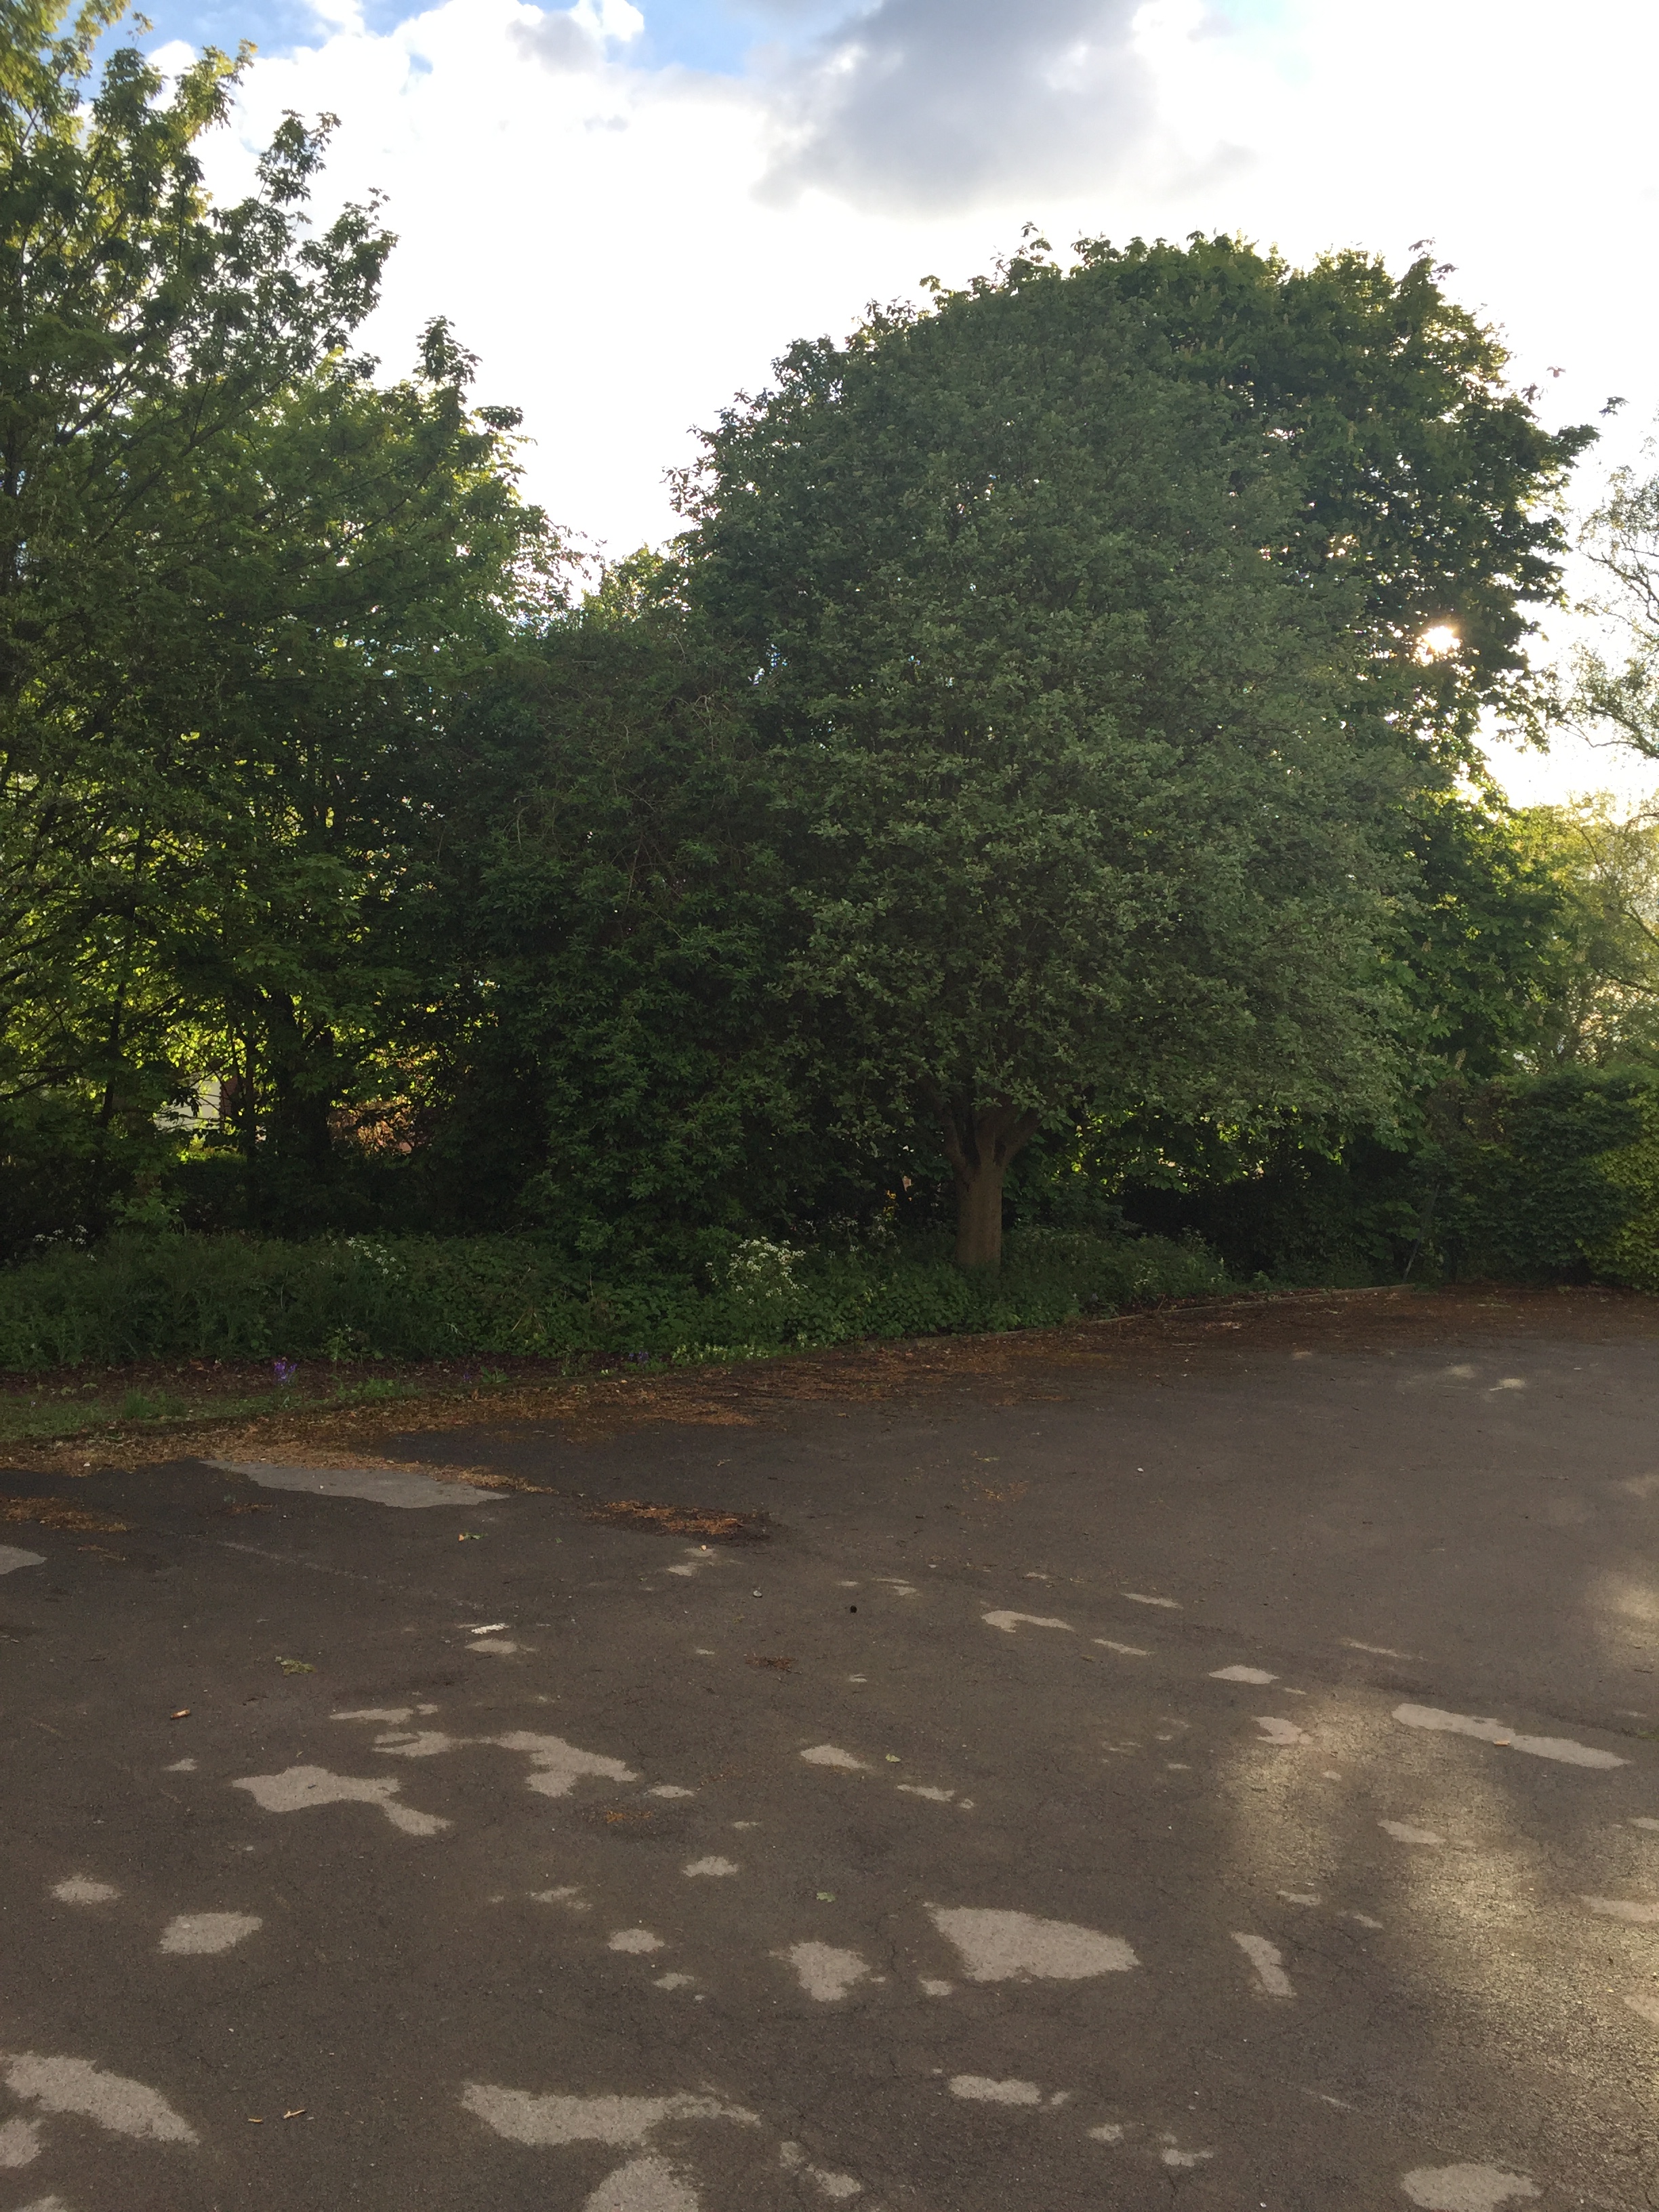
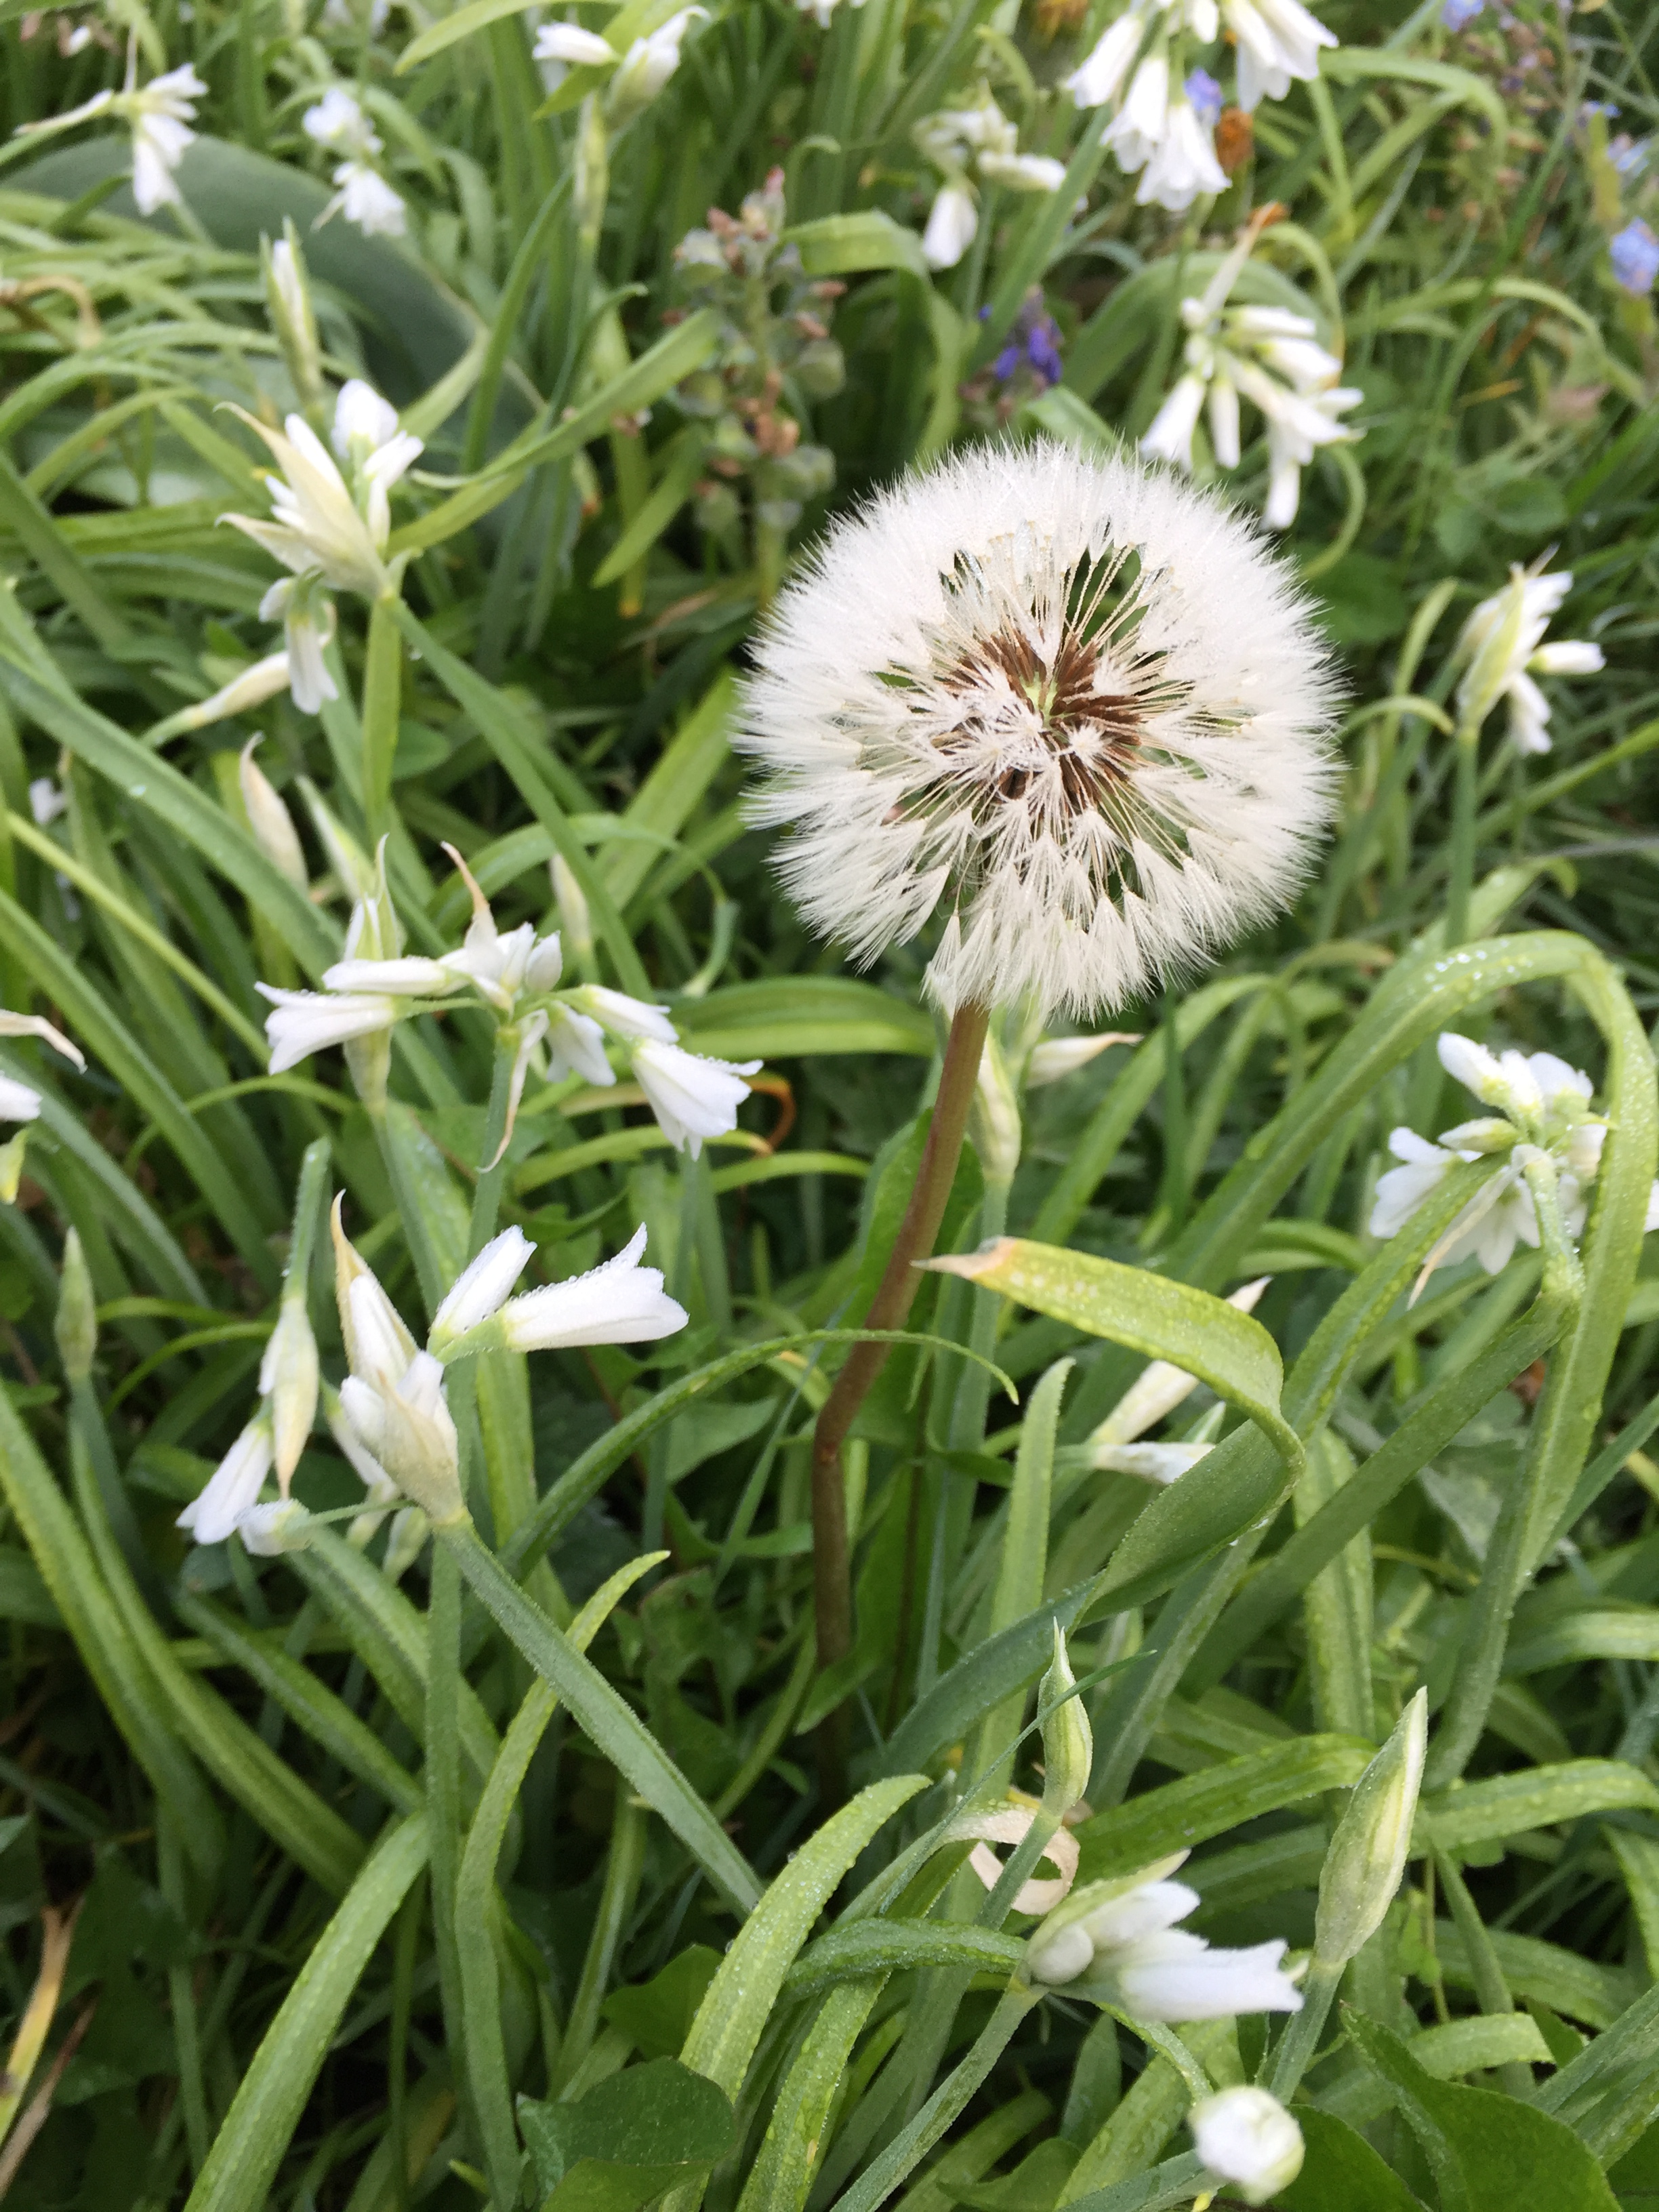
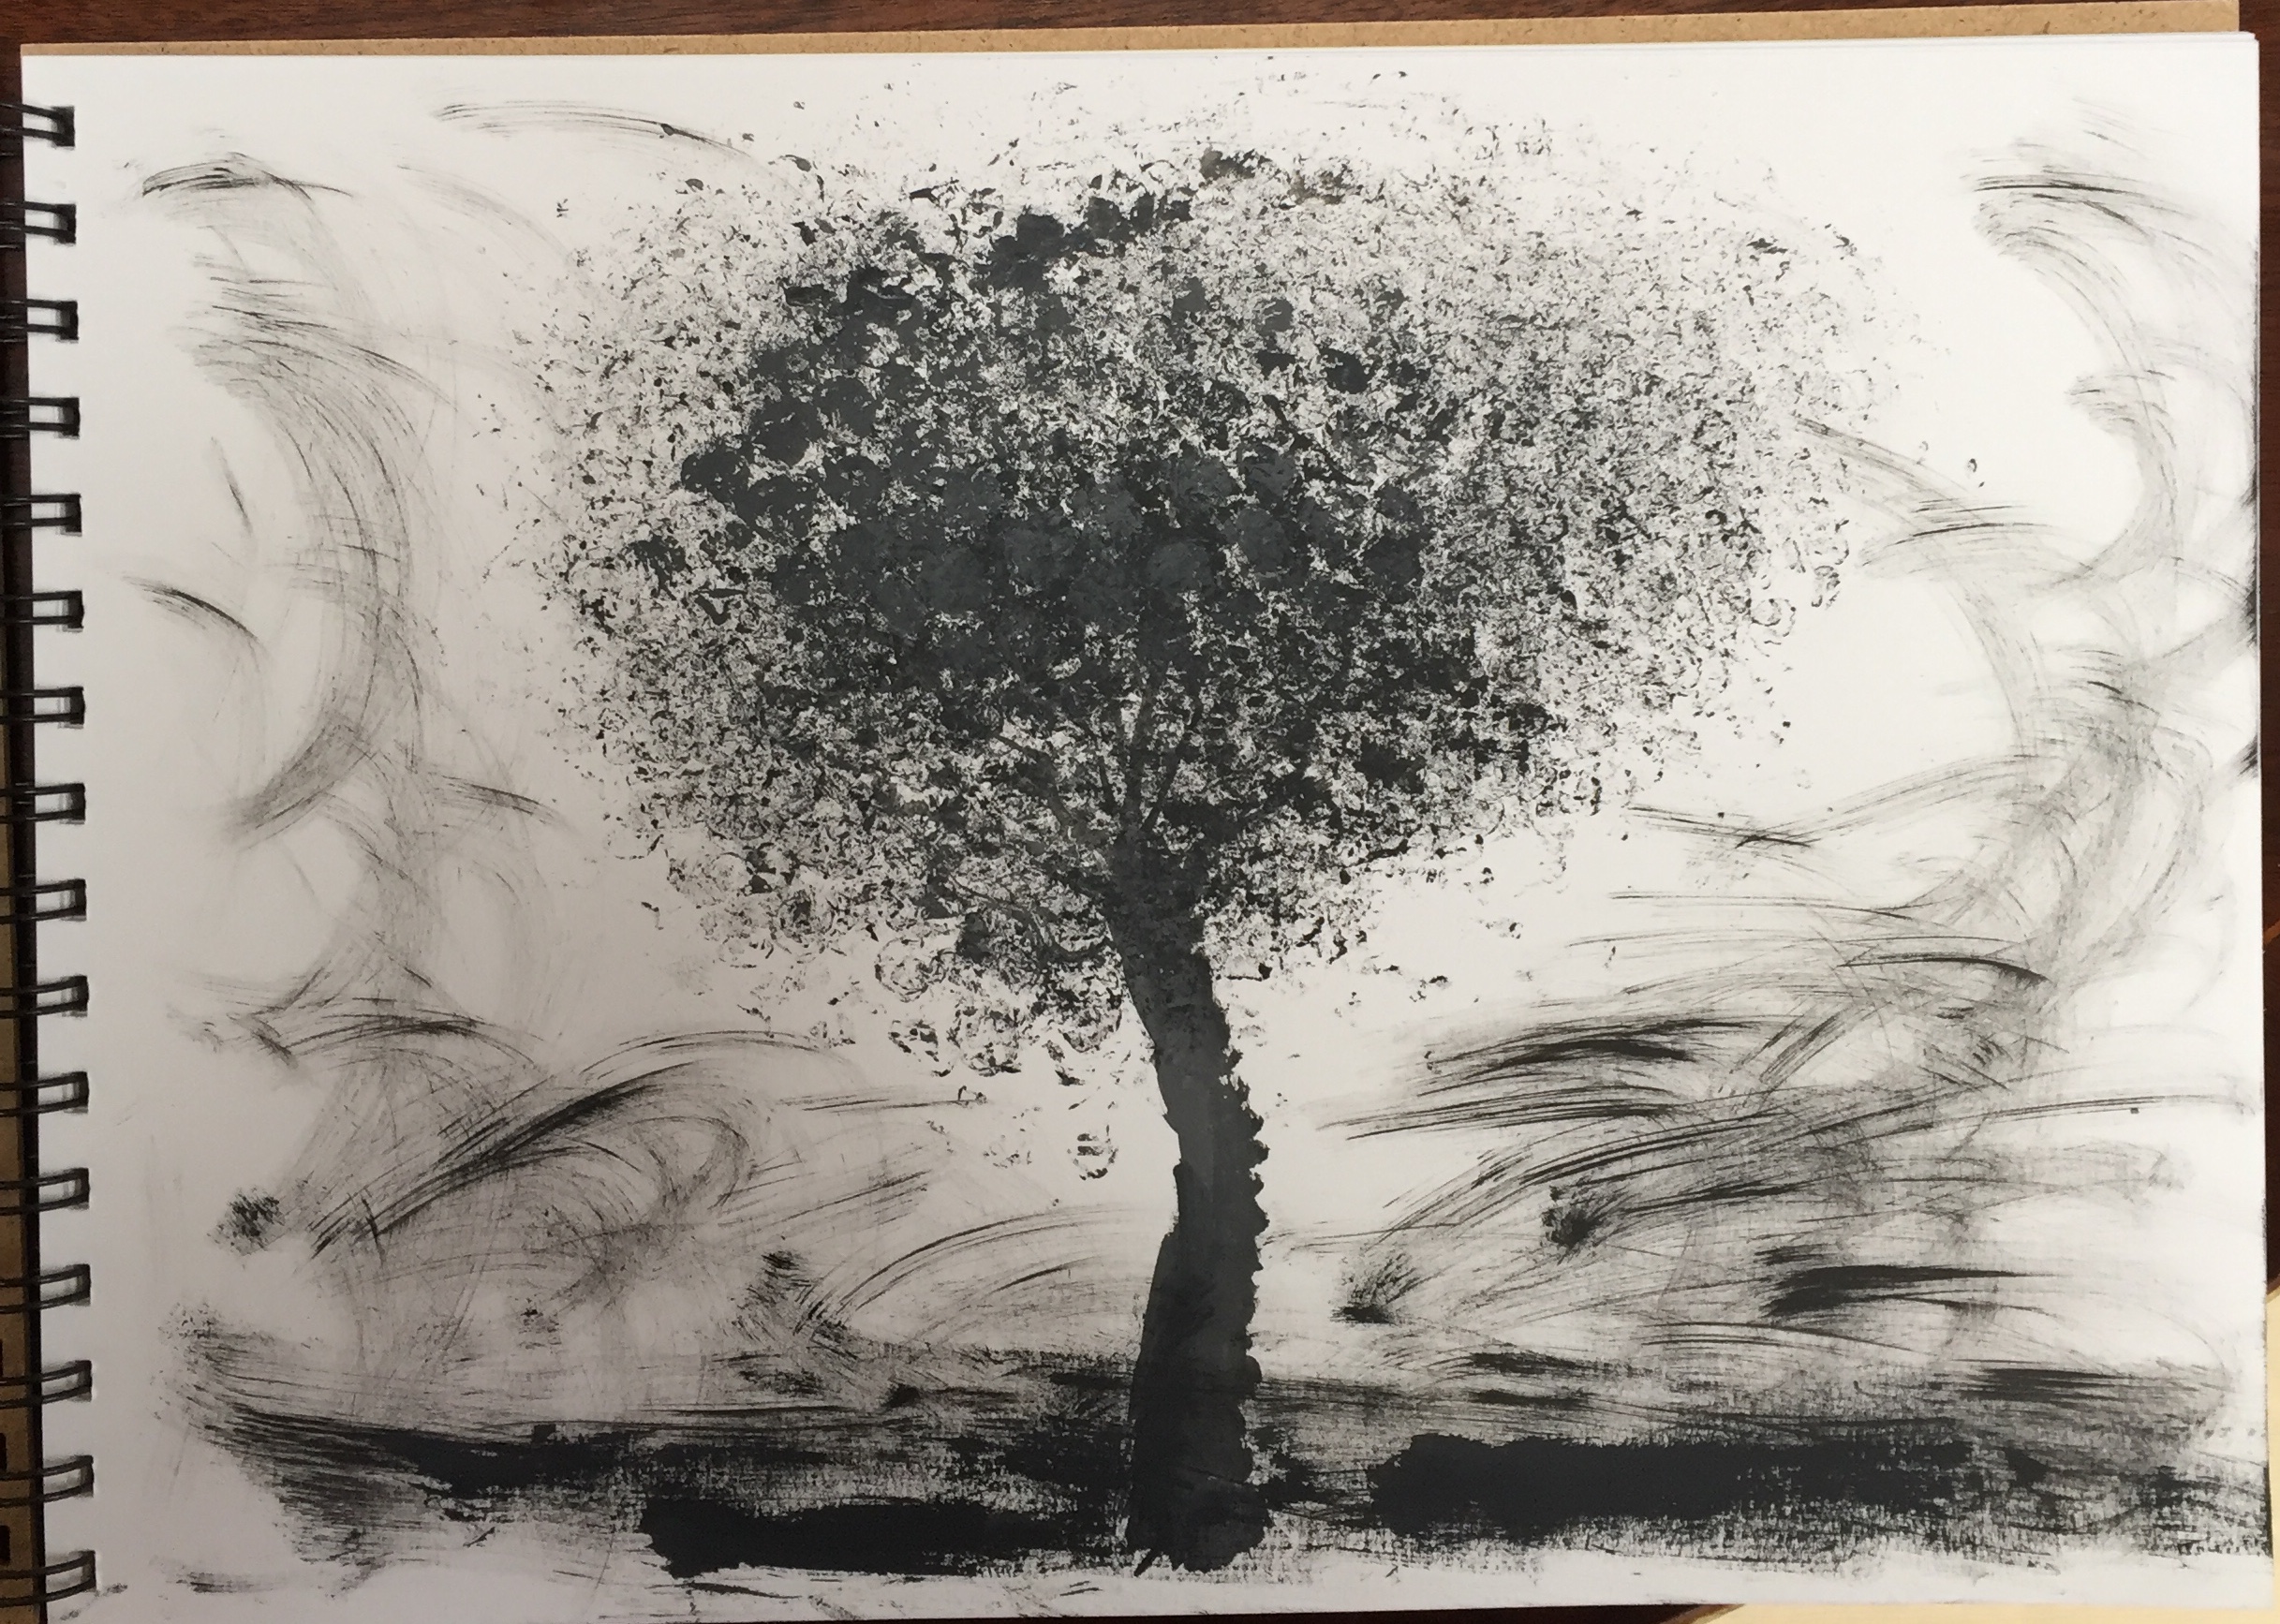
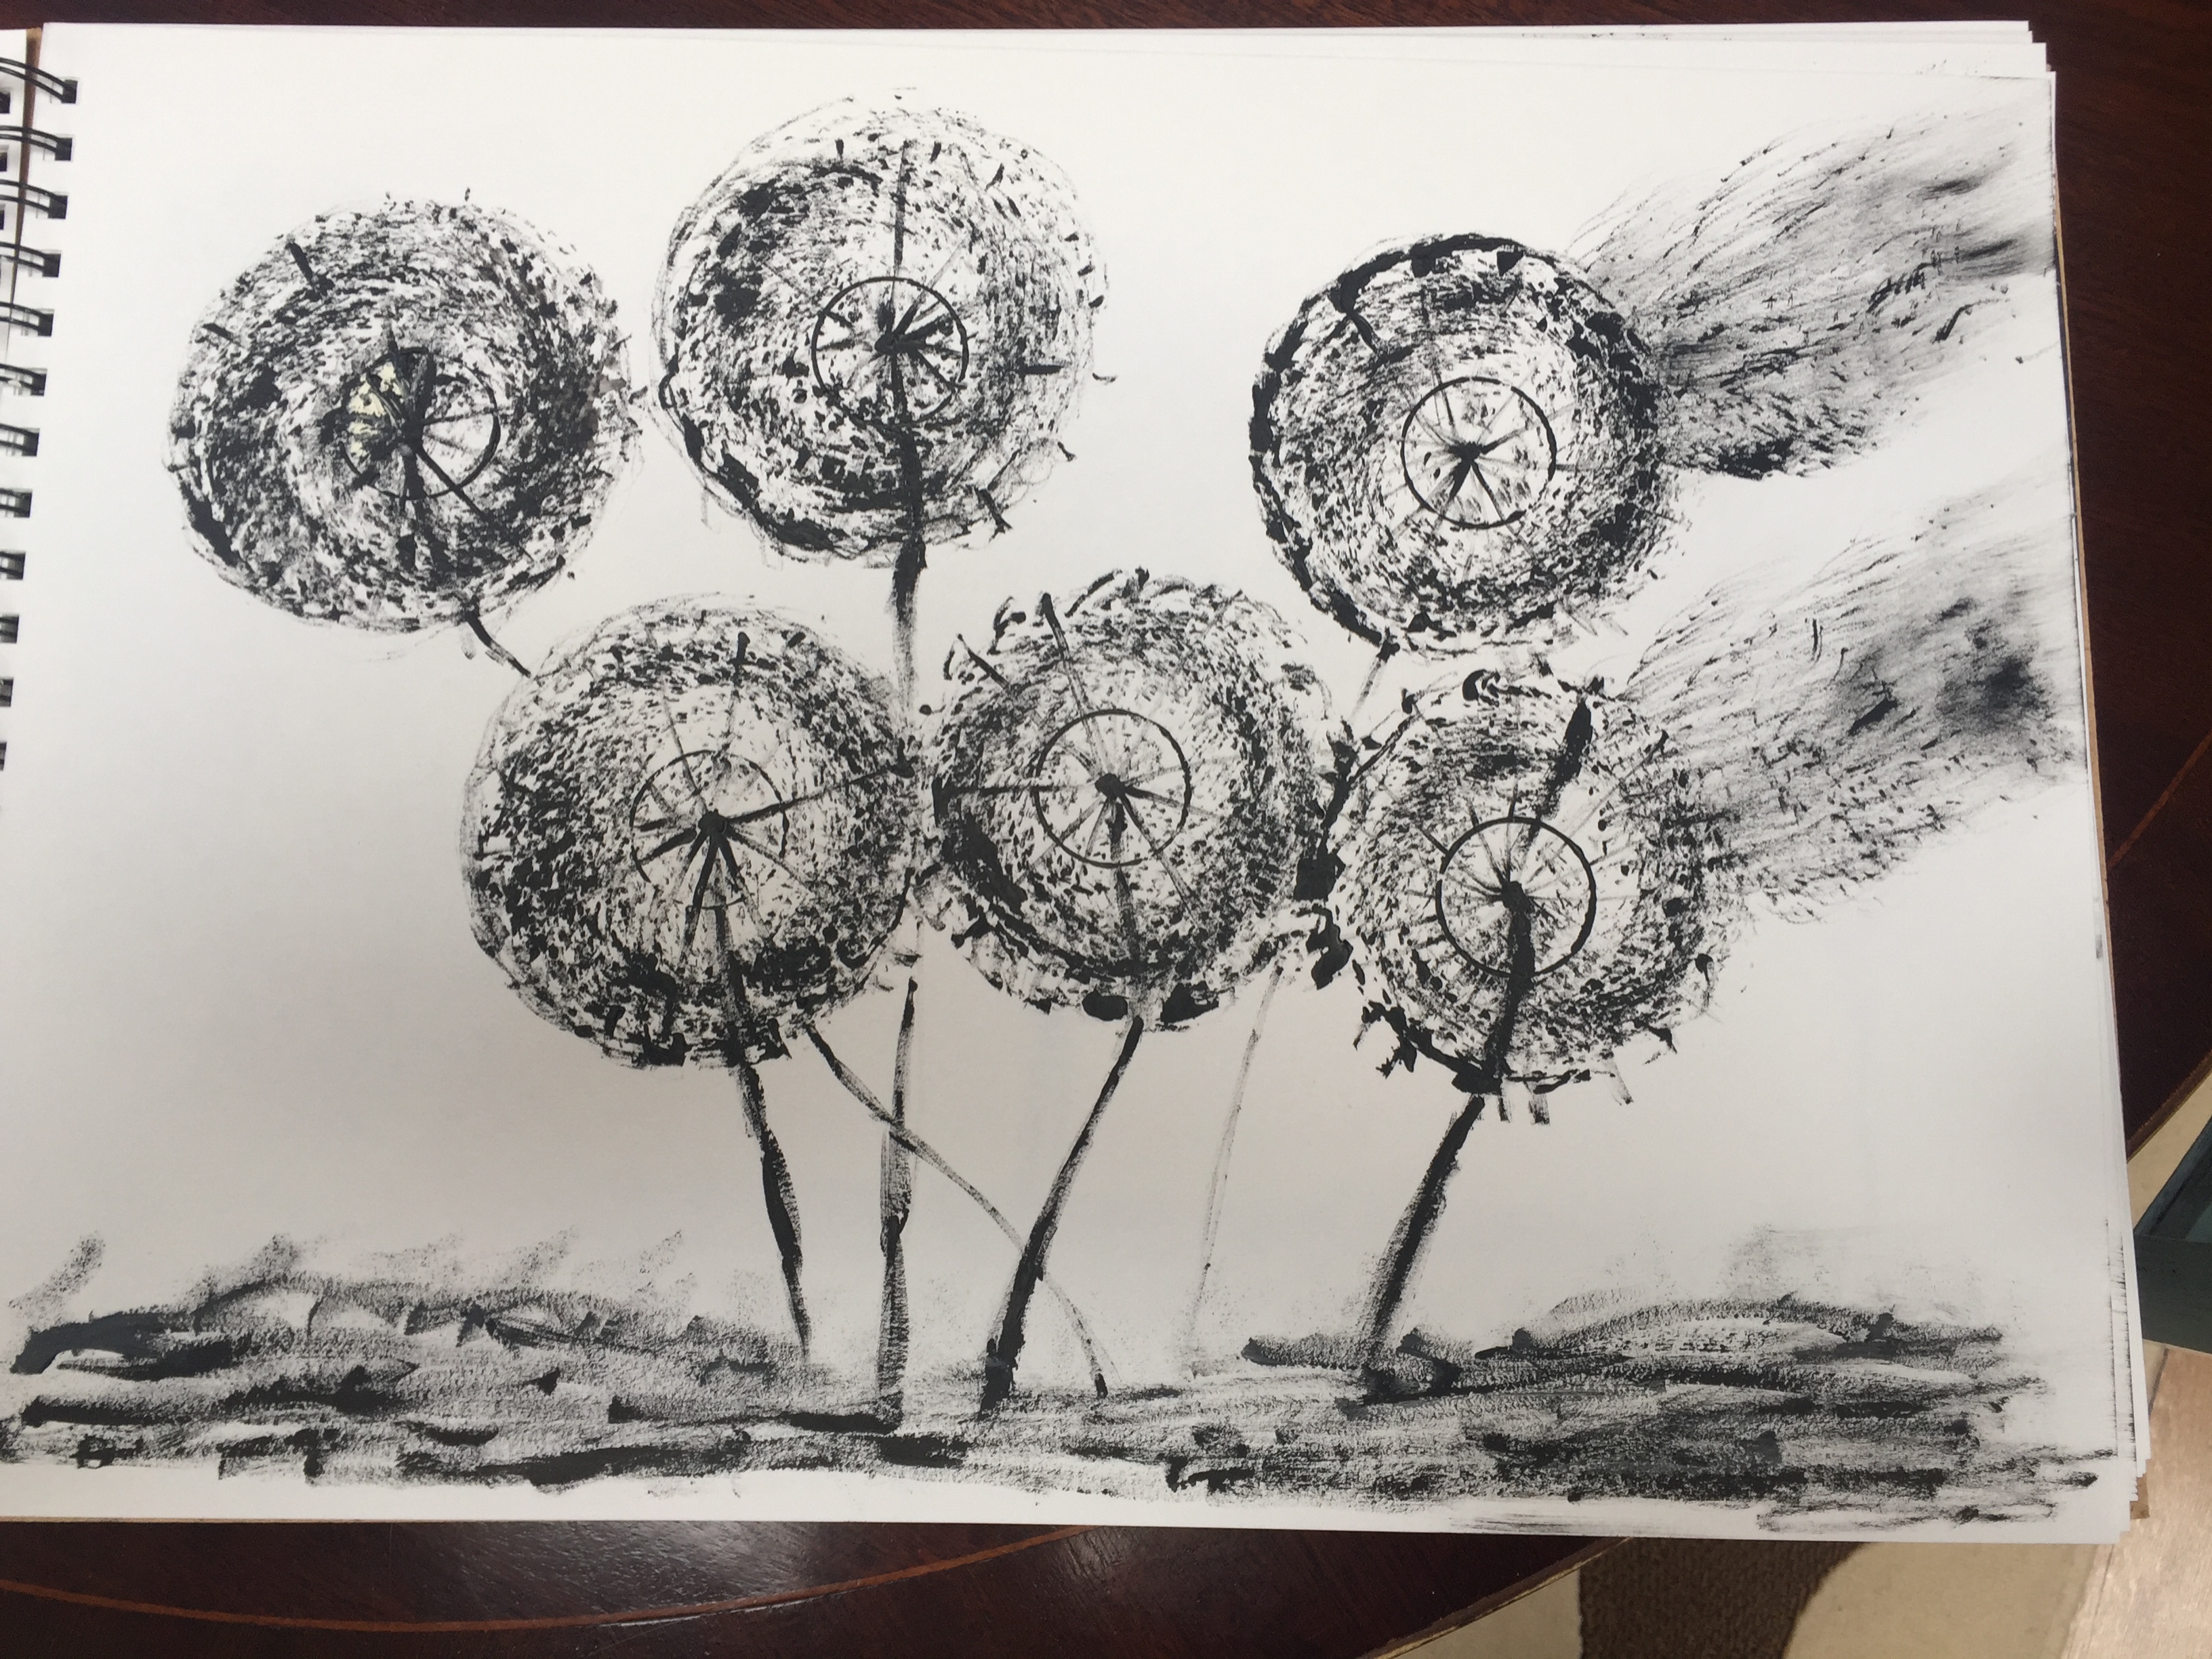
Dandelions.trees look strong as they stand confident facing all natural elementsA single tree; A sum of the techniques I’ve used on the previous paintings.
After a discussion with my tutor I’ve decided to start all over again ; the process will be same as before and will start by posting pictures of flowers and then picking enough to create my drawings.
2.1 SELECTING
I’ve picked my stationary up and I’ve started working on drawings
mark making technique
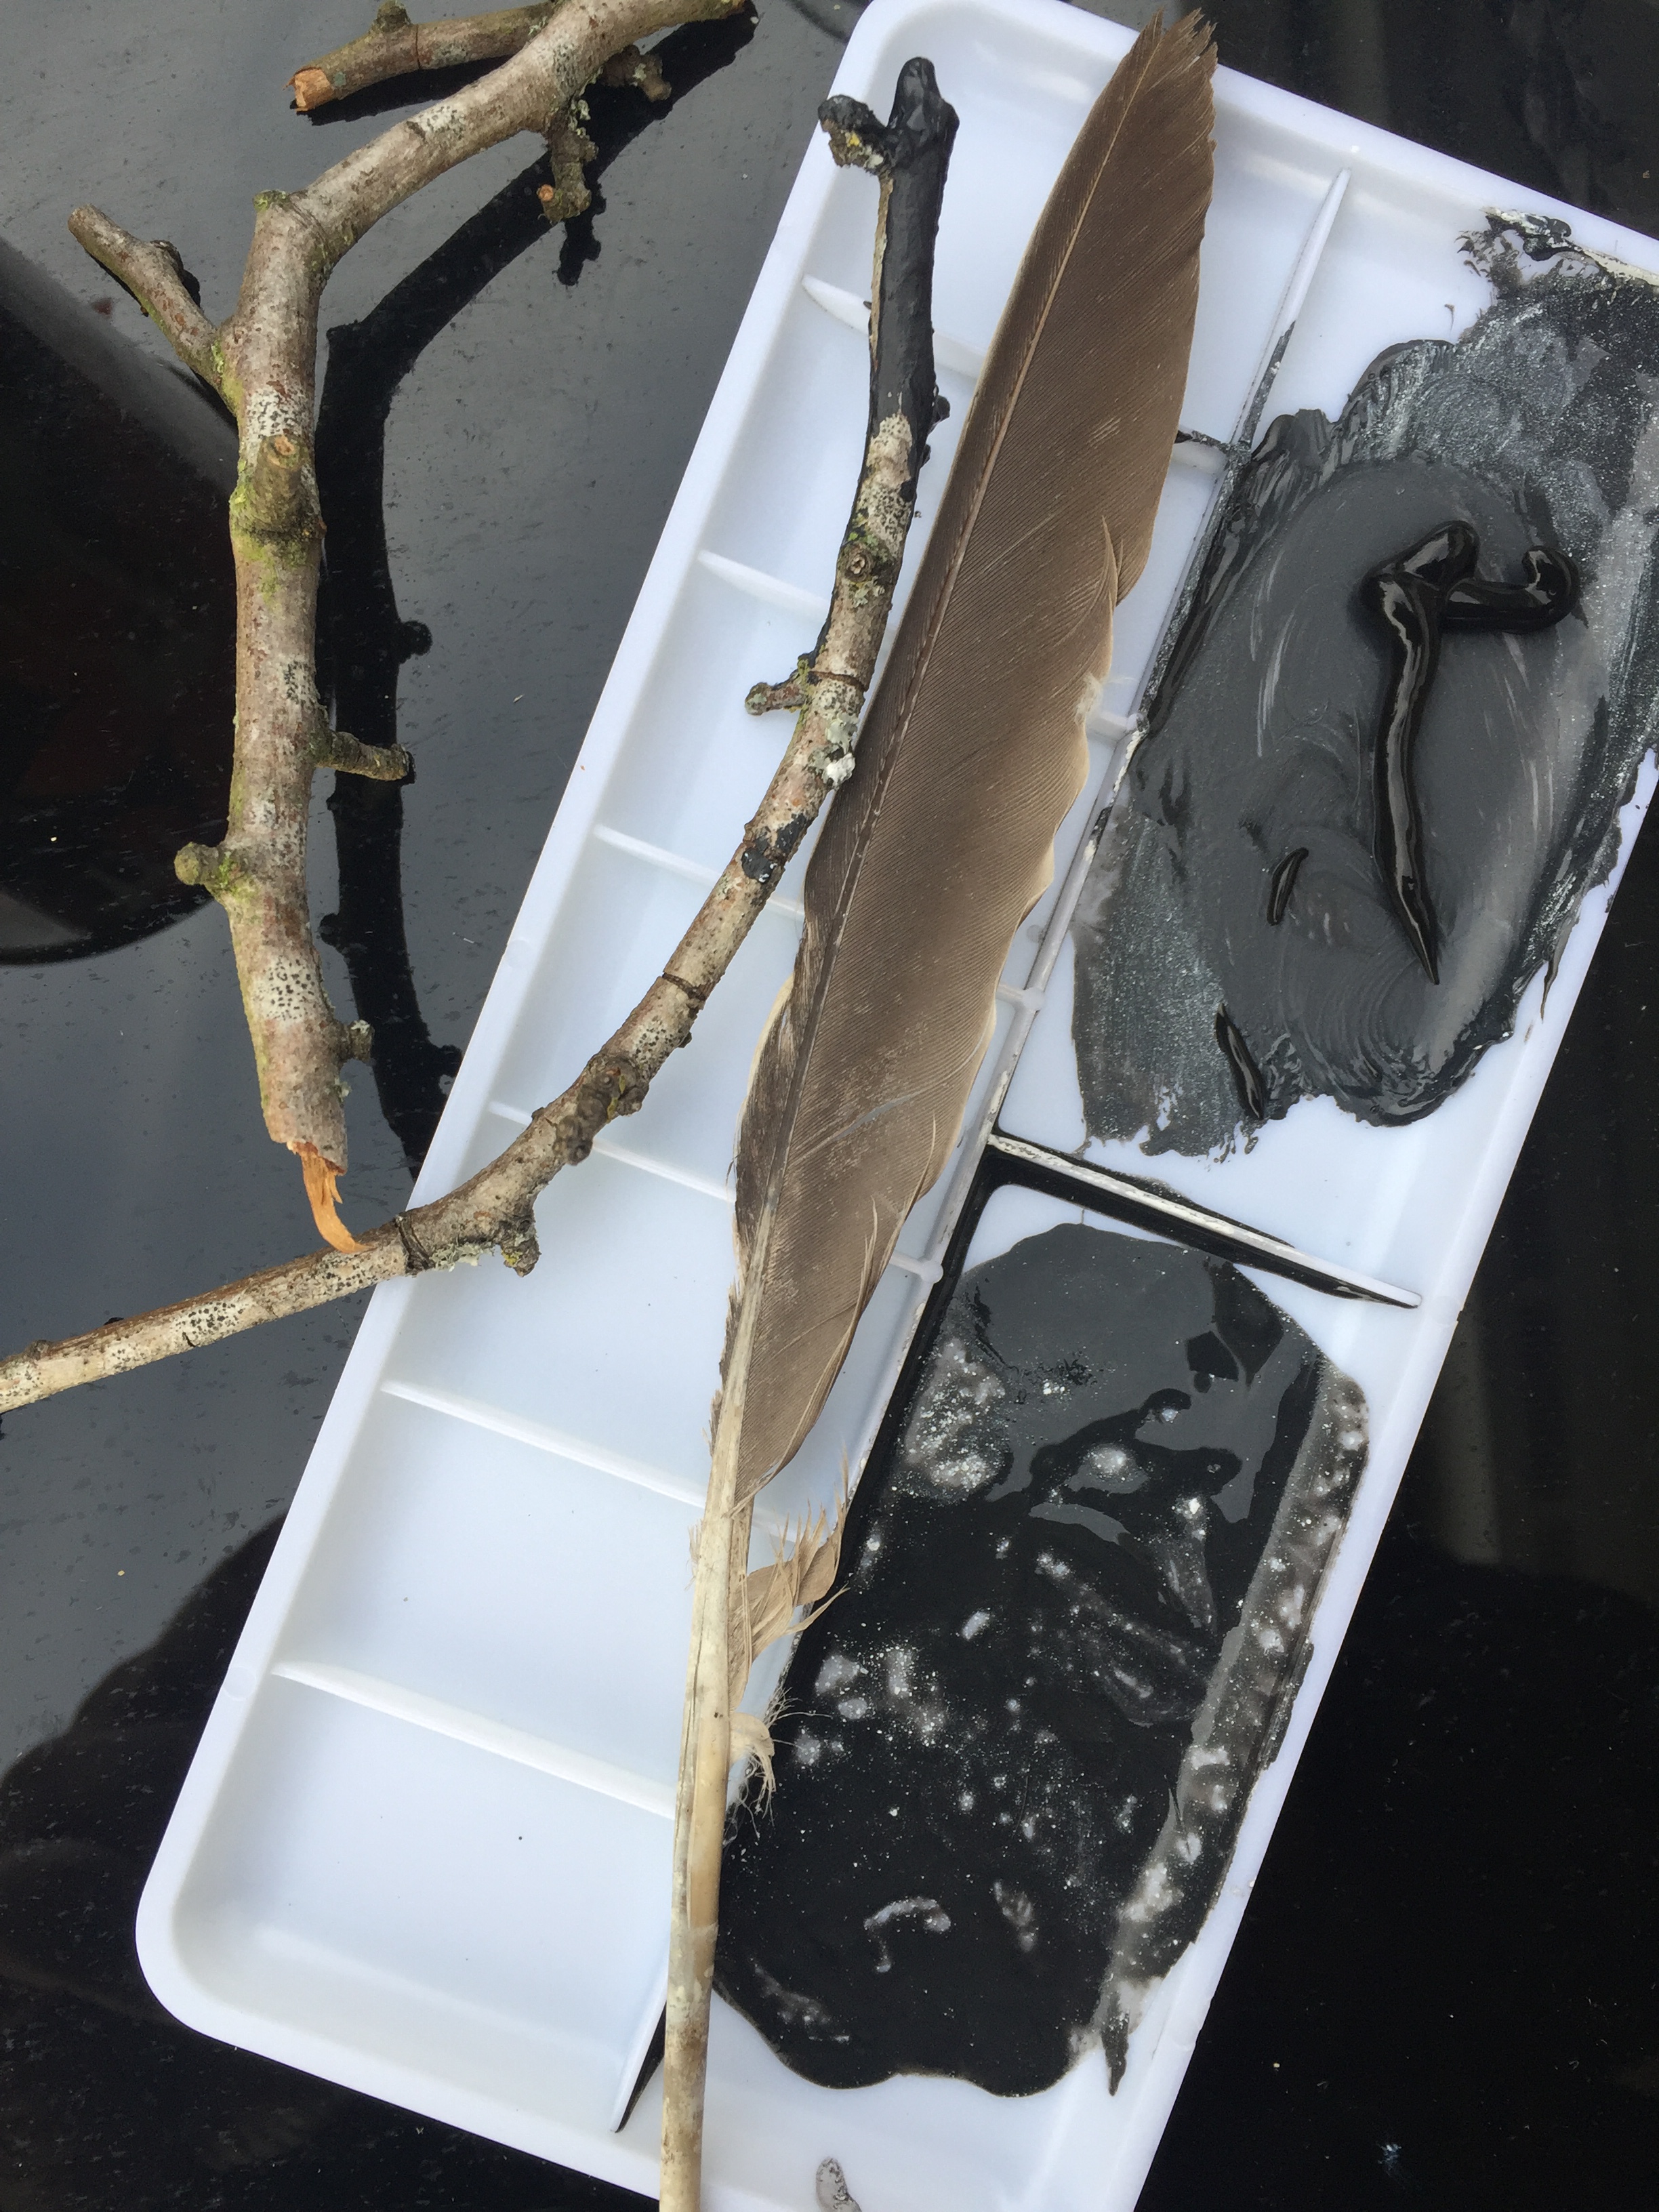
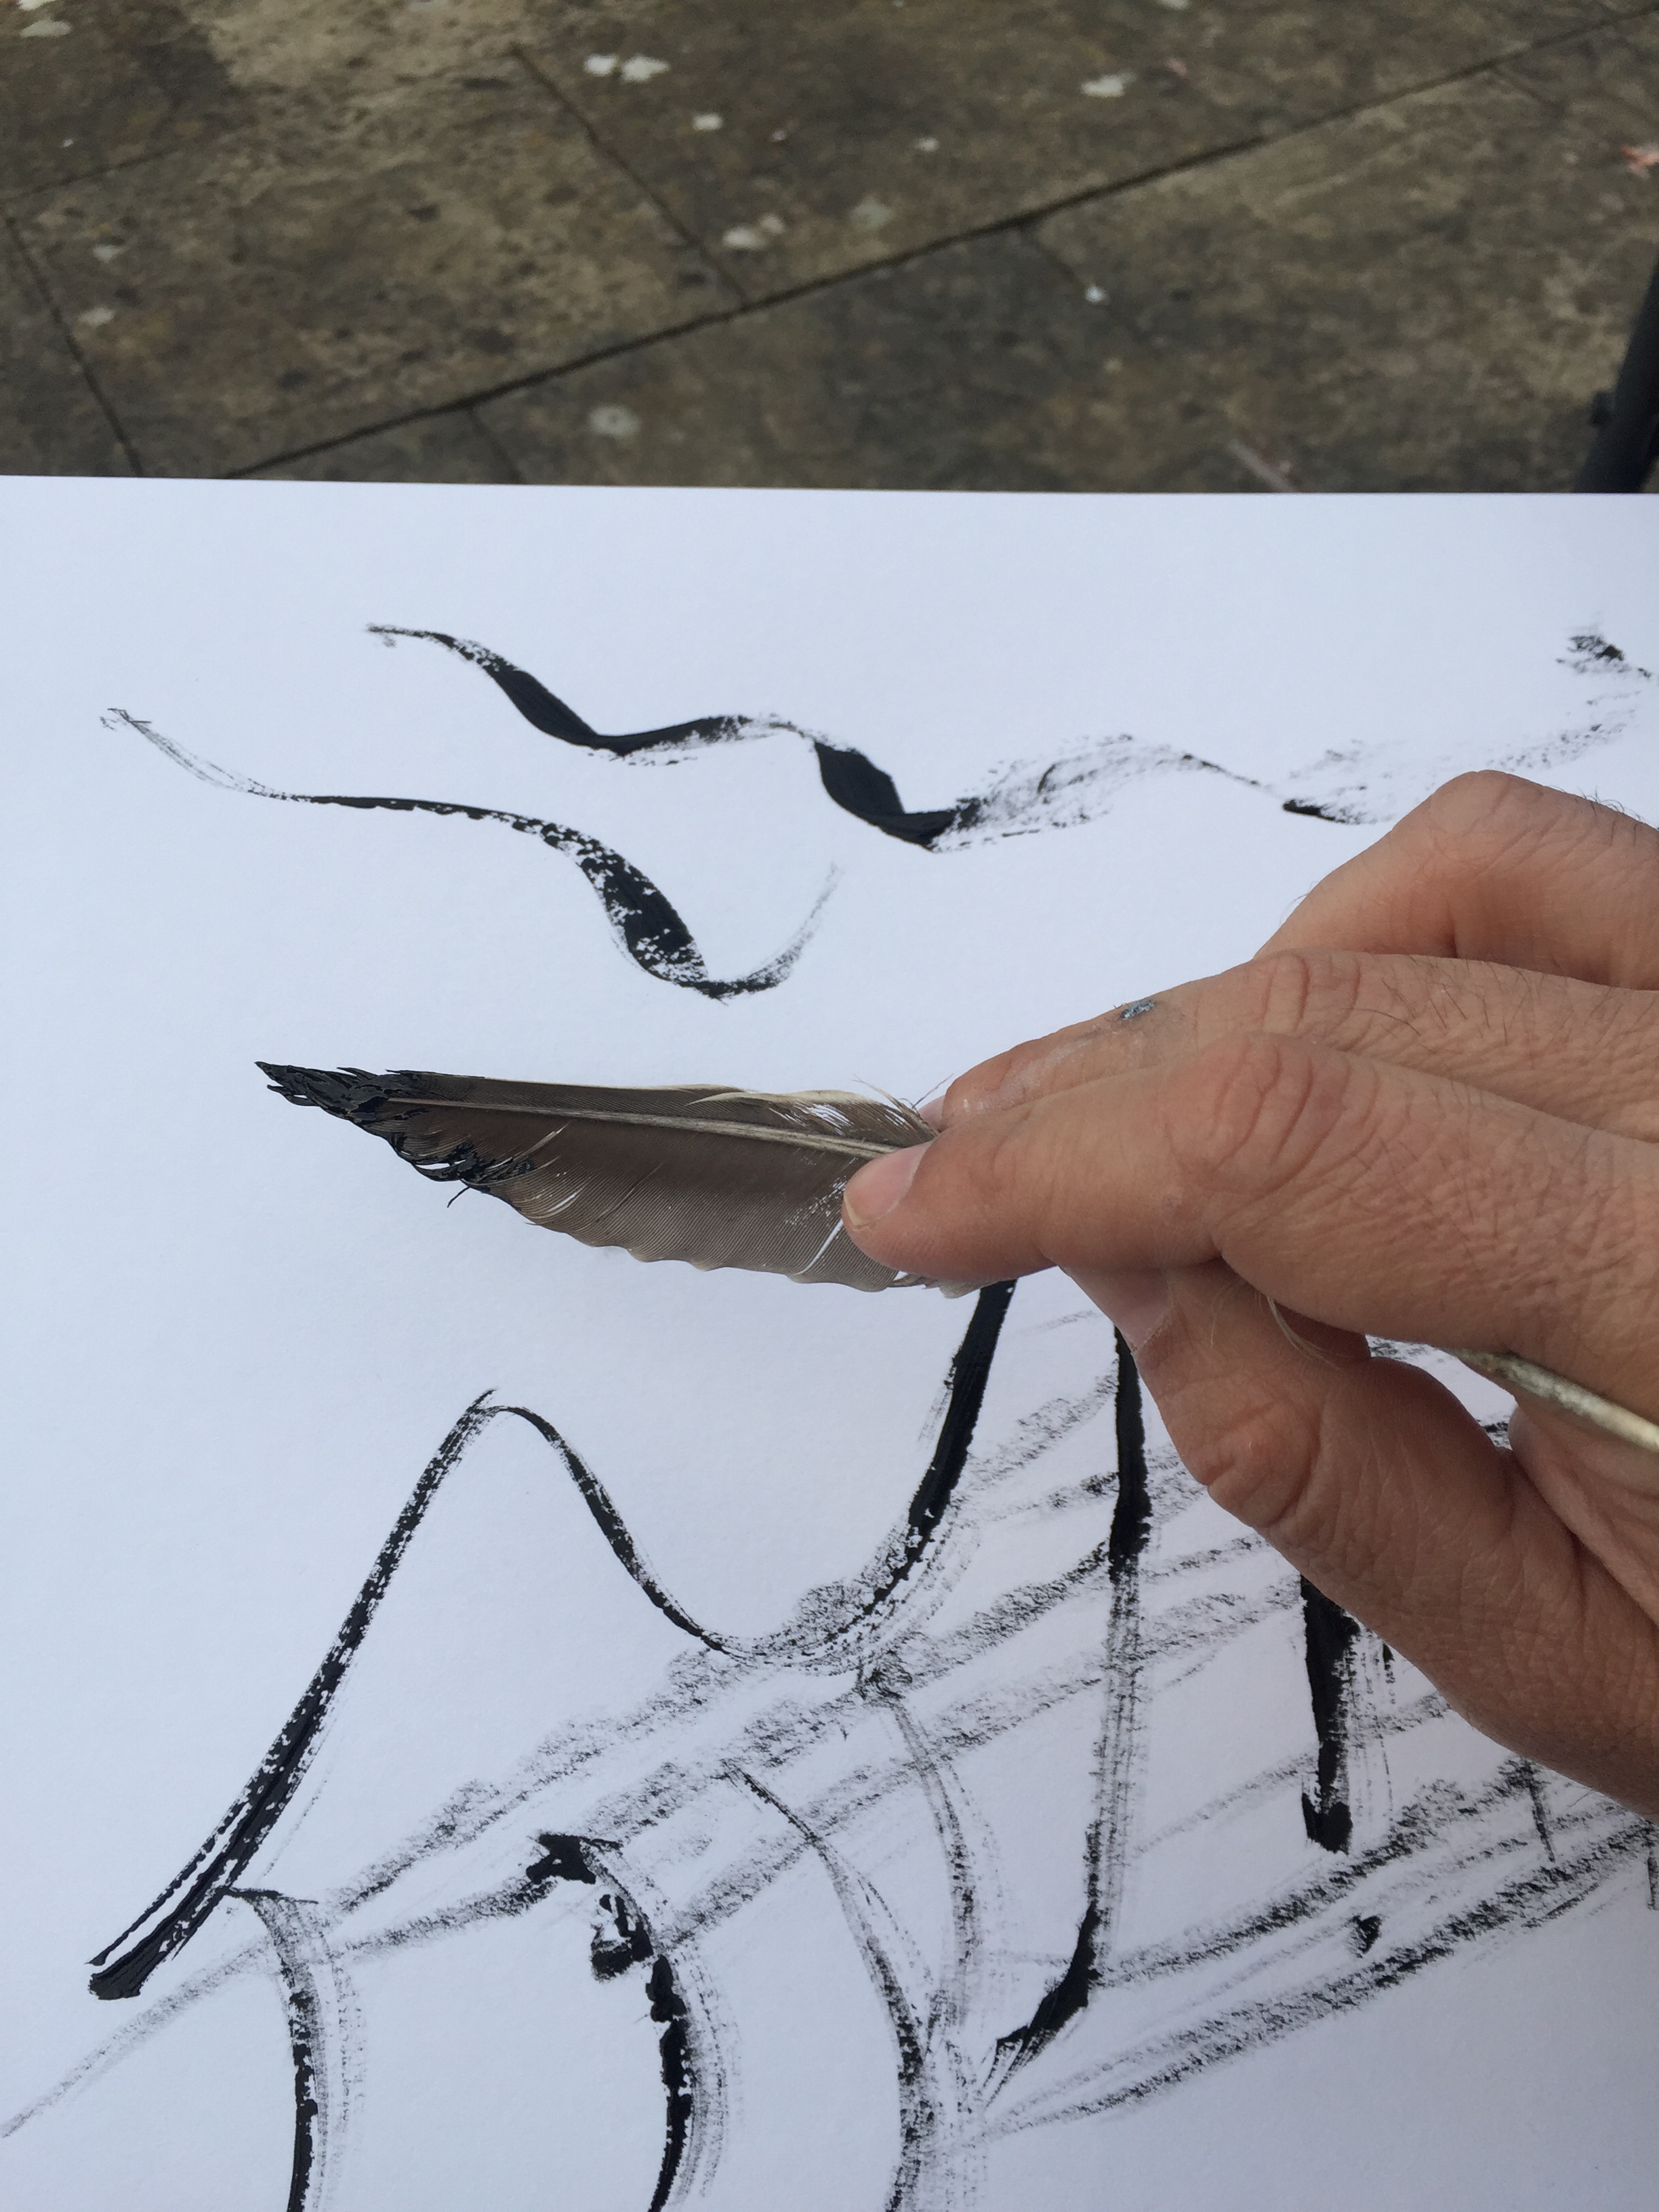
I came back to the basics :A tulip sketch inspired by the picture takenDaffodilsunflower my first ever acrylic drawing.Using a twig of a tree and a feather as drawing instruments drawing method
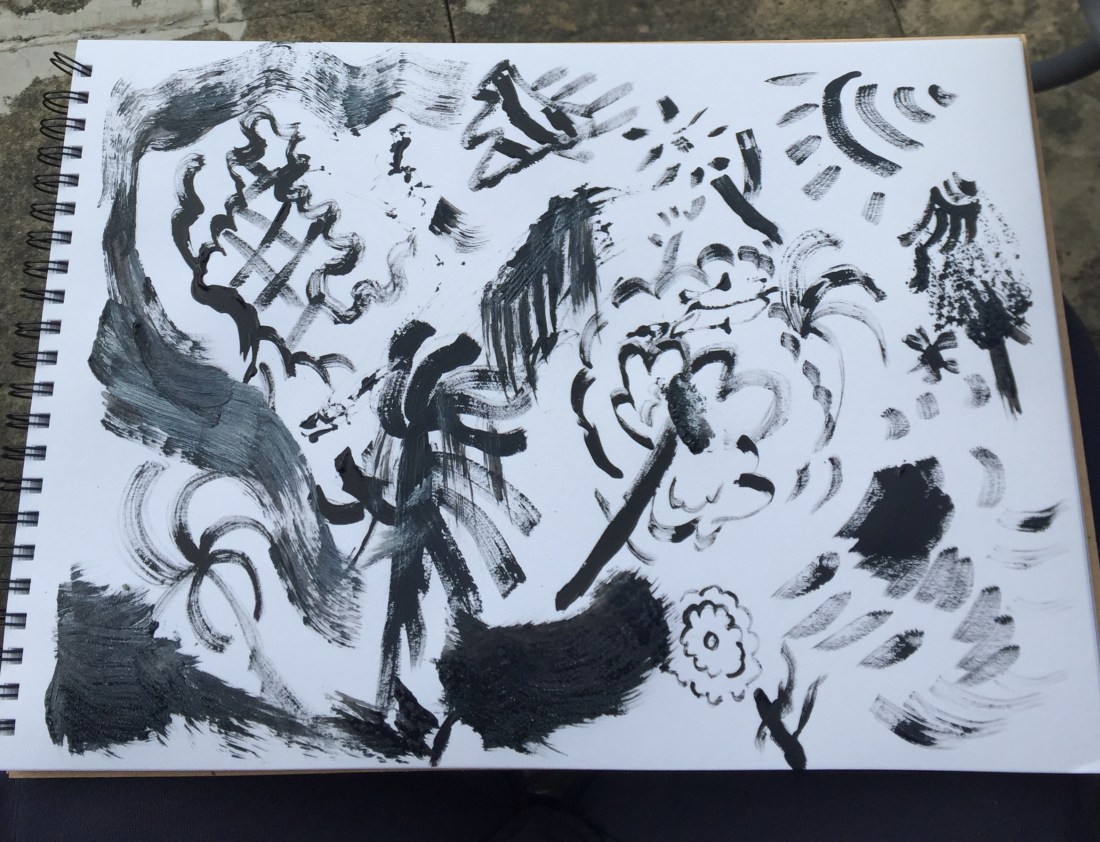
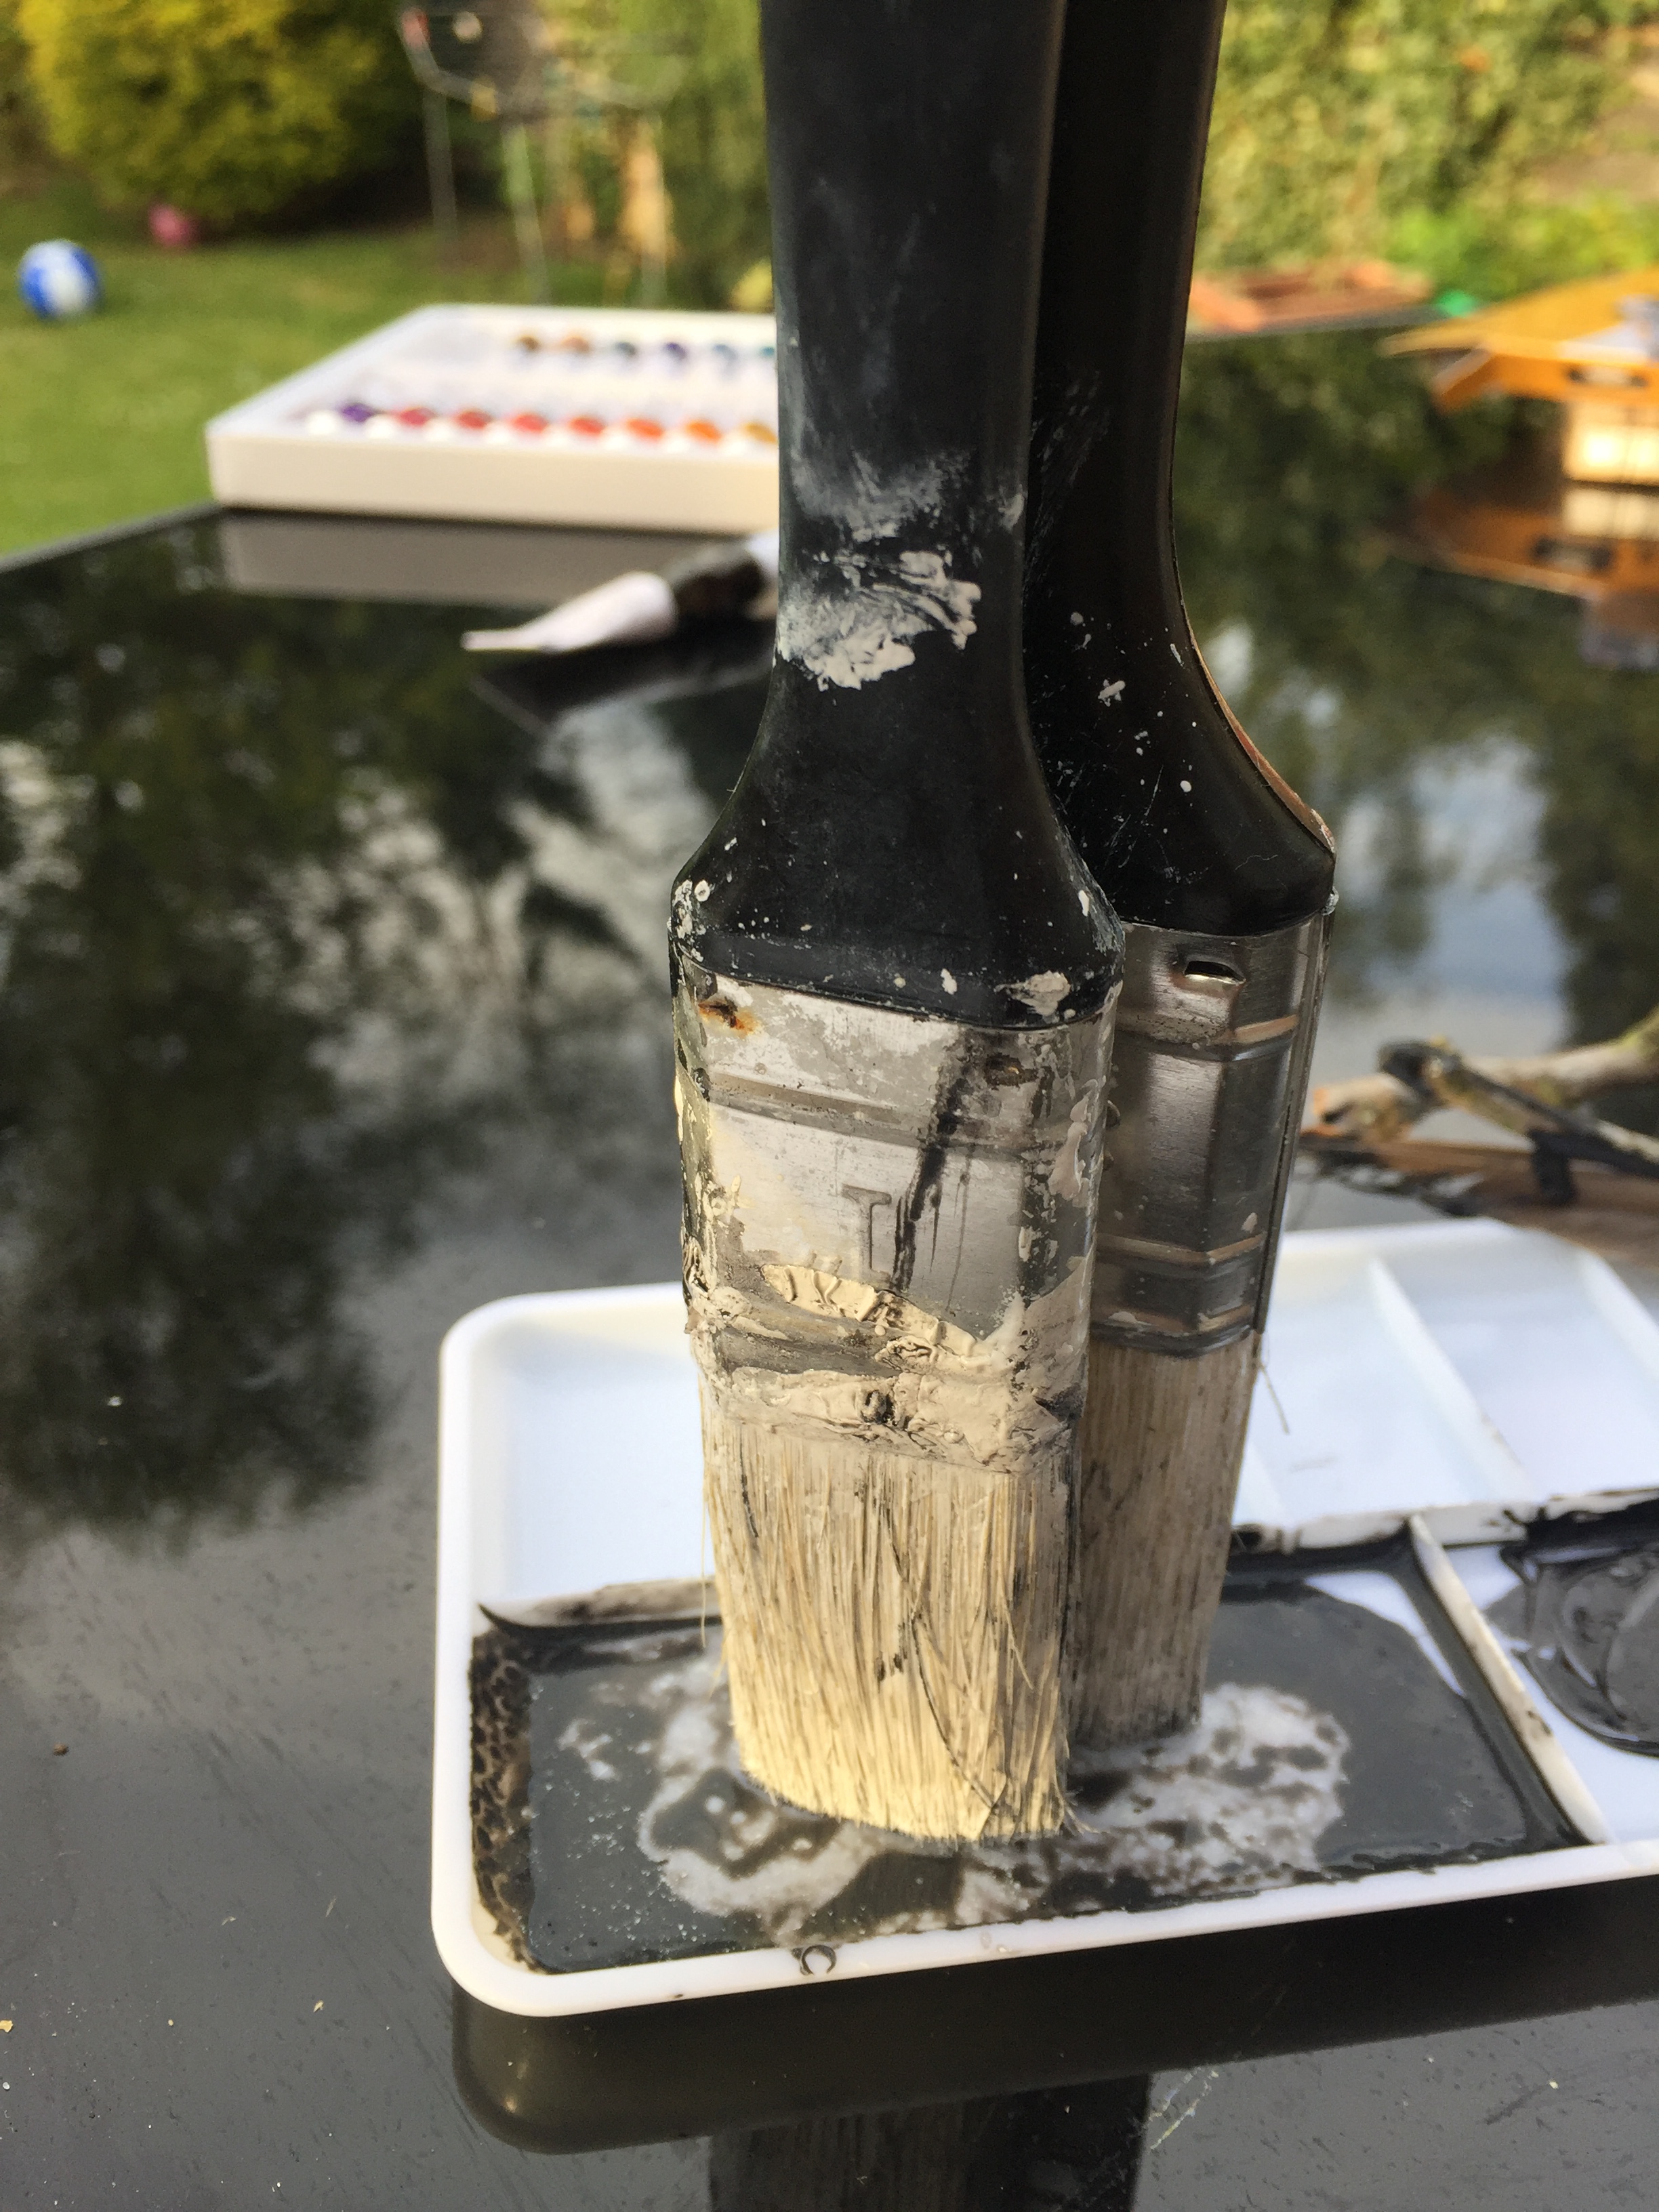
using two brushes
drawing method
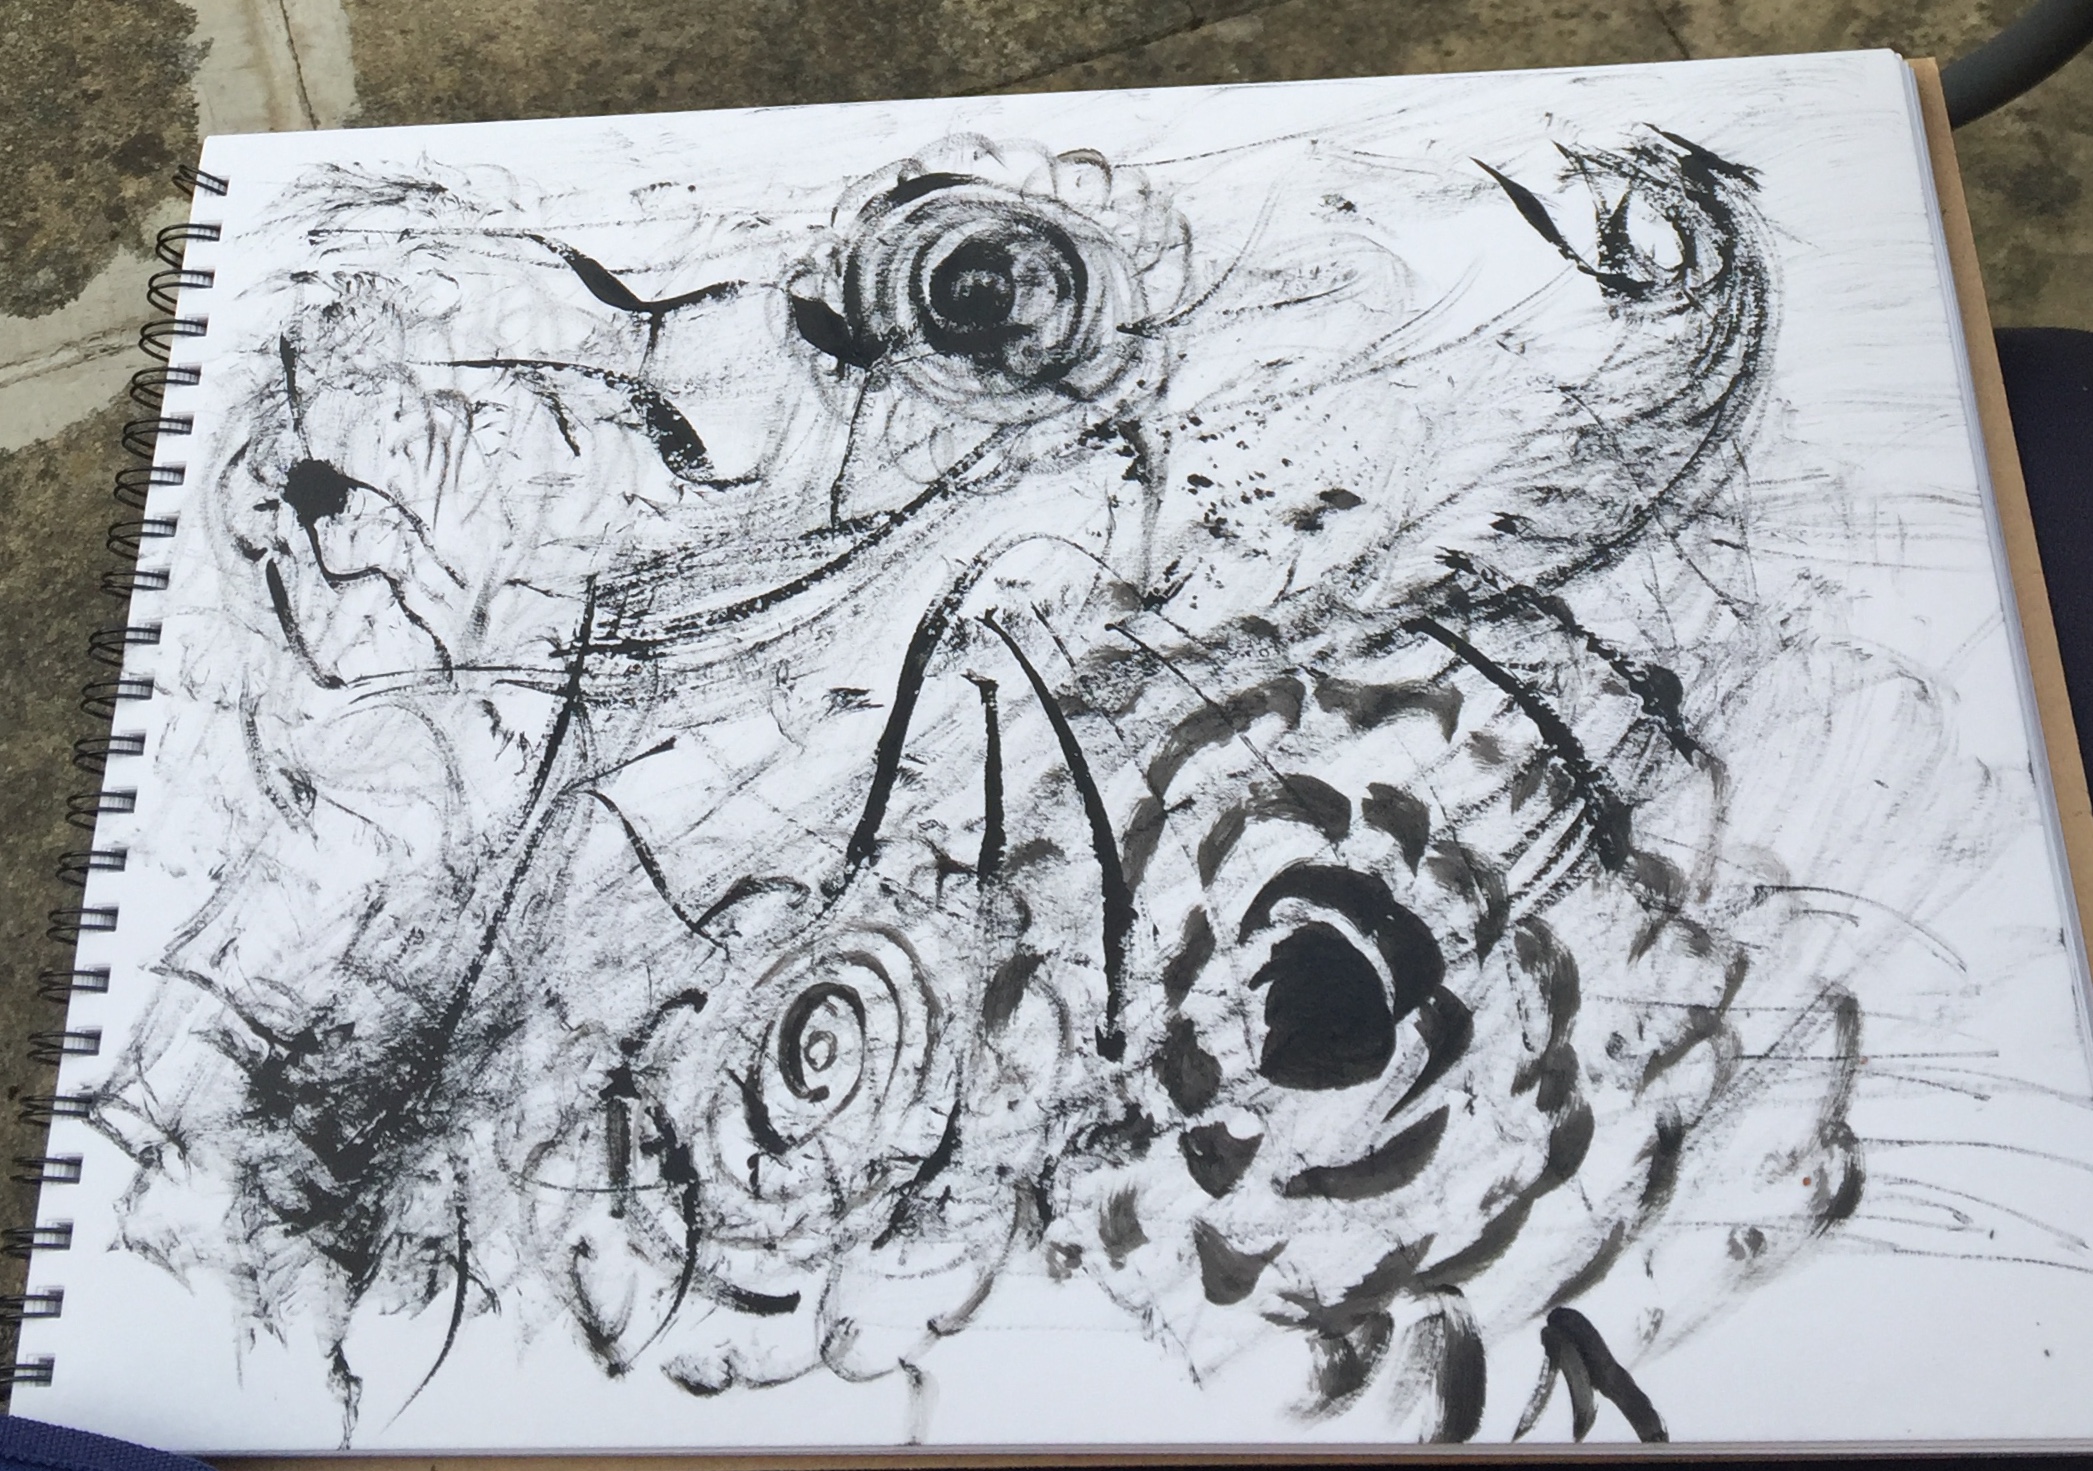
I’ve decided to move from the abstract drawings as I feel more confident now to use more materials and draw more realistically looking patterns.
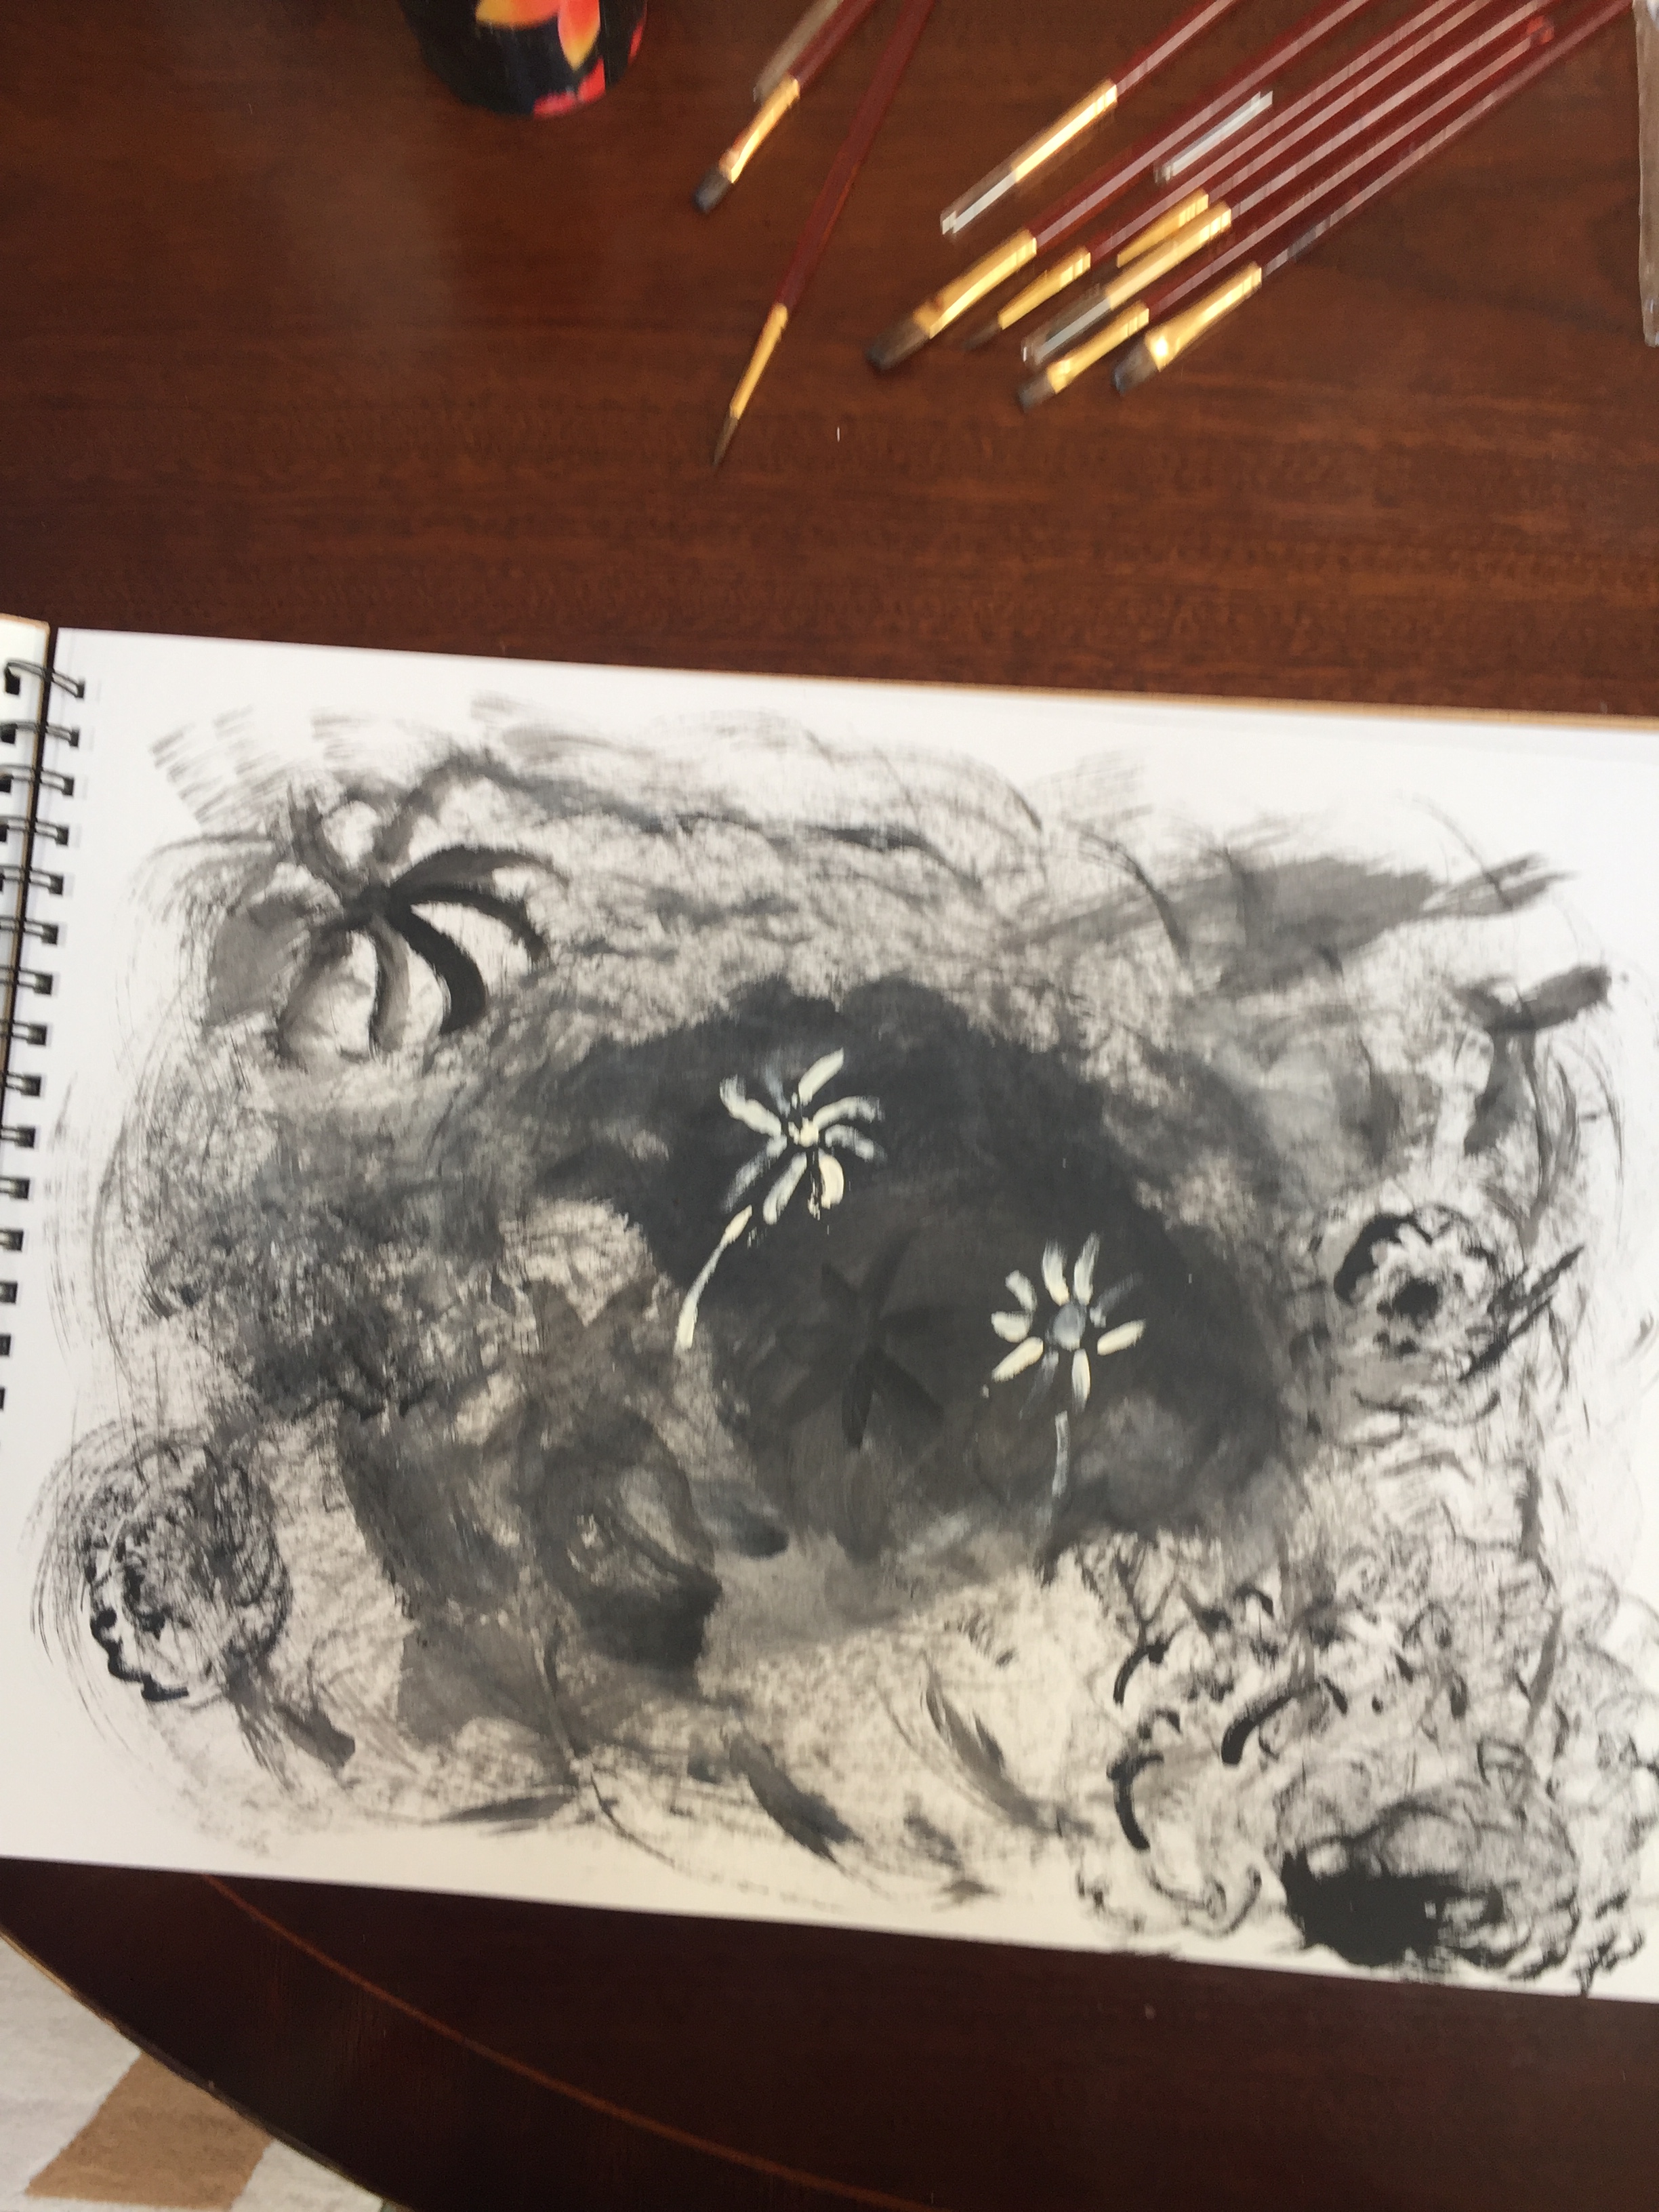
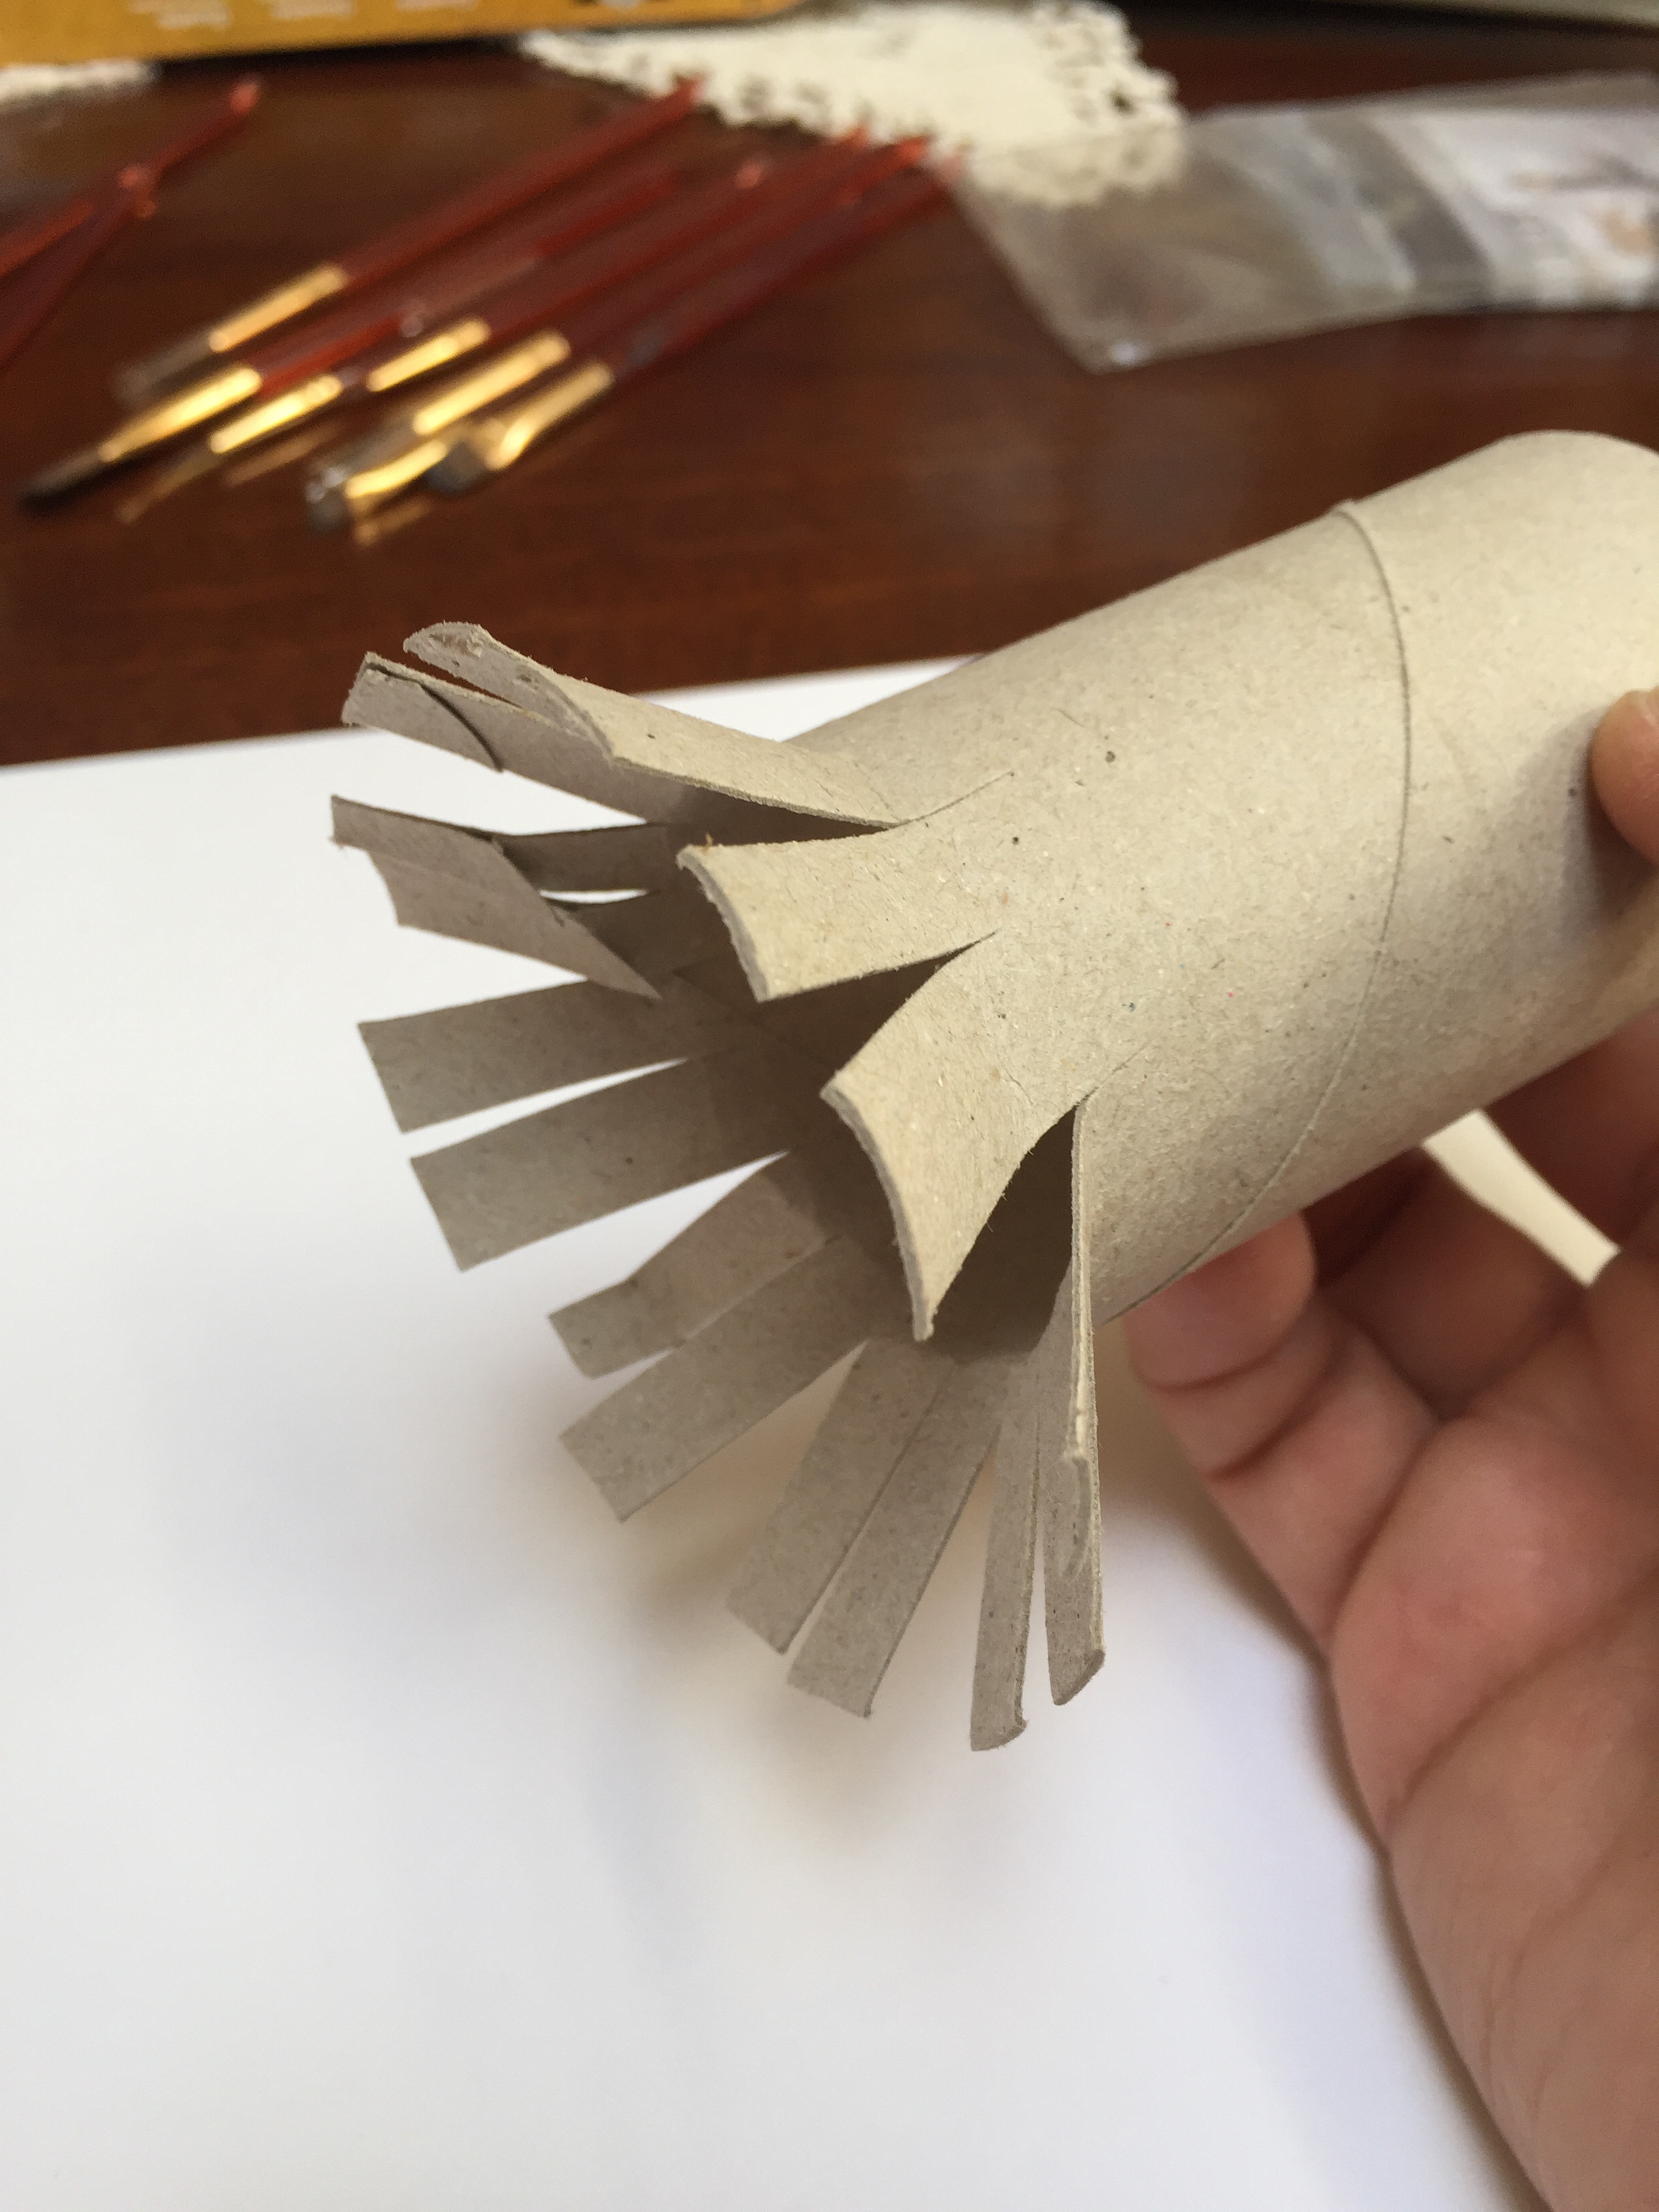
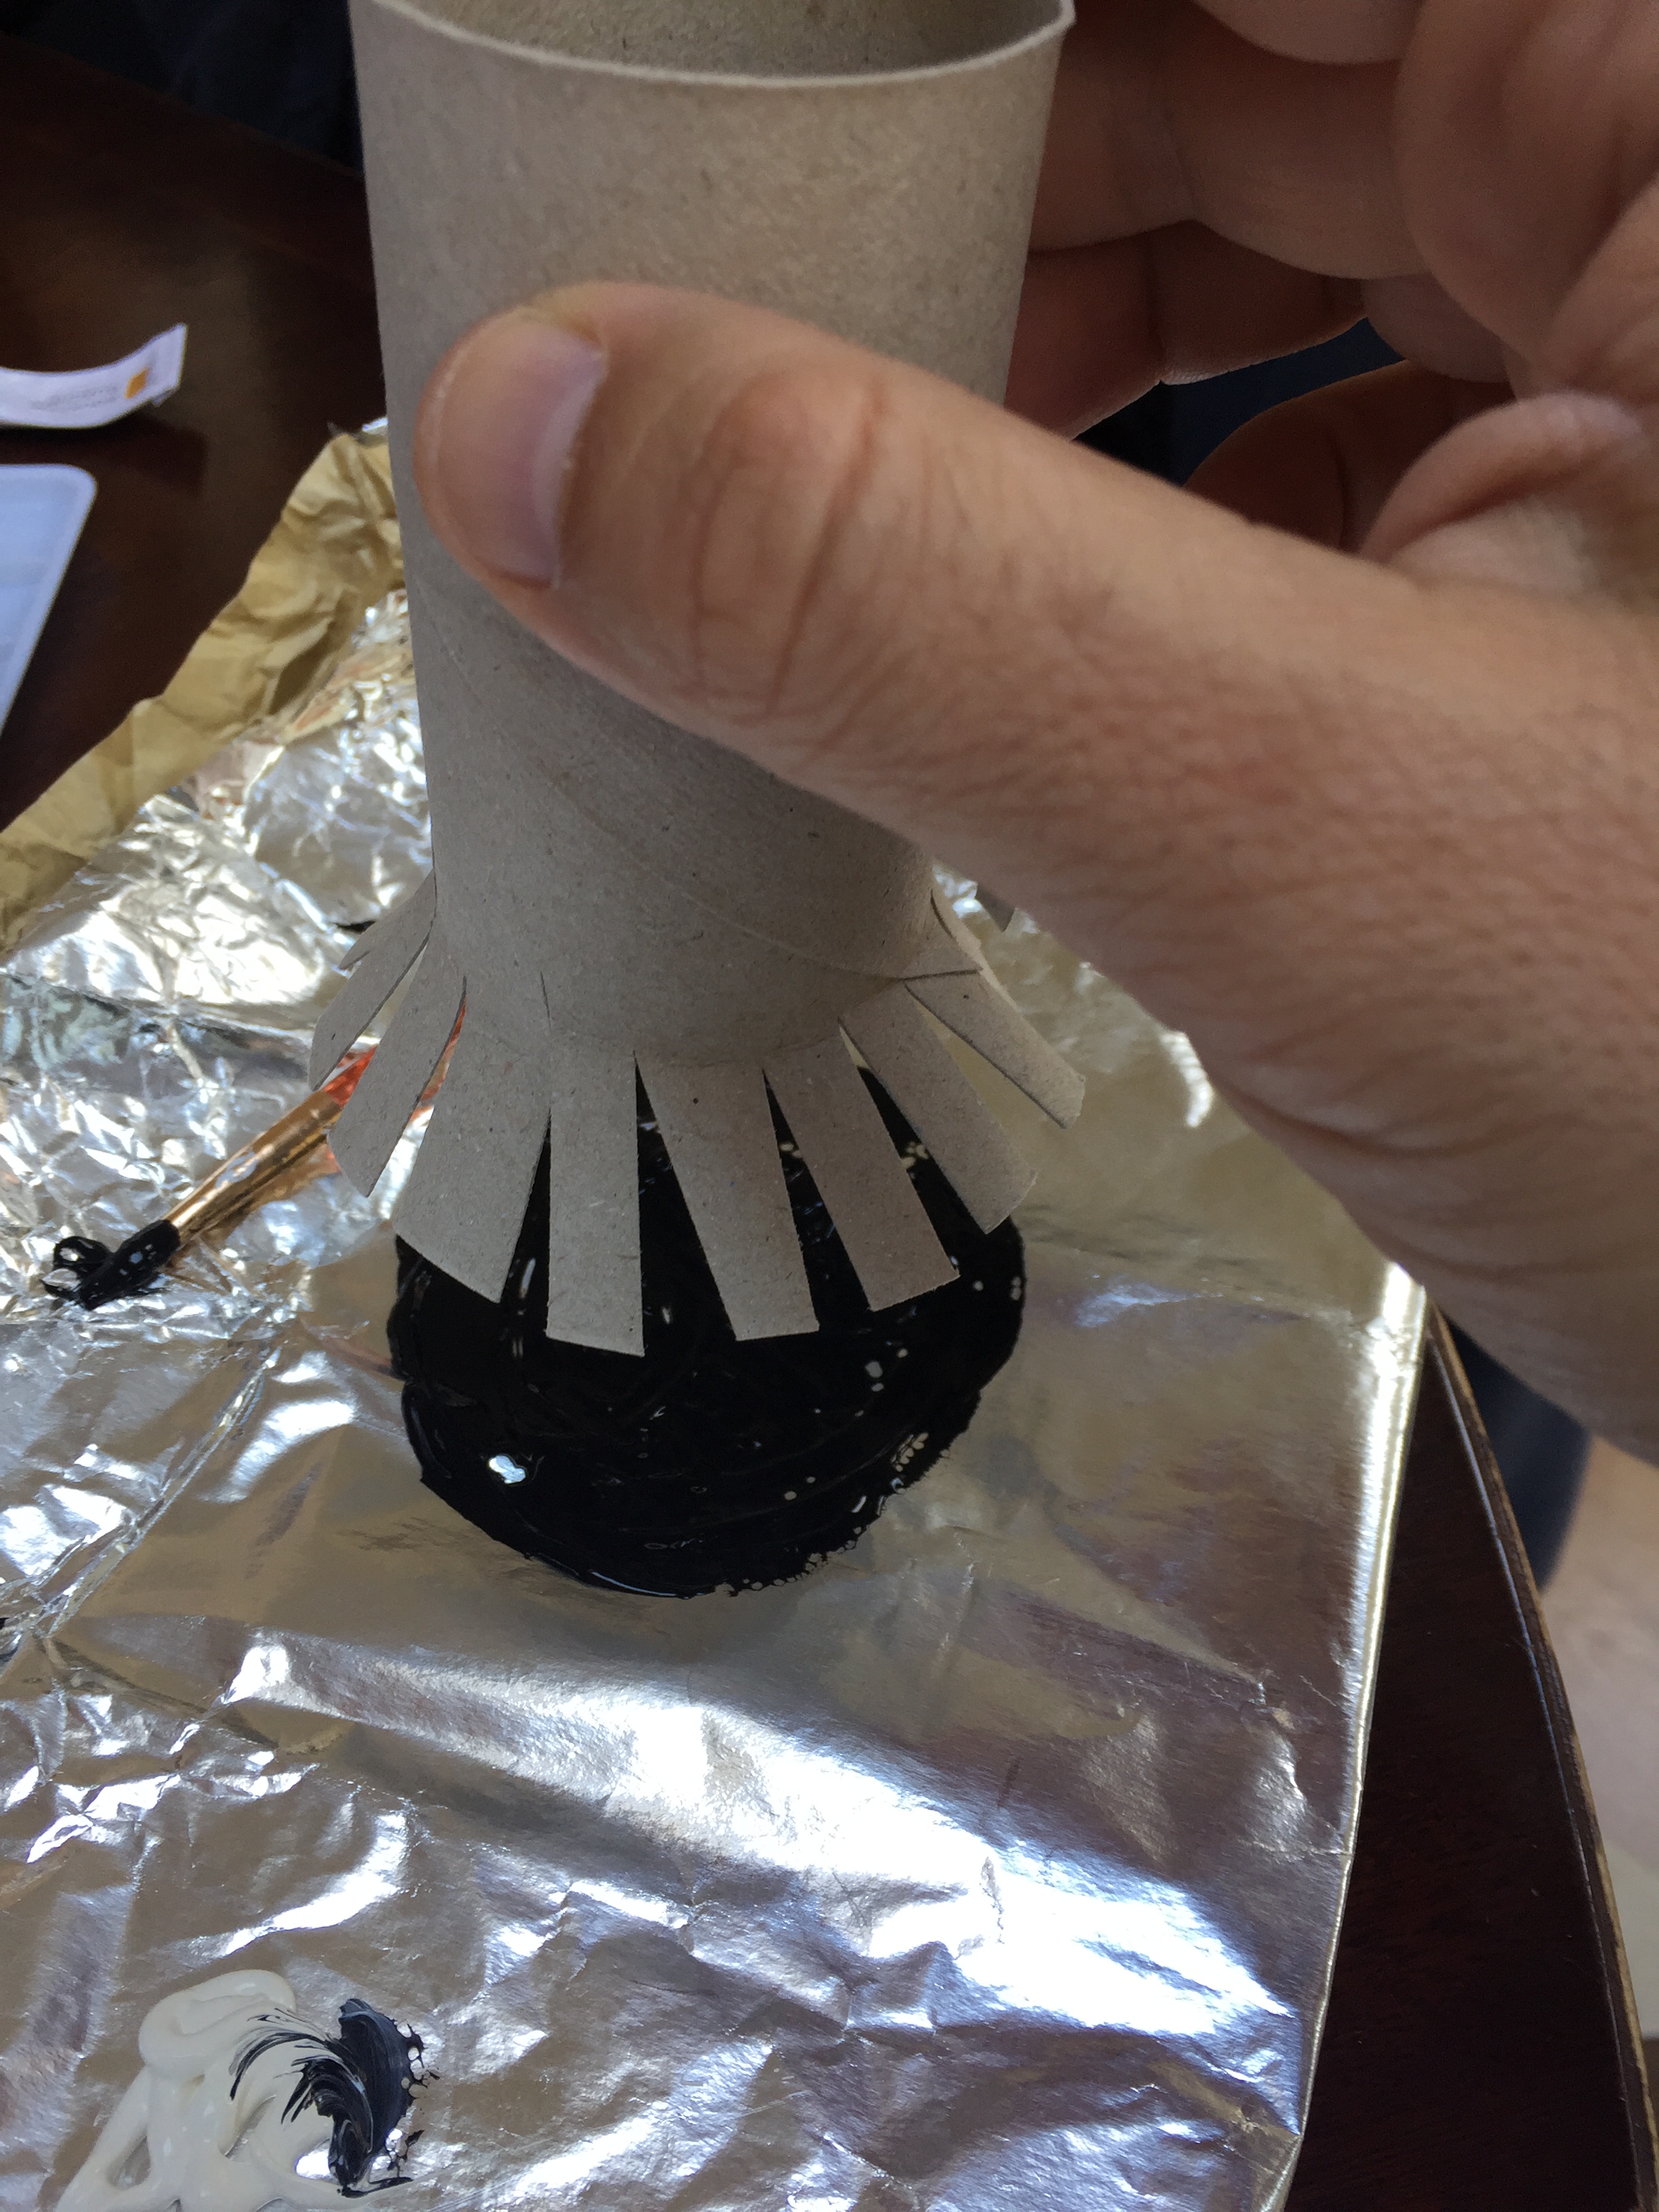
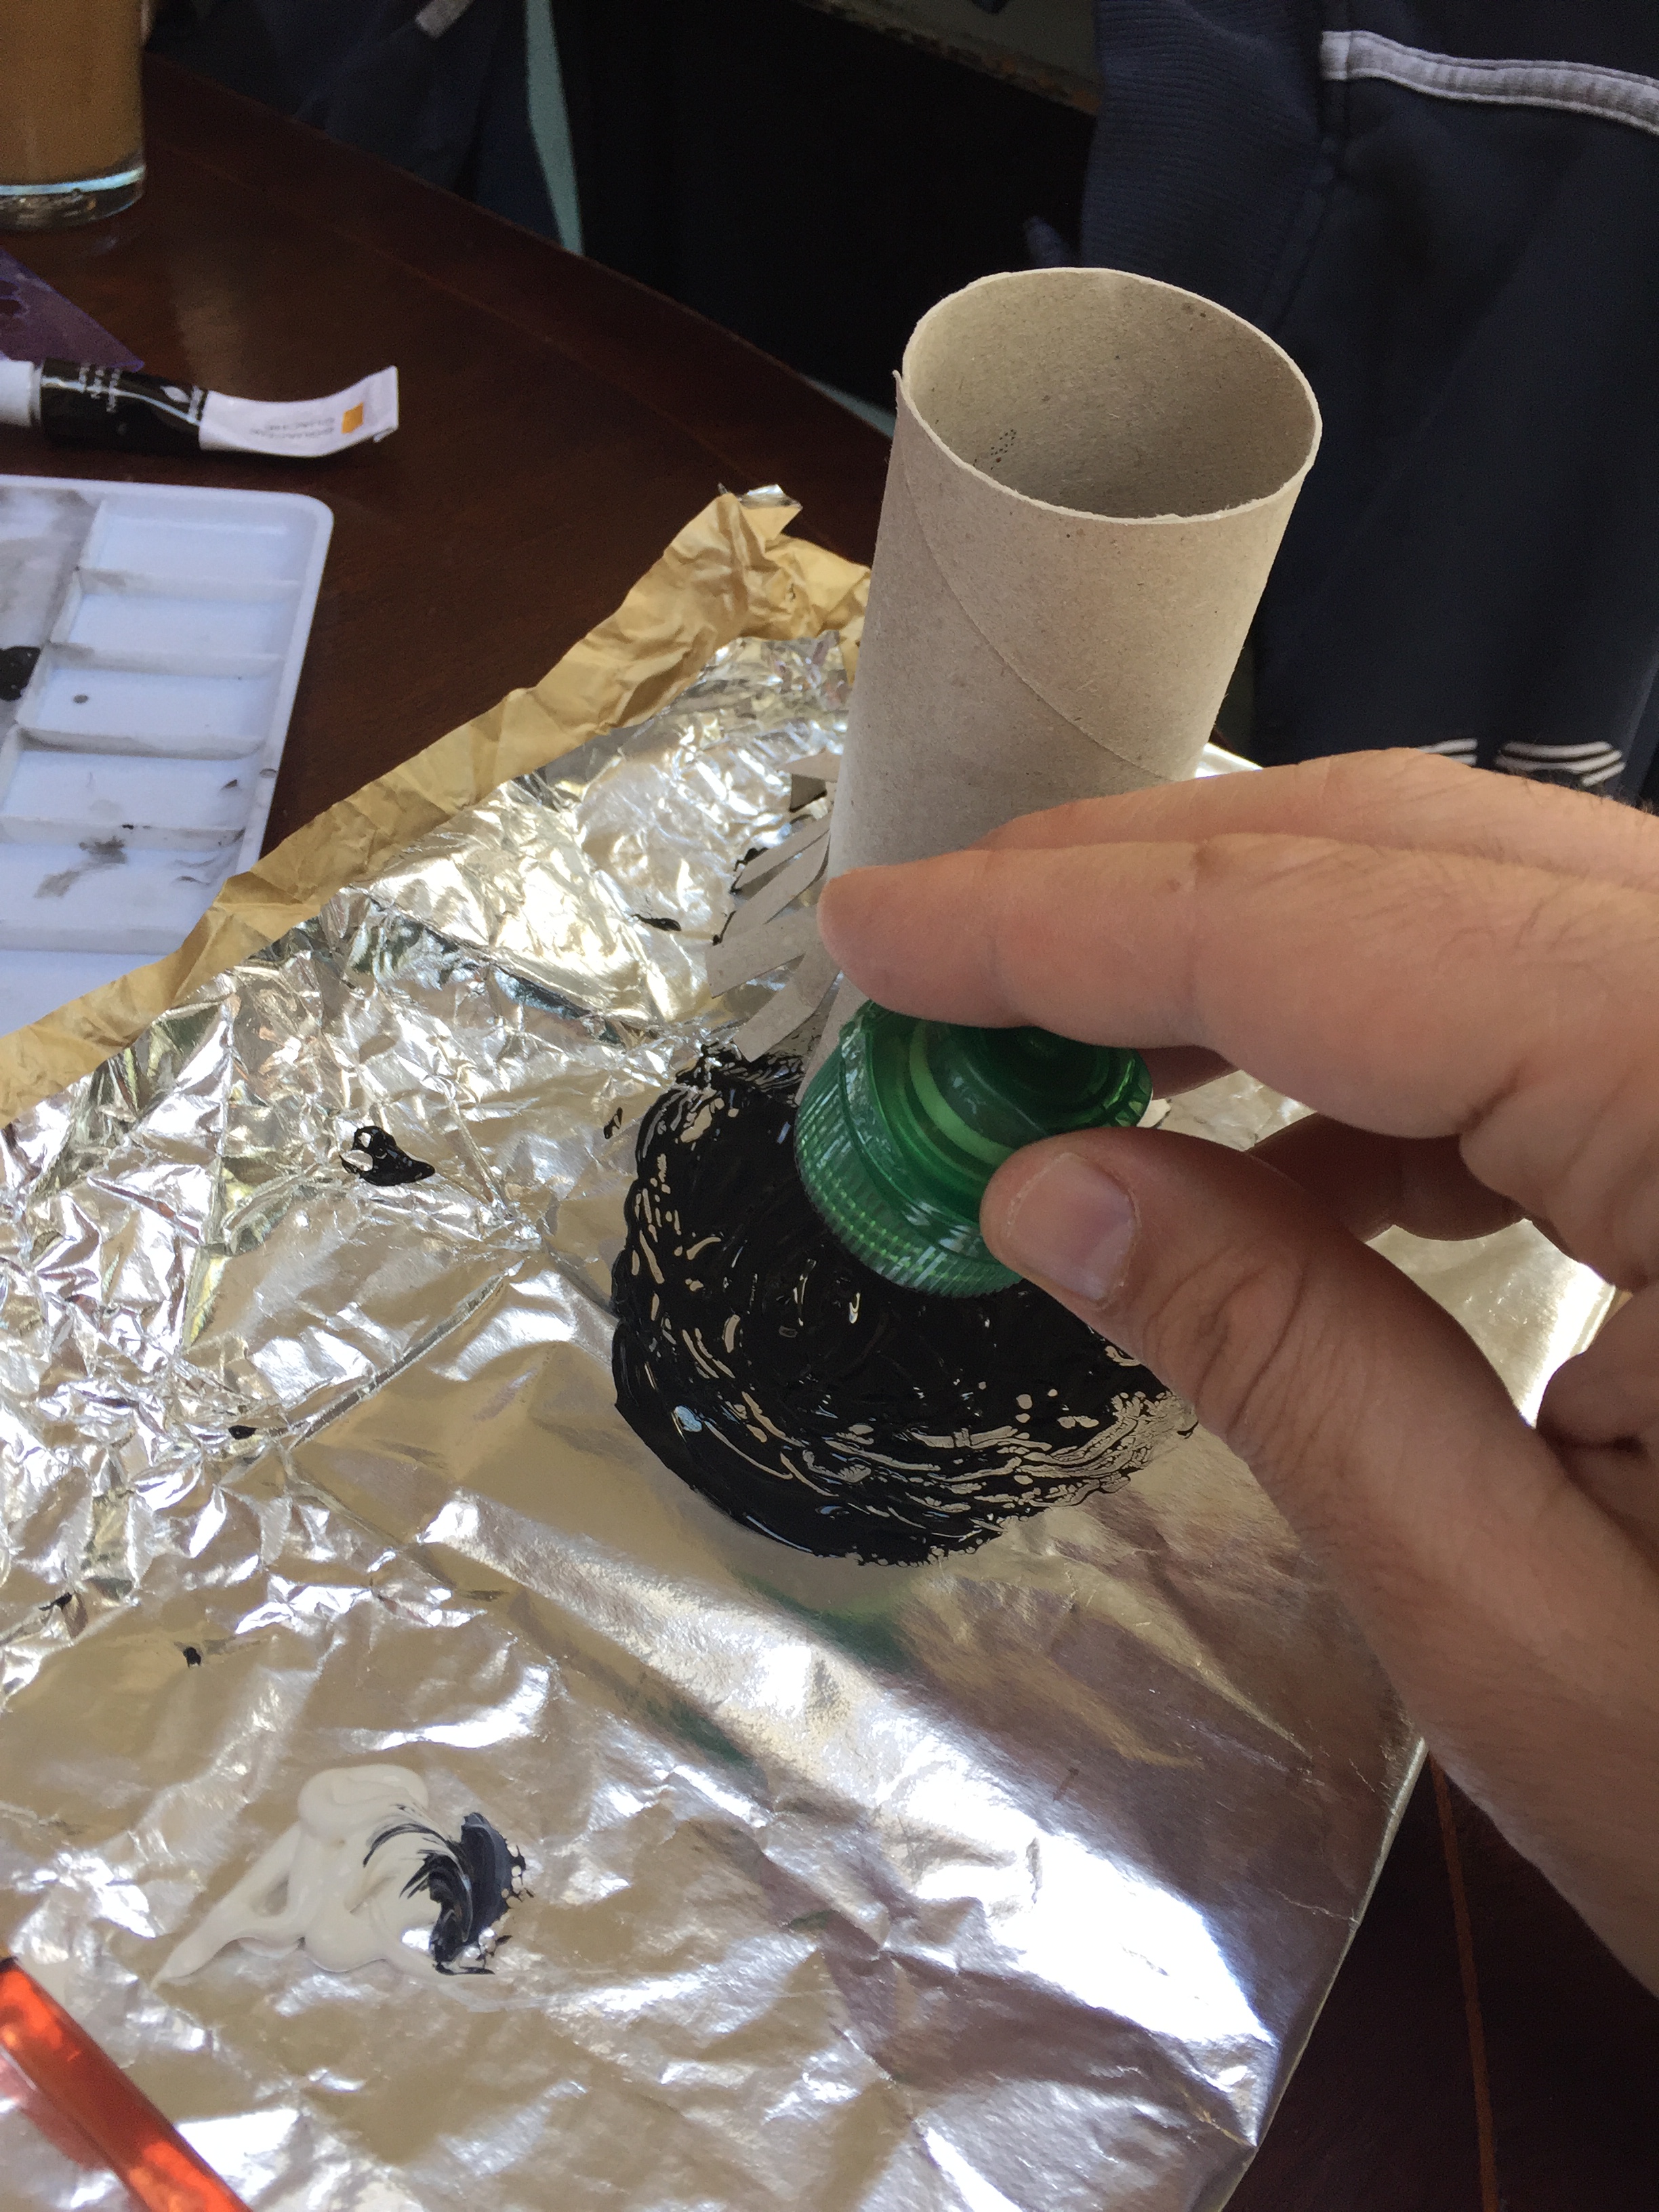
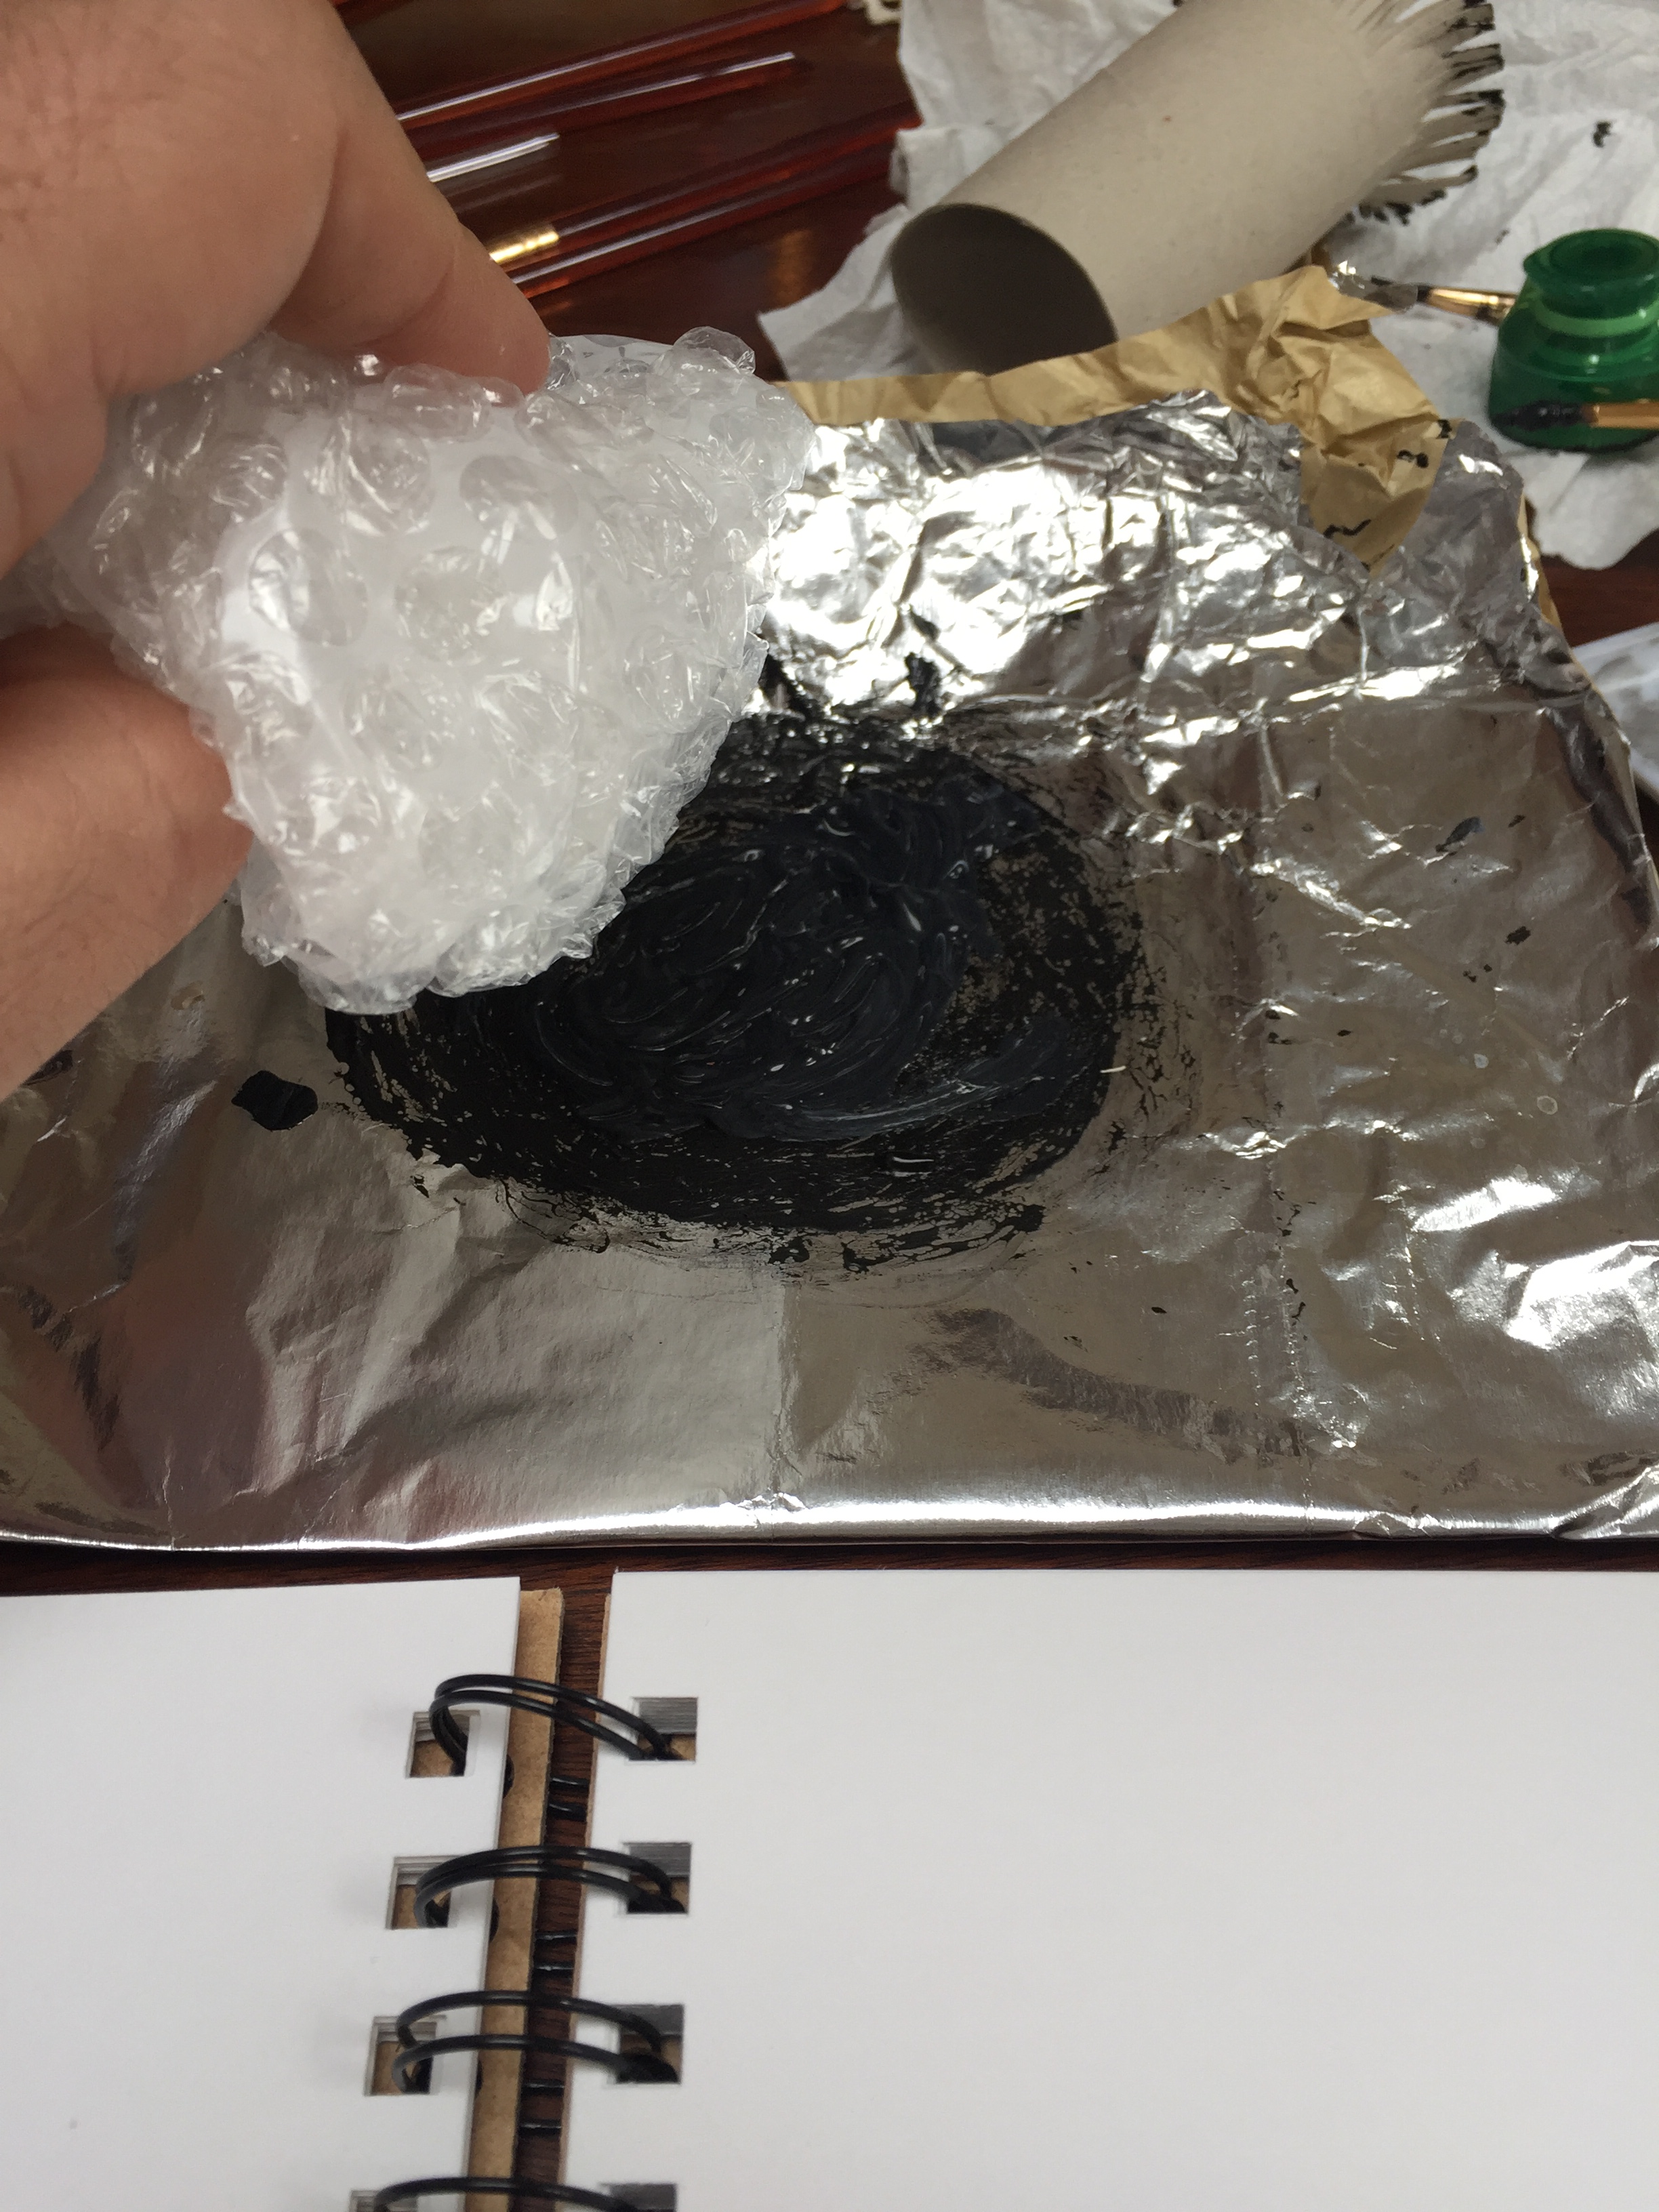
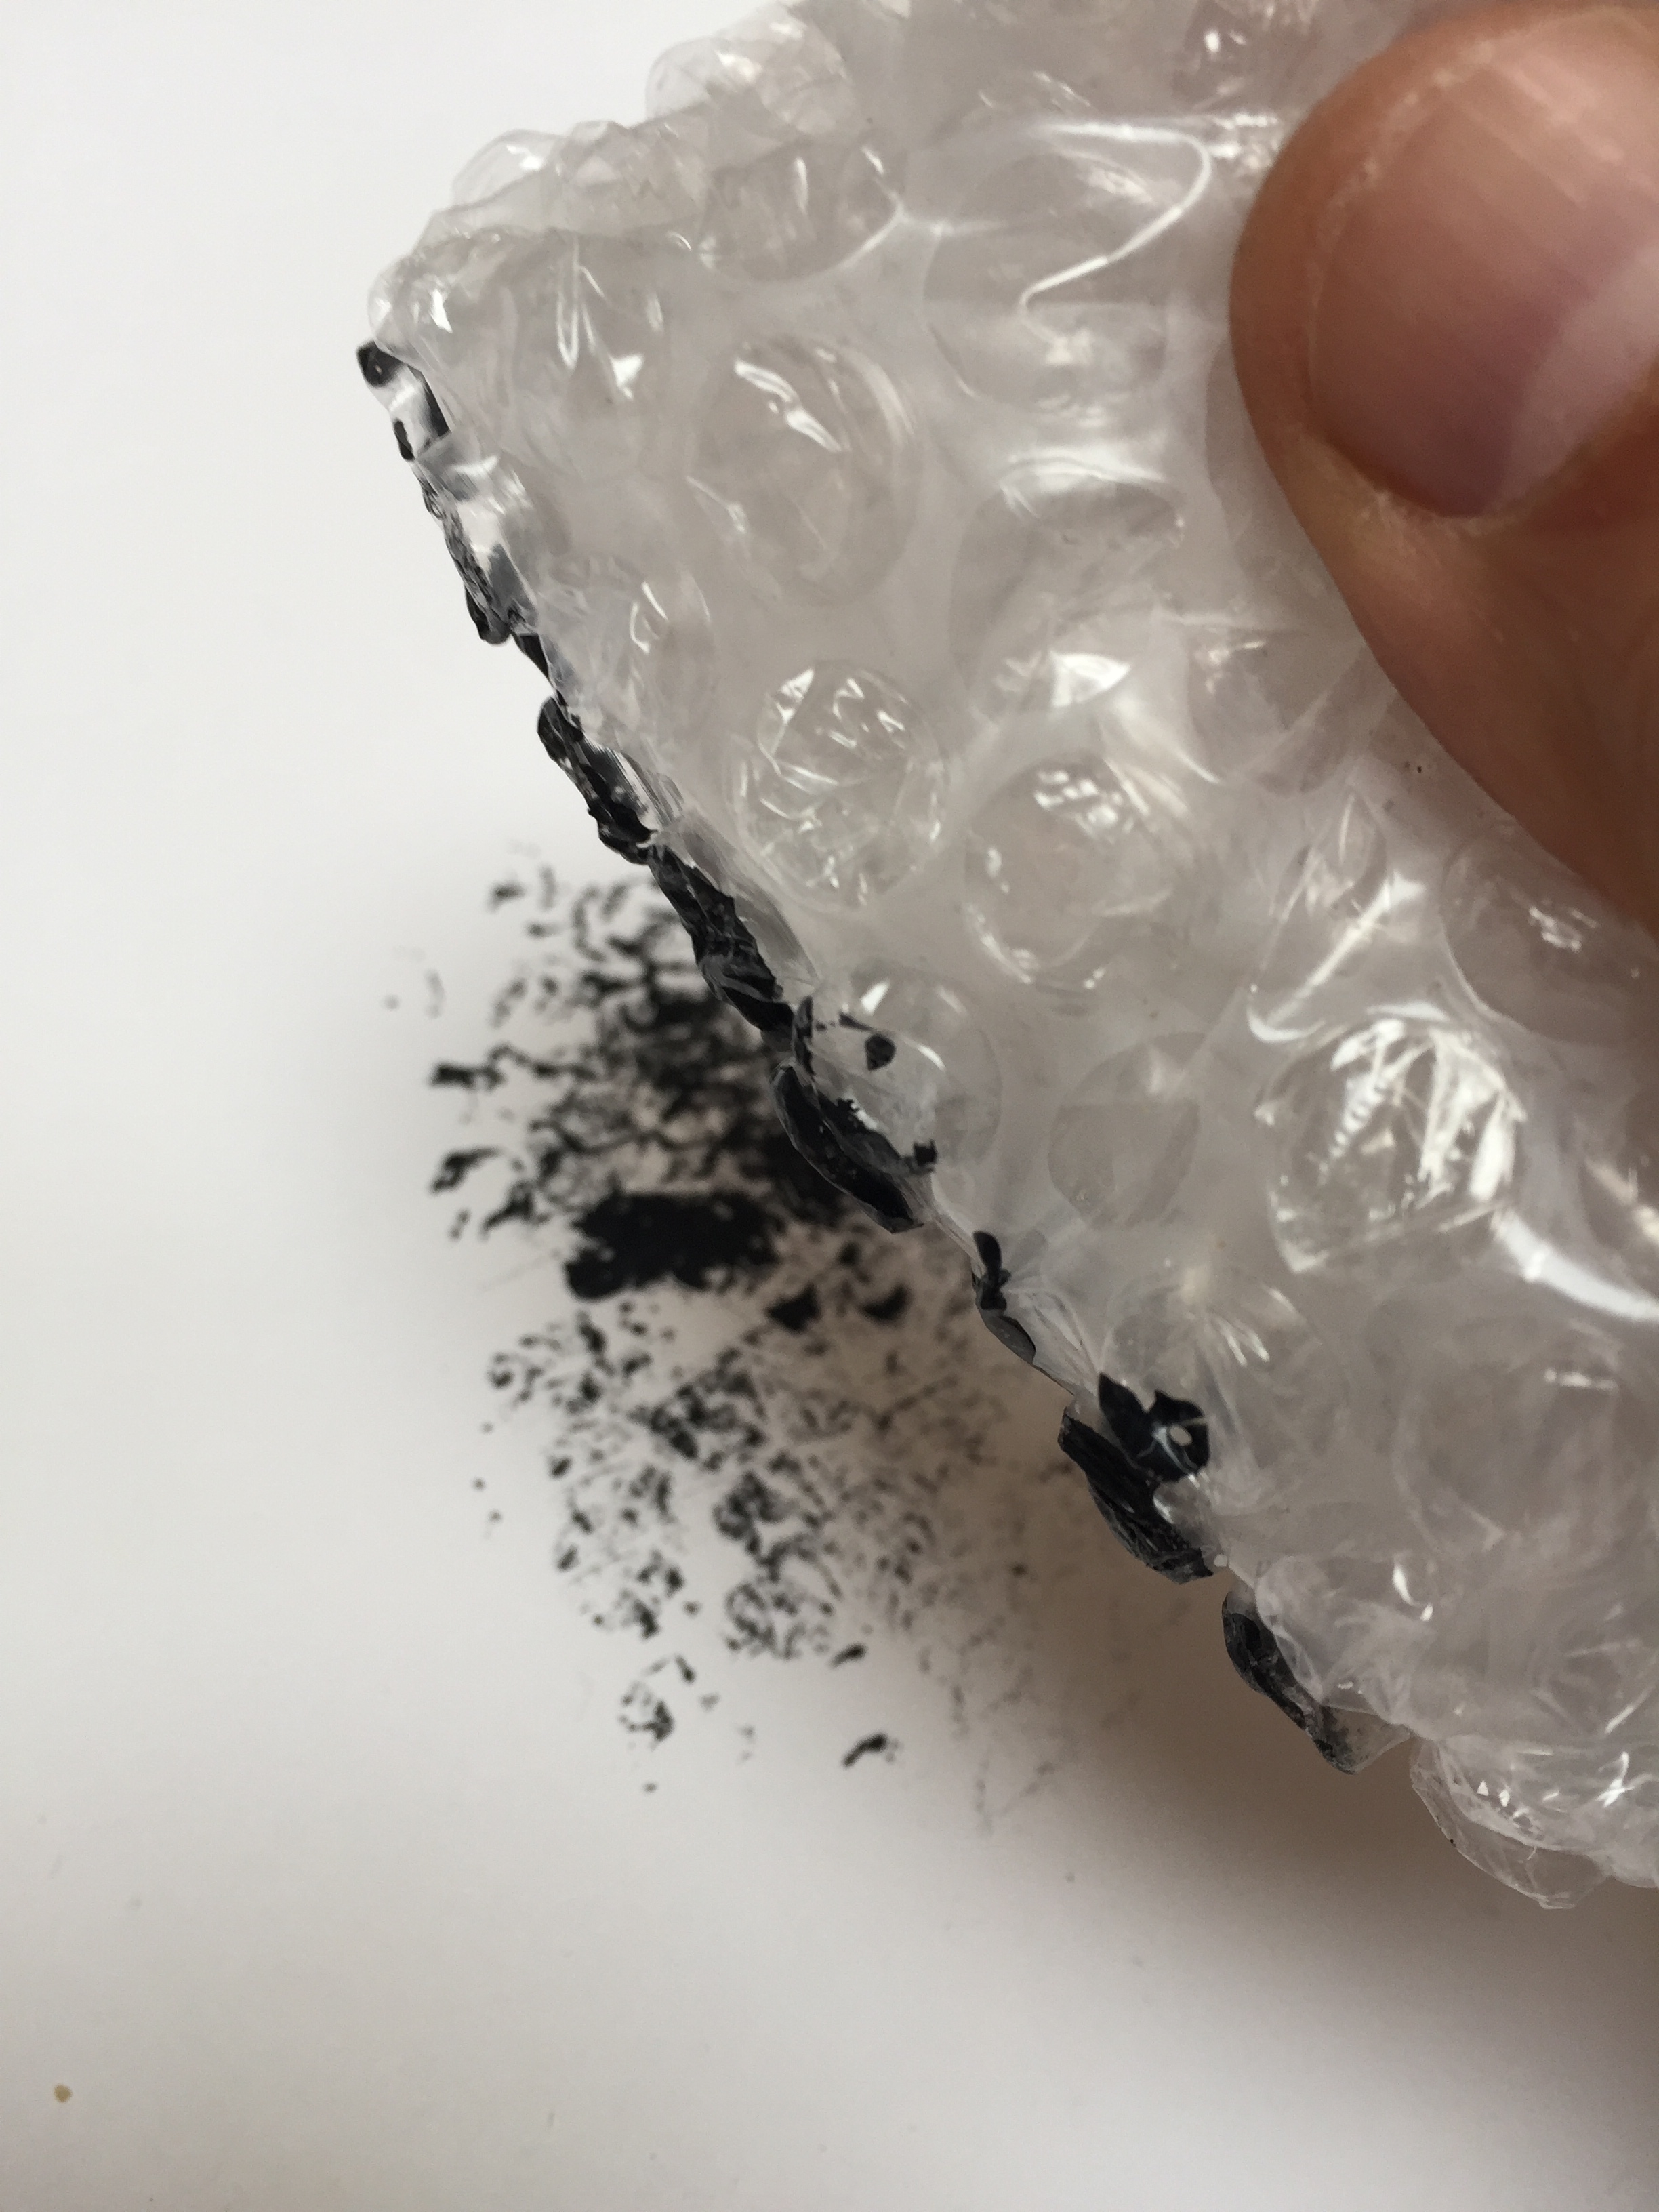
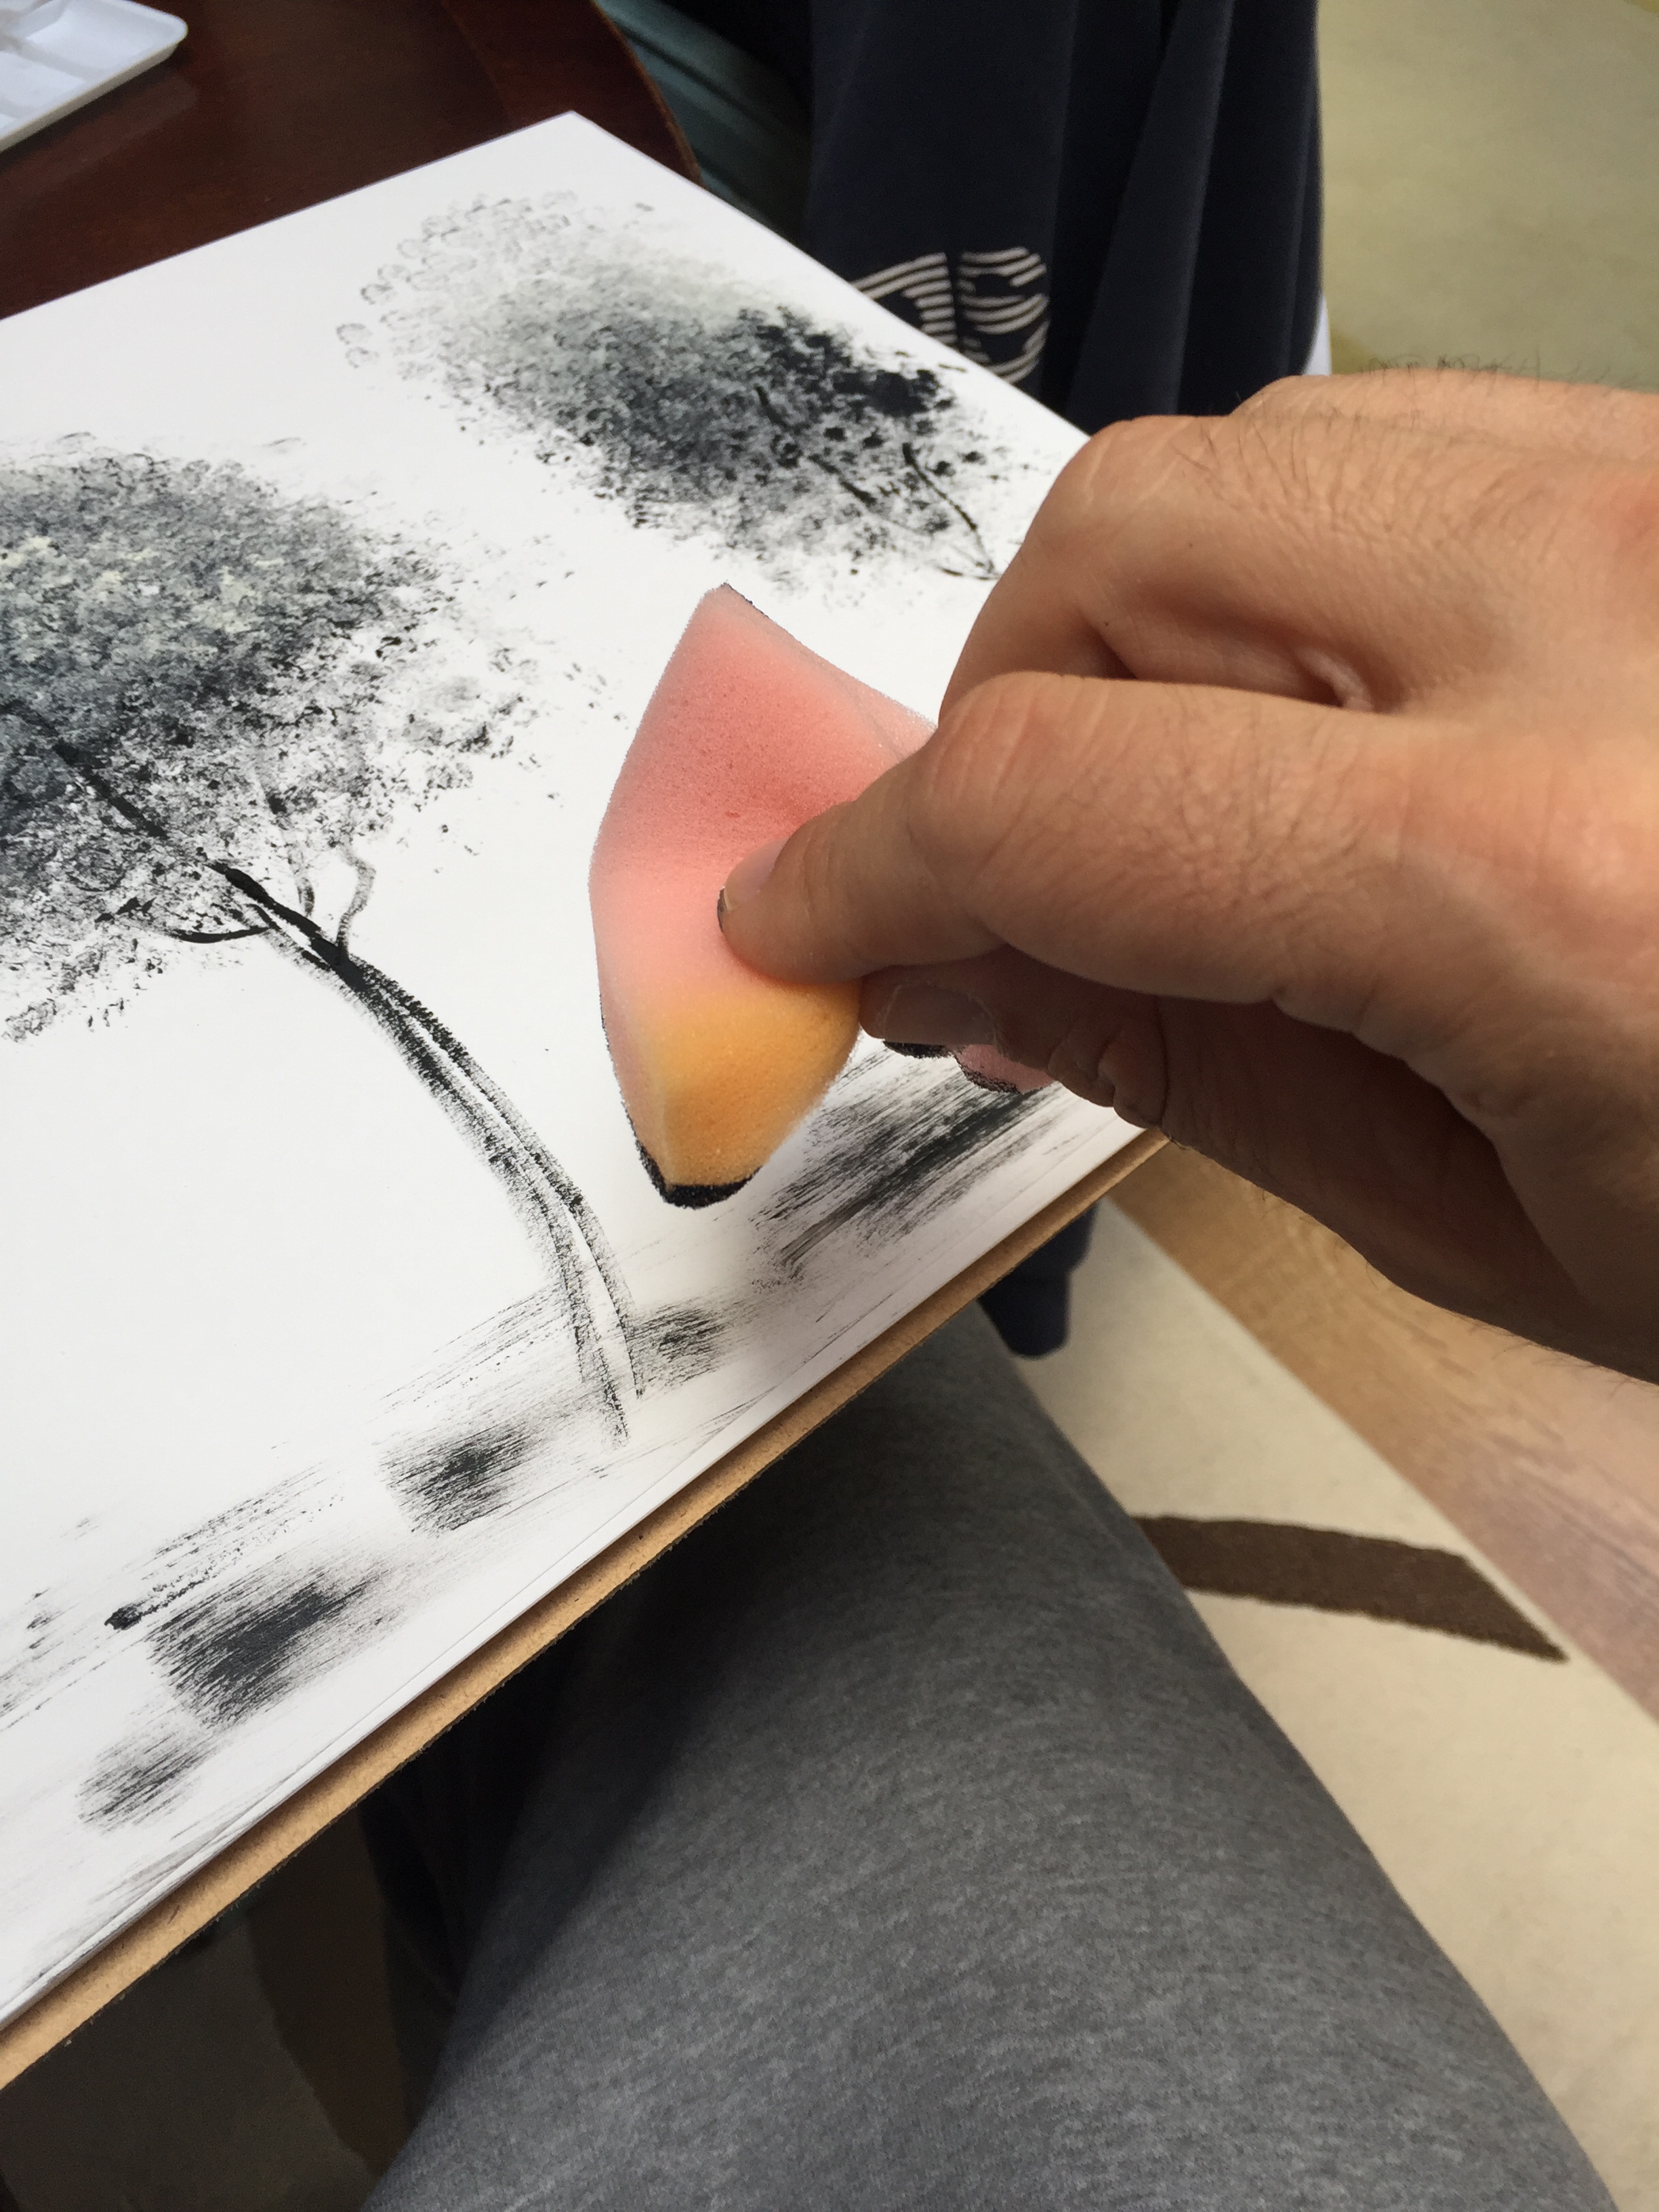
I’ve cut the edge a toilet roll carton in order to create sort of ”fringes”dunk it into a color pool…use the lid of a bottle as well.My first dandelion is formed!!! finished painting.Next project involves bubble wrap.creates a nice print sponge to create a swiped effect In this painting I’ve mixed water with acrylic colorA single tree; A sum of the techniques I’ve used on the previous paintings.
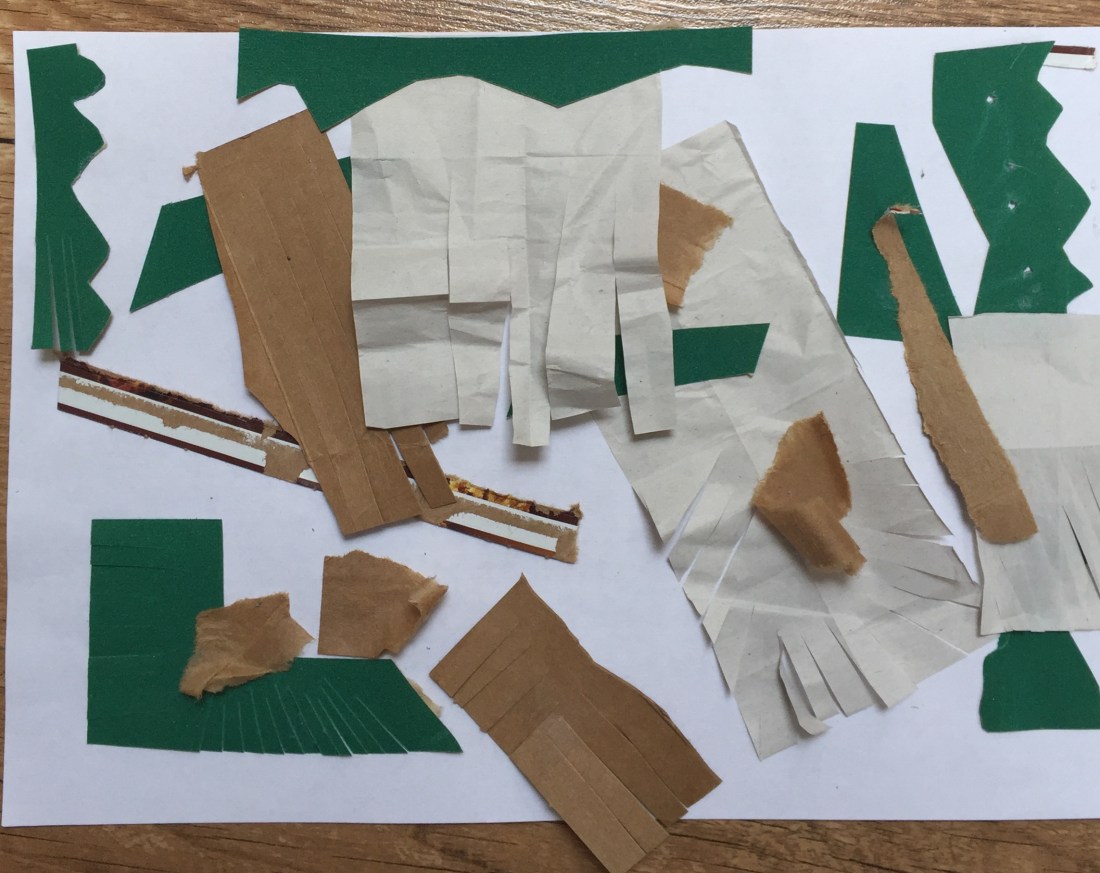
Exercise 2.2 Paper manipulation gallery
Looking back on my previous work I found out there are certain manipulation techniques that I can use for my ”take 2” assignment.
Firstly , I’ve gathered paper in different forms as well as pins and a cone of yarn.
Yarn always inspire me!sand papera paper bagdifferent gauge nails a cereal box
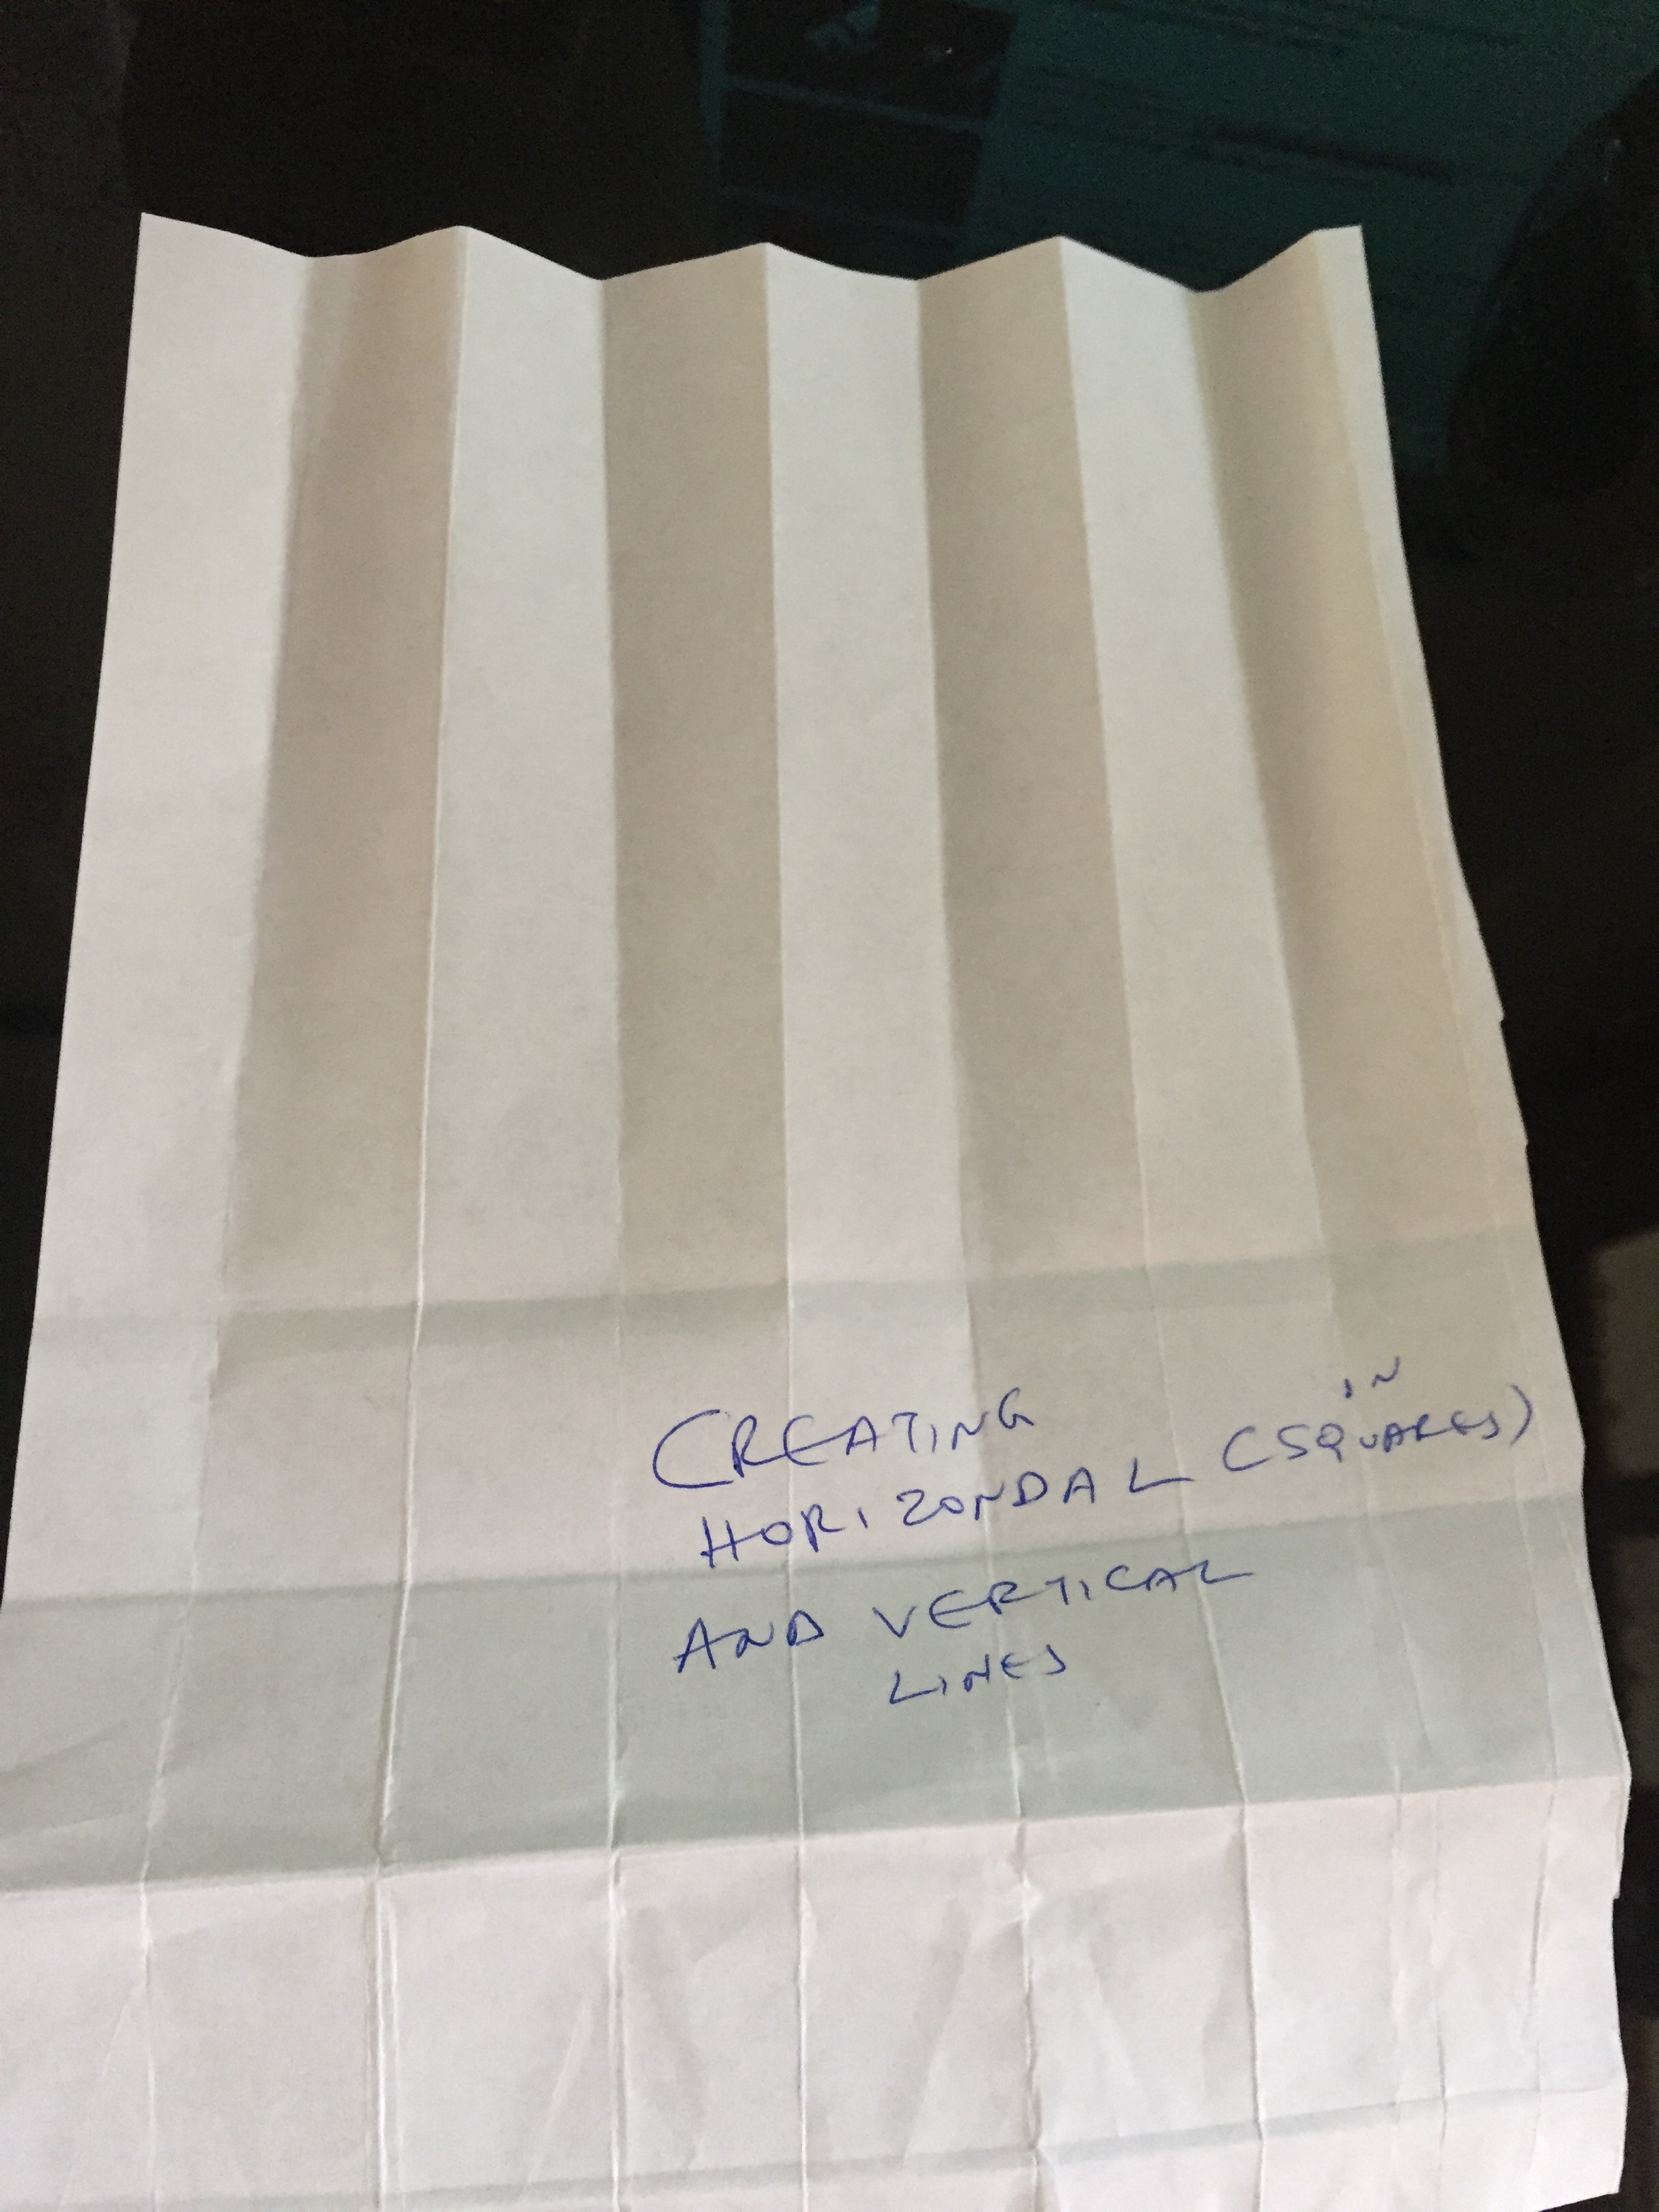
vertical lines and scallops in the edge
squares on a A4 paper halfed
diamonds and waves weaving using tissue paper weaving using A4 paper crumbling using A4 papercrumpling using a soft tissueCurly fringing :I’ve tried to create a sort of cable using the fringing of the paper but it didn’t work out because of the nature of the paper(too stiff)Using a hole puncher, I’ve created a pattern by folding the paperwrapping paper being cut in an asymmetrical patternHole pattern created after folding a wrapping papercereal box paper rolled ,crumpled and hole punched using a pinI’ve used nails of different gauge to create holes in a rectangle shape on either side of a sand paper: Top left , fine gauge, bottom right the coarser one. I’ve used this sanding cork block as a template under the paperwhen I’ve seen it finished with the nails and I took a picture of my paper I thought it was to blunt; I’ve decided to do a bit of mark making drawing on it.holes and a diamond design using yarn on a cereal box paperview from backpaper bag piece using the yarn-look-a-like paper handle to feed through triangle holespaper bag side folded and wrapped using a handle in a way it highlights the wavy tippingwrapping paper folded and cut in a snow flake pattern glued on a side of a paper bag to create a layering effect.different paper layering on a cereal box with pieces glued together view from the backlayering of processed pieces glued on an A4 paper.
Going through the same exercise again and using papers of different quality and texture I can say it was a pleasant surprise to me and I really enjoyed the process. Having more materials and trying to marry them was quite challenging and exciting the same time.
2.3 DRAWING WITH STITCH.
Moving forward to this assignment I’ve decided to follow a different route:
I ‘m cutting pieces from the paper manipulation assignment and then I will stitch them up.
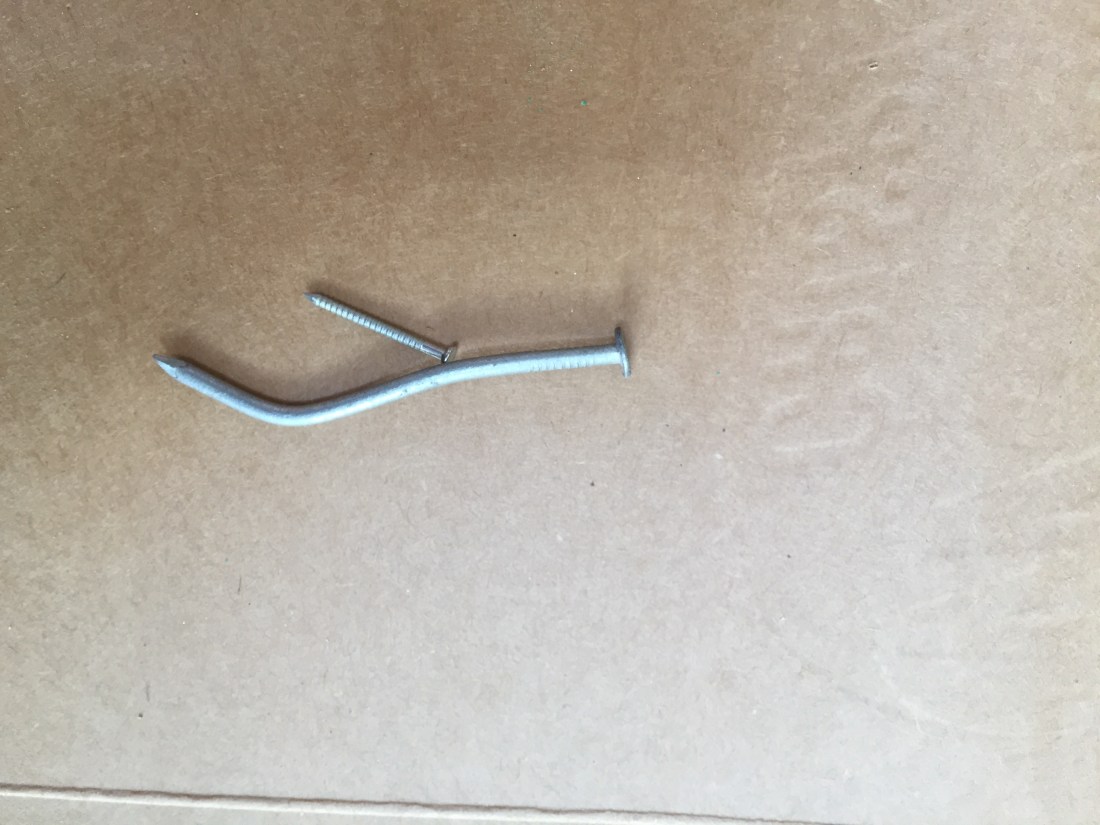
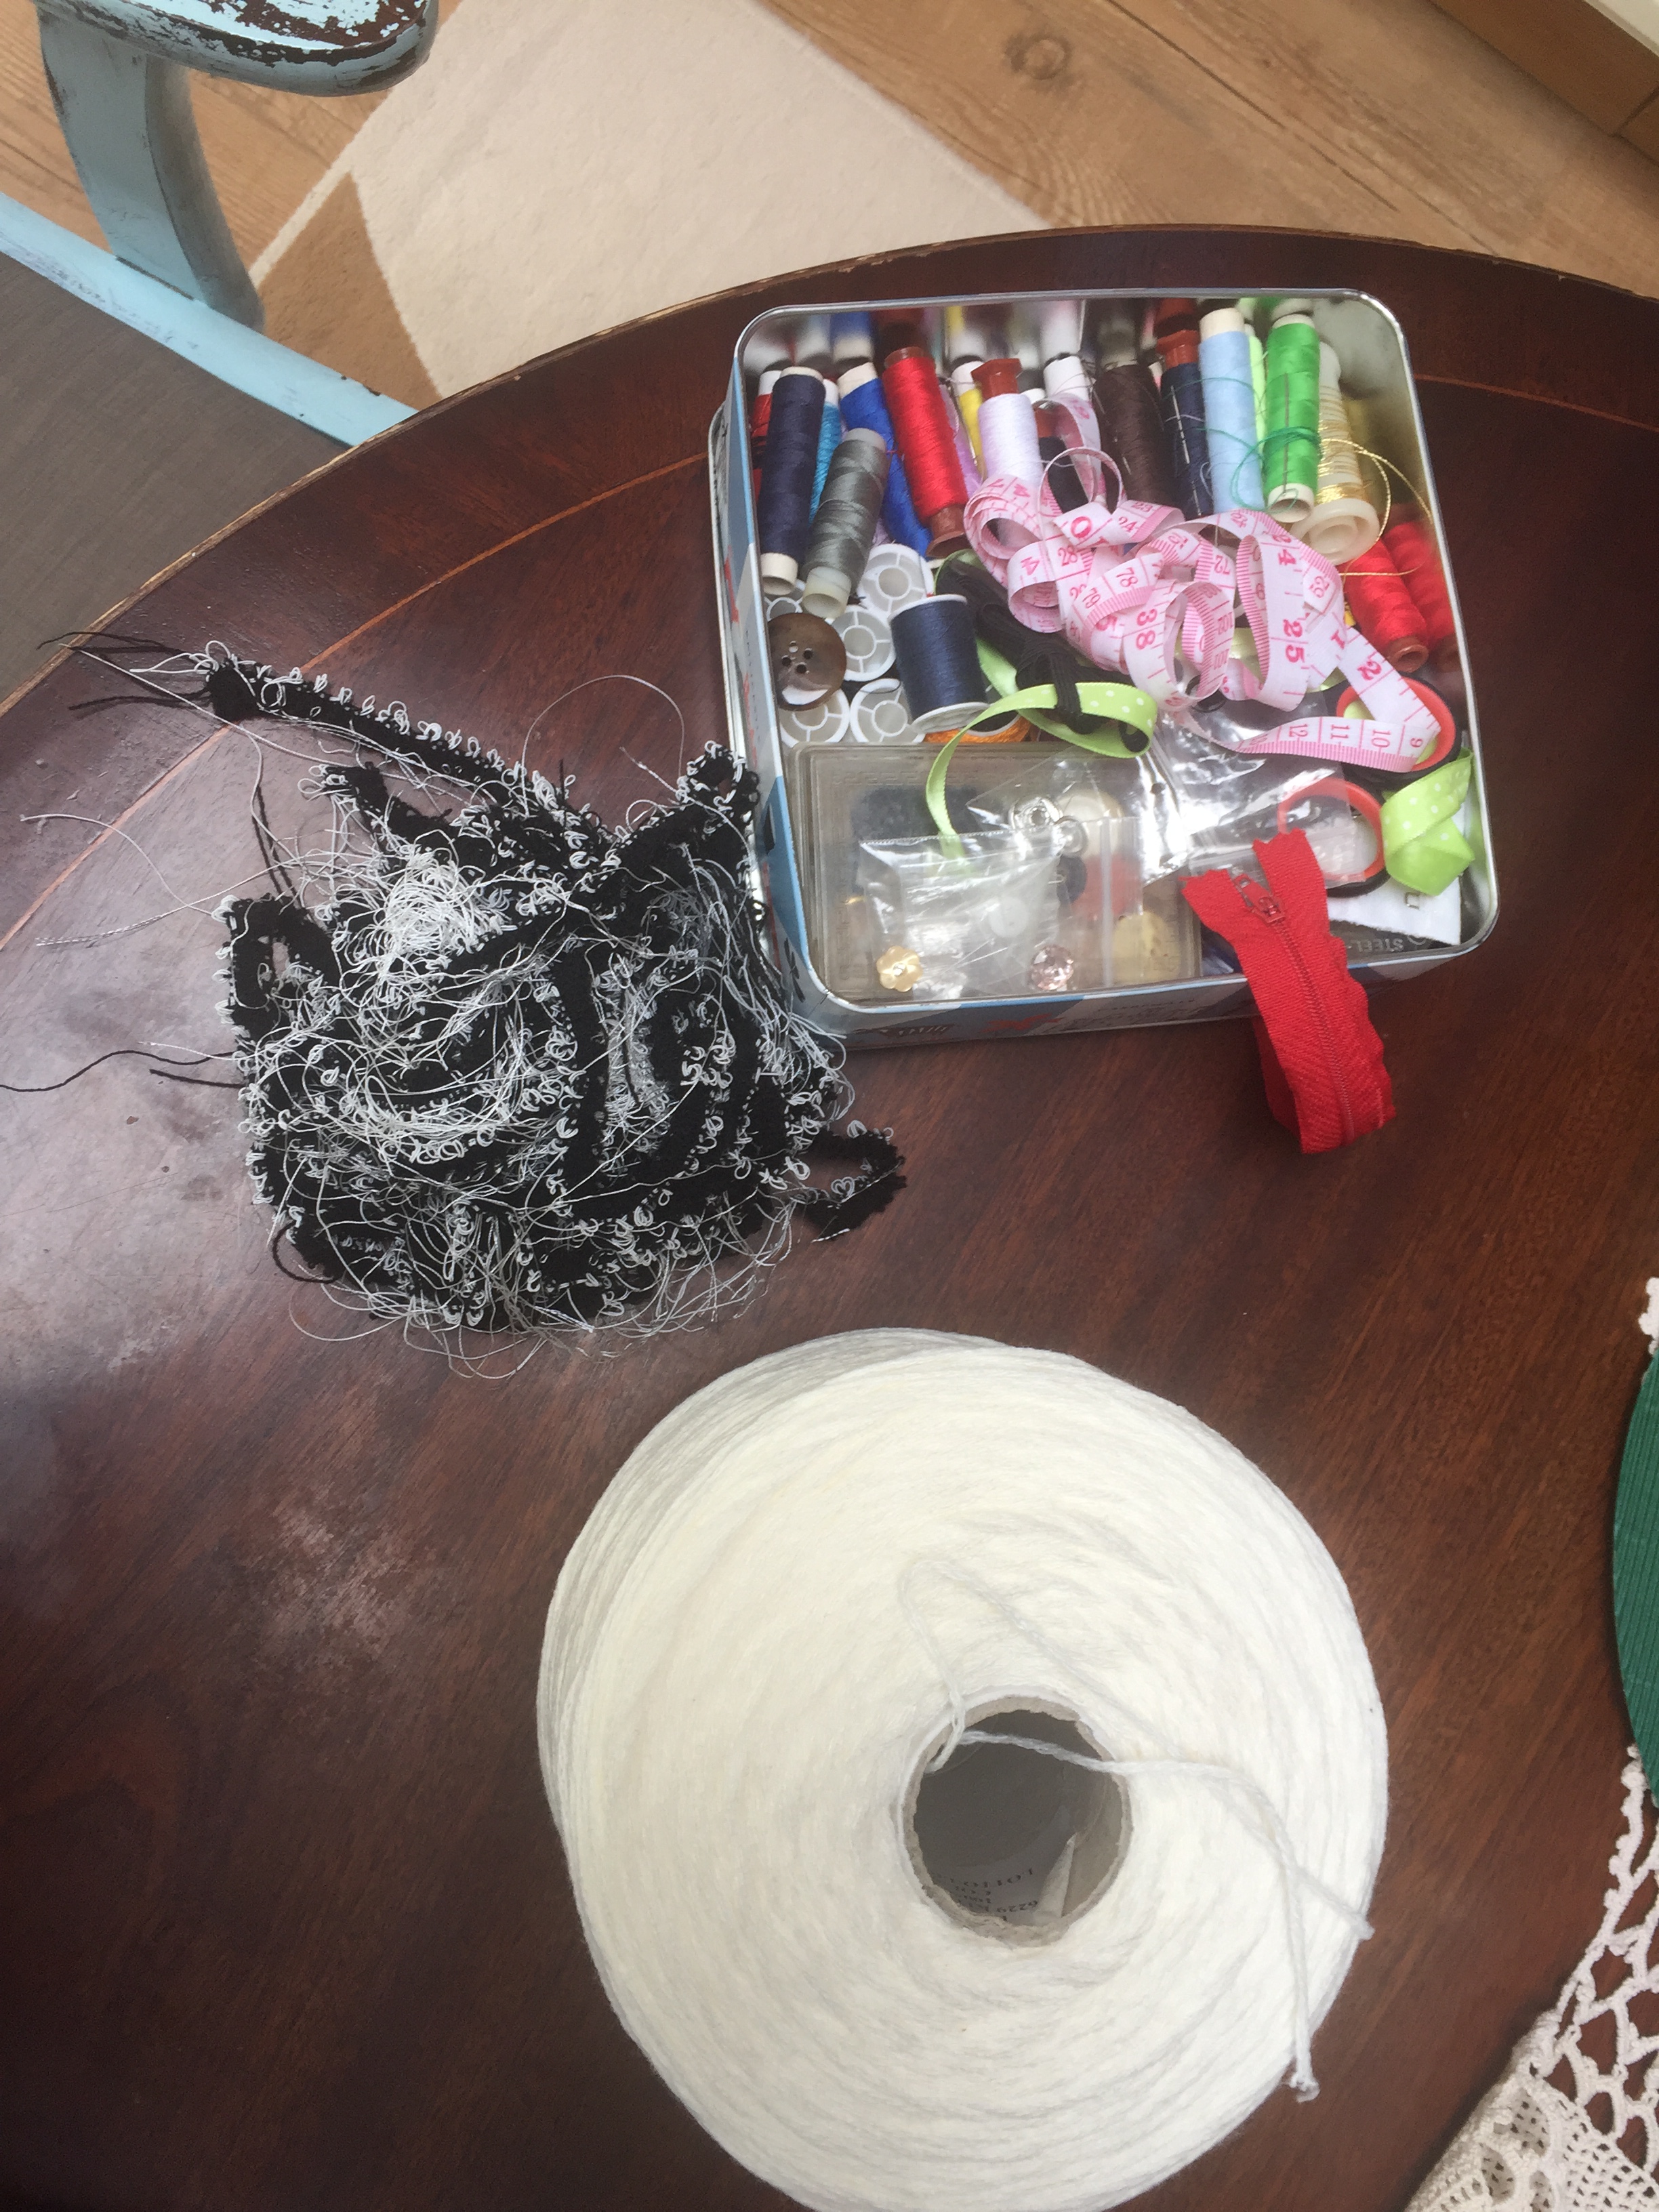
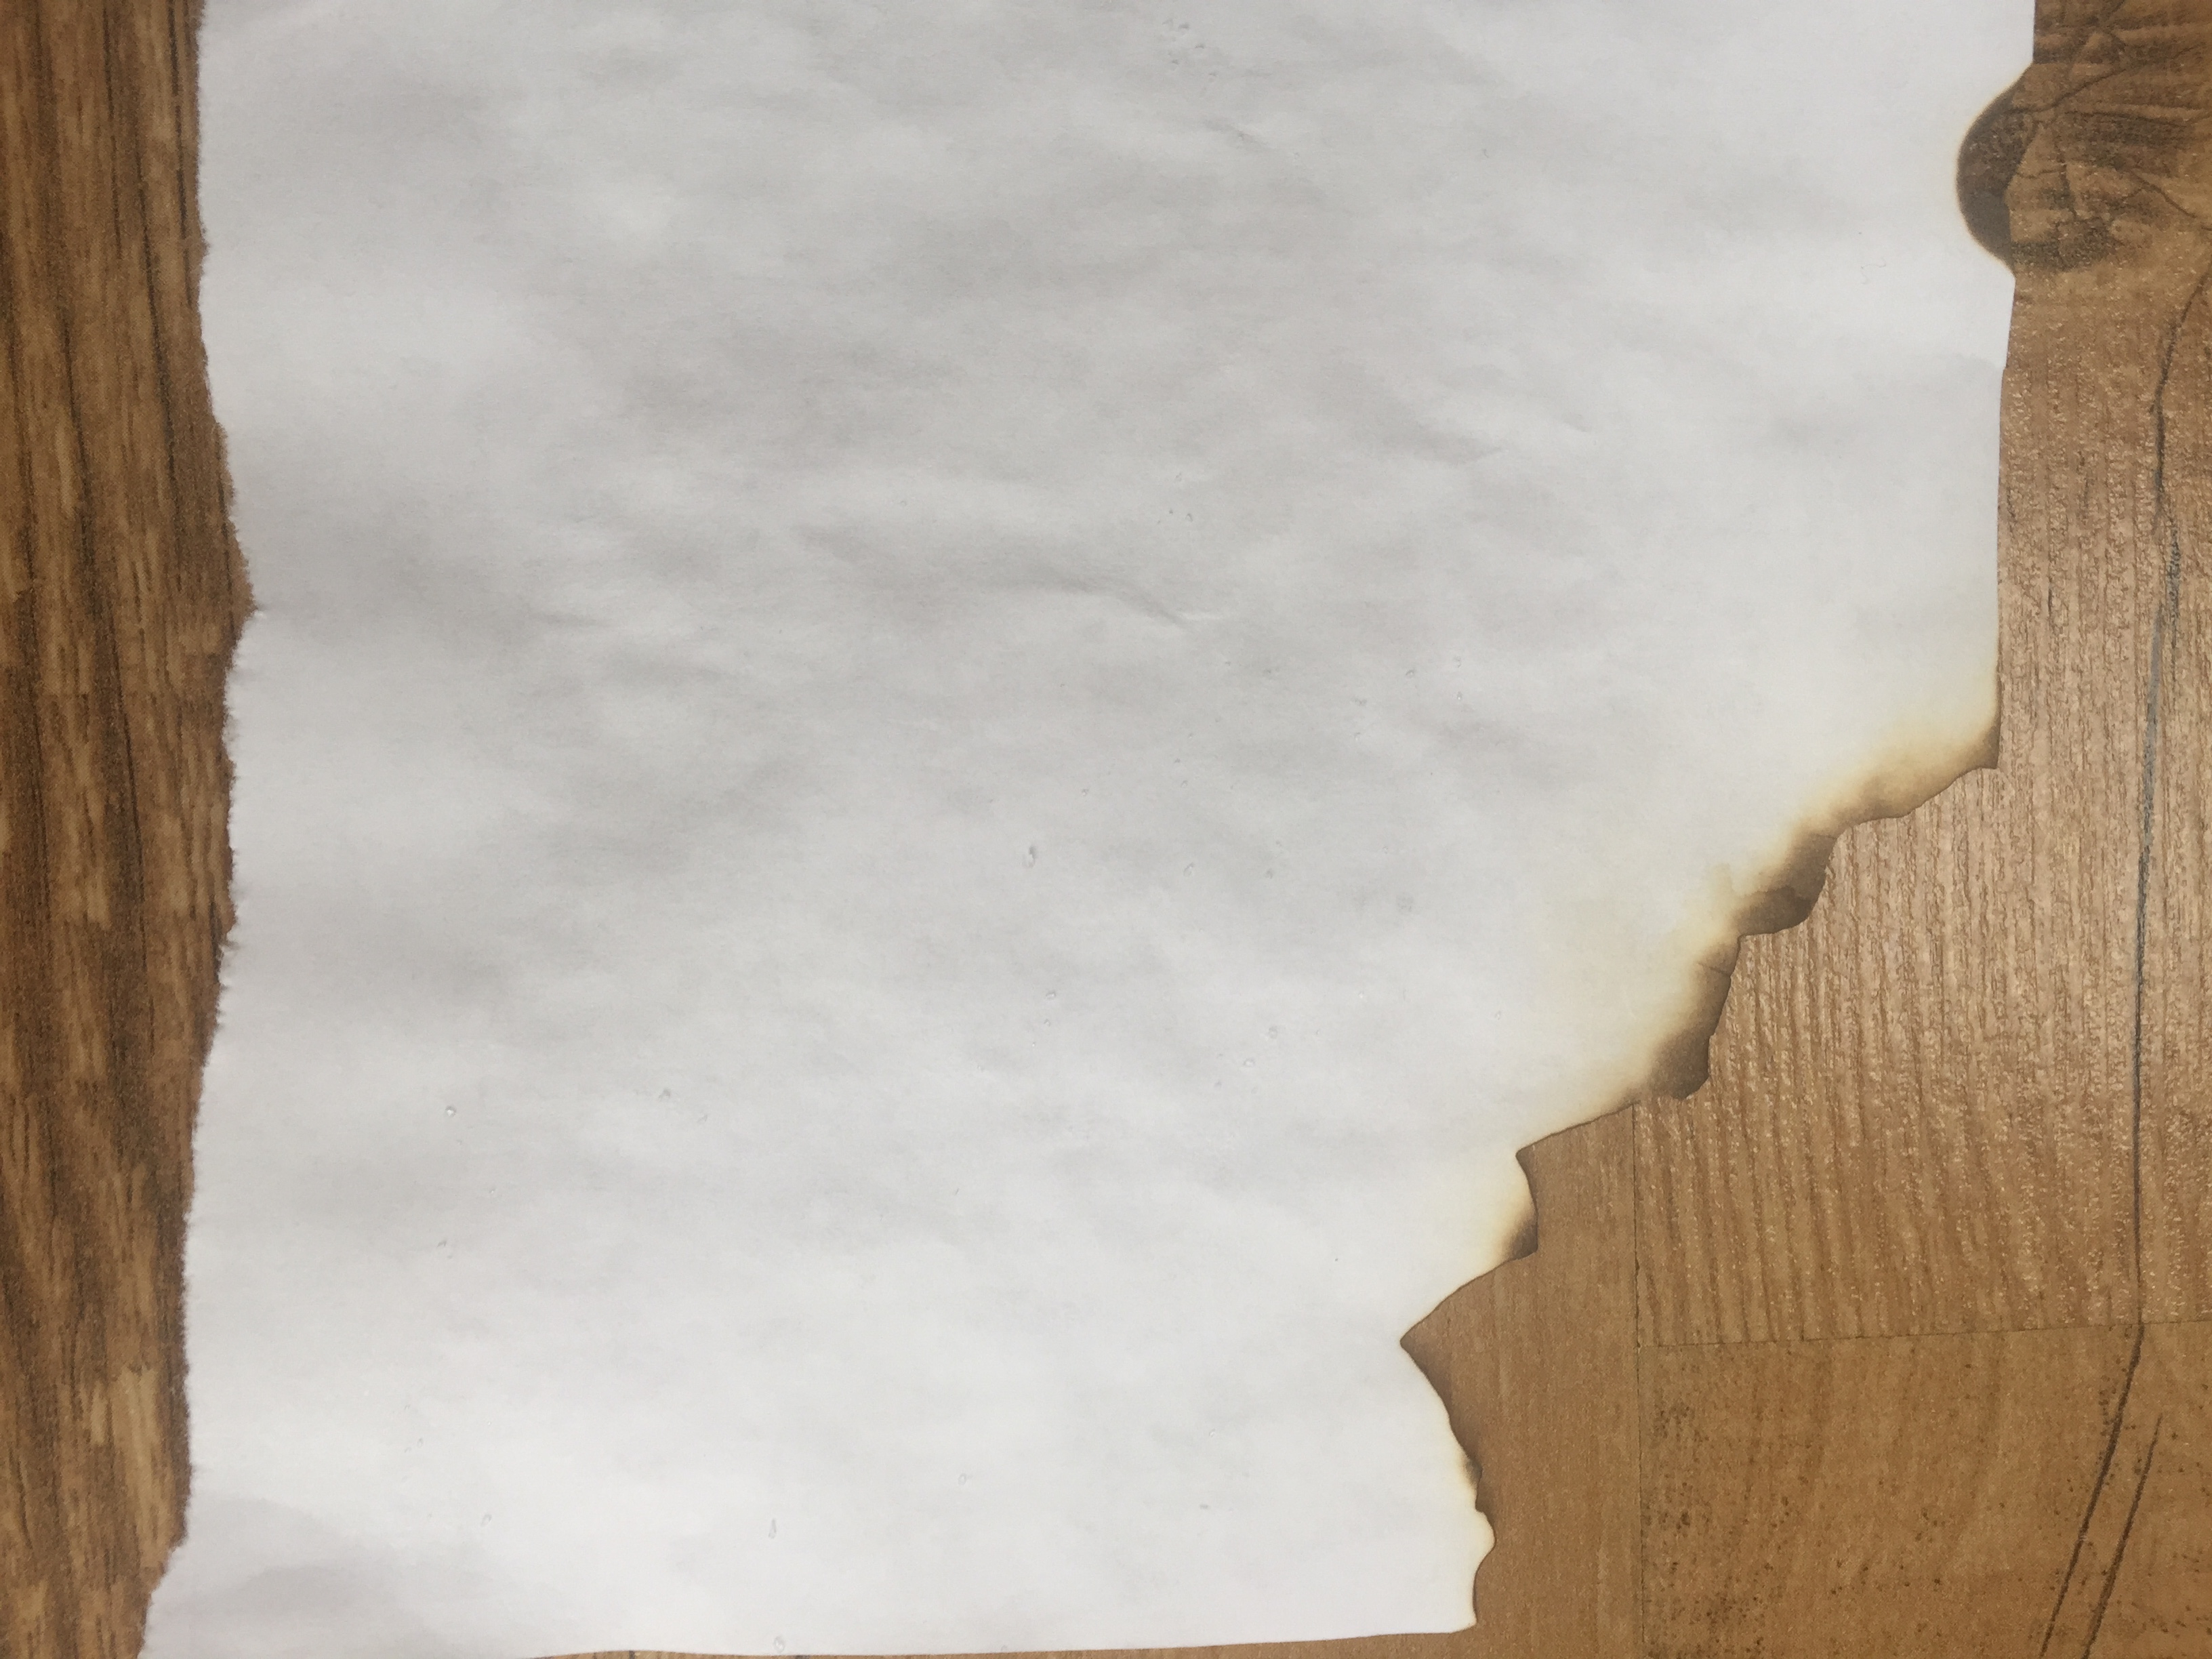
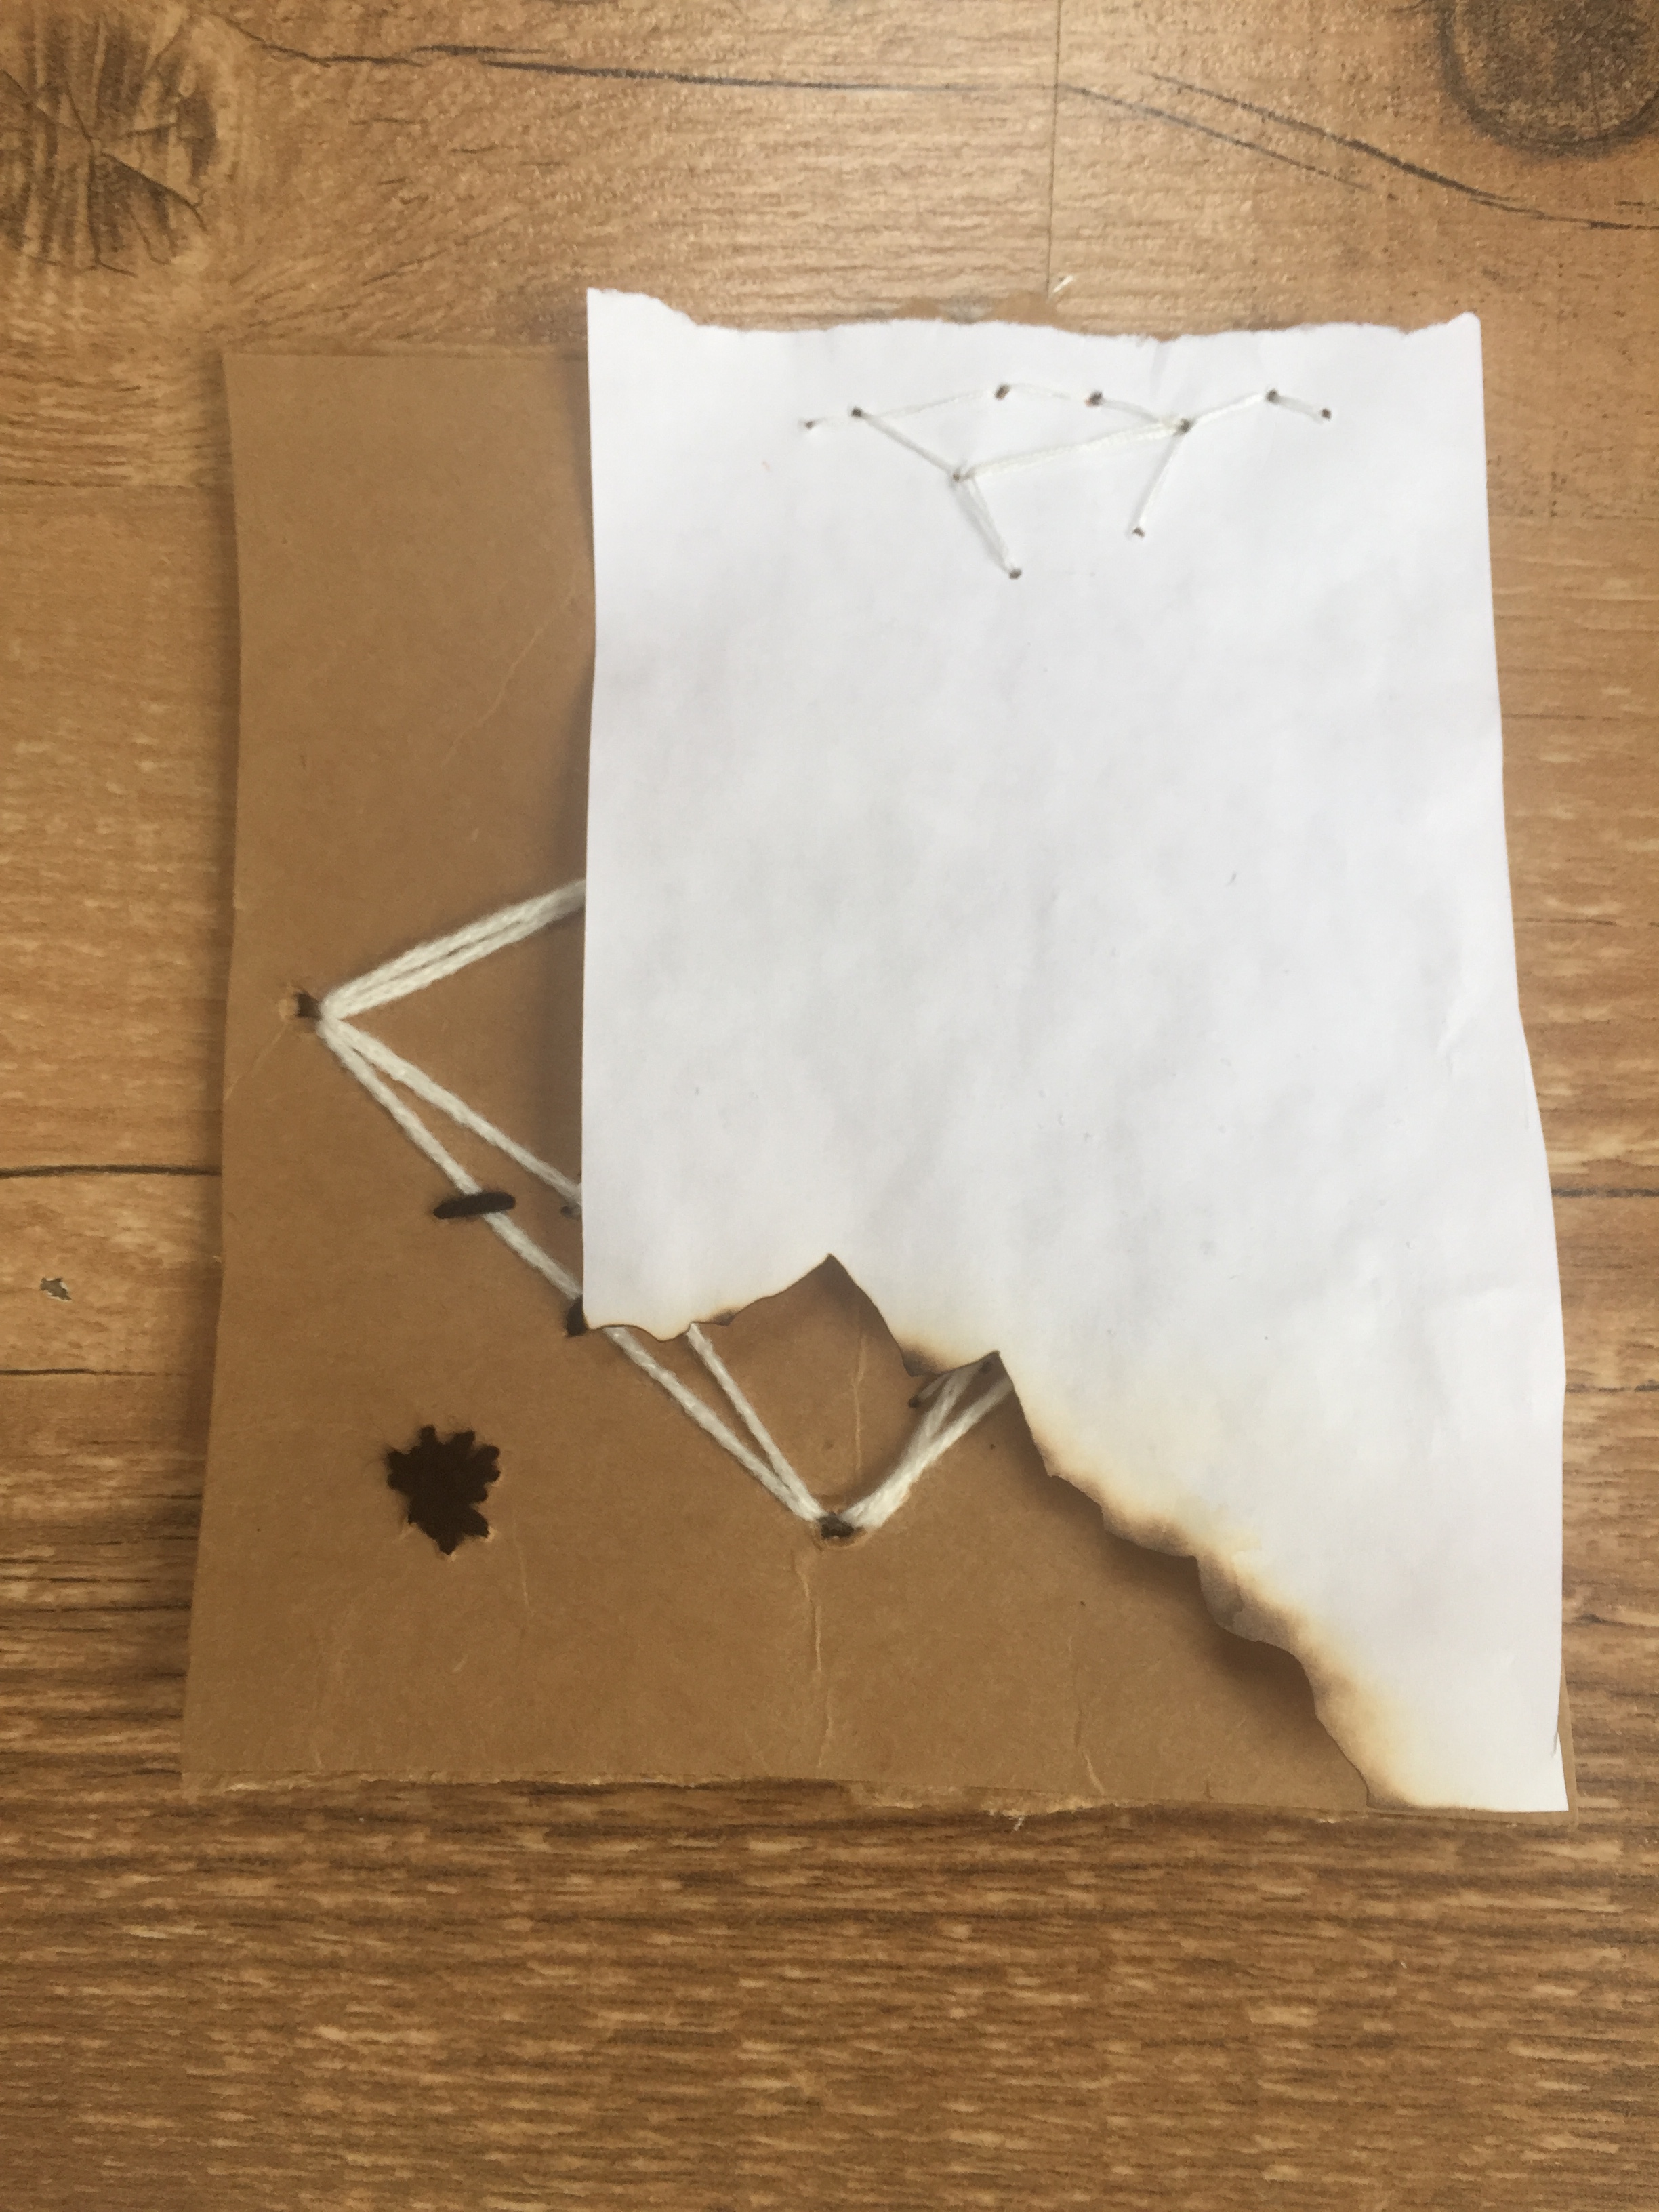
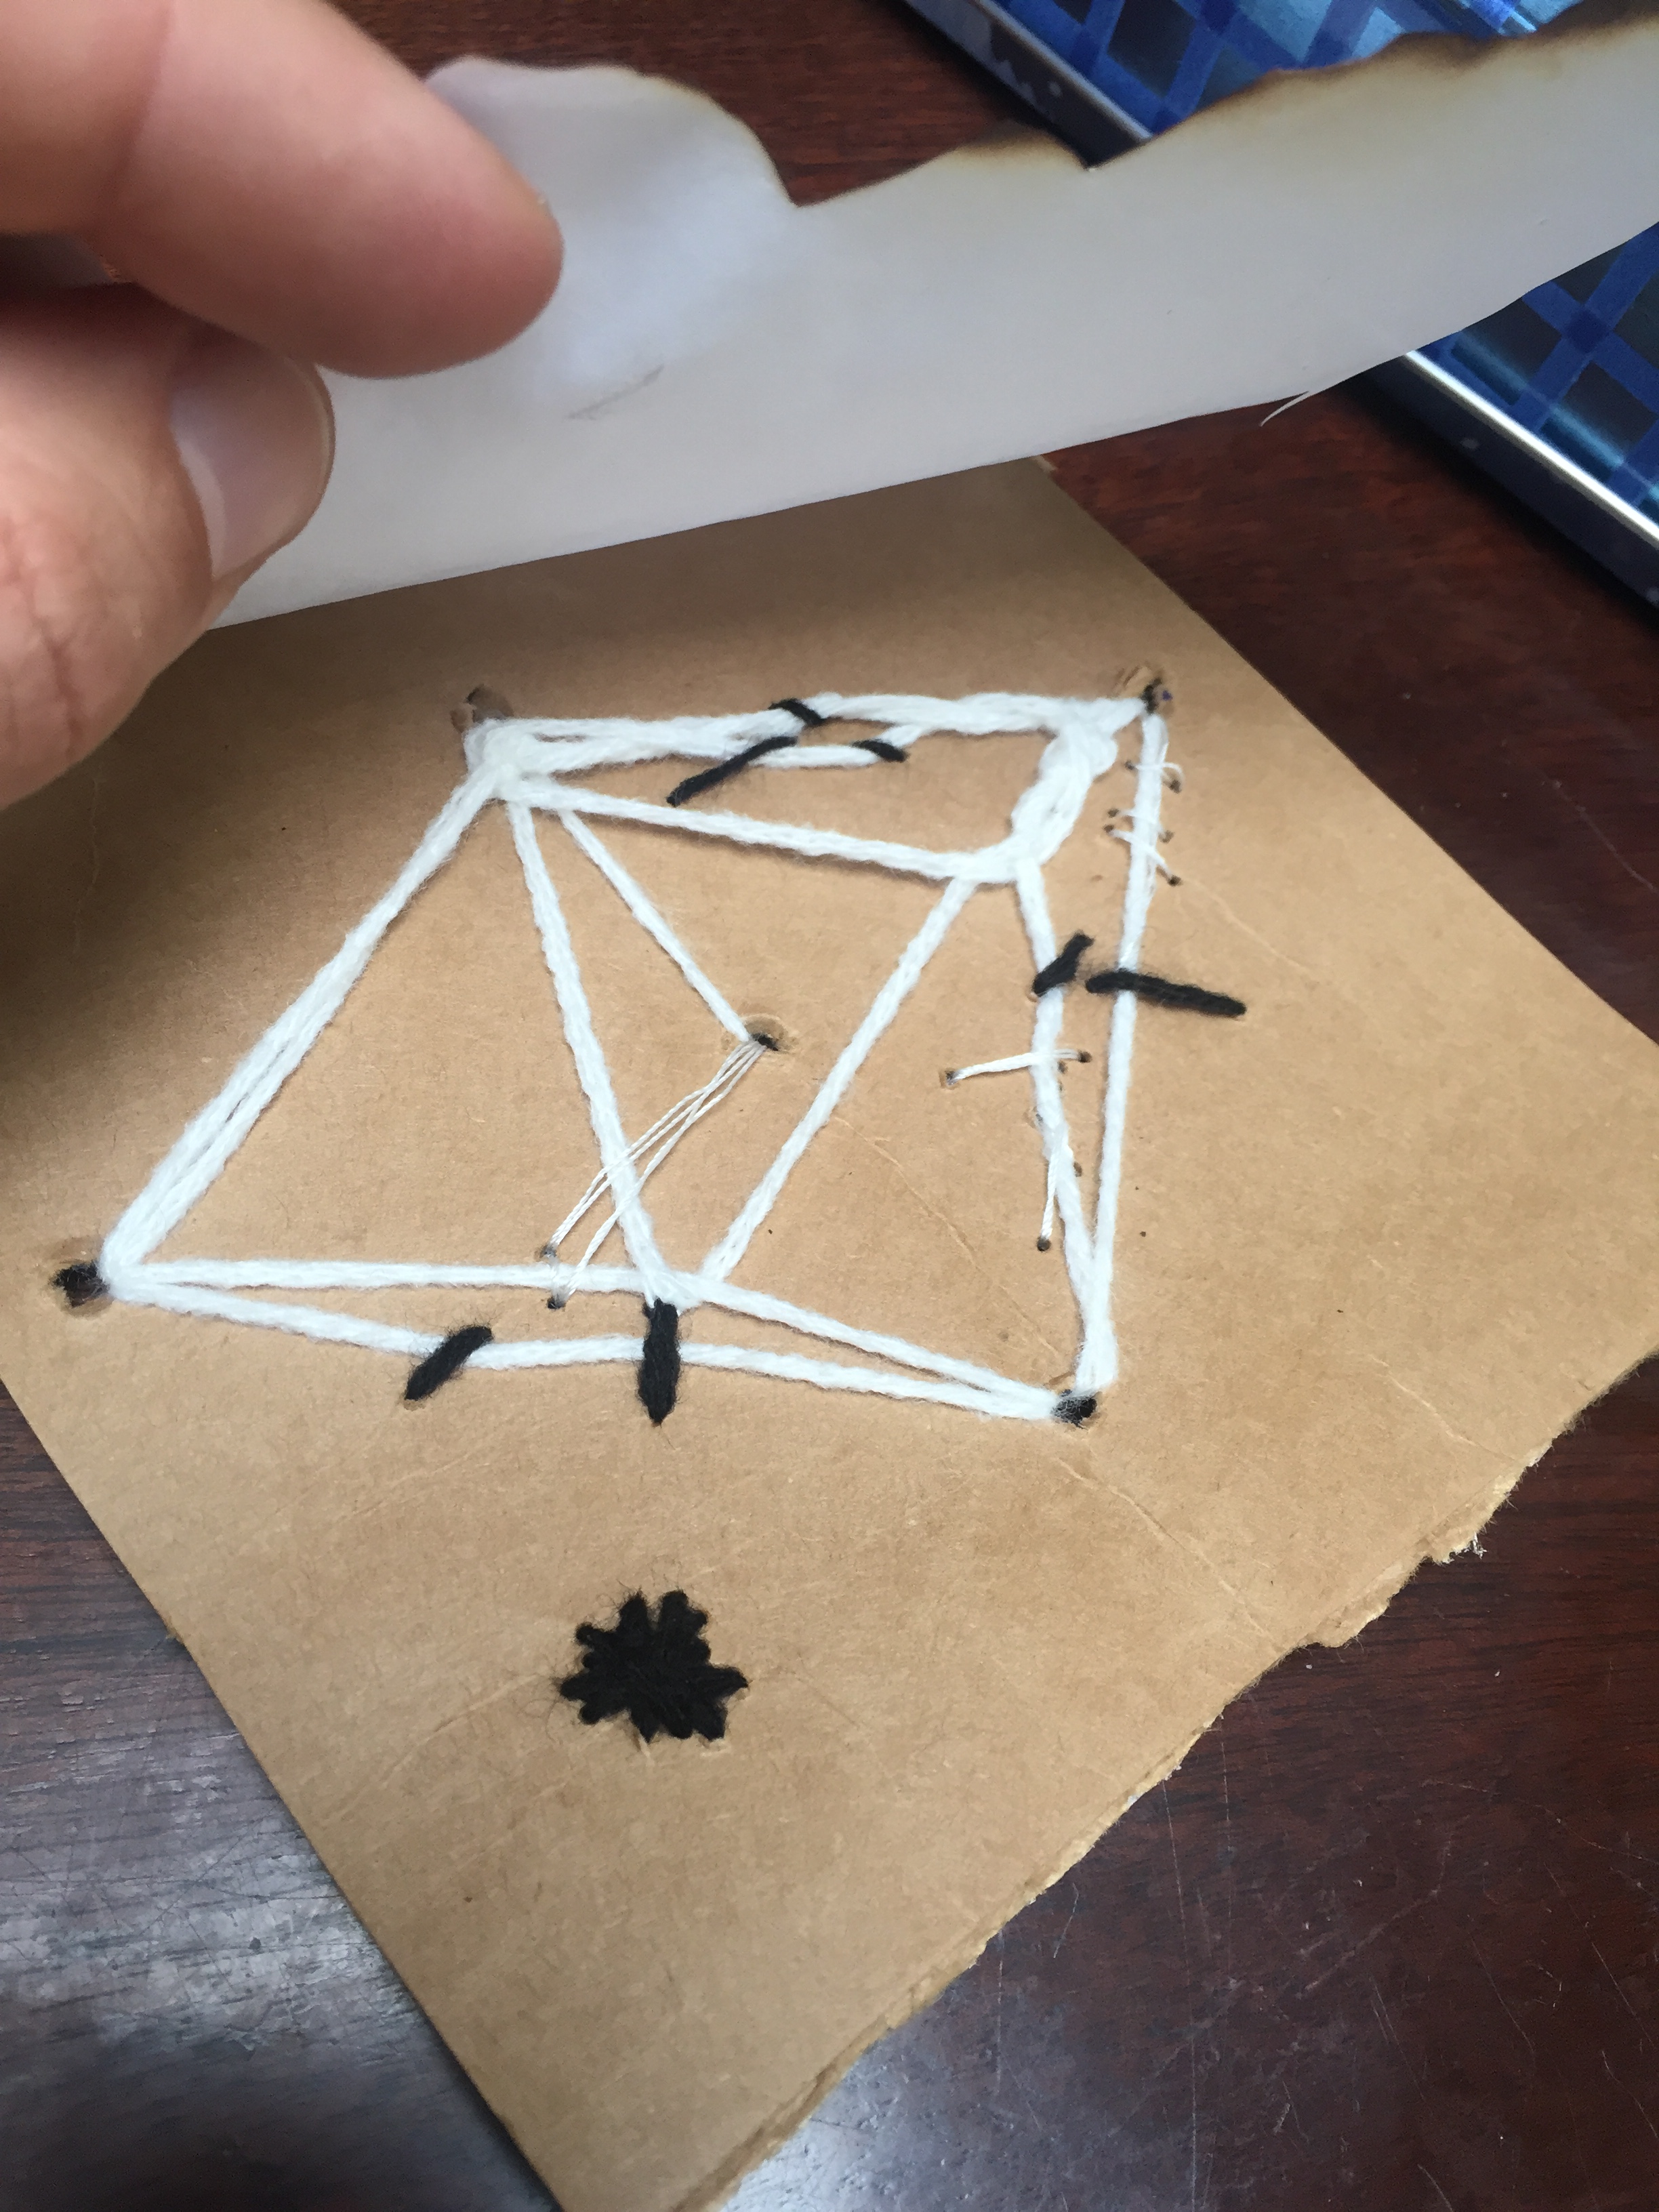
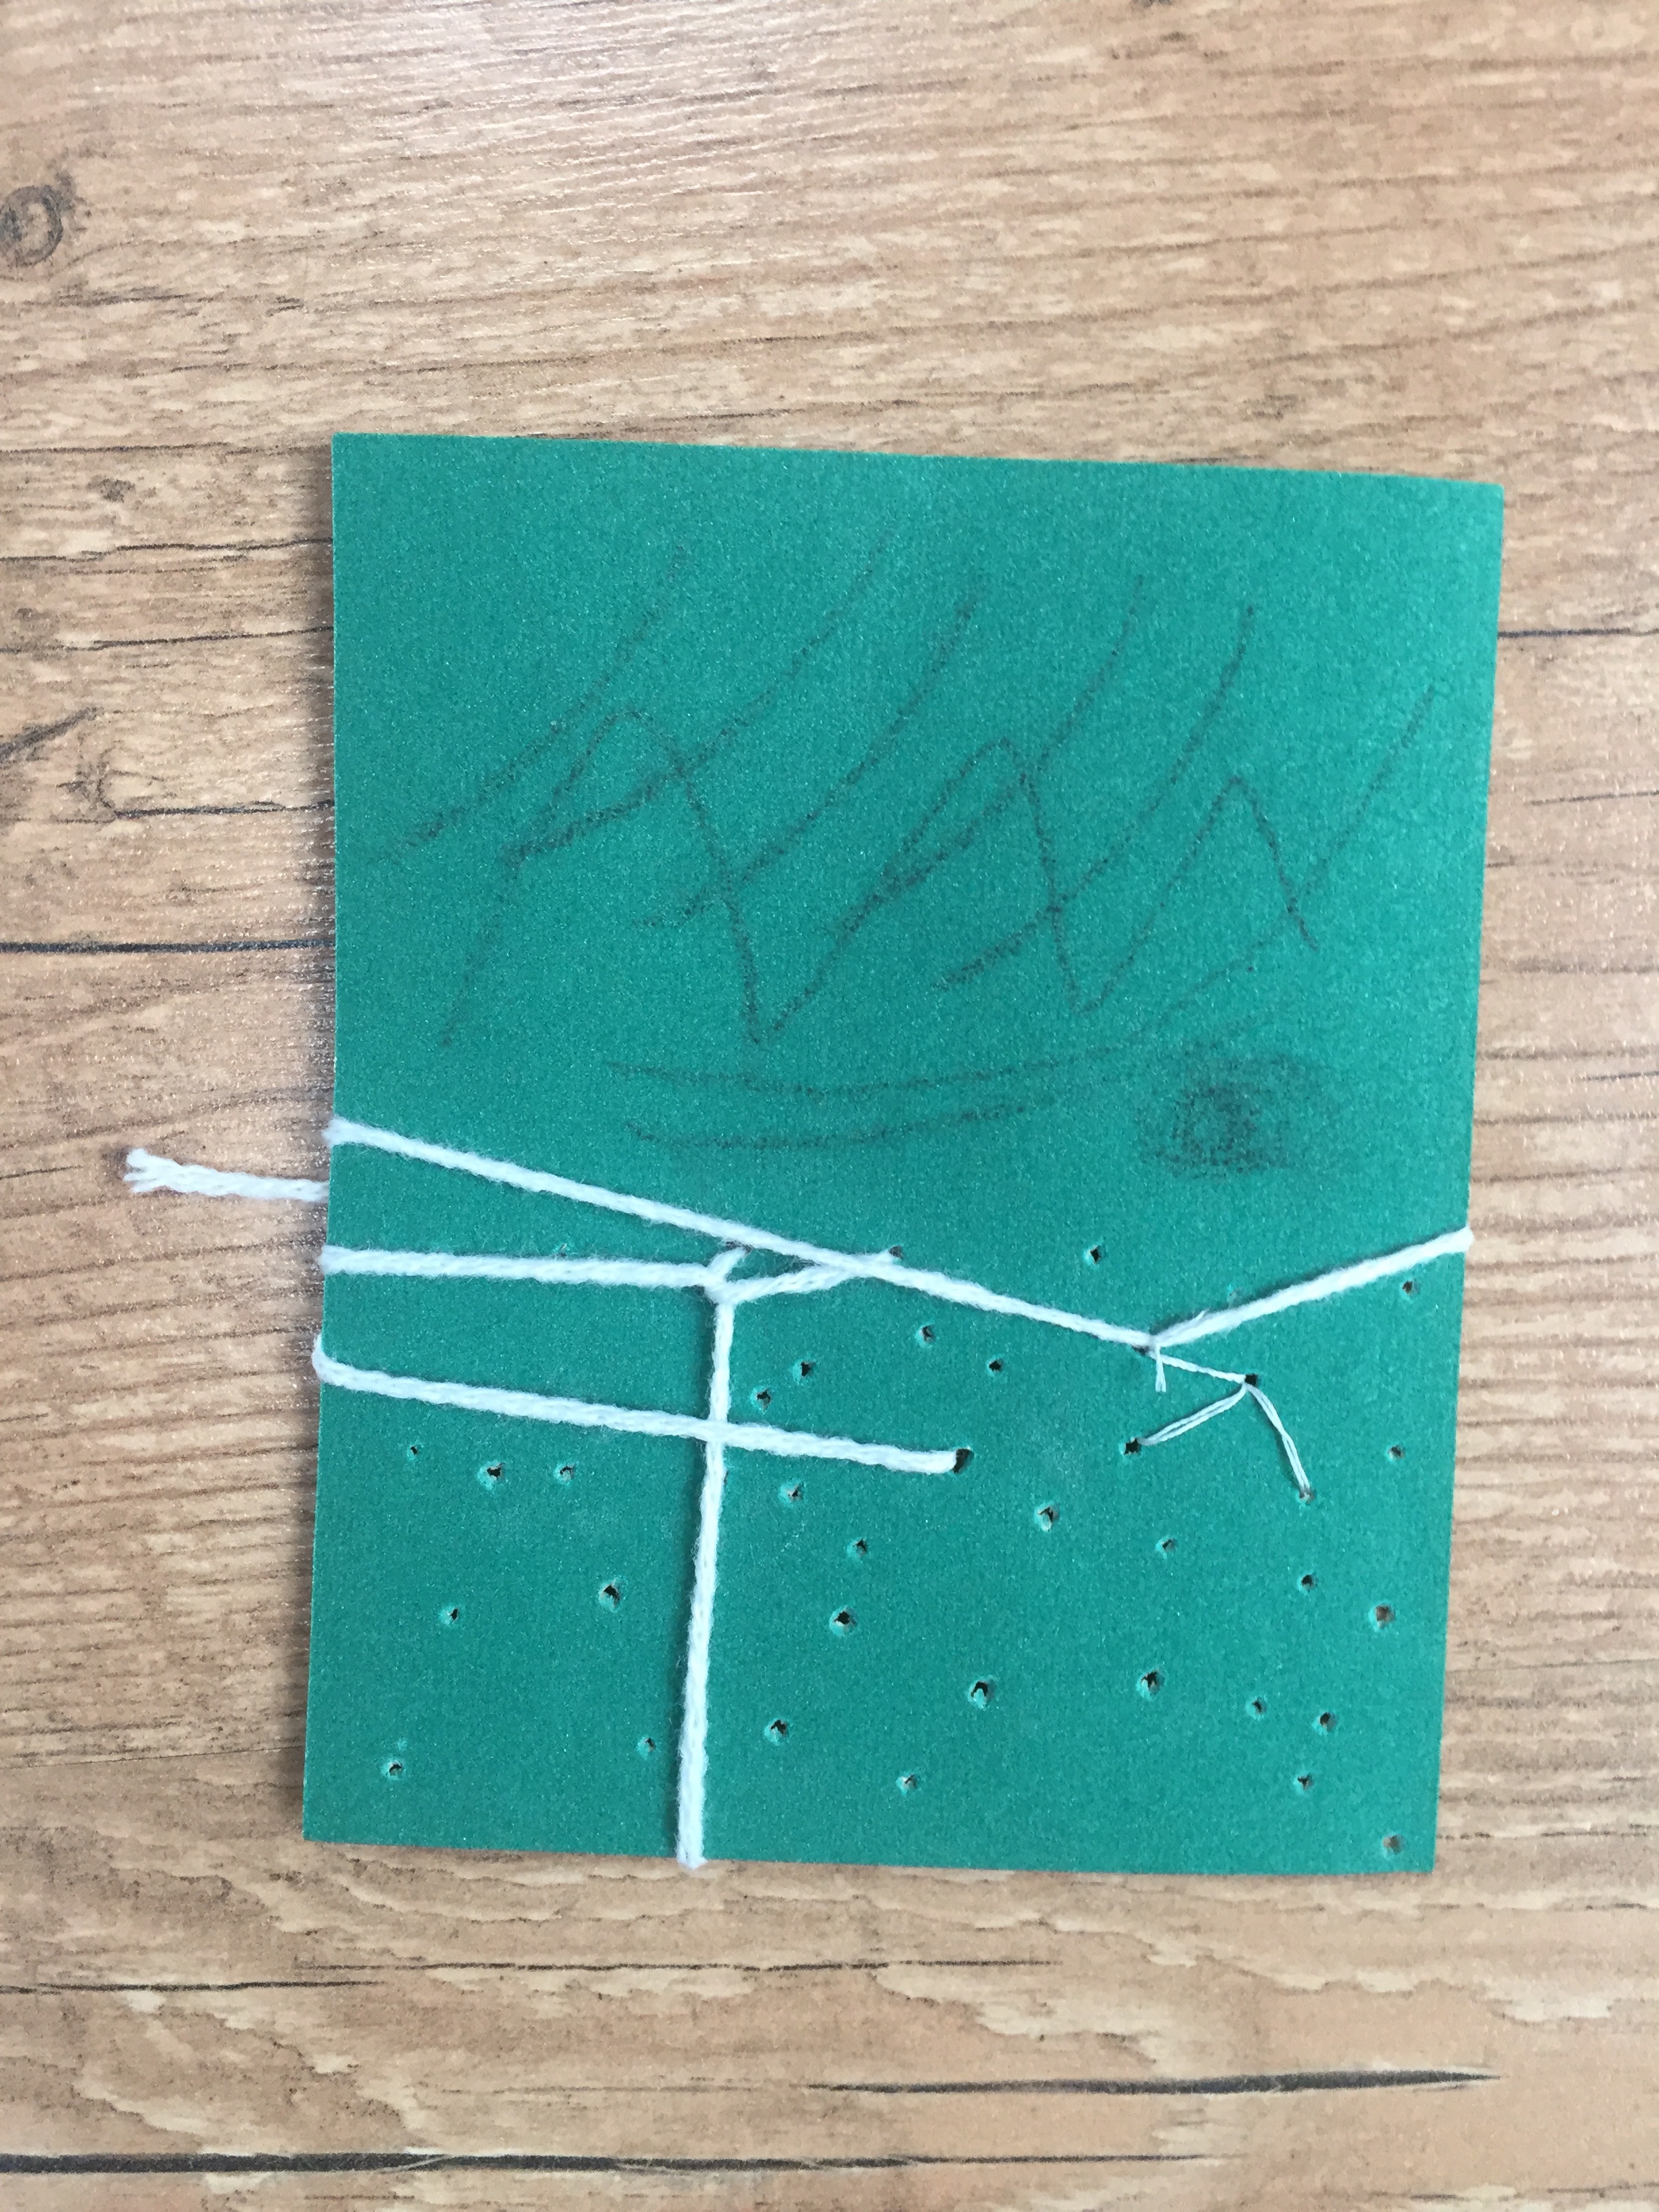
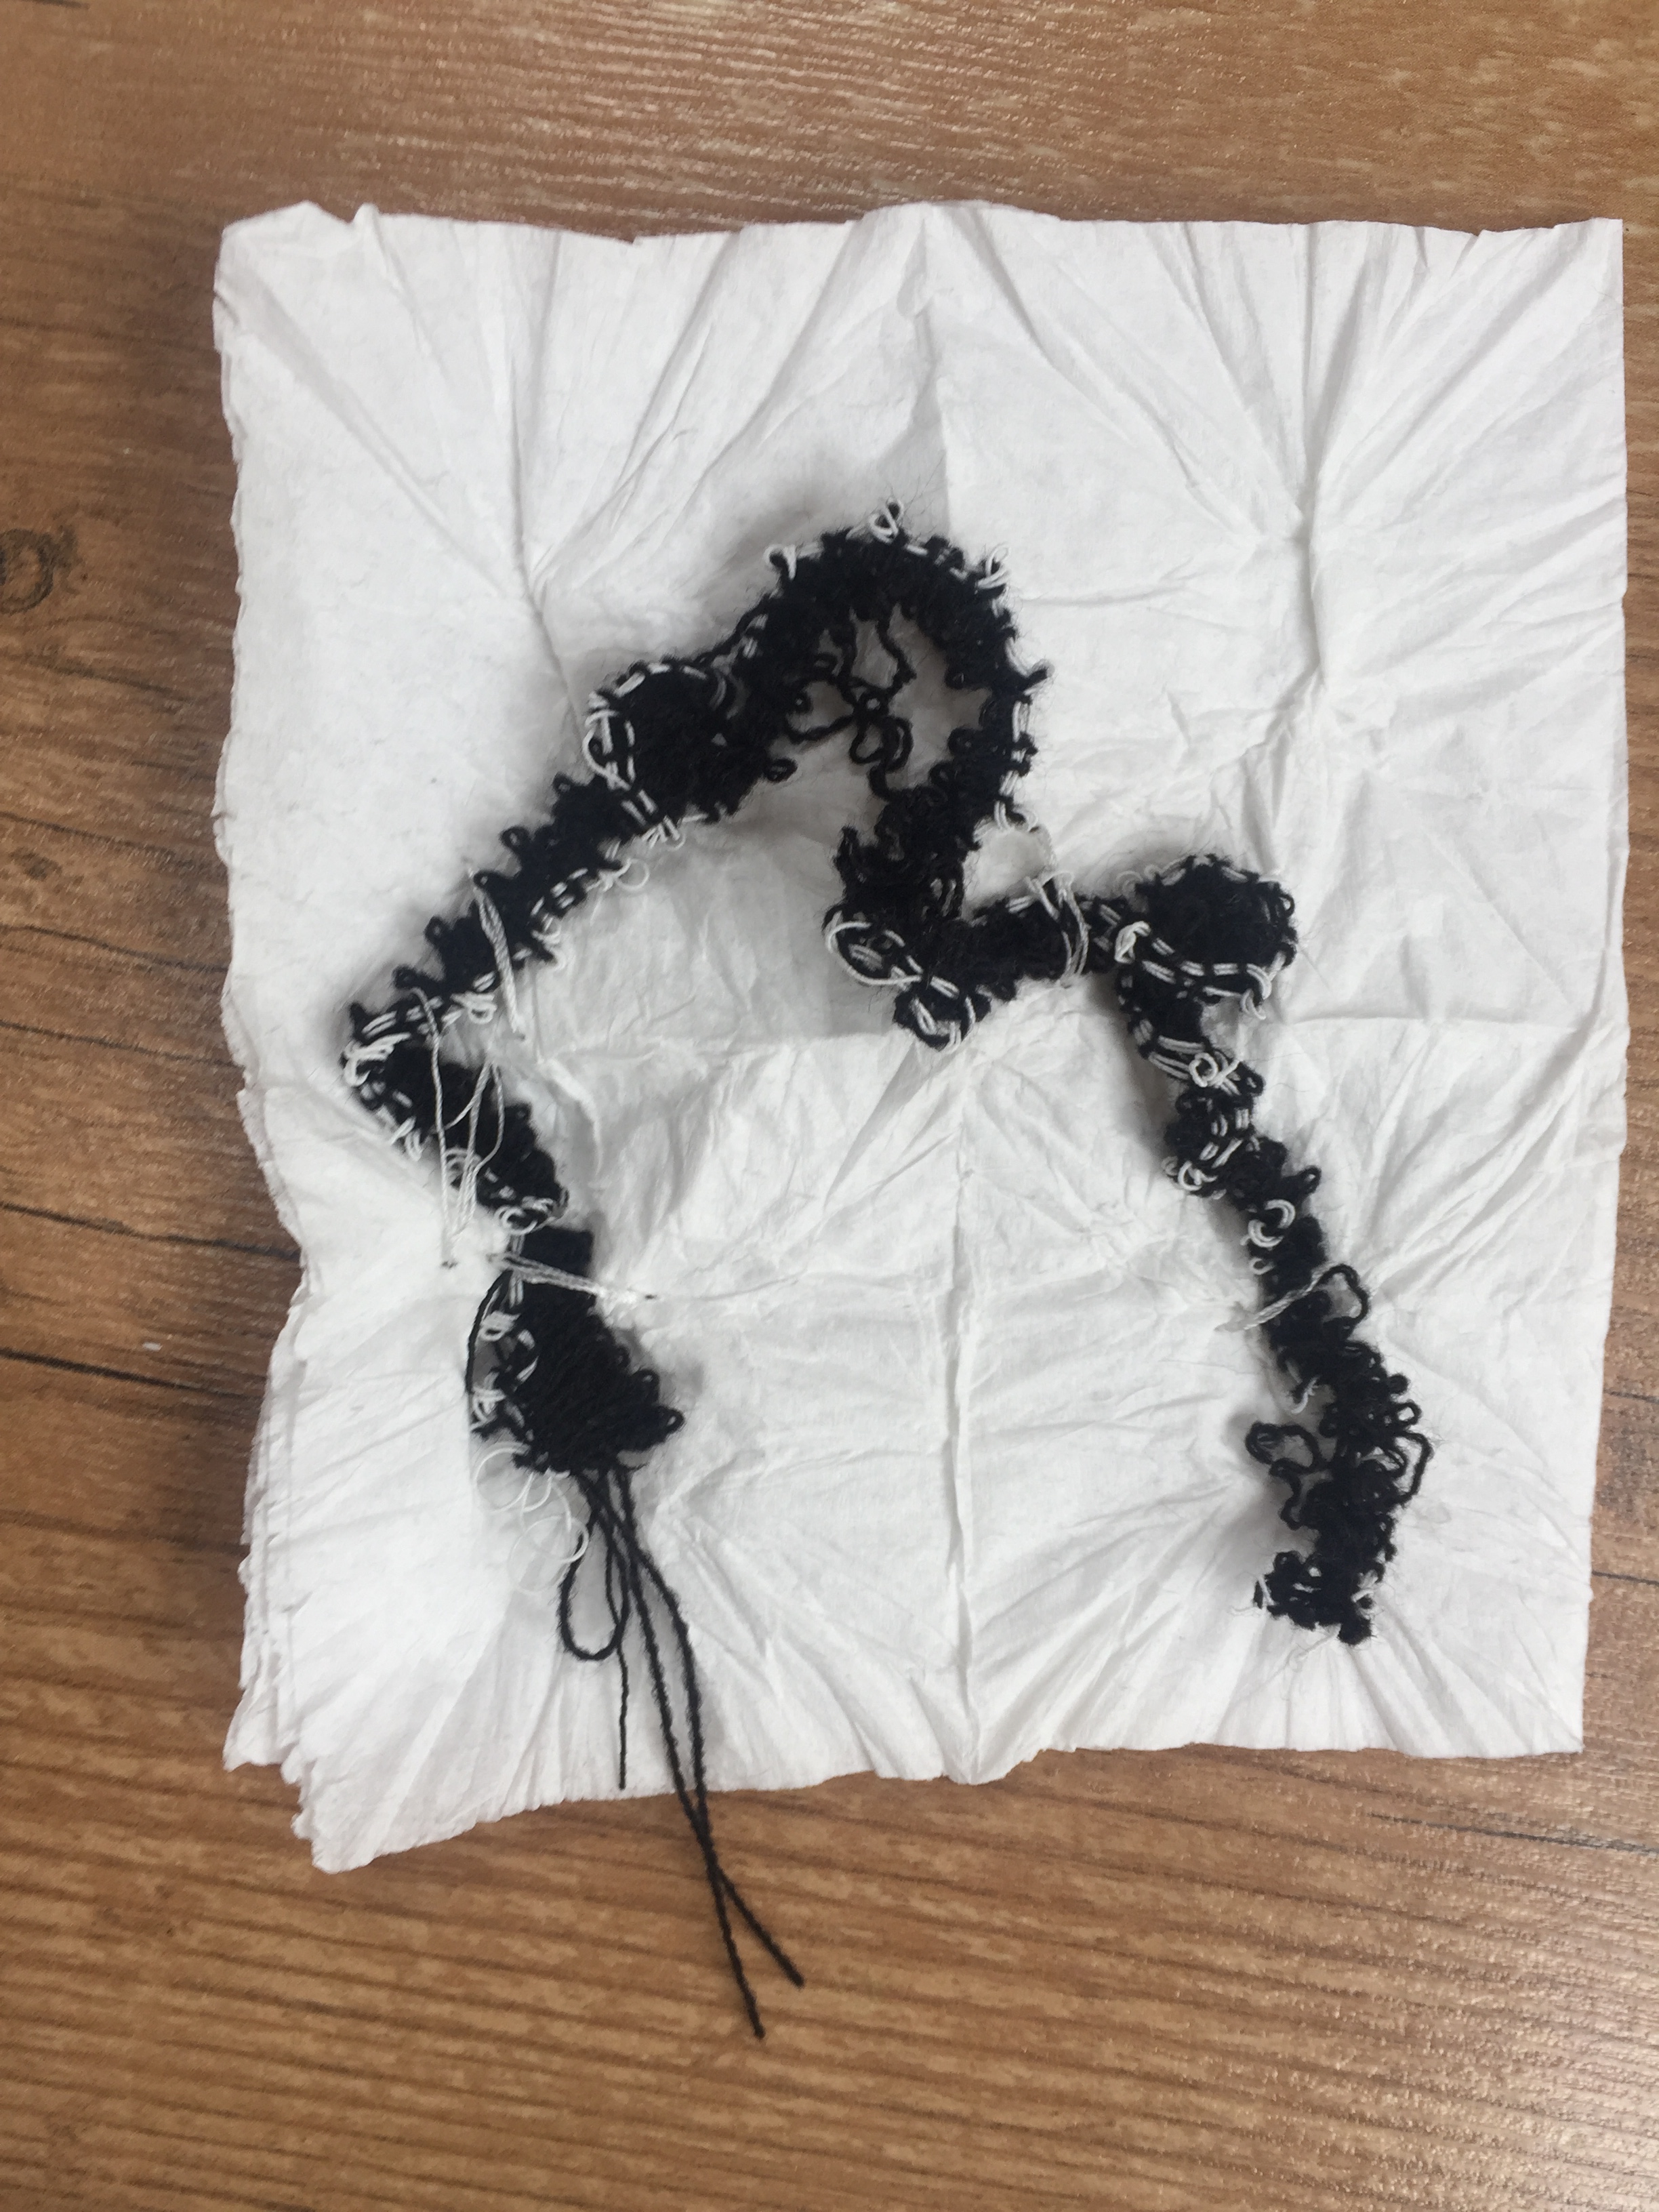
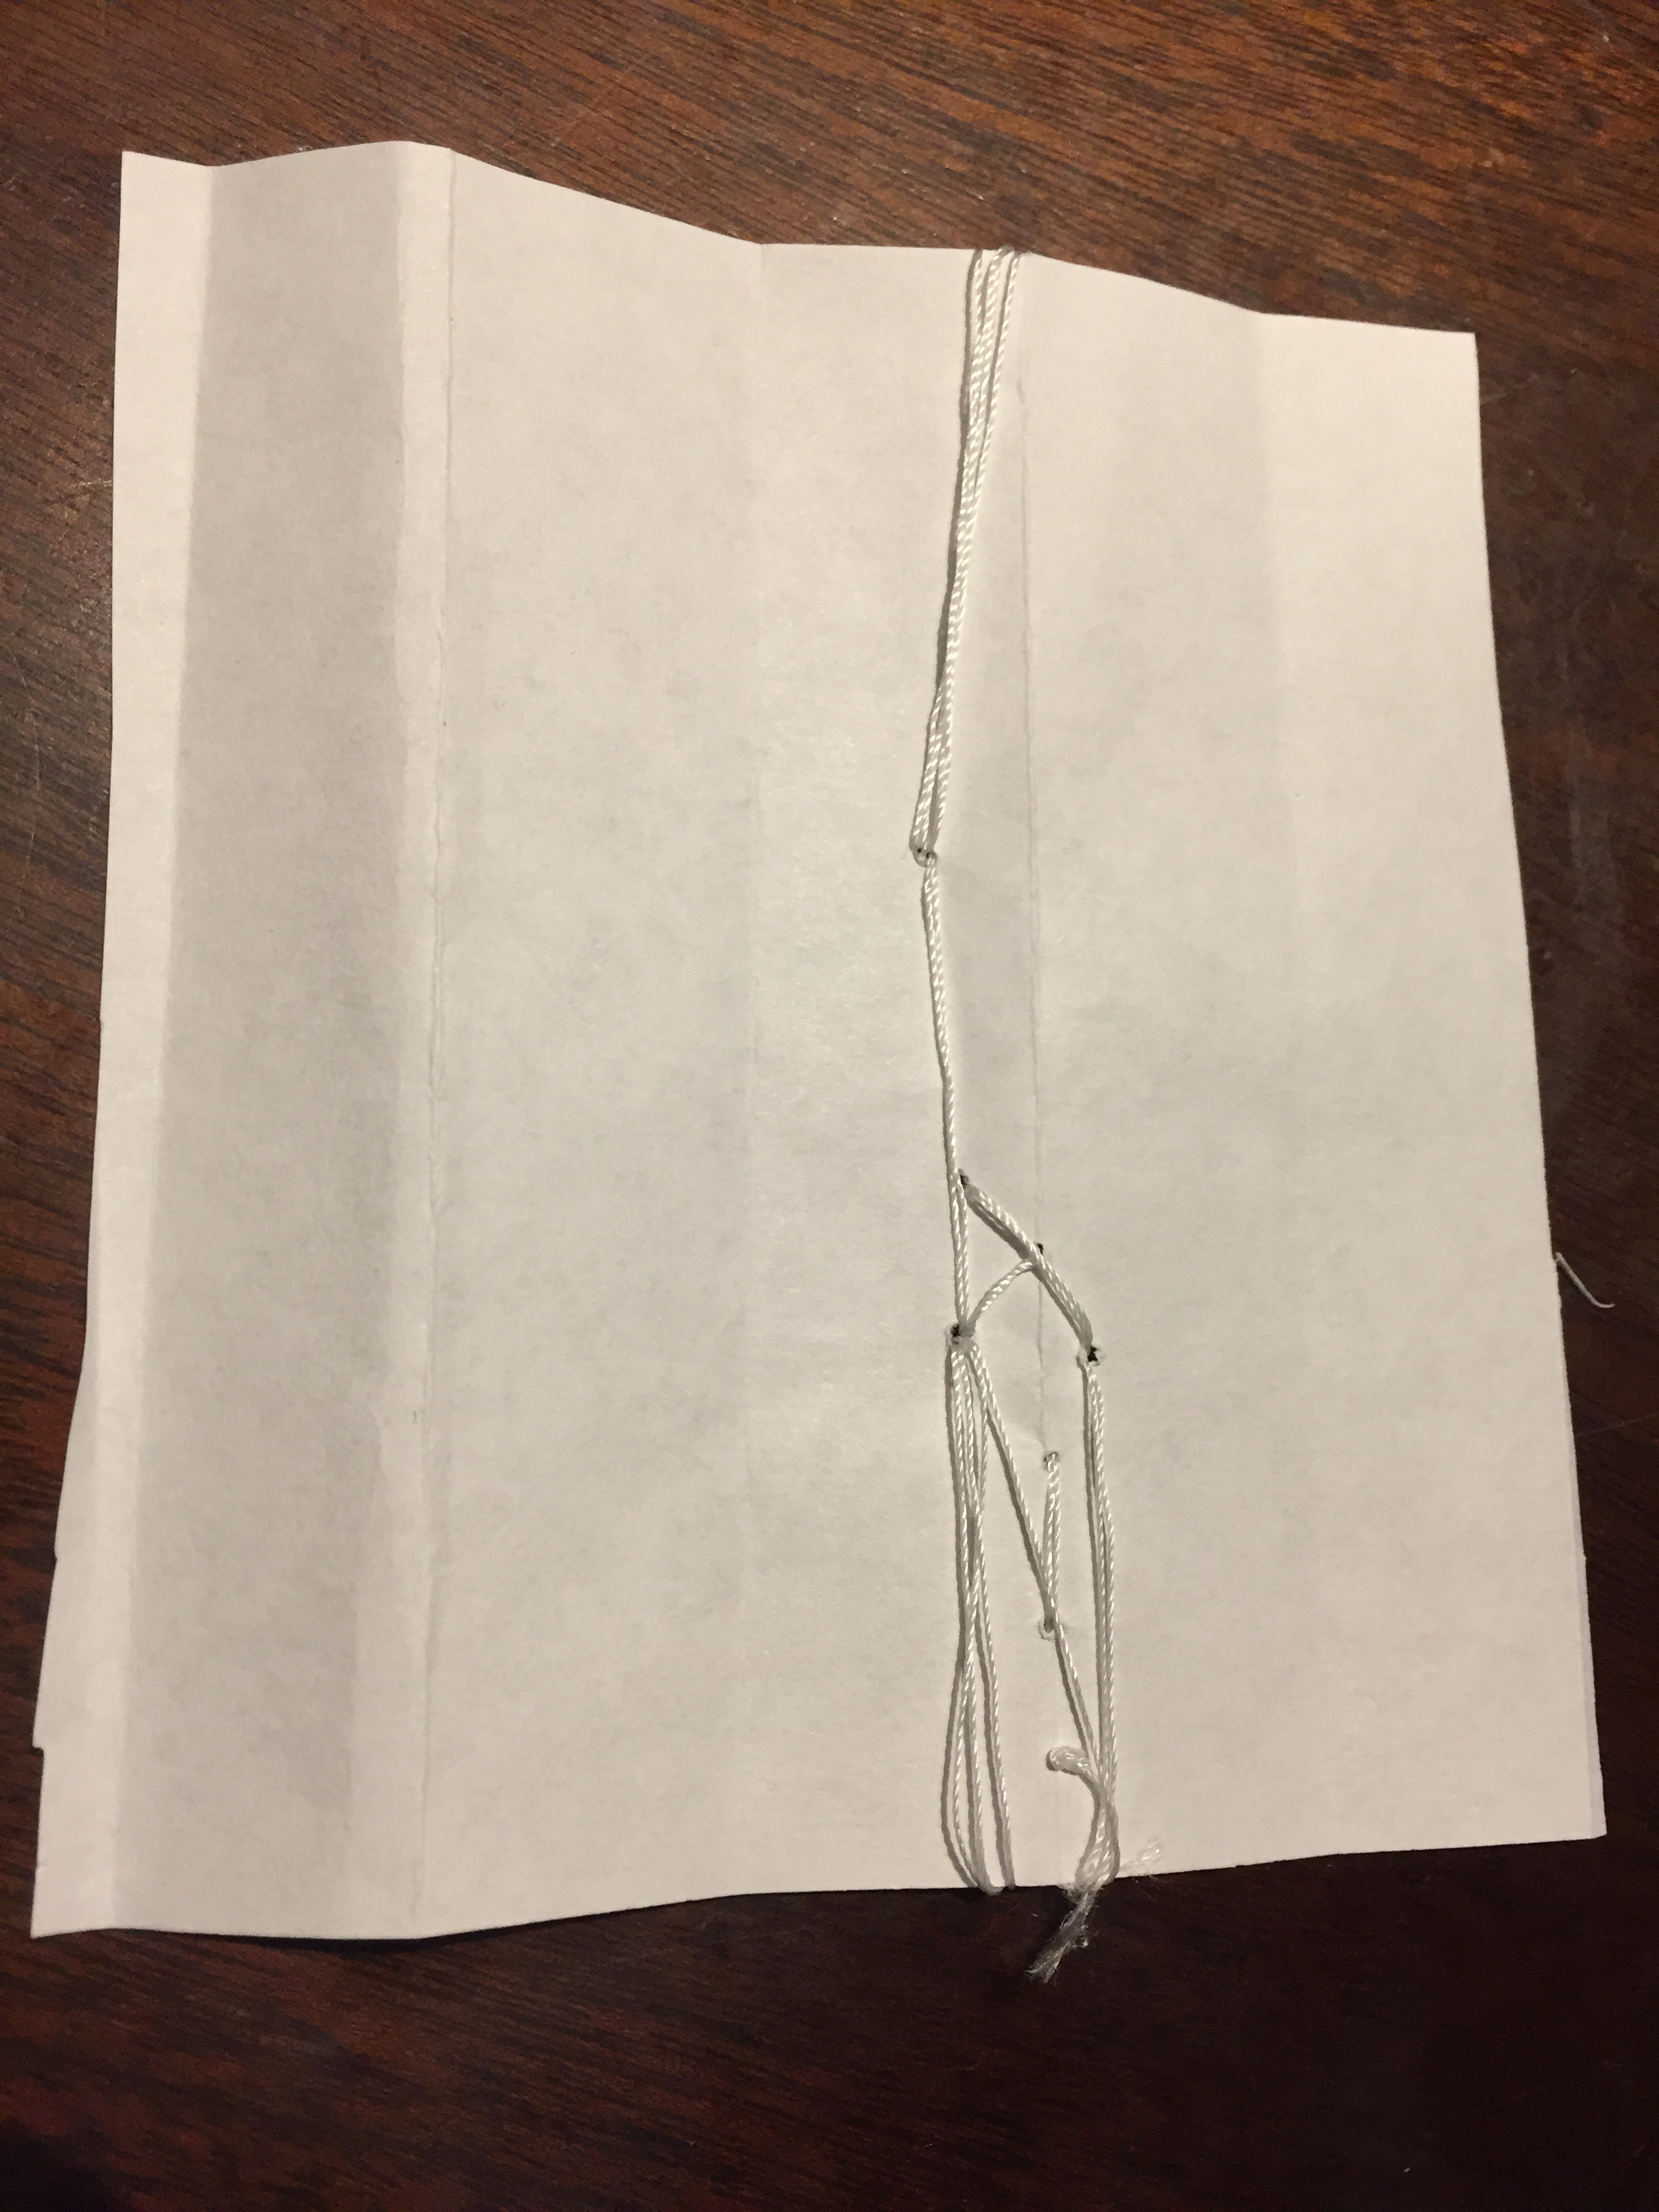
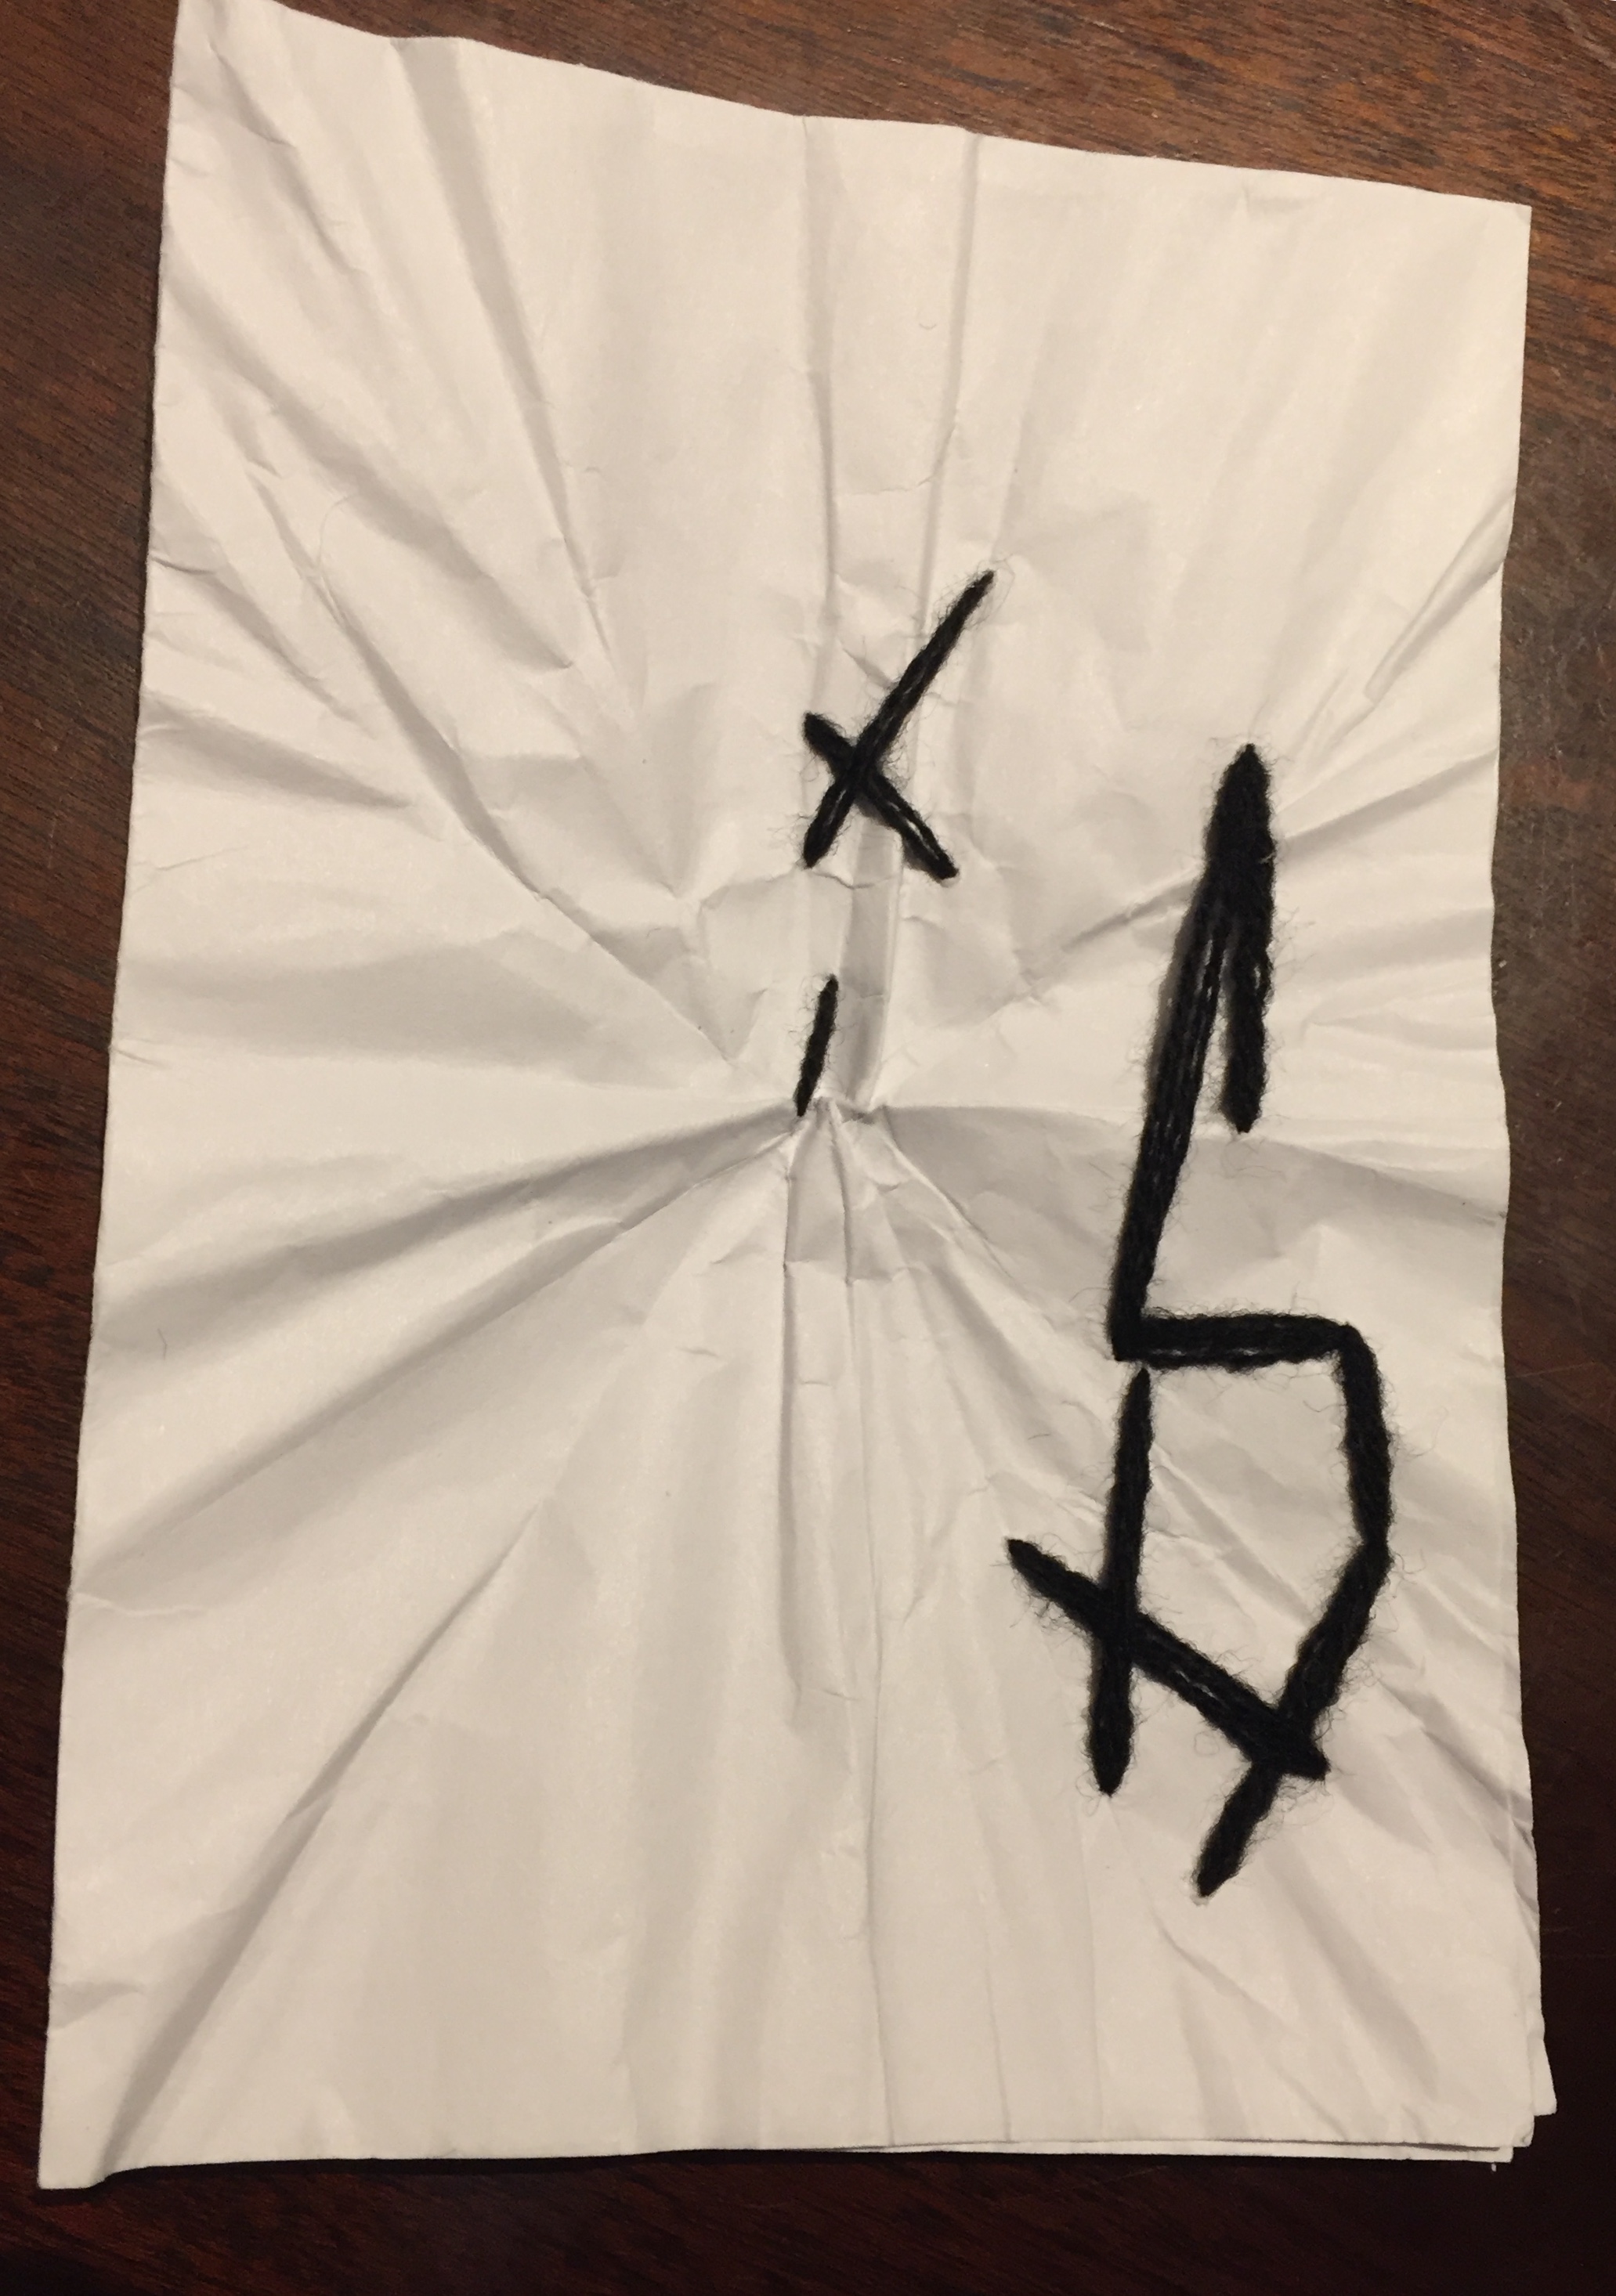
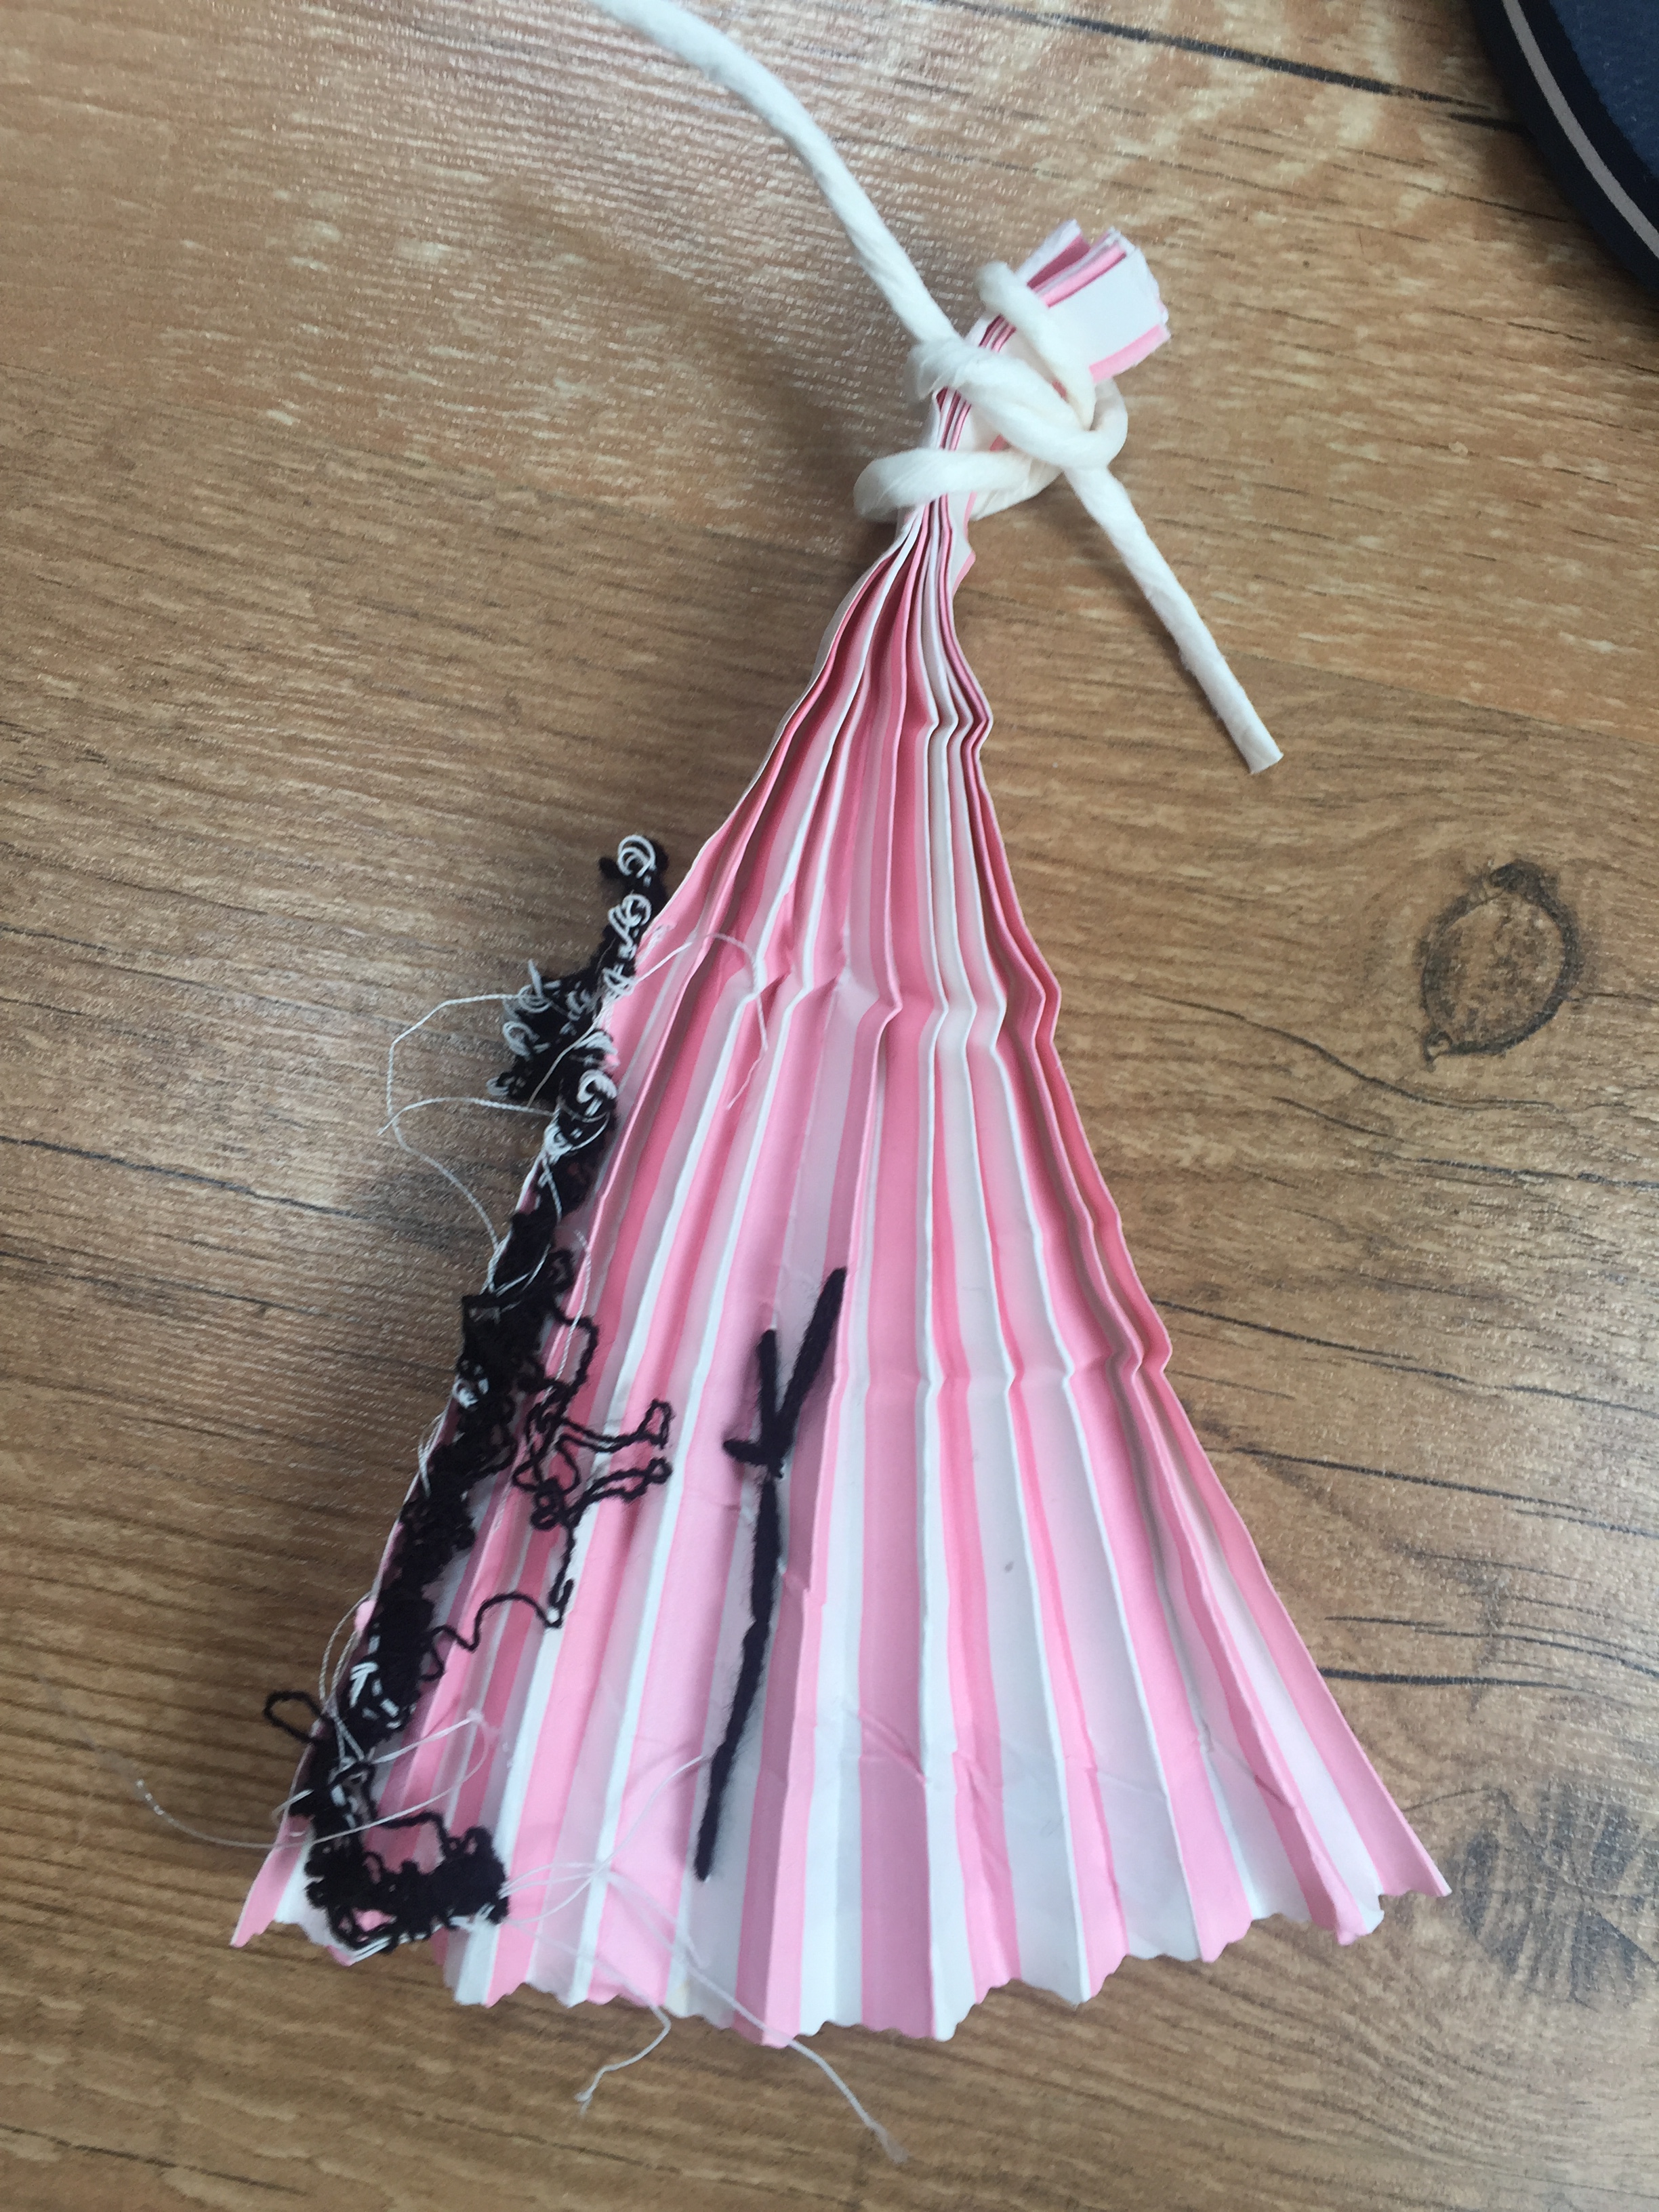
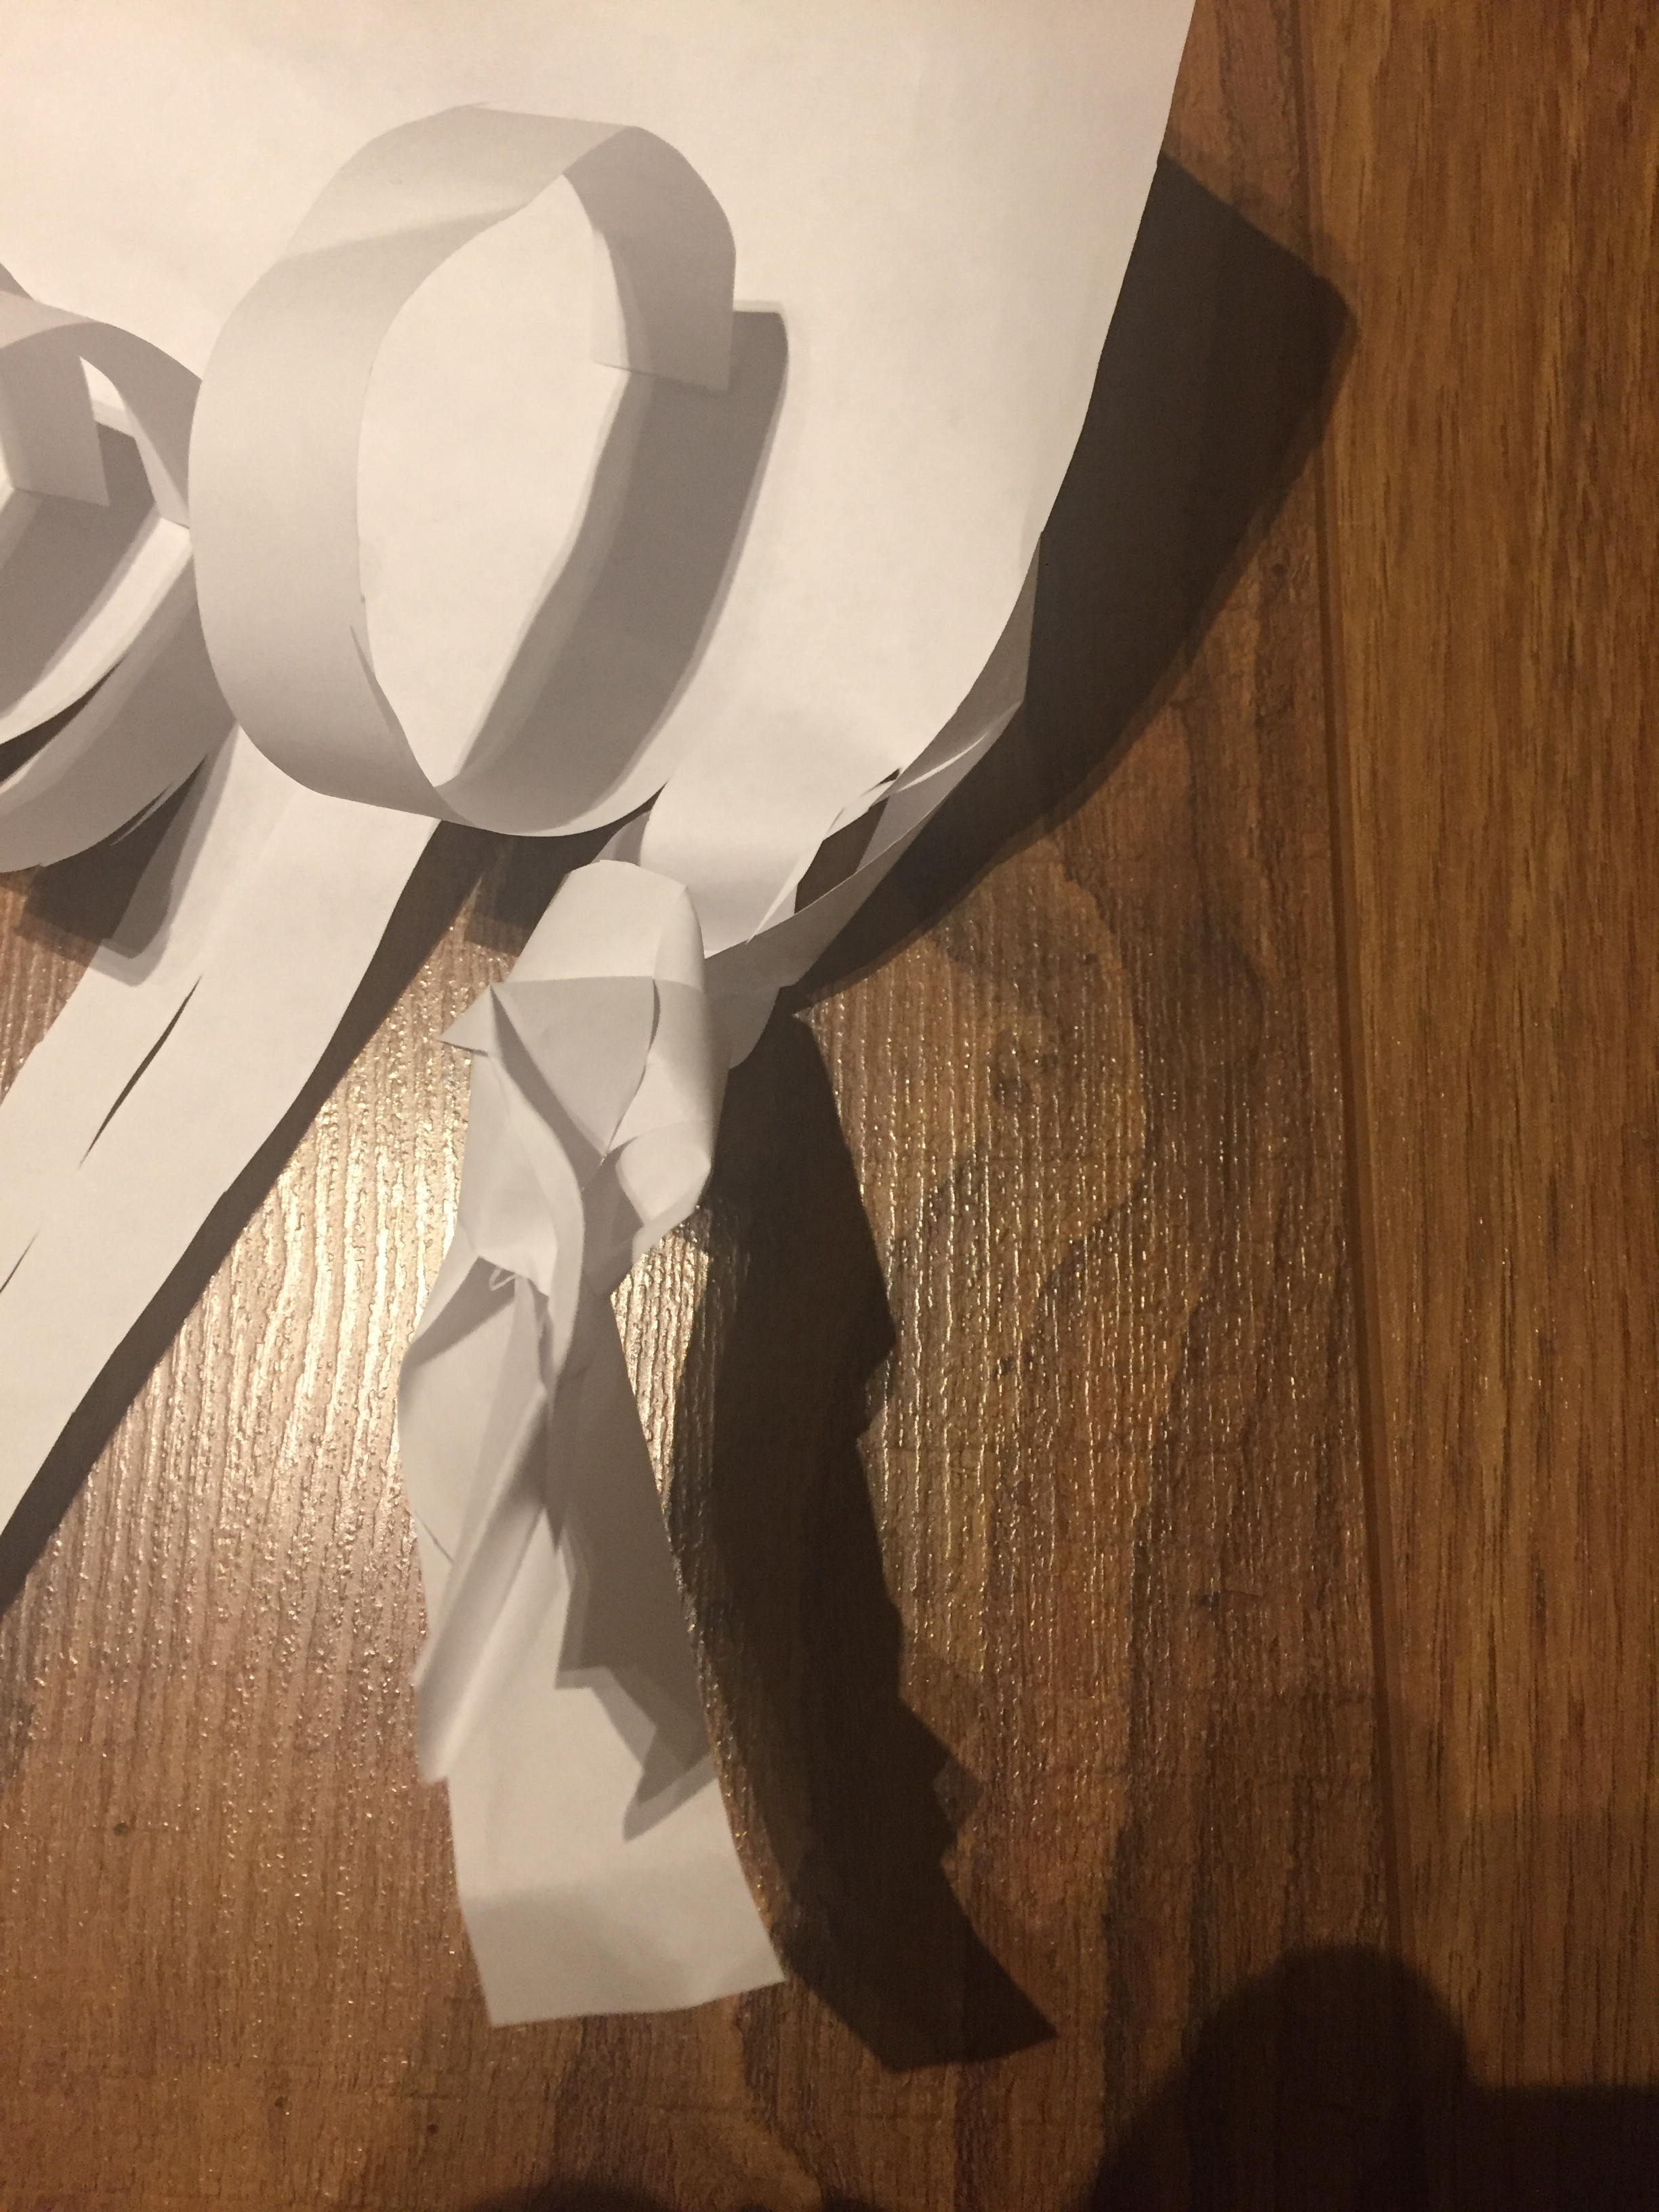
First things first: I’ve gathered what I’m going to use ; A cone of yarn , some waste ribbons were I can extract yarn from and needles to do the sawing.stitch crossovers with continuous yarns.I have decided to use this piece of paper from my previous assignment as I didn’t include this in my paper manipulation take 2 version. I’ve stitched it onto the carton paper in order to create layers.I’ve done some stitching(in black and shiny white) on the lower layertwo different yarns used in this : acrylic tape yarn and hard polyester I had to be really careful with this as it was tissue paper and it was very delicate. I’ve stitched a piece of ribbon onto it.4 different stars created with stitchpolyester yarn fed through the tiny holes.Ribbon, tape yarn, all stitched together on a delicate wrapping paper.Draw thread yarn stitched following vertical lines created from folding.I’ve tried to stitch on top of the handle used as a yarn as well as stabilize it on the paper bag I’ve folded all the layers together and tried to stitch them upview from the front.I found the back quite interesting as well.Yarn stitched across in order to create to horizontal and a vertical lineribbon stitched on the side and a flower created on the folded lines.Black acrylic yarn stitched to secure the sandpaper and white tape yarn that goes through holes.I had to use a large needle with a big hook in order to be able to feed the tape yarn through the holes of this carton paper.tape yarn that goes across and it’s been distorted by an acrylic yarn.
It was quite interesting process of seeing how paper is been transformed by stitching.Took me a while to figure ways around it but I’m quite pleased with what I’ve achieved.
2.4 CREATING LARGER SCALE PIECES
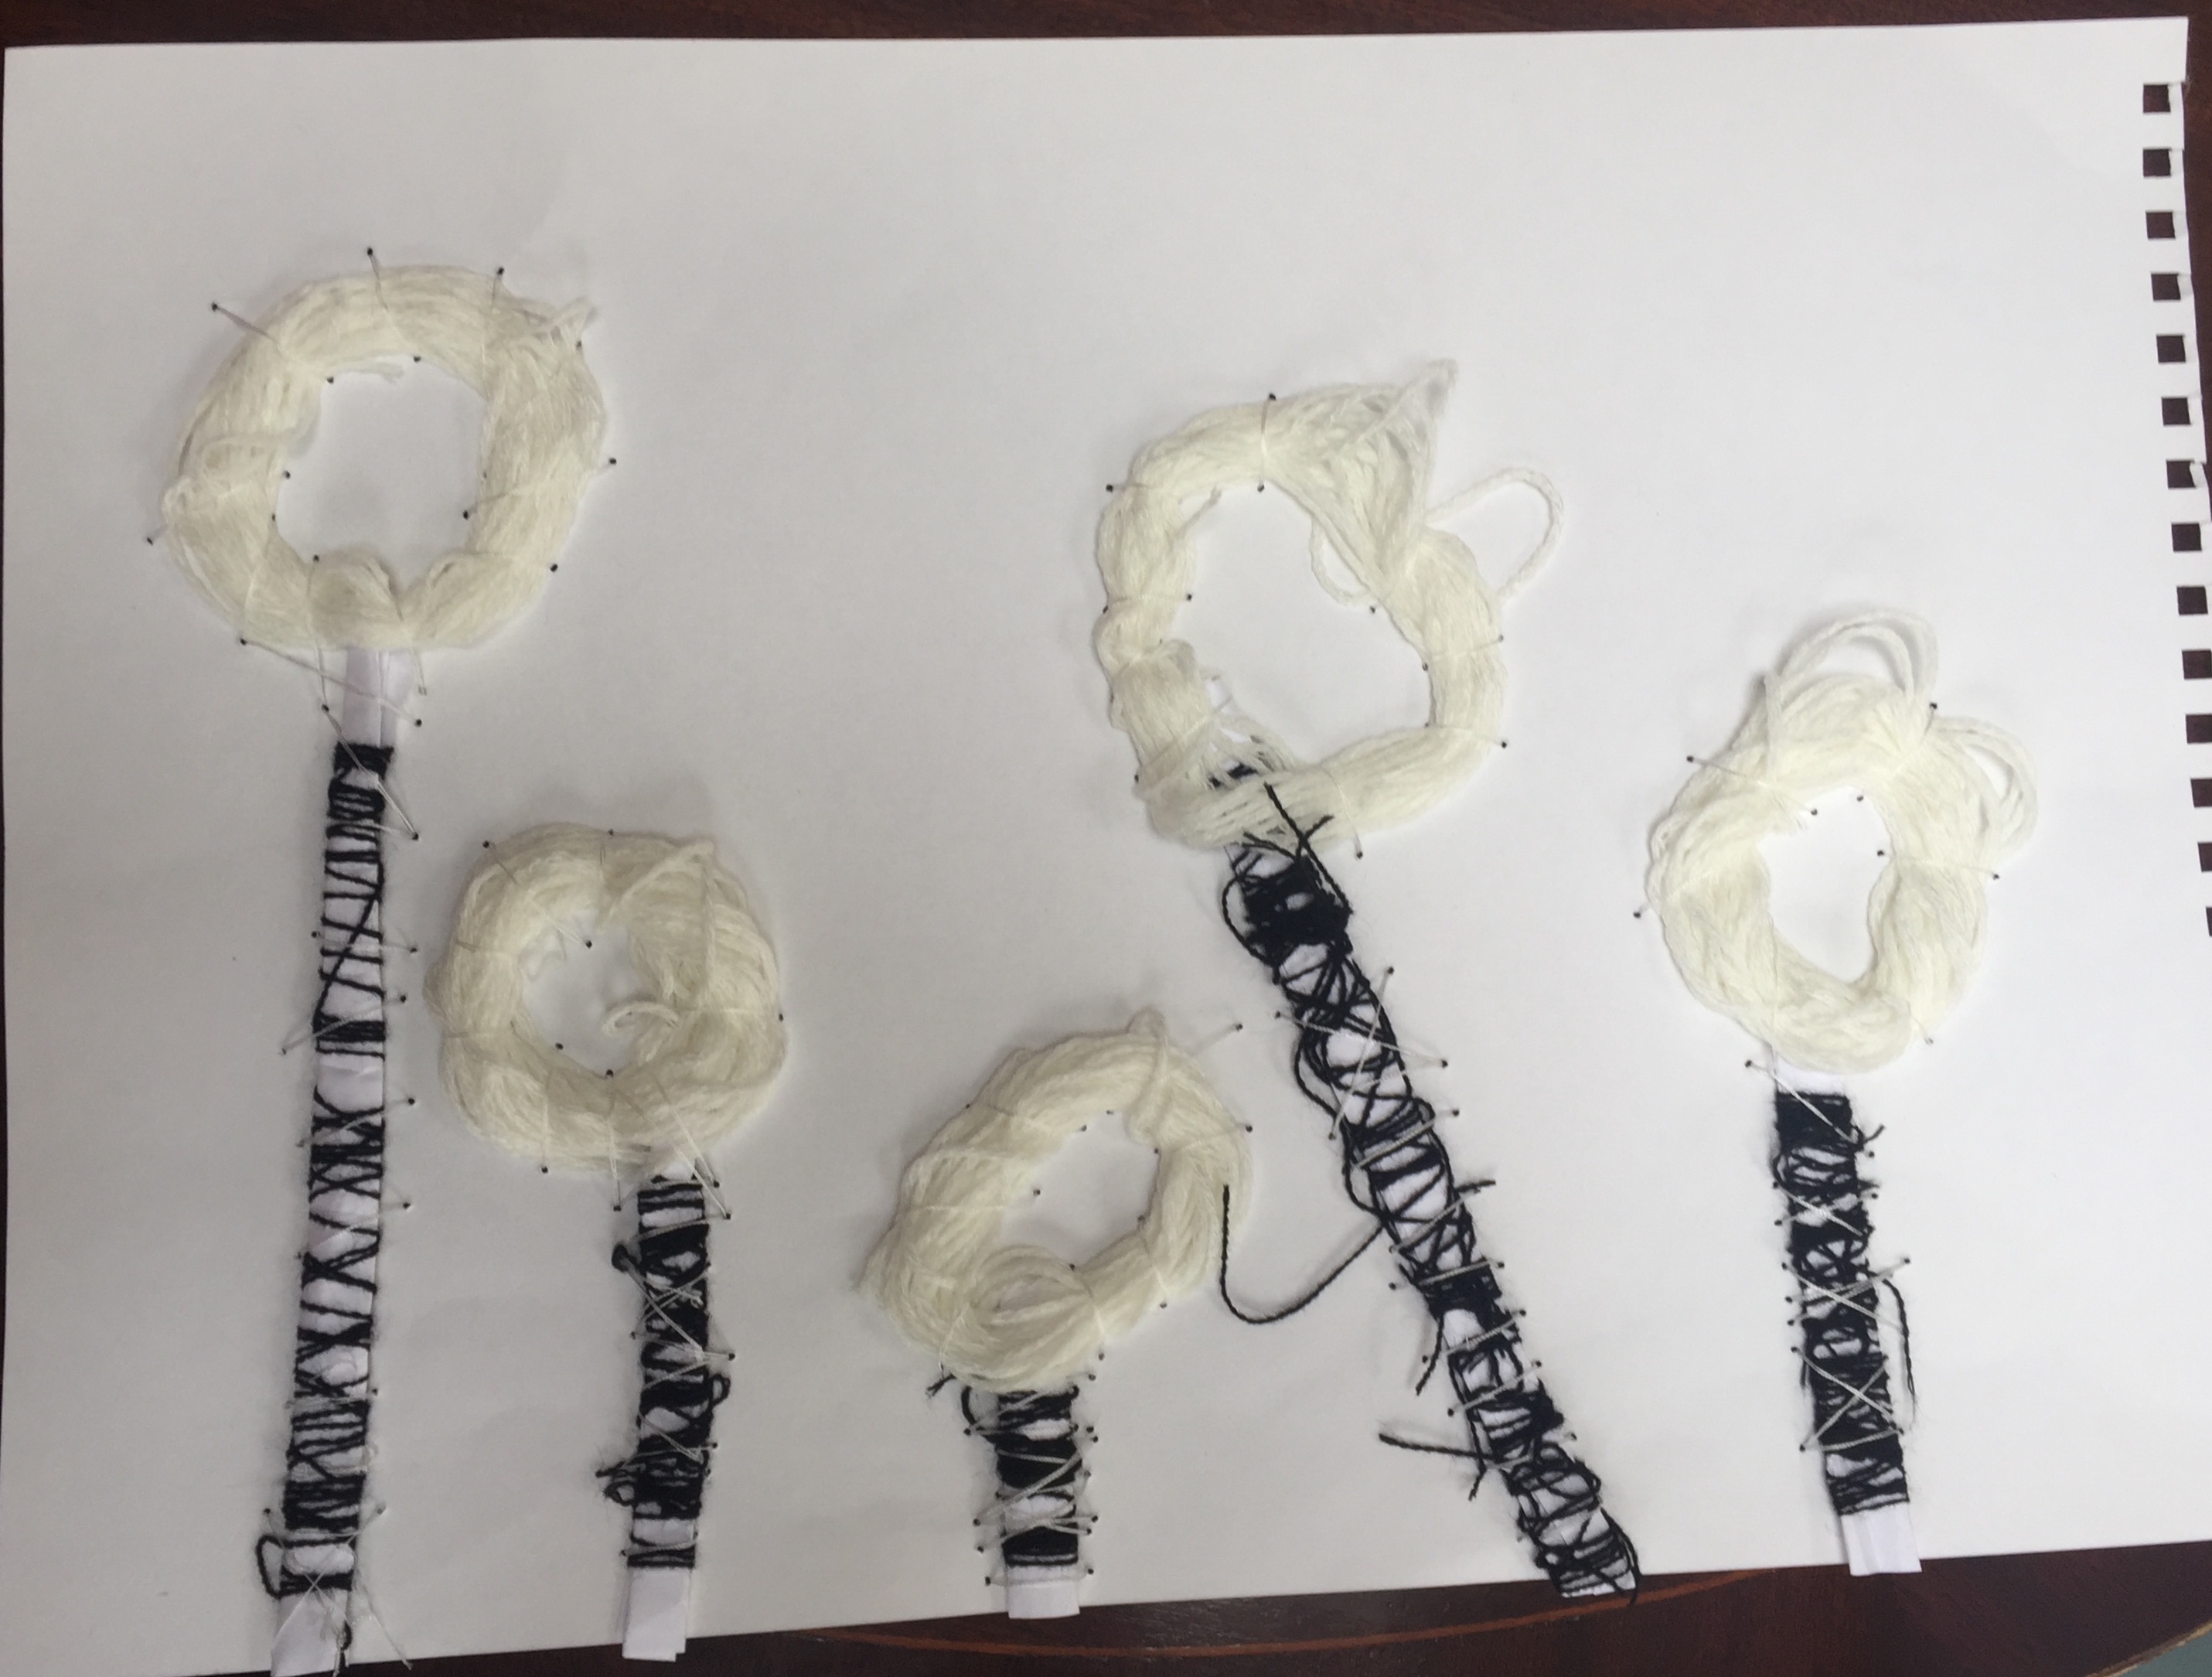
As a first reference I use my dandelions: I wanted to create a round shape and as long as I was yarns for this I could achieve the soft and wool-like hand feel.
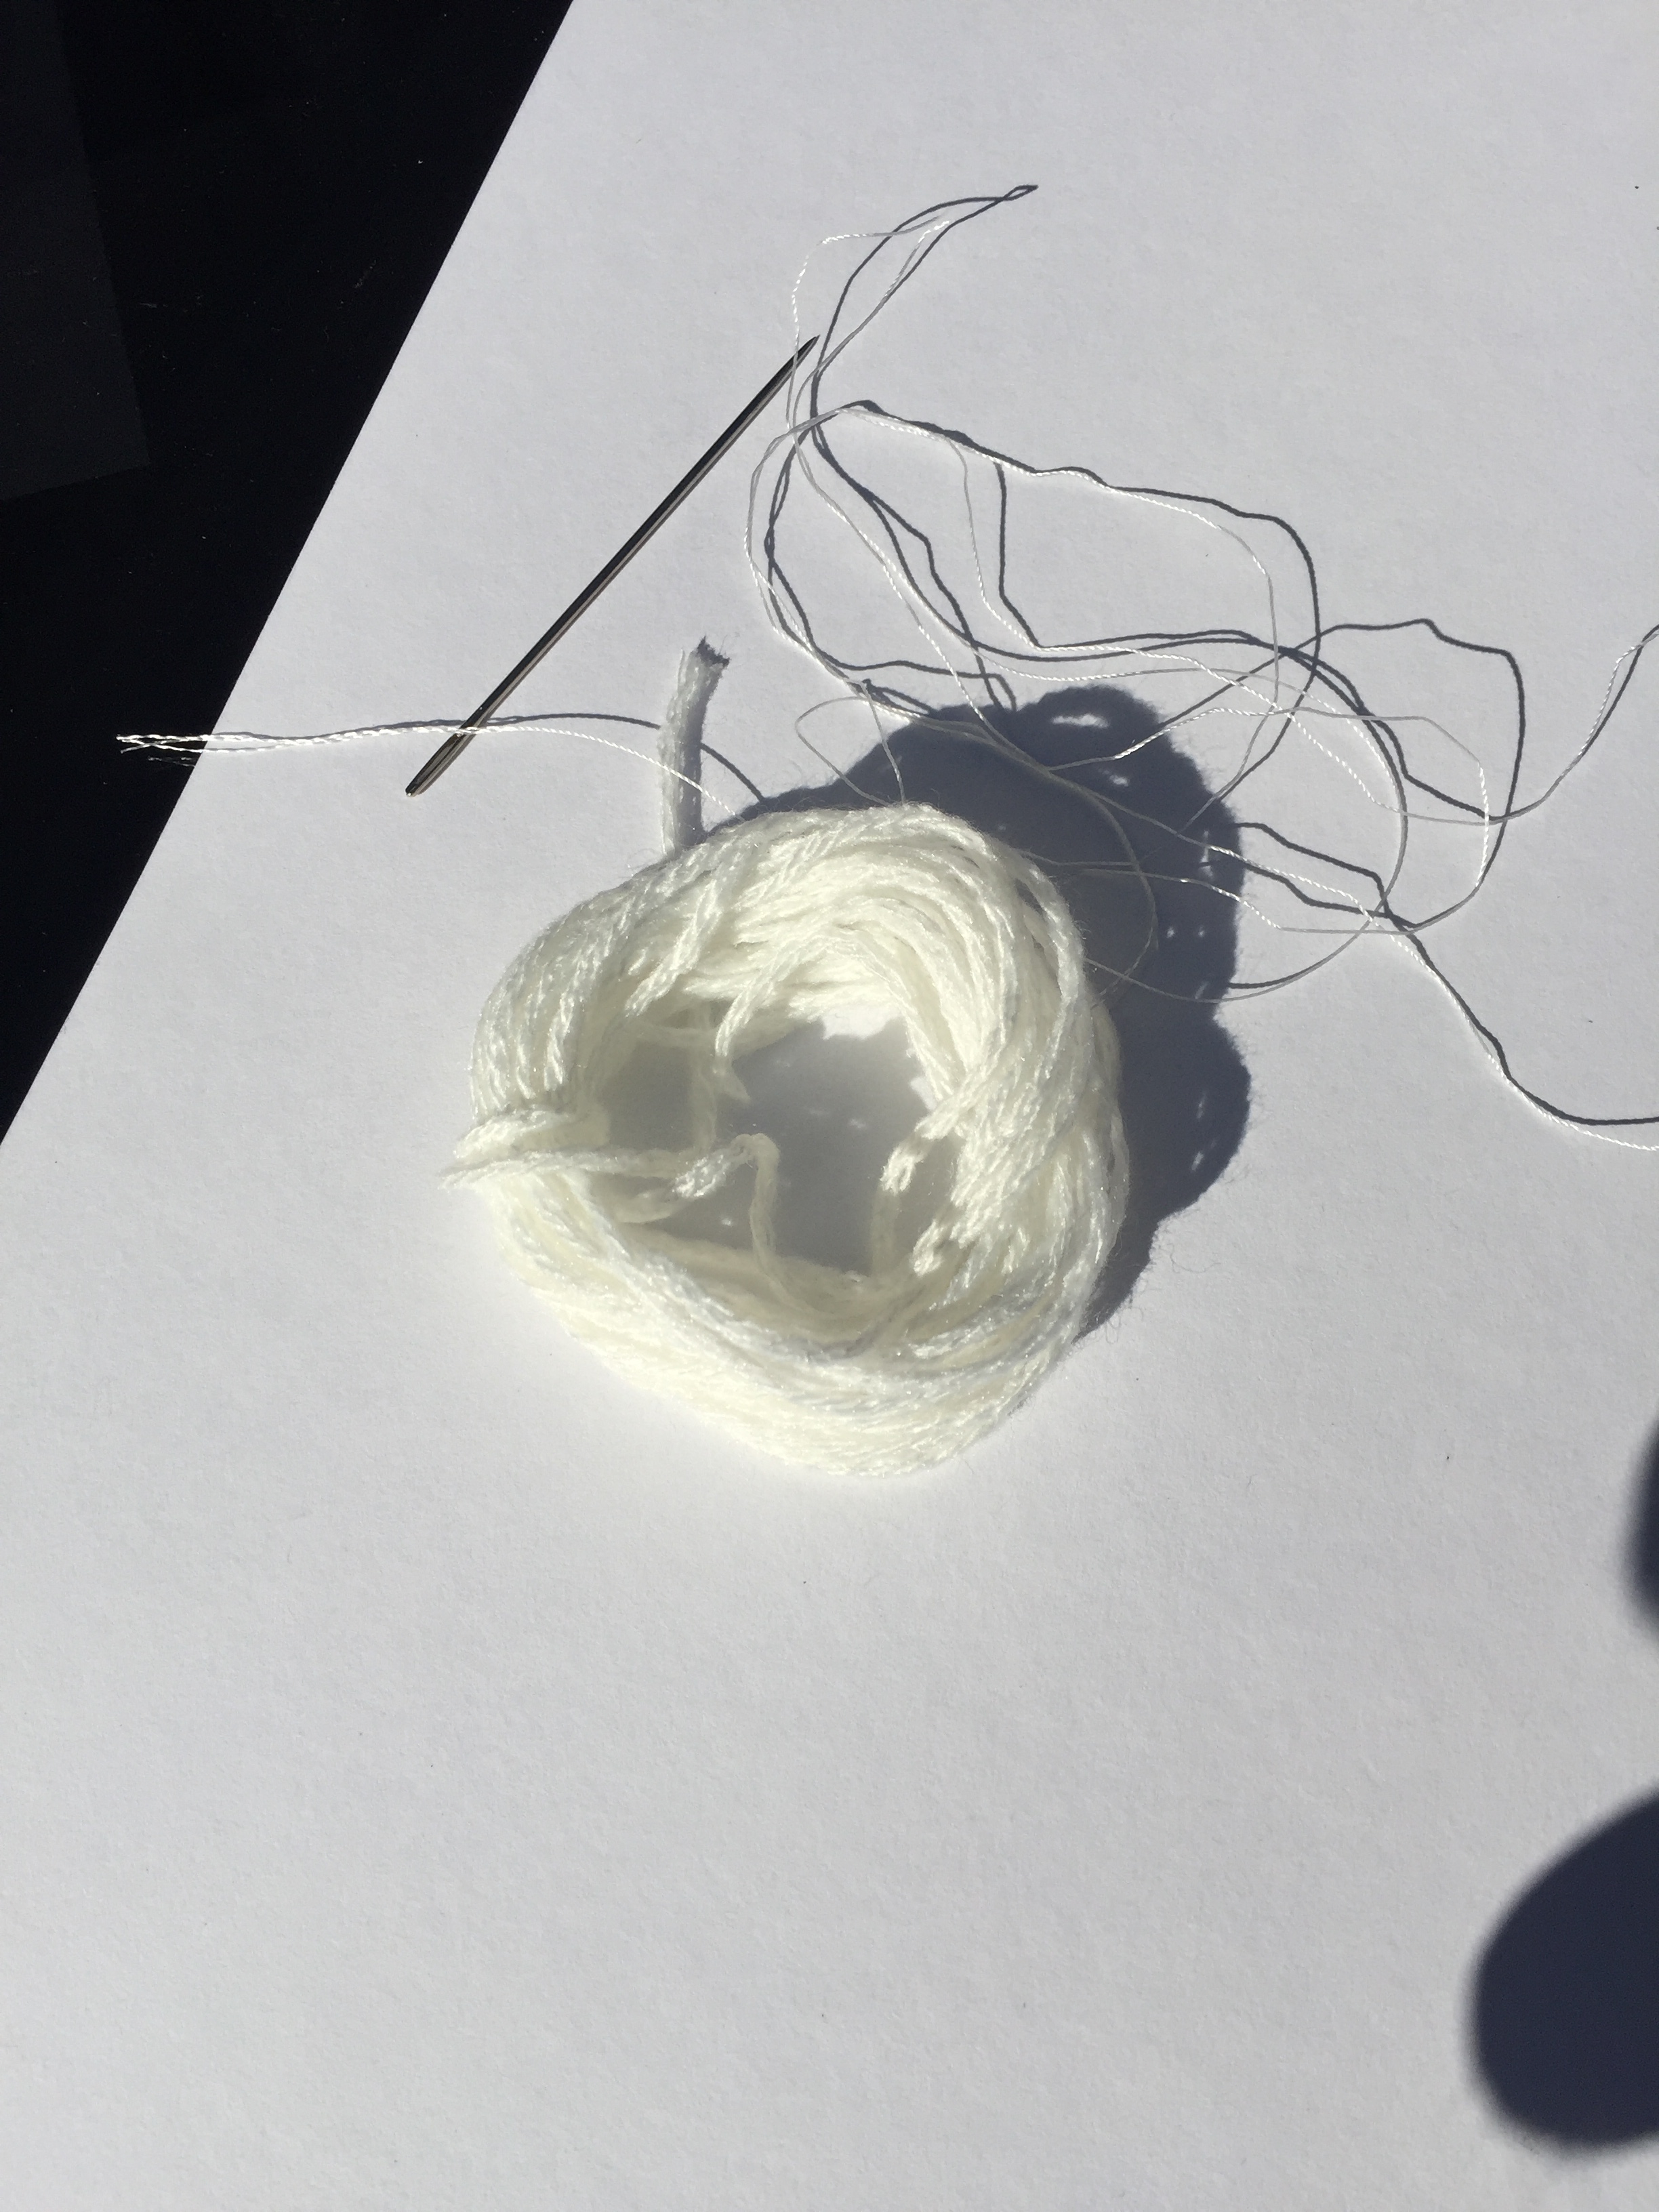
firstly I took a cone of yarnformed a round shape and stitched on A3 paperfor the stem , I’ve rolled paper and I’ve wrapped around black acrylic yarn:reason is to make sure that the paper will not open up as well as it makes nice contrast to the white paper…my dandelions are finished! some of them were placed in an ankle in order to give the illusion of wind blow….I’ve trimmed the edges. And it’s ready.
<<Certain people use pencil and paper, others scraps and collage. Some use computers and iPads or cameras, others sketchbooks and paint or large sheets of cartridge paper and sticks of charcoal. (Cane, 2014, p.63) >>
I’ve used our introduction’s book (page 45) advice and draw the way I feel more confident and use my drawings in the future.
Following in display are some of my pictures/drawings I thought they were the most interesting and inspiring in terms of line and texture;
They are ready to be produced on a knitting machine of any type.
I strongly believe all drawings mentioned above can be a good starting point to build on to as they provide enough information regarding jacquard formation yarn quality and design in general.
Exercise 2.2 Paper manipulation gallery
weaving technique using tissue paper in order to give a different texture and colorcrumpling using a soft tissue crumbling using a normal paper
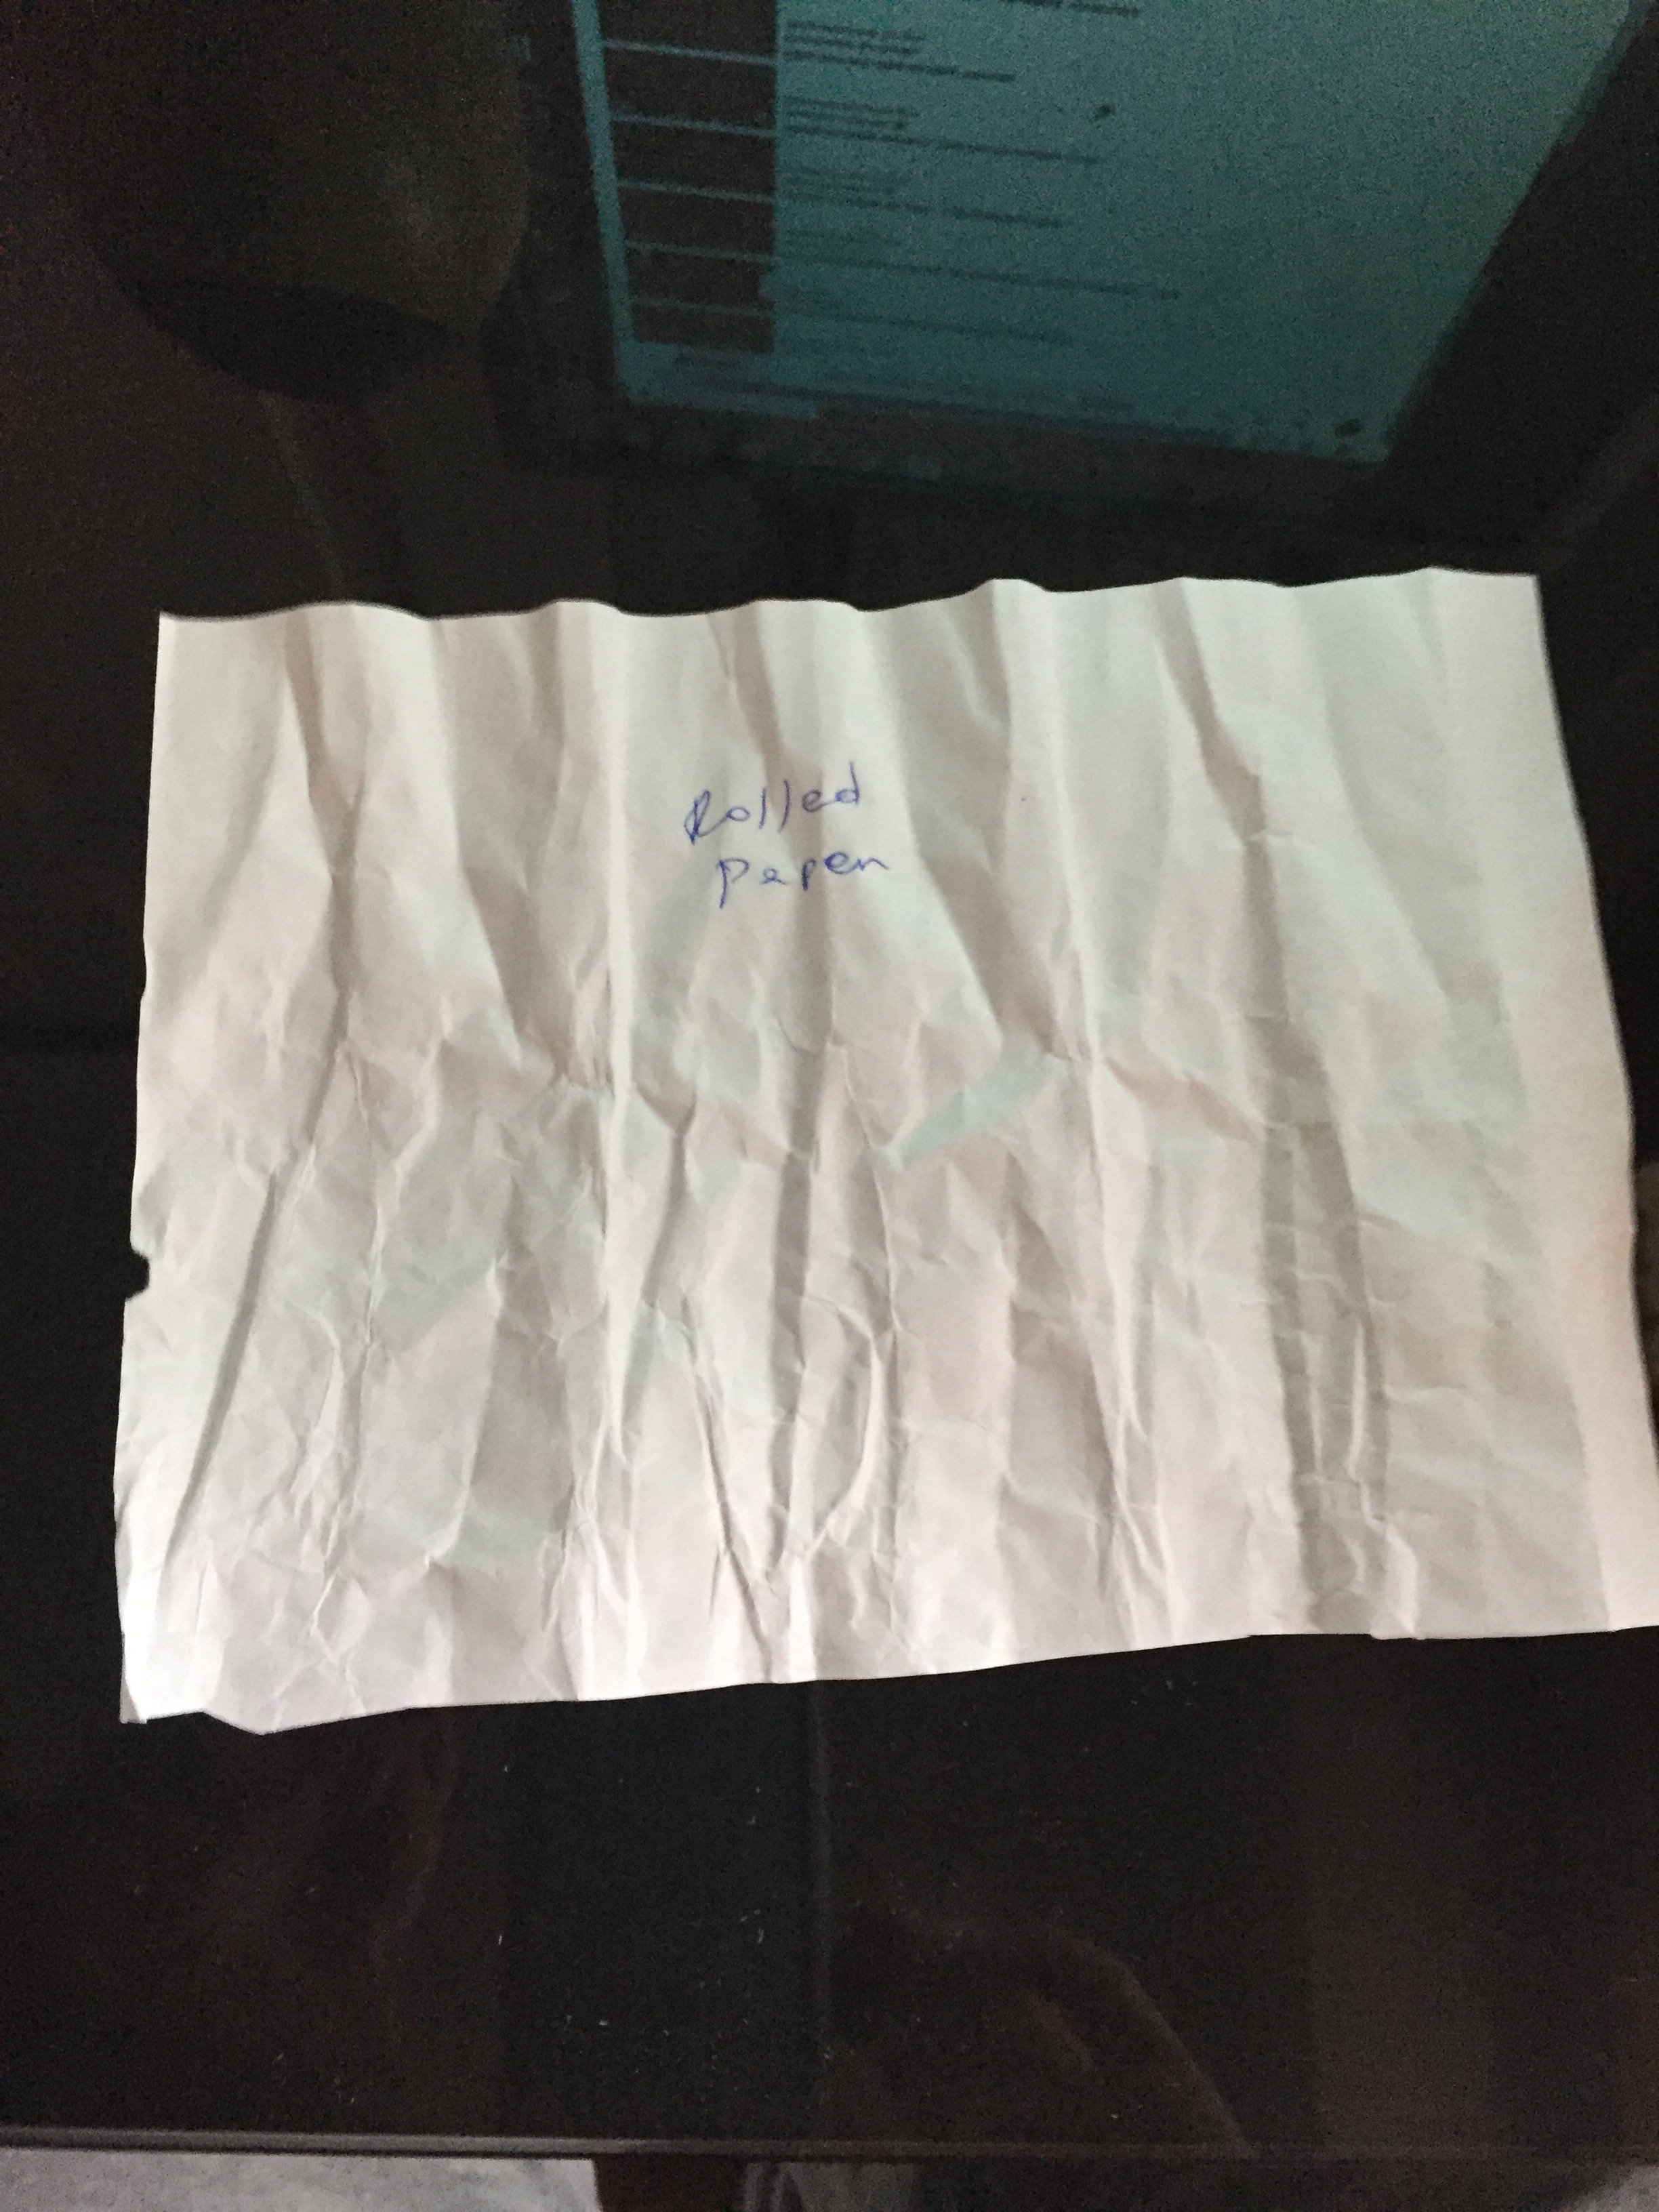
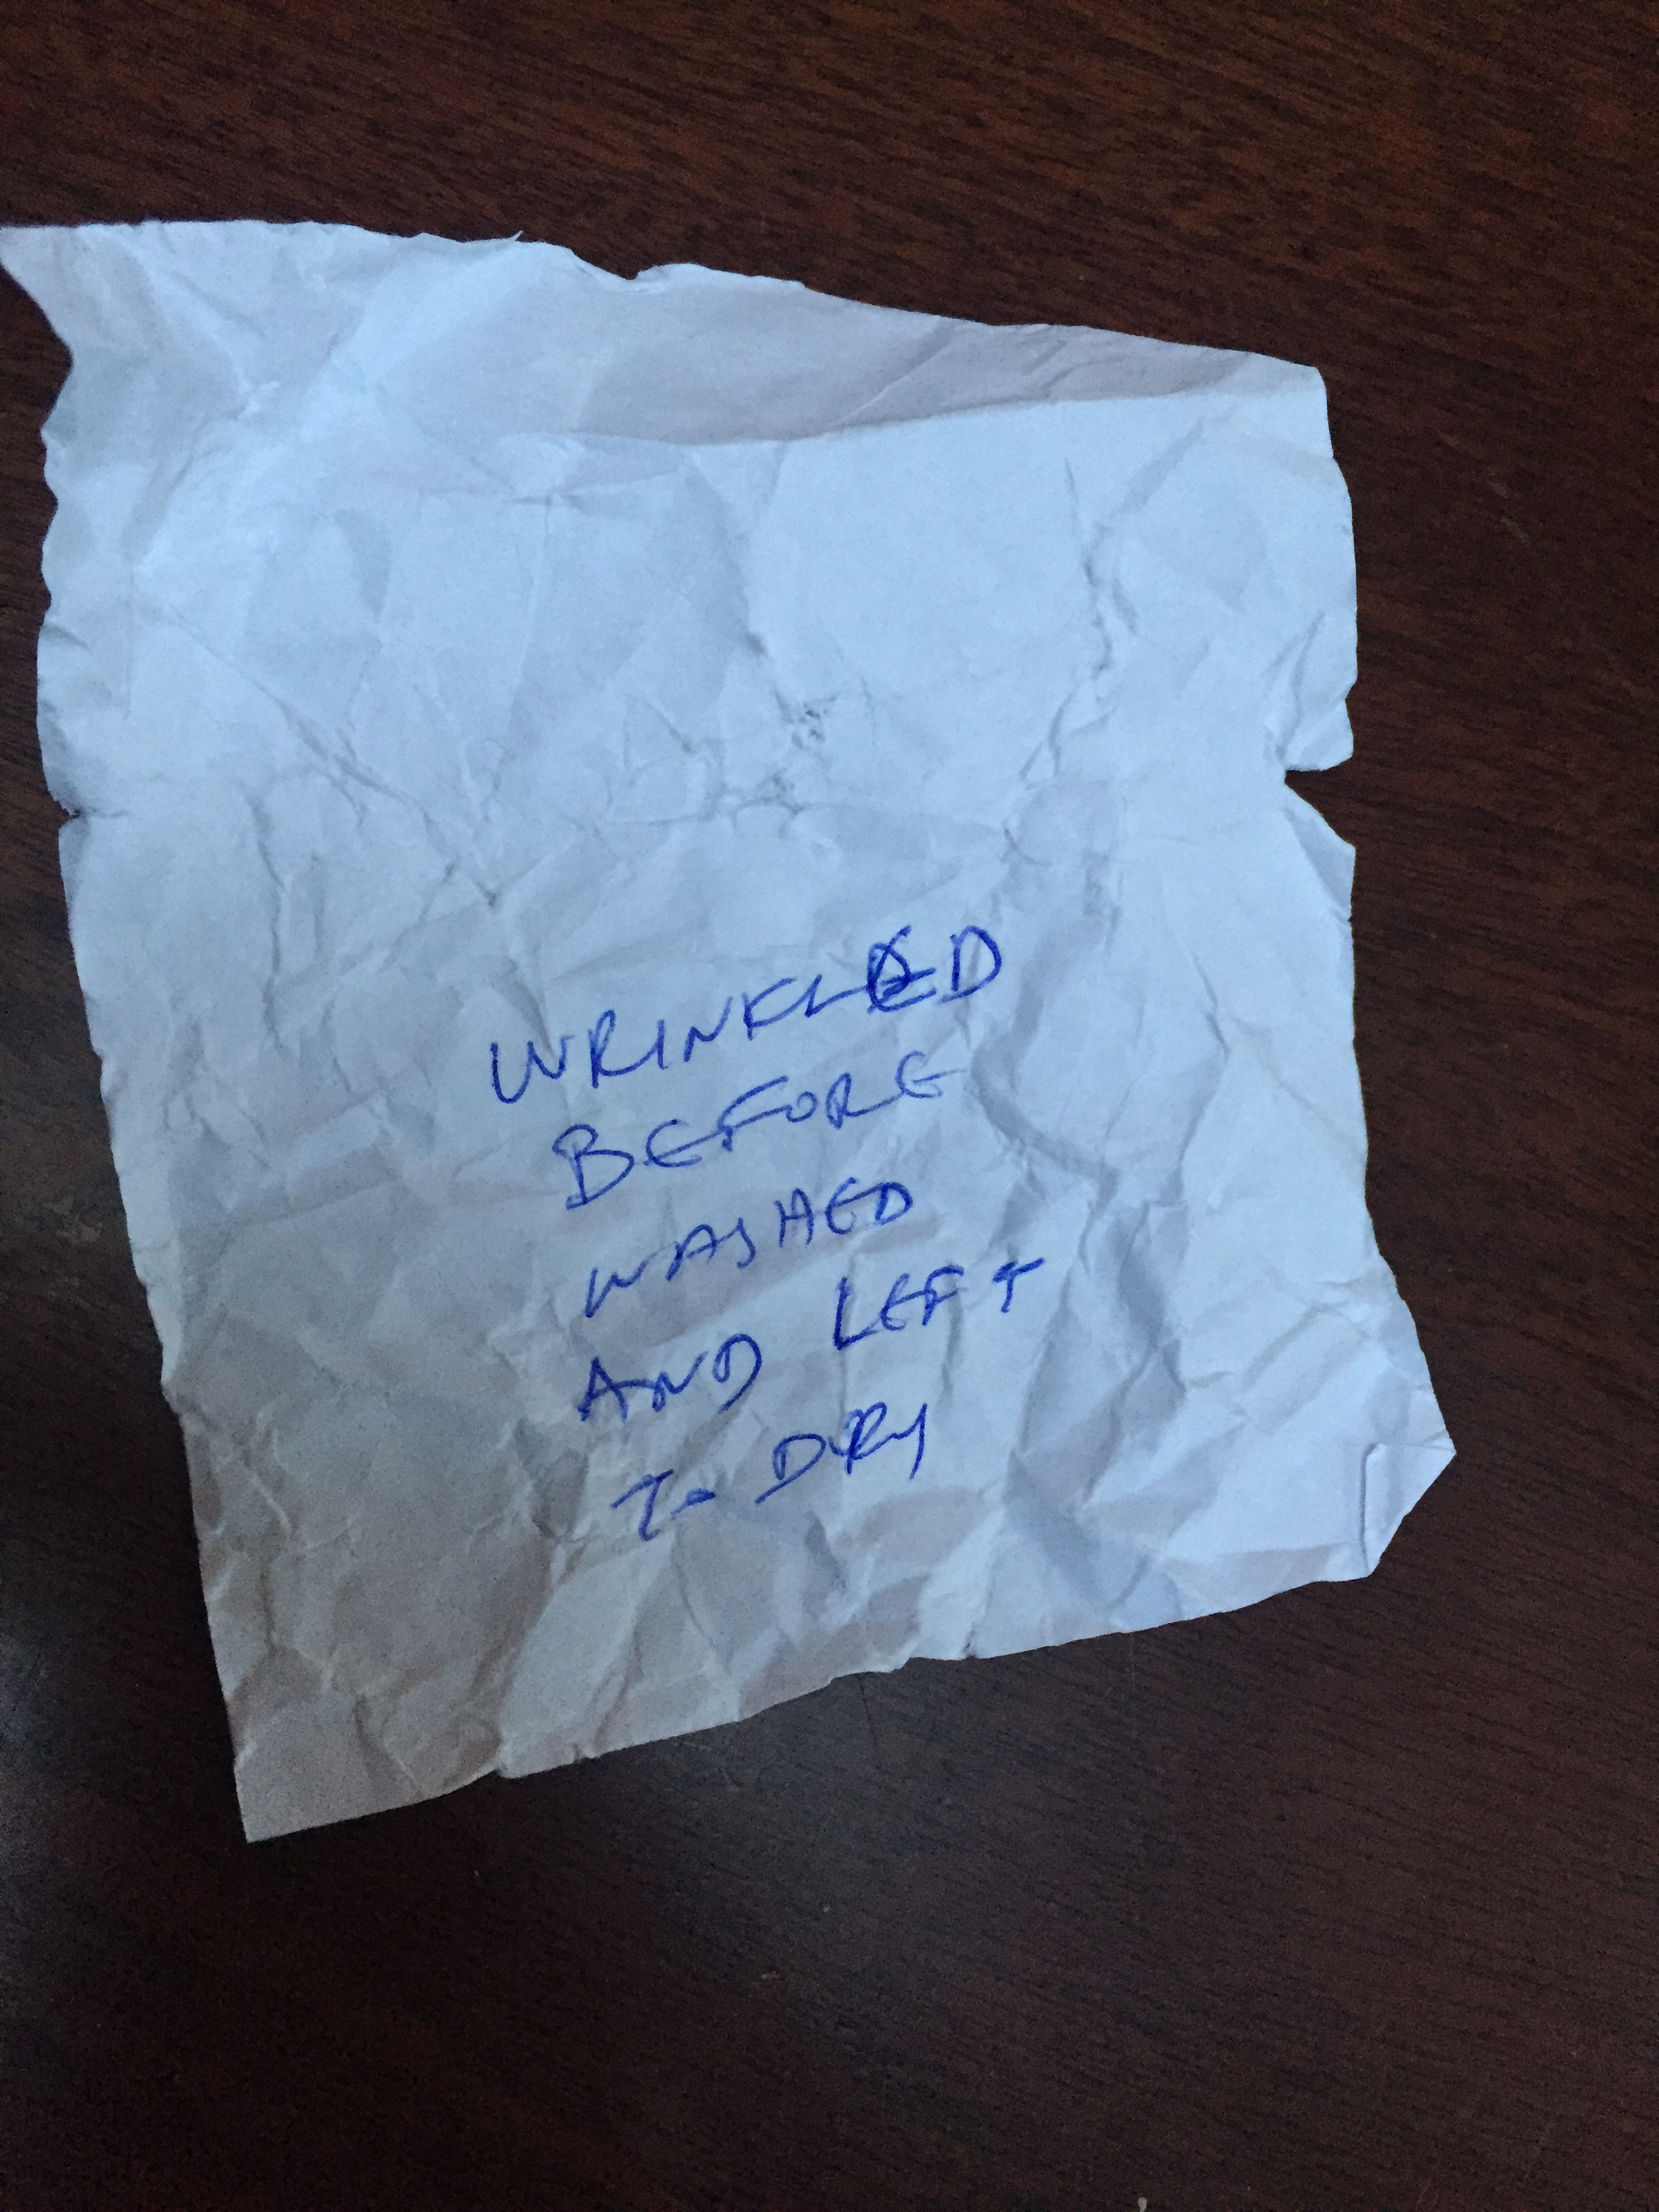
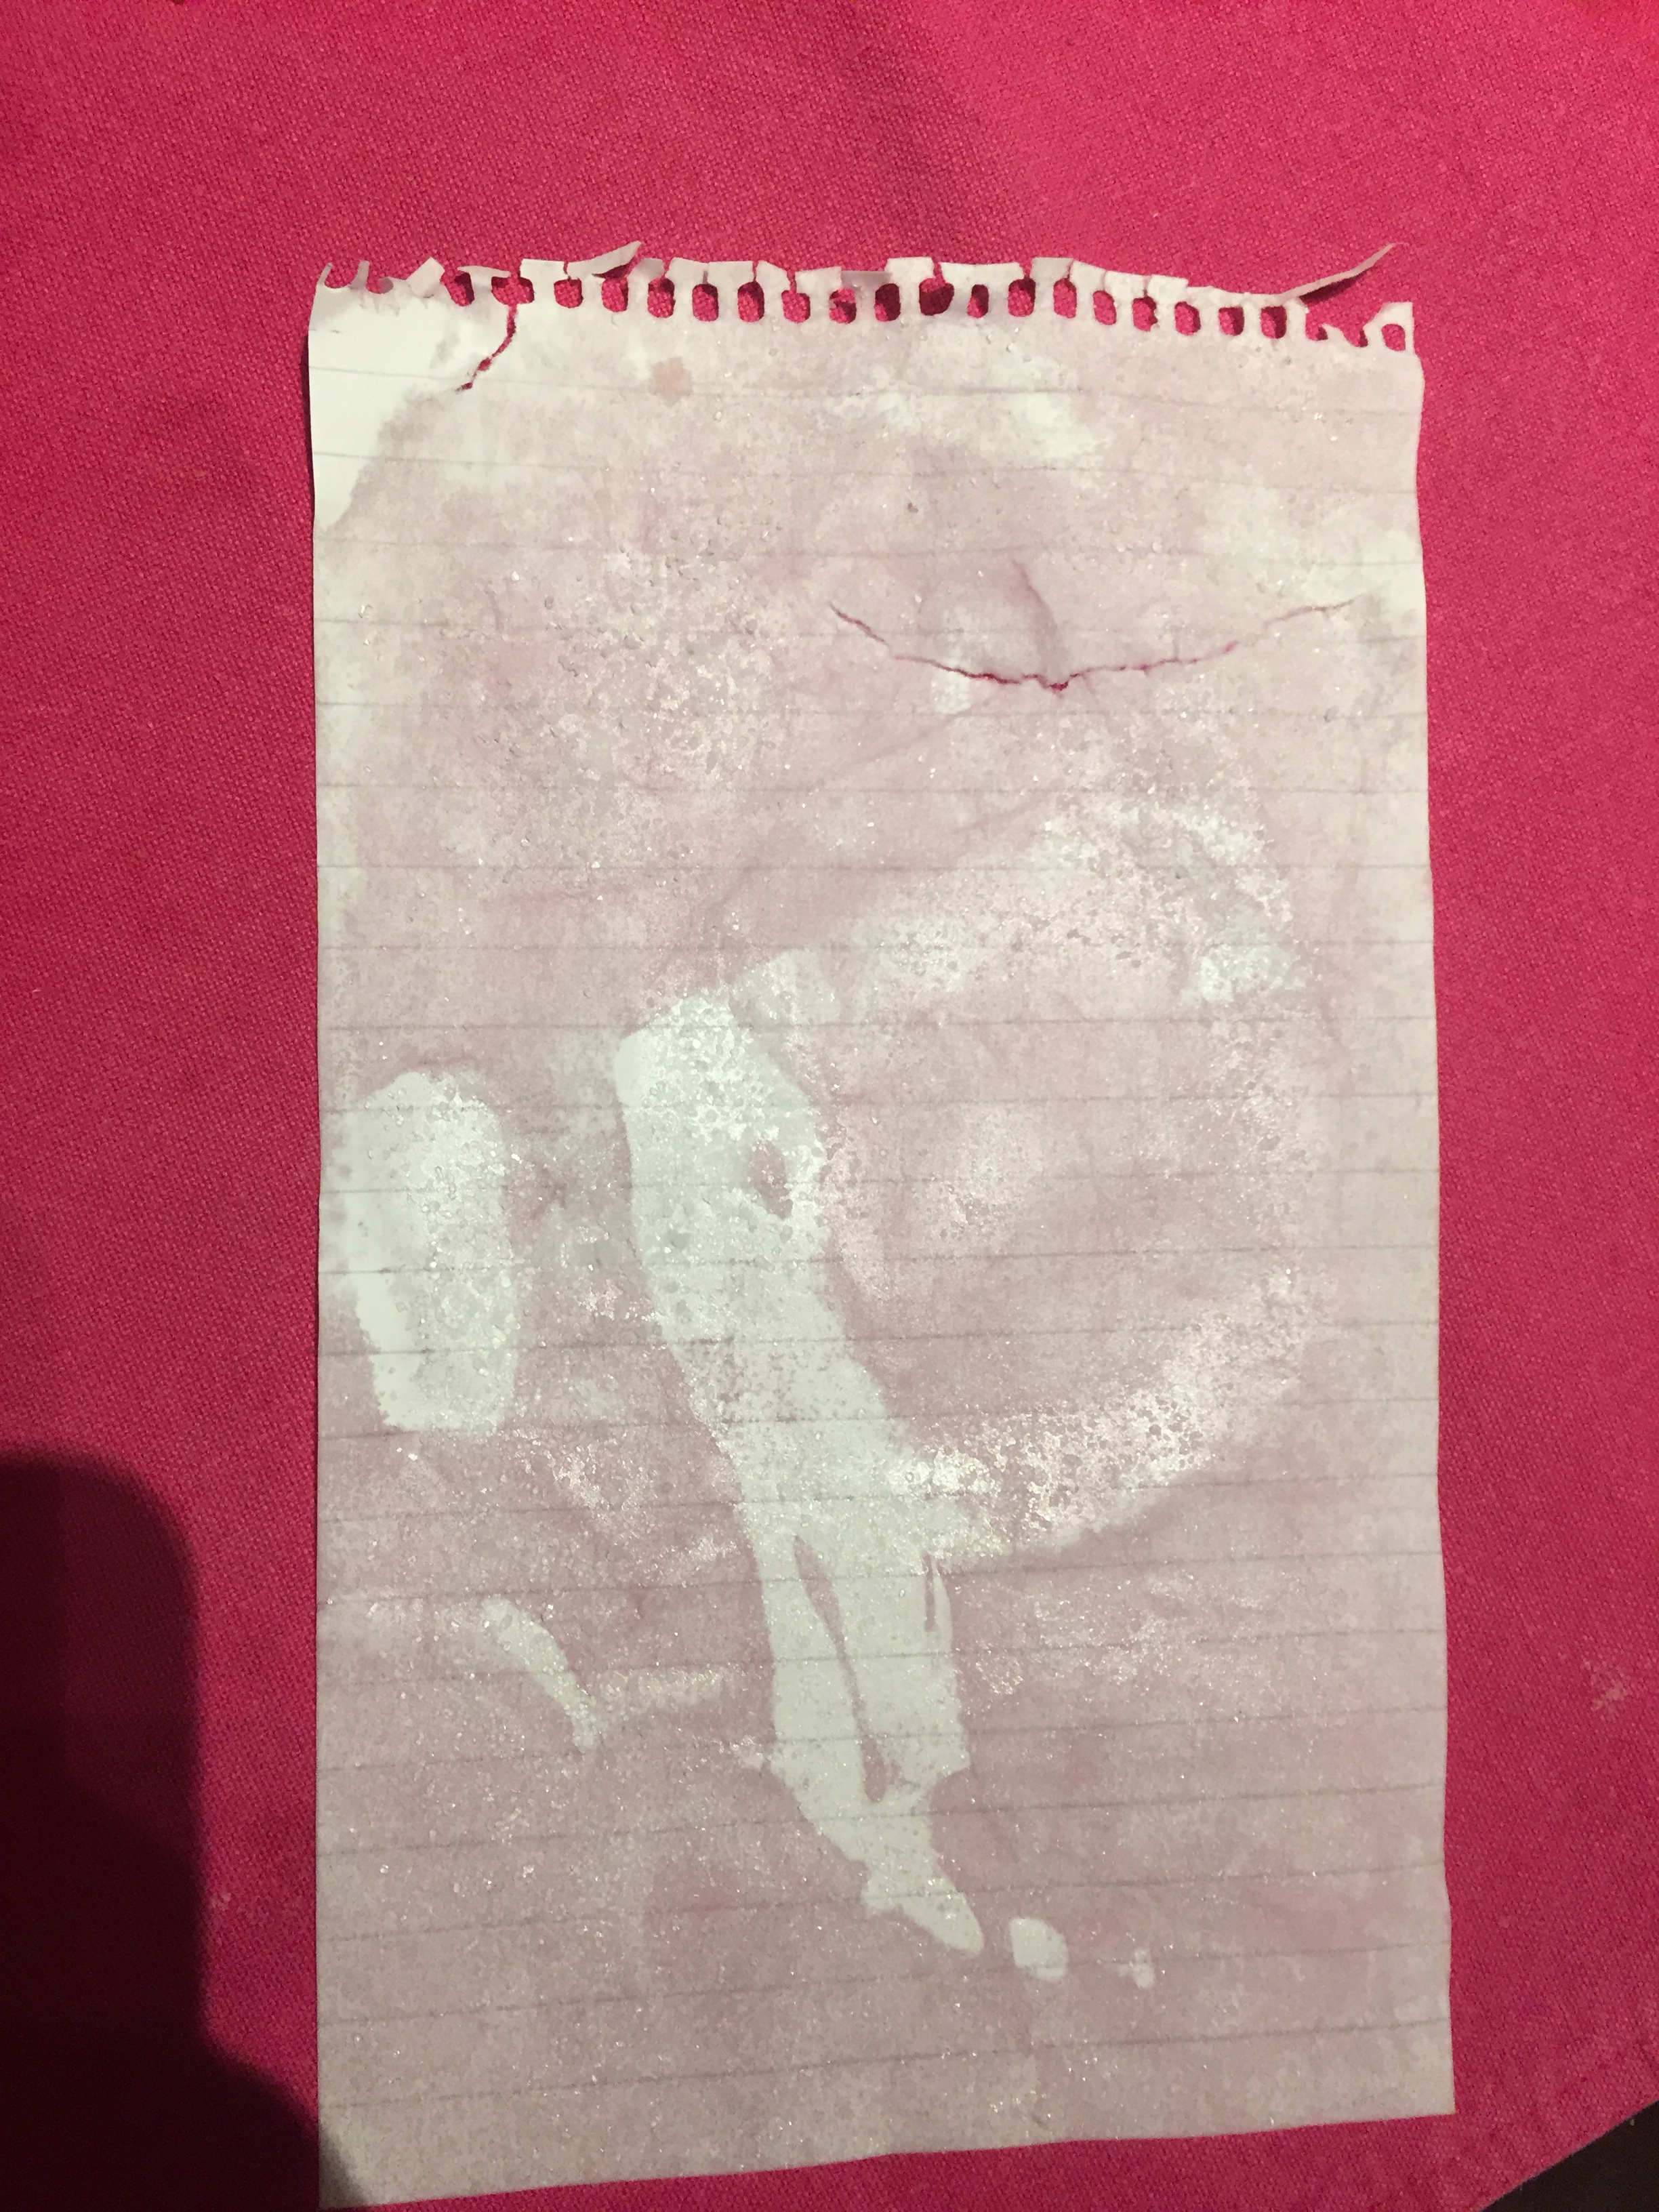
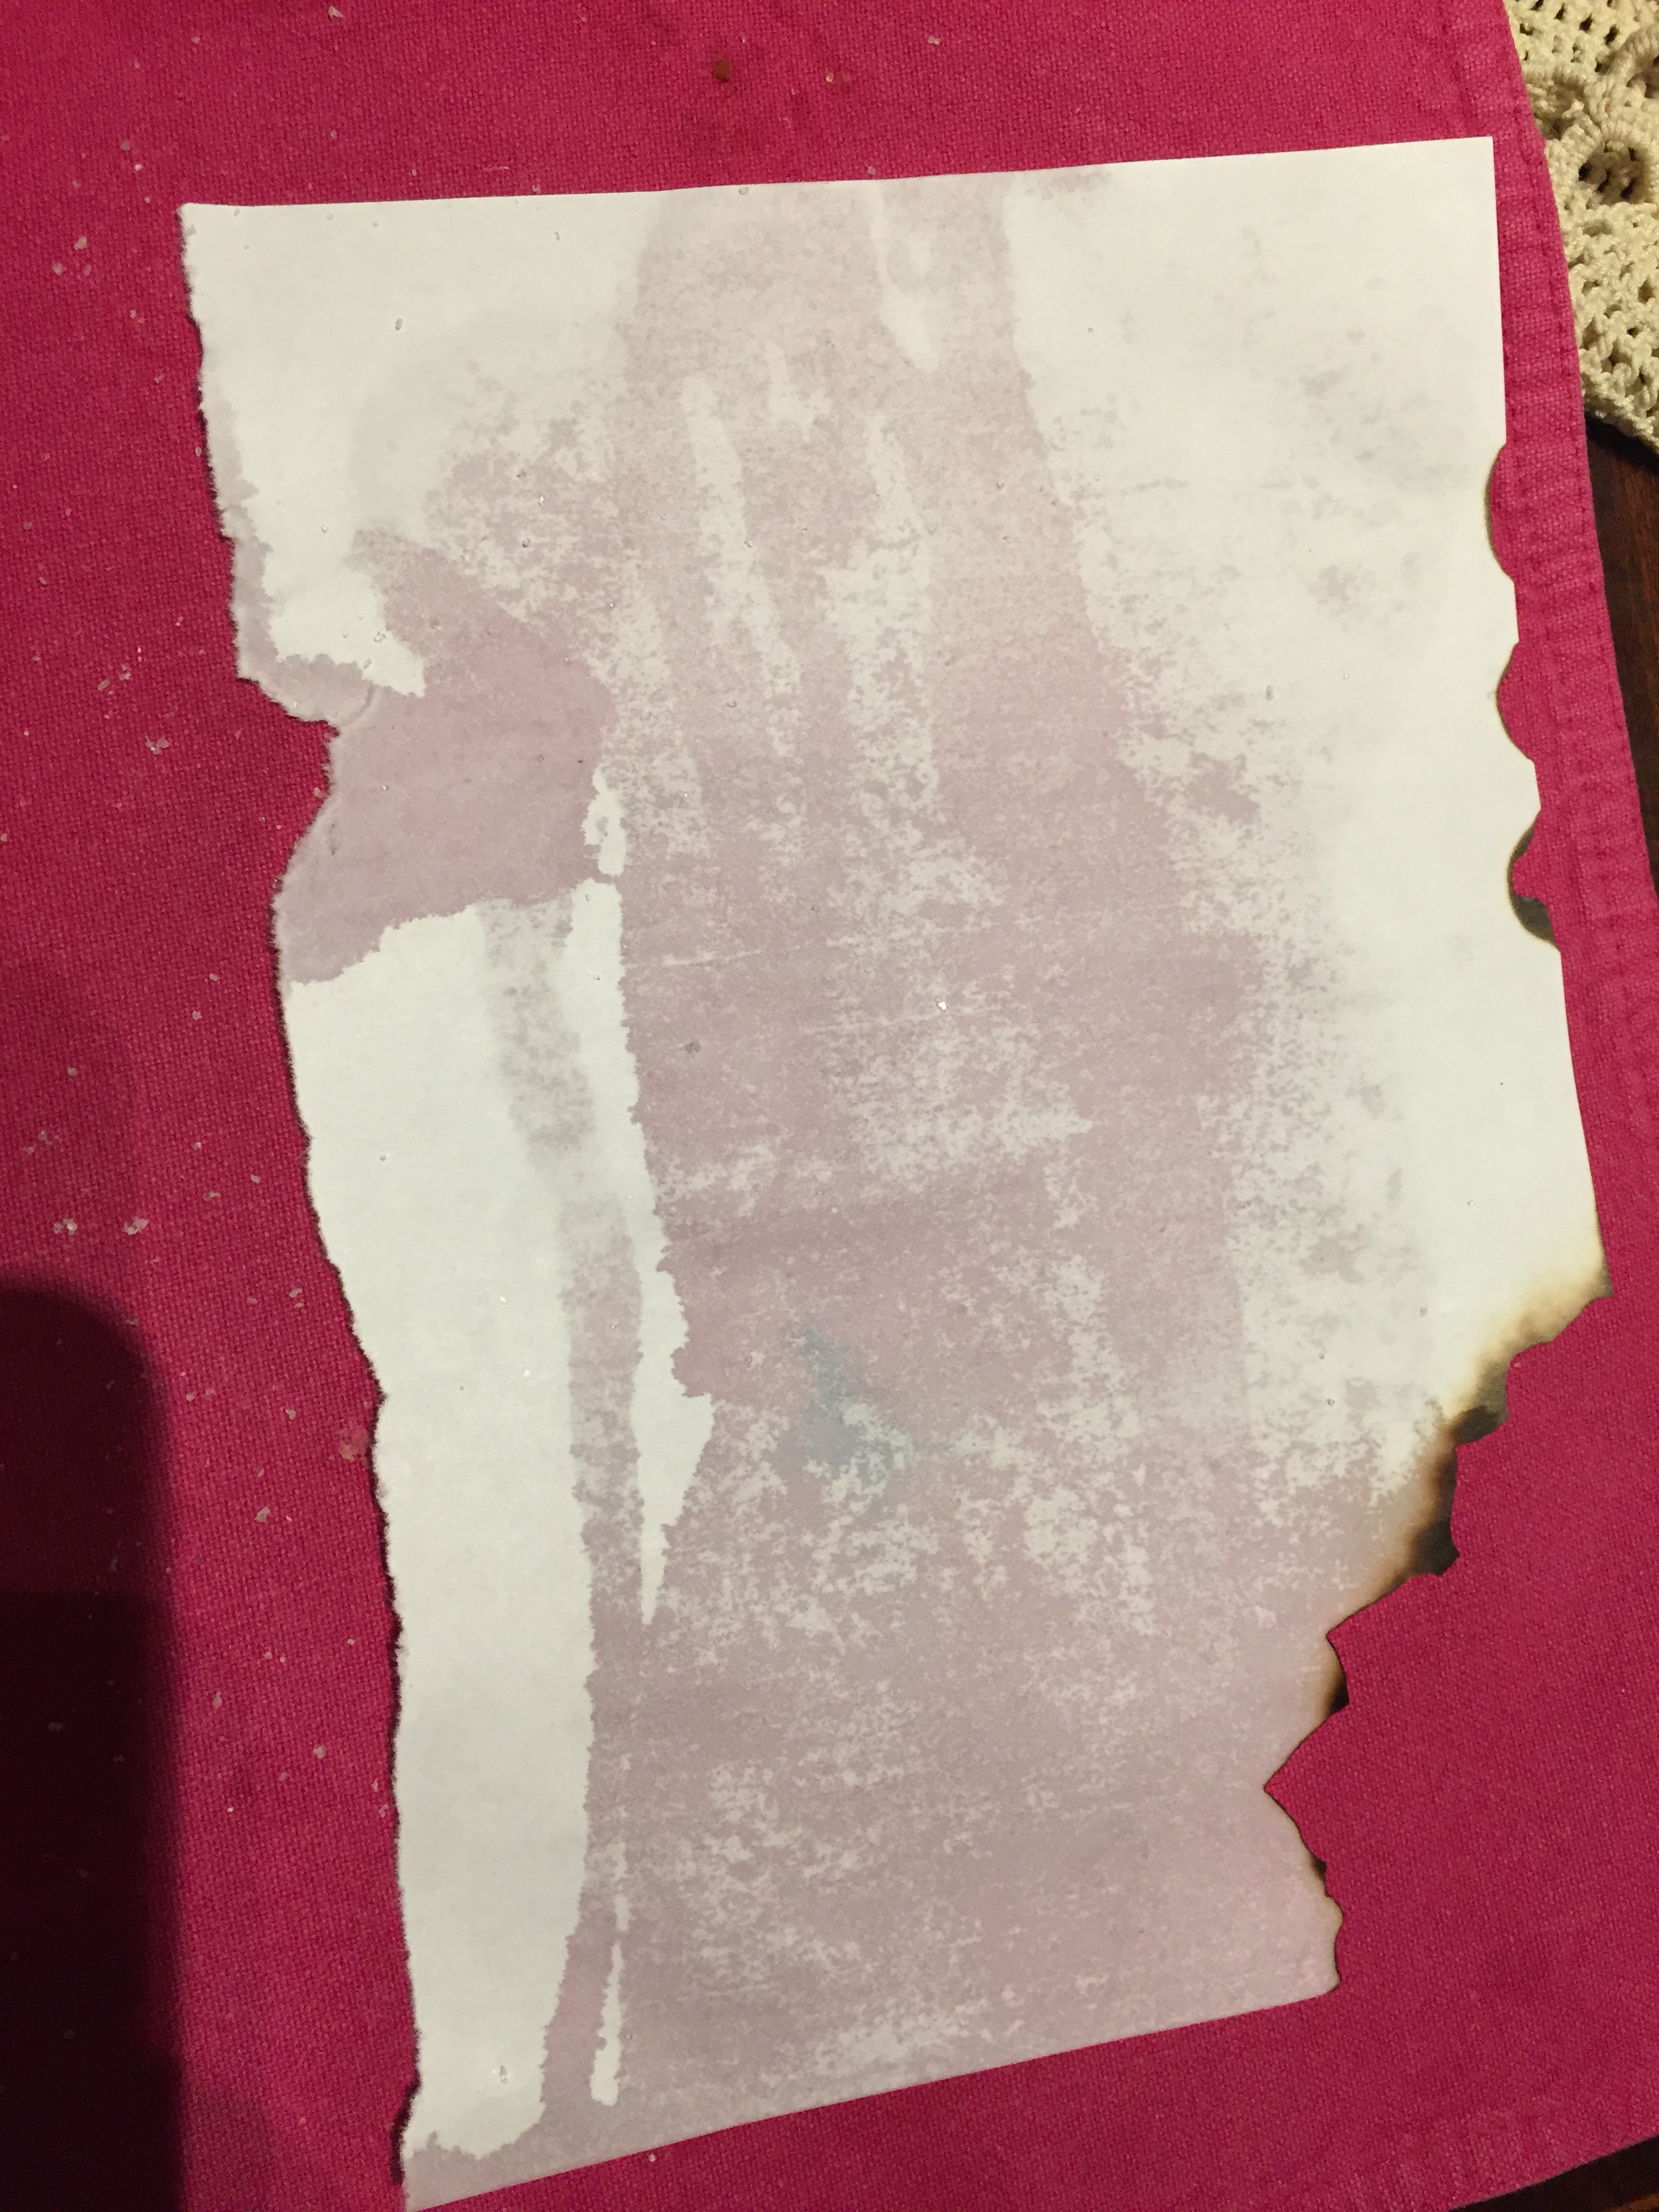
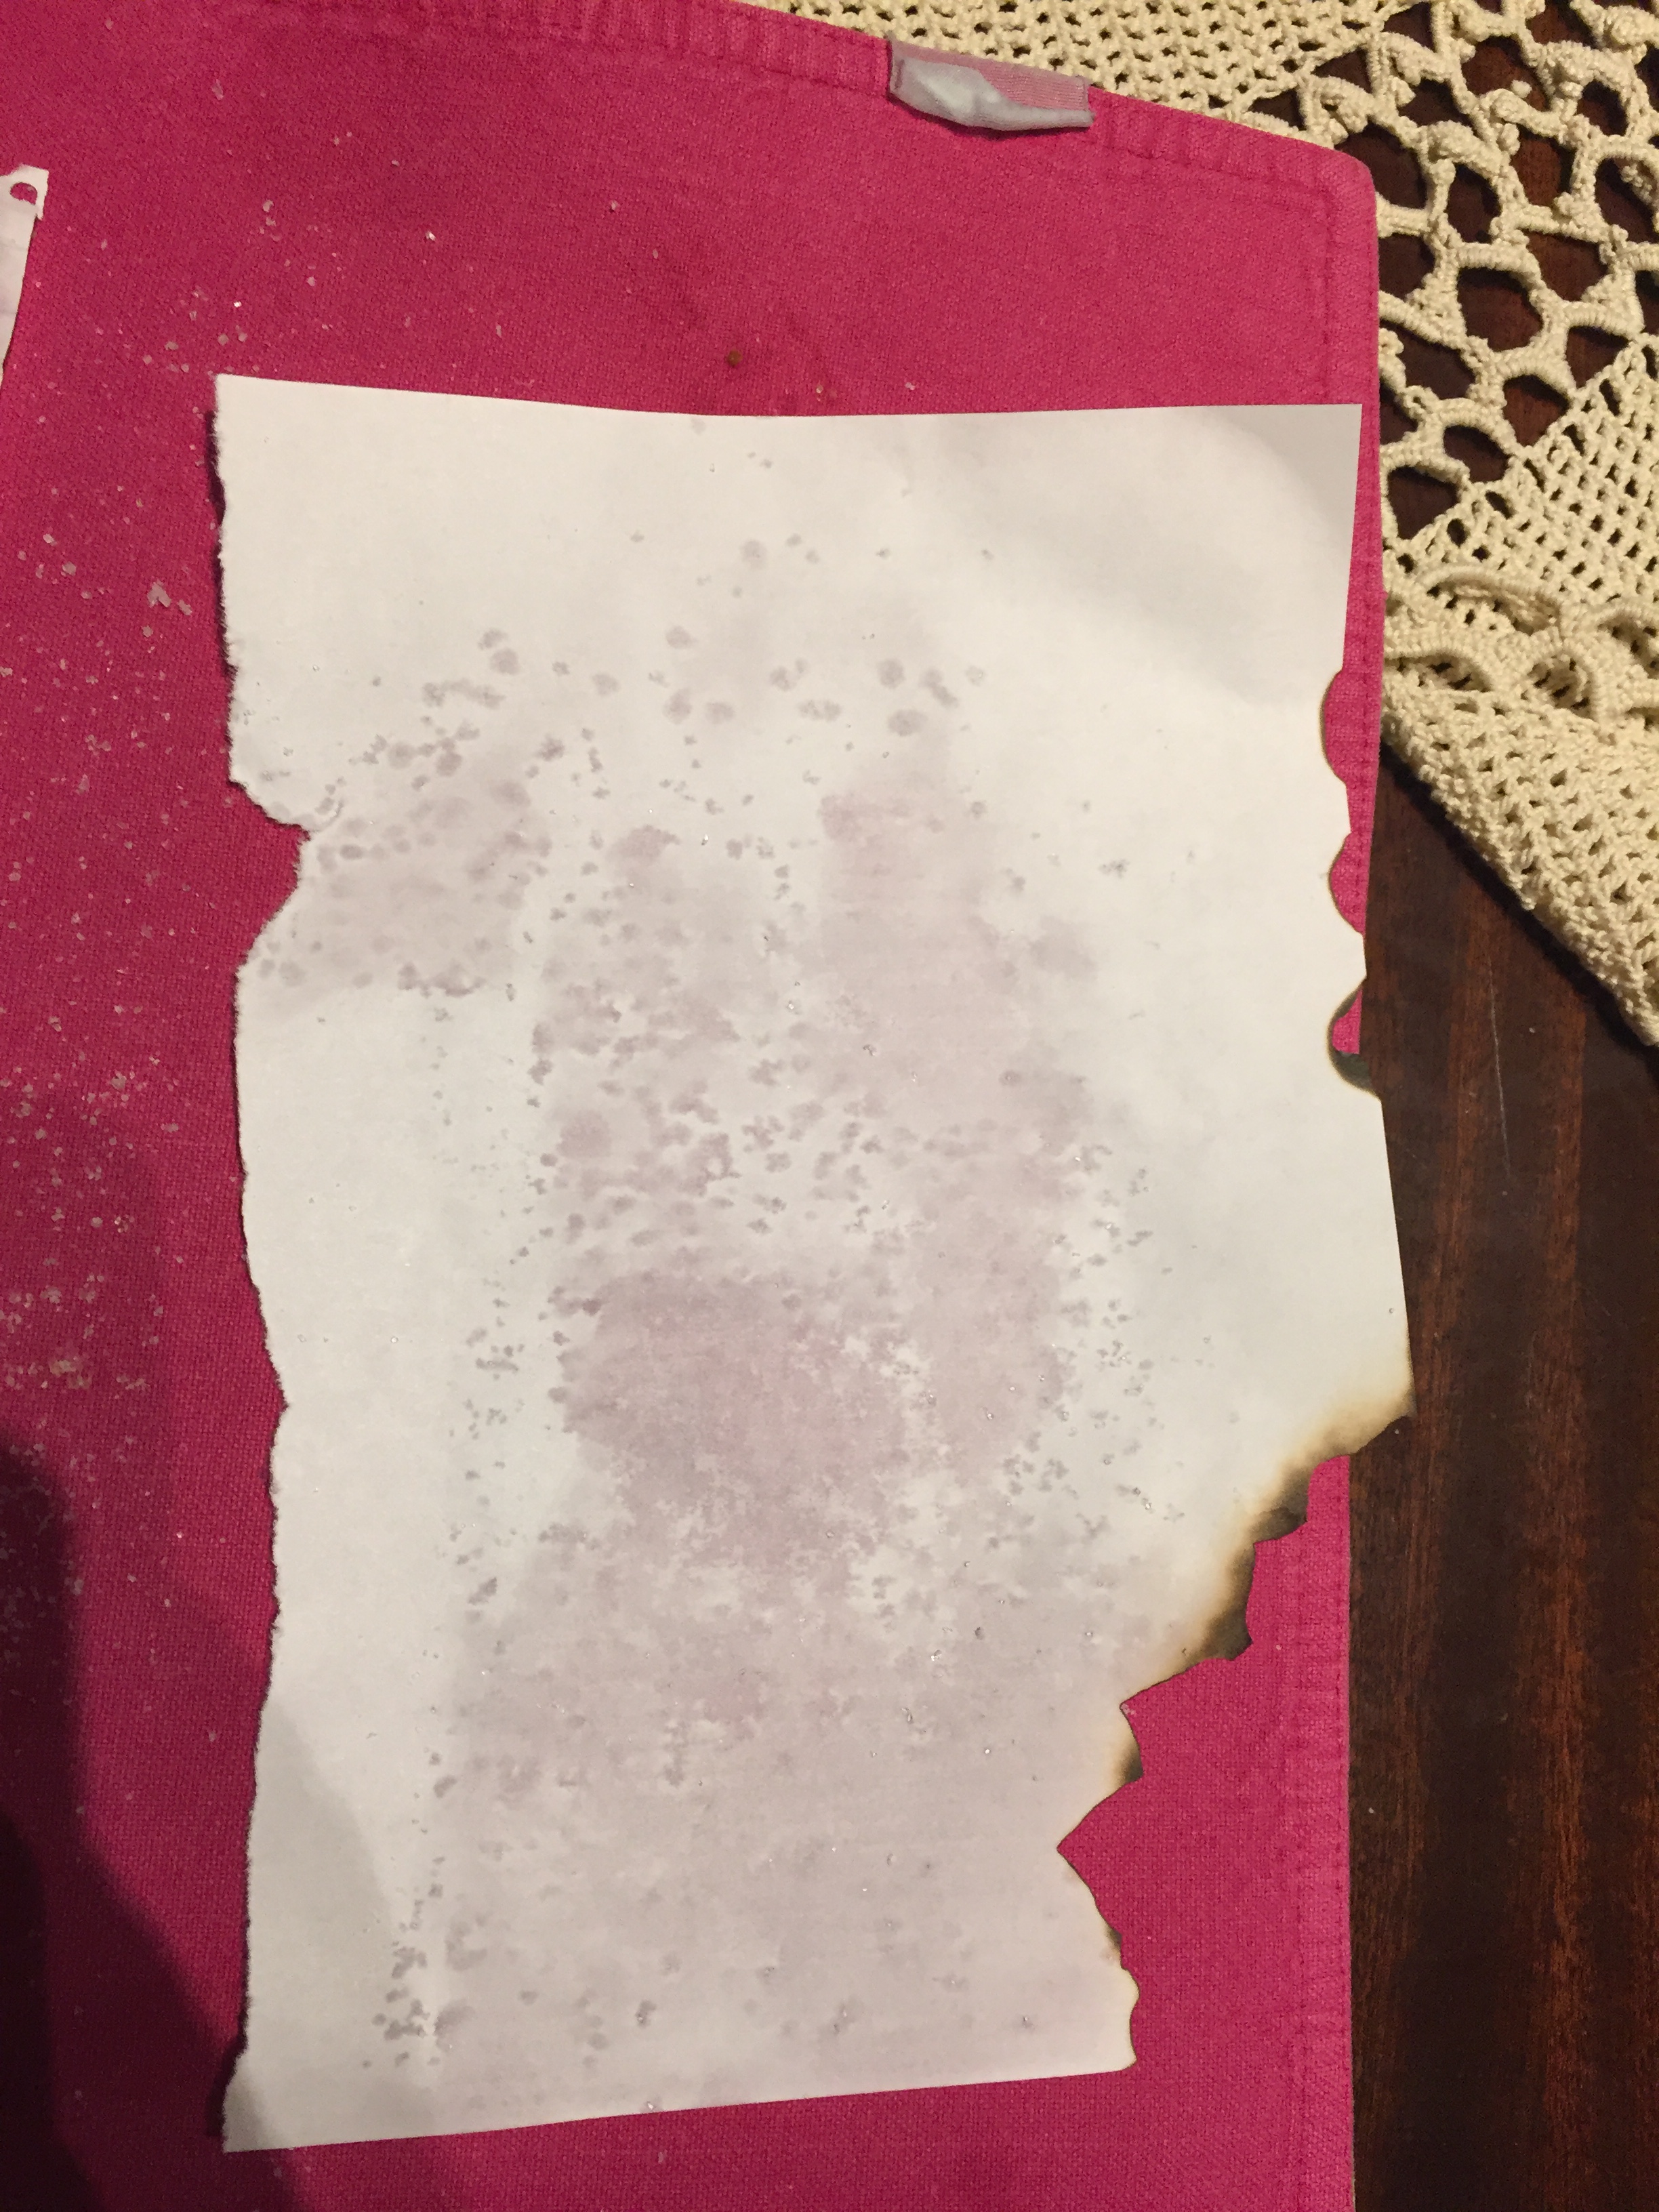
paper rolled and tasseledthe texture changed dramatically when the paper was washed and left to dryused exactly the same technique as above but the paper was wrinkled in my palm before washed and left to dry on this paper, I’ve applied water and then salt on the top which has super moisture absorbance in order to create different waves and motifs as it dries outburning as well as water/salt technique
same pic as above when paper dried out
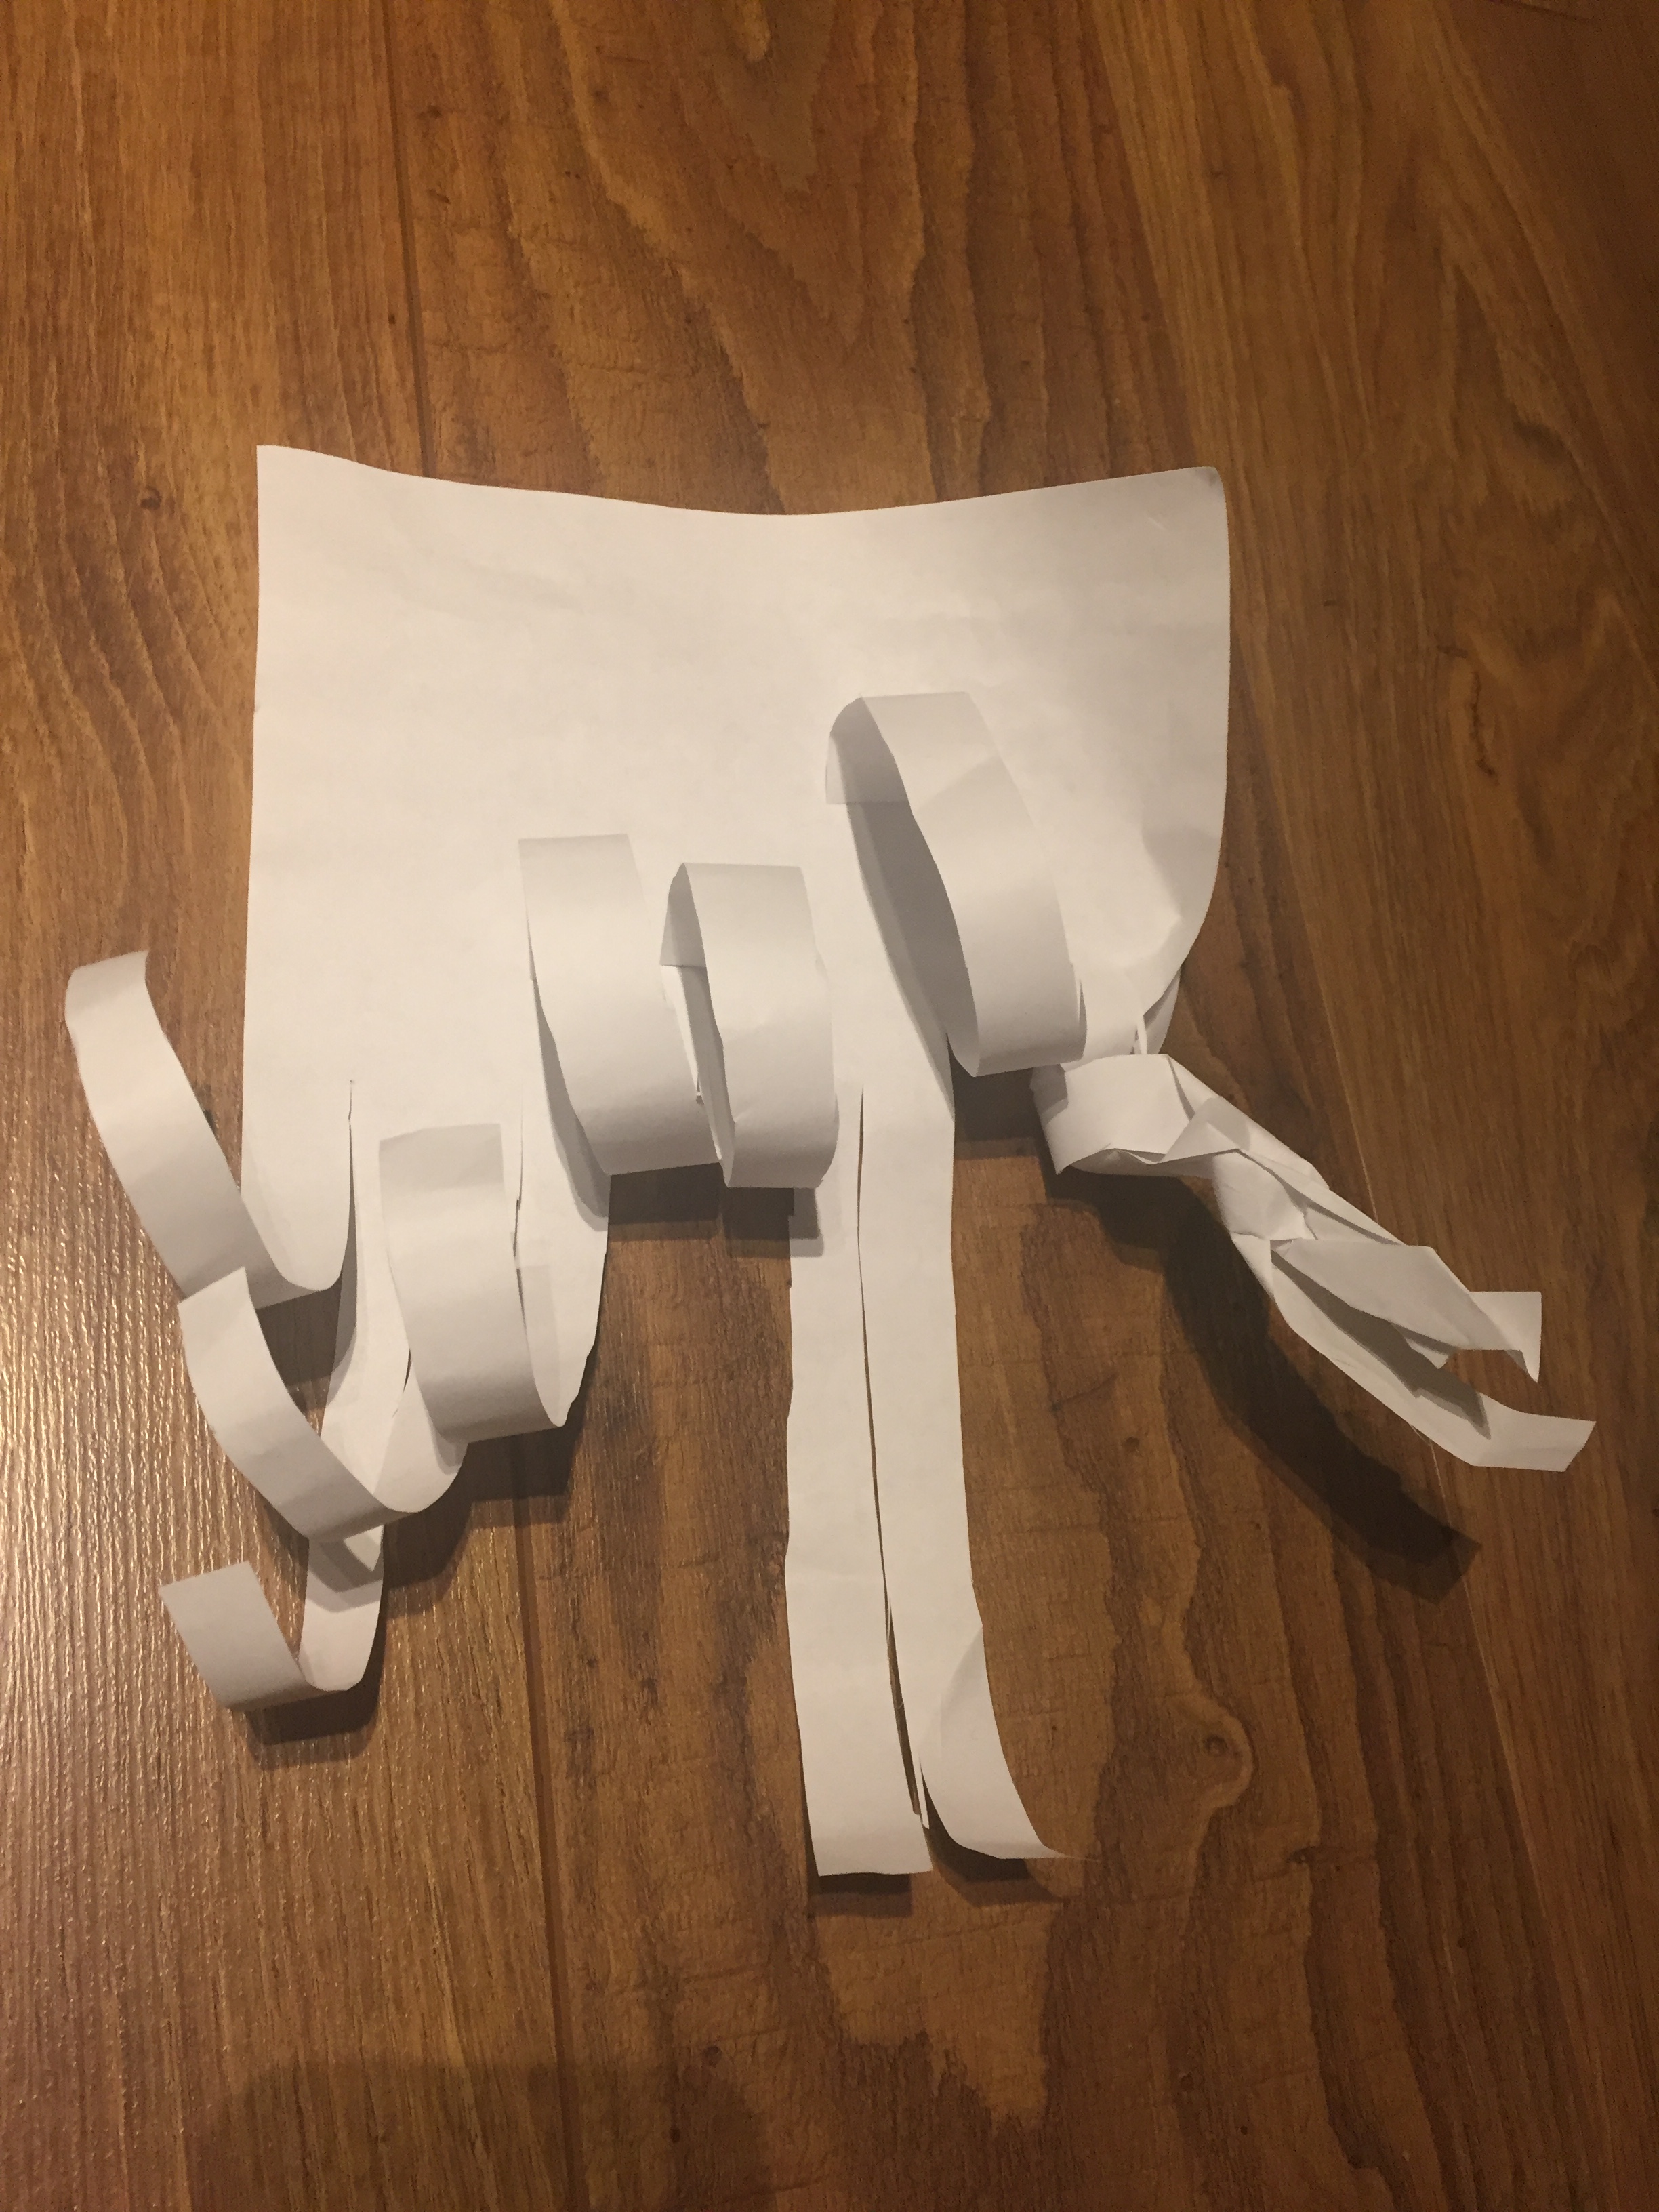
curly fringing
I’ve tried to create a sort of cable using the fringing of the paper but it didn’t work out because of the nature of the paper(too stiff)
EXERCISE 2.3- 2.4 : DRAWING WITH STITCH -DRAWING IN A LARGER SCALE.
In this task we are asked to draw with stitch on the sketches we’ve picked on assignment 2.1.
Having picked an electronic form pictures I’ve decided to literally draw with stitch: Use the graphs created and picked as a Jacquard and knit them all on the knitting machine!
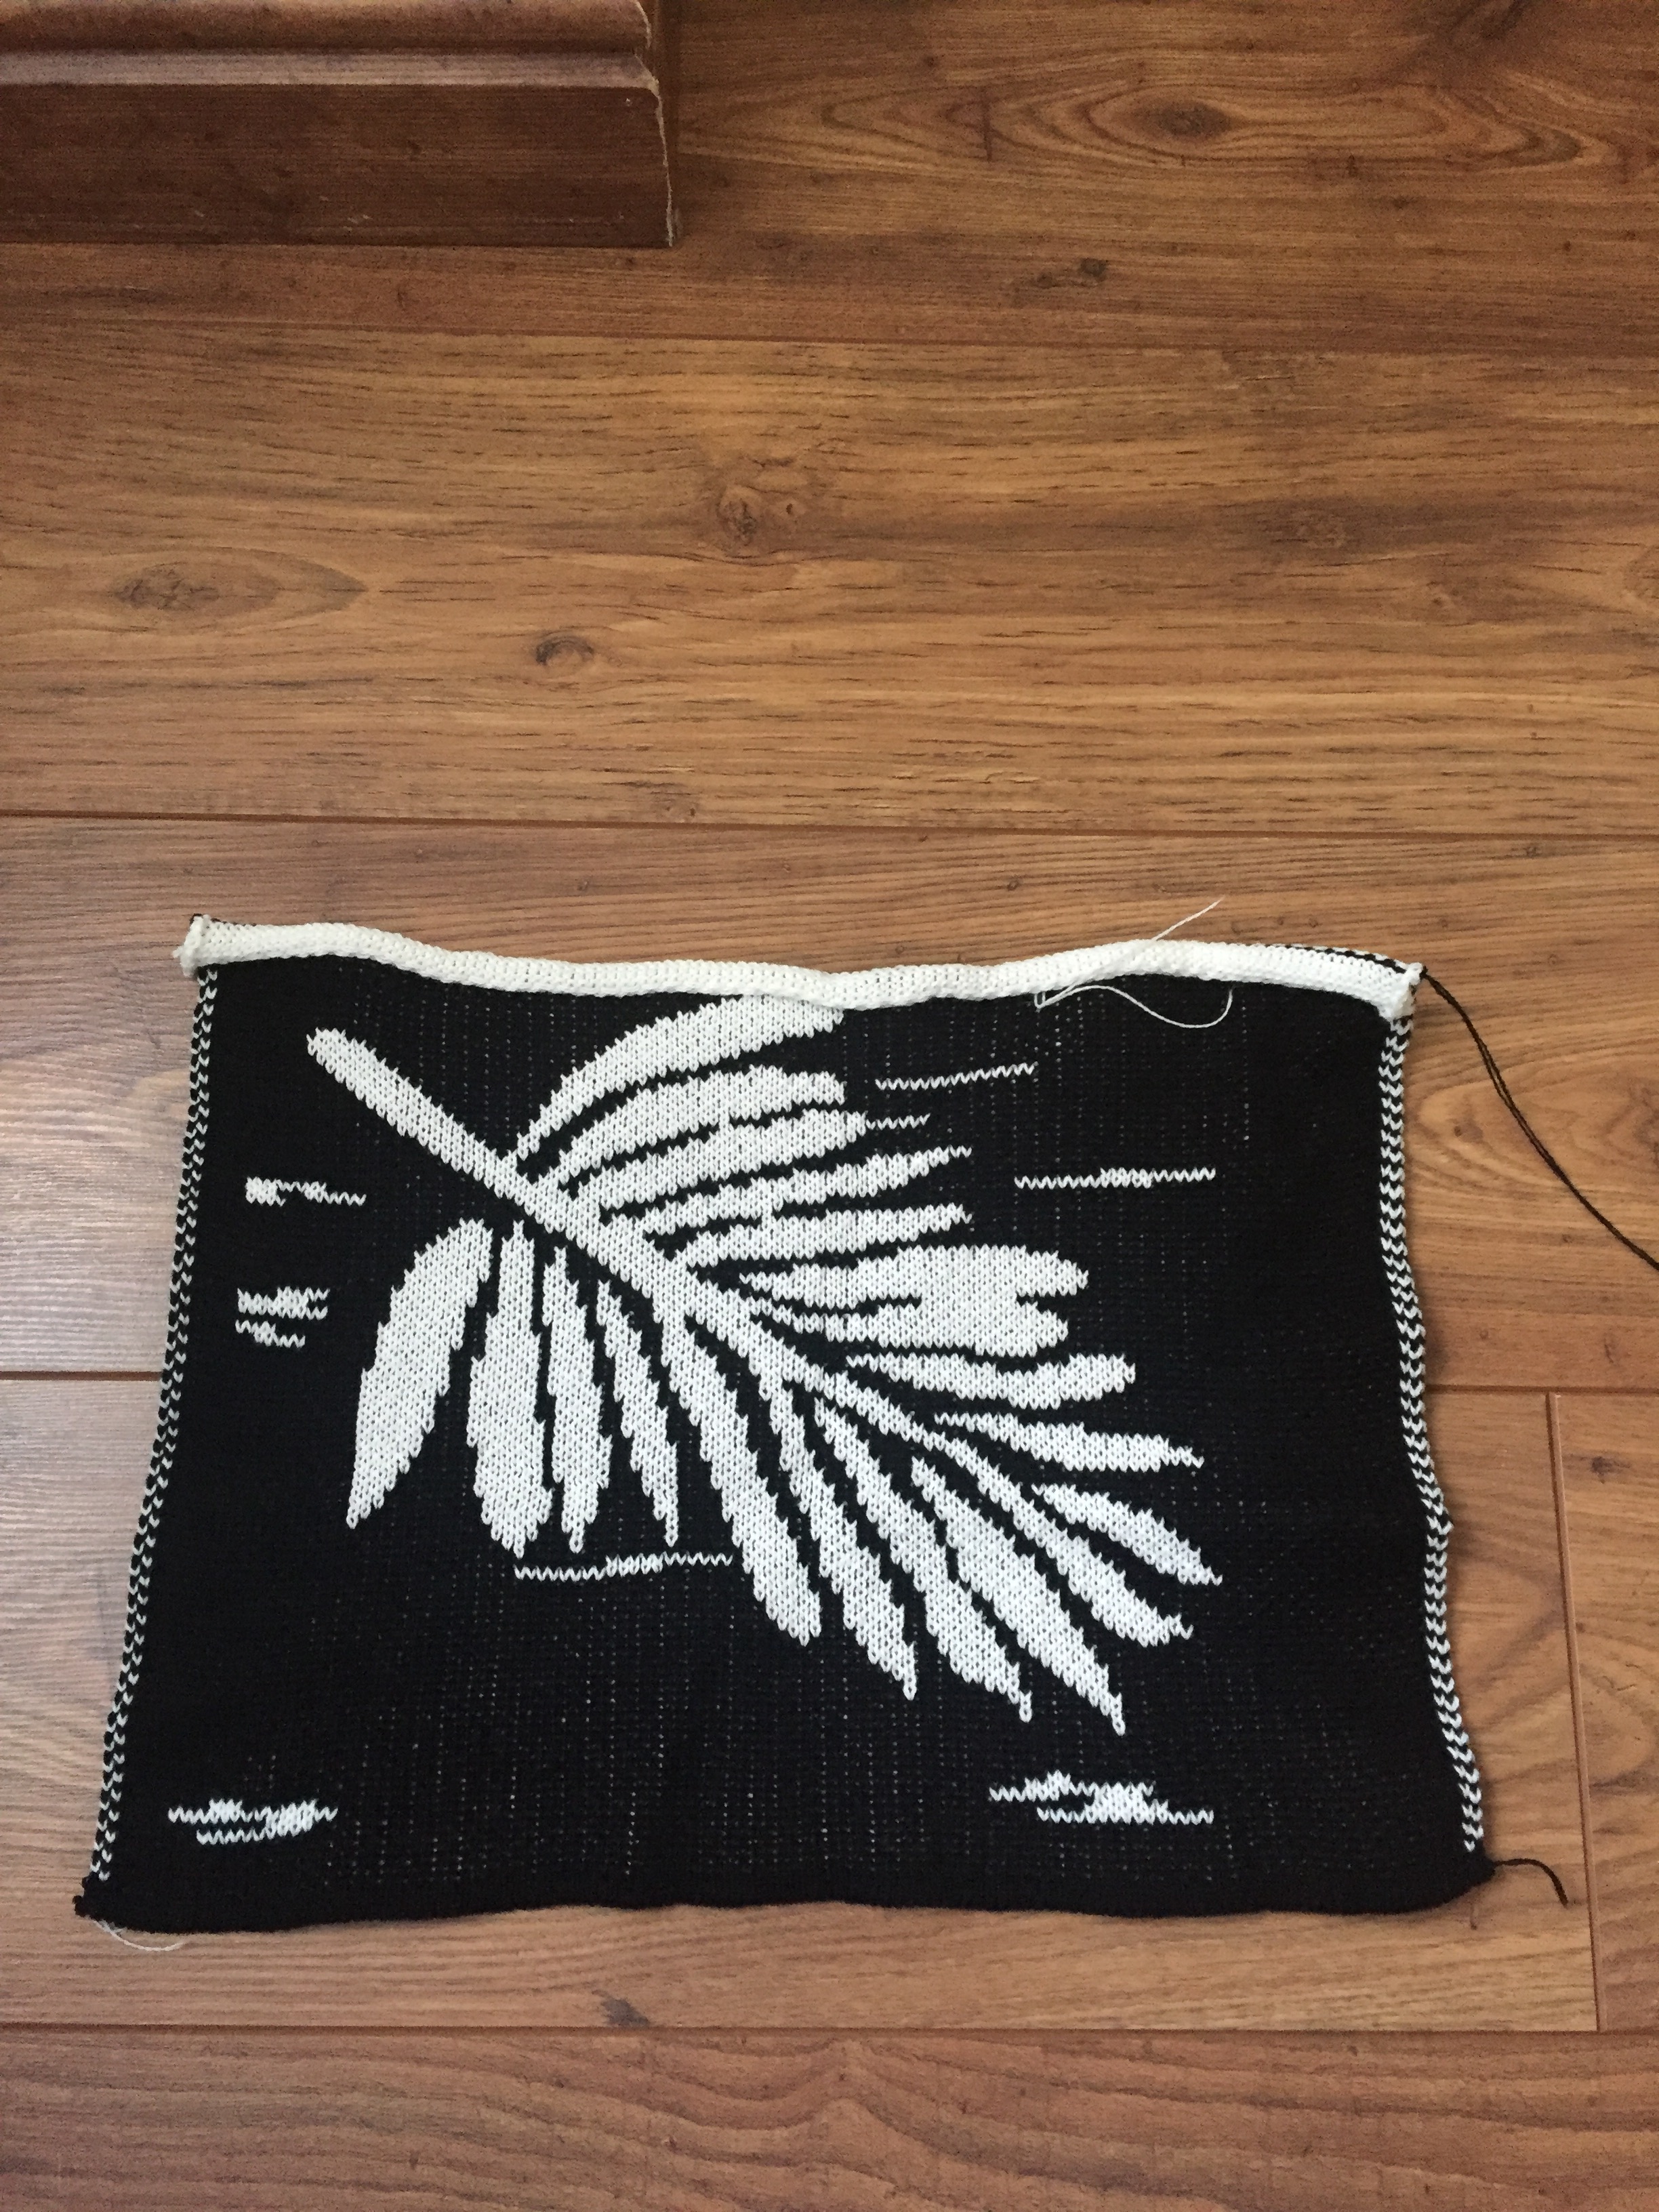
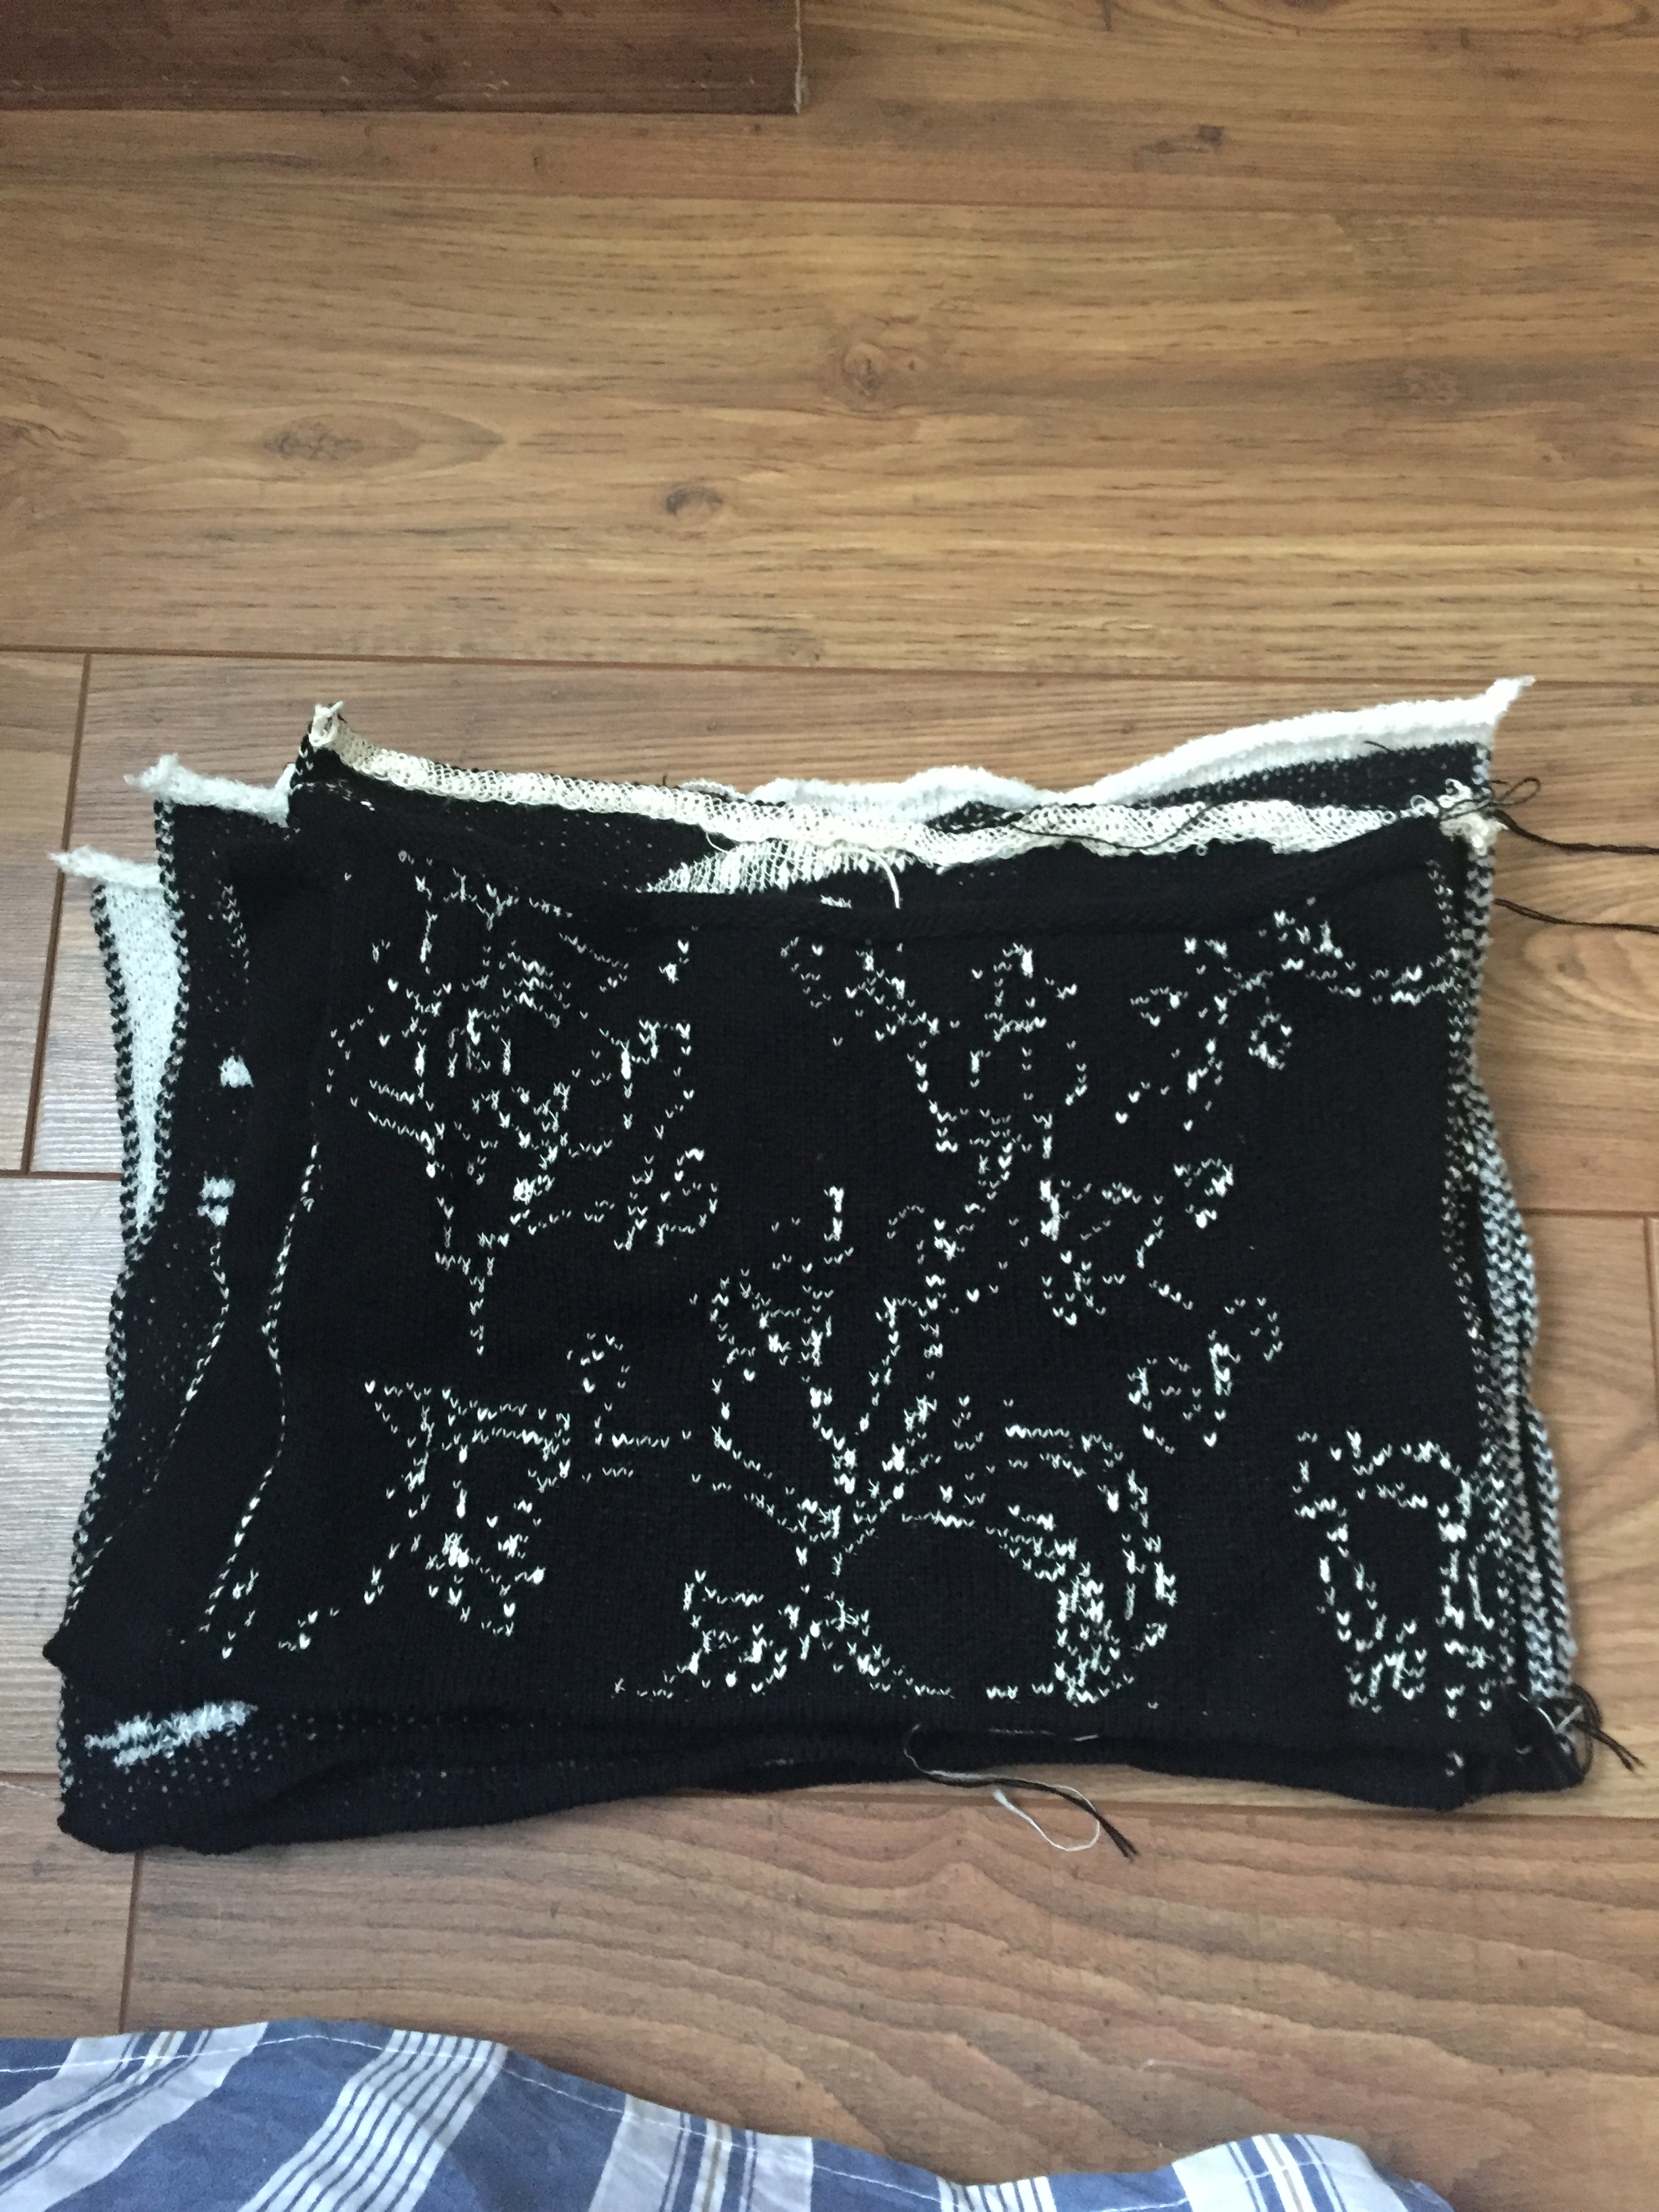
this is a first tryout of the fern style I’ve picked .it’s in an acrylic yarn .
that’s the original fern design
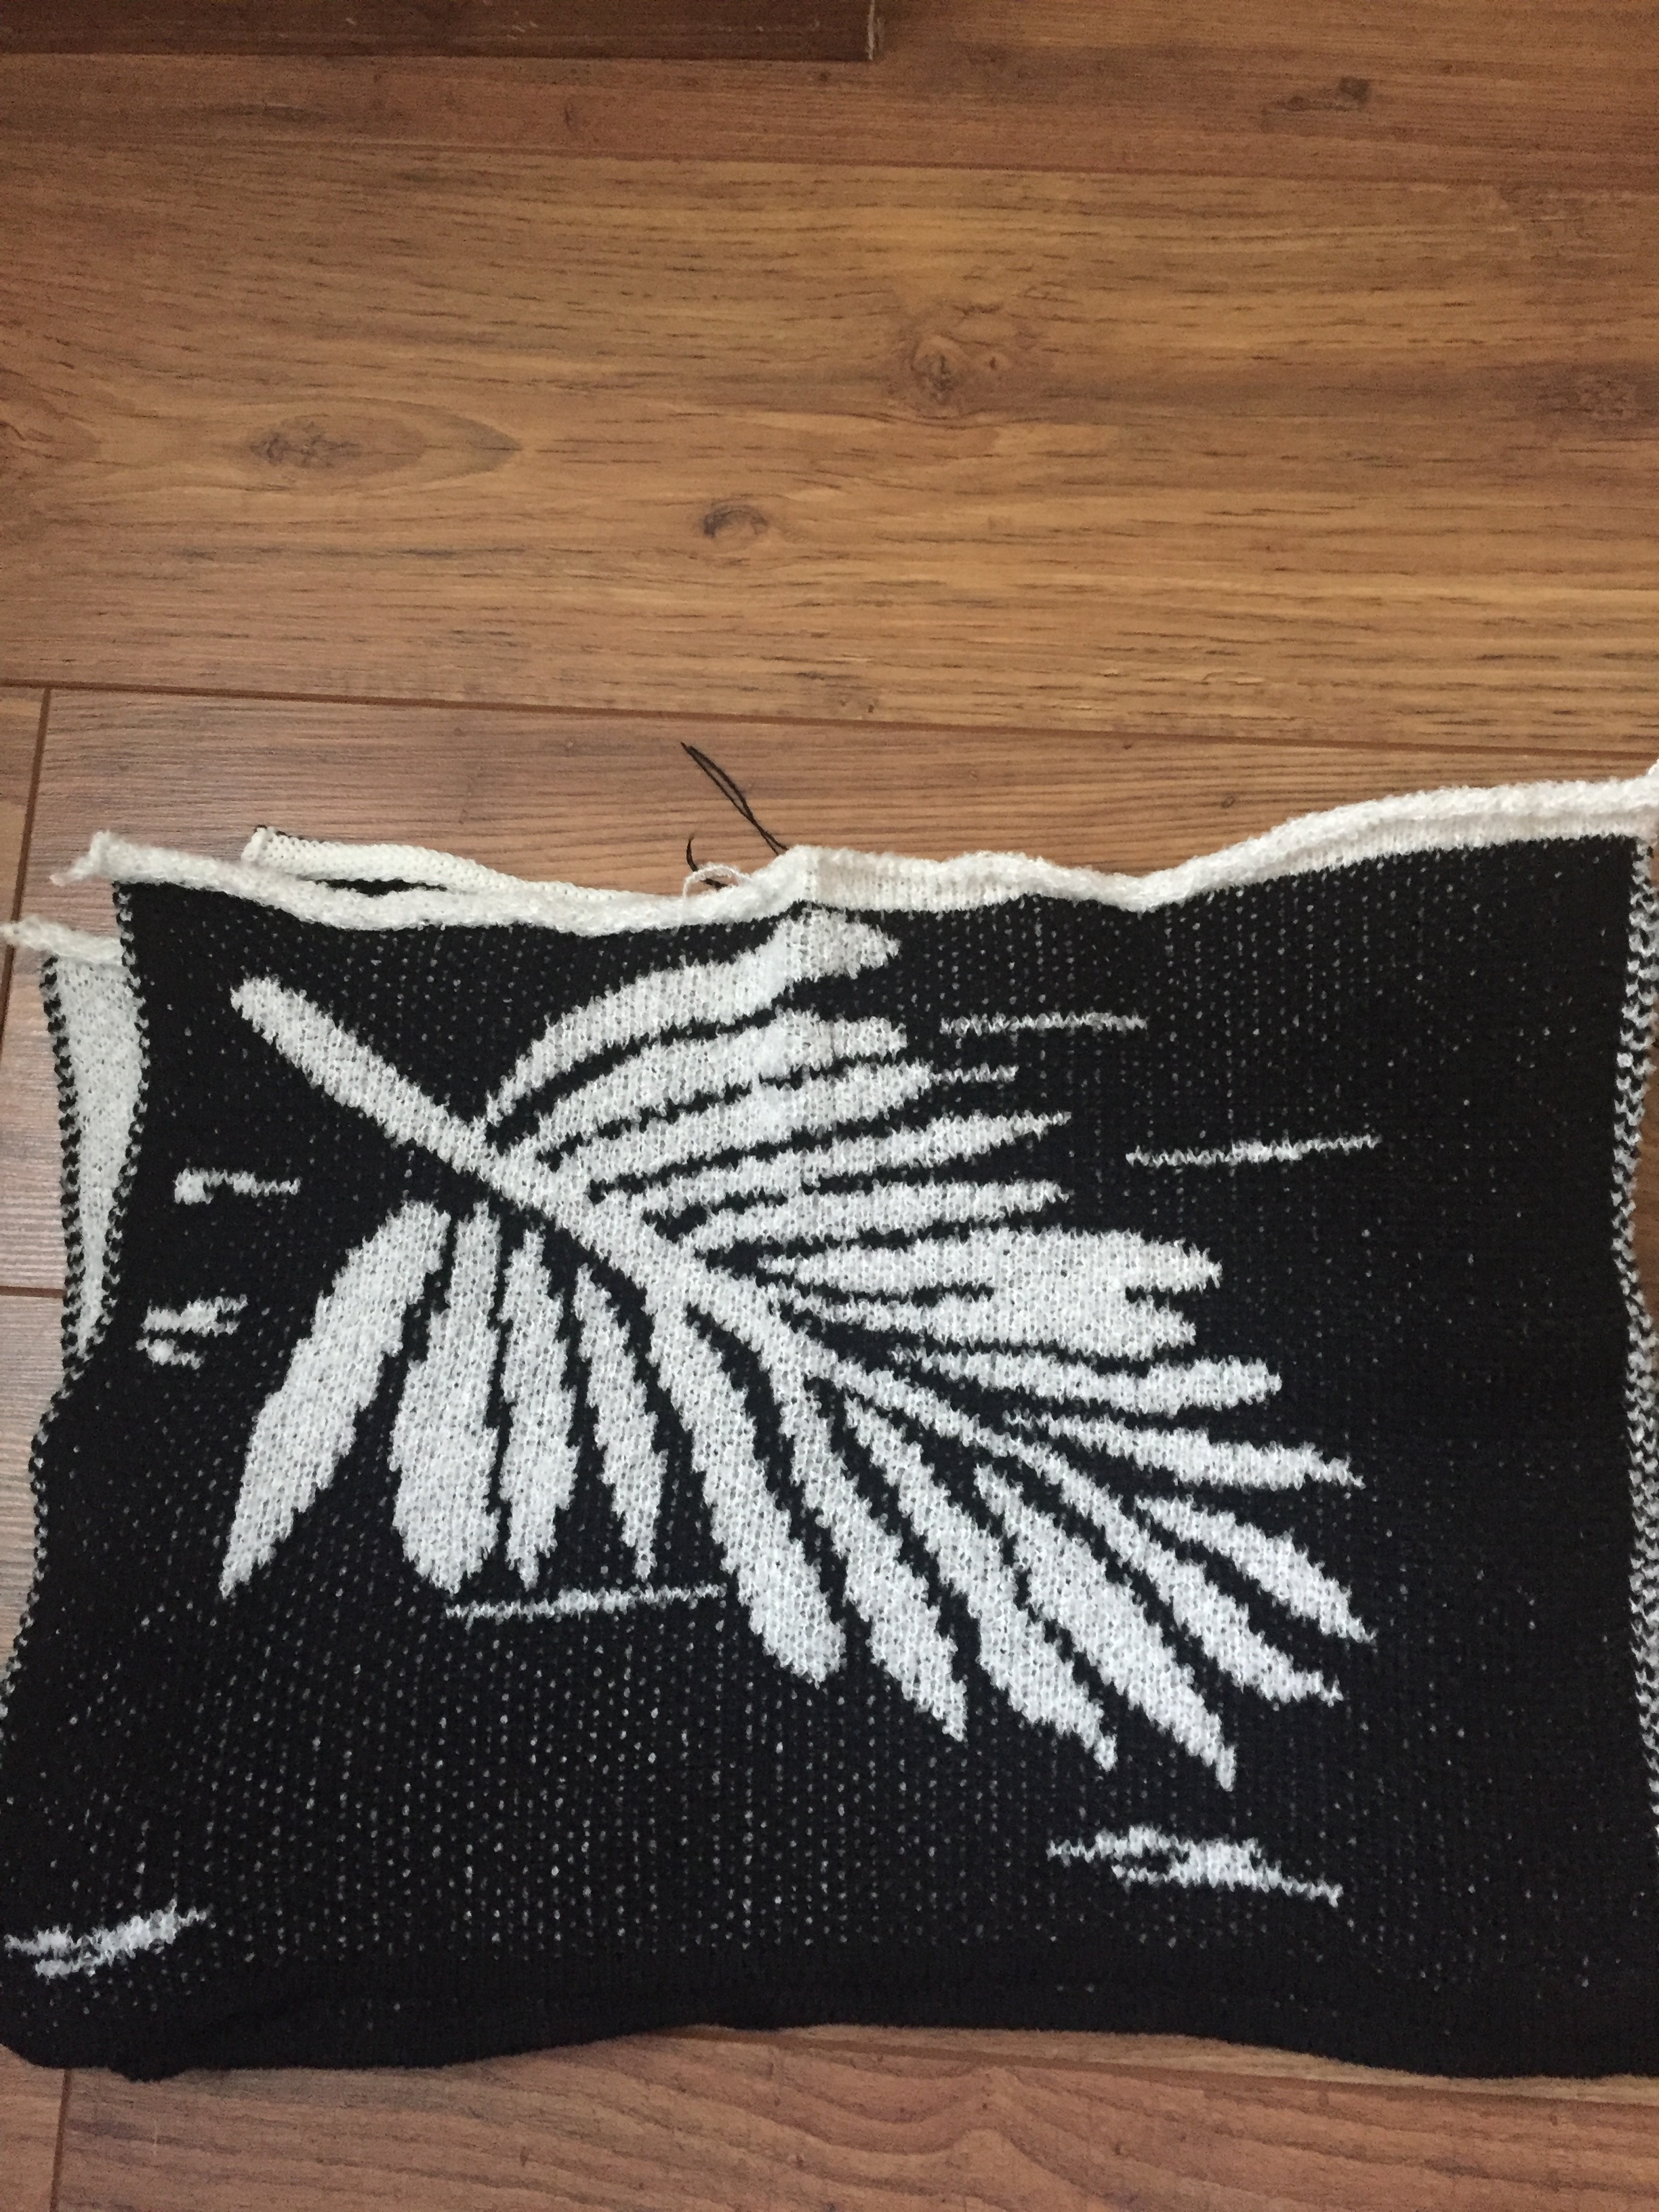
I’ve reversed the cols and used boucle yarn for base.
boucle yarn to create the fern
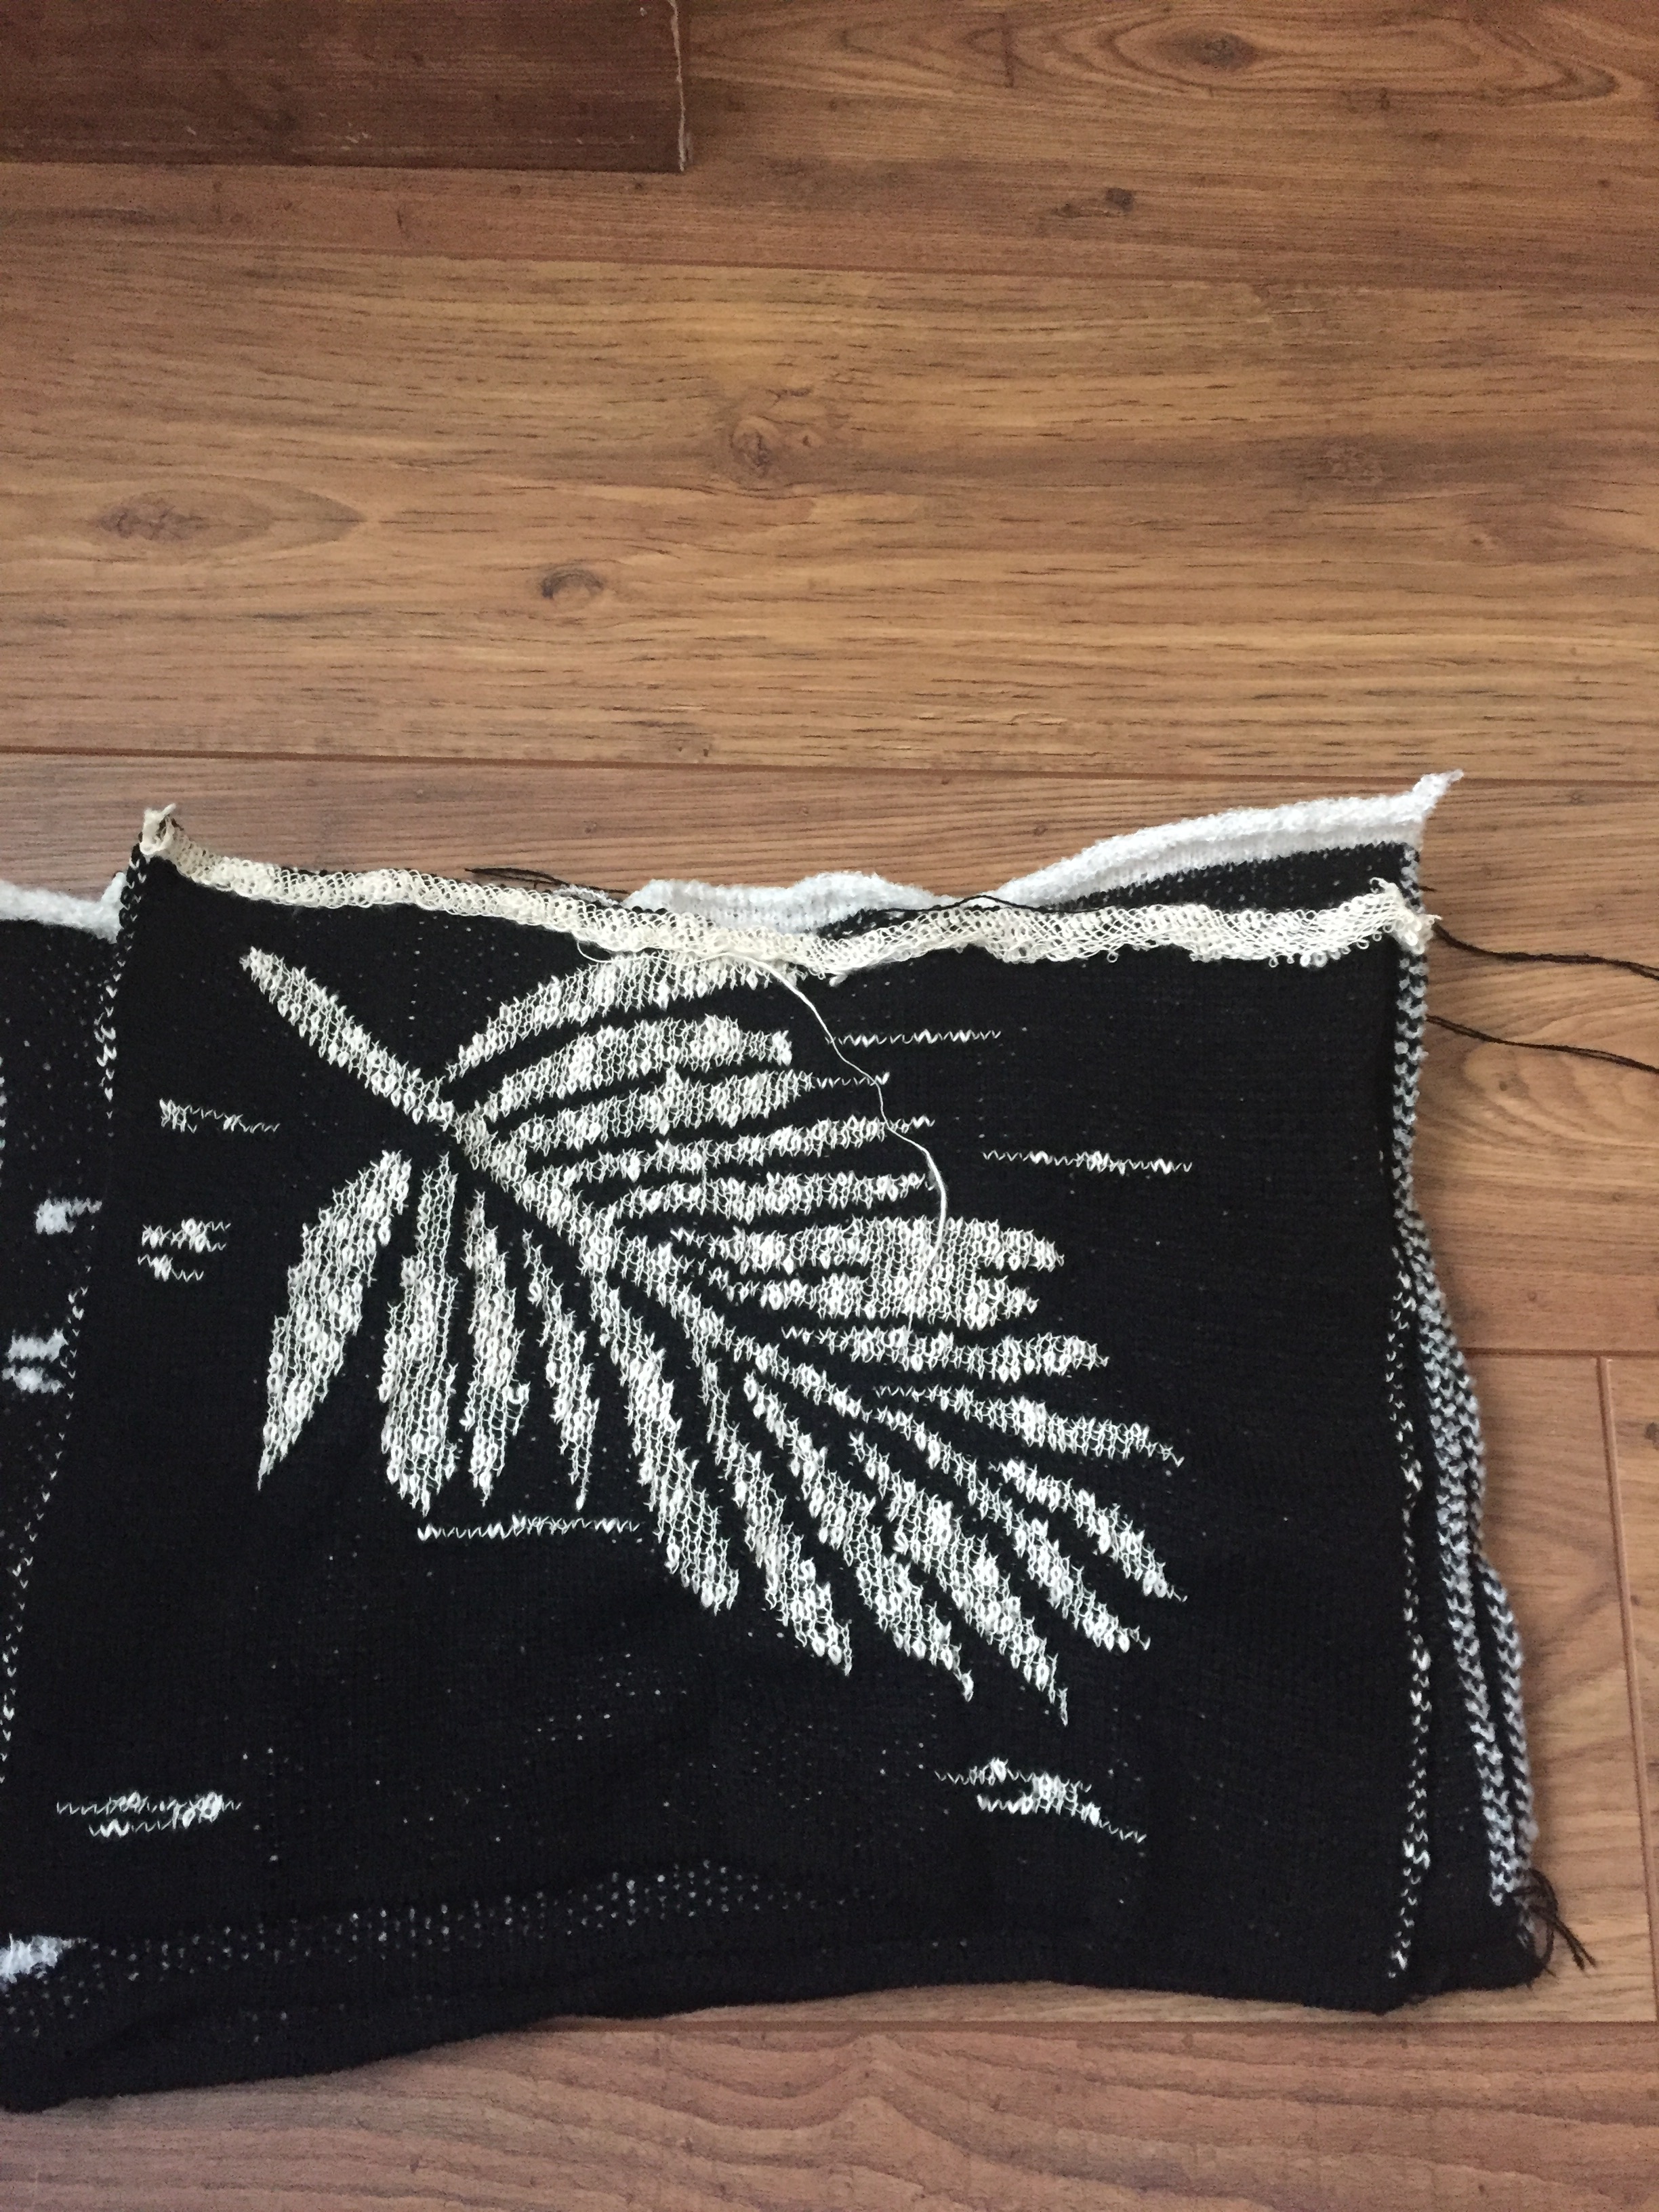
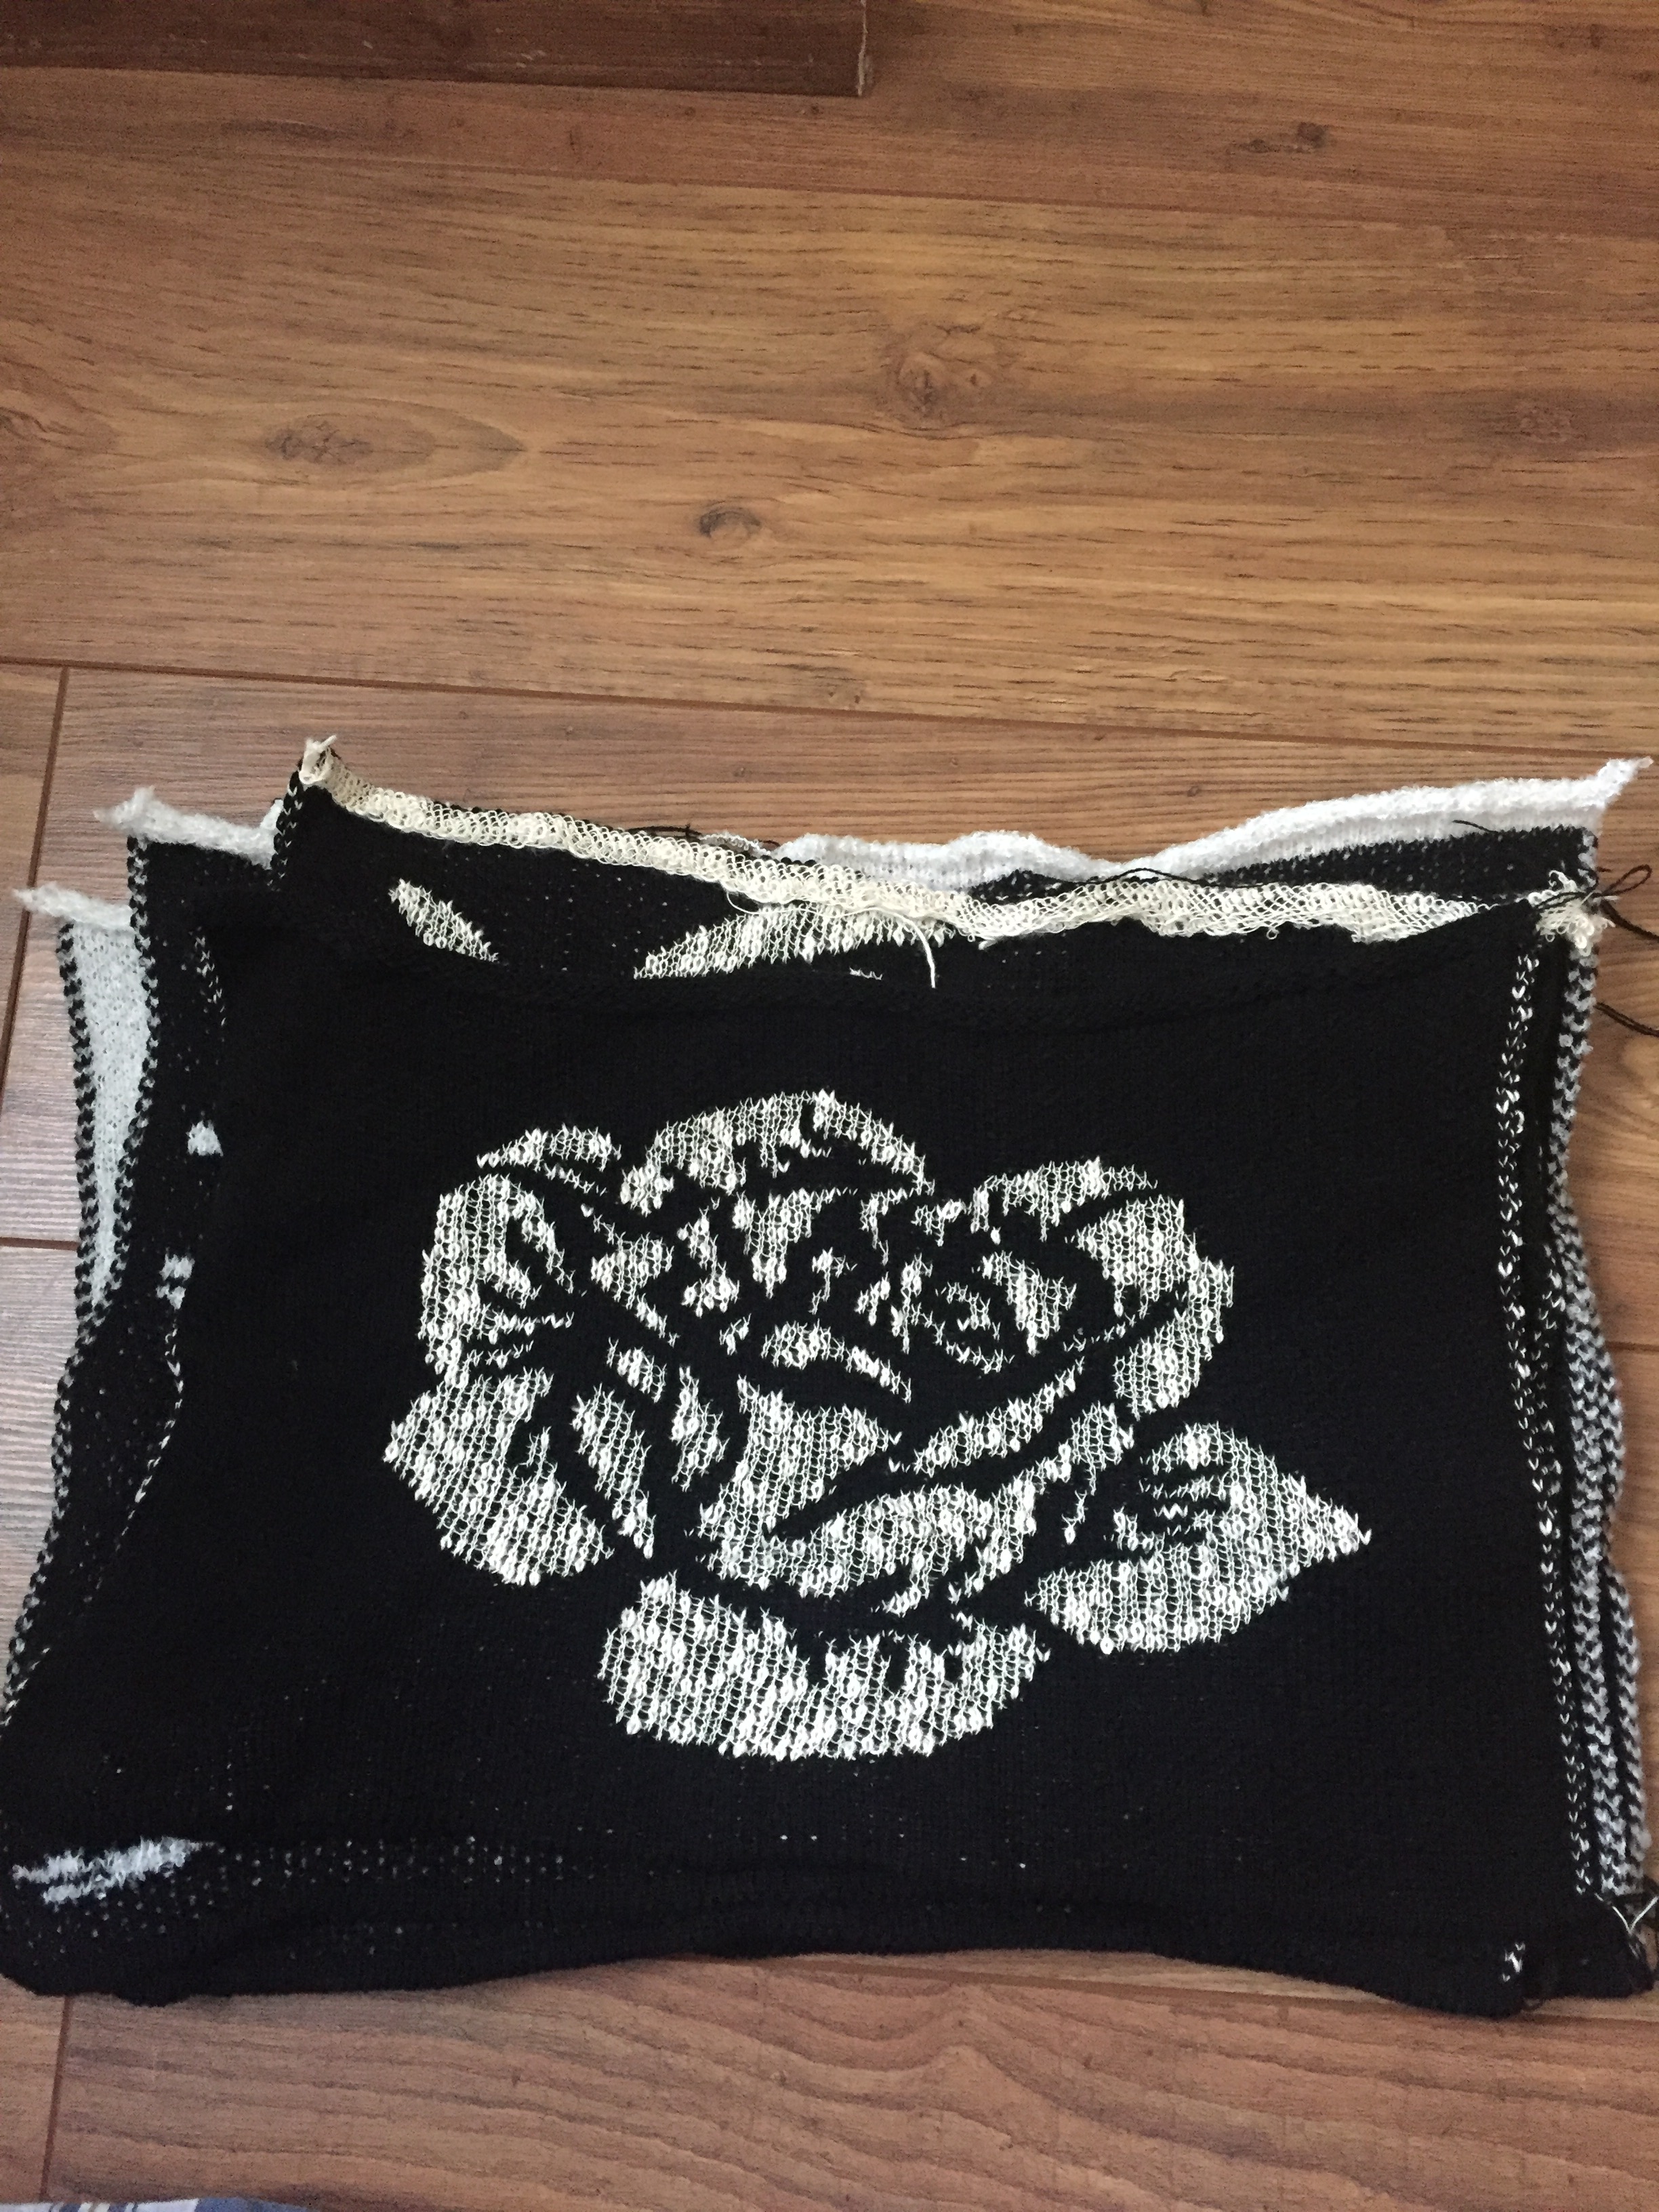
mohair-like yarn after experimenting with different yarns-textures I came up with the best option : cotton slub (thick and thin) yarn which gives a very interesting looking fabric.rose graph
this graph was originally 3 col but I’ve converted it into monochrome.
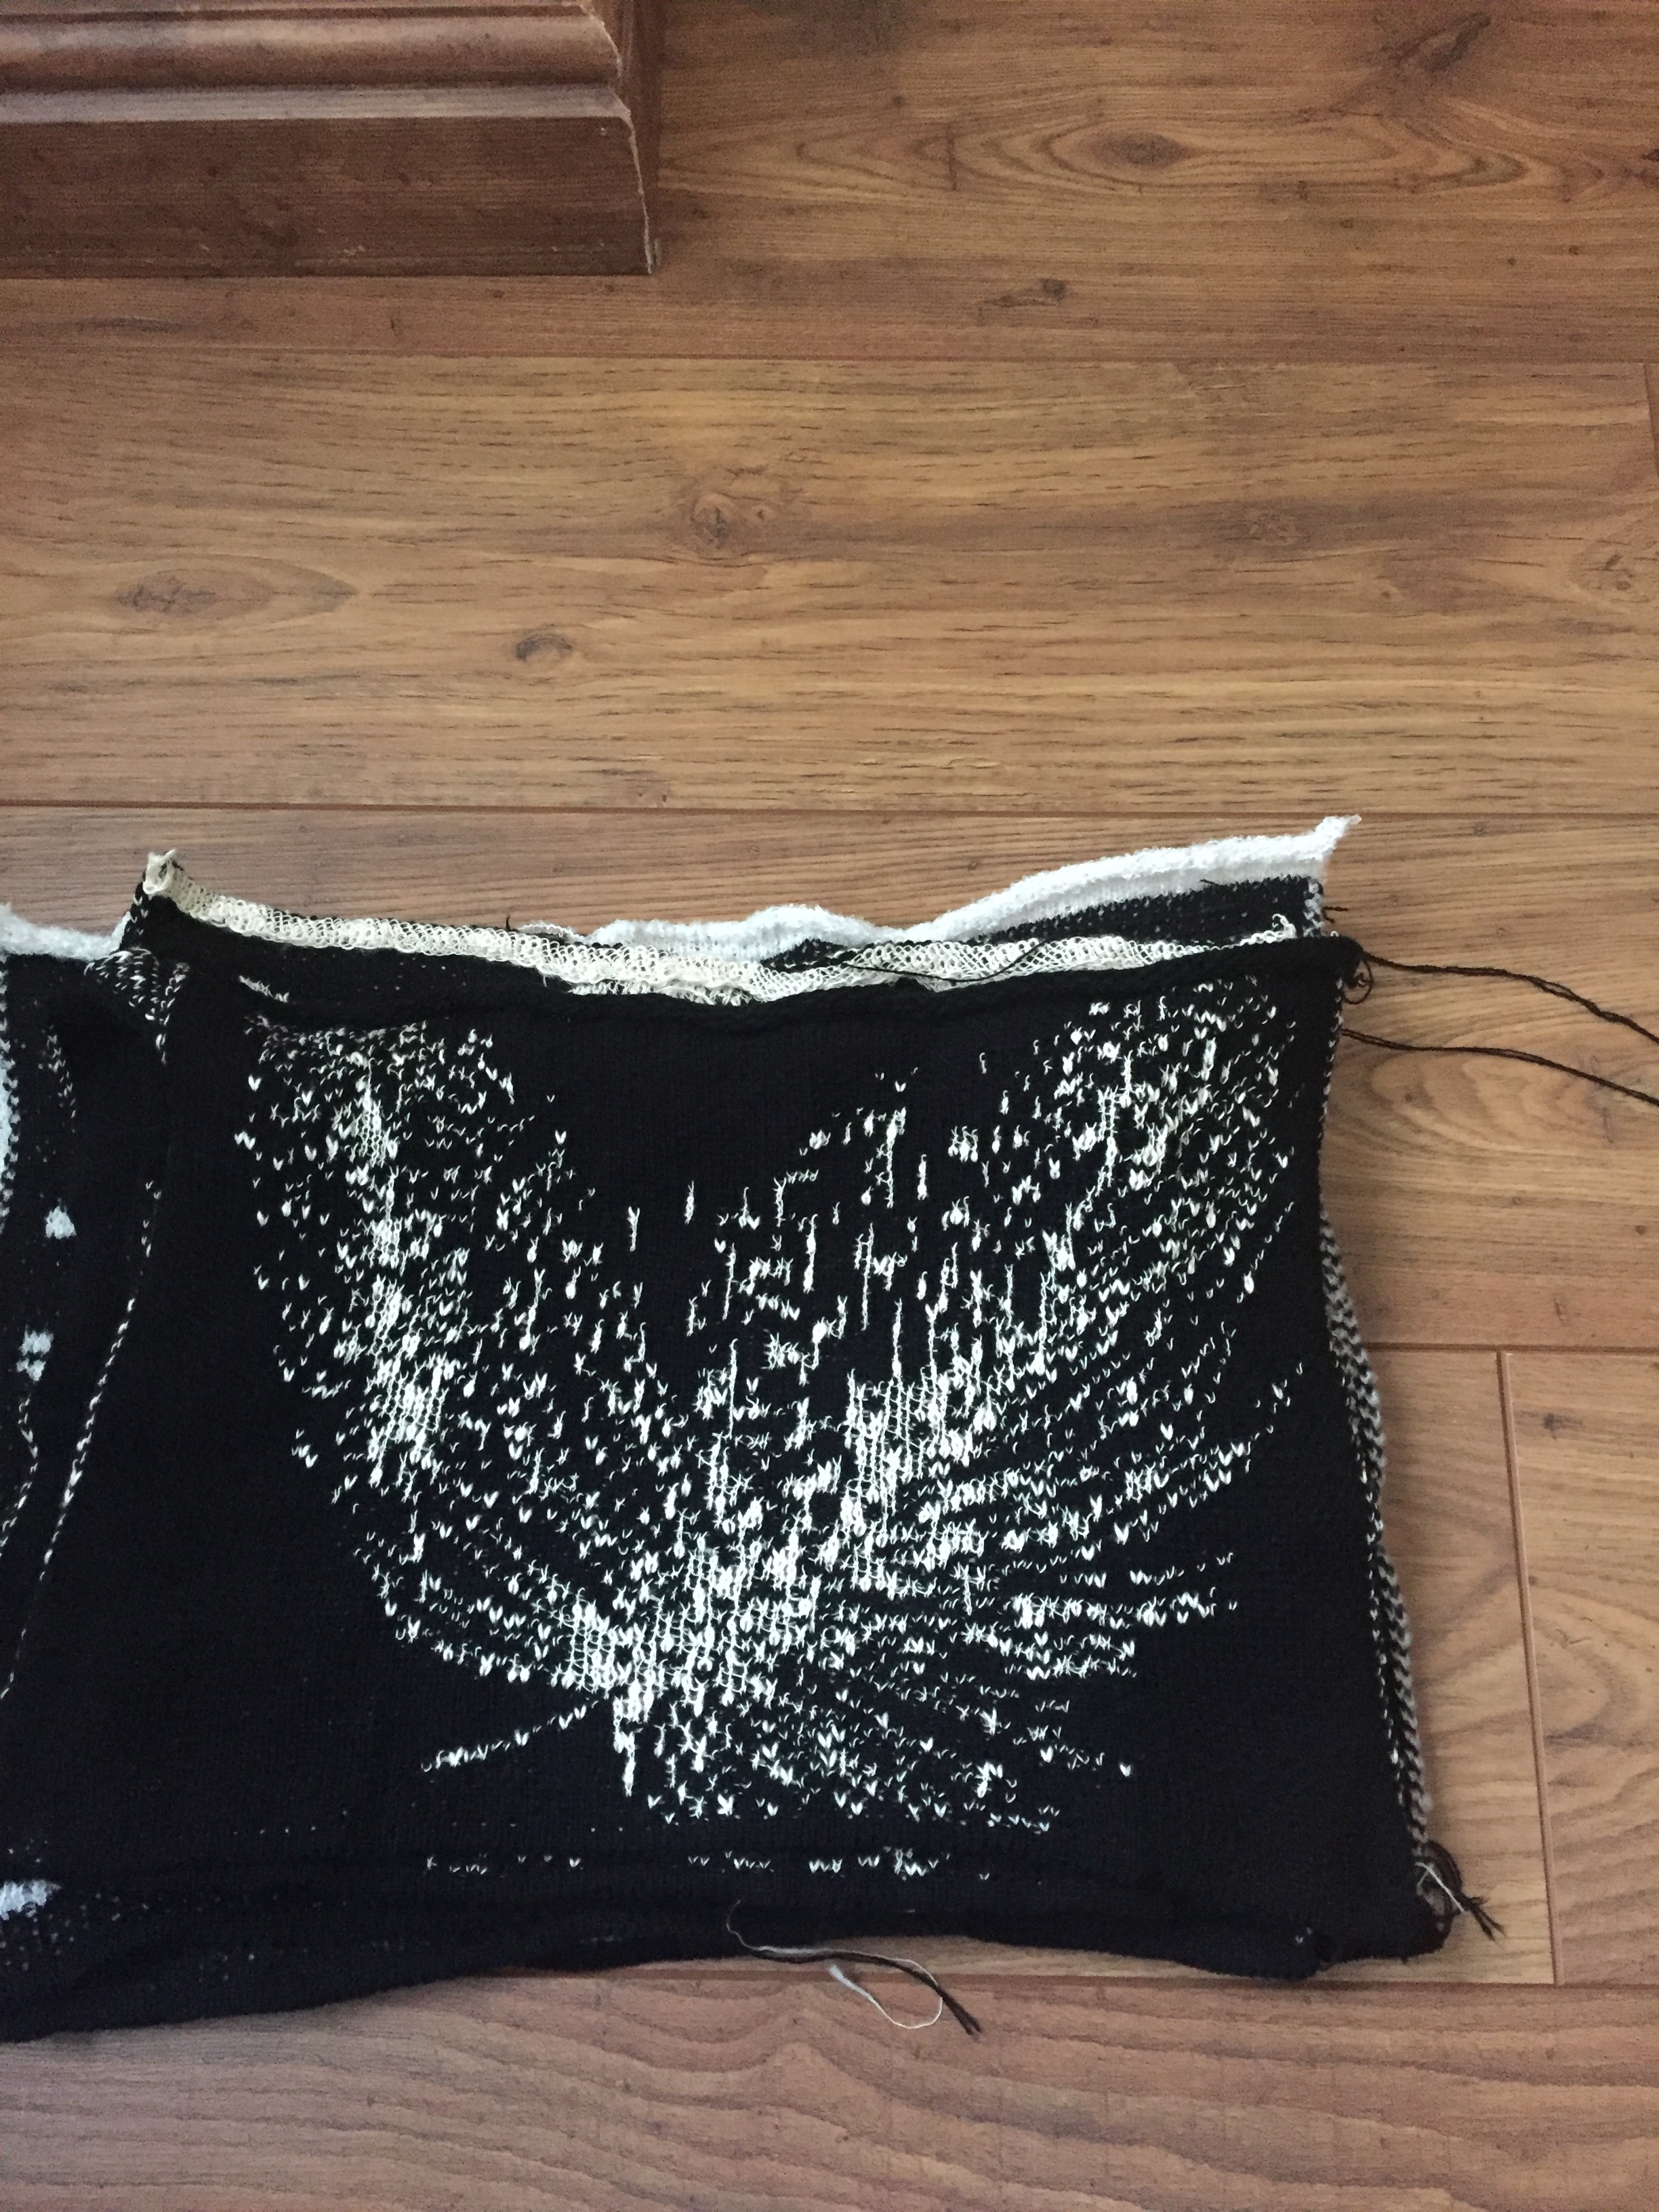
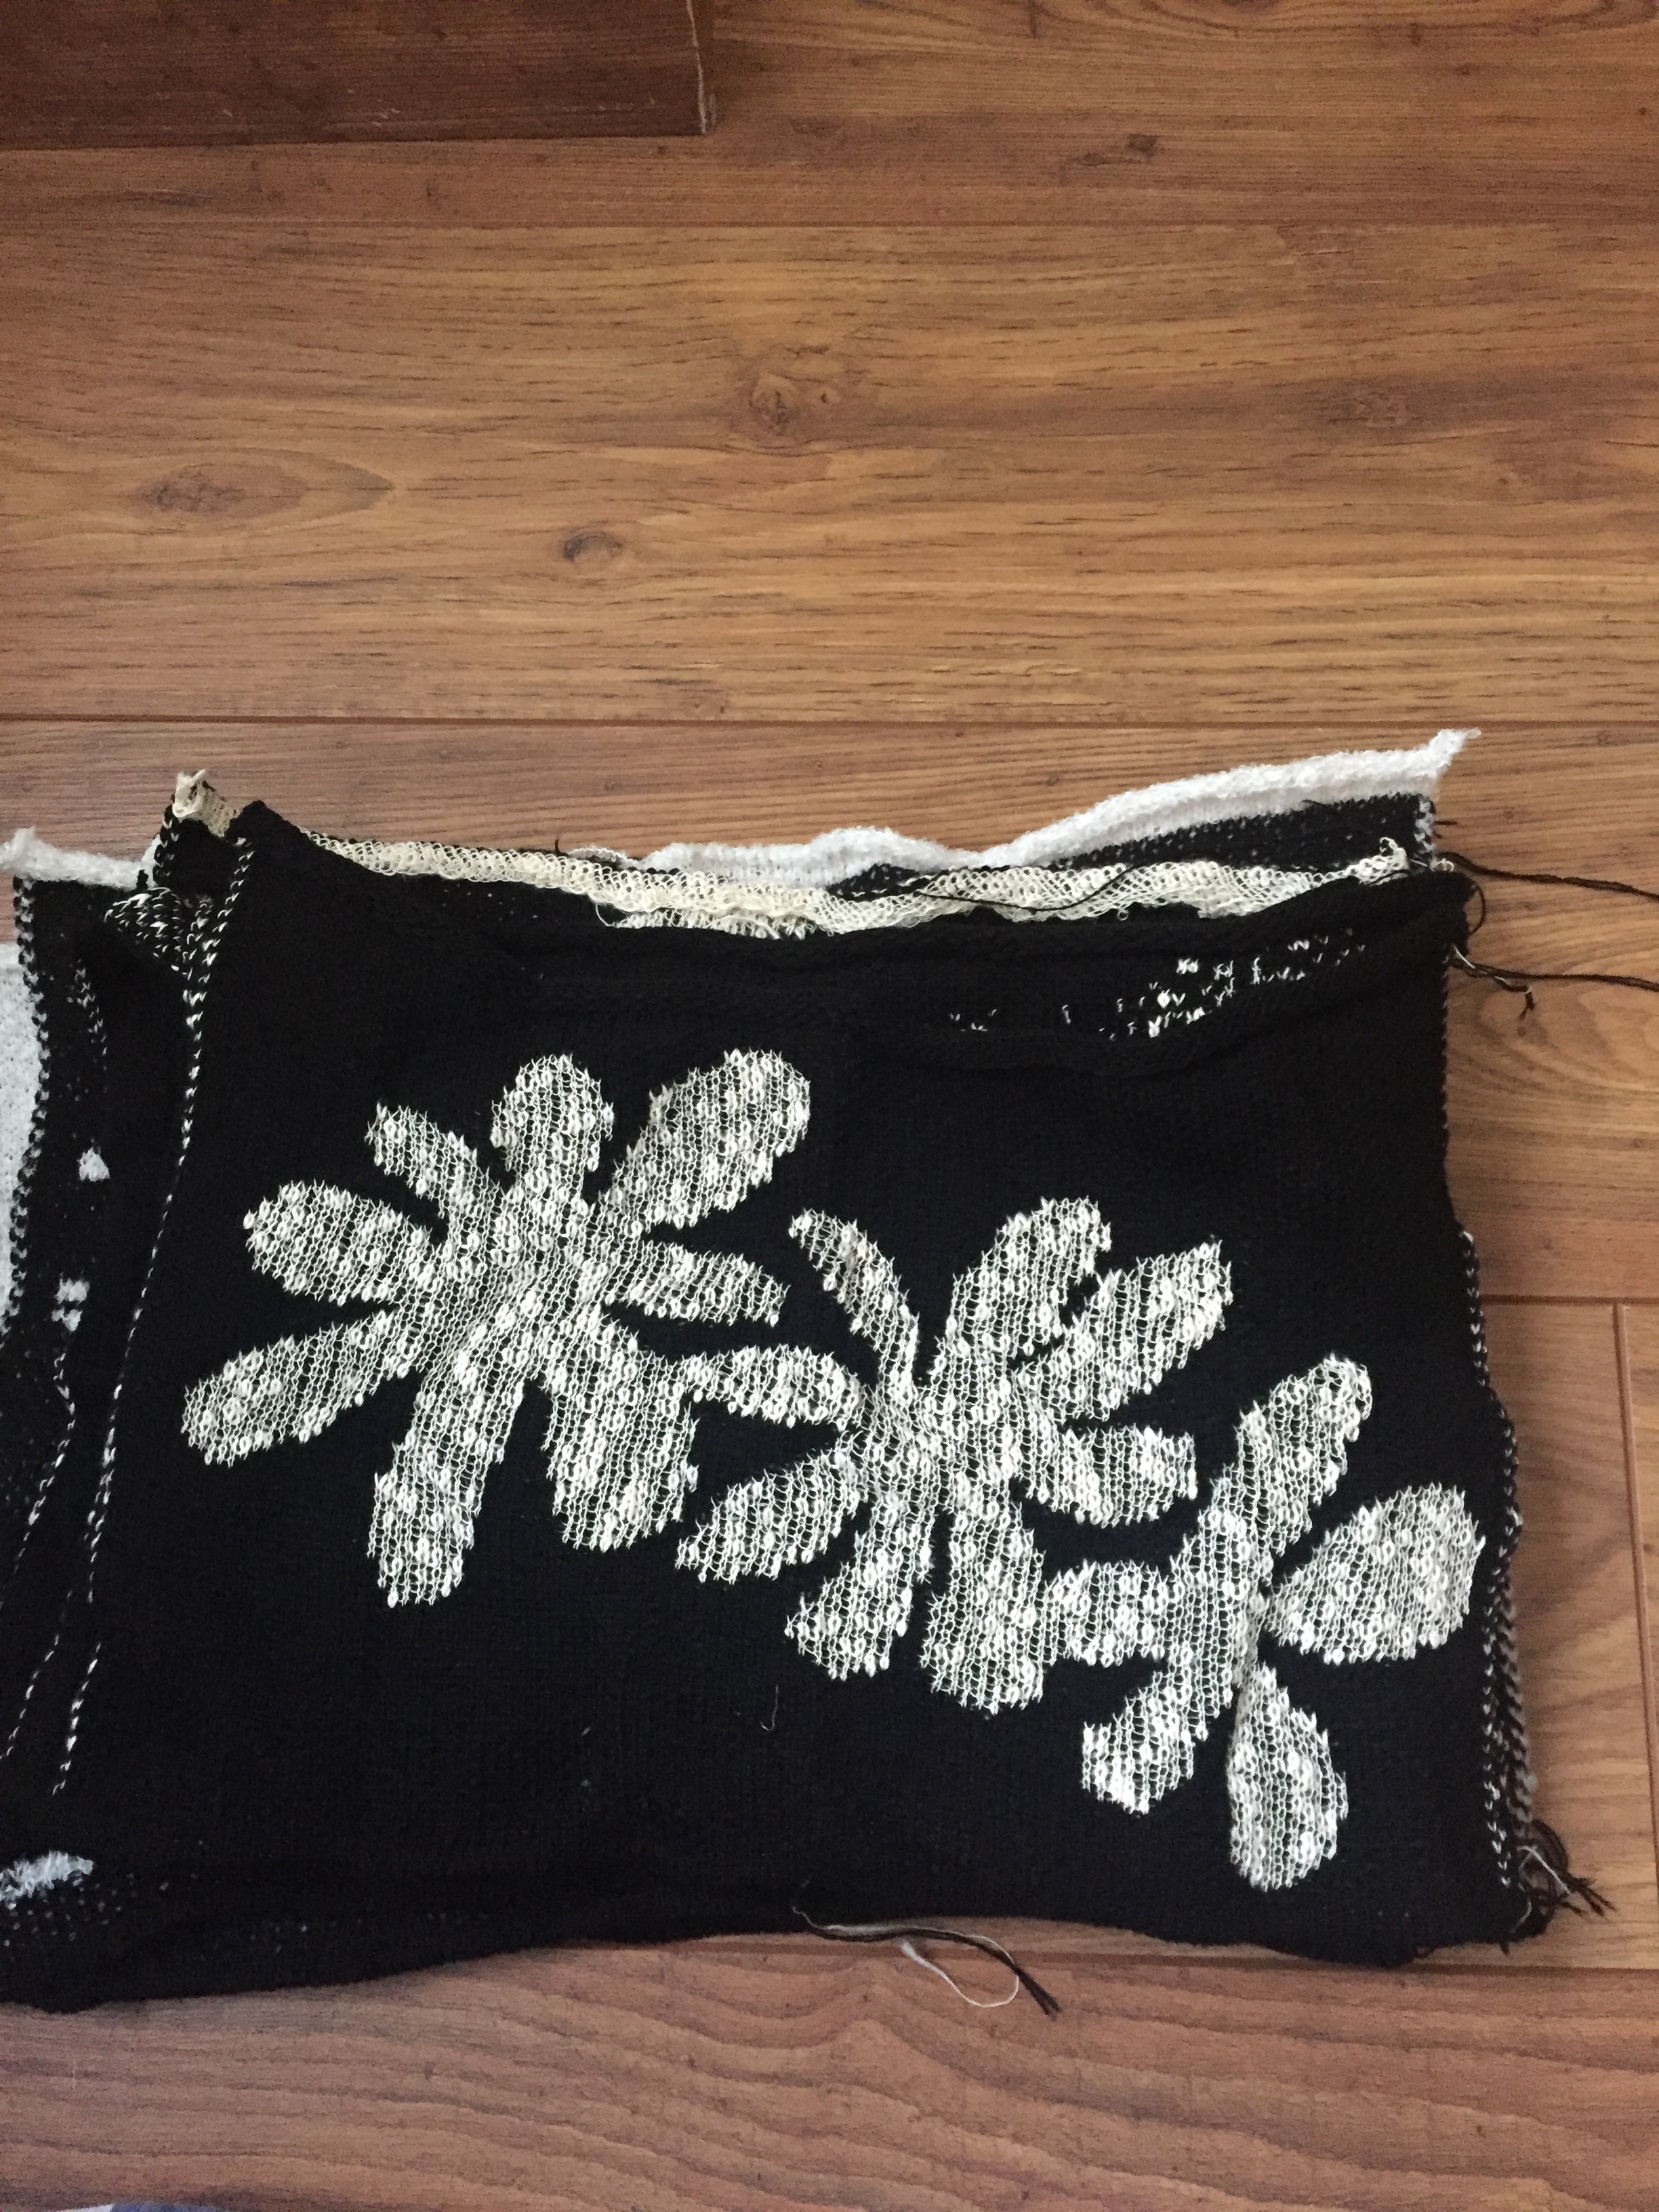
the last 3 images were created as 3 col graphs and I’ve kept them the same using different yarn textures:
color combination did not work out, but I’ve used thick and thin yarns in order to have a different textureslub and mohair-like yarn . colored yarn used in this case in order to show more texture slub and boucle yarns
Assignment two
Stitching: Placed and spaced
<<To conclude Part Two of the course, in this assignment you’ll develop new stitched textiles work building on the stitched paper explorations you’ve just made. This assignment should feel like a relatively smooth transition from paper into textiles.
Aims:
Your aims in this assignment should be to:
• consolidate your exploration so far by creating a series of stitched textiles
• employ observational and compositional skills, as well as material and technique handling, in the creation of stitched textiles.>>
—–Following my tutor’s feedback regarding a proven record of the process of textile creation I’ve decided to start from scratch and follow his advice by using books he advised in order to overcome my difficulty and discomfort regarding drawing .
So my steps will be:
. take pictures of flowers
. draw them on paper
. create fabric using my drawing
and then do my stitching on them fabrics in order to add a personal touch and feel on them.
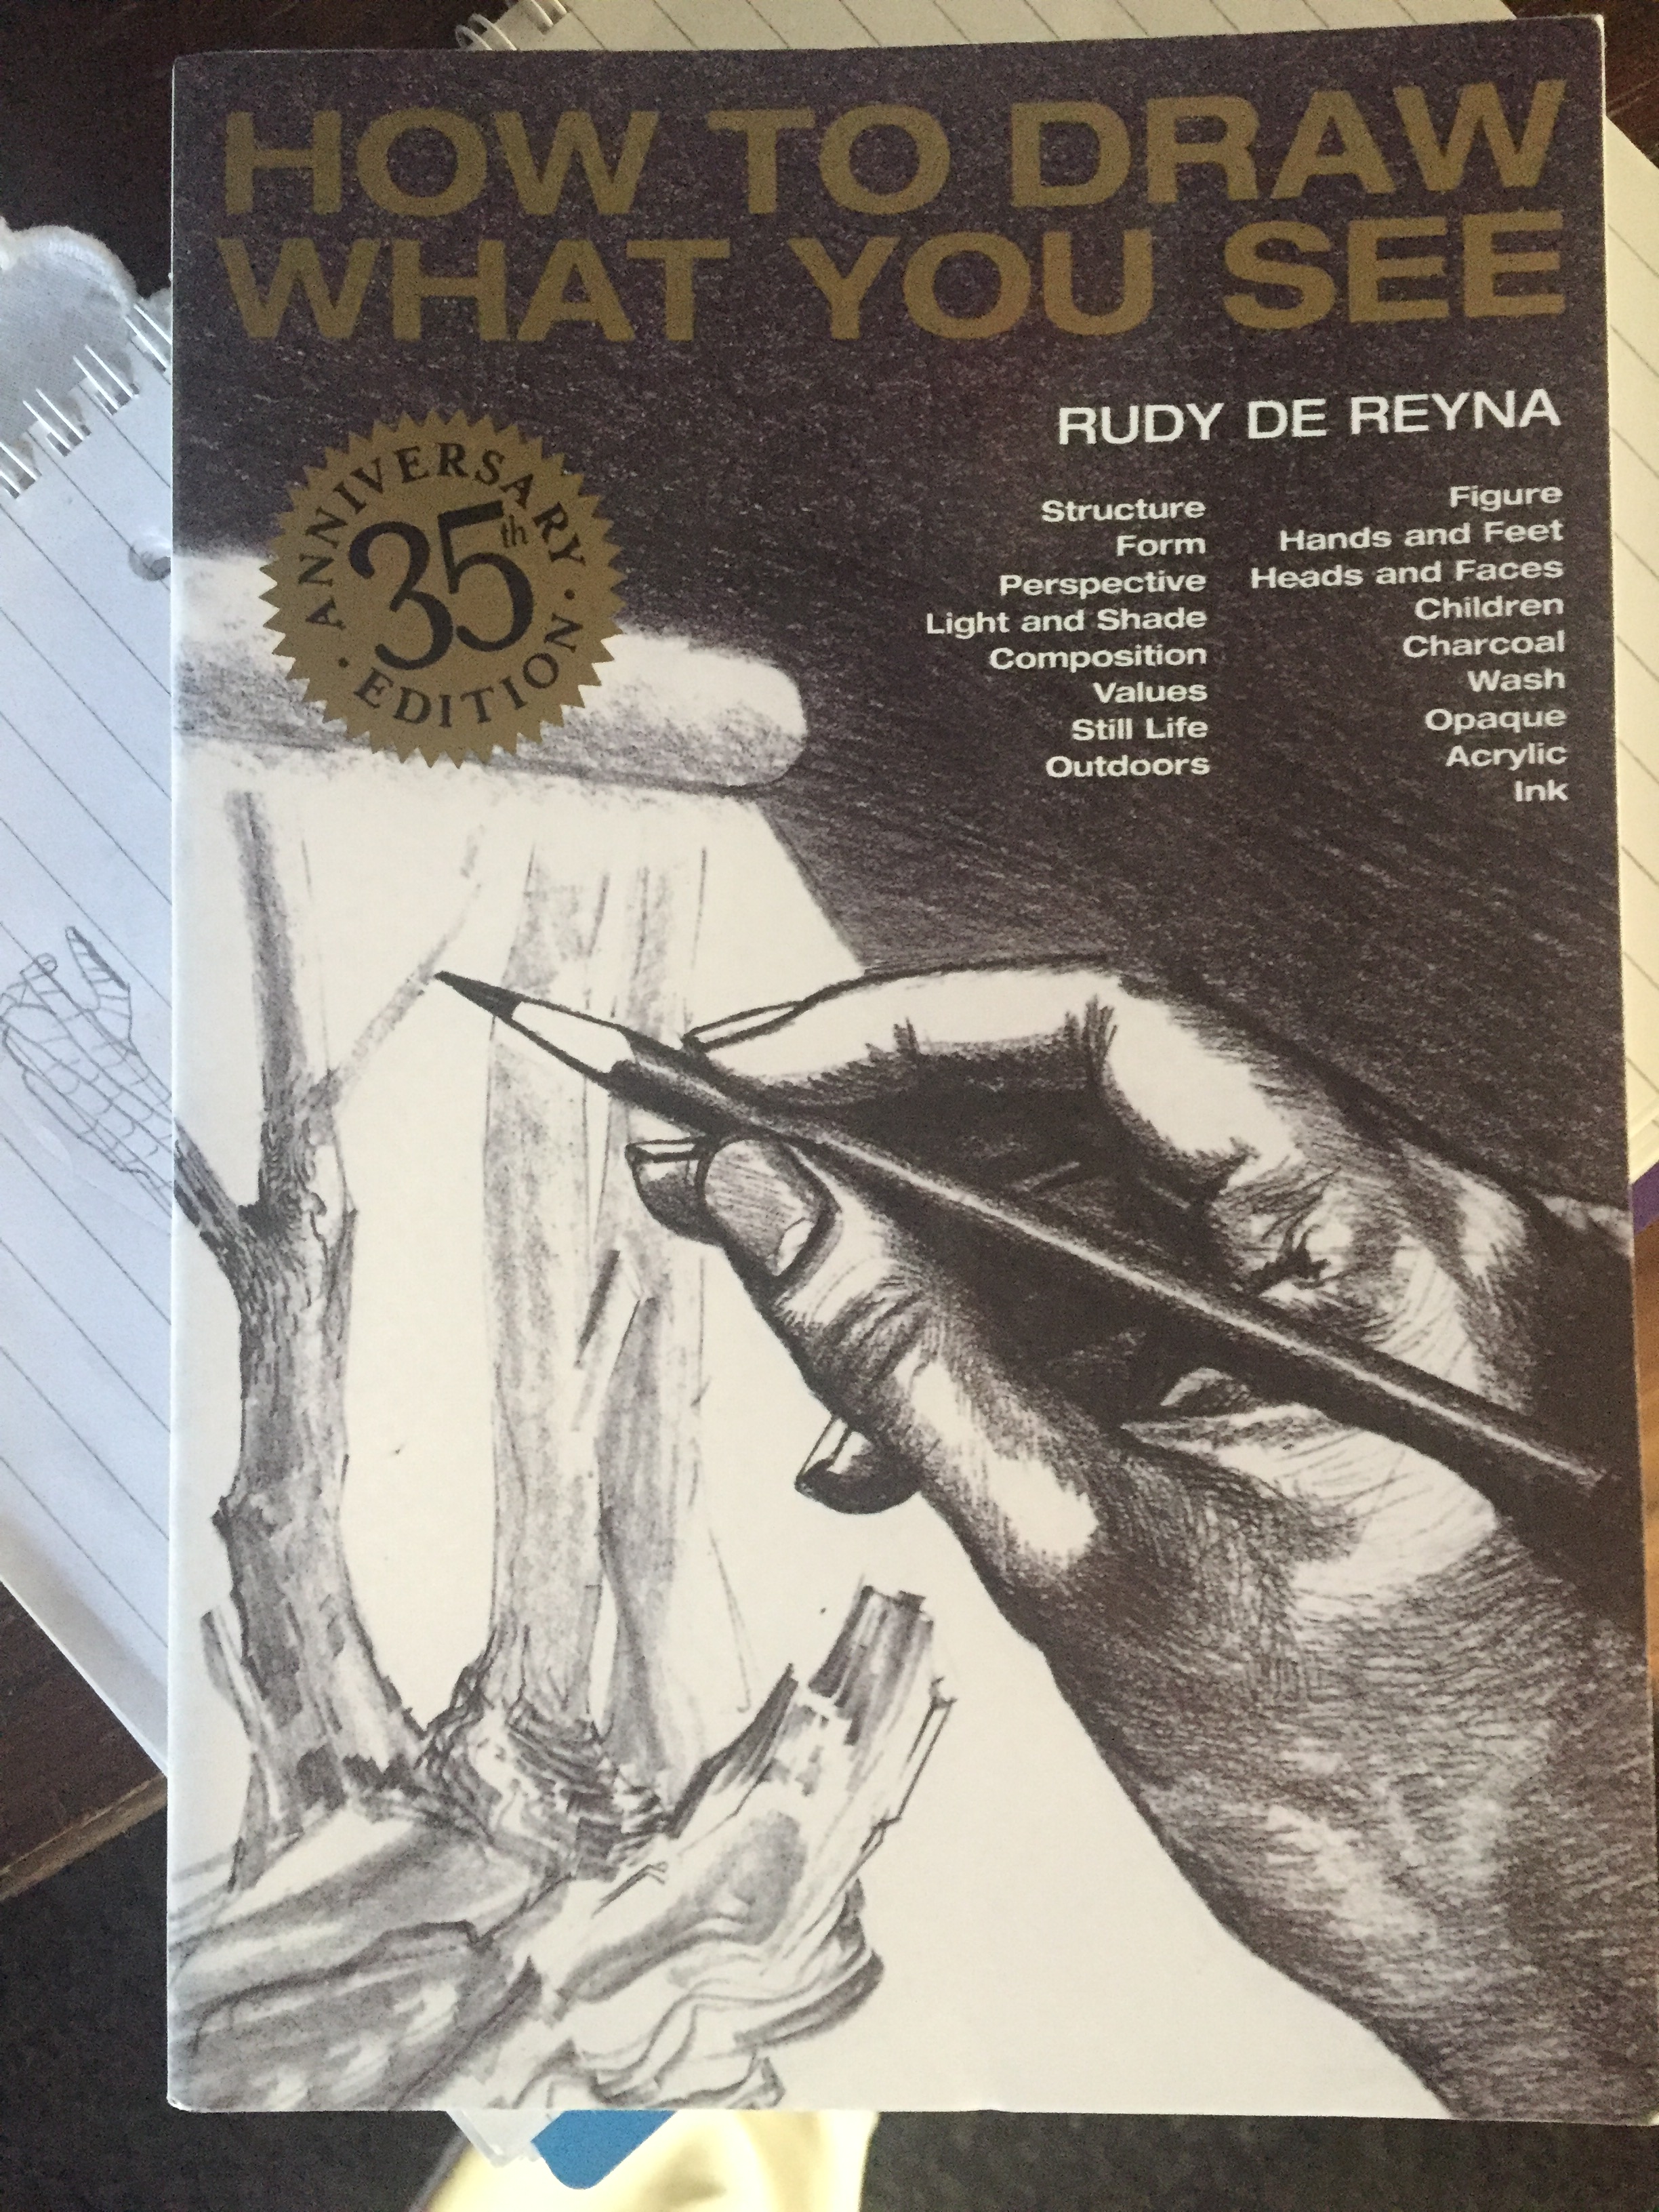
the first book I bought is: << DRAWING WHAT YOU SEE>> by RUDY DE REYNA which I found quite challenging as its mainly drawing with charcoal and developing different drawing techniques it is something I will definitely consider going forward but I still thing I’m an early stage painter at the moment and I needed something to unlock me up which leads to the next book…
It was a true revelation to me!!!
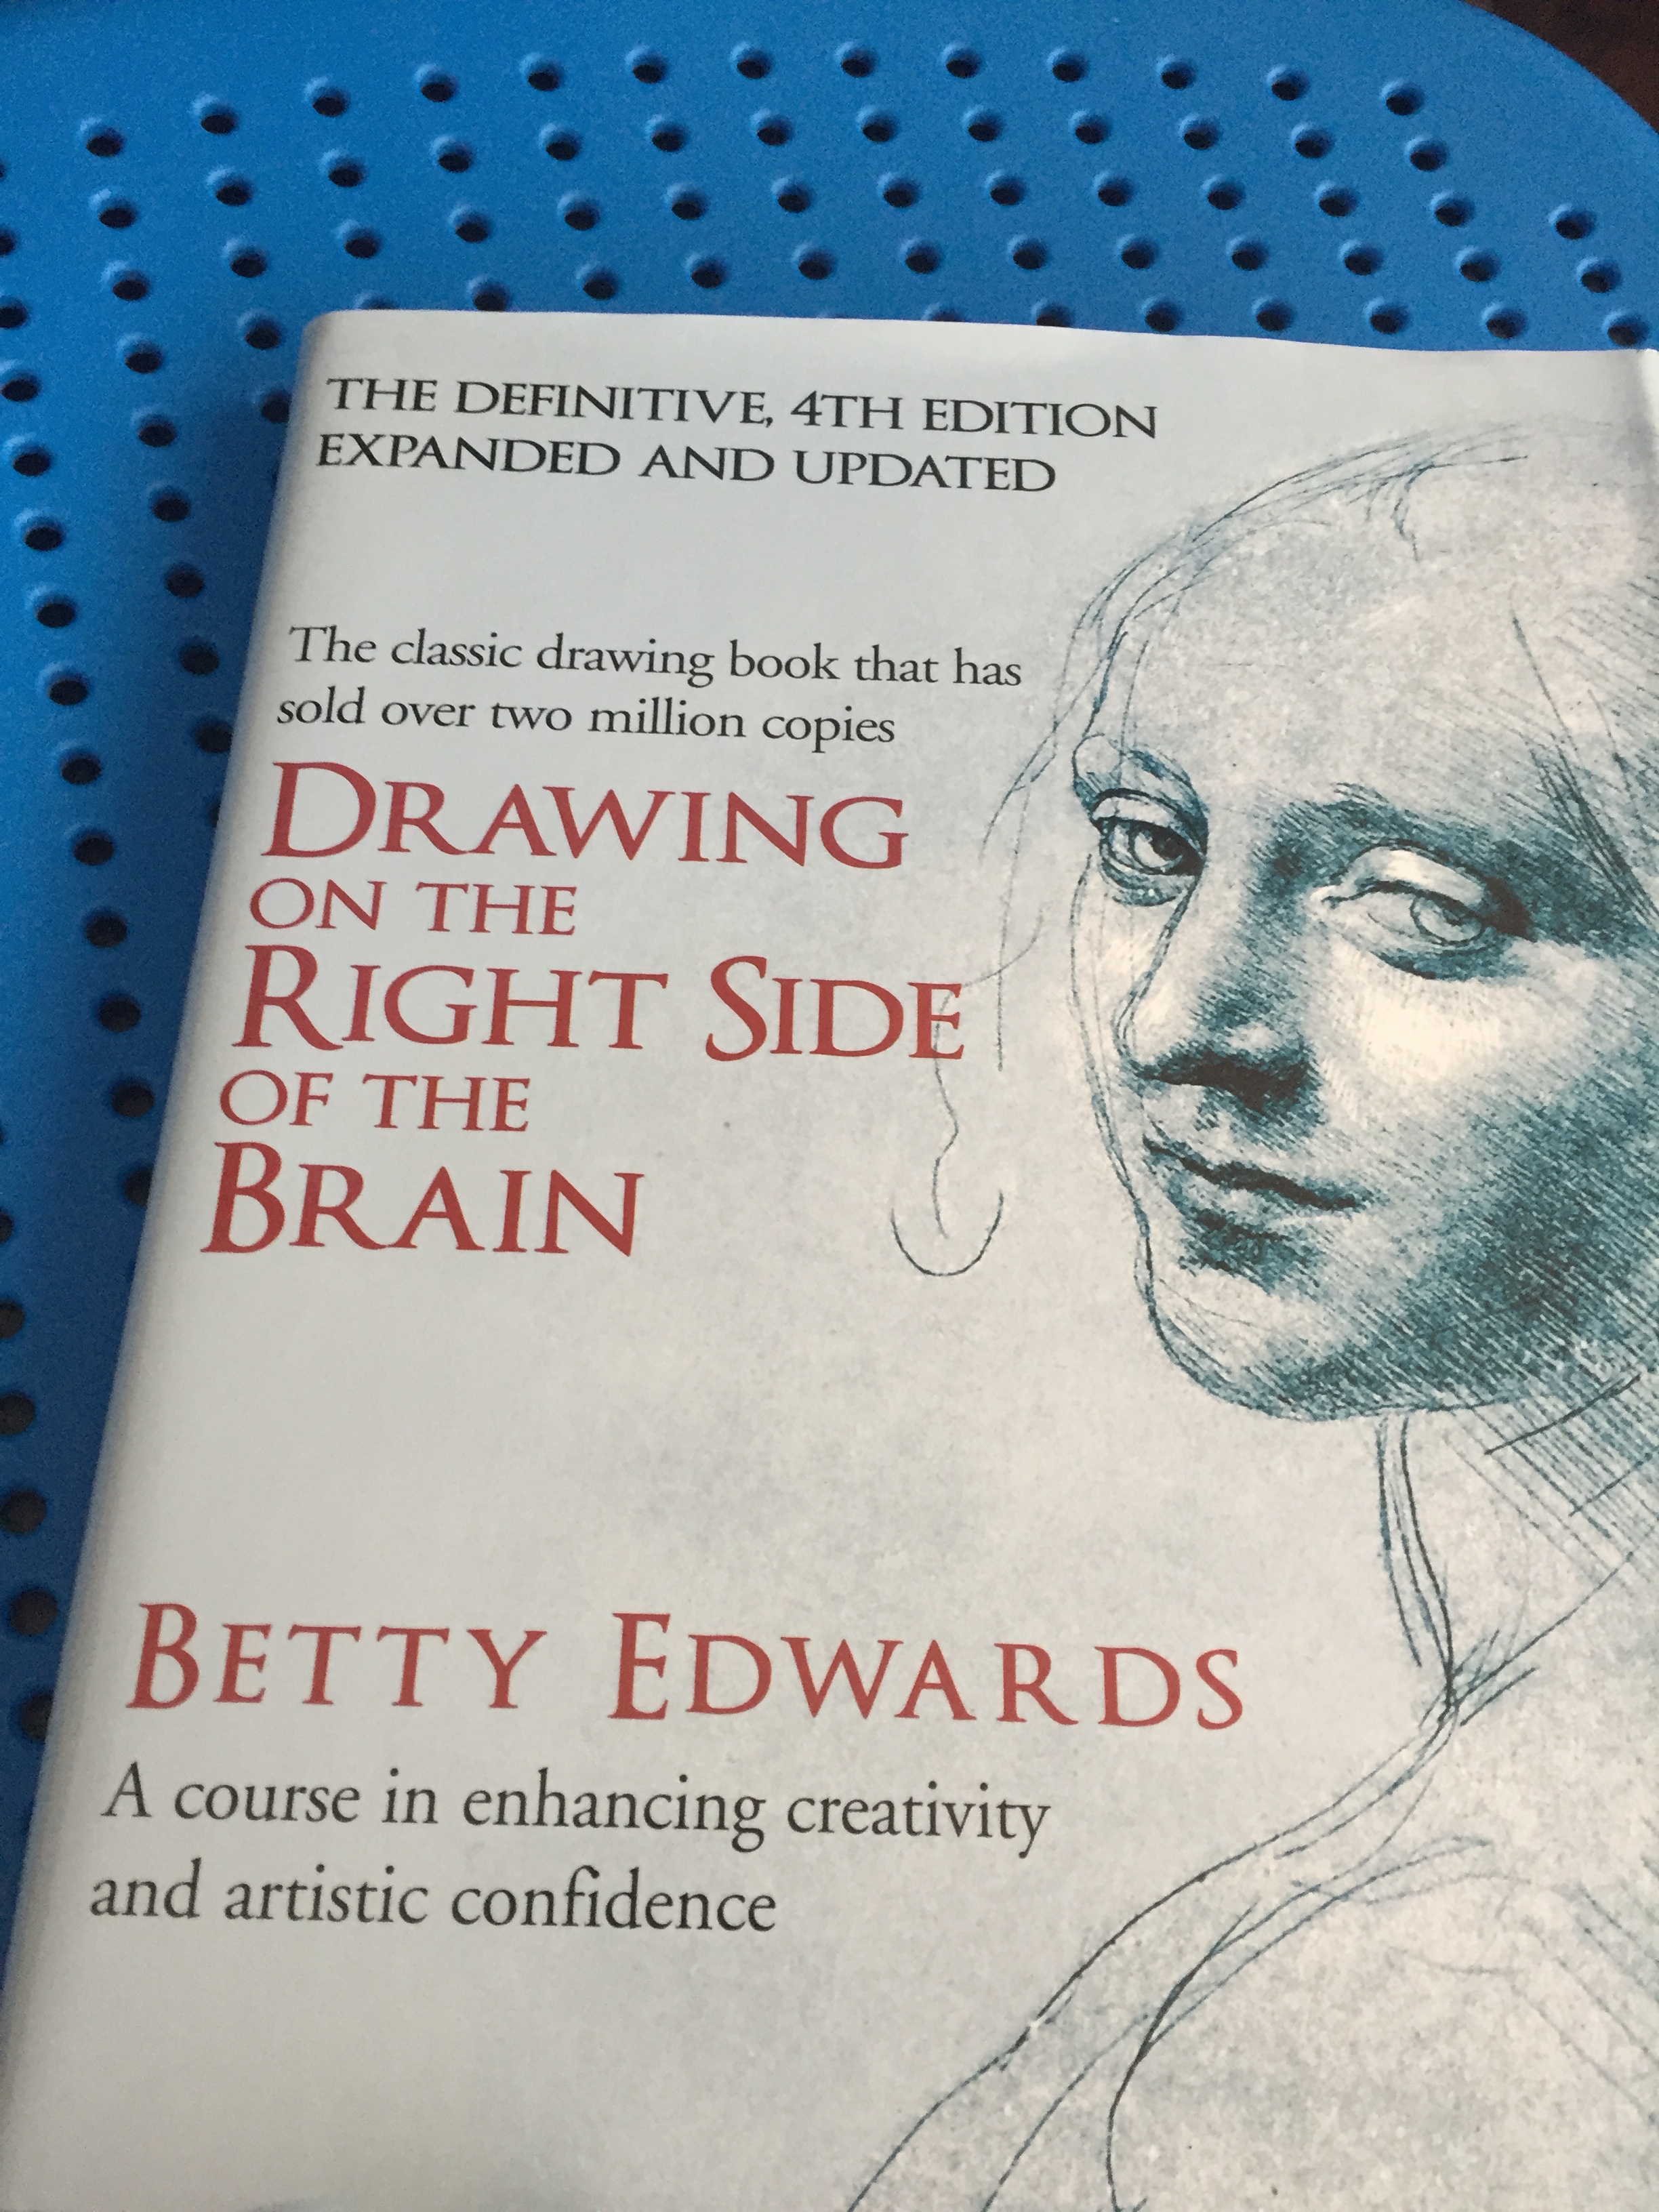
<<Drawing on the right side of the brain >>by Betty Edwards is a masterpiece!
This book has clearly explained to me why I was facing all this difficulties while I was trying to draw, the role of the left and right hemisphere of the brain, how left side is over-powering the right side and how to get in a R mode meaning confuse the left side of the brain so much that it shuts down and leaves space for the right to take over and help you use your skills to create.Amazing experience, which made me look and perceive things in a total different way. First time in my life I managed to copy a drawing by looking at it upside down!!!
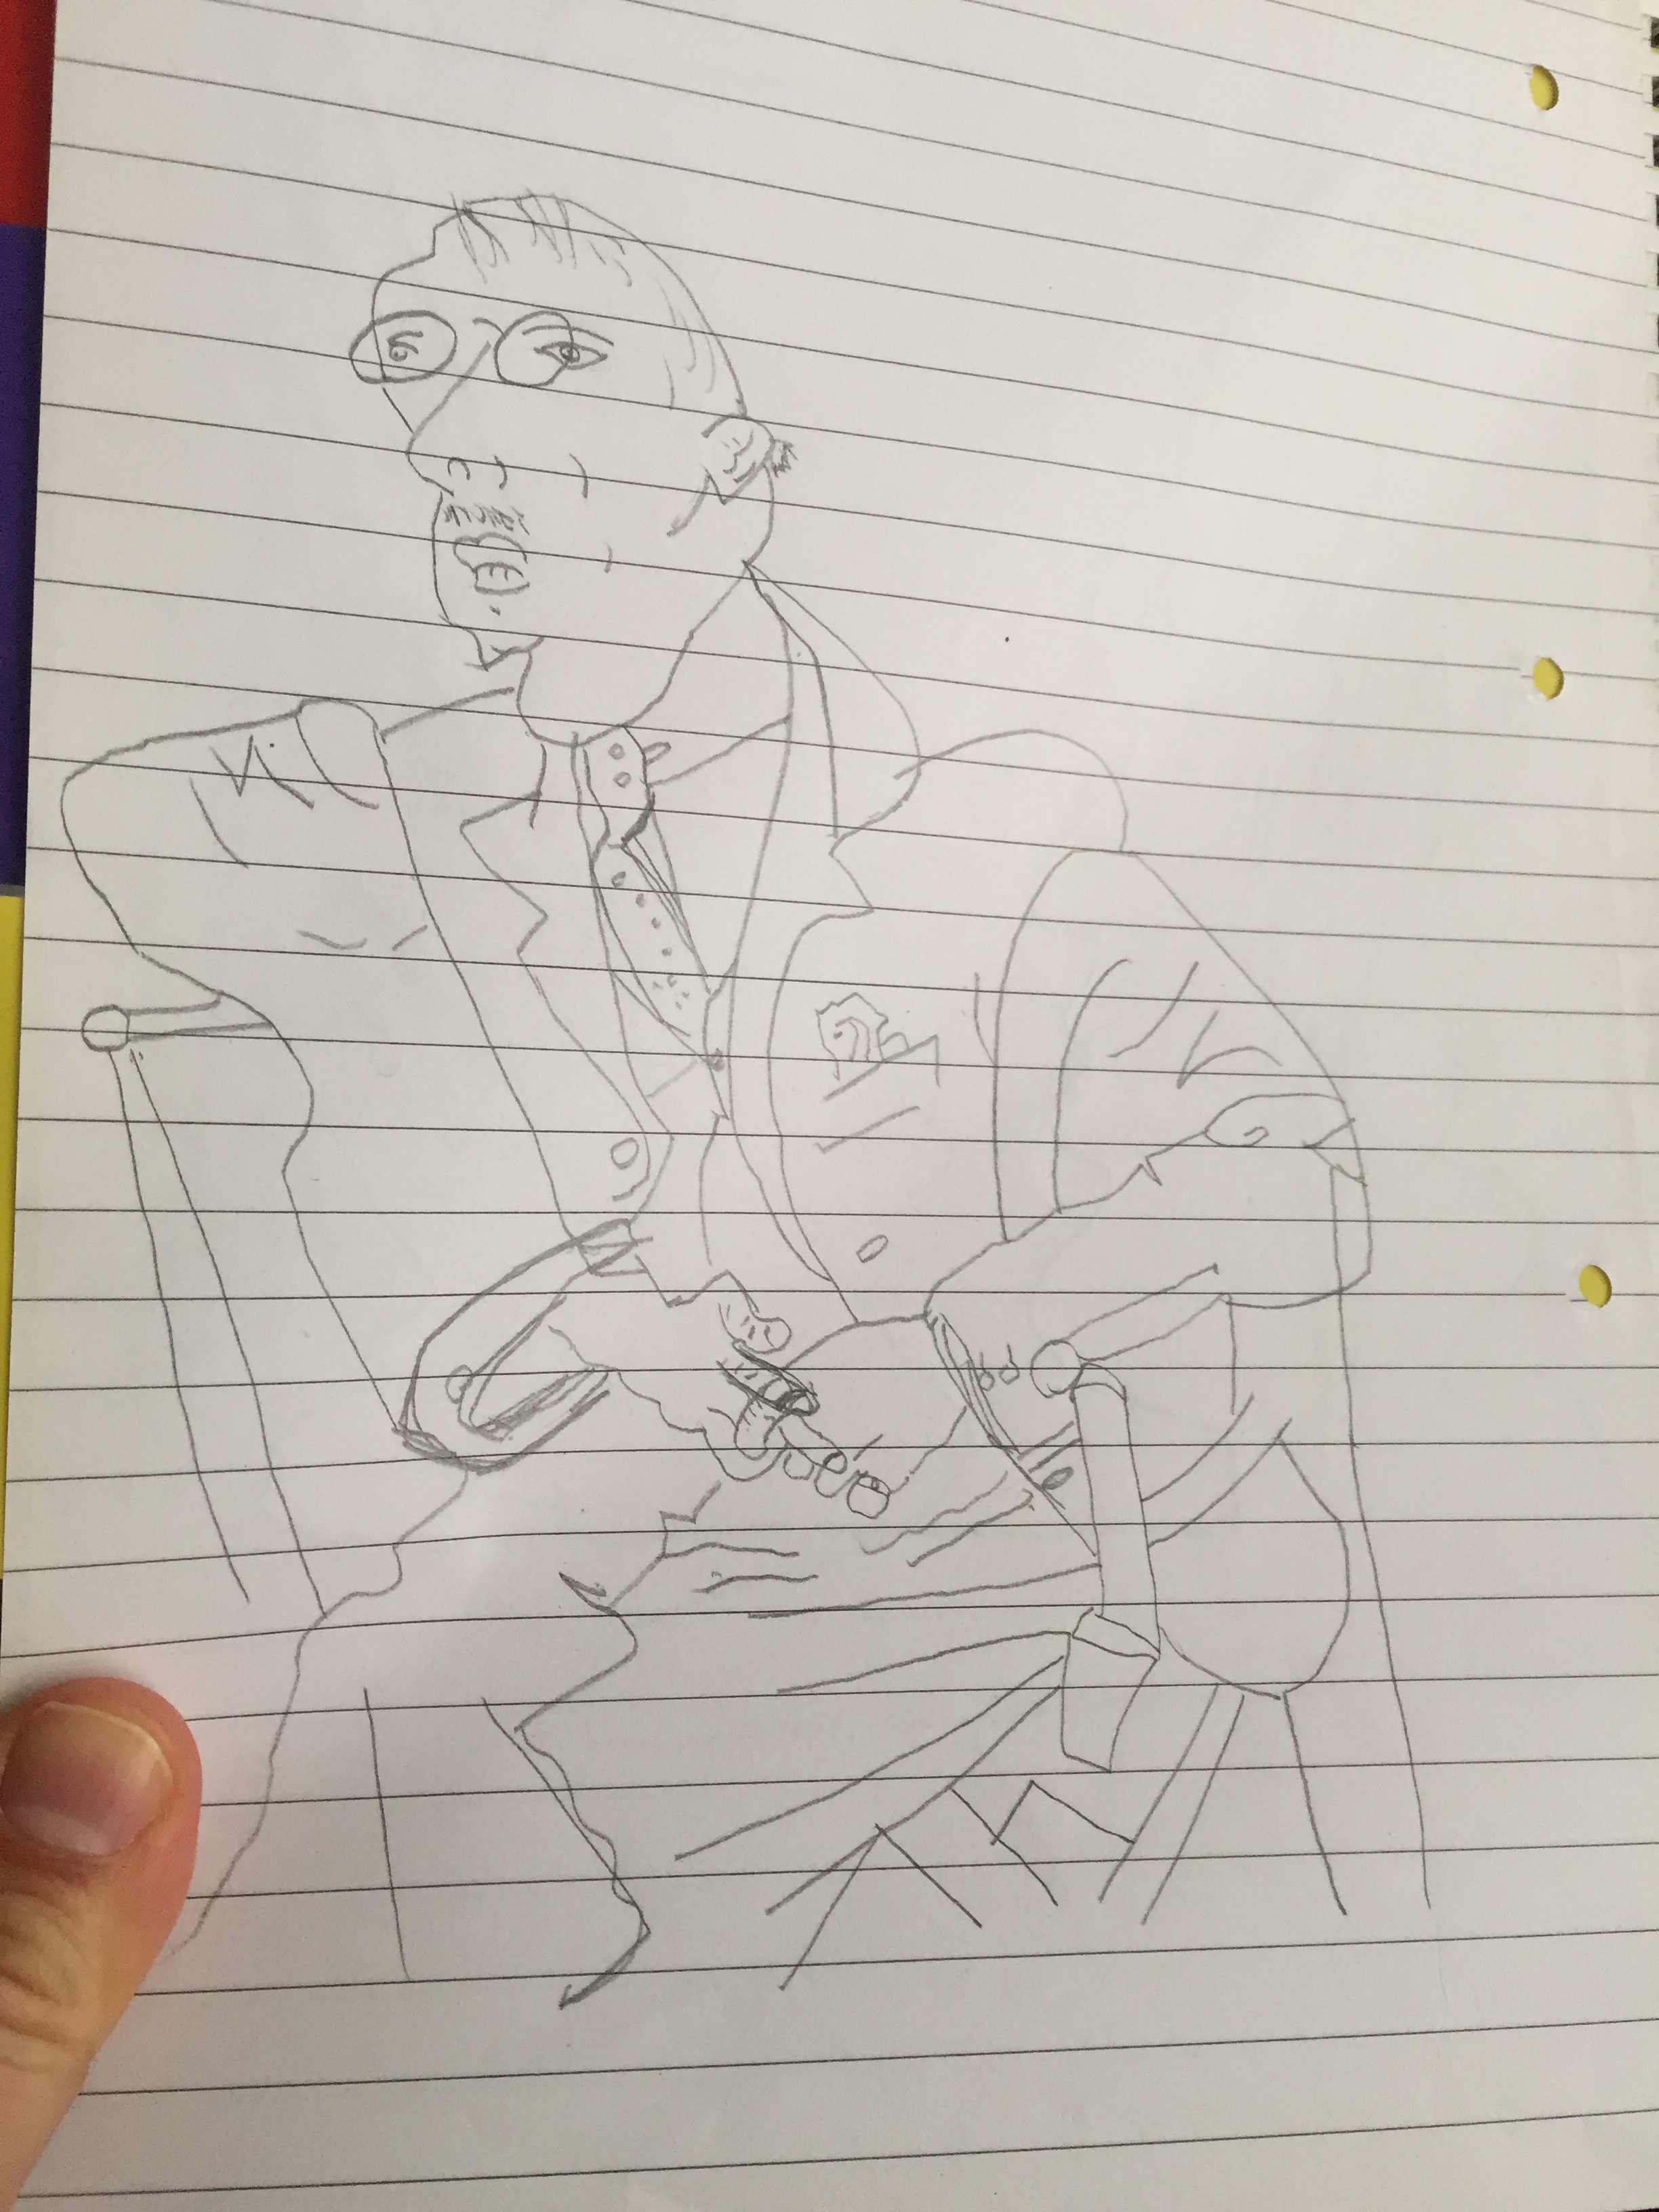
that was my initial drawing!I know it doesn’t look that great but I would never ever consider drawing near as that! copy of a Pablo Picasso’s sketch of Igor Stravinsky. second one… I COULD NOT BELIEVE IT!!!
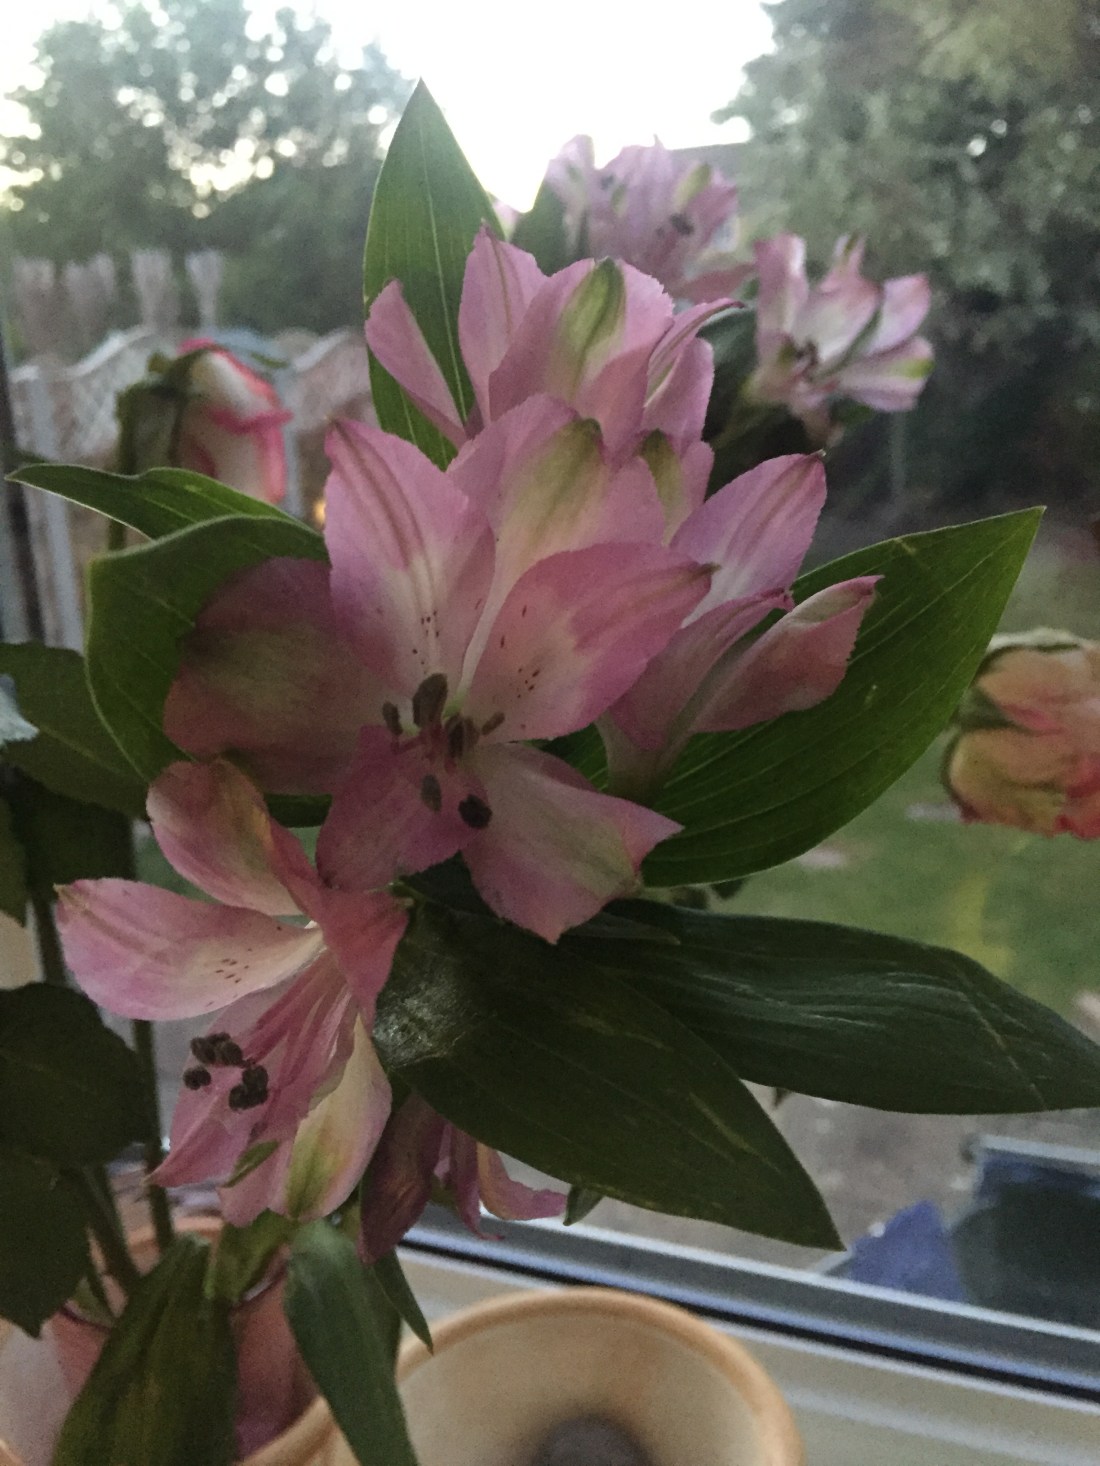
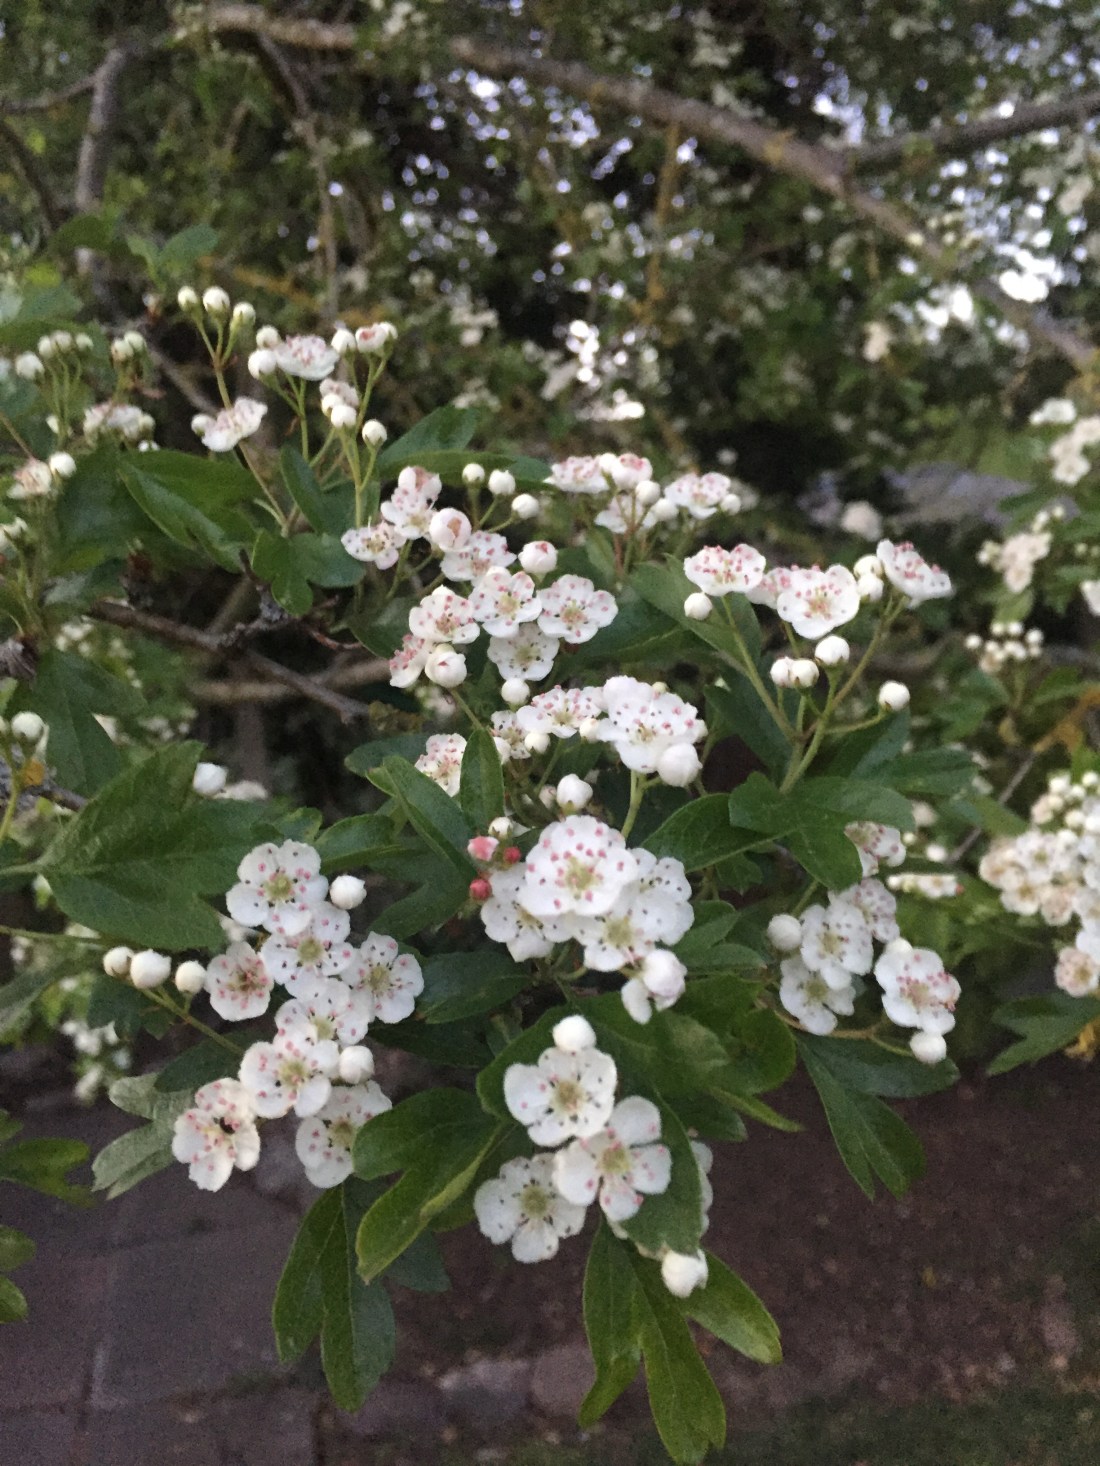
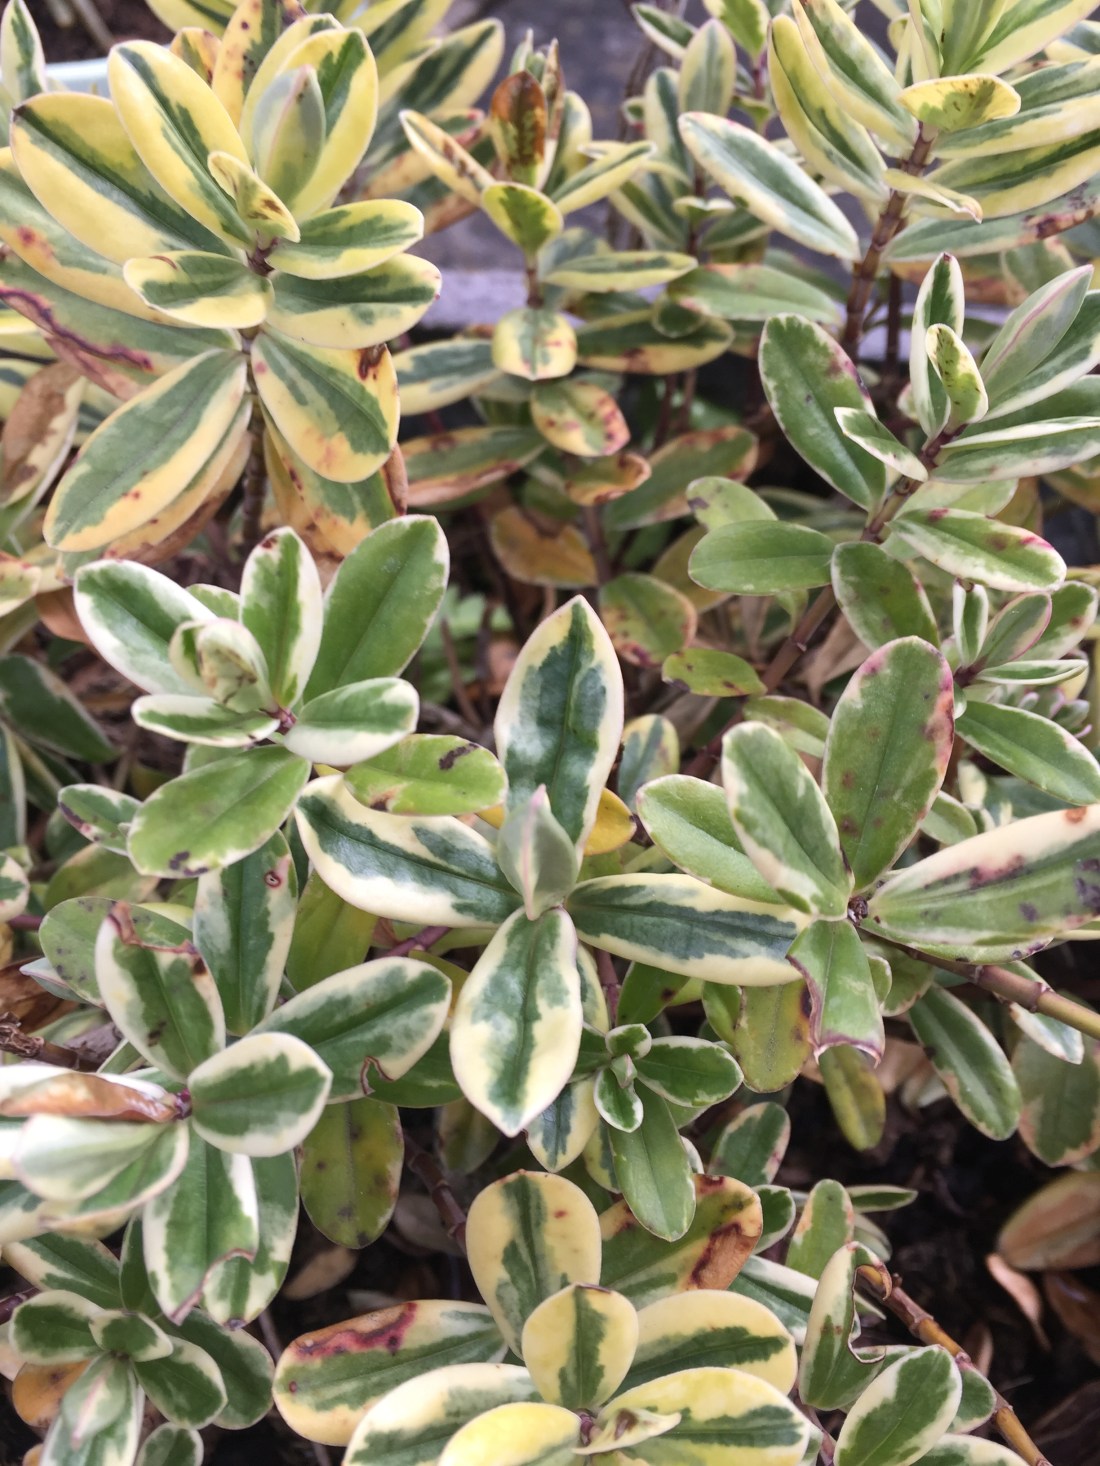
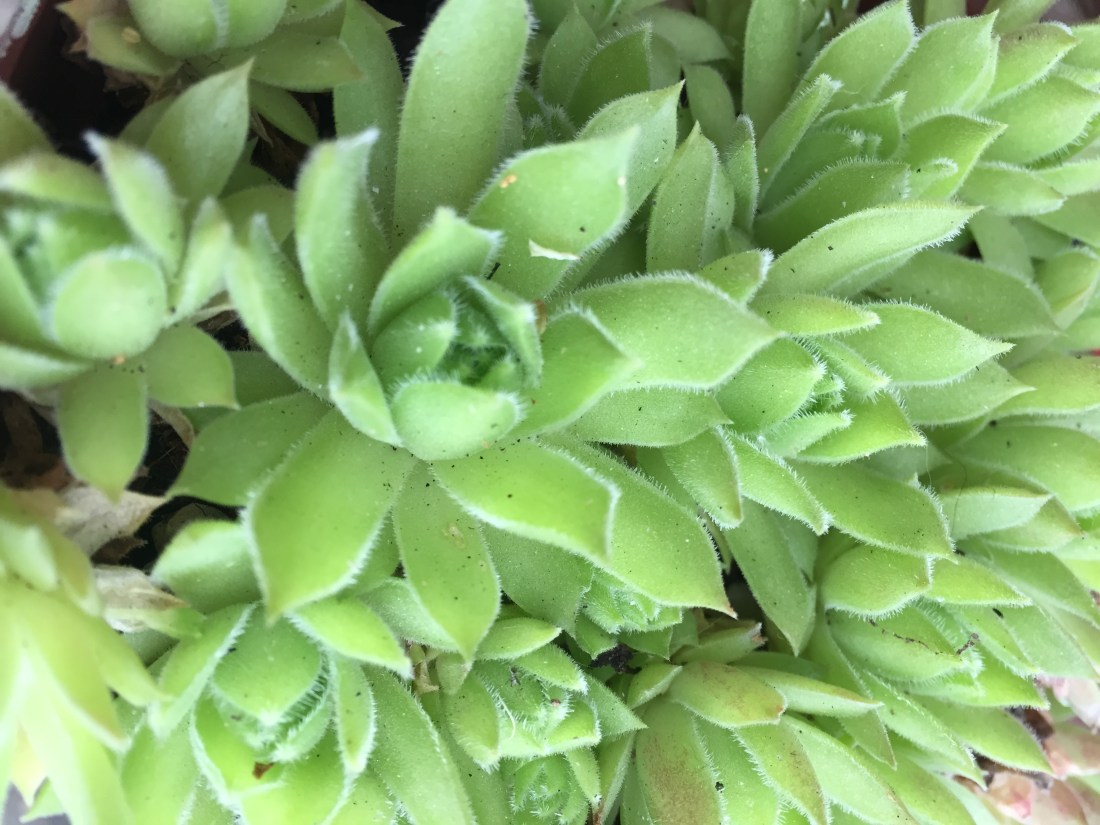
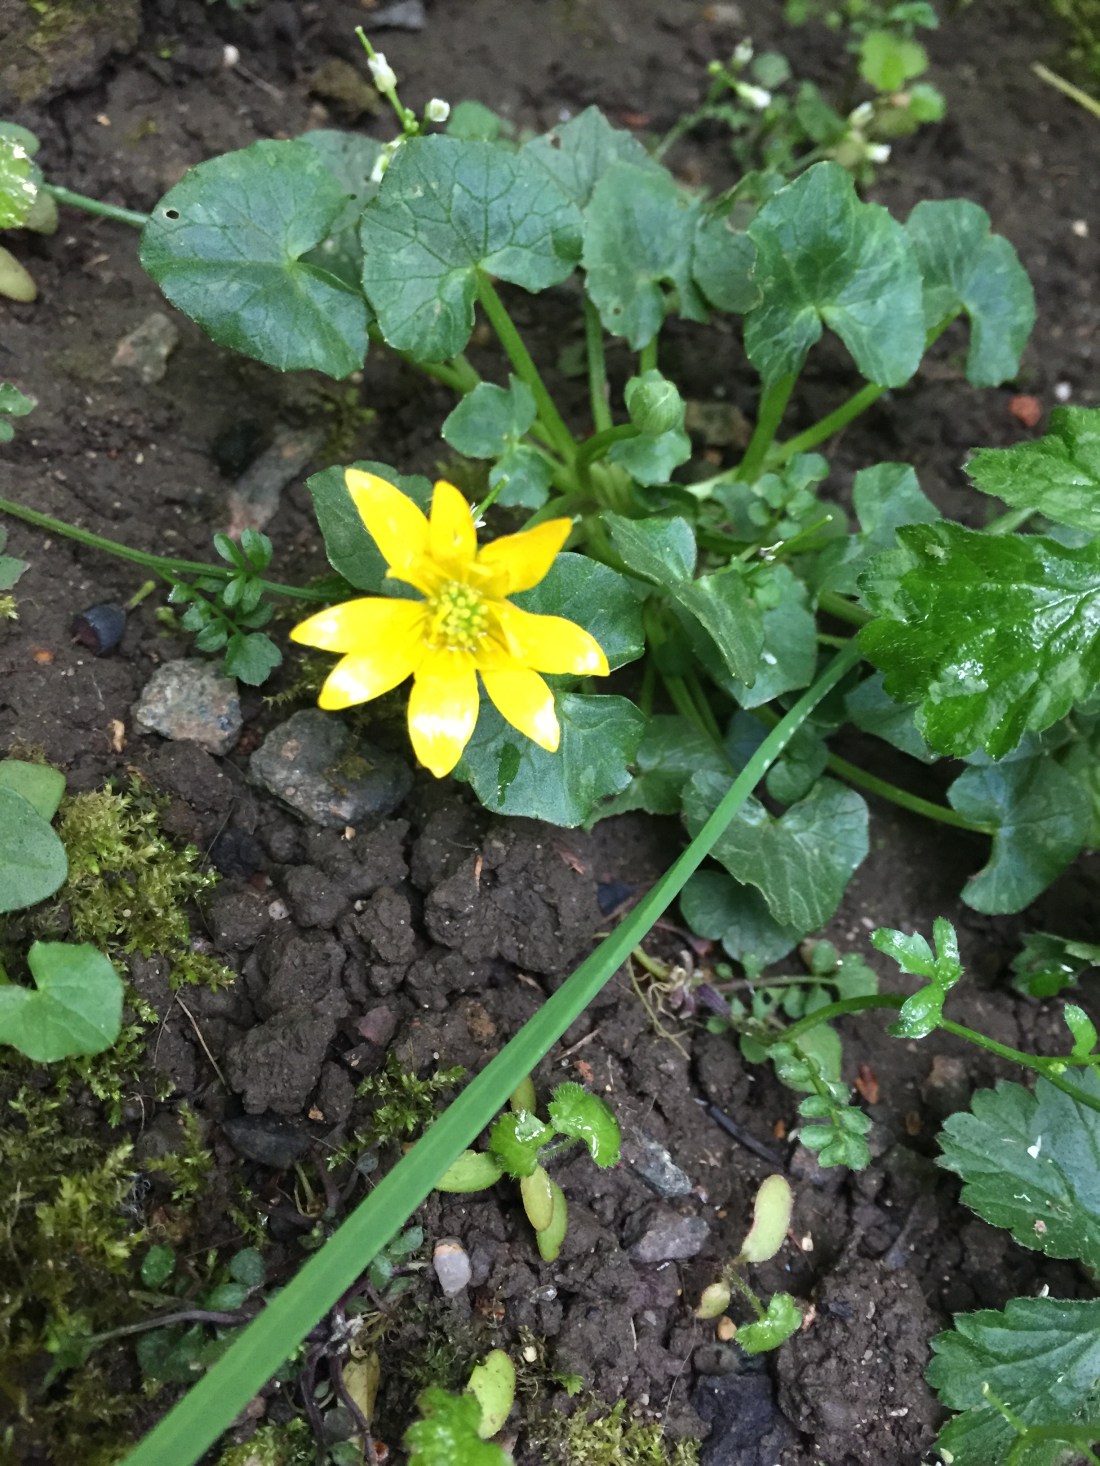
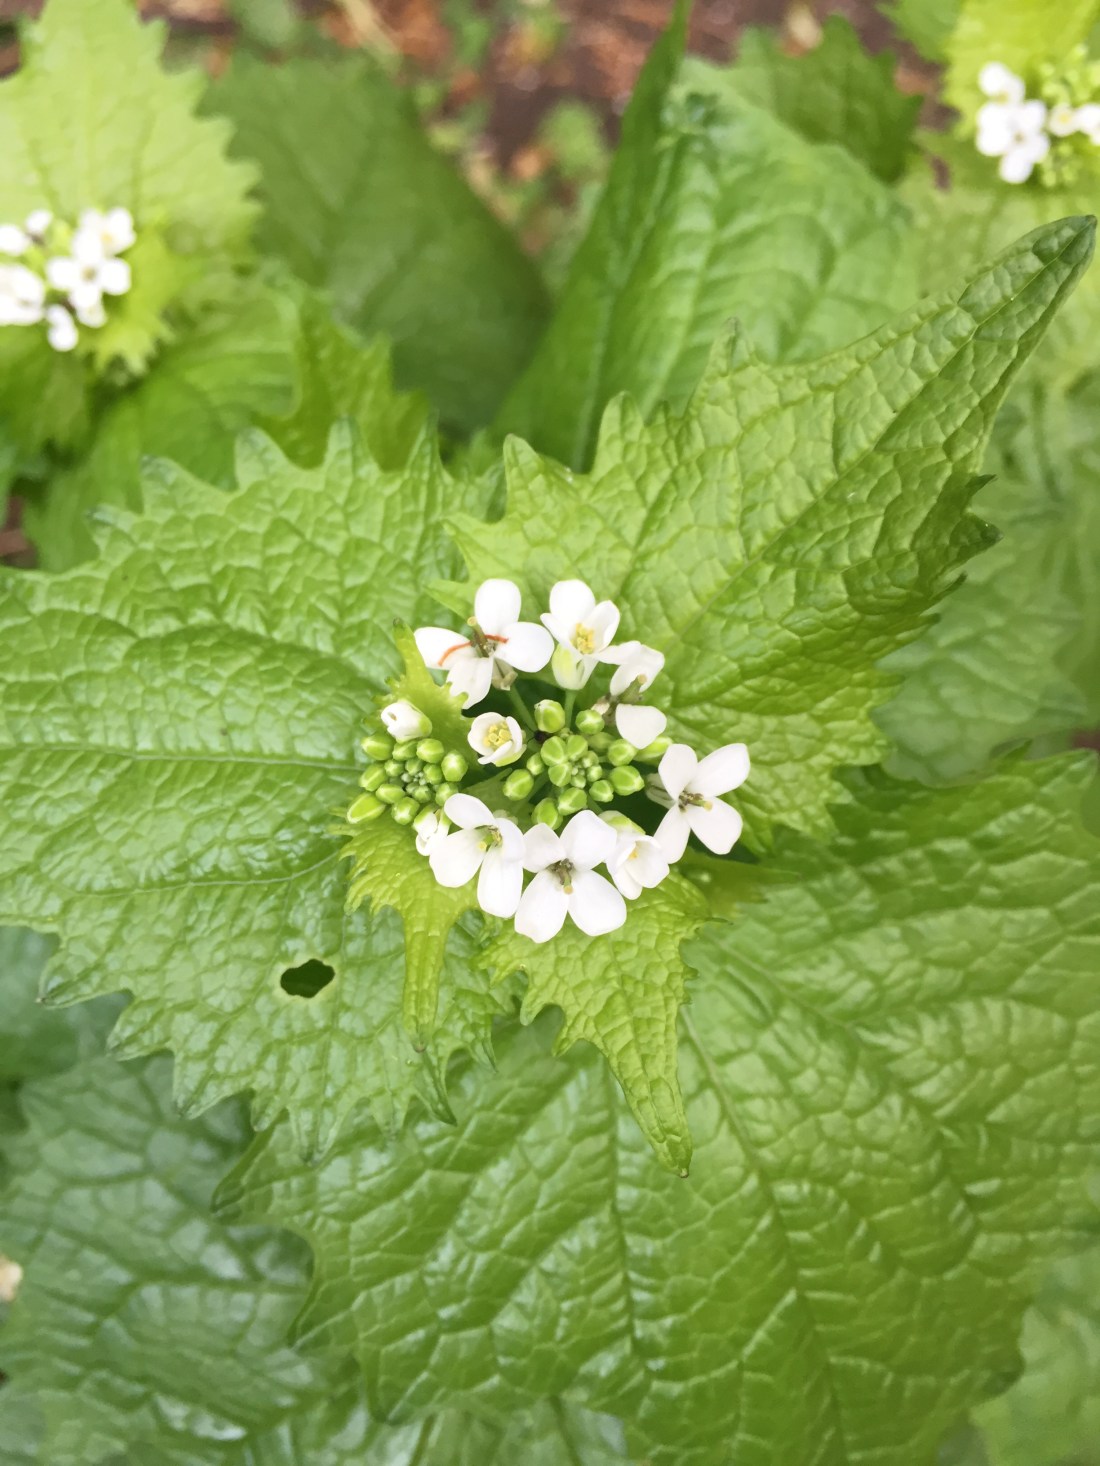
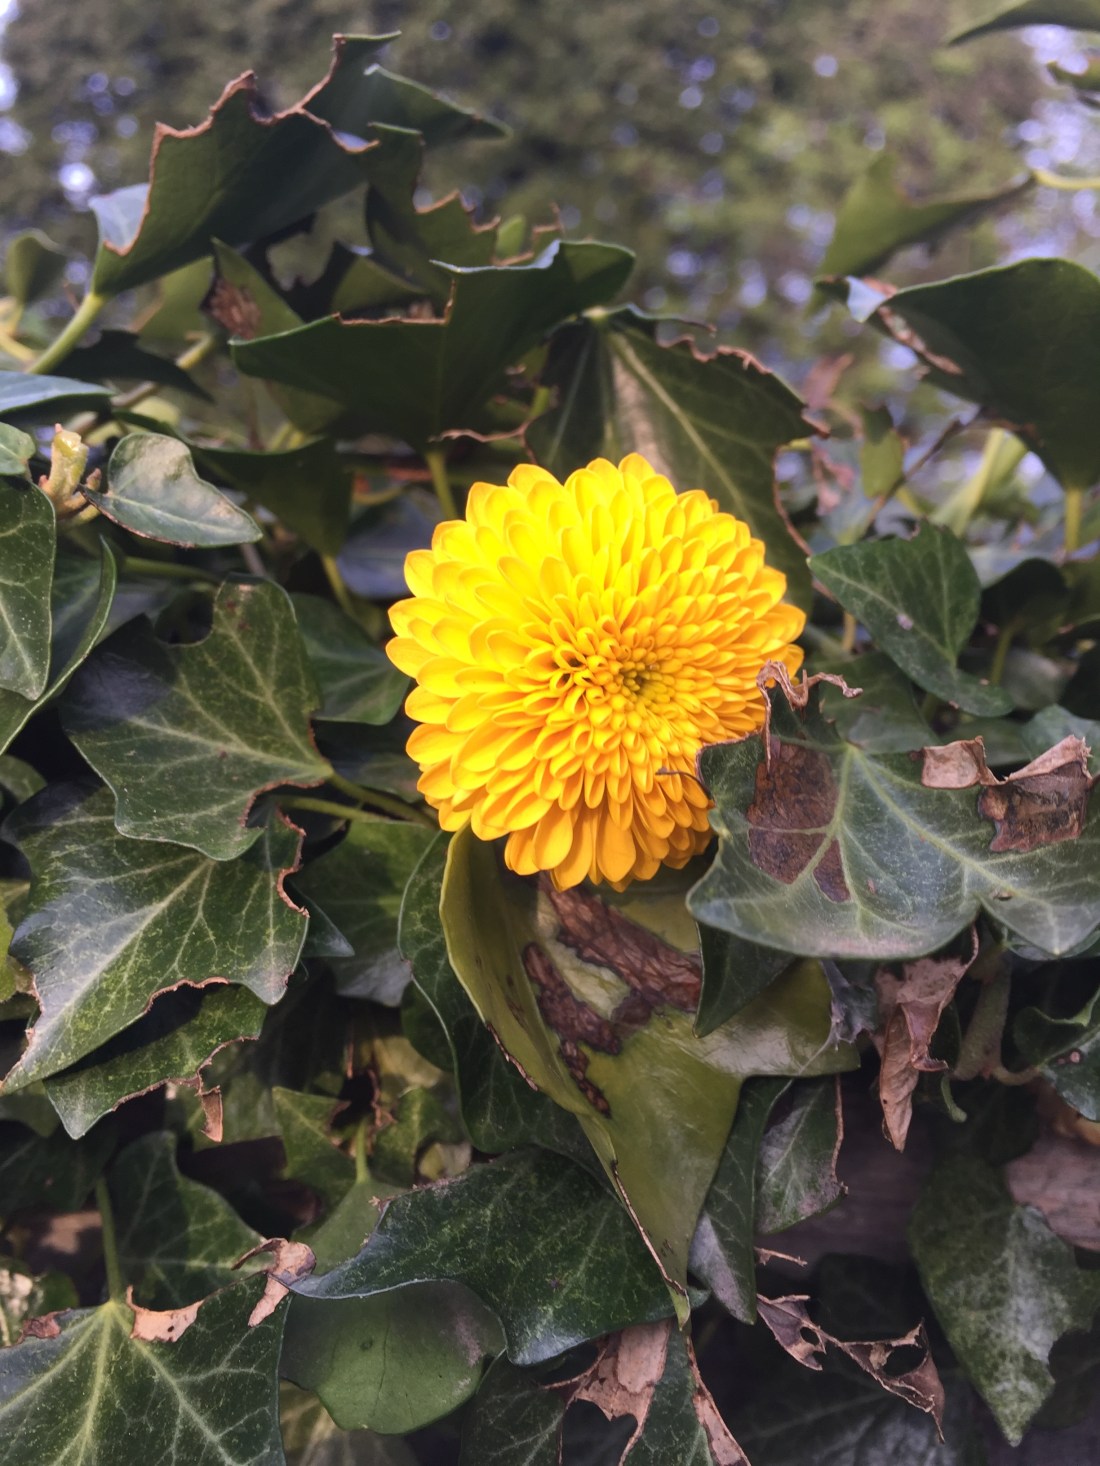
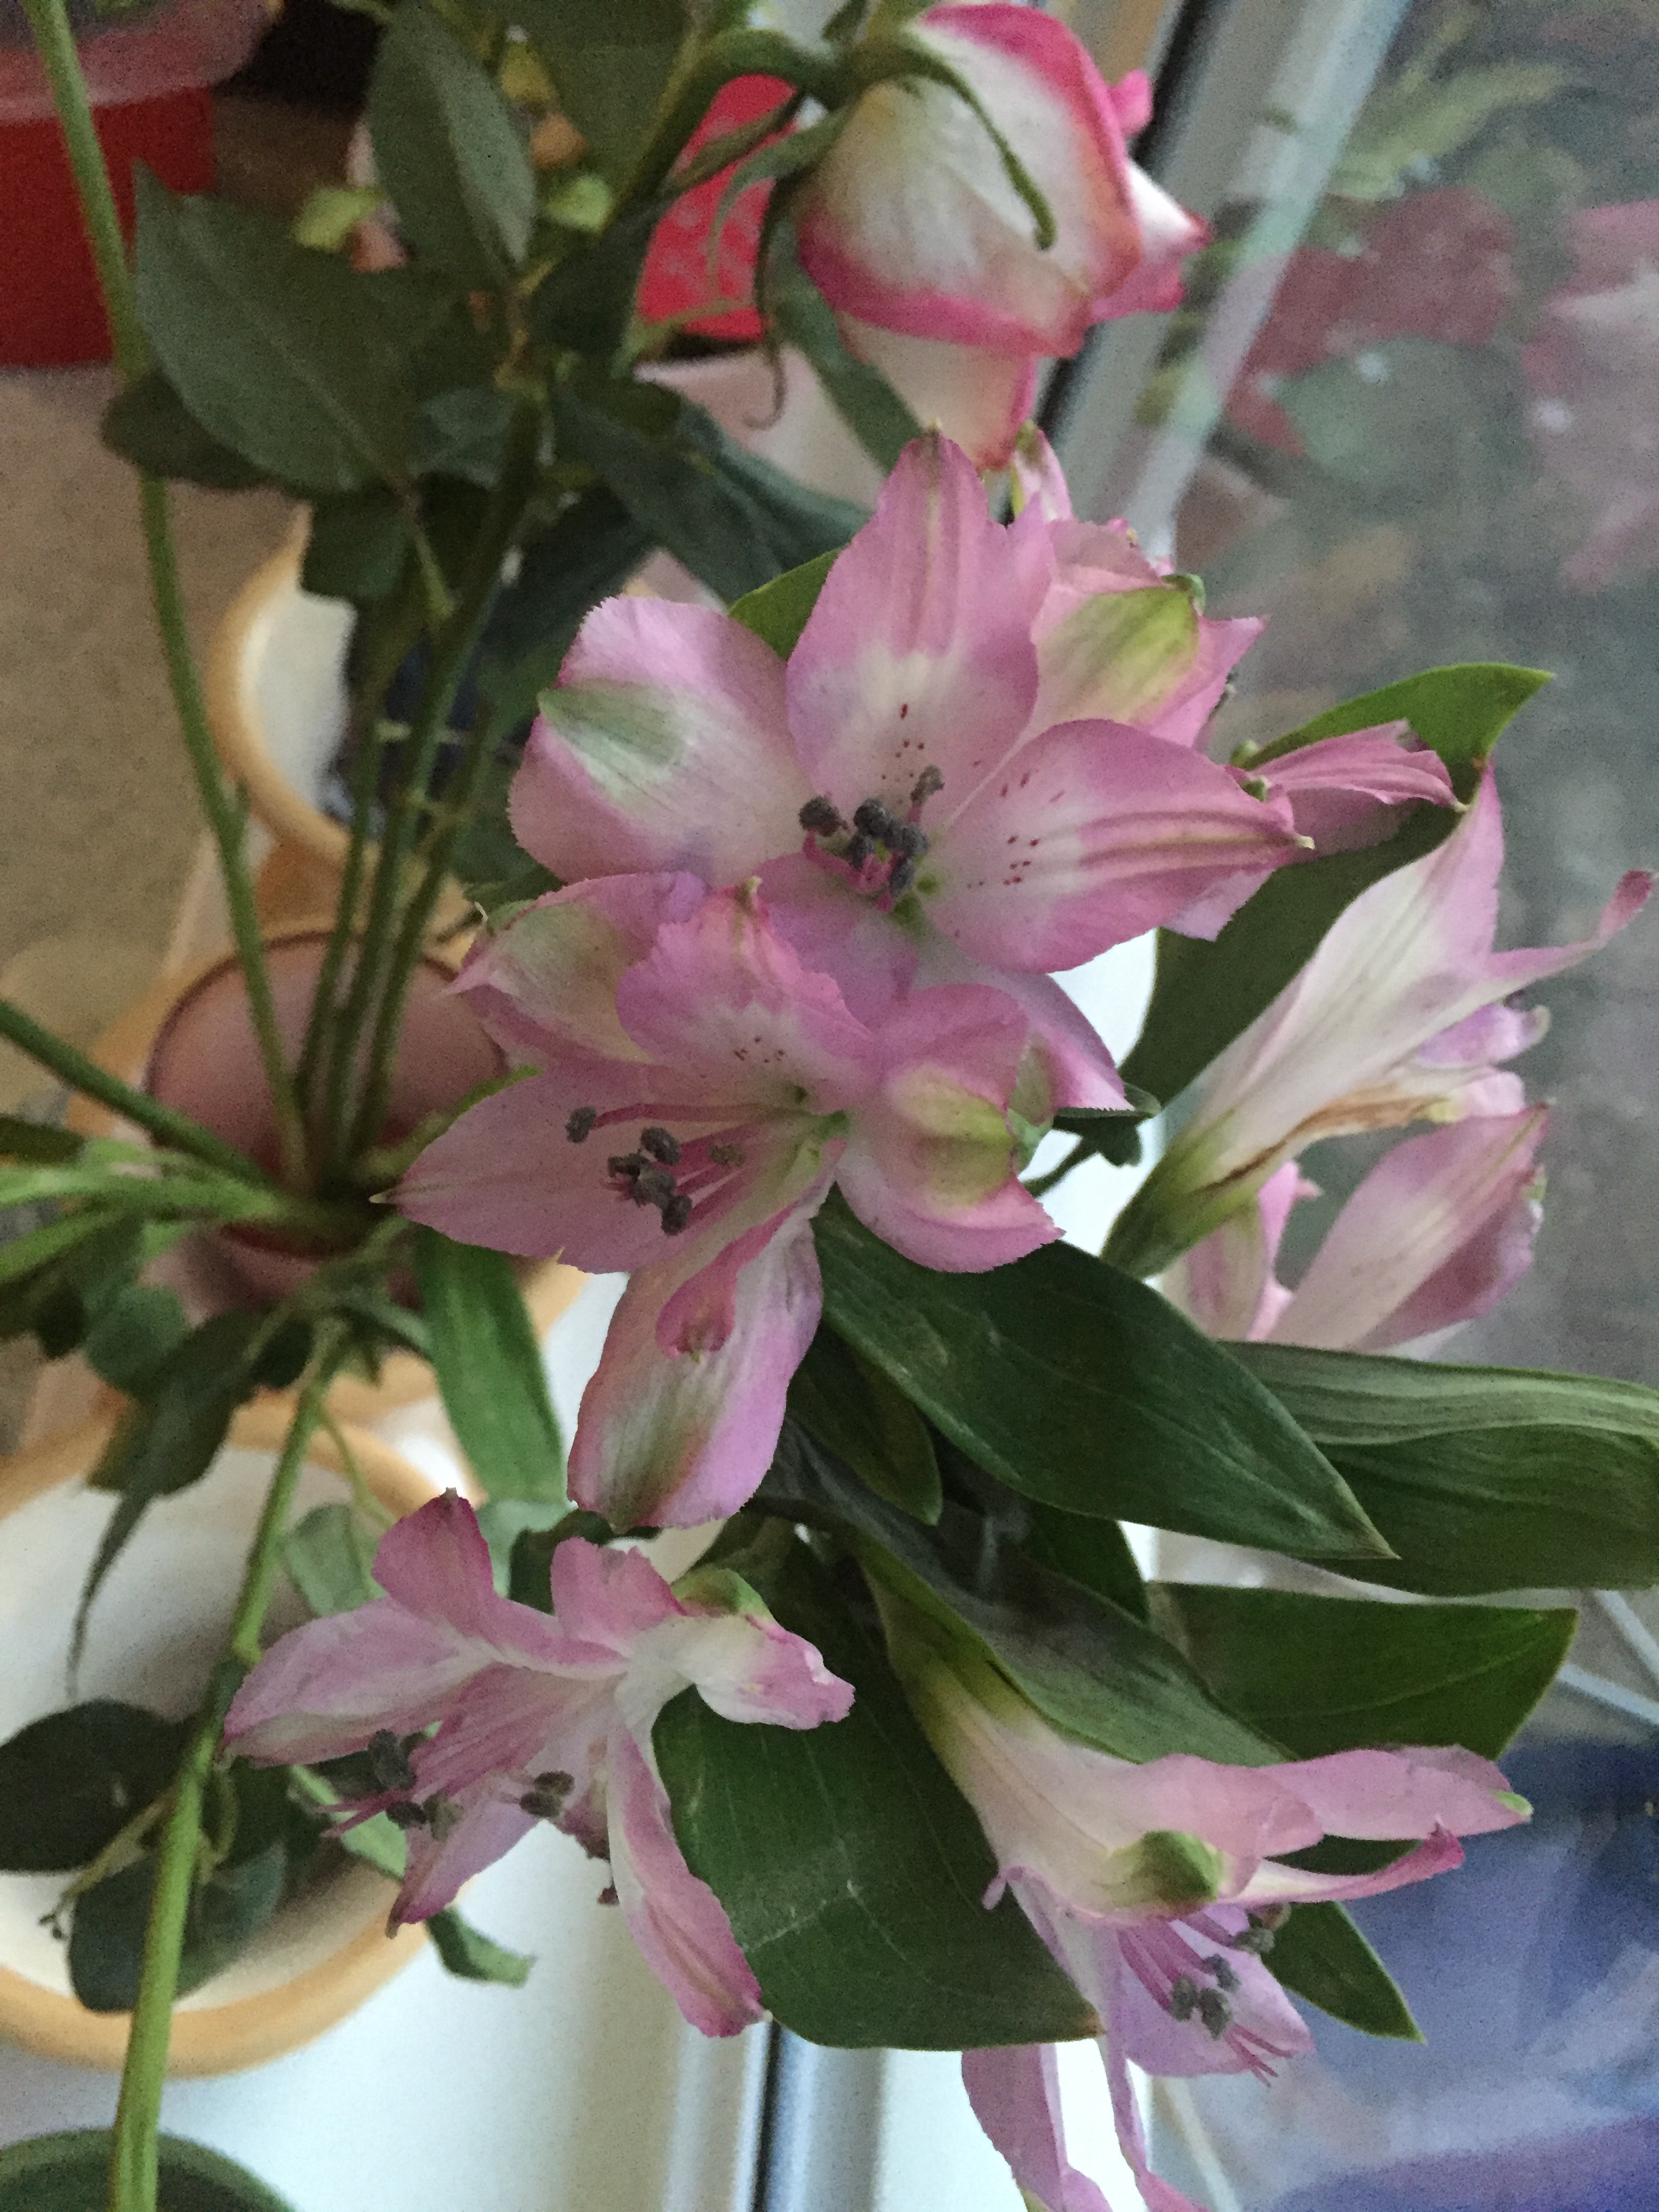
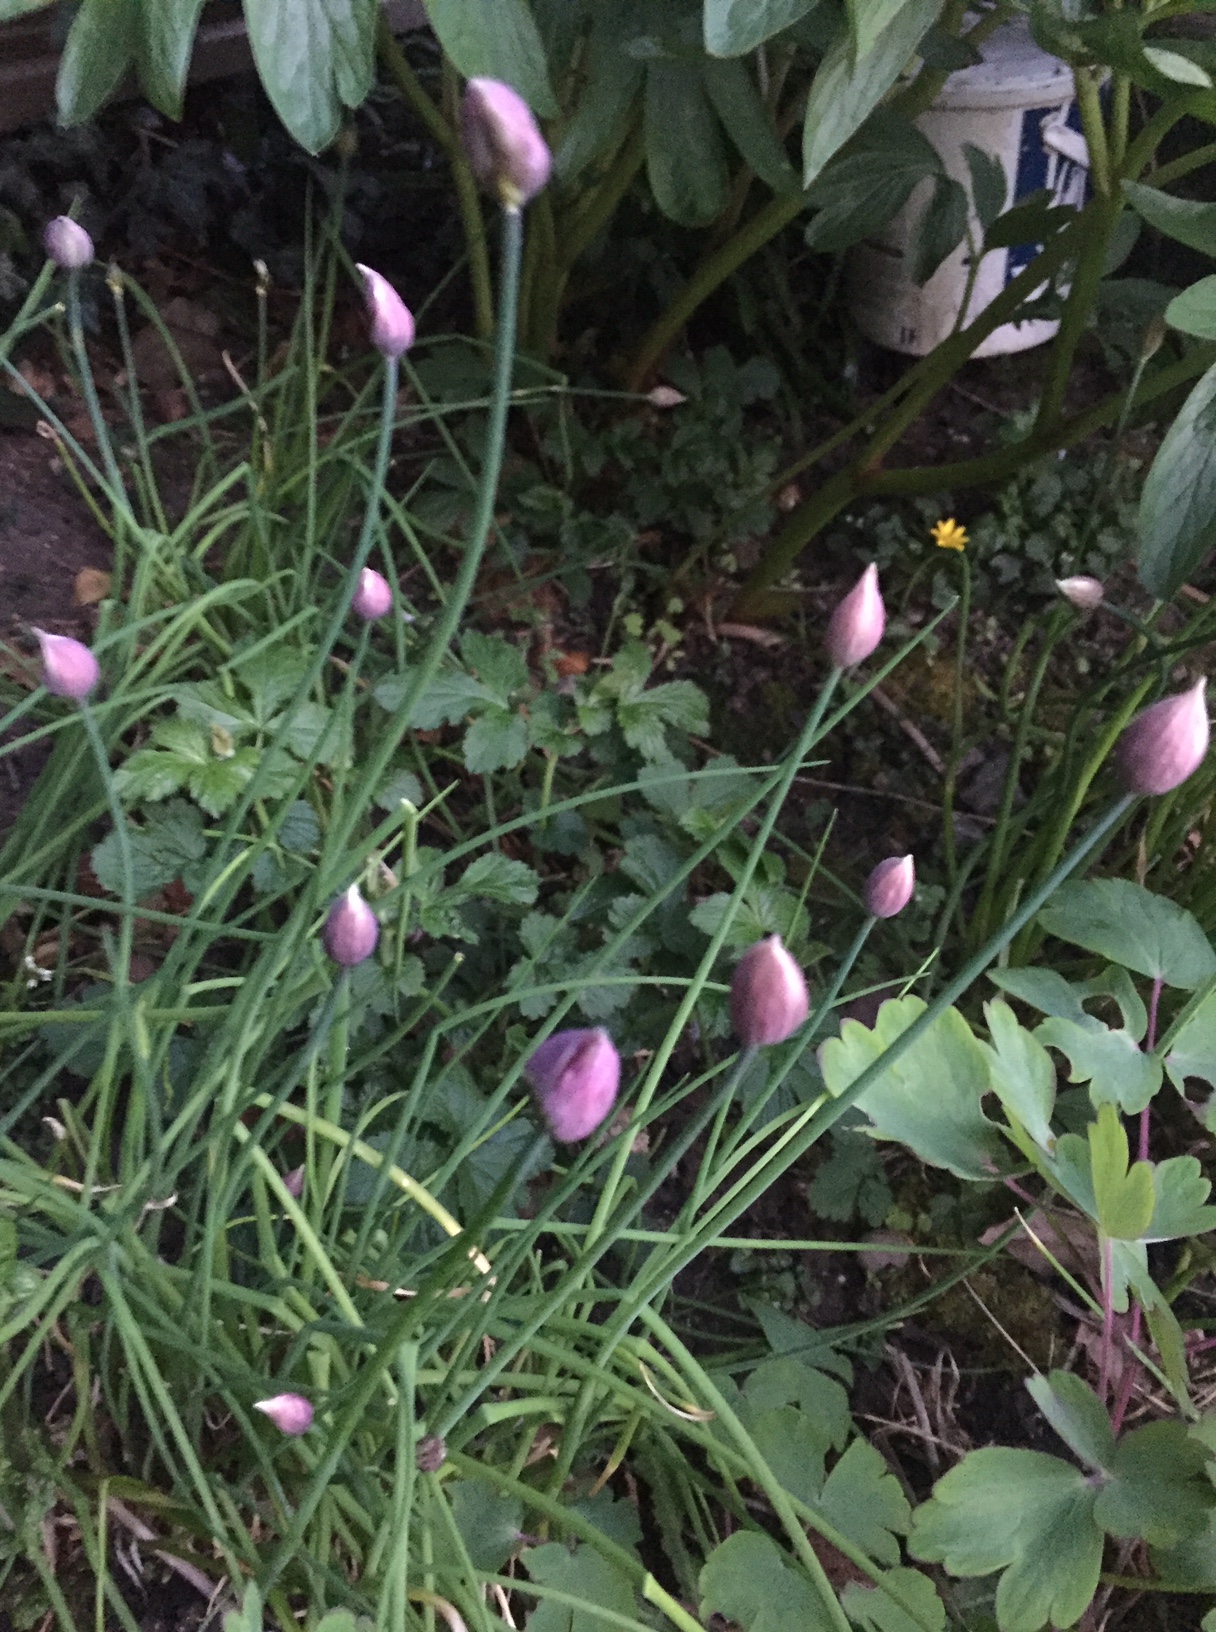
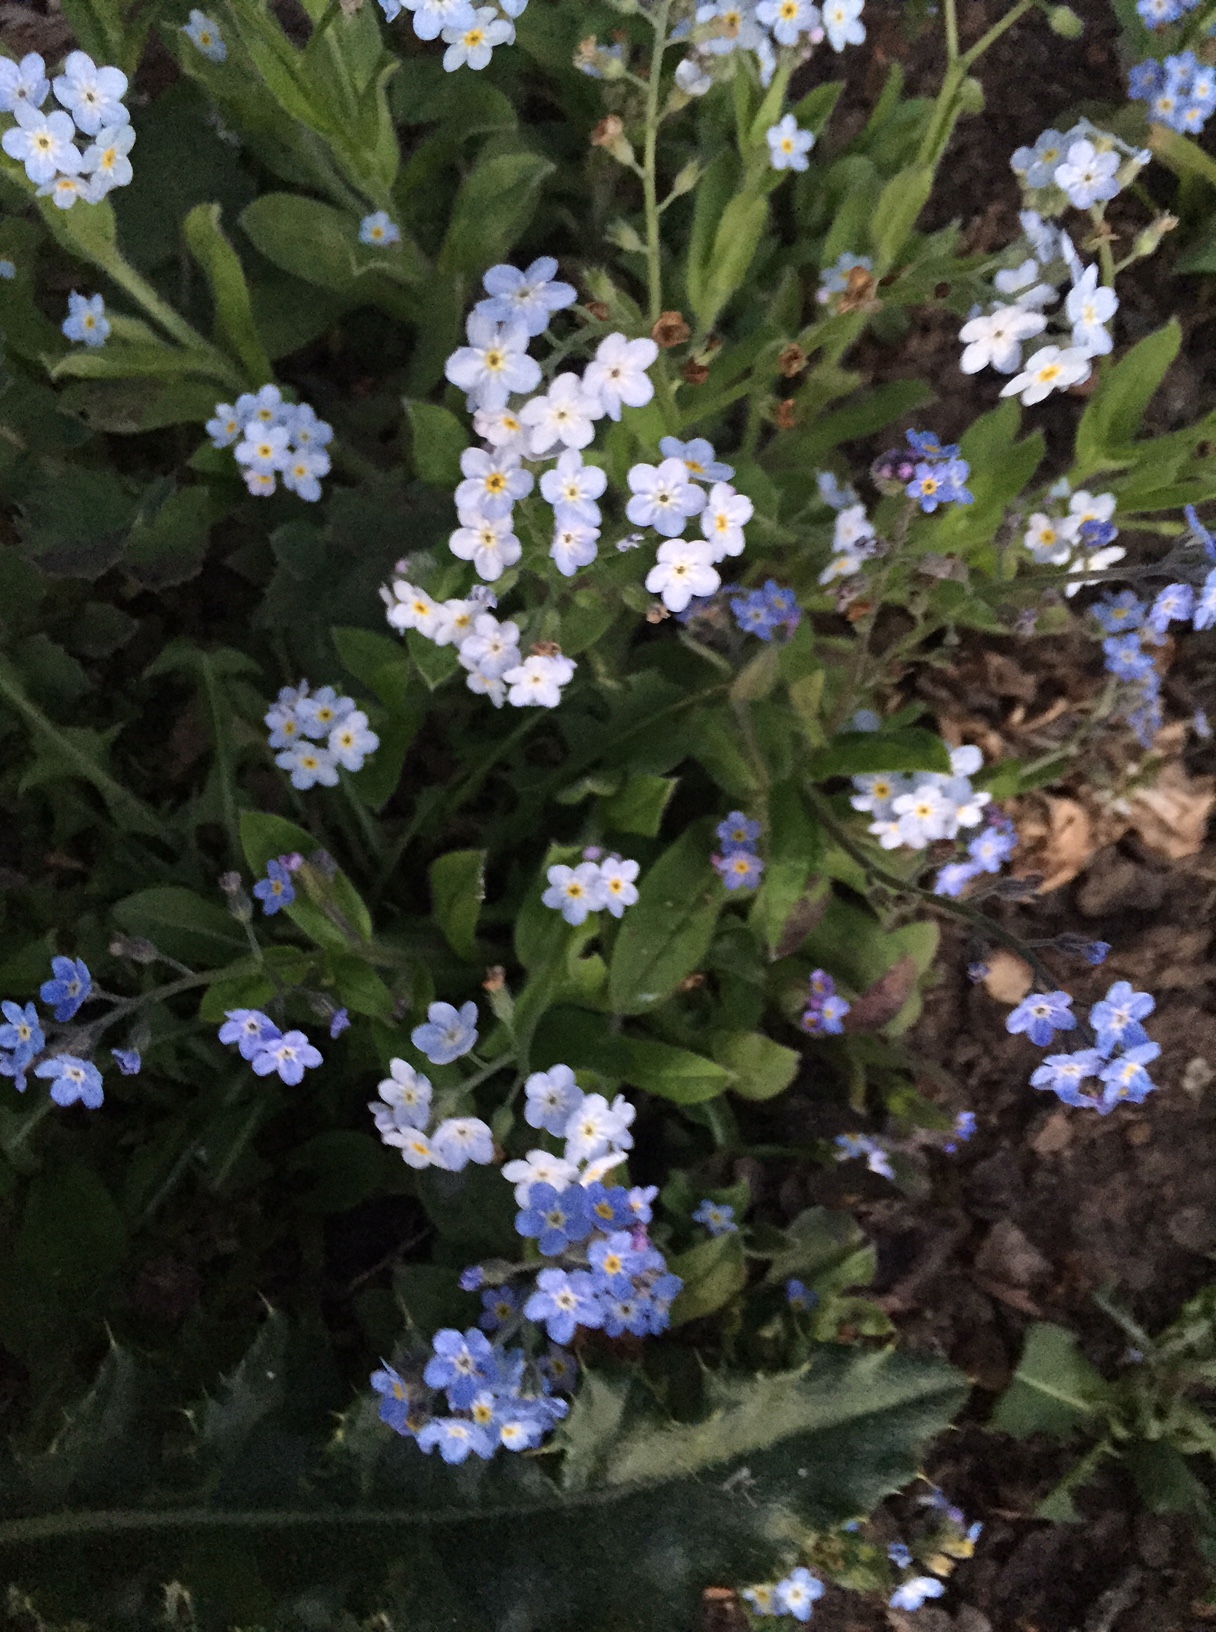
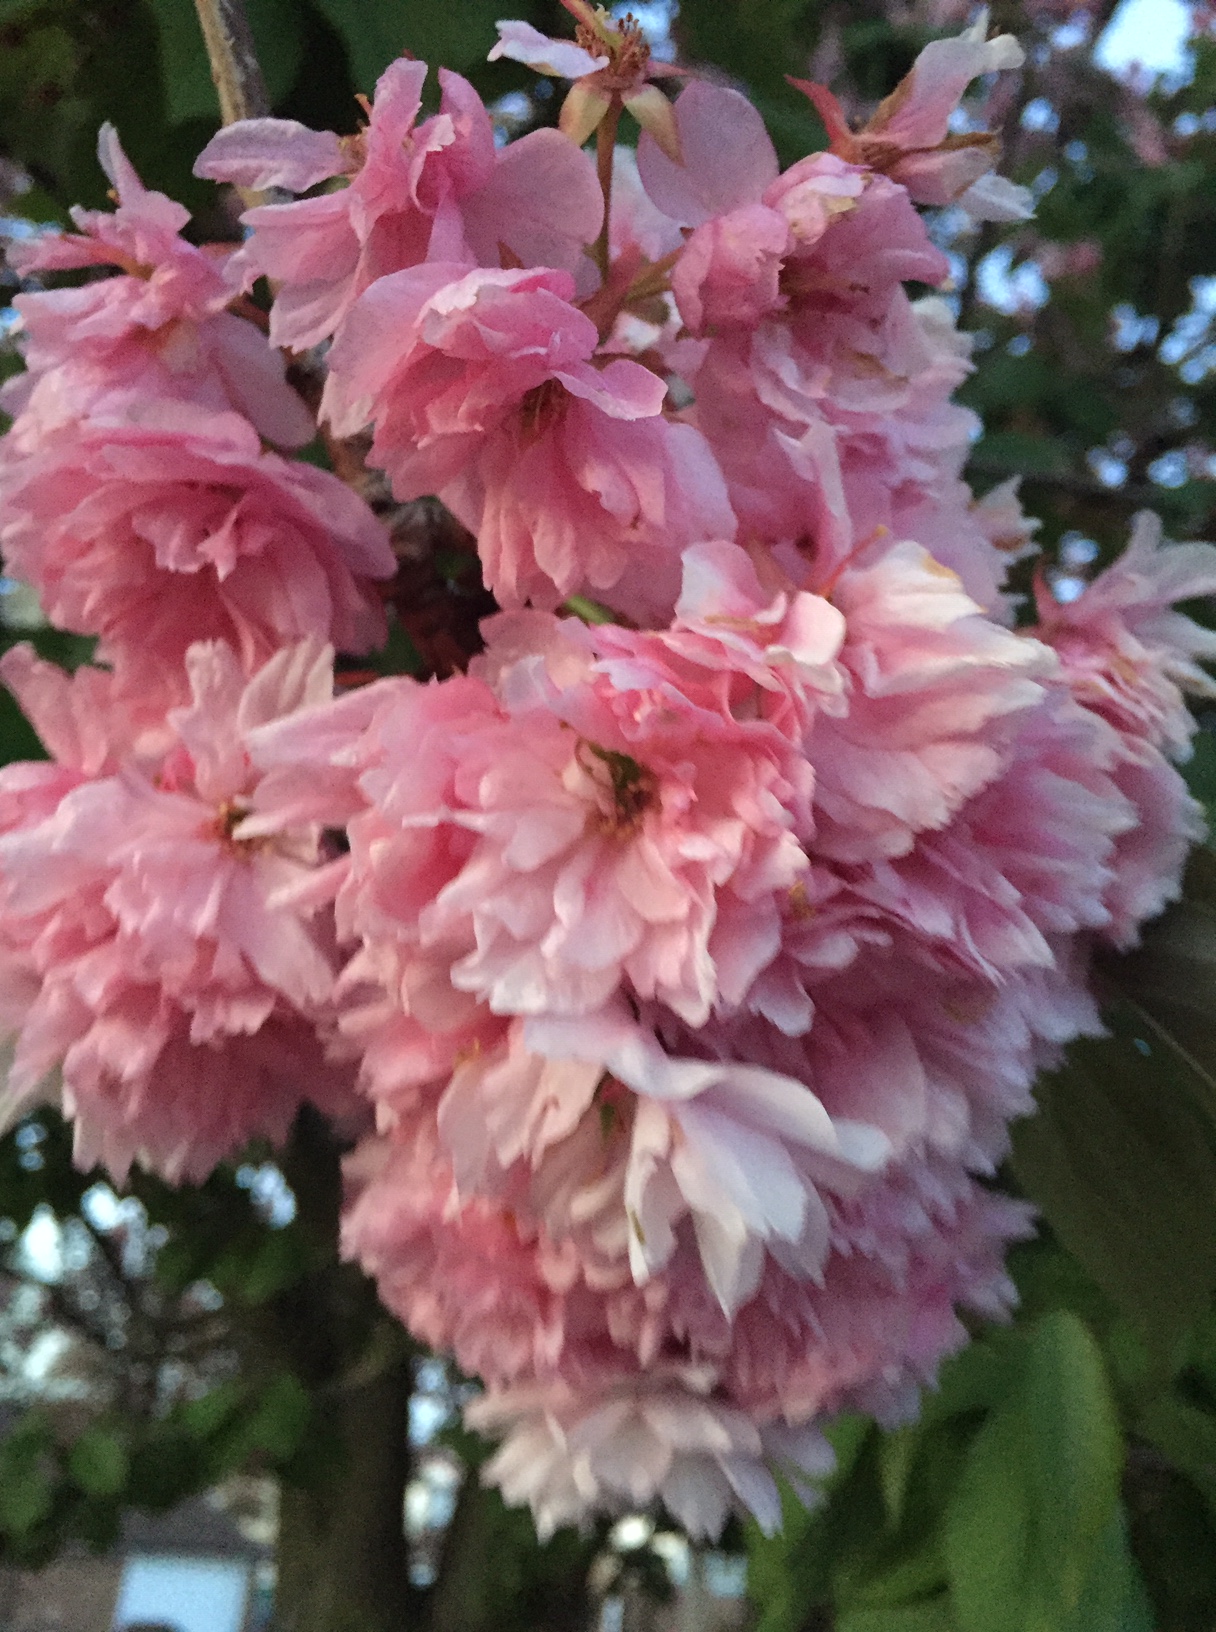
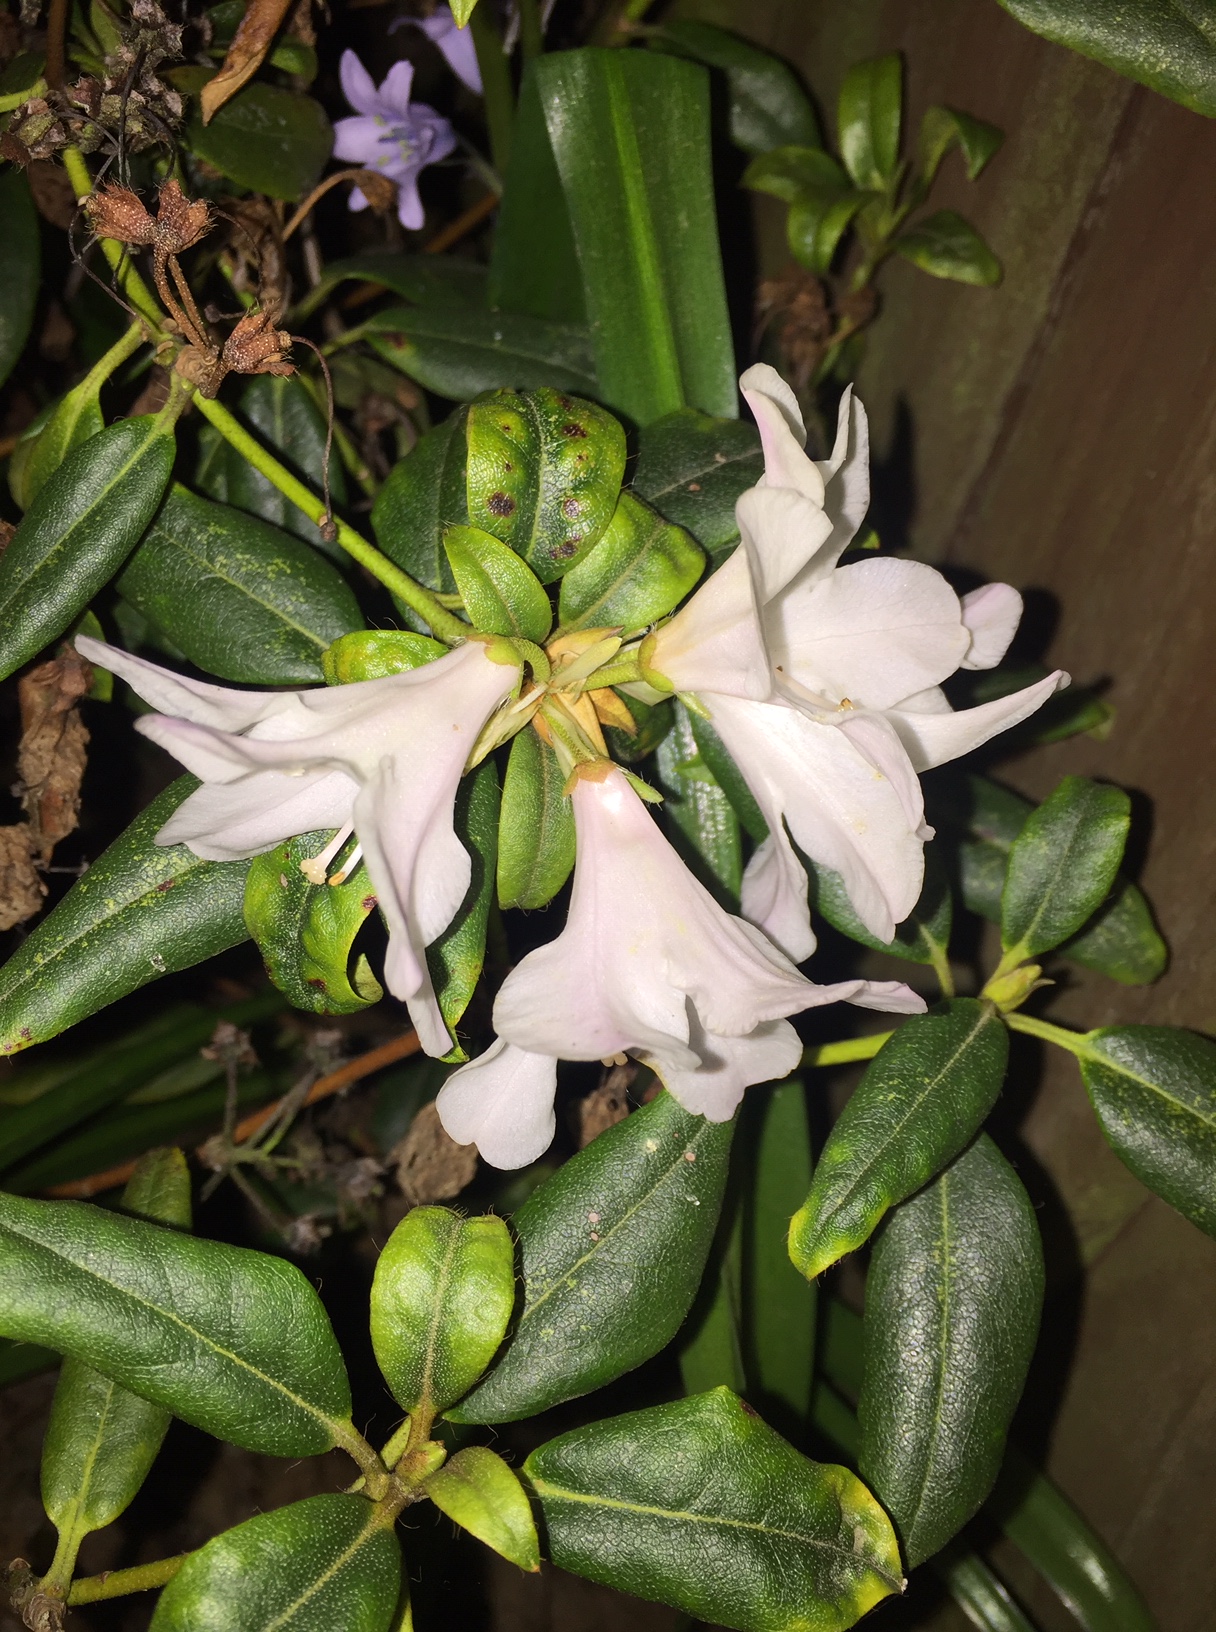
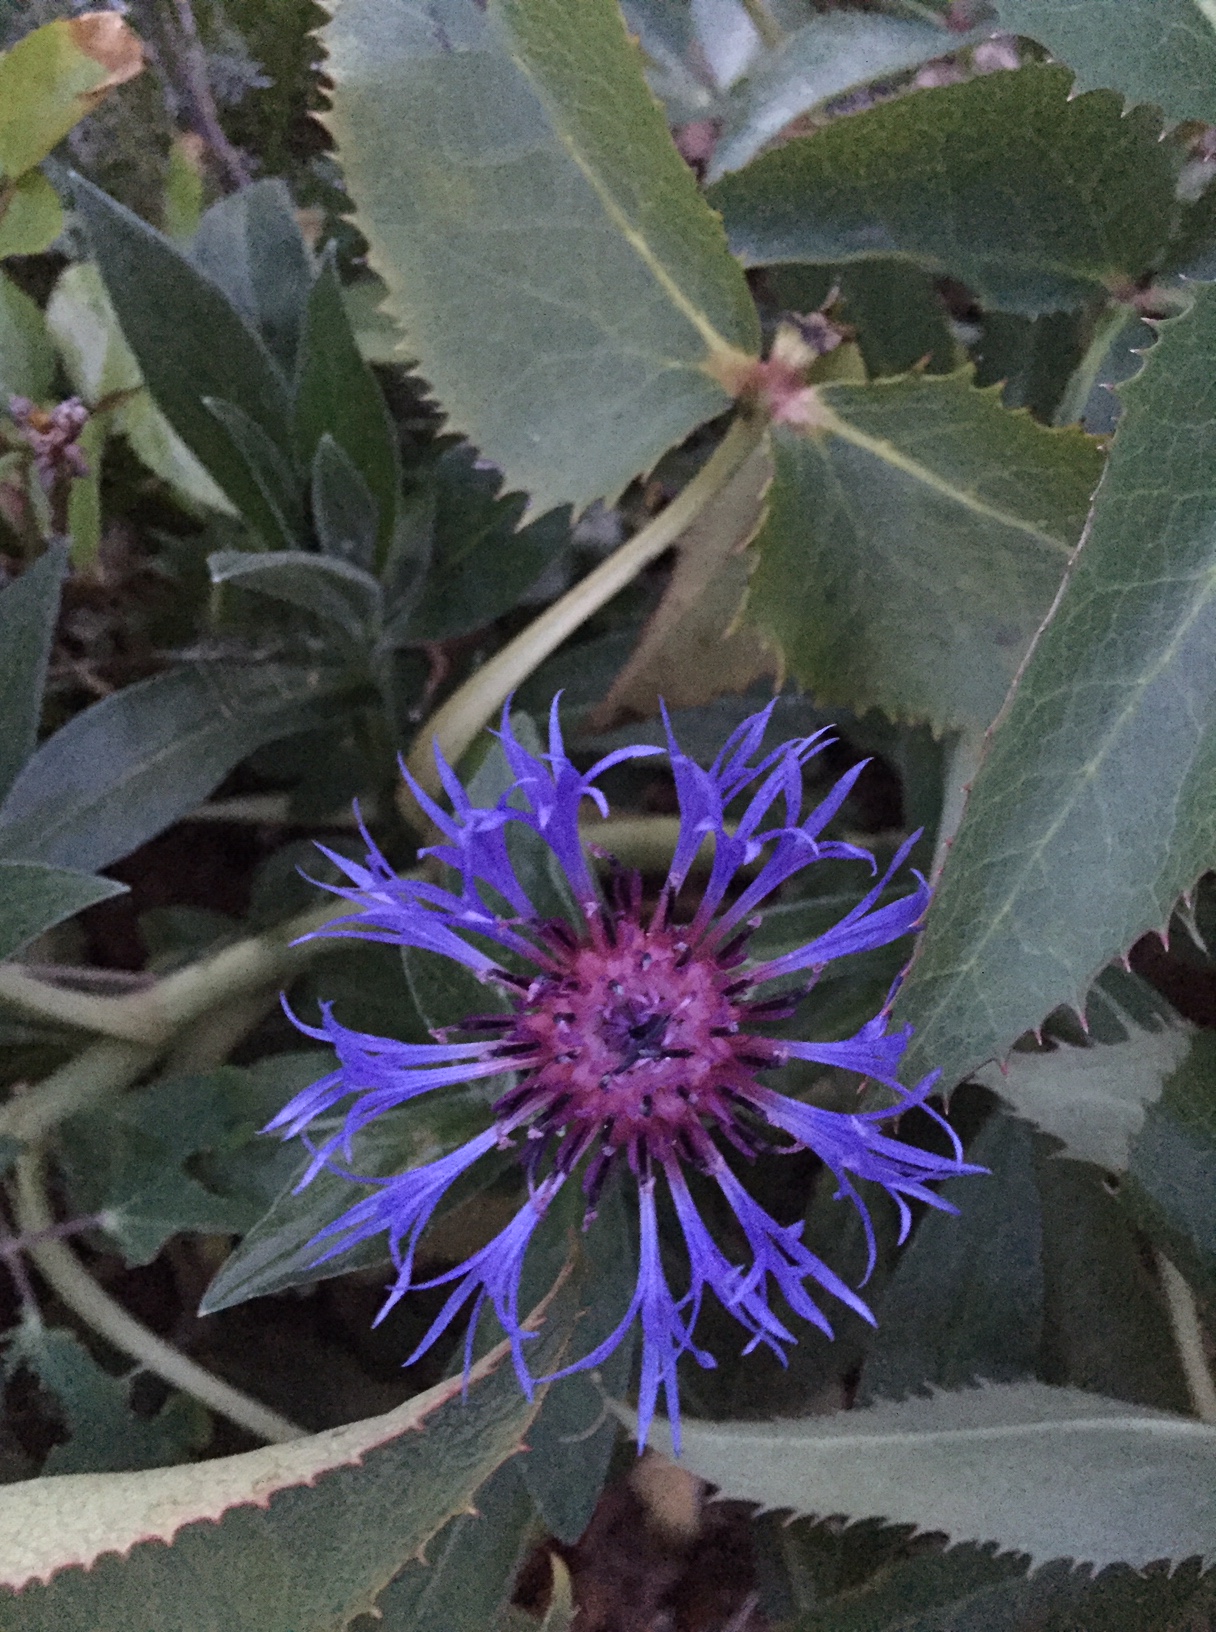
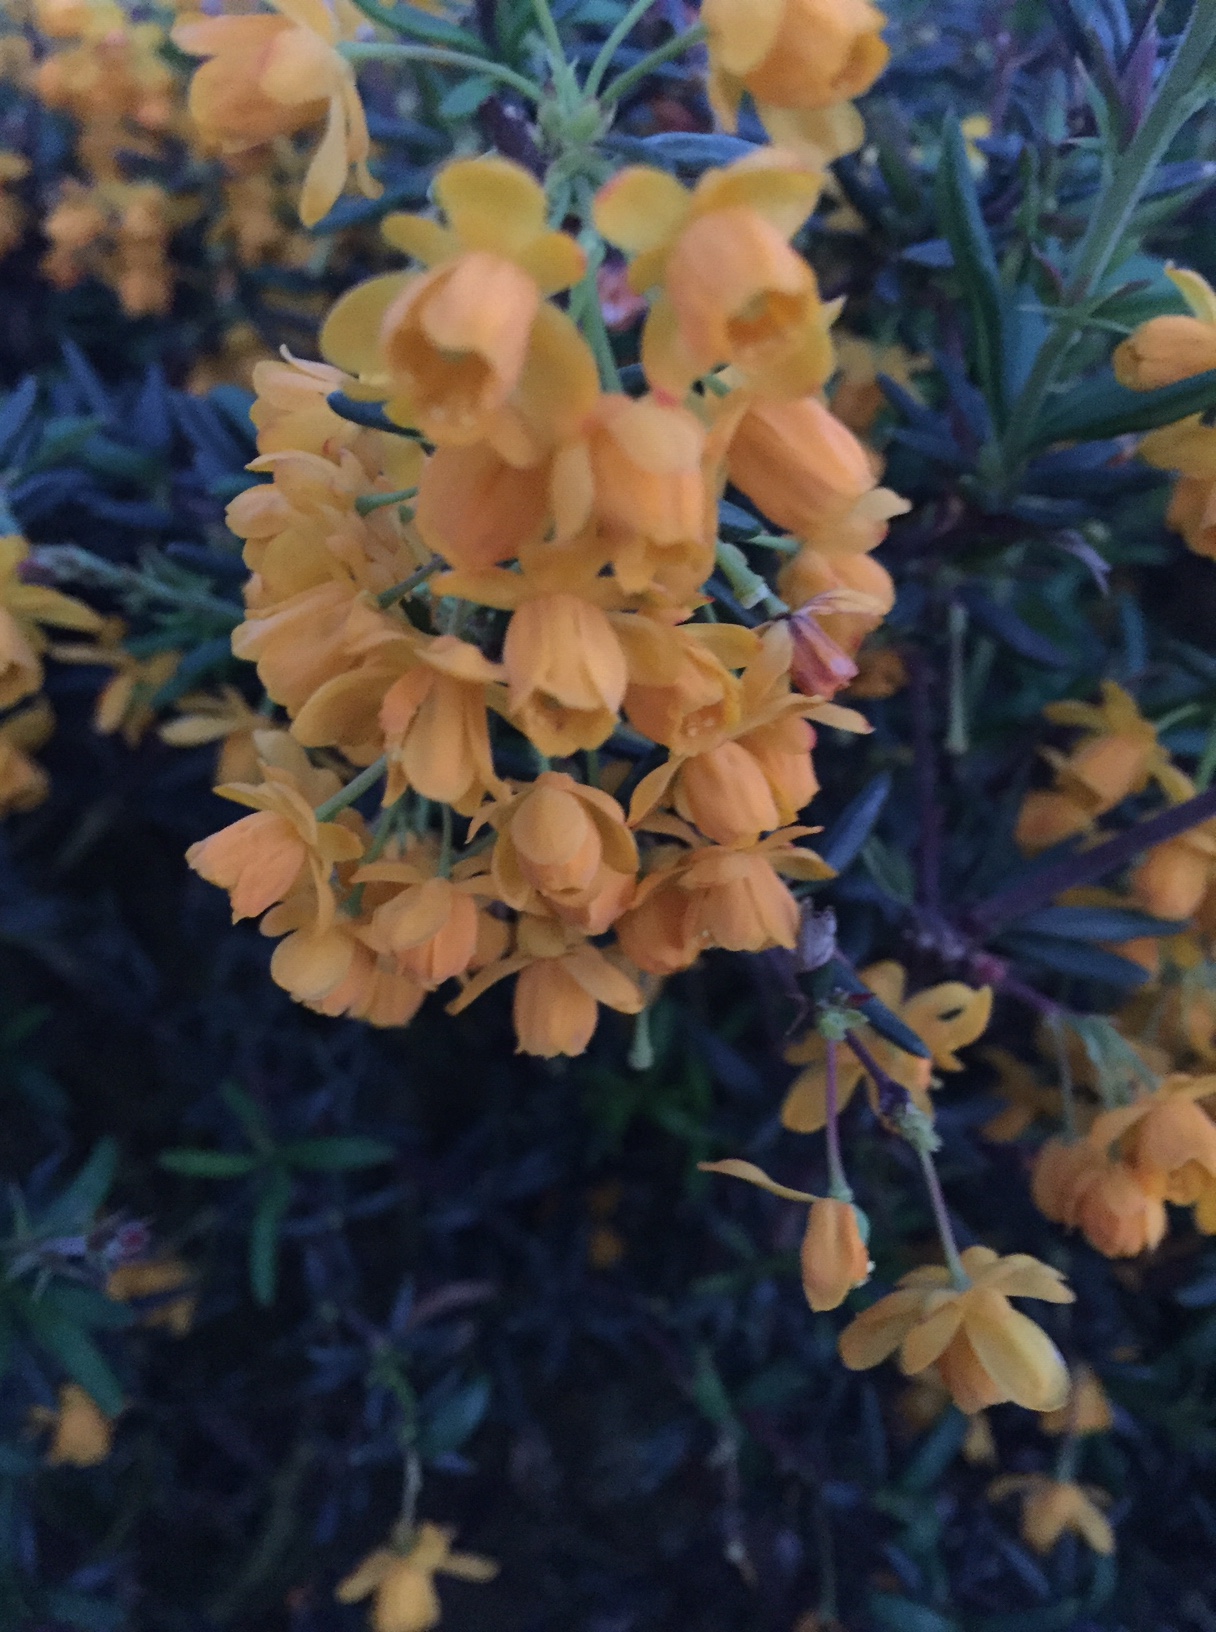
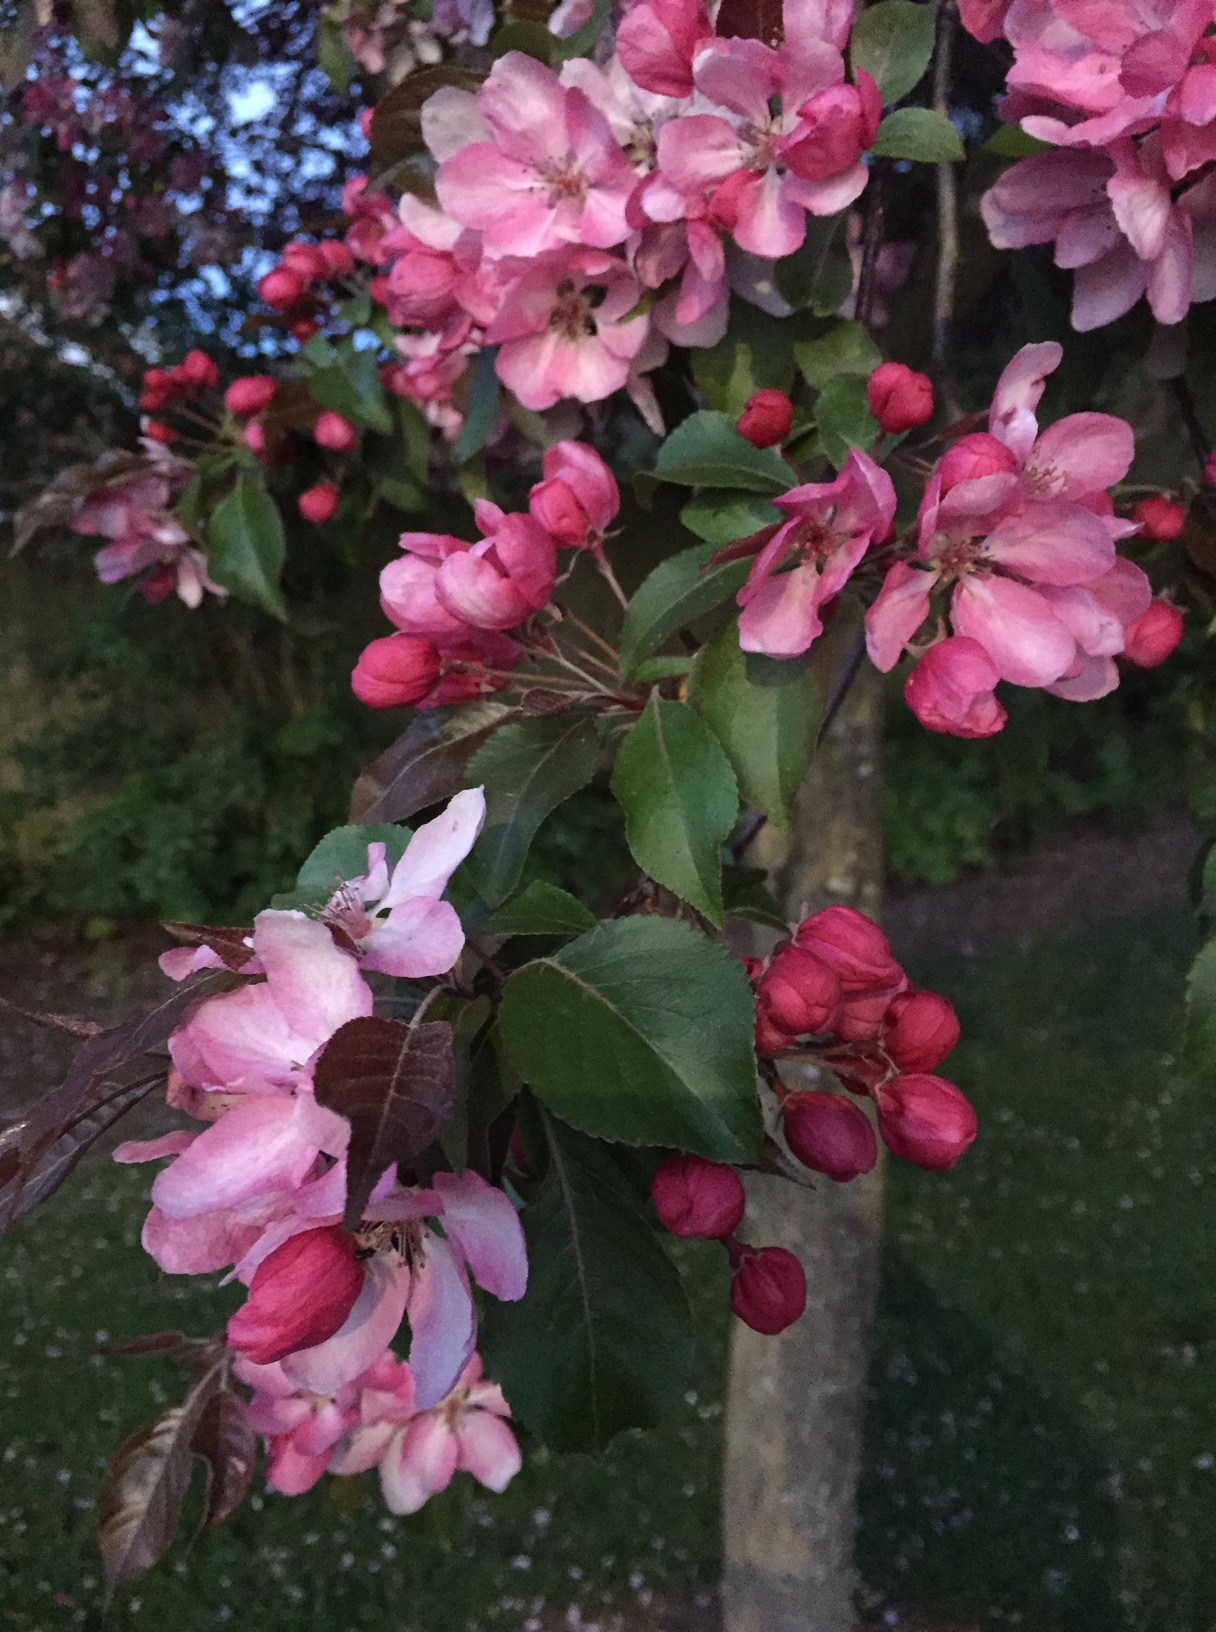
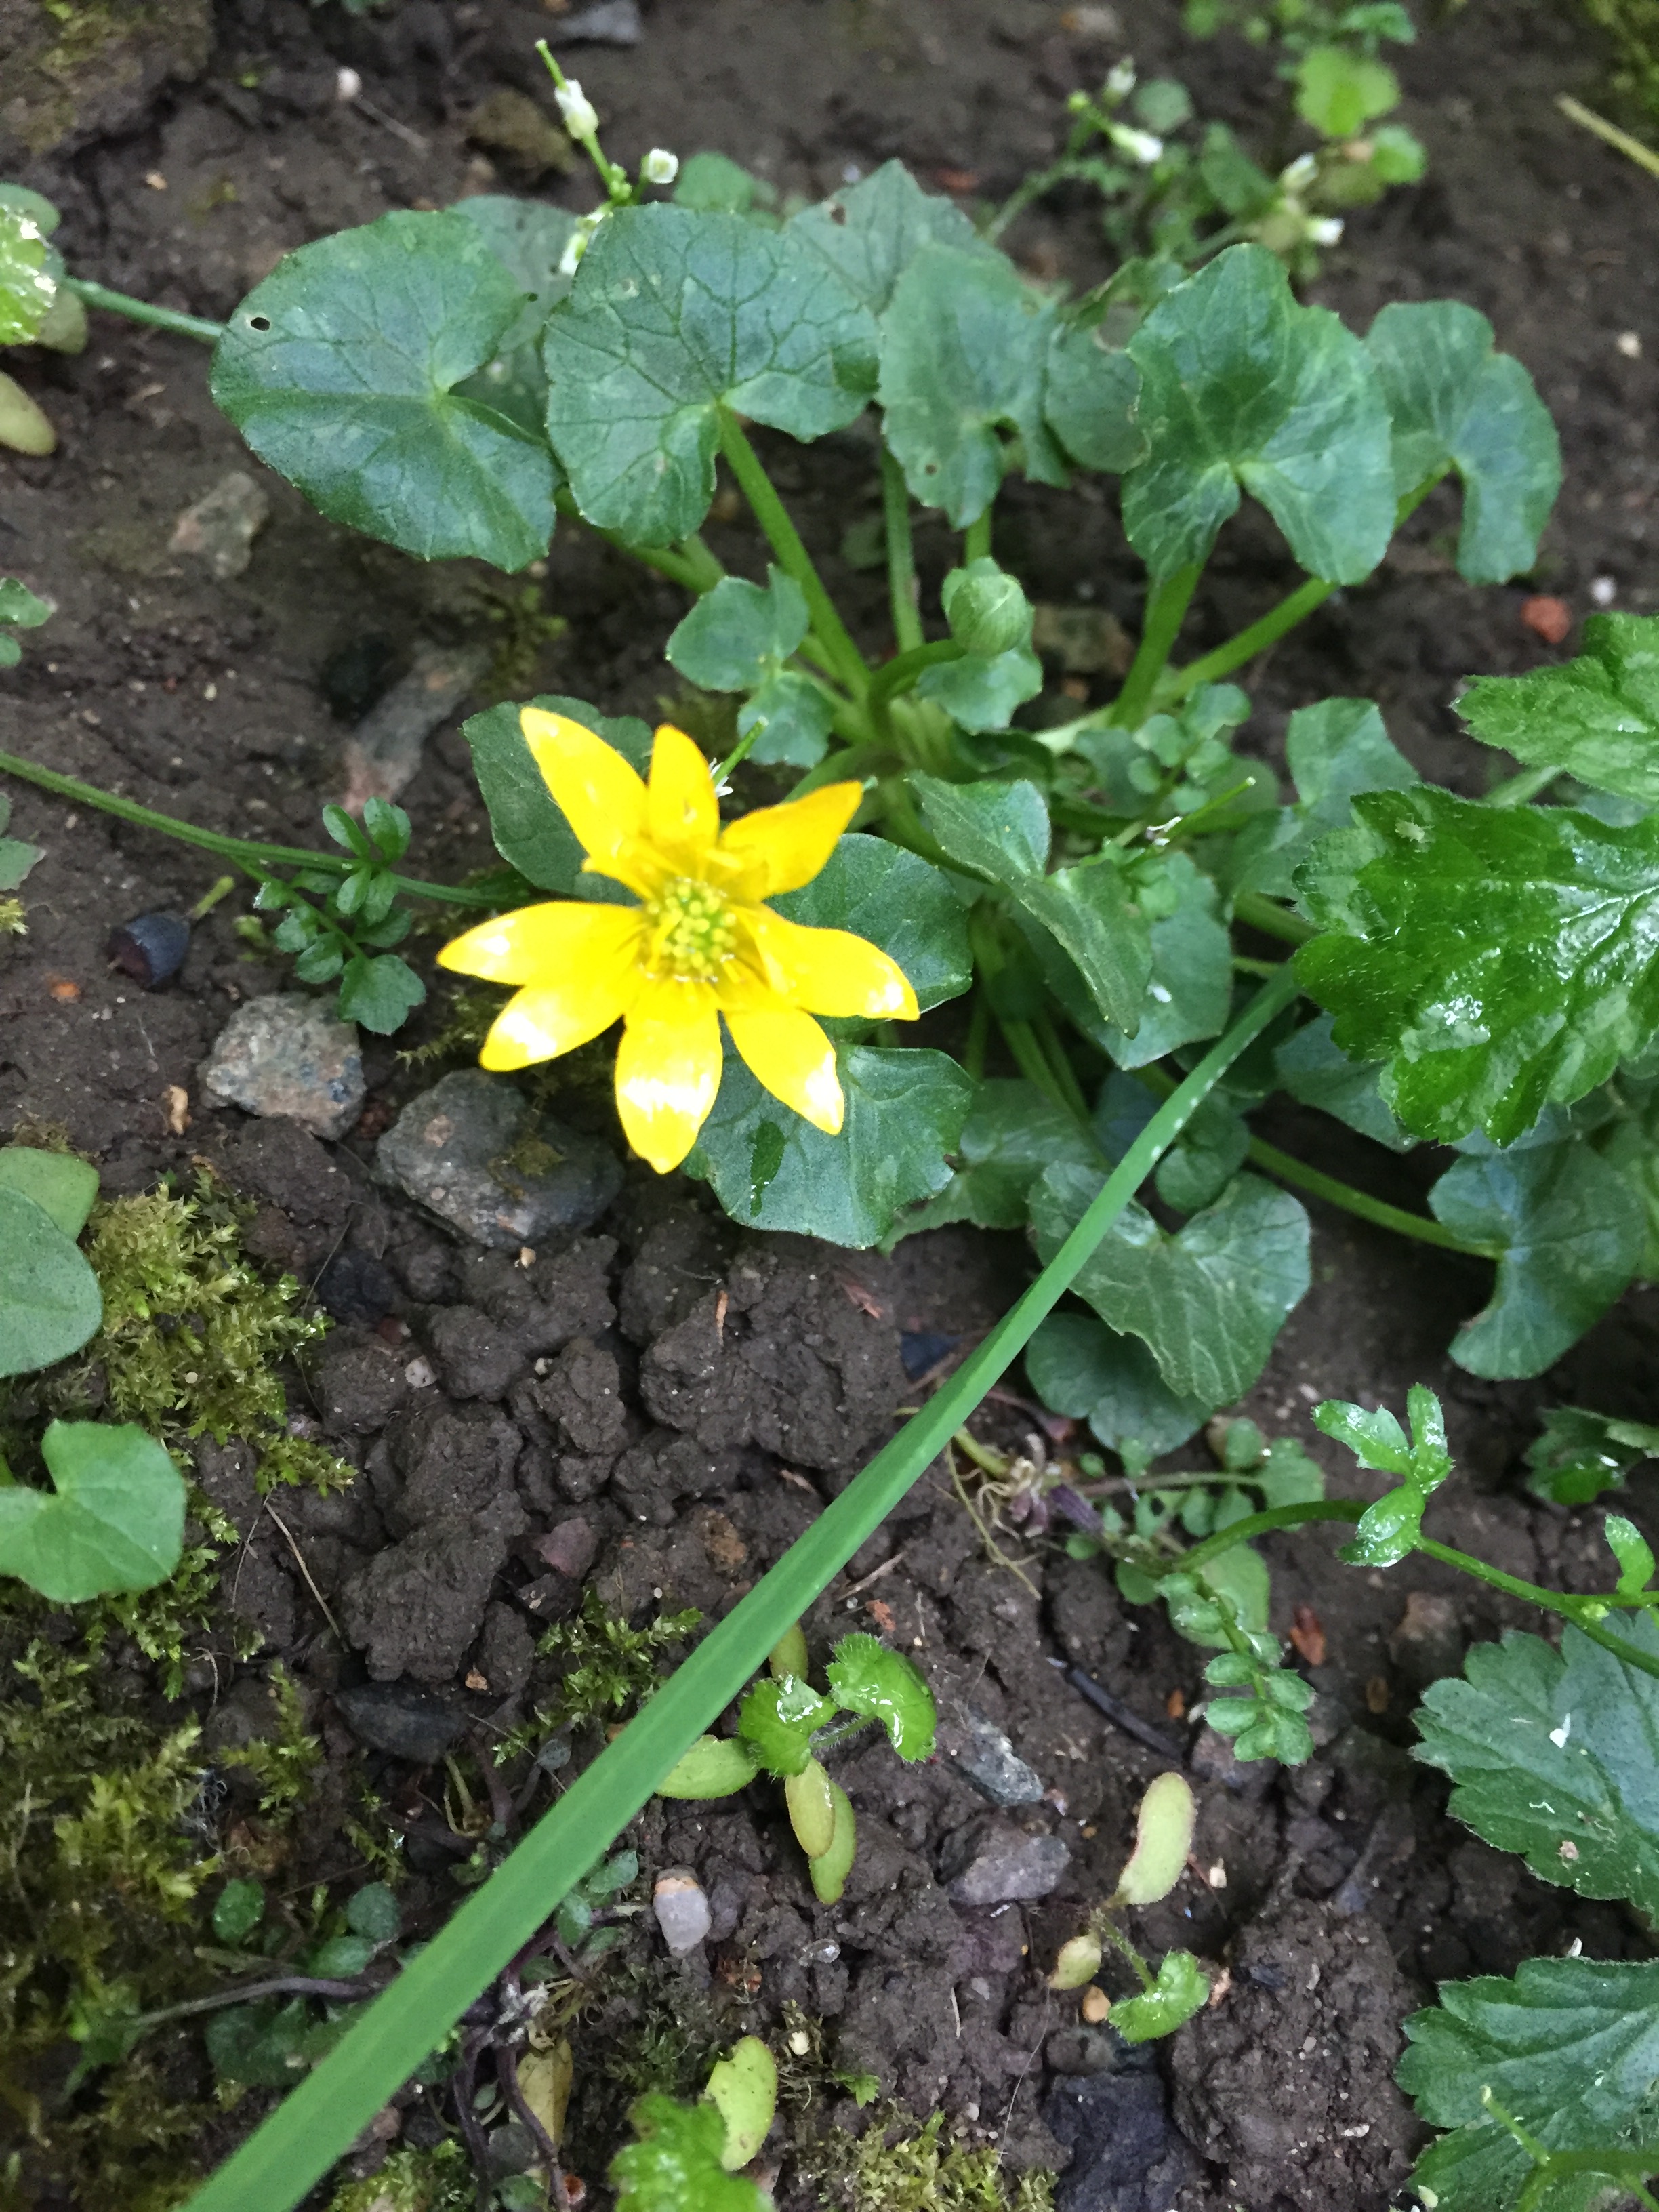
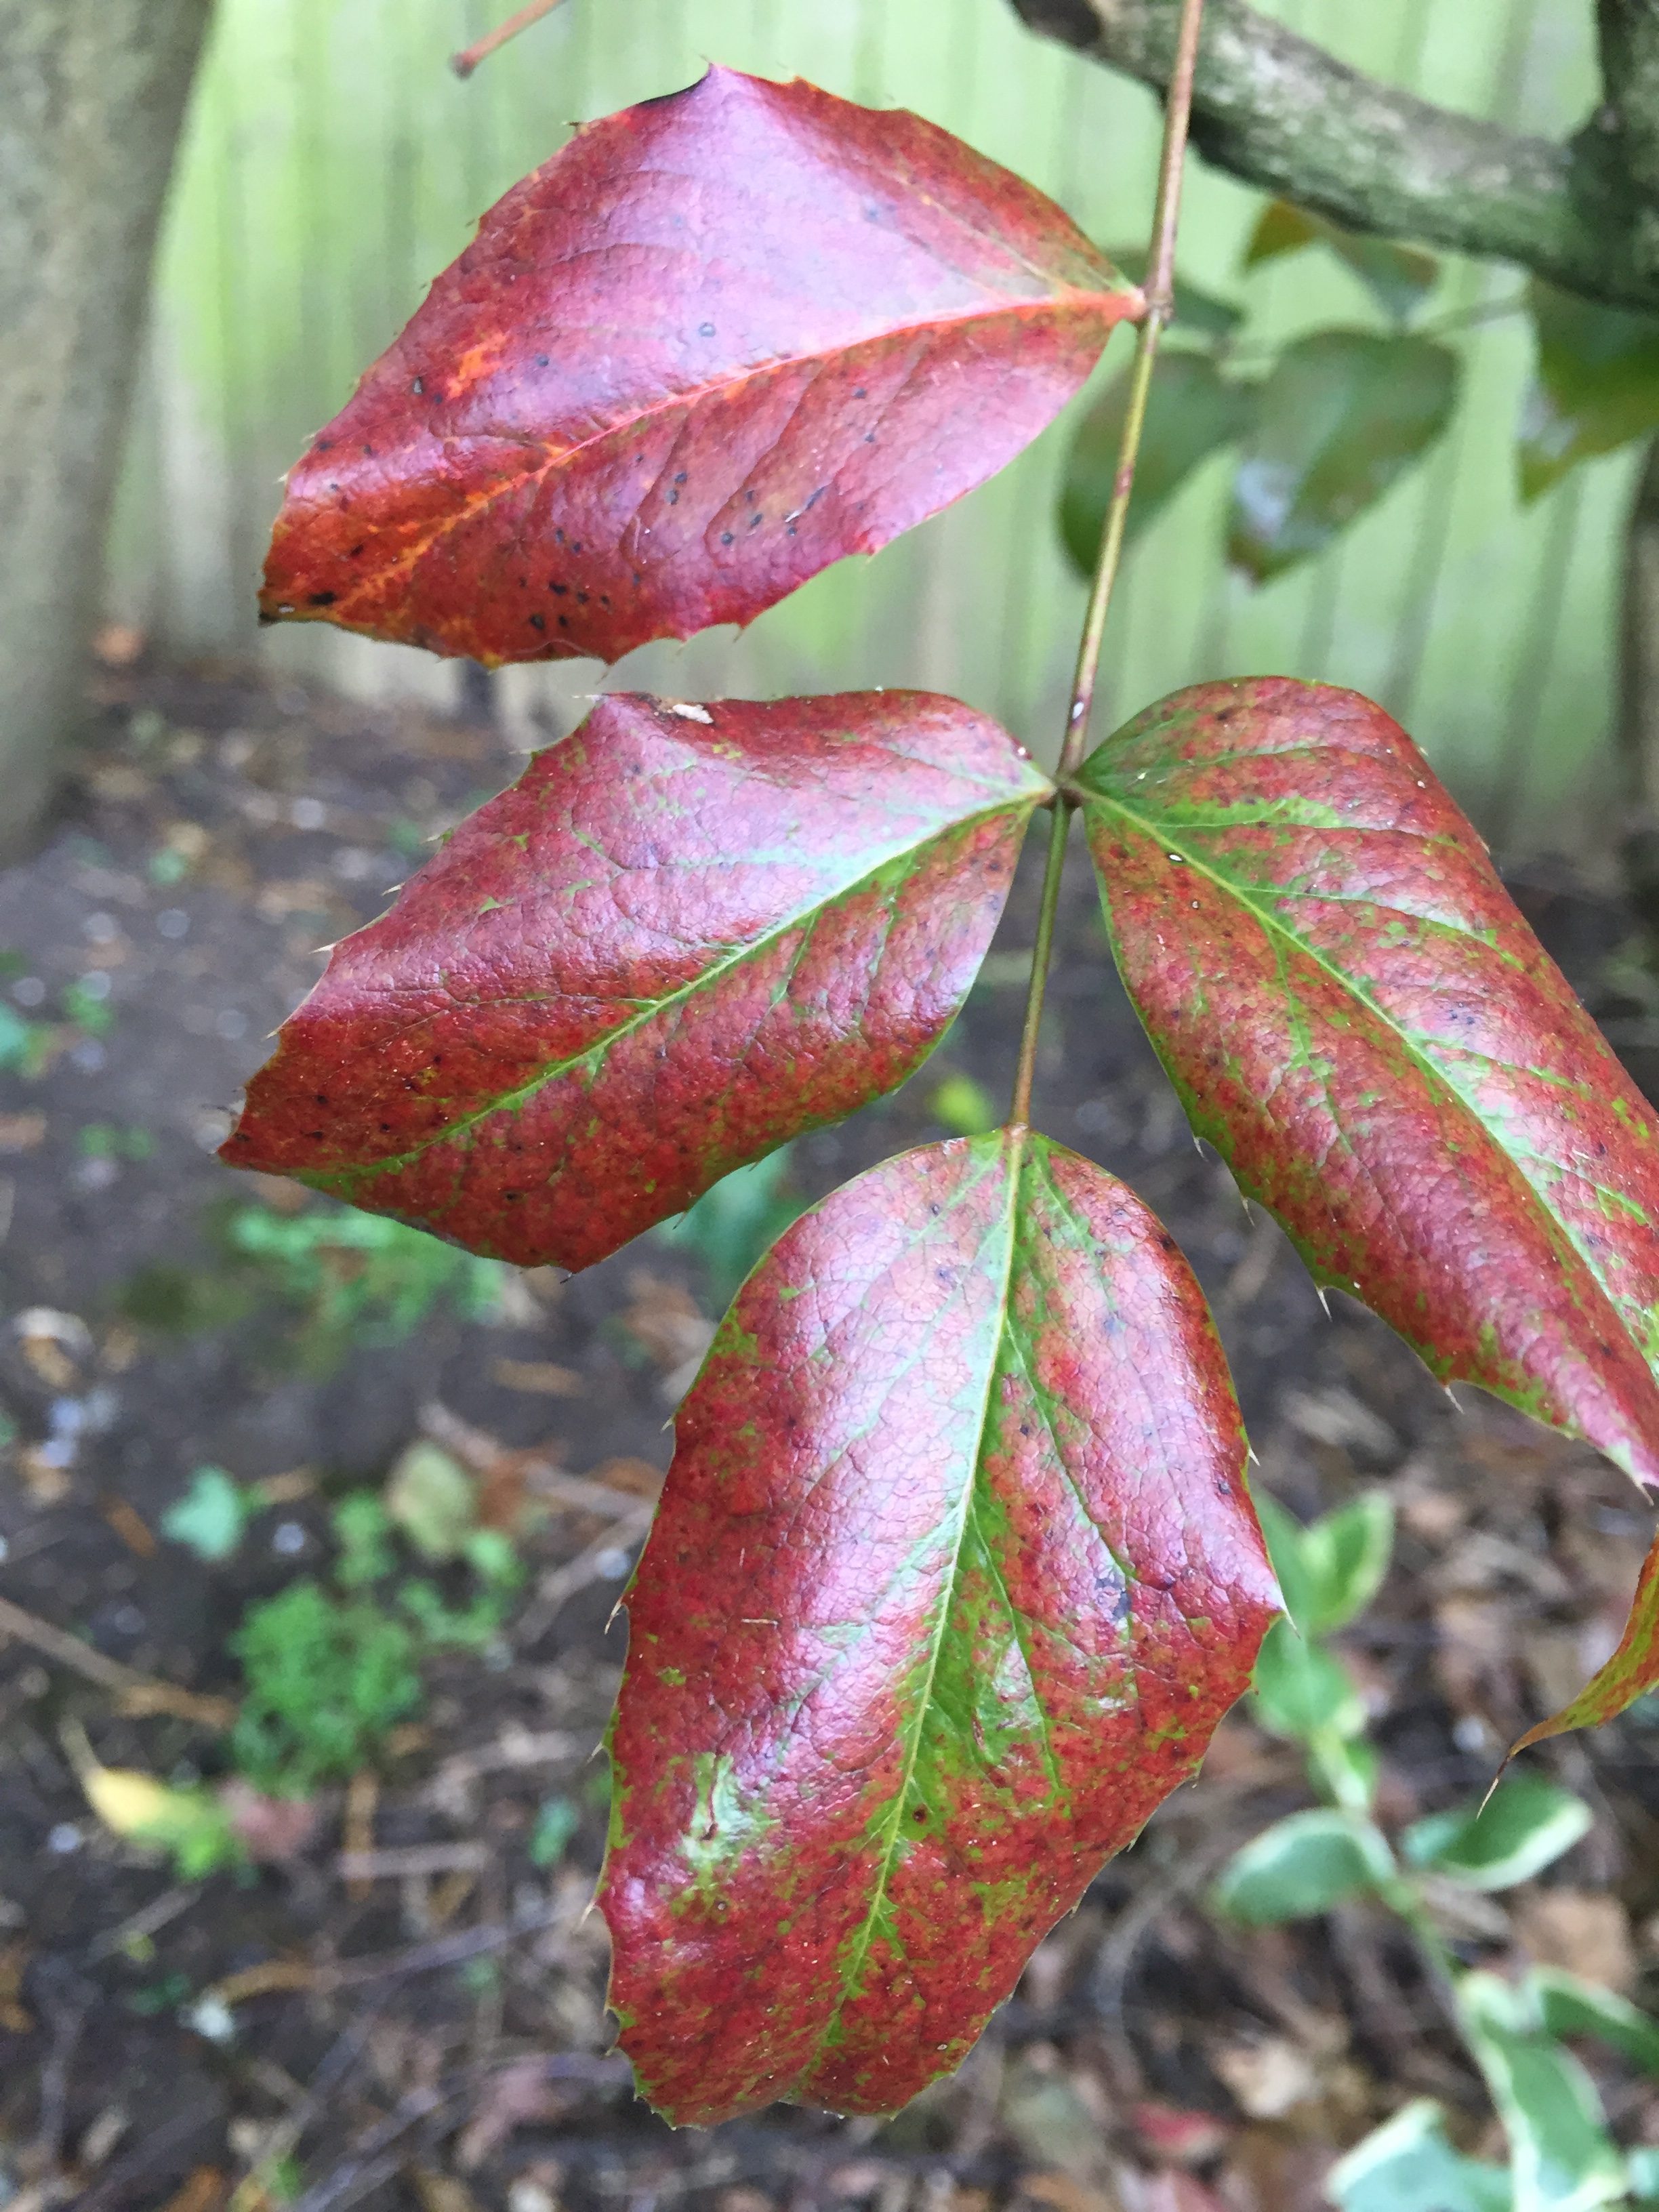
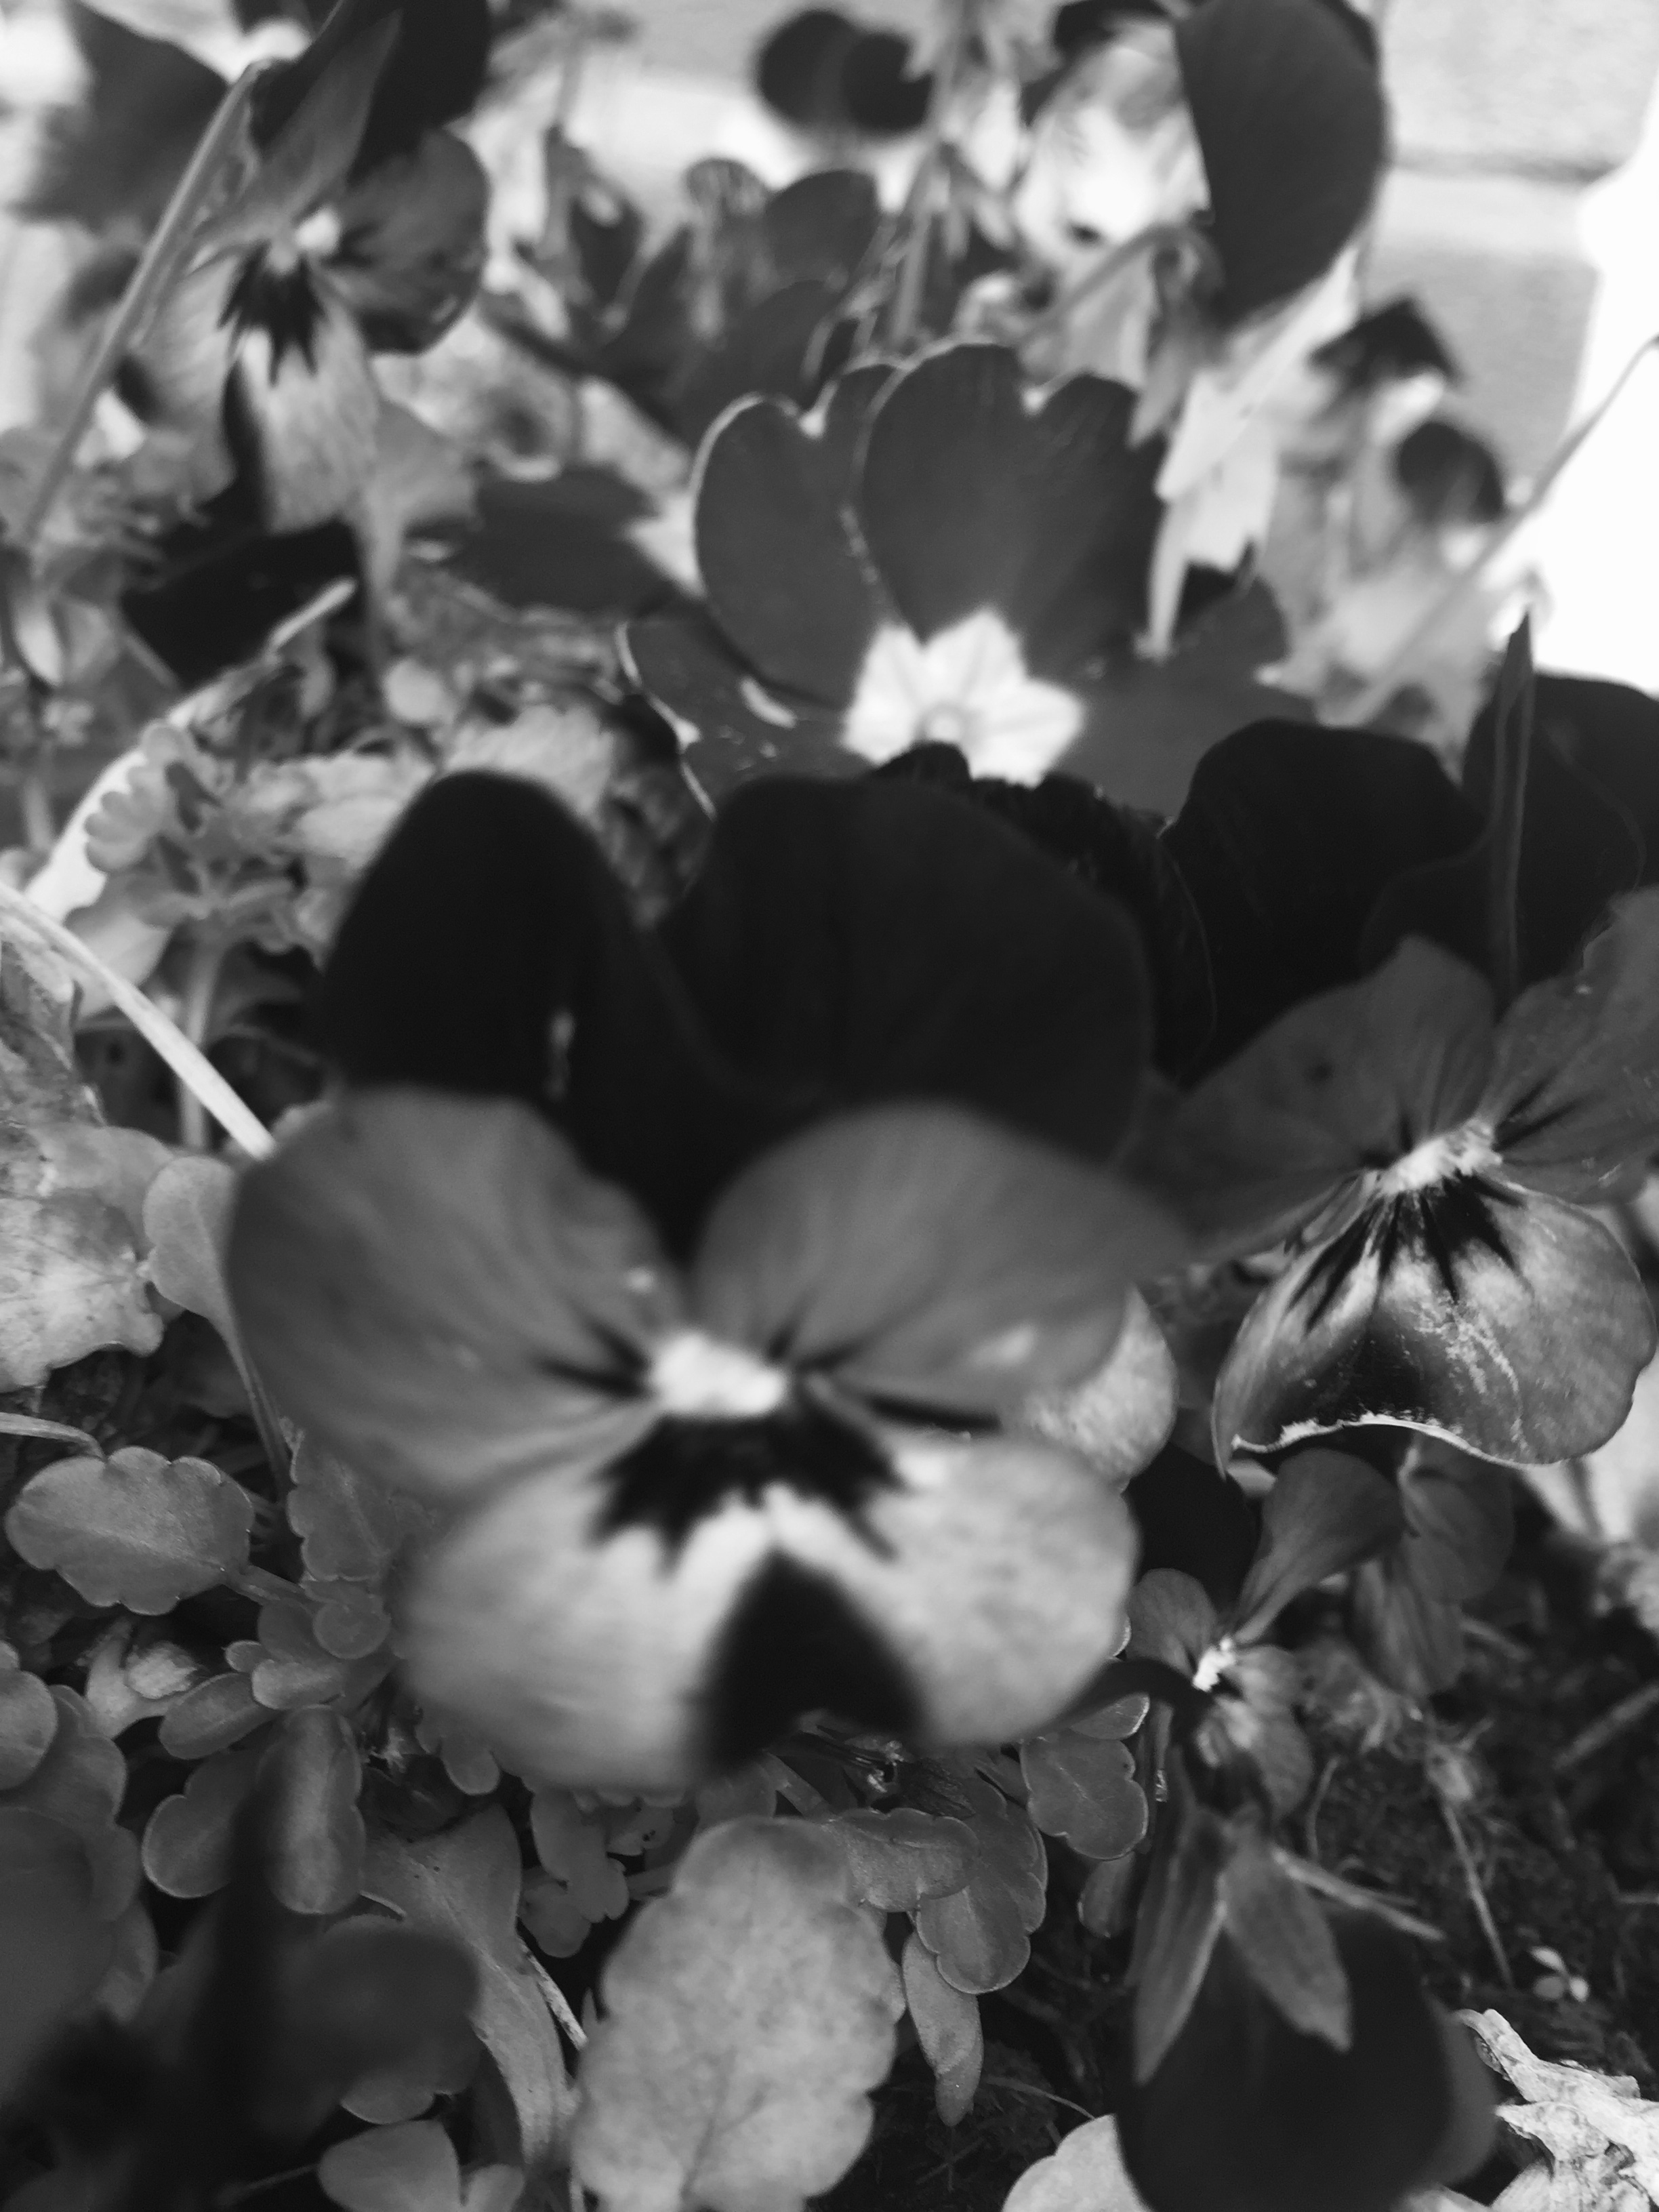
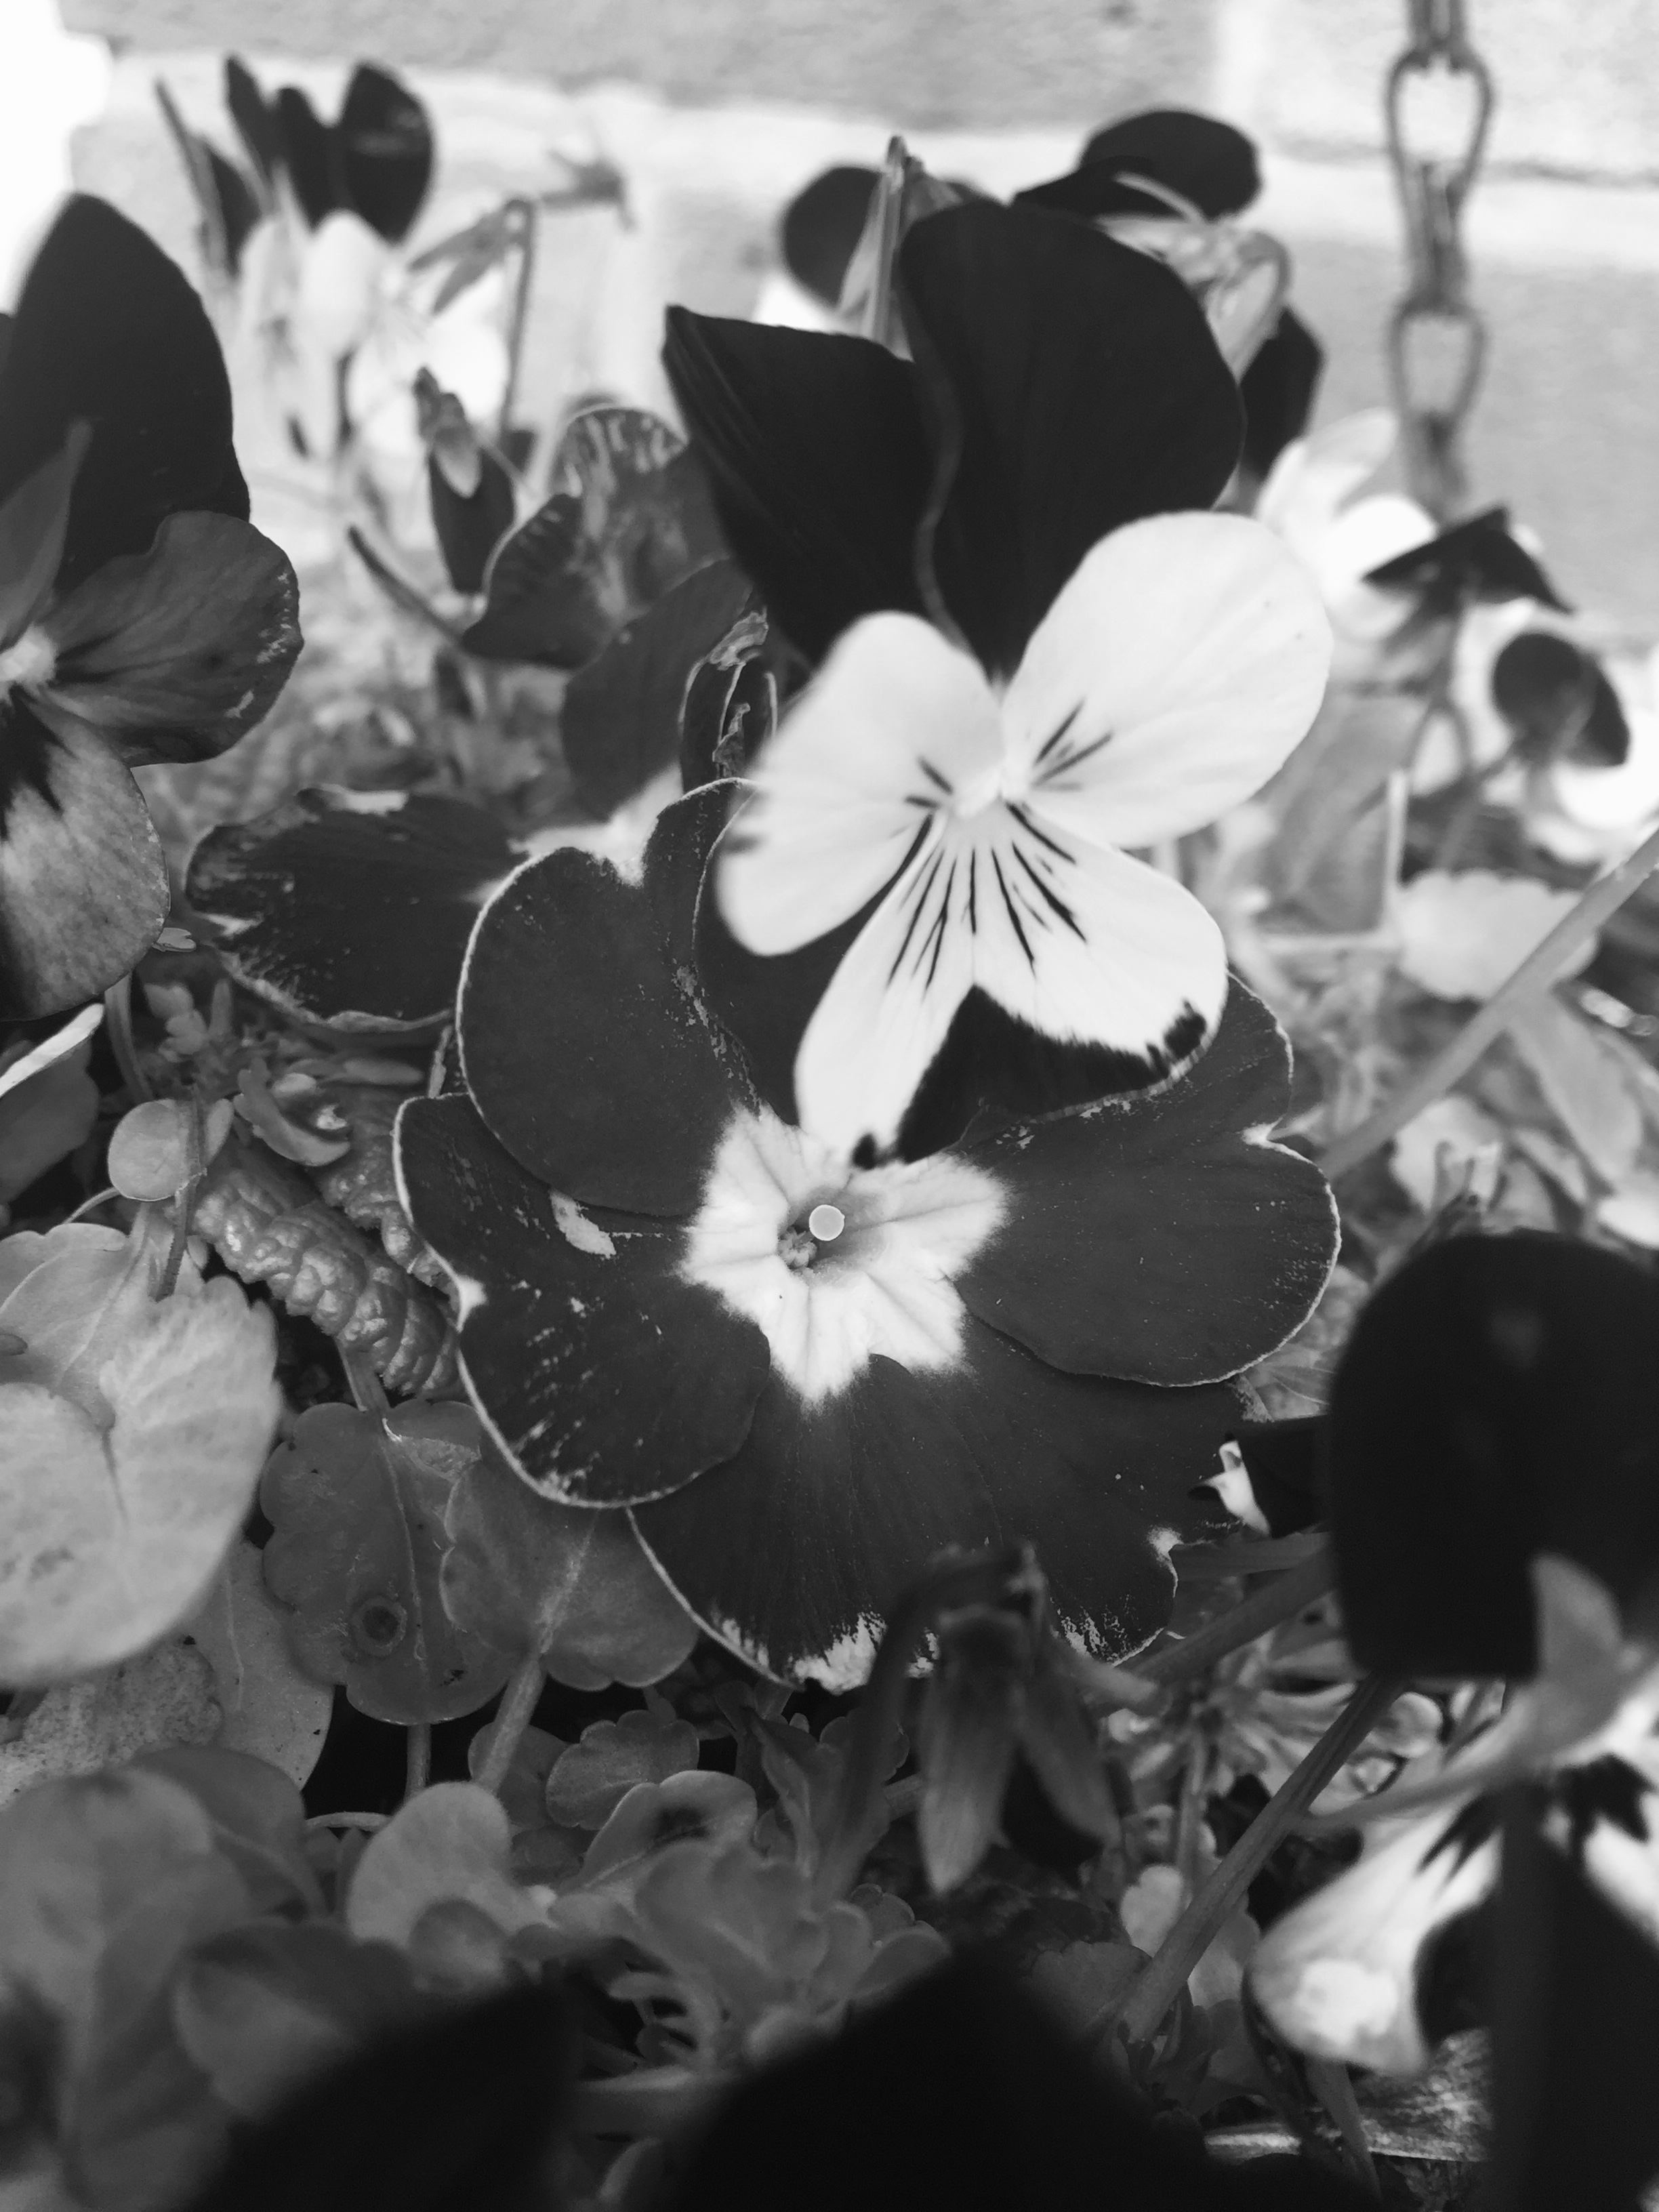
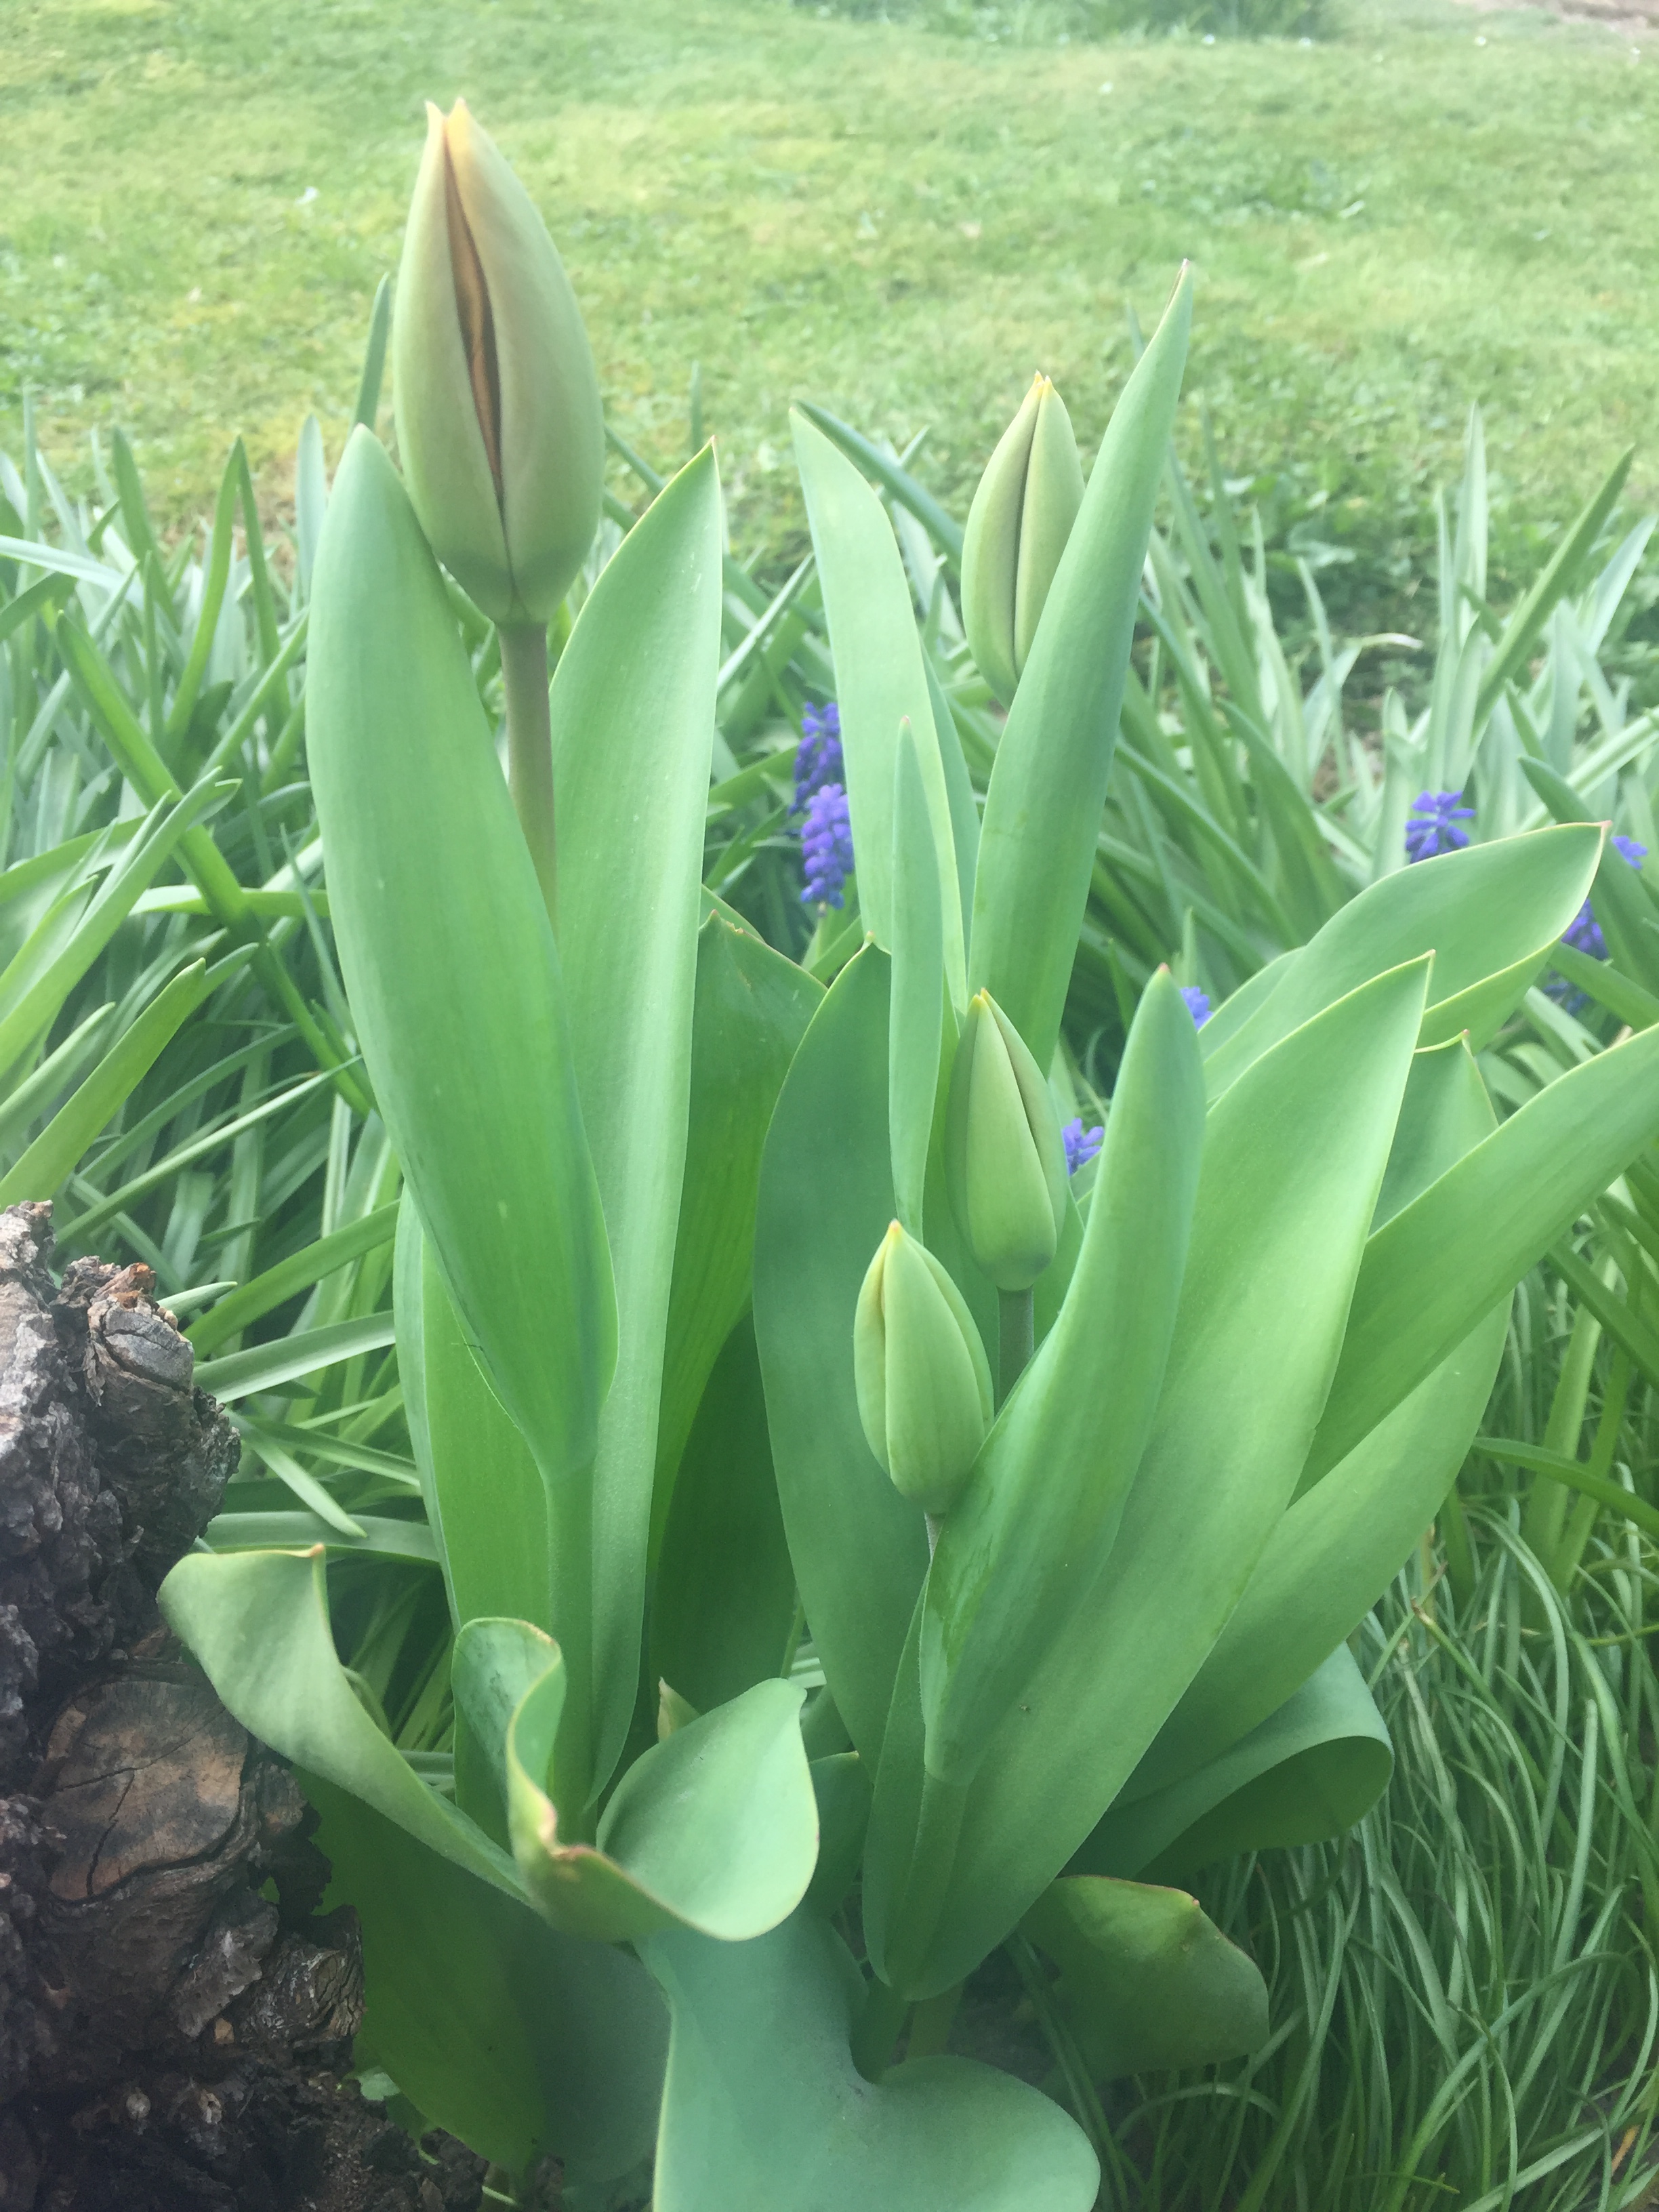
So, being a bit more confident about myself, I went out to take pictures of flowers.
I’ve picked 4 out of many:
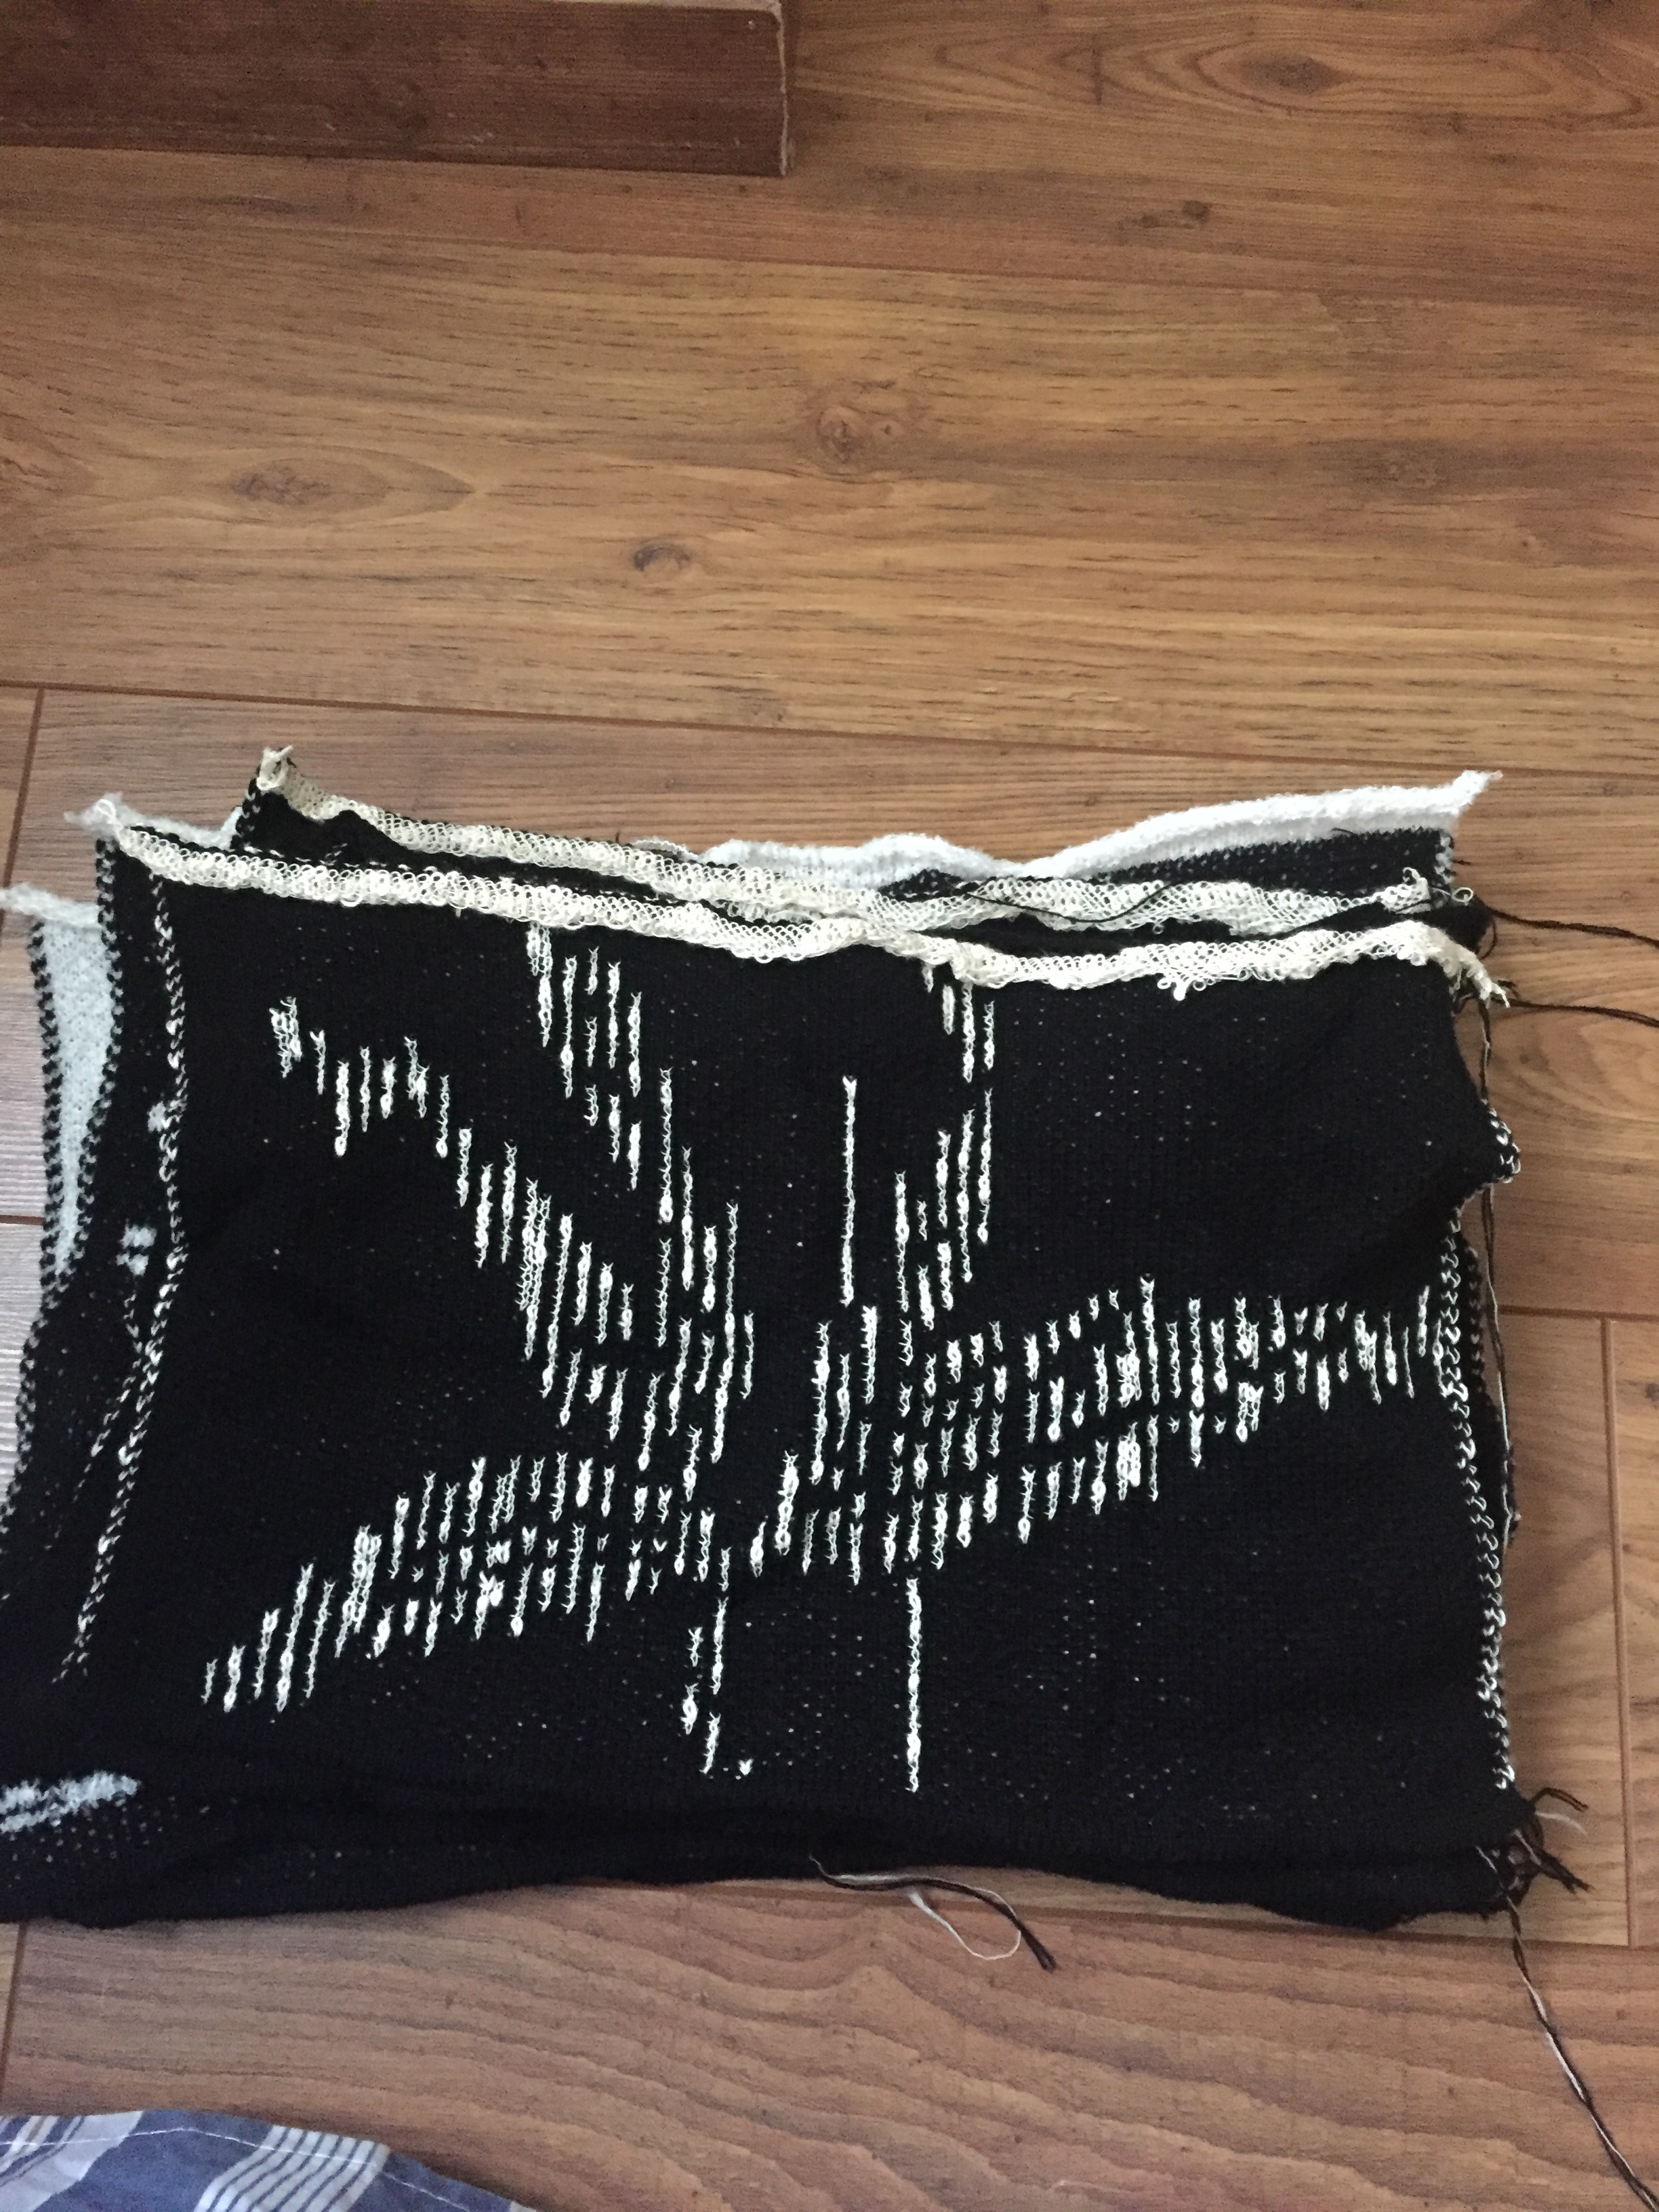
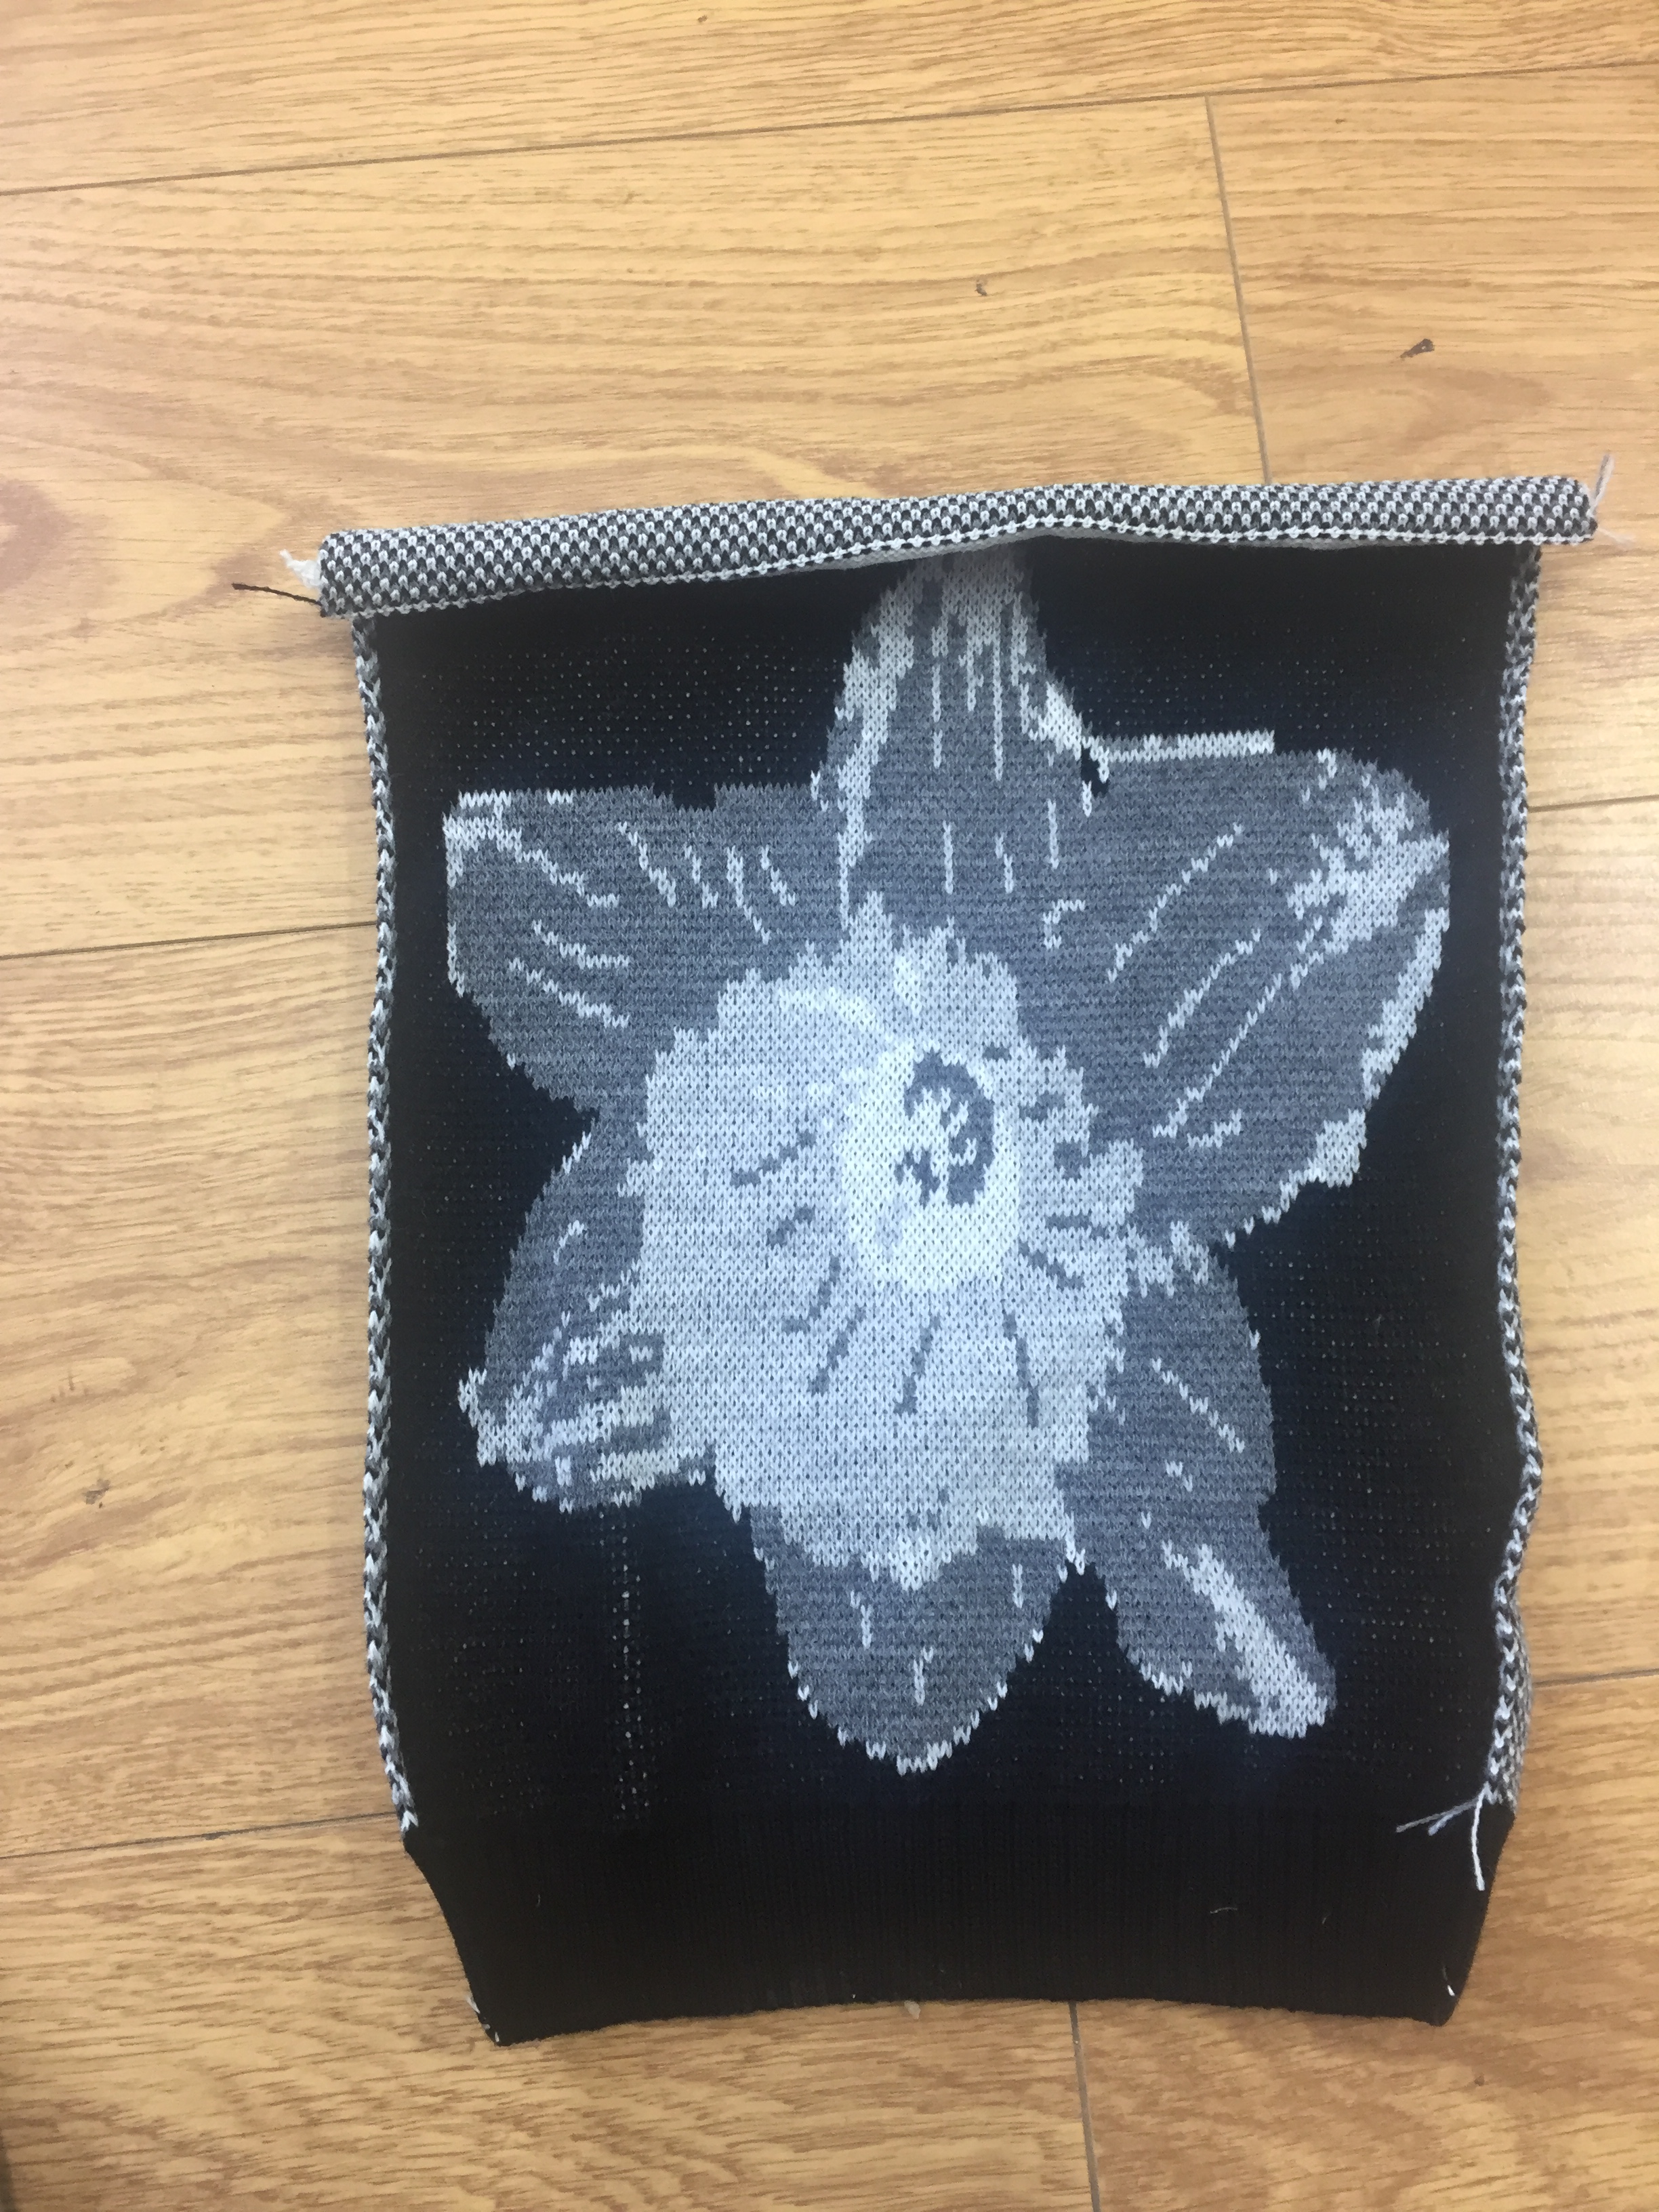
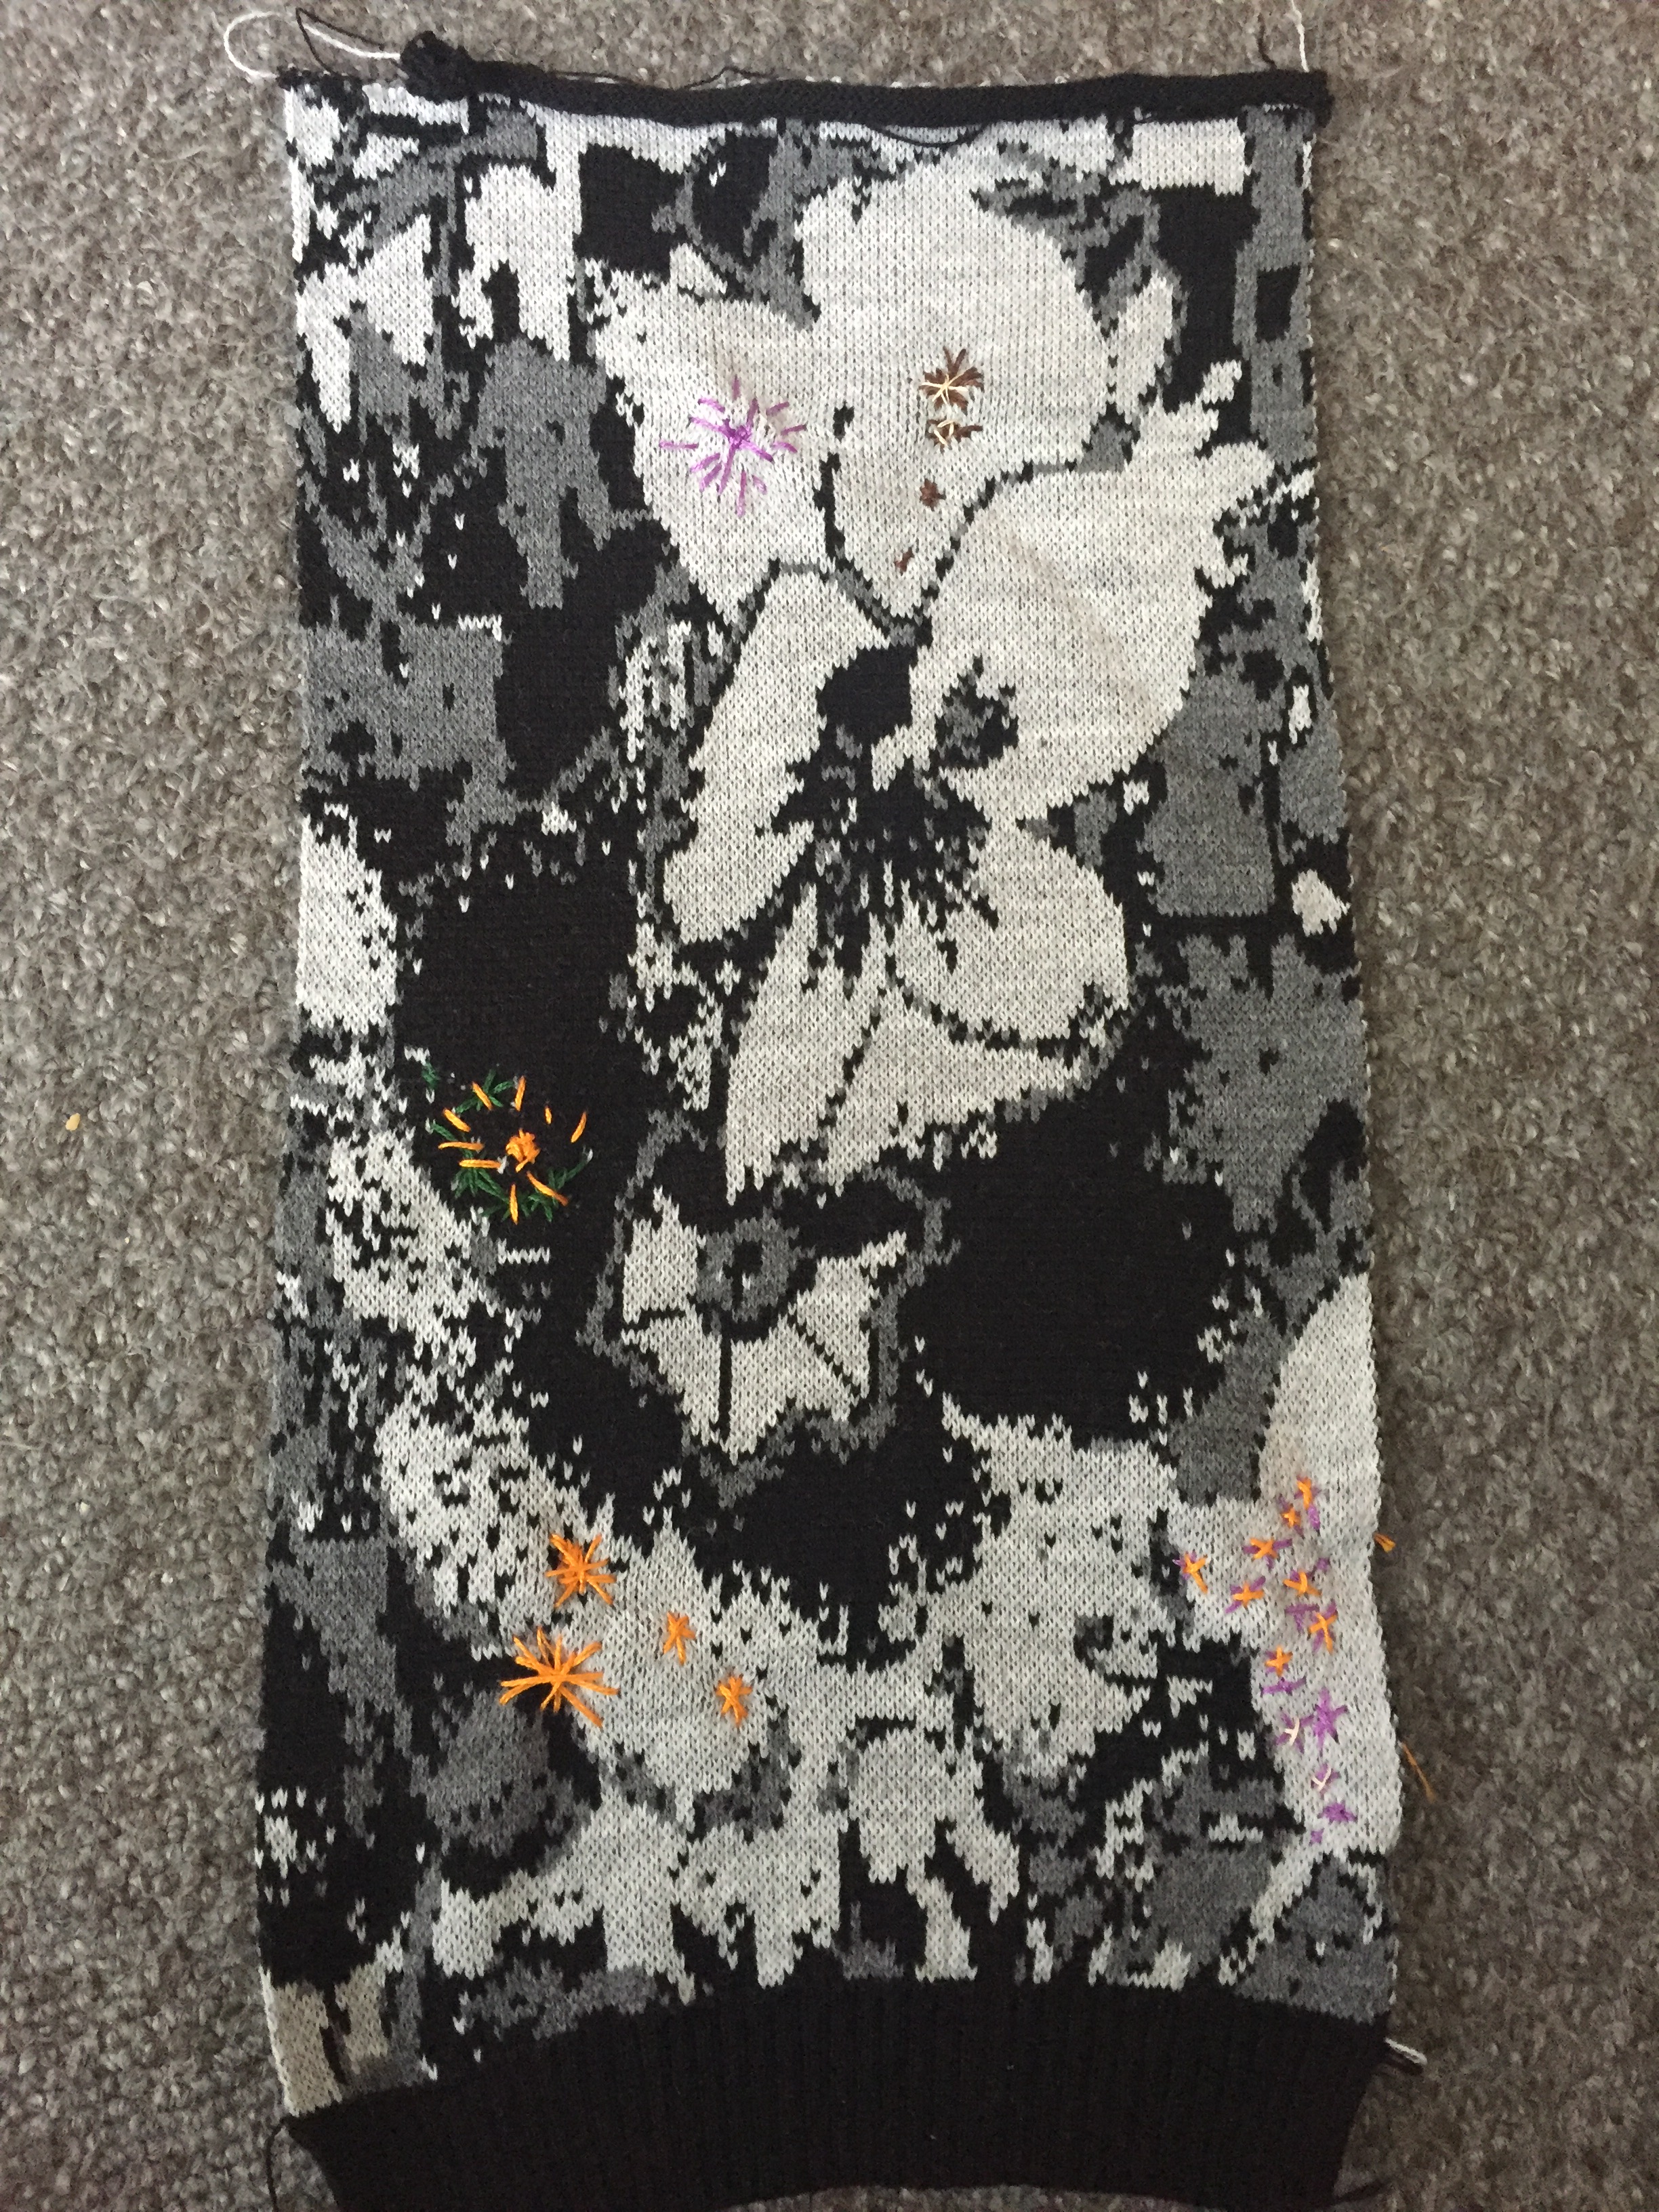
drawn on a card papermy knitted version without any hand work on it.
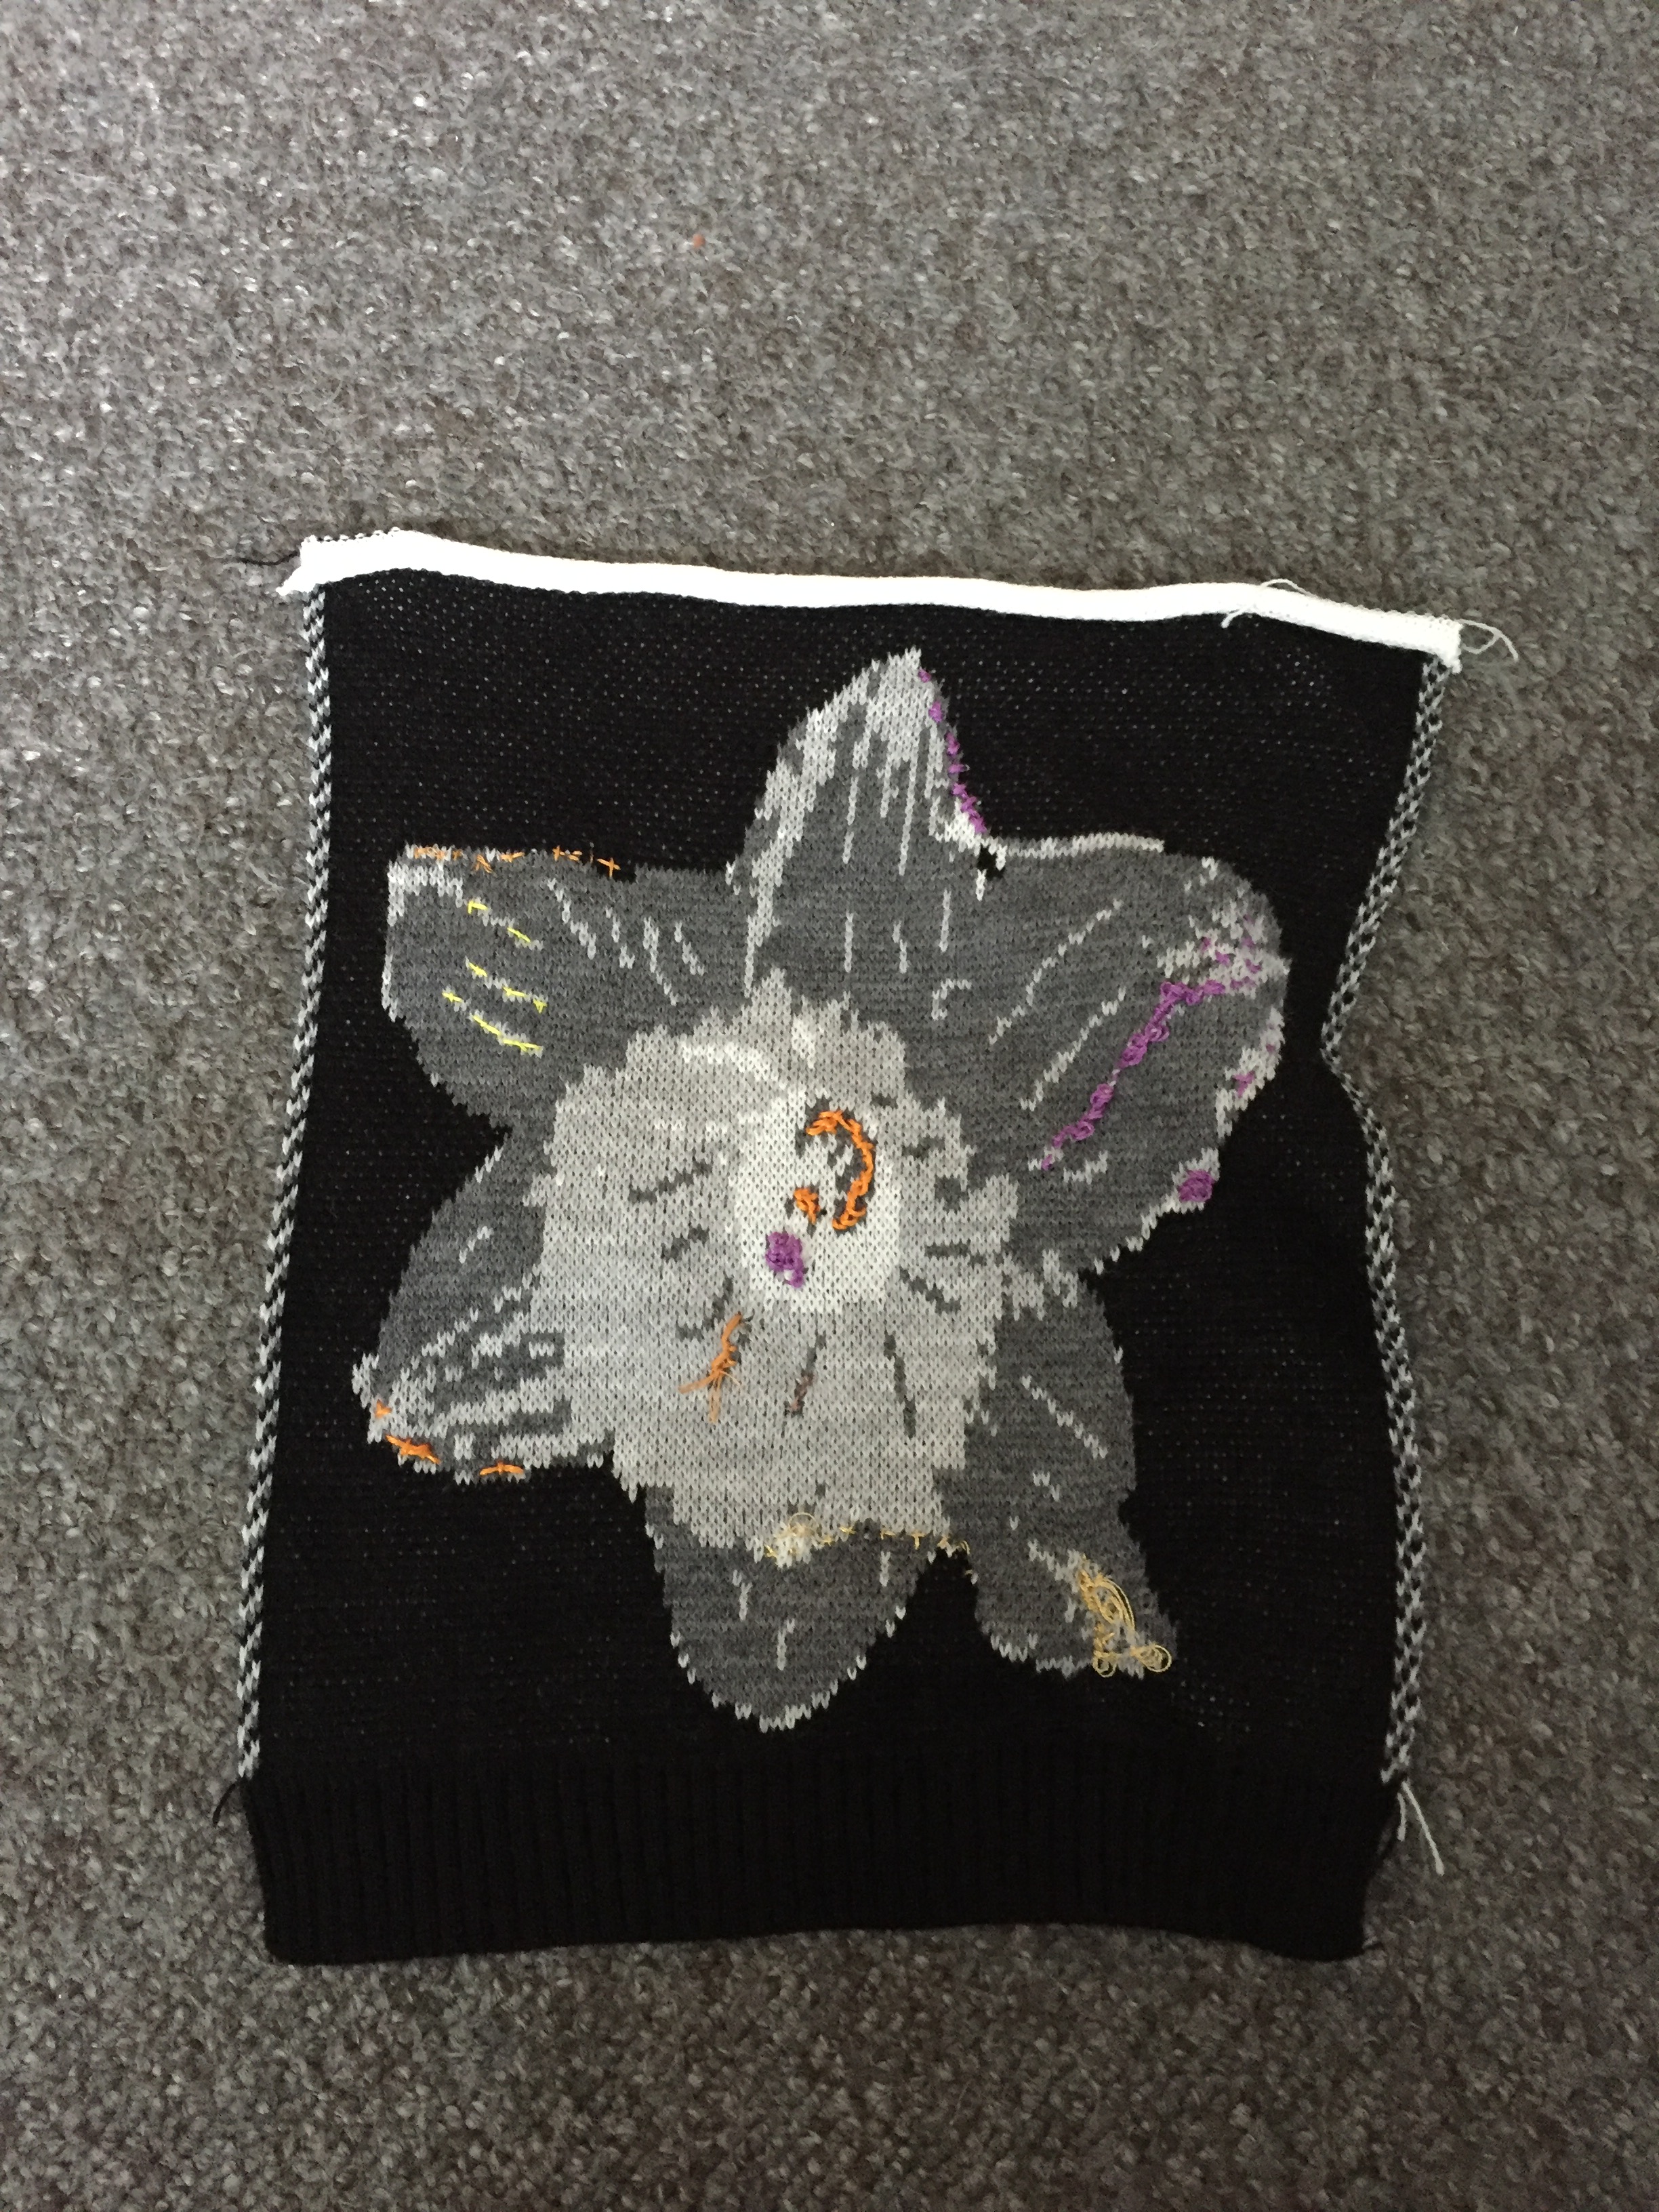
swatch after stitch work on it
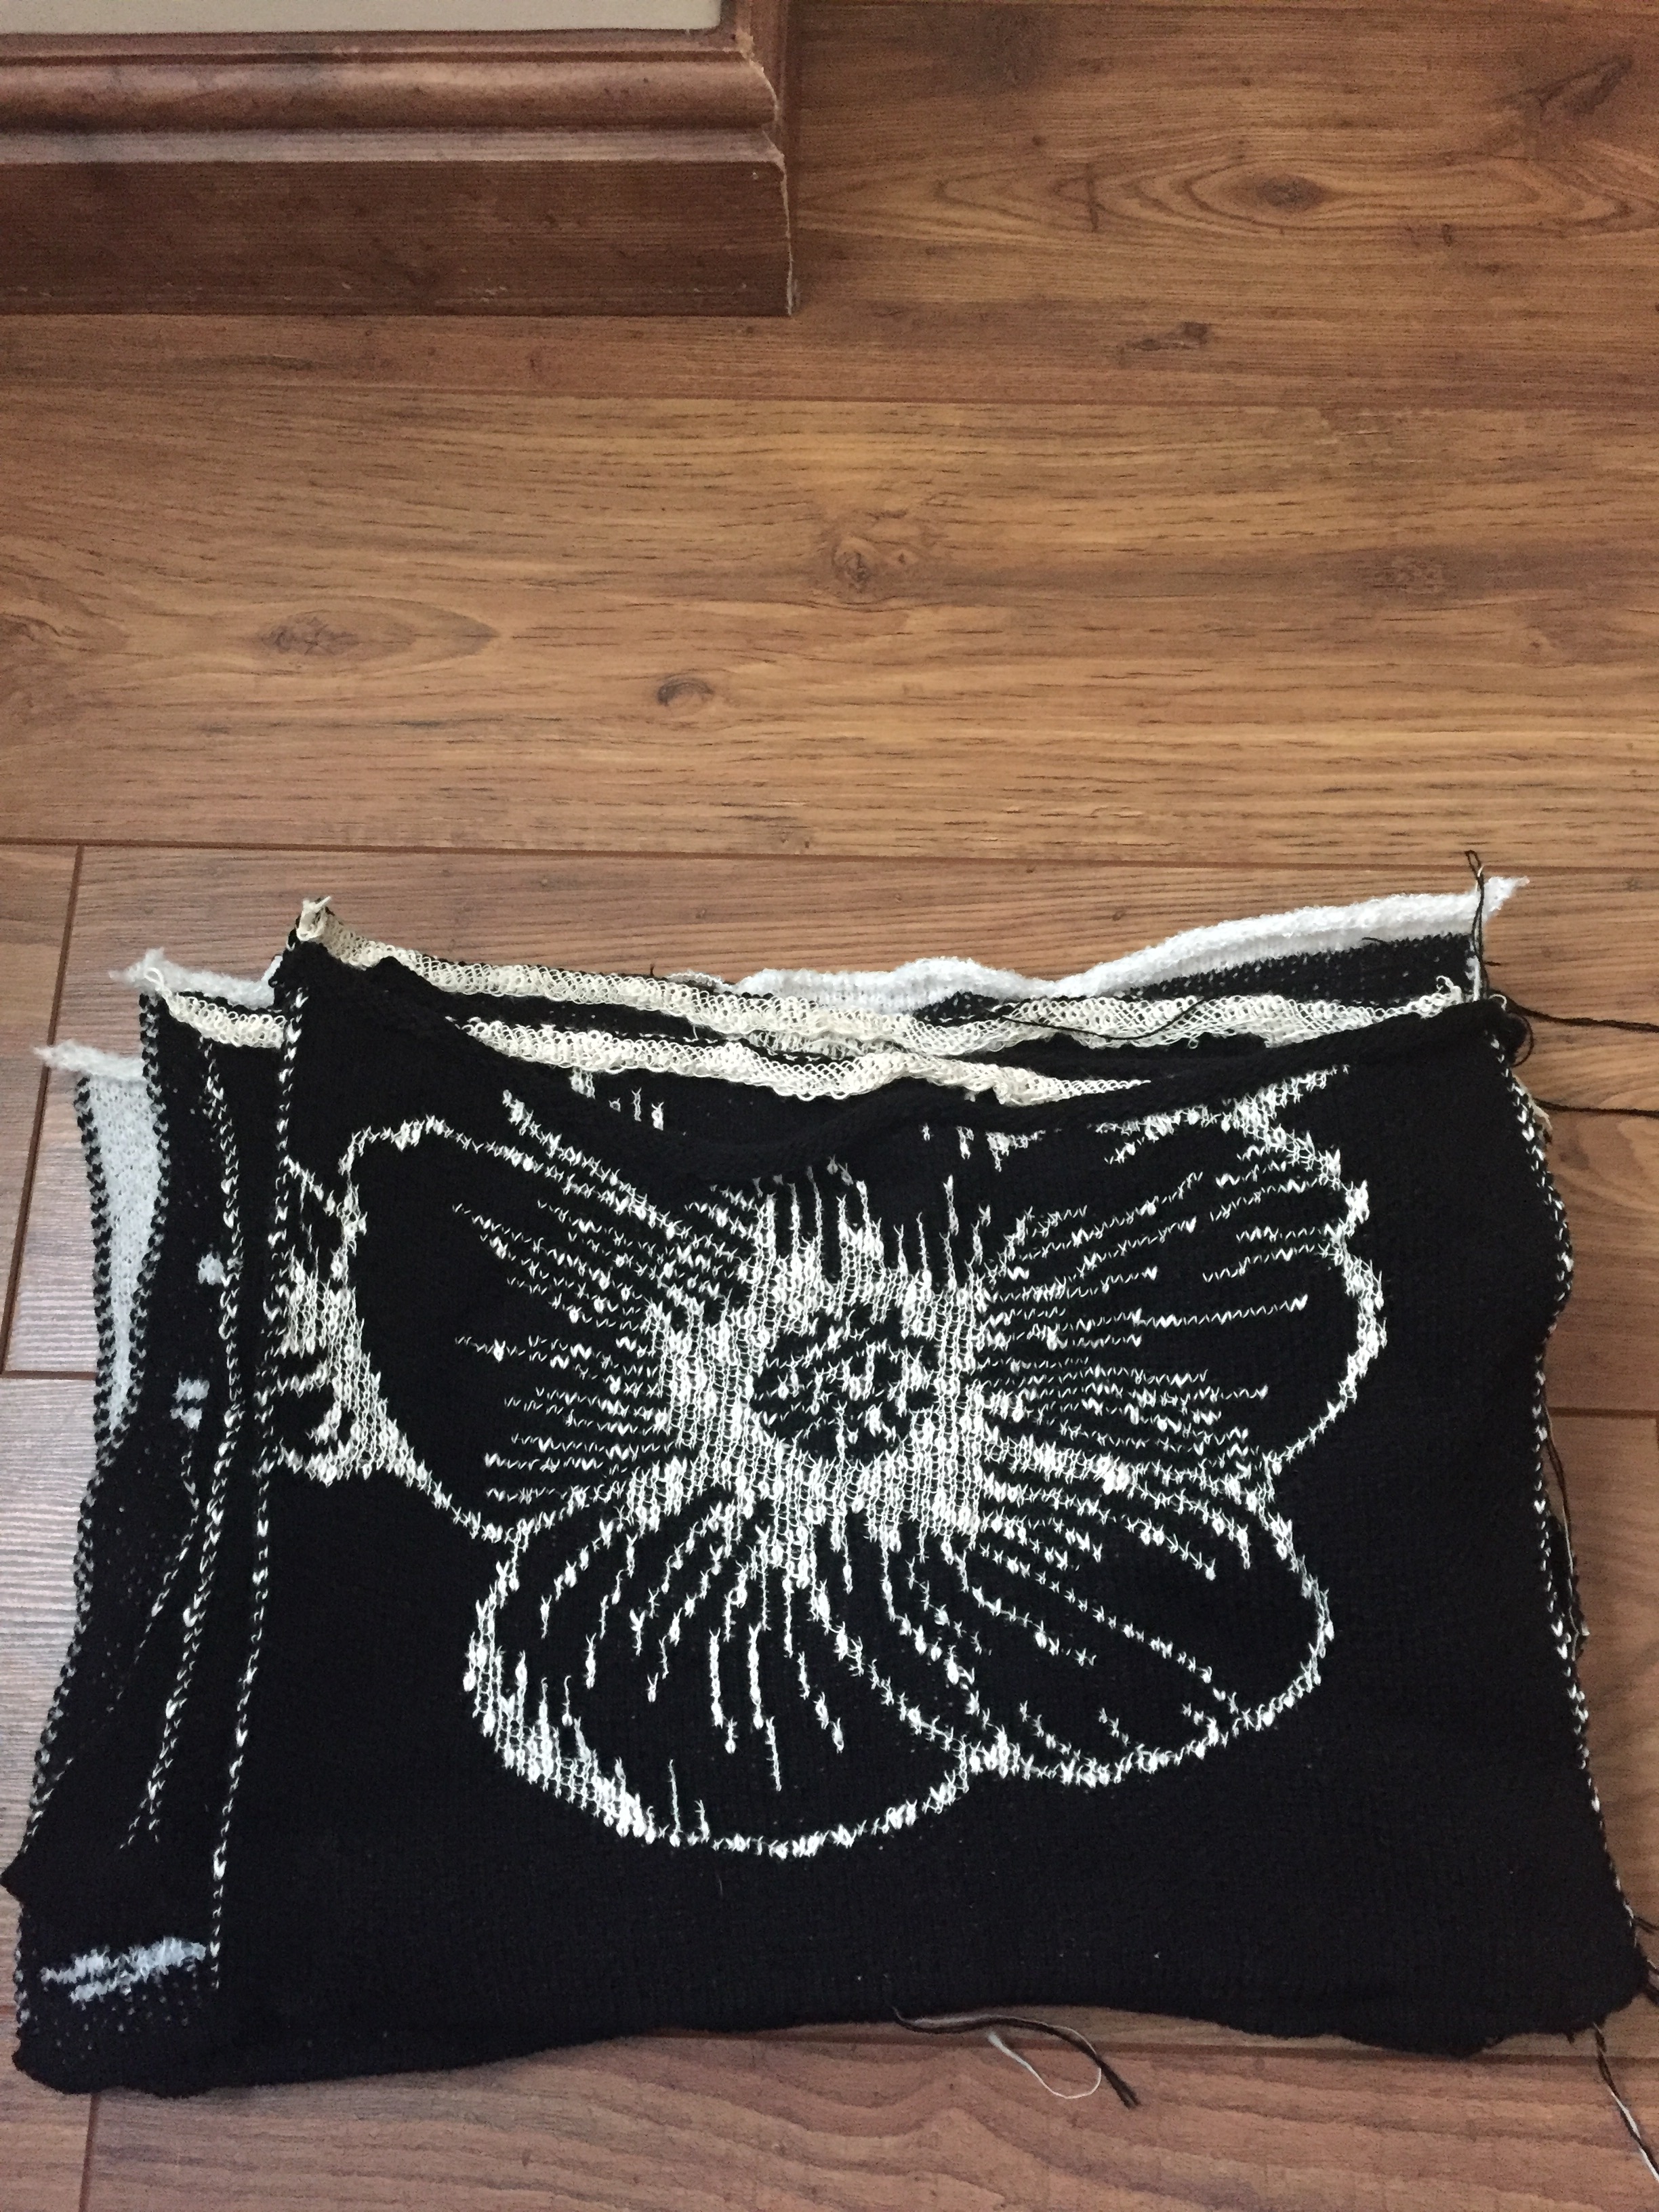
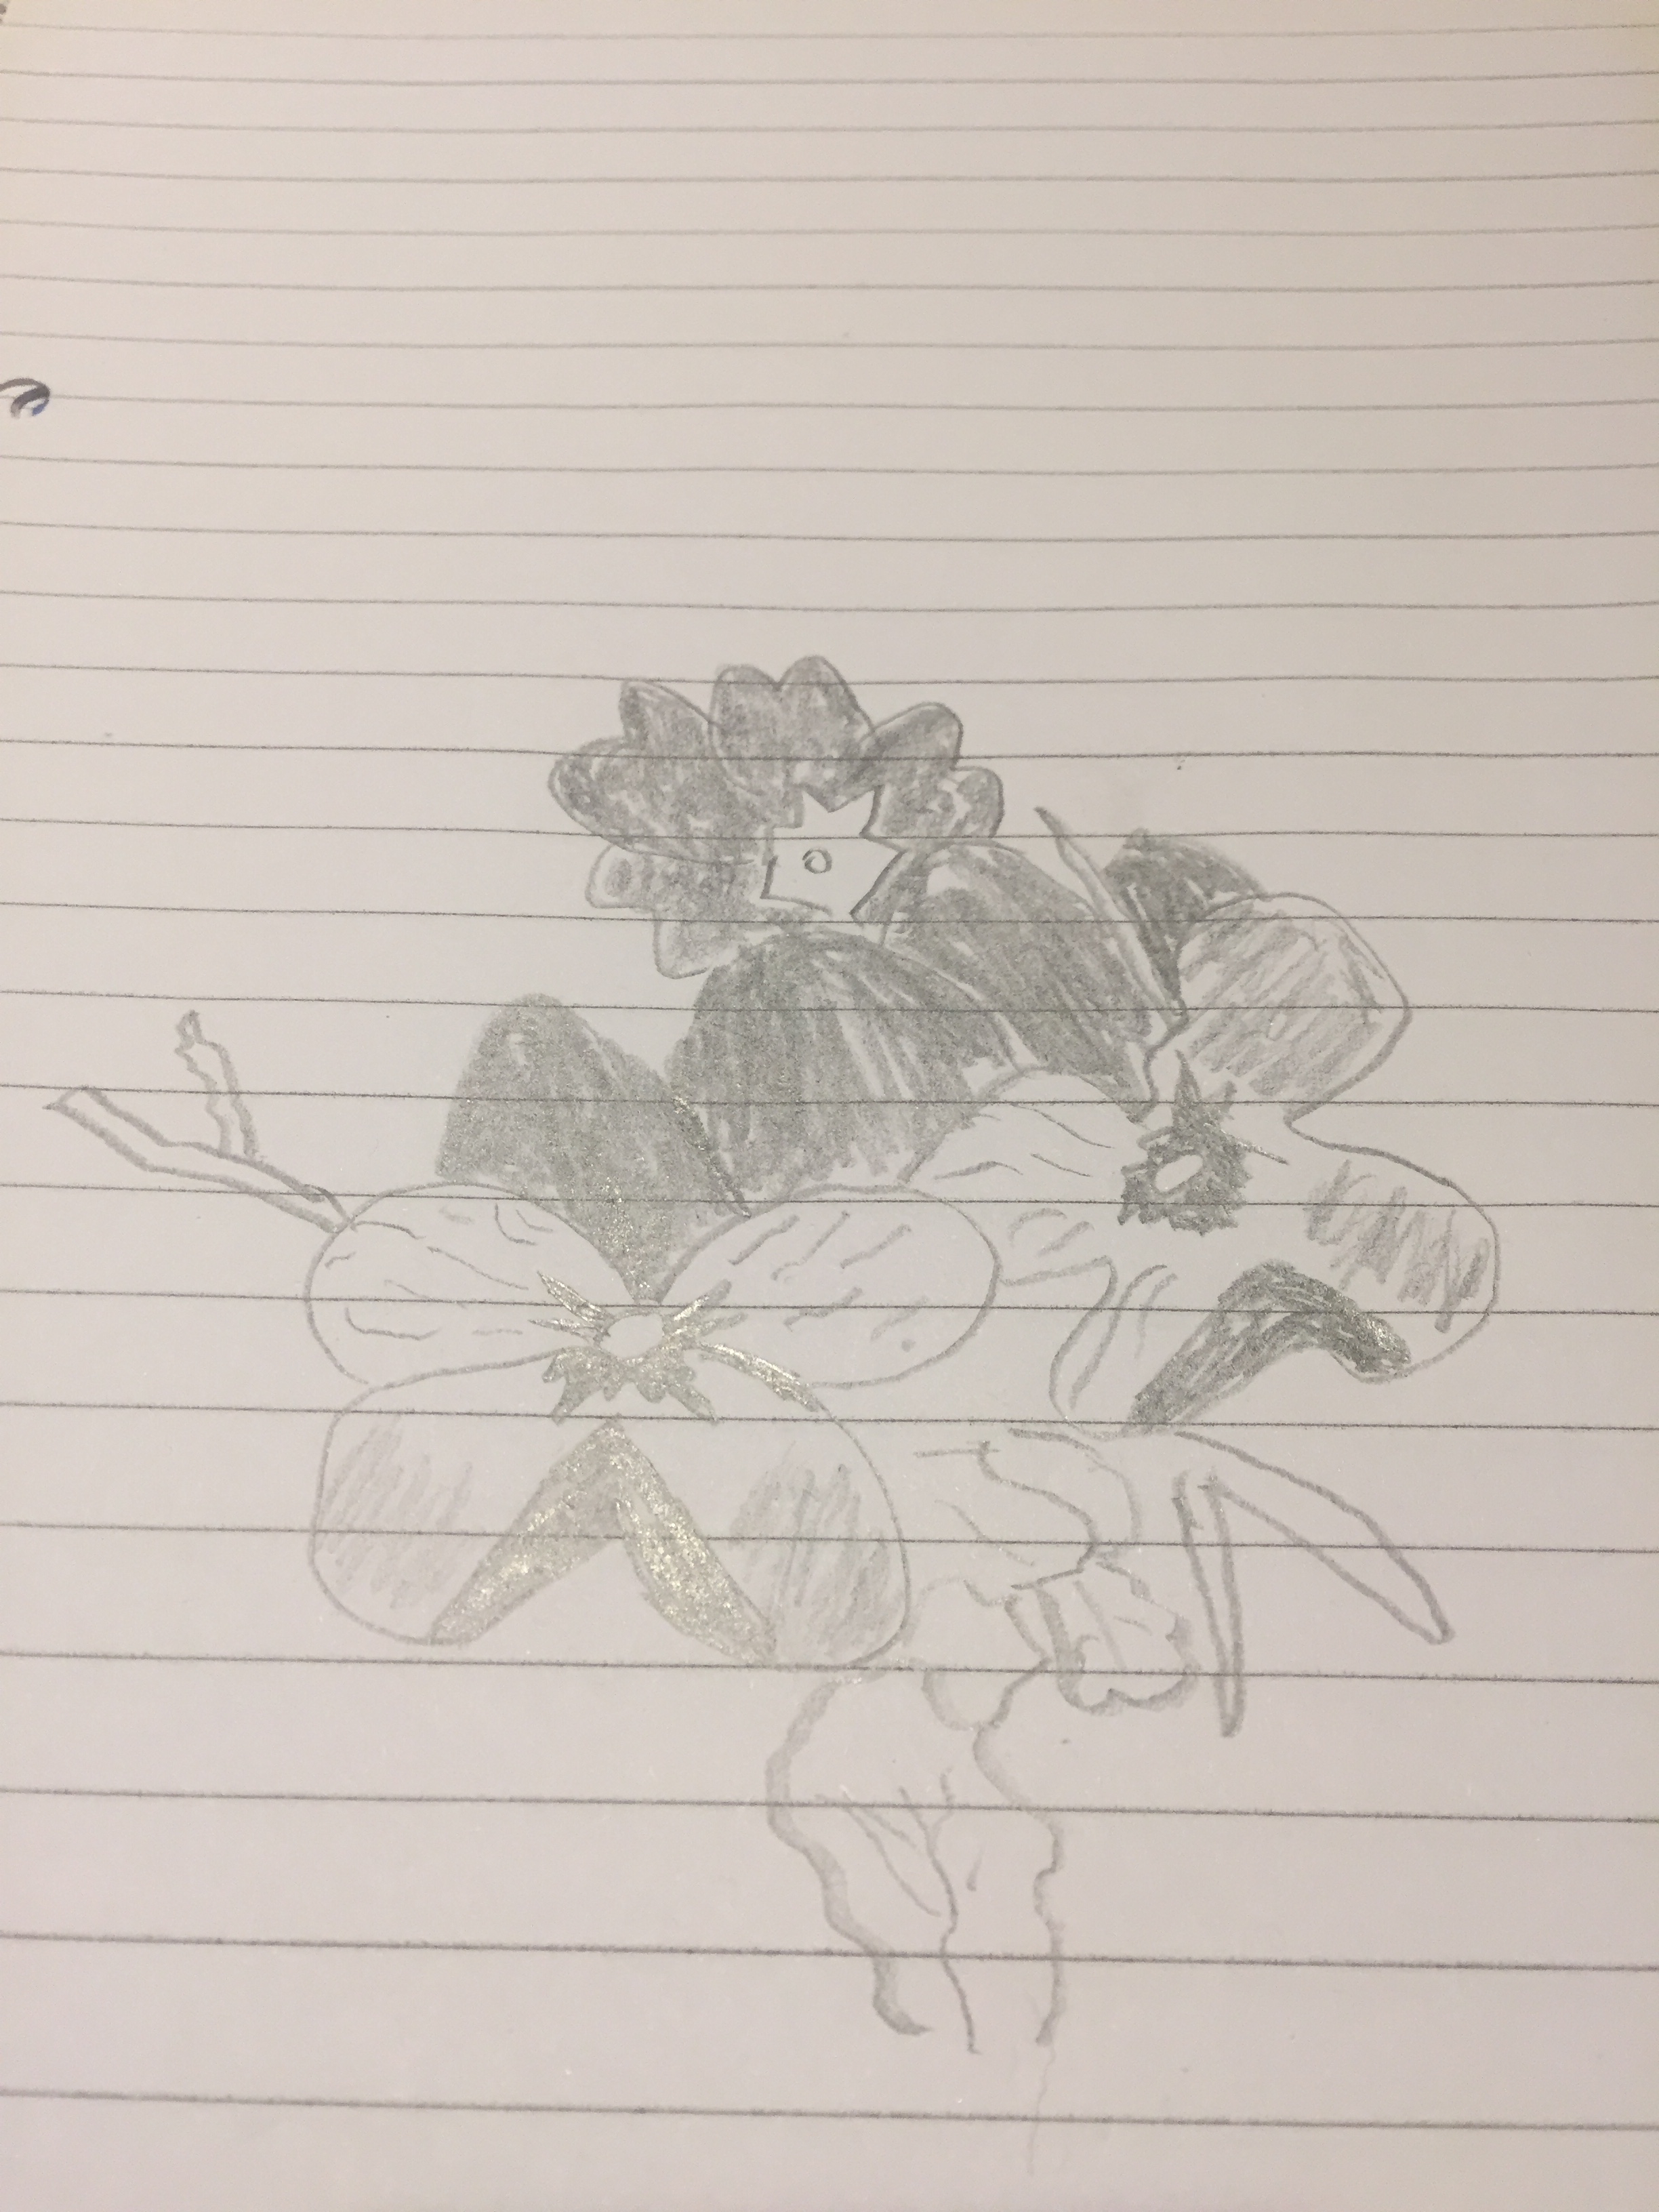
drawn on a notebook pagemy own knitted version where I’ve put dots on as marks in order to saw on them.final swatch after spending around two hours of stitch work.drawn on an A4 sheet.
I have decided not to proceed with the picture above as it looks a lot as the previous one so instead I will develop the following one.
I know I need more work on my drawing skills , but as a matter of fact I would’t even consider of drawing few weeks ago at all!!!
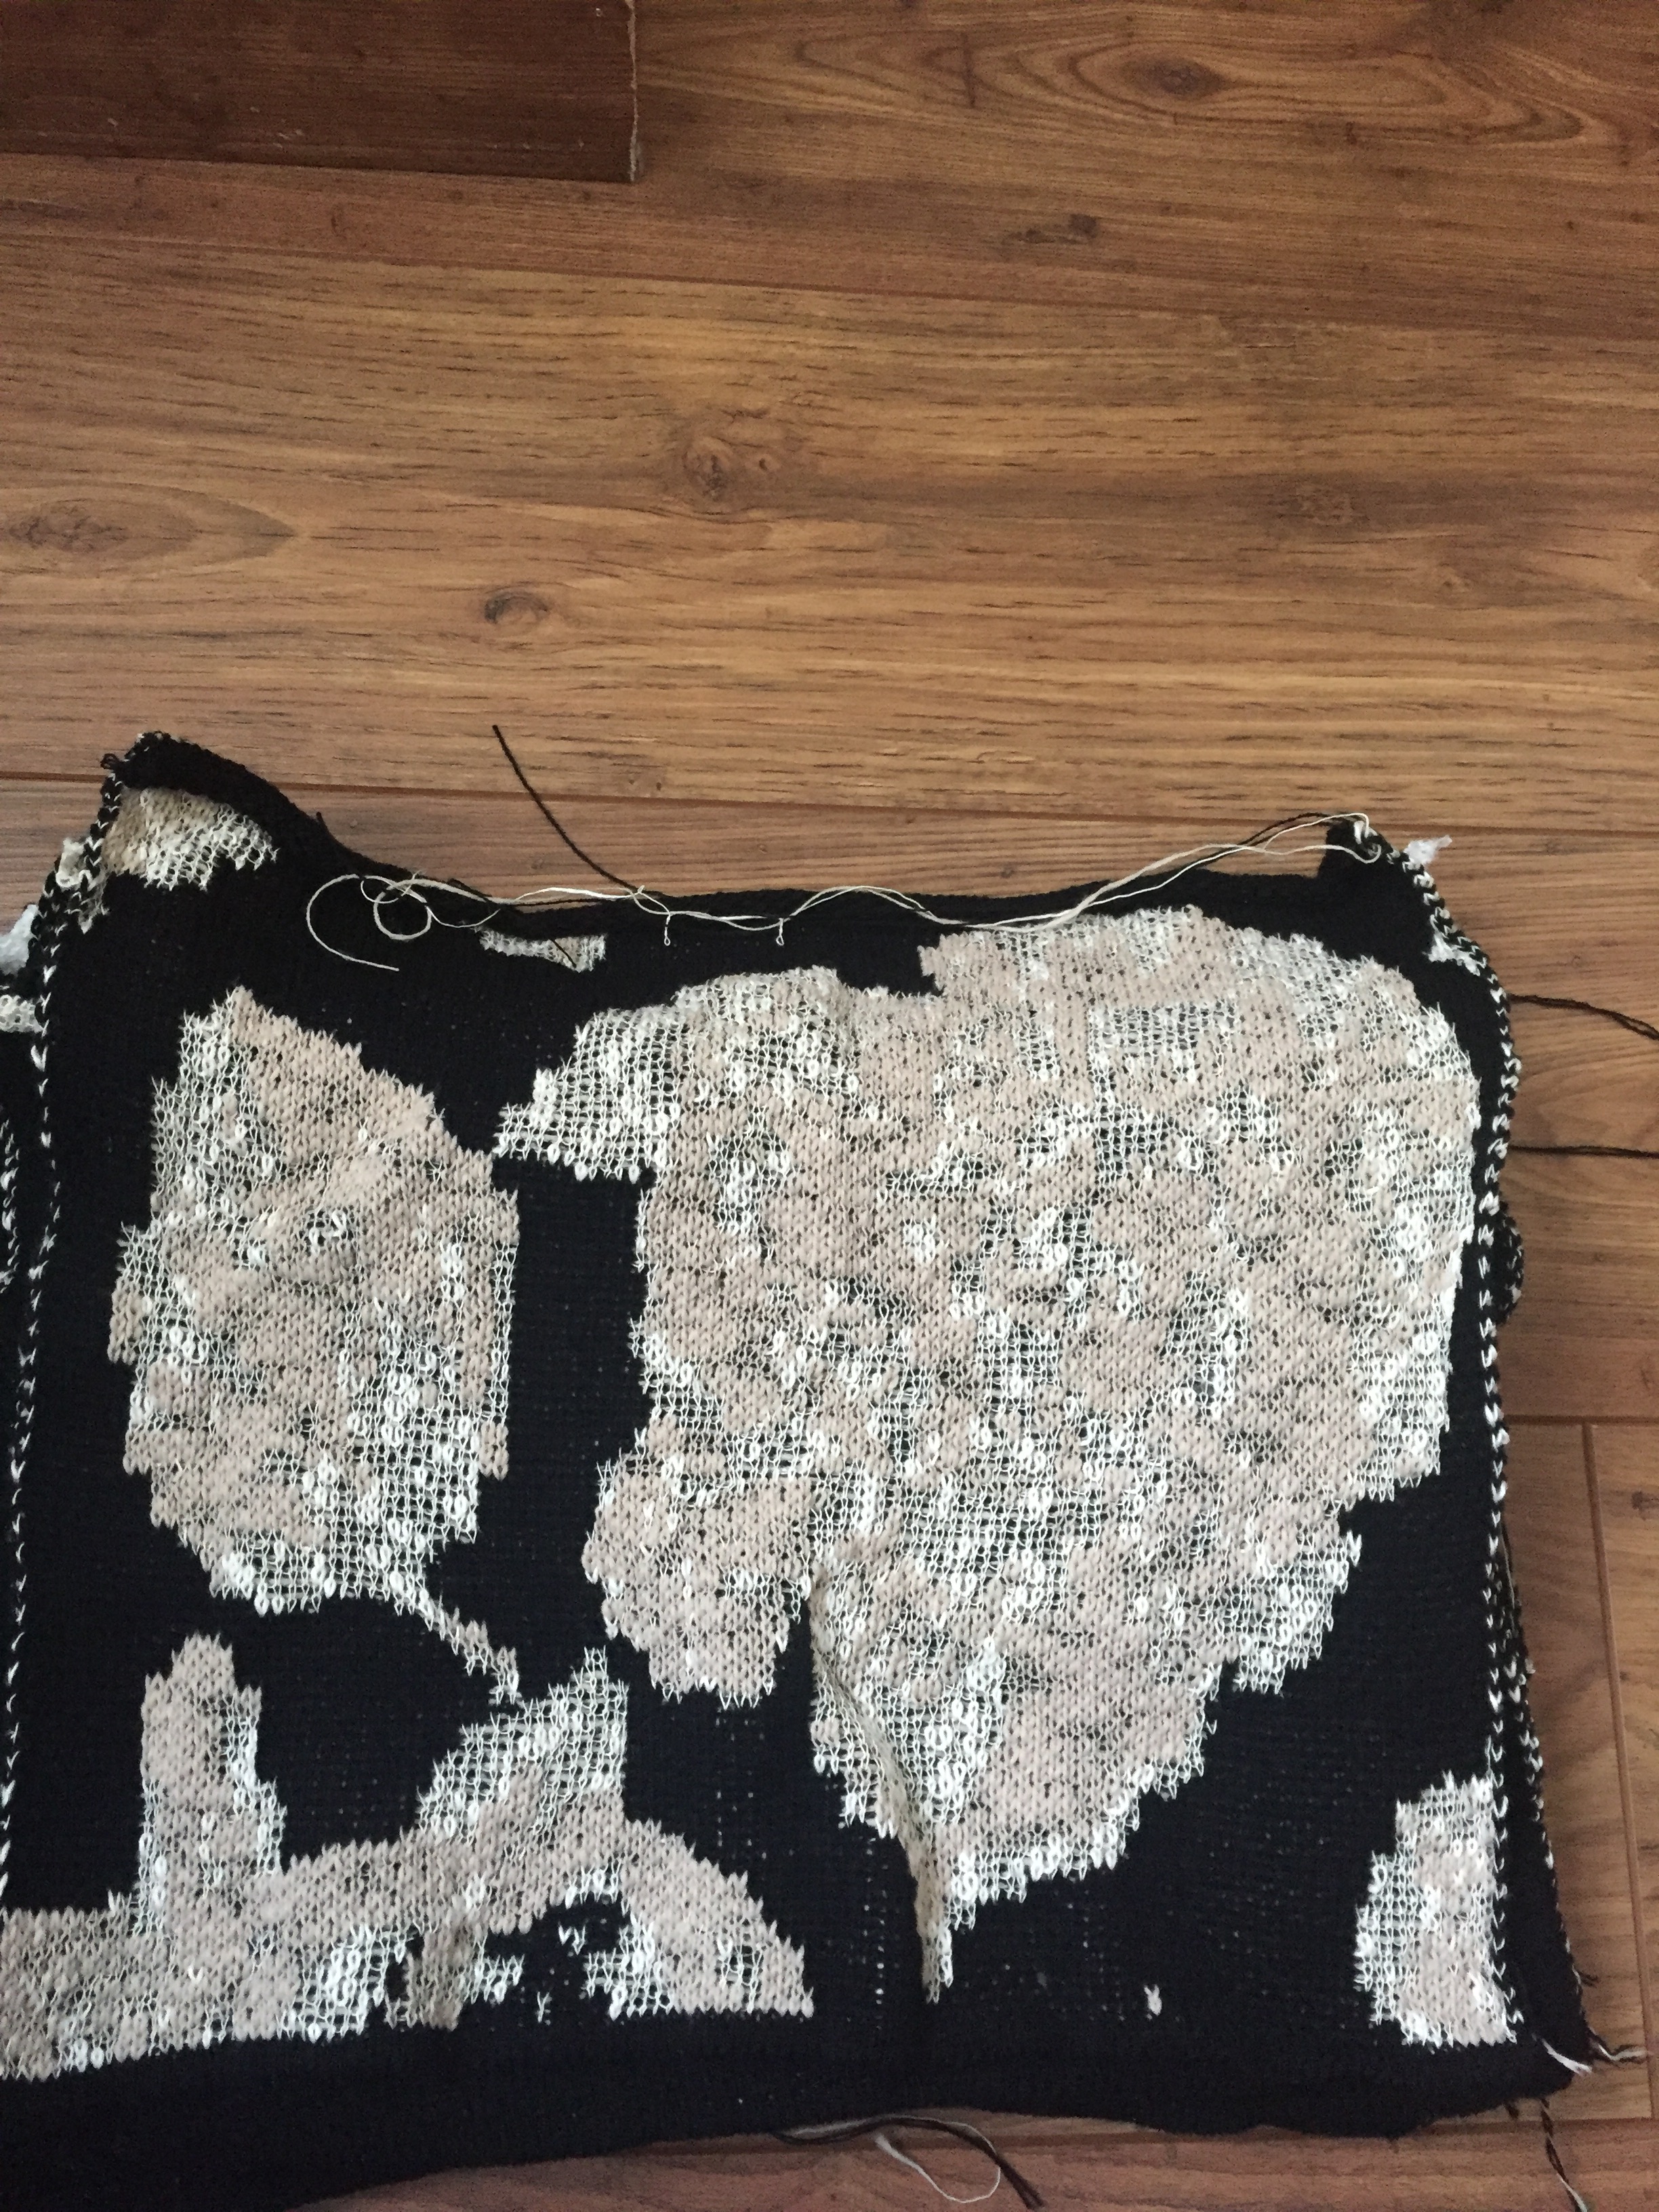
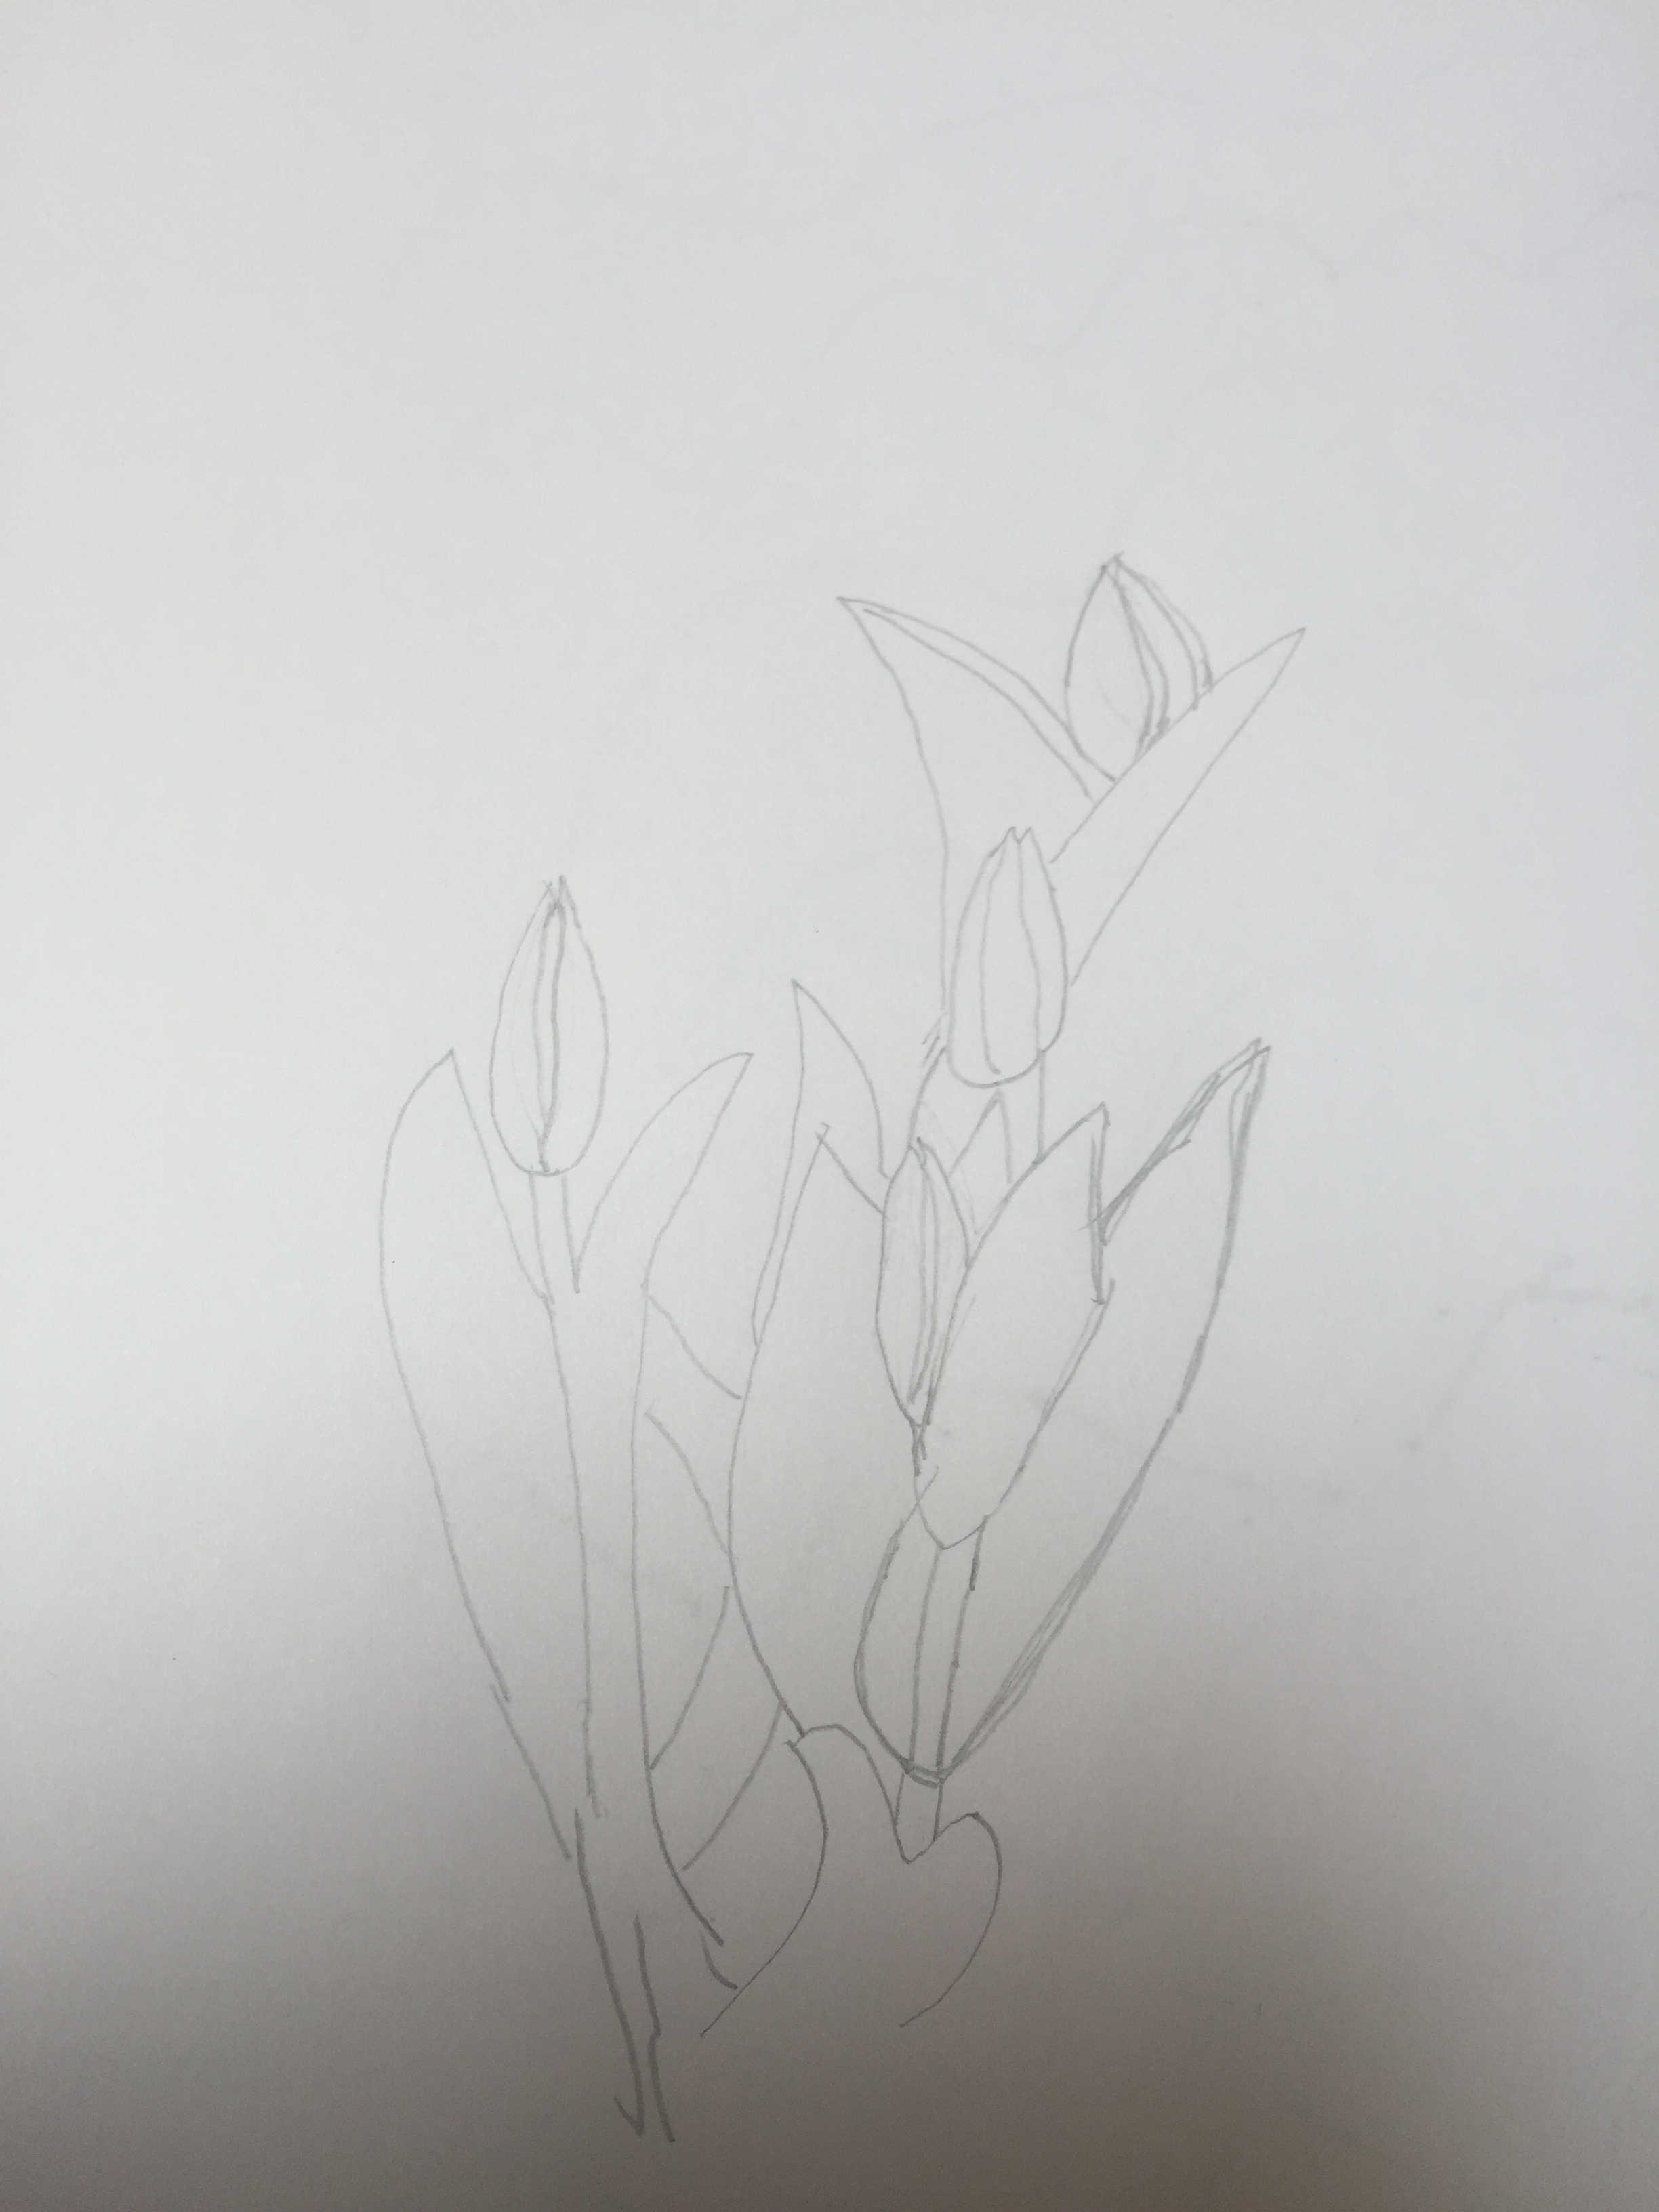
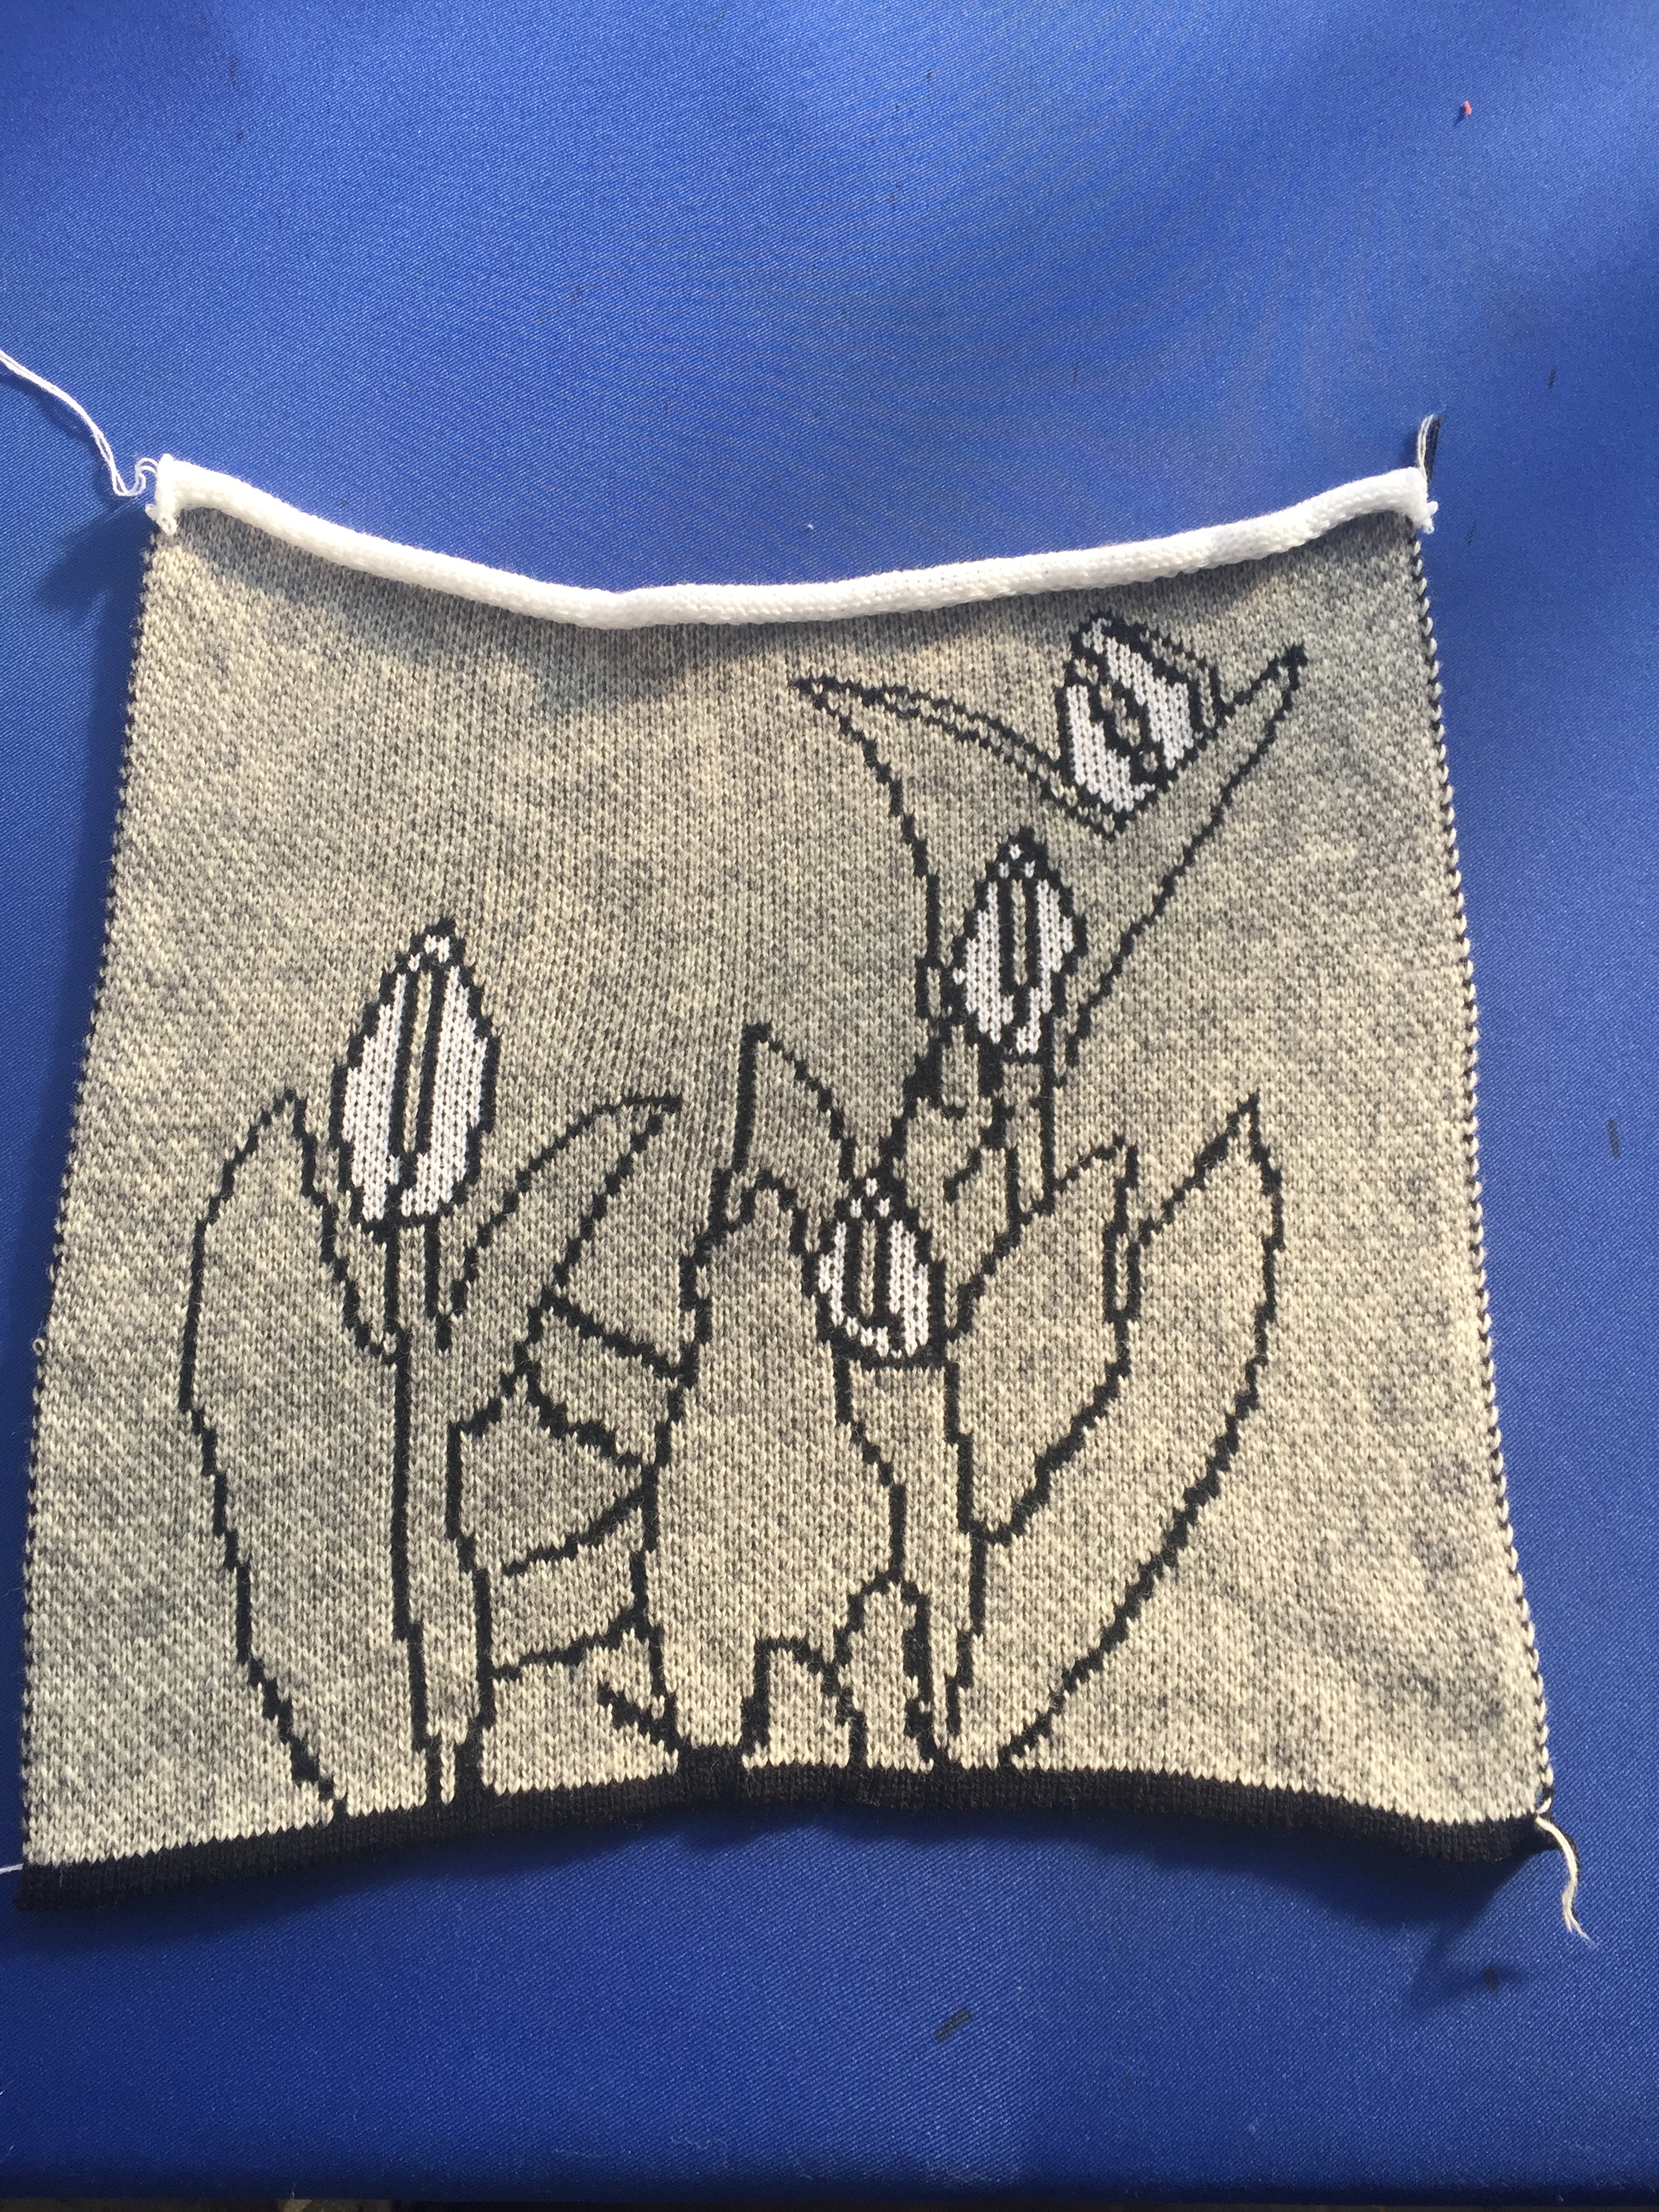
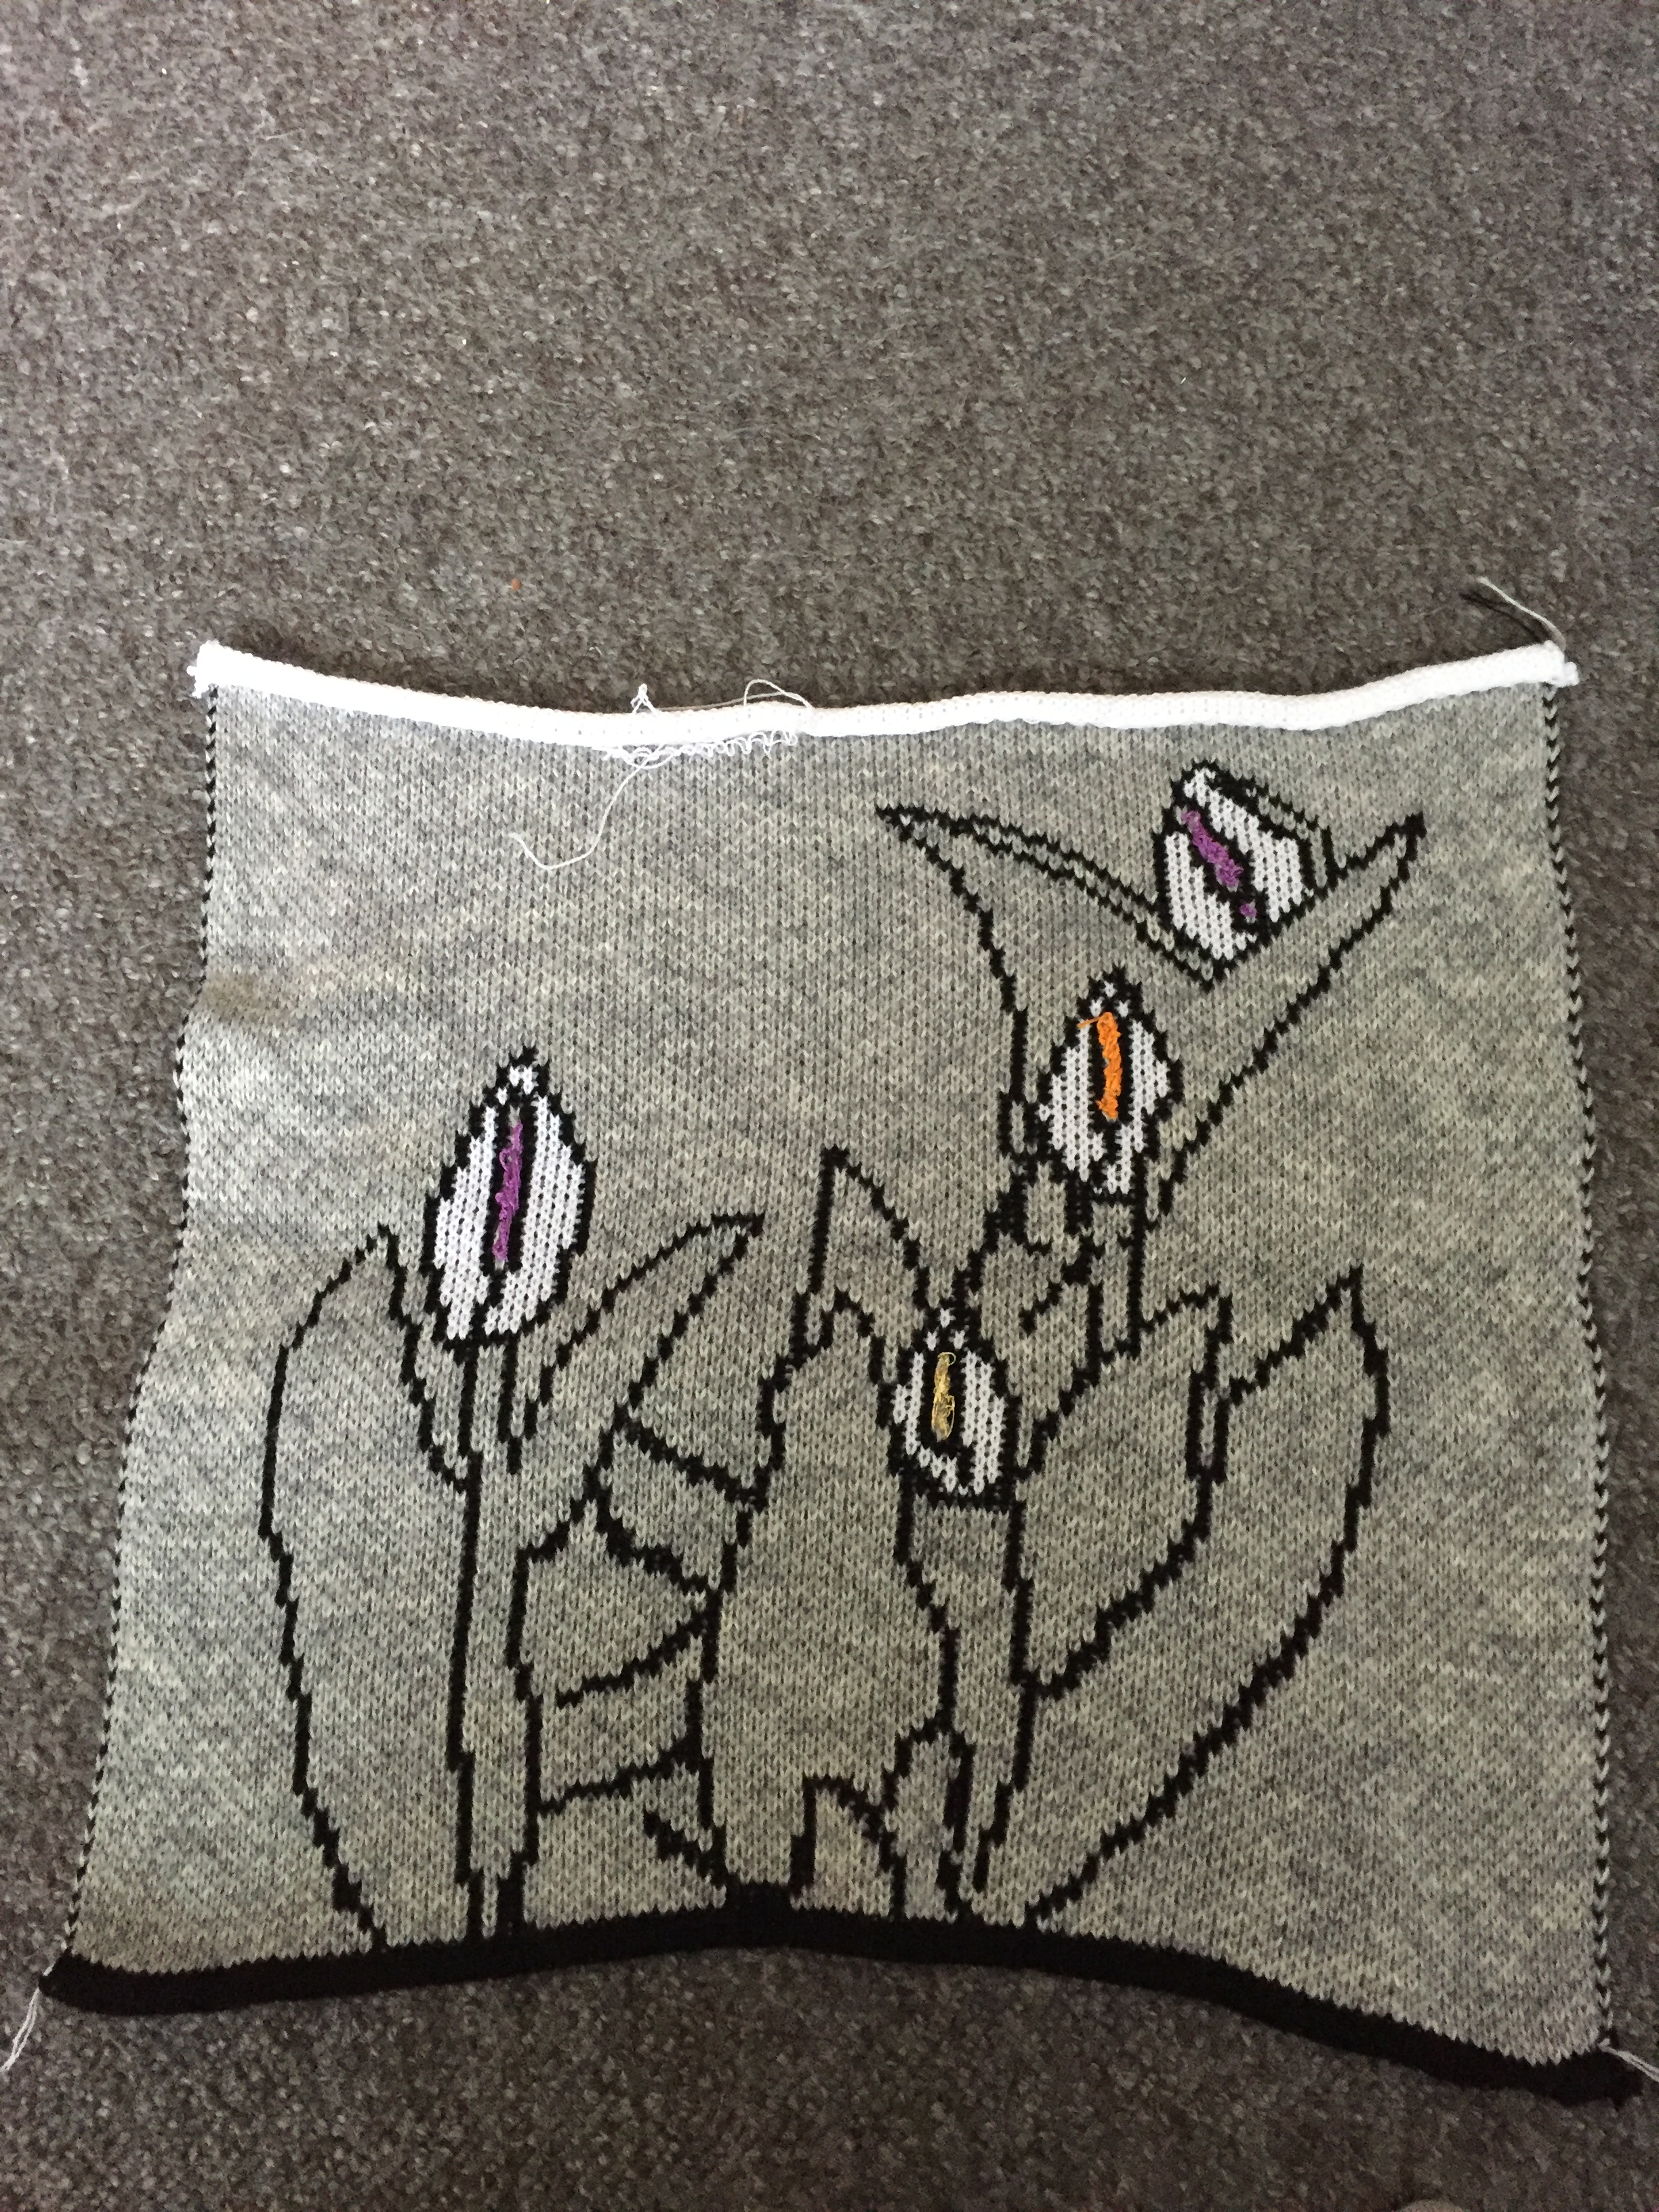
a colored pic of tulip buds black and white sketchTulip bulbs : knitted version without any hand work on itswatch after the buds being embellished by hand.
The reason I’m mainly working on black white and shades of grey is that I’m following the assessment’s directions; it suggests its an early stage for color to be used .
REFLECTION ON ASSIGNMENT 2
The journey continues…
Taking on board my tutor’s advice regarding research and development I’ve changed my route into more evidence based creating as well as make my work more presentable and more professional look-a-like.
I read books that changed my mind and helped me understand why I refused to draw and why this has become one of my worst out-of -my -comfort-zone situations as well as what I need to do in order to overcome these awkward feelings and developed techniques to get beyond this state.
Embellishing by hand on a fabric using needle and thread for my first time ever was quite soothing and relaxing . It’s a slow process( especially for someone not so advanced like myself ) that needs patience and perseverance, but adds a lot onto garment; a unique look is one of them.
Looking forward to moving on assignment 3 where it will help me discover more about my course but more than anything, discover more about by myself…
The studio is a laboratory, not a factory. An exhibition is the result of your experiments, but the process is never-ending. So an exhibition is not a conclusion.
(Chris Ofili)
Considering Ofili’s statement , I’ve started my research with the axiom mentioned bellow:
Inspiration is all around us and art can be seen and applied everywhere.
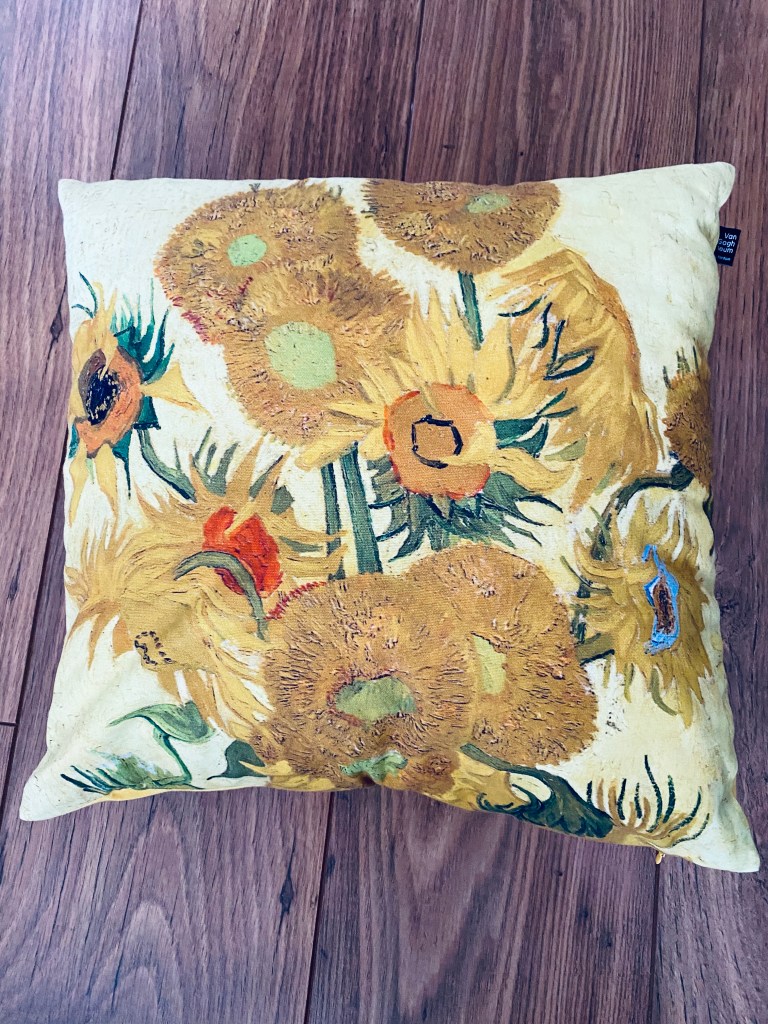
Then, sitting on the sofa, I end up staring at this:
I recently bought a pillow cover: a version of Vincent Van Gogh’s legendary sunflowers printed on.
Van Gogh’s paintings of Sunflowers are among his most famous. He did them in Arles, in the south of France, in 1888 and 1889. Vincent painted a total of five large canvases with sunflowers in a vase, with three shades of yellow ‘and nothing else’. In this way, he demonstrated that it was possible to create an image with numerous variations of a single colour, without any loss of eloquence.
The sunflower paintings had a special significance for Van Gogh: they communicated ‘gratitude’, he wrote. He hung the first two in the room of his friend, the painter Paul Gauguin, who came to live with him for a while in the Yellow House. Gauguin was impressed by the sunflowers, which he thought were ‘completely Vincent’. Van Gogh had already painted a new version during his friend’s stay and Gauguin later asked for one as a gift, which Vincent was reluctant to give him. He later produced two loose copies, however, one of which is now in the Van Gogh Museum.
(source: Van Gogh Museum)
The brief above , comes to compliment my view: Even by using exactly the same materials you are still able to follow different routes and have different outcomes, different answers. The dialogue is constant and the work as a result is just a snapshot of the idea the artist is working on that particular moment .To be more specific and to analyze a bit more, I have come to the conclusion that our experimenting work is like a photo shot :we capture what we feel and what we are inspired from that particular moment. I strongly believe if we deal with the same concept few days later we would have totally different pieces, totally different developments. An idea is always on the move and is with us brewing in our subconscious . It is sometimes so fragile, that slips off the edges of our brain.Even though when we are finished can see there is always room for improvement.That is not what a factory is. Factory is constantly producing in mass scale ideas that have been tested in a studio.Whilst manufacturing in mass production ,is very hard to experiment , to test ,try new things.
Baring in mind all the above I knew what I my next step would be…
Going through assignment 2 again, was initially frustrating and disappointing as it was a sense of not doing or learning anything new.
Choosing a totally different path though, has turned all these feelings down as I rediscovered that even though I’ve used the same way of thinking and my starting point in all tasks was the same, there are many routes to take you into different trips in life and this is so fascinating :I found out my thinking and reacting was totally different from day to day even though I was working on the same project!
The spectrum and range of textiles is incredible and working on assignment 2 take 2 I realized I’ve only touched the surface…
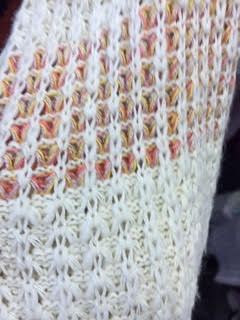
This theme should contain light textiles, bright and colorful .
Light, breathable cotton fabrics
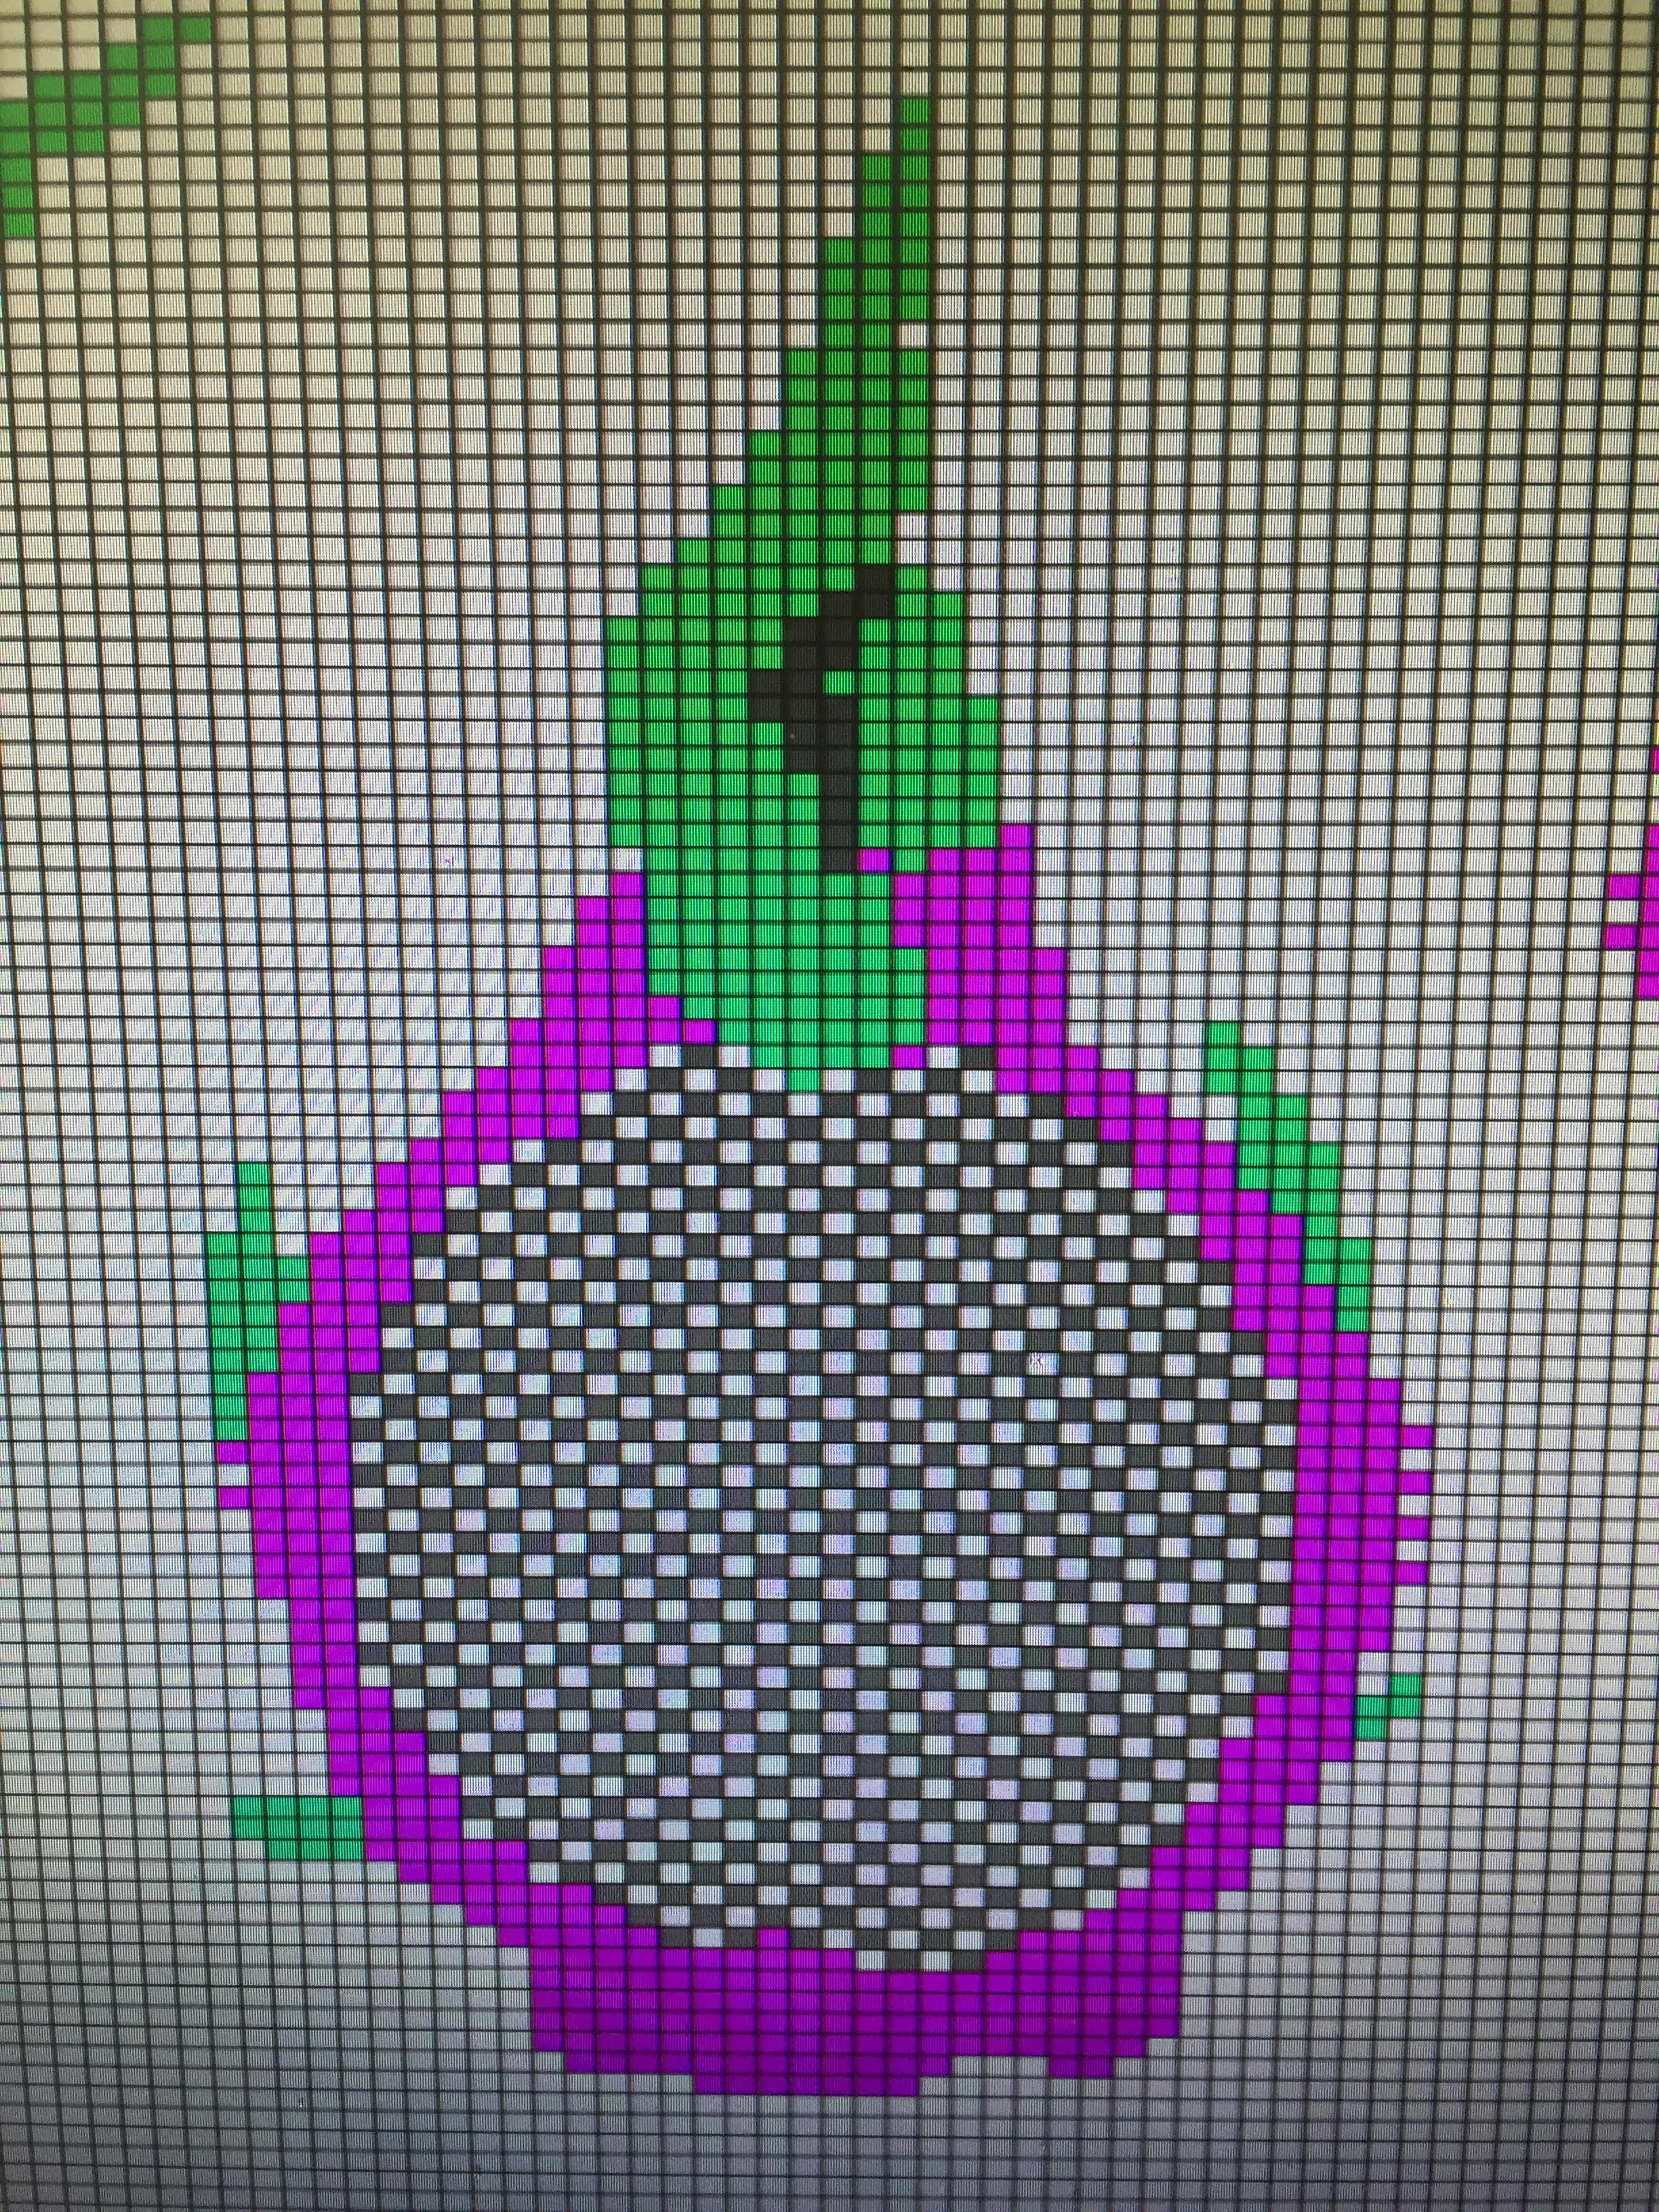
tropical fruit themed jacquards like this gridded pinapple
or dragon fruit
Tassels will also give a nice textured finish along with an earthy look texture.
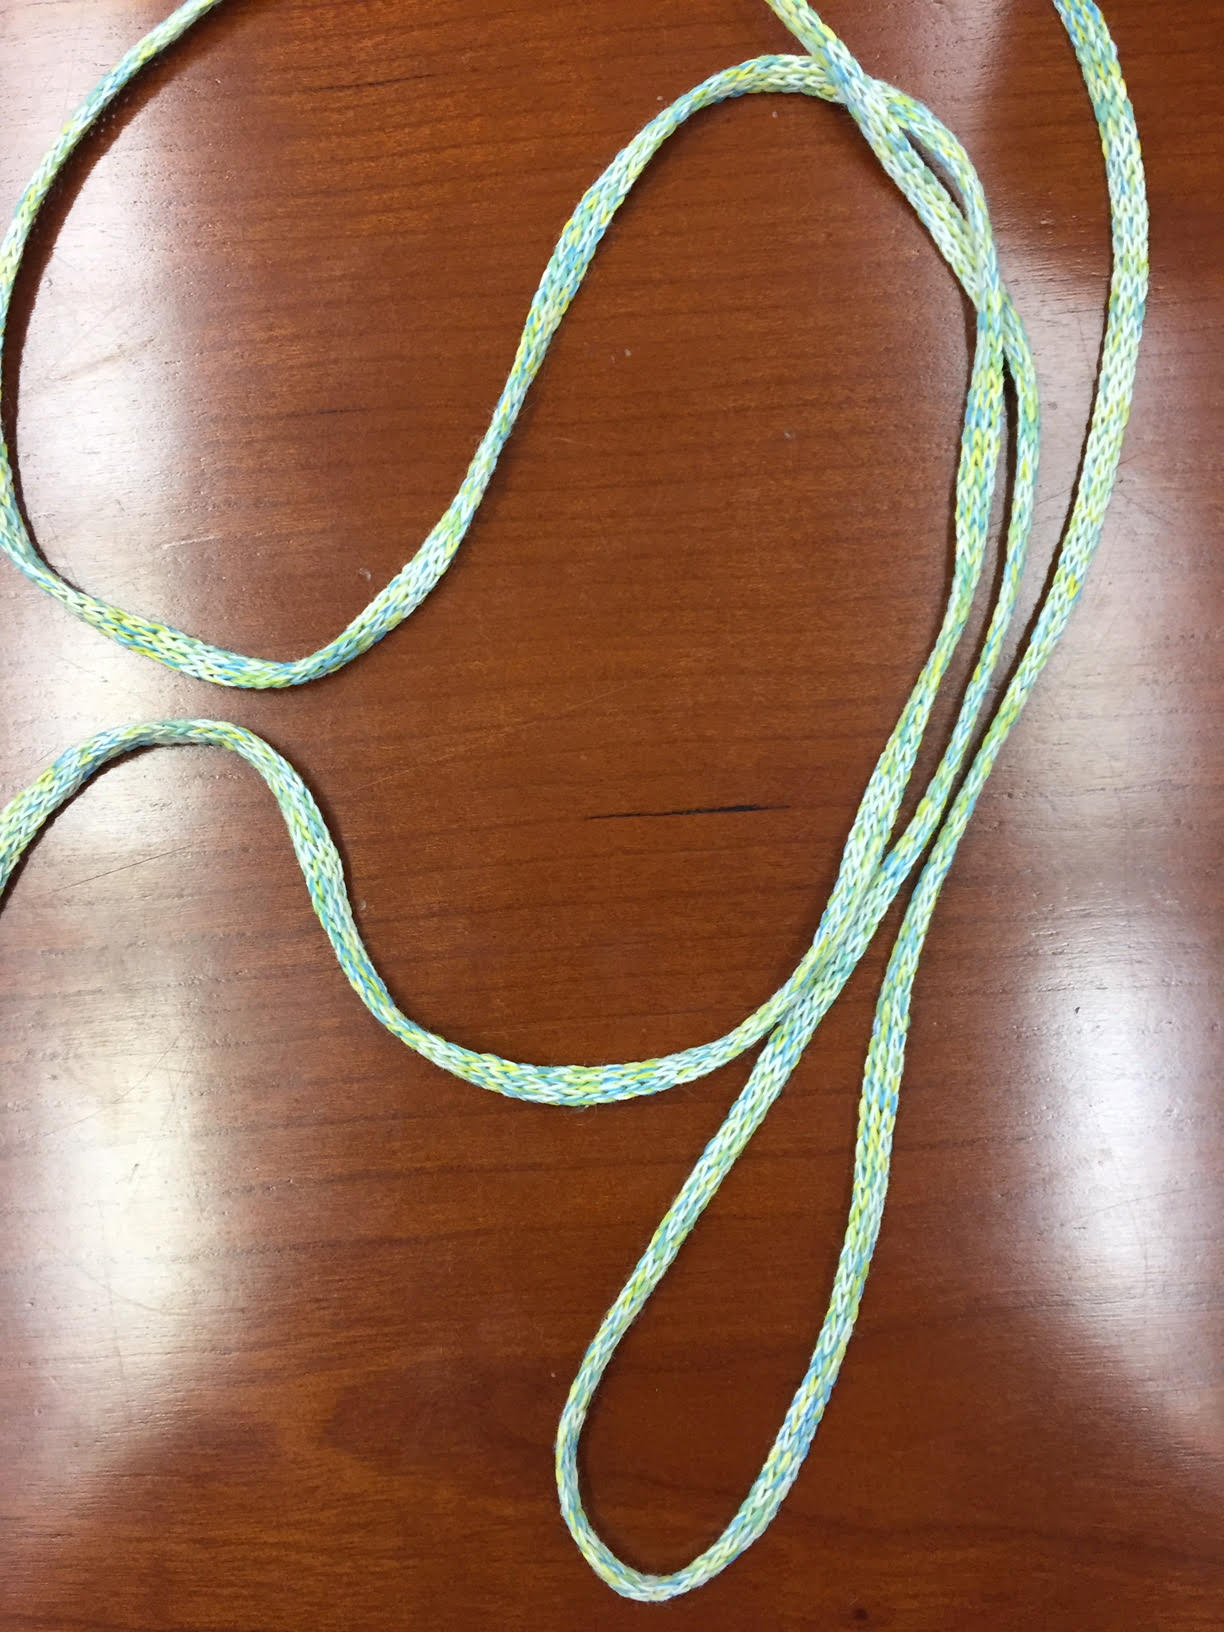
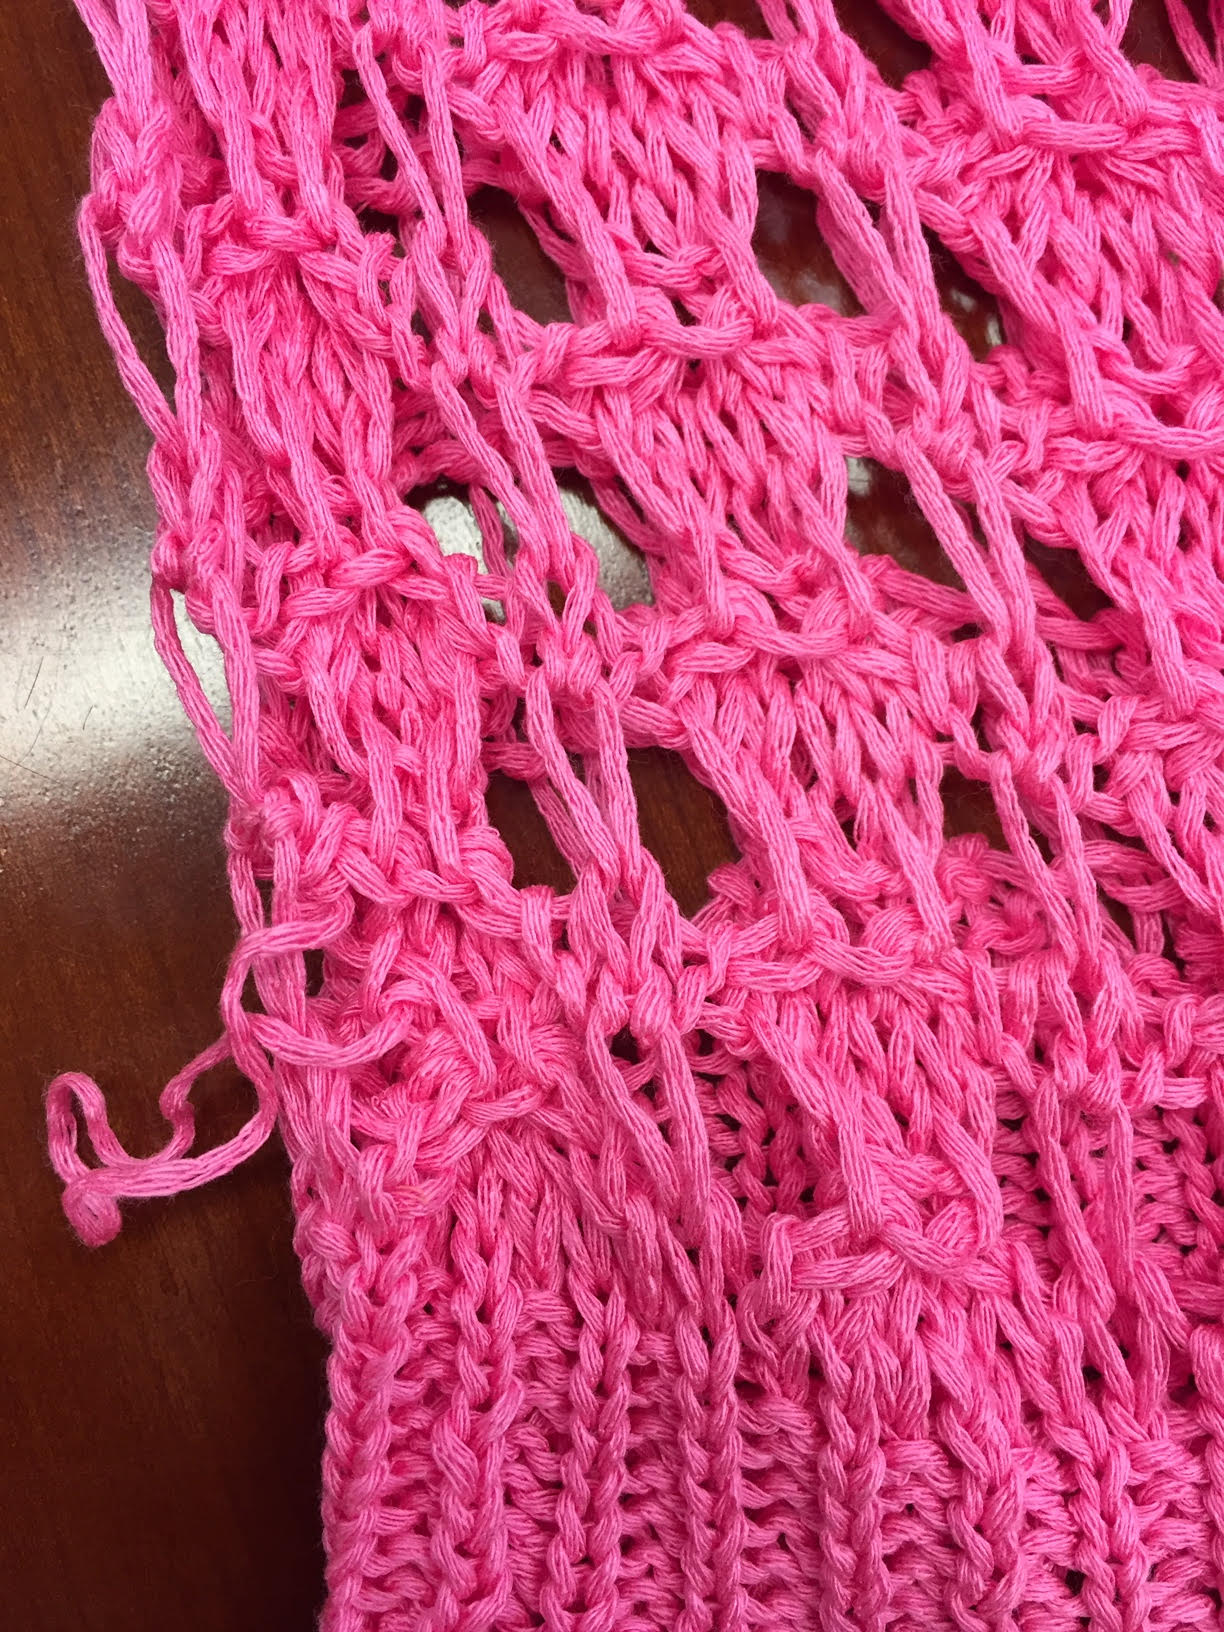
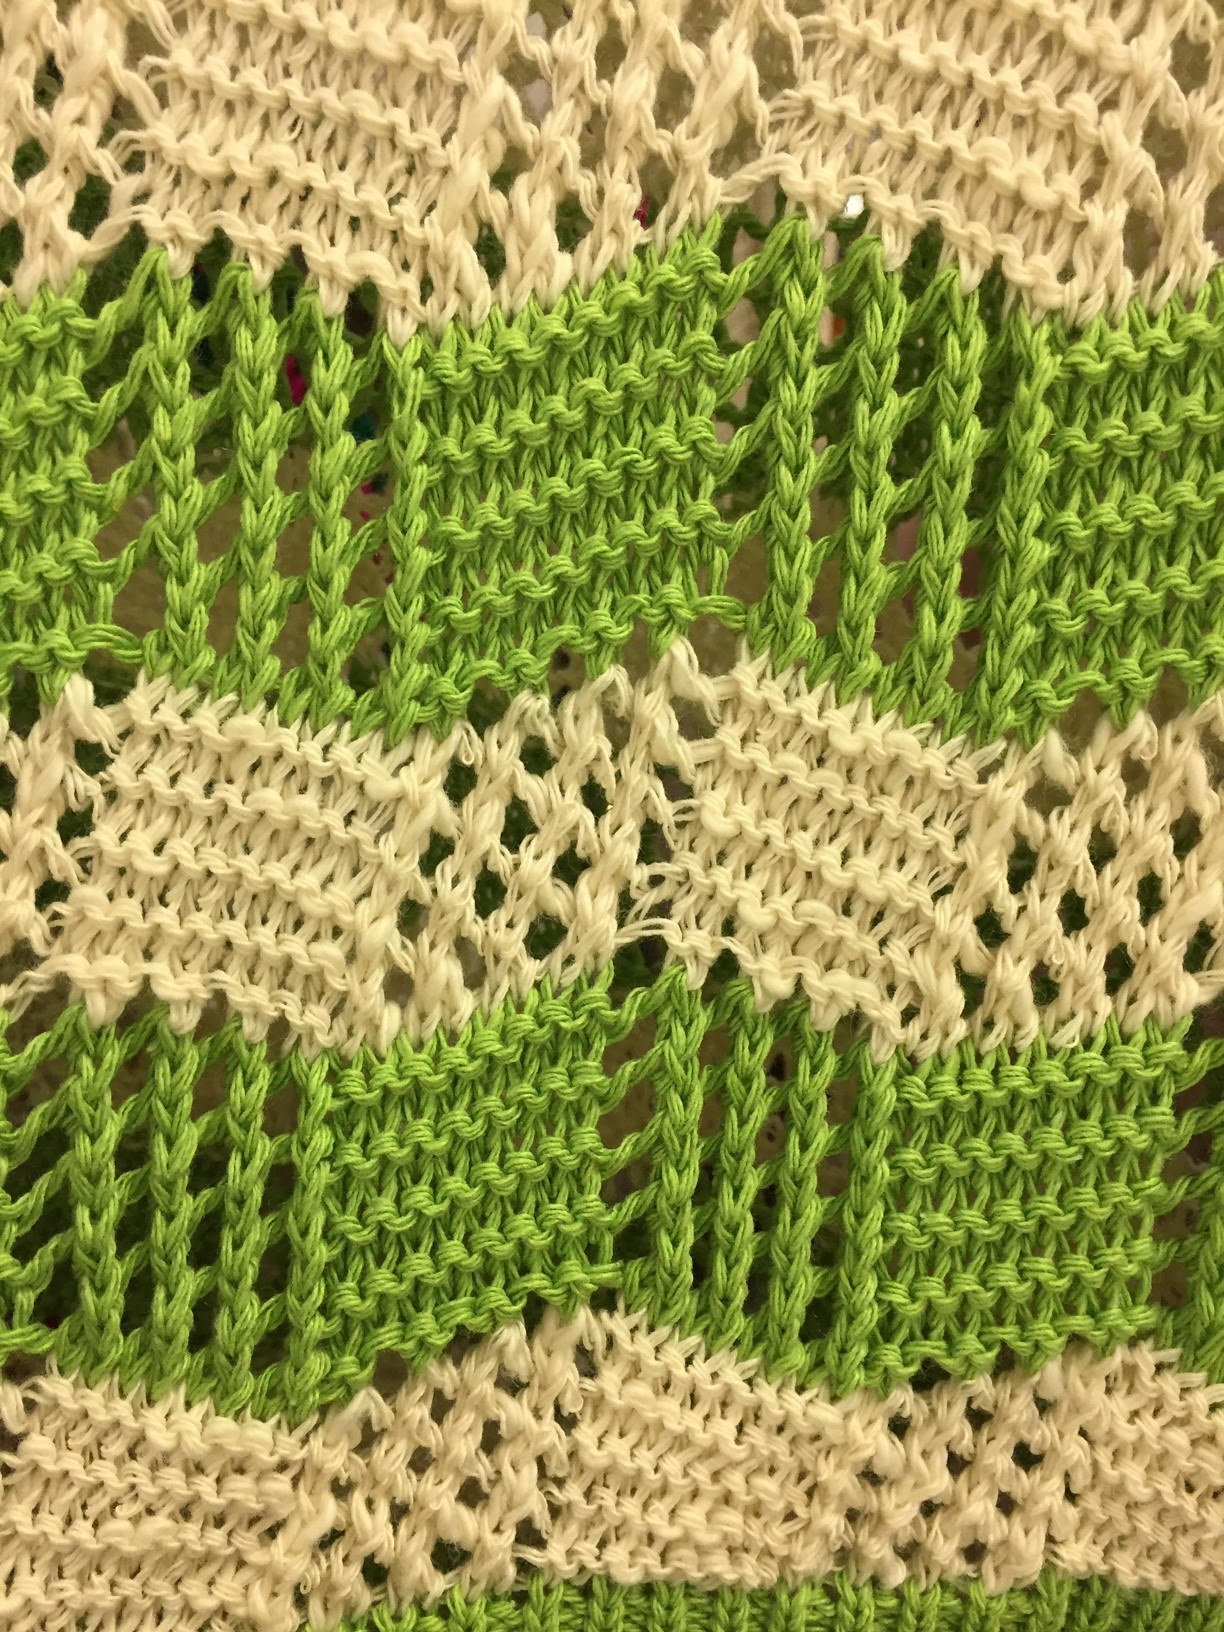
open, breathable stitches using smooth surface tape yarn
textured open stitches with a twist like this zigzag purl stitch.
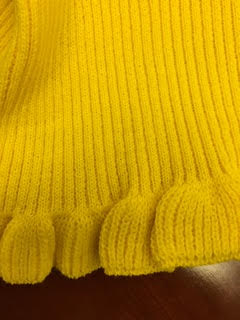
frilled finish :romantic and elegant for the cool tropical summer evenings
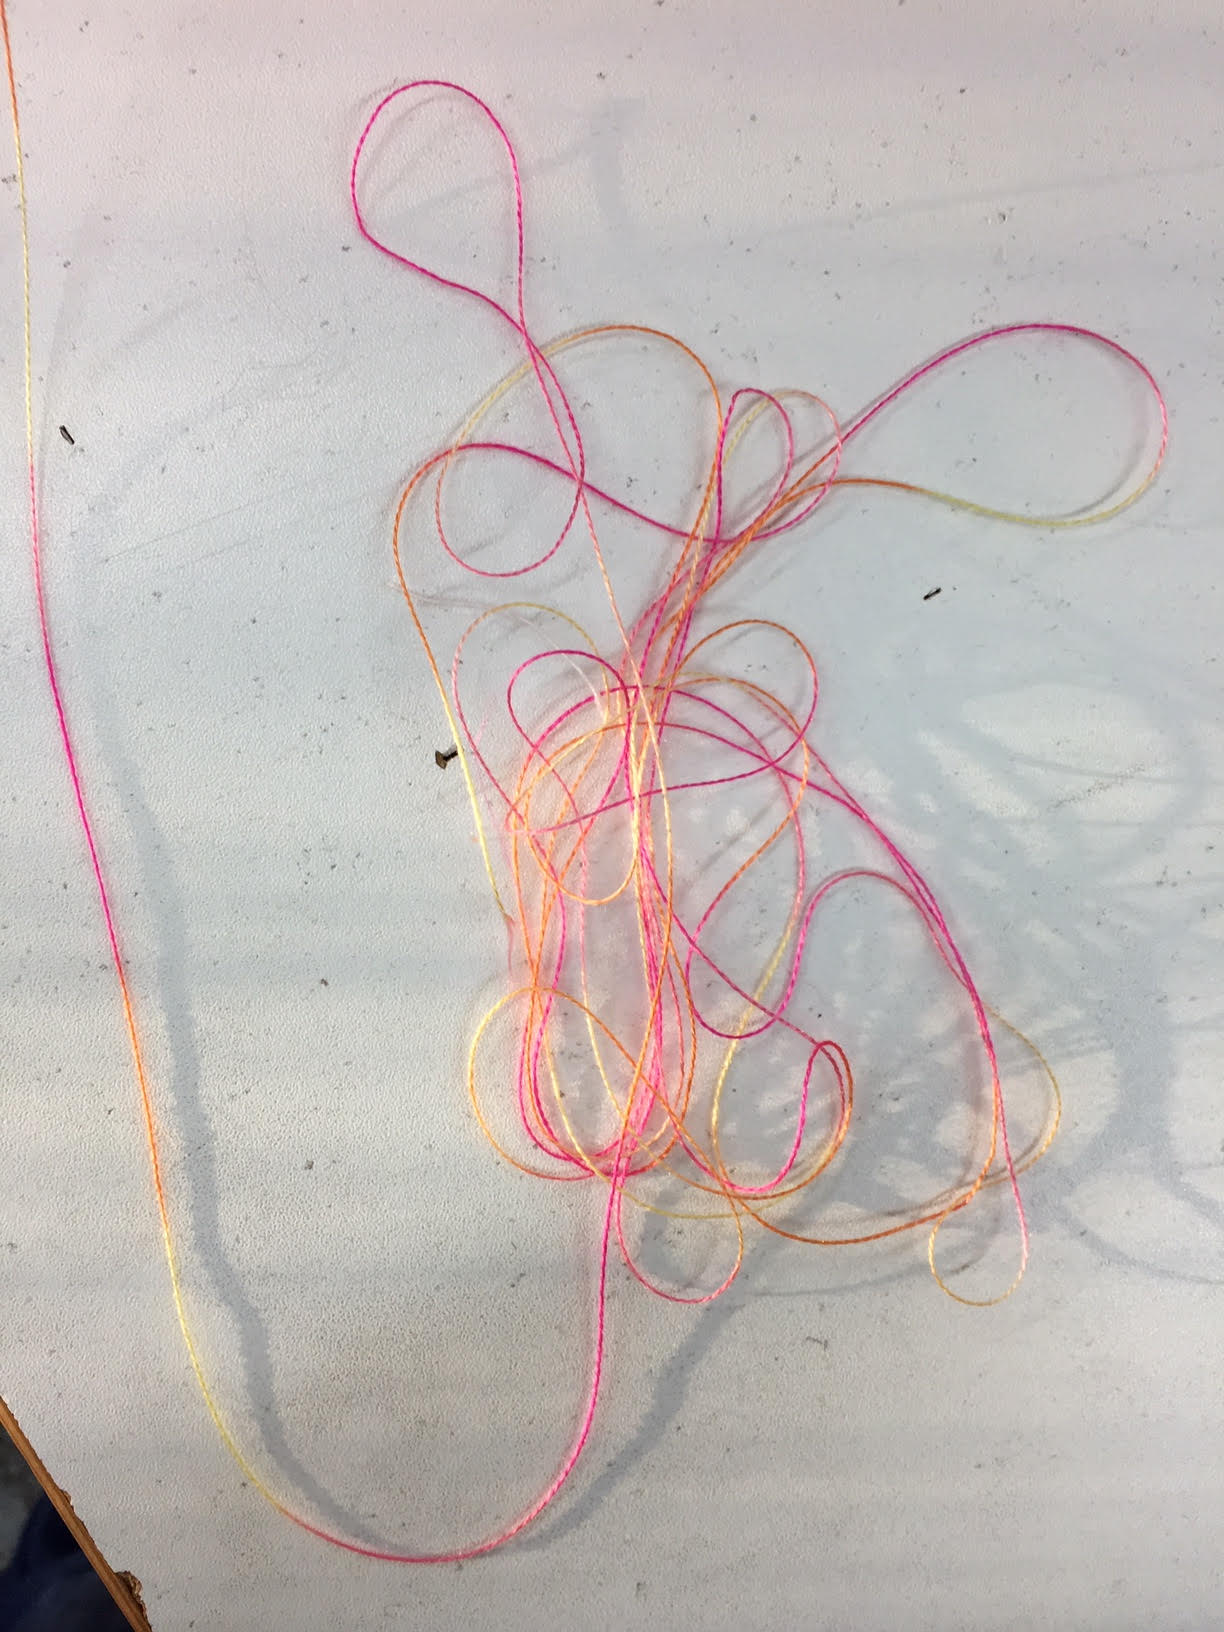
Finally , space-dye yarn with prints on it for more abstract and non uniform finish which enhances the whole relaxed holiday look.
EXERCISE 1.1 THE ARCHIVE
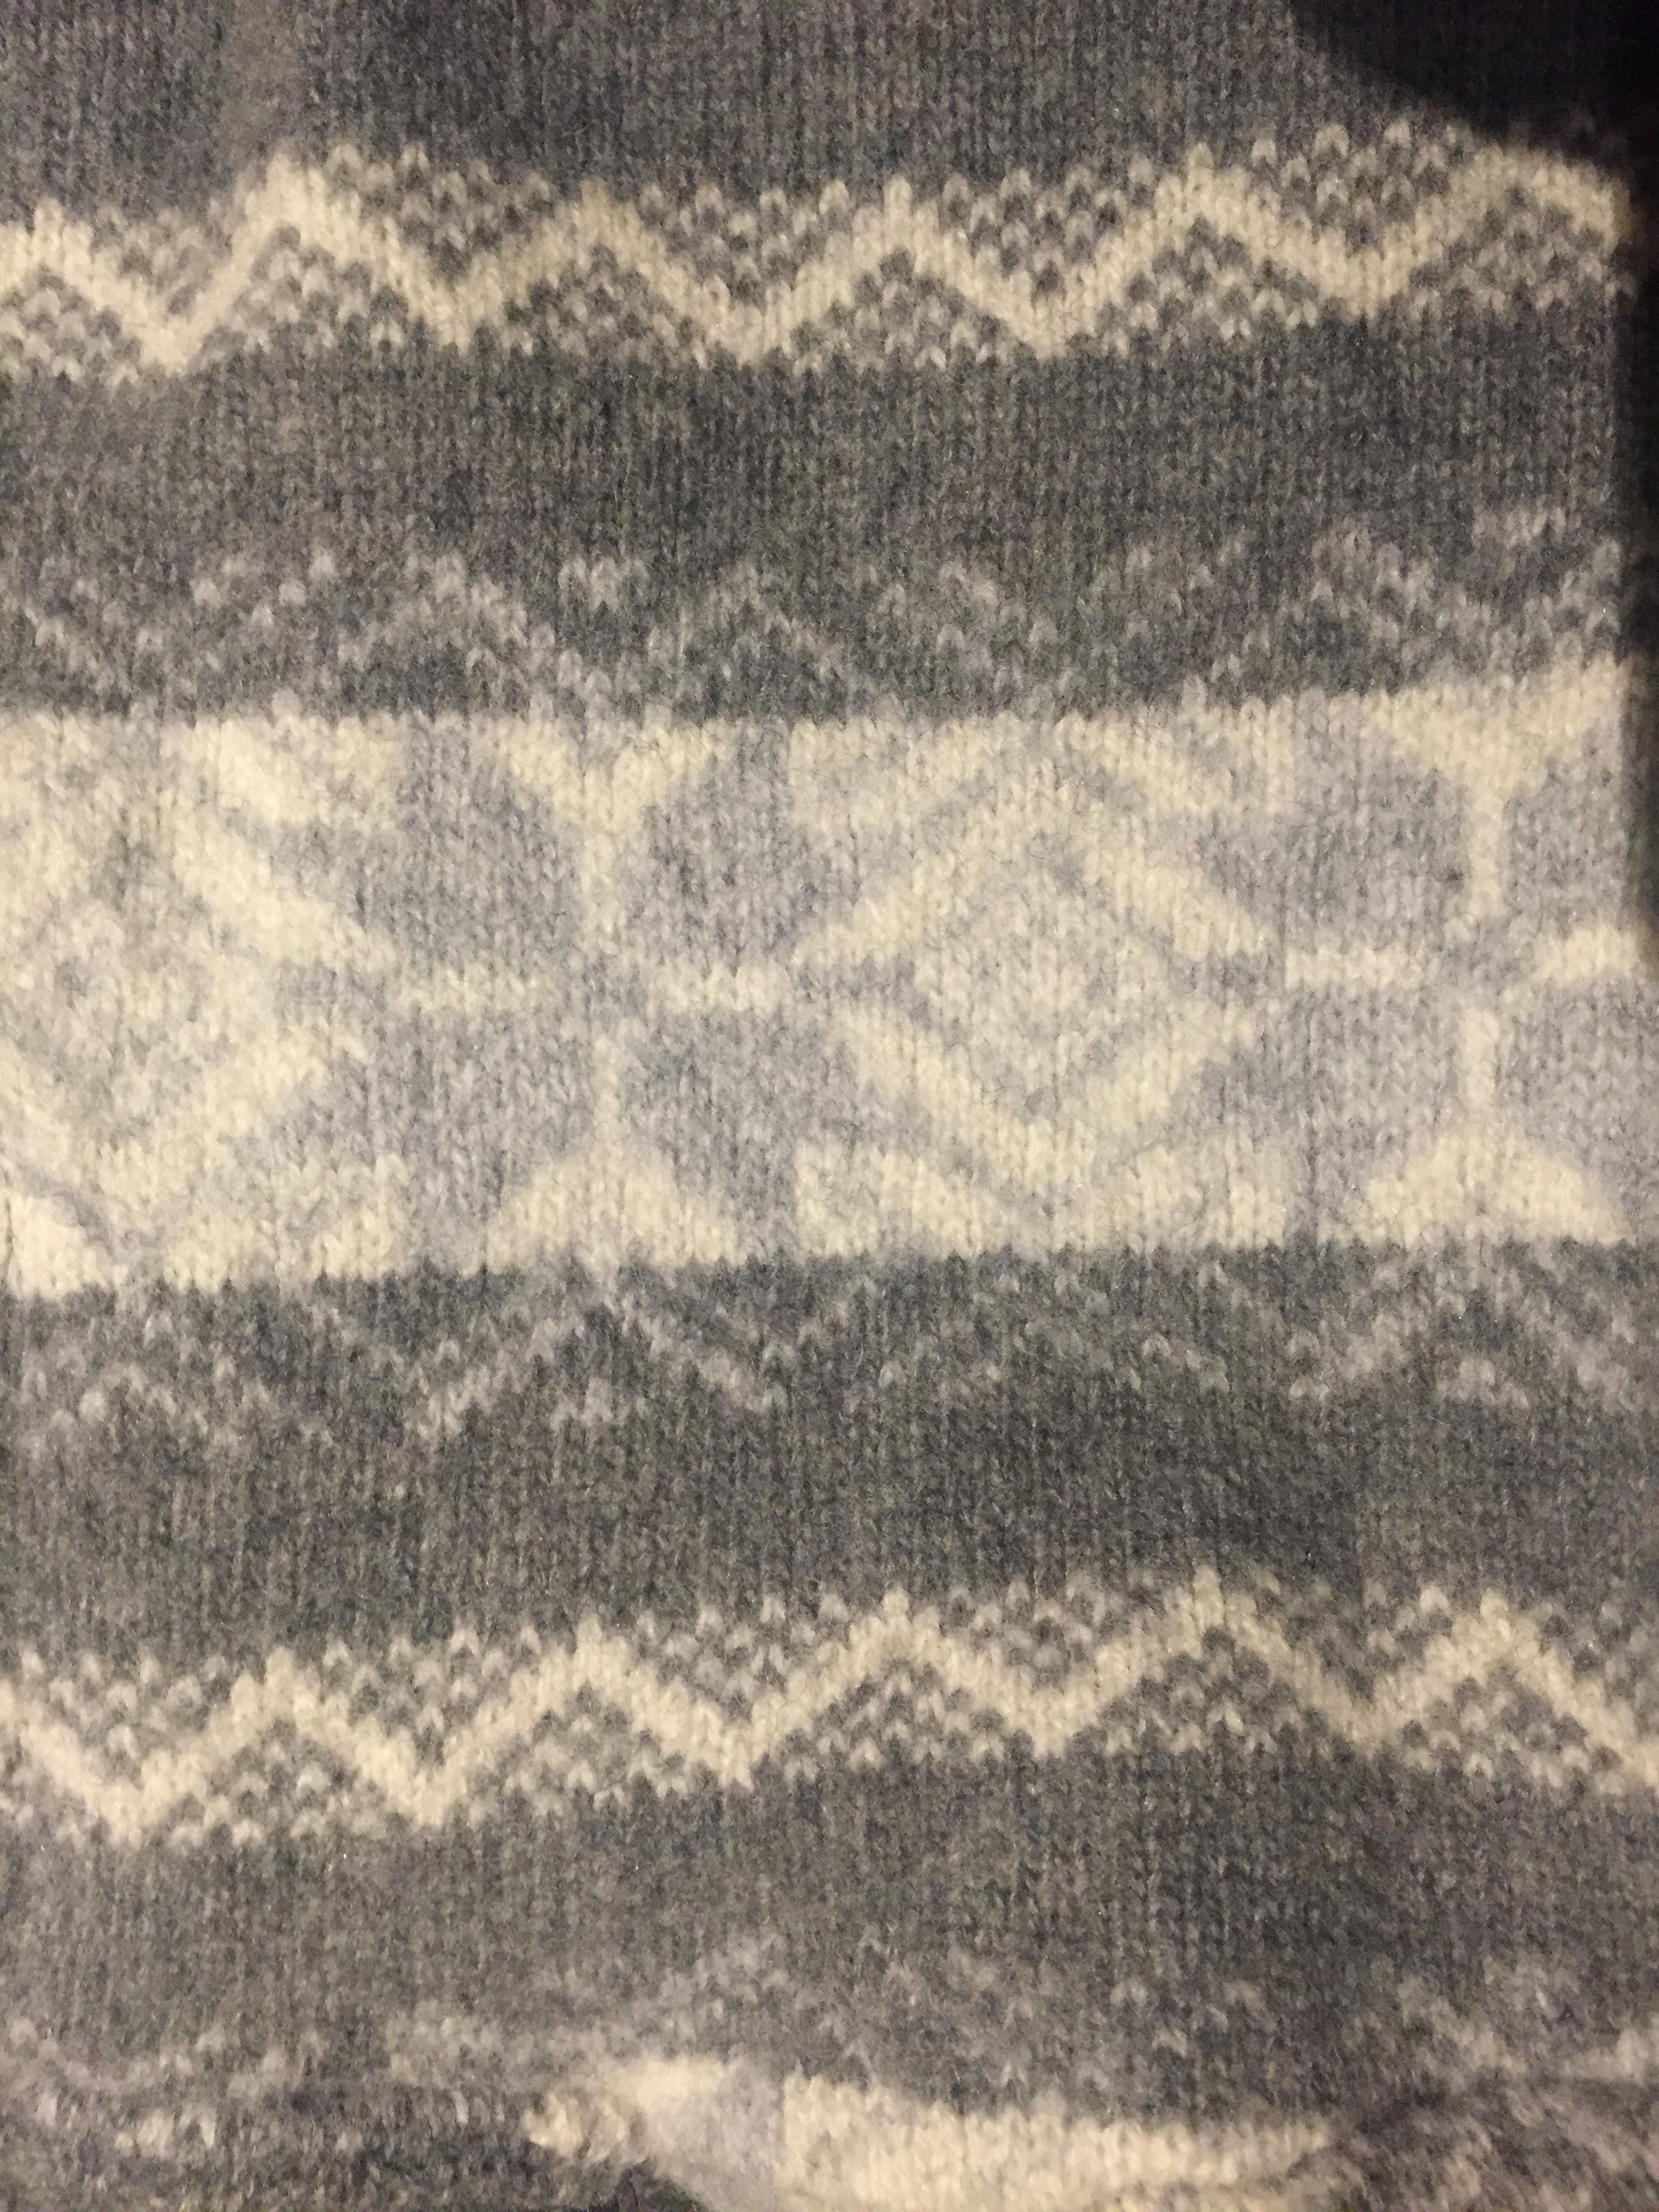
THE FAIR ISLE JACQUARDS:
SOURCE : VICTORIA AND ALBERT MUSEUM
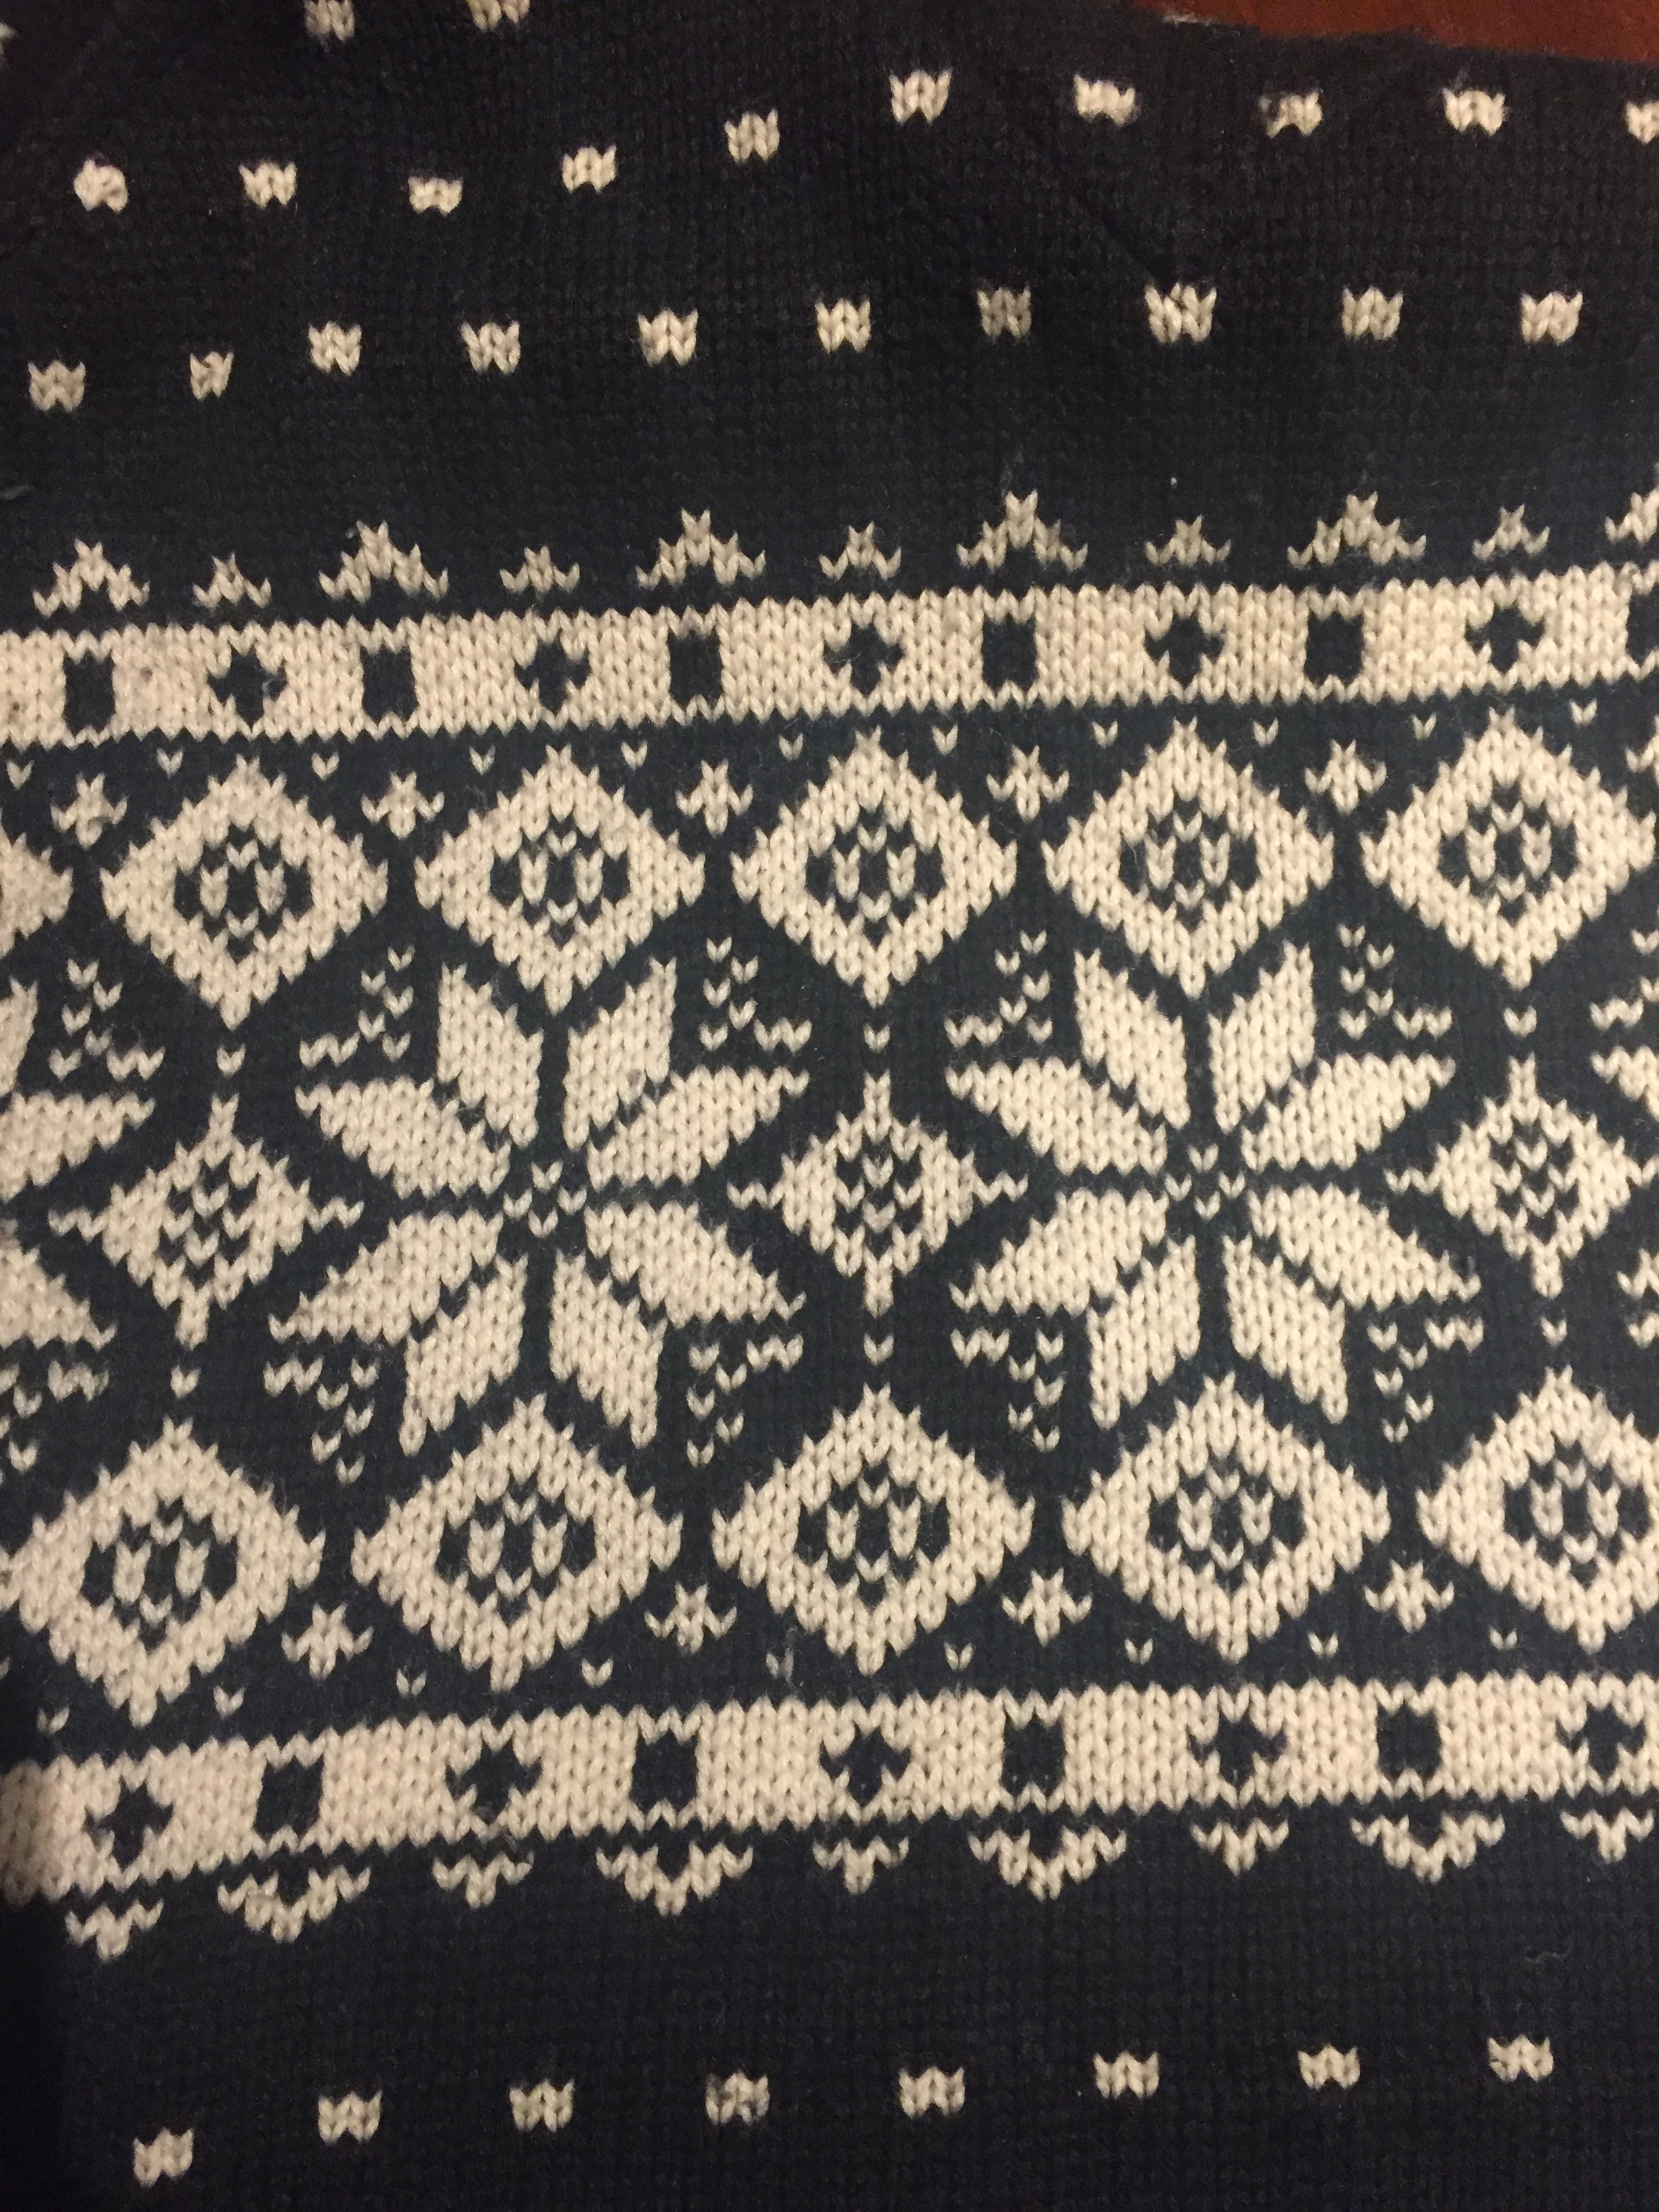
Fair Isle is a remote island situated between Orkney and Shetland to the north of mainland Scotland. Legend has it that Spaniards, stranded on the island after the break up of the Spanish Armada in 1588, taught the islanders to use the colours and patterns typical of Fair Isle knitting. However, there is also evidence that these design influences came from nearby Scandinavia.
The varied colours of Shetland wool have been a feature of knitting from this region since the 19th century. They came partly from the different breeds of sheep, but also from dyes. Madder and indigo gave red and blue, while lichens produced red, brown, orange and purple. Brightly coloured synthetic dyes, invented in the 1850s, increased the possible colour range but were used only in small quantities.
The early knitters produced stockings, caps and scarves. Sweaters in the Fair Isle style – as it’s known today – were not produced until the First World War. They are constructed by knitting bands of horizontal motifs from two different coloured strands of wool. The patterns are made up of motifs such as crosses, diamonds and eight-pointed stars.
There was a vogue for Fair Isle sweaters during the 1920s, thanks in part to the Prince of Wales, who wore one as part of his golfing attire, although natural shades like brown, grey and white were then preferred. The look continues to be regularly reinterpreted on the catwalk – the American designer Ralph Lauren included a Fair Isle sweater in his first collection.
5 gauge textured fairisle Jacquard
3 gauge jacquard
7 gauge fairisle jacquard
EXERCISE 1.2 SUBSTANCE AND STORY
All the garments photographed above (exercise 1.1) were knitted using 80% wool 20% nylon.
Woolly garments usually need to be hand washed due to the delicate nature of the fabric.
In the exercise mentioned above I’ve photographed jumpers made in Chinese knitting factories for Tommy Hilfiger and Benetton using flat knitting machines for knitting and linking machines for finishing .
It’s hard to trace where these garments wool is coming from.
It can be Shetland wool , coming from Scotland, wool made in China , or Italian wool and because it’s a natural fiber it still keeps it’s shape, the elegant look and soft hand feel.
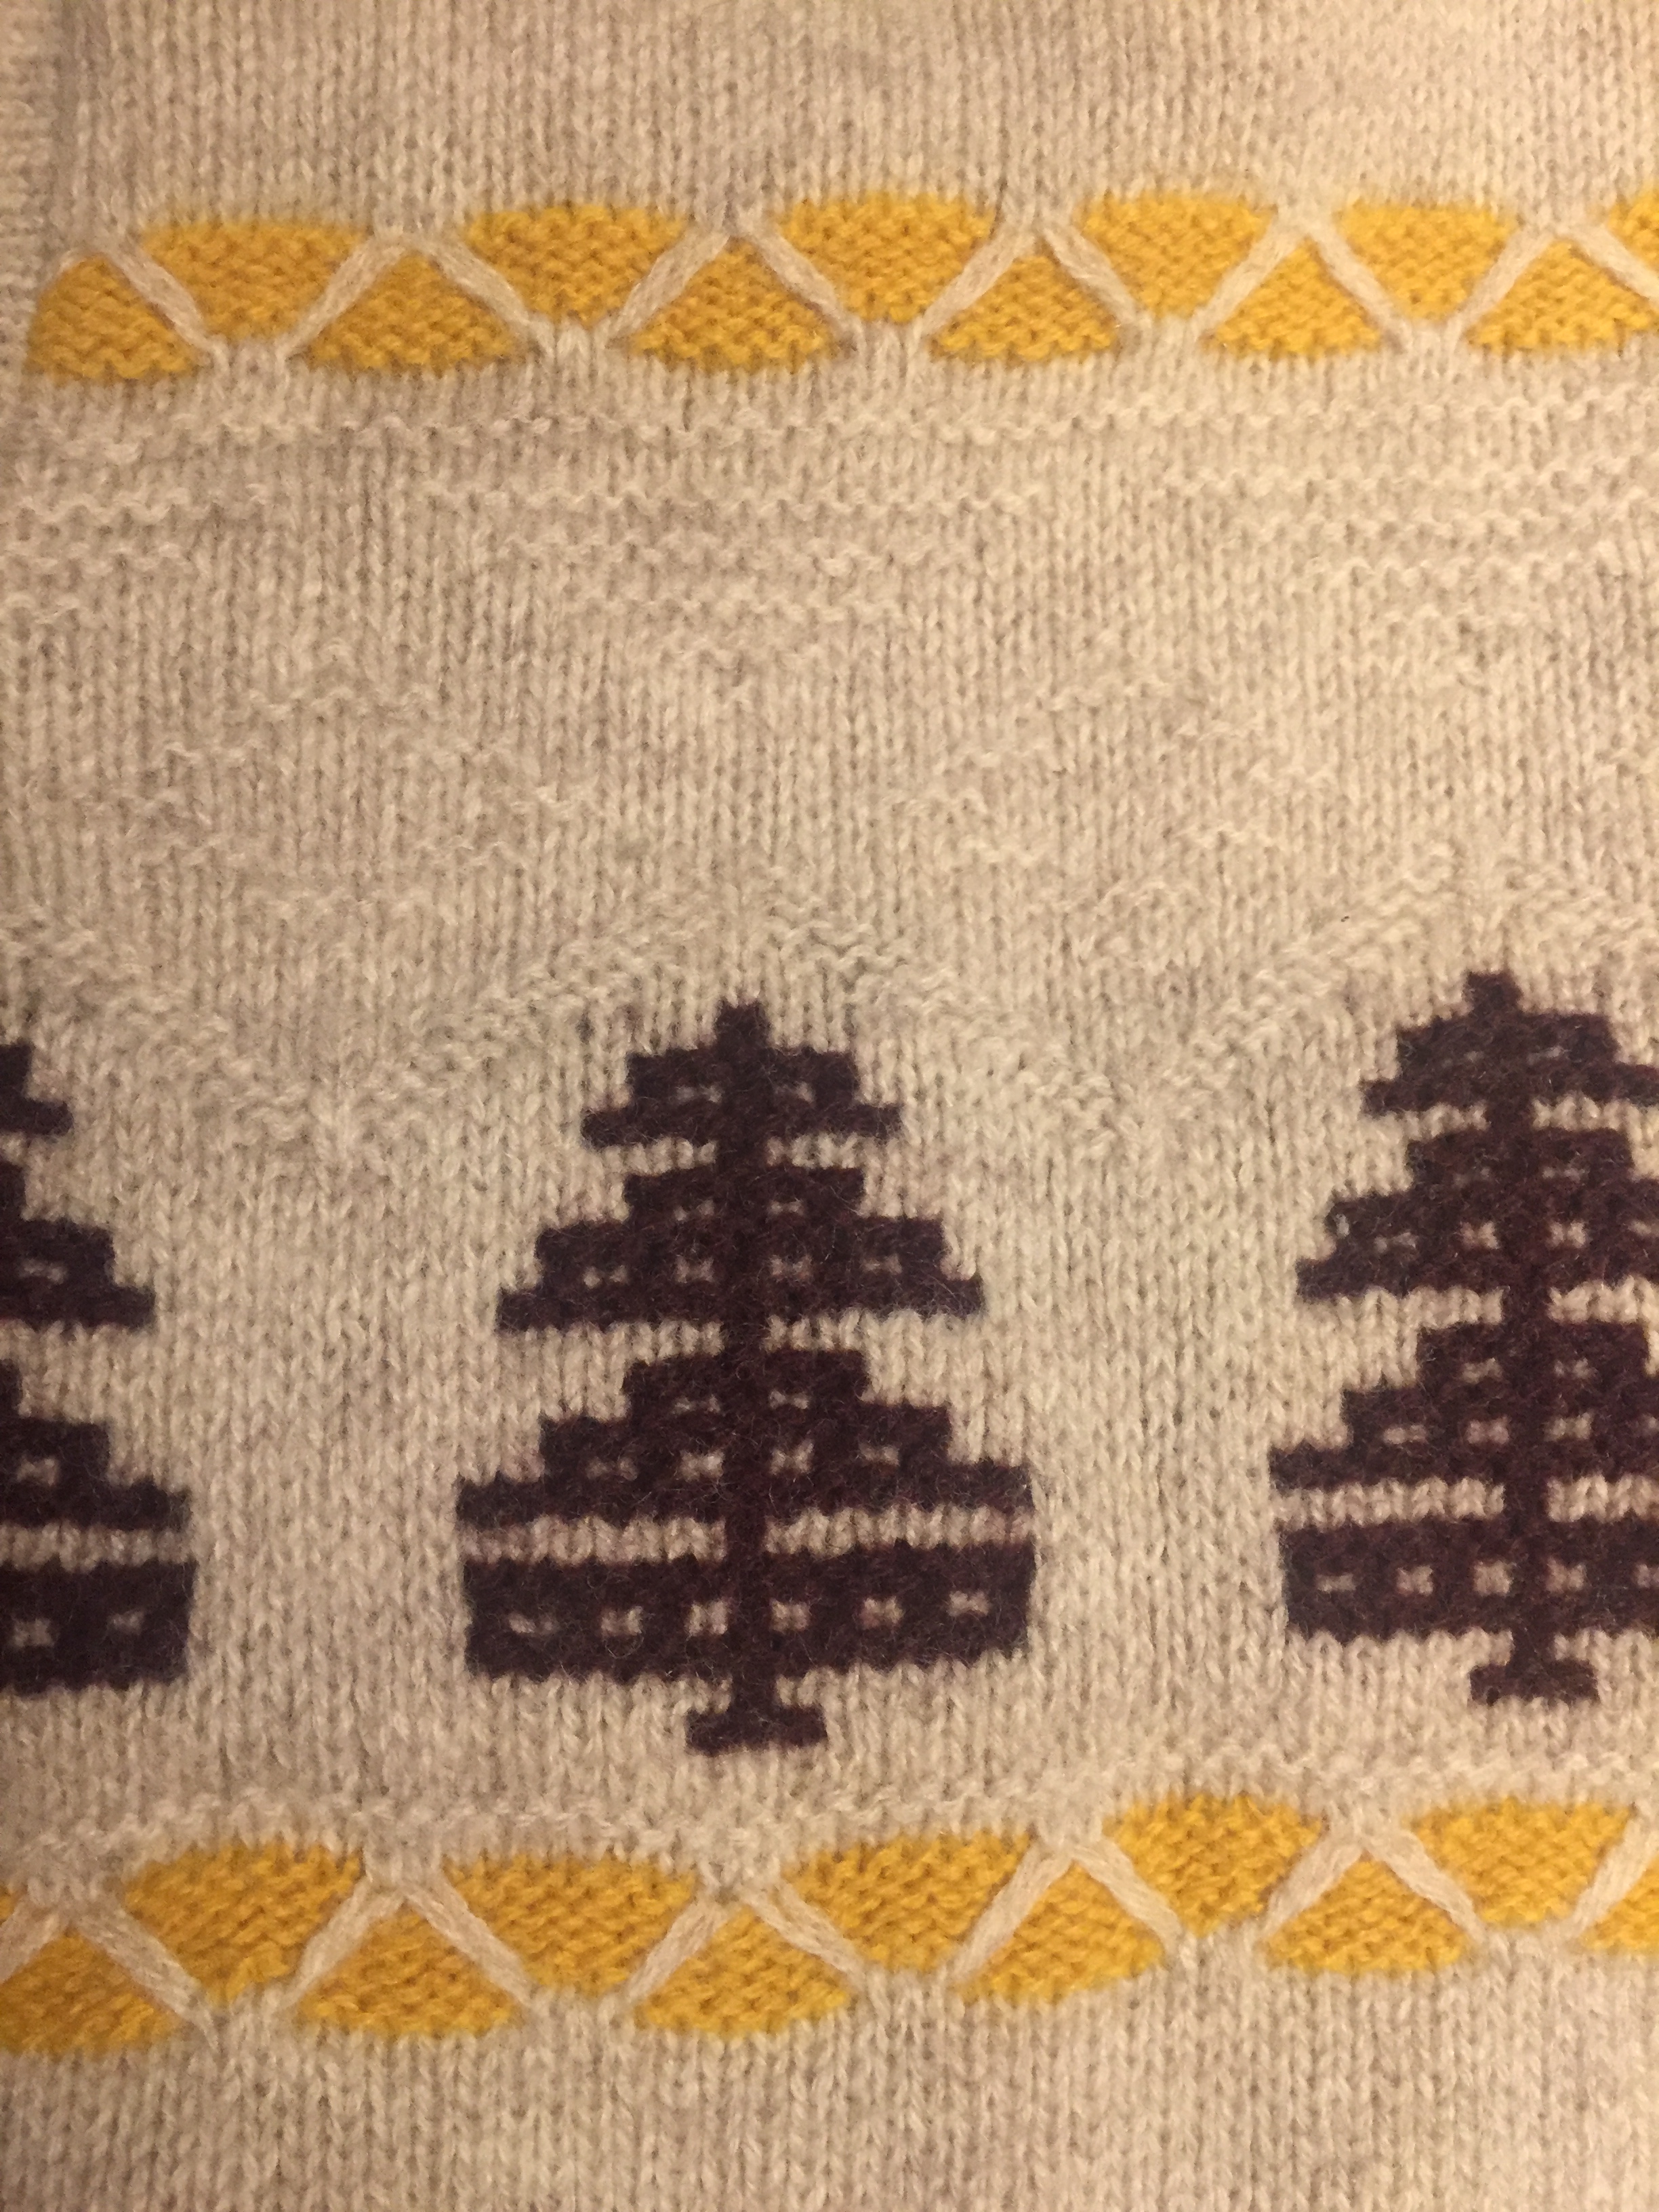
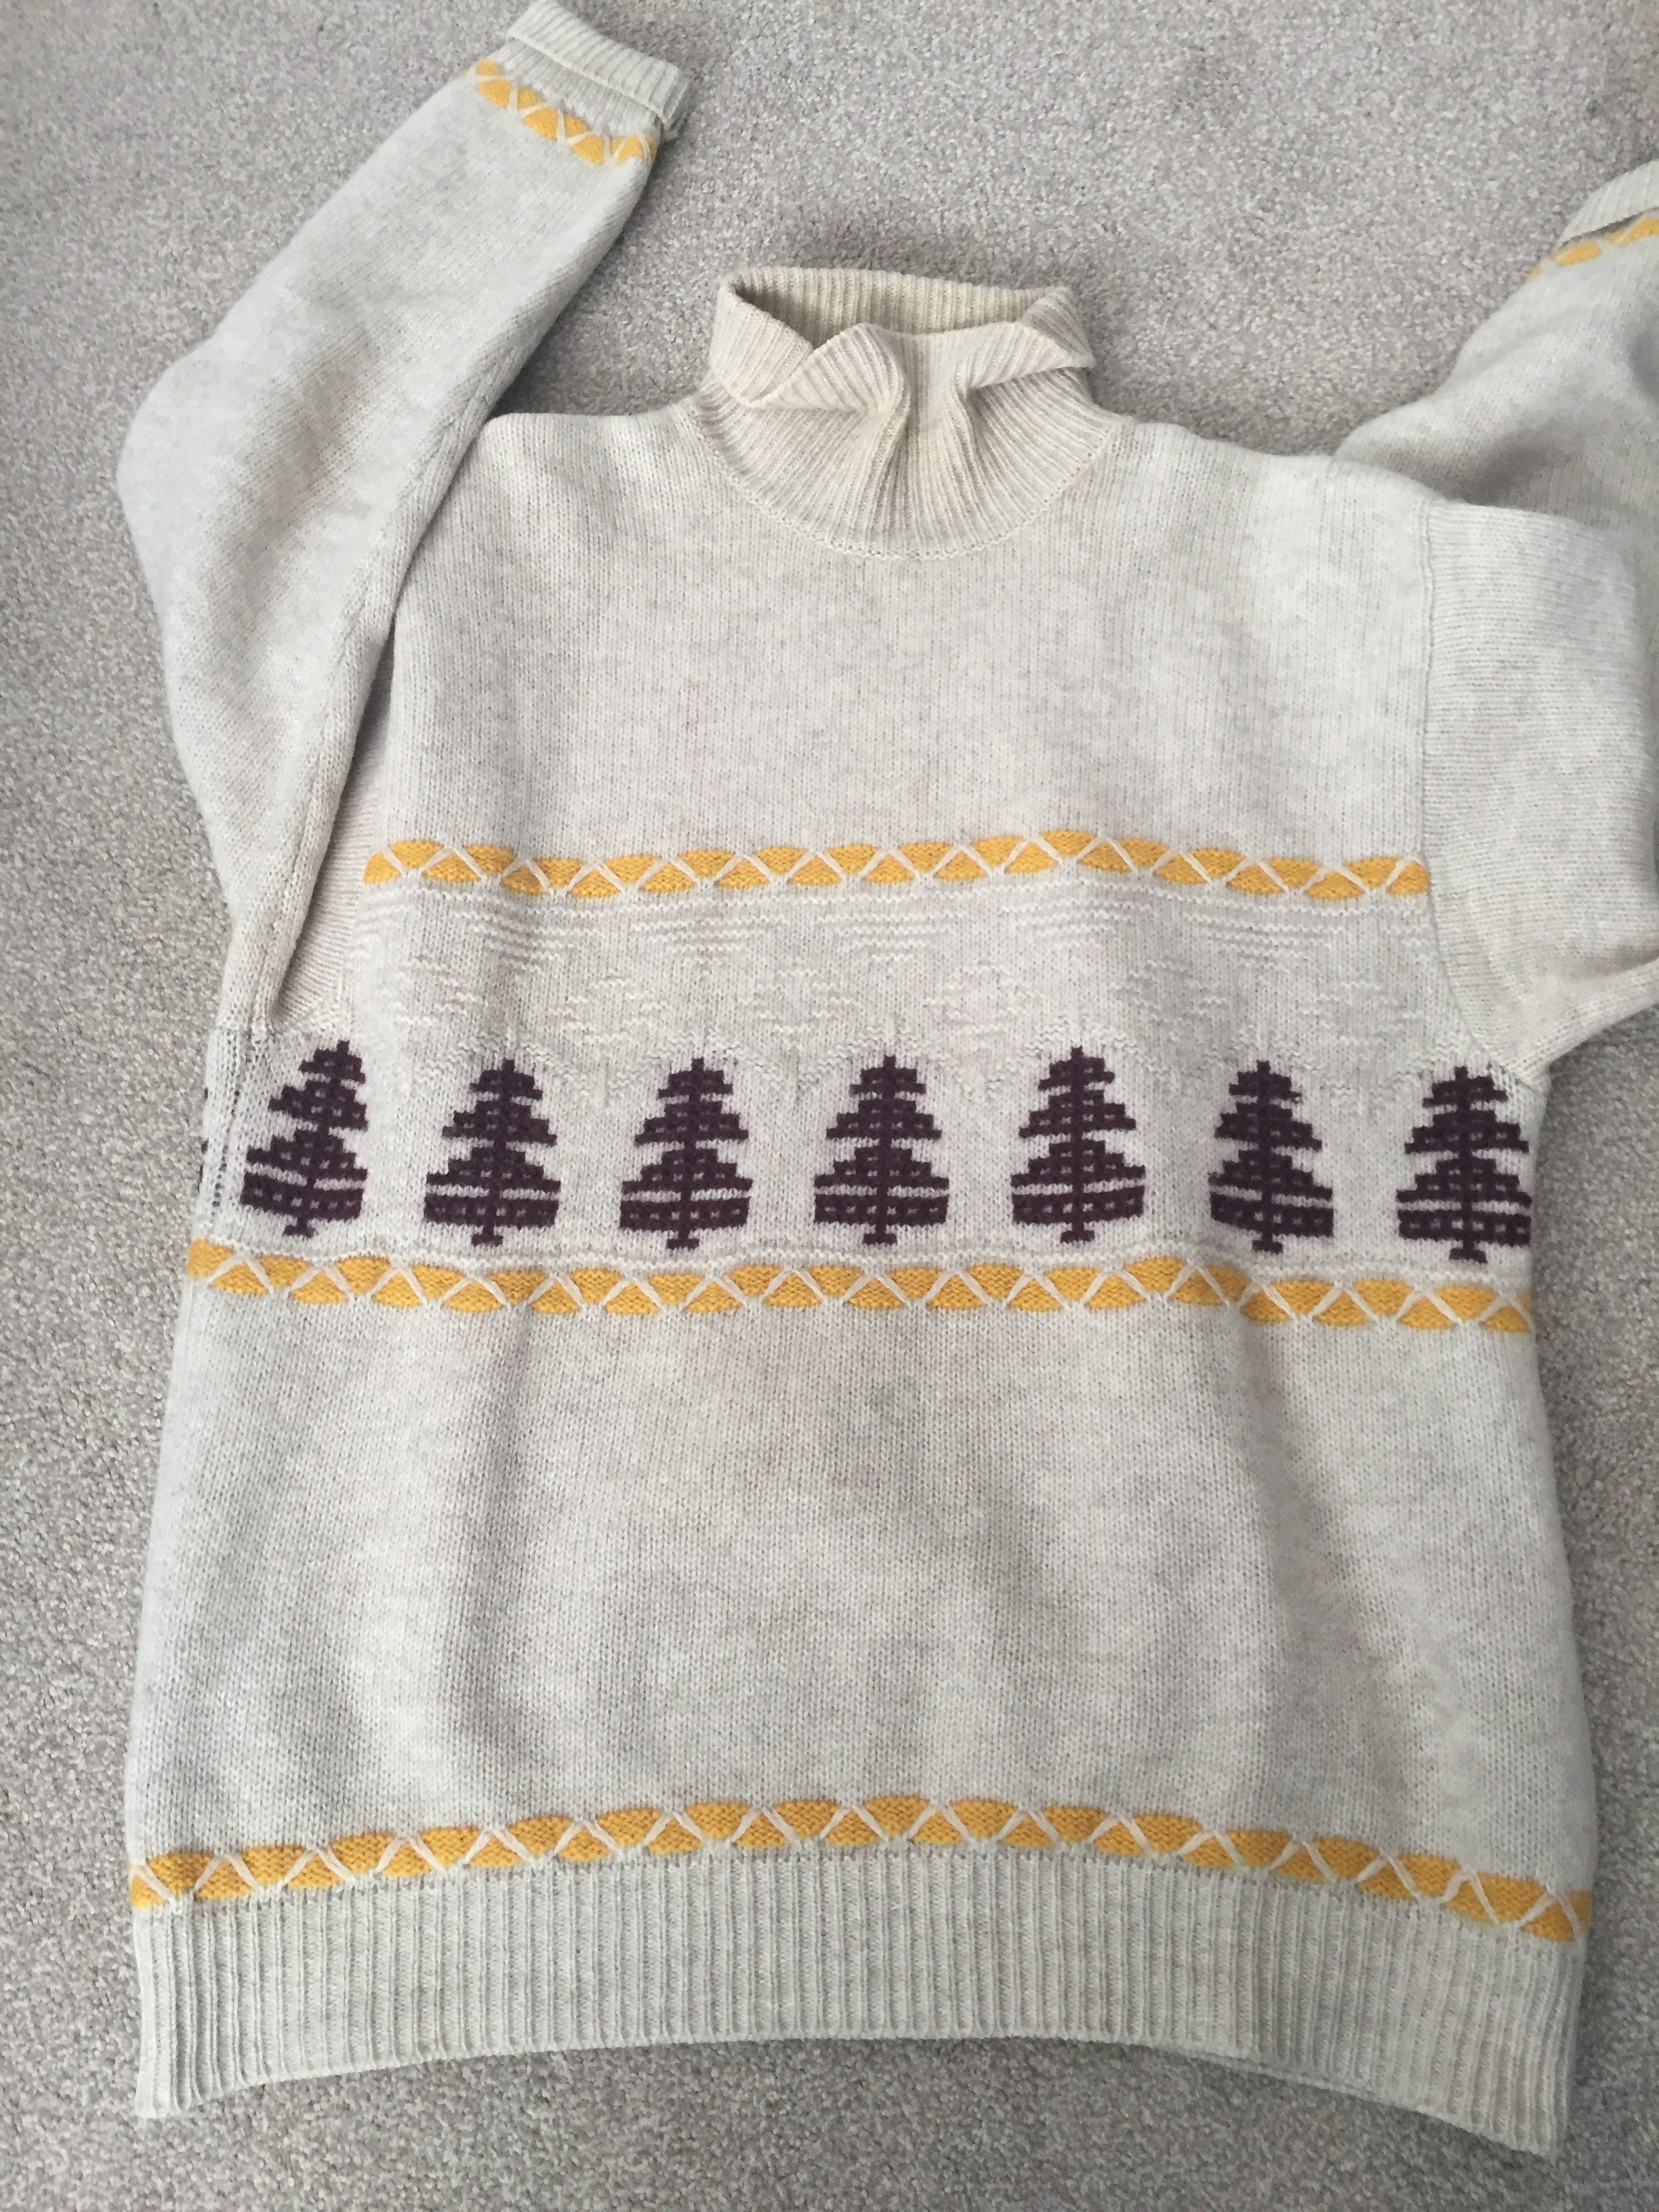
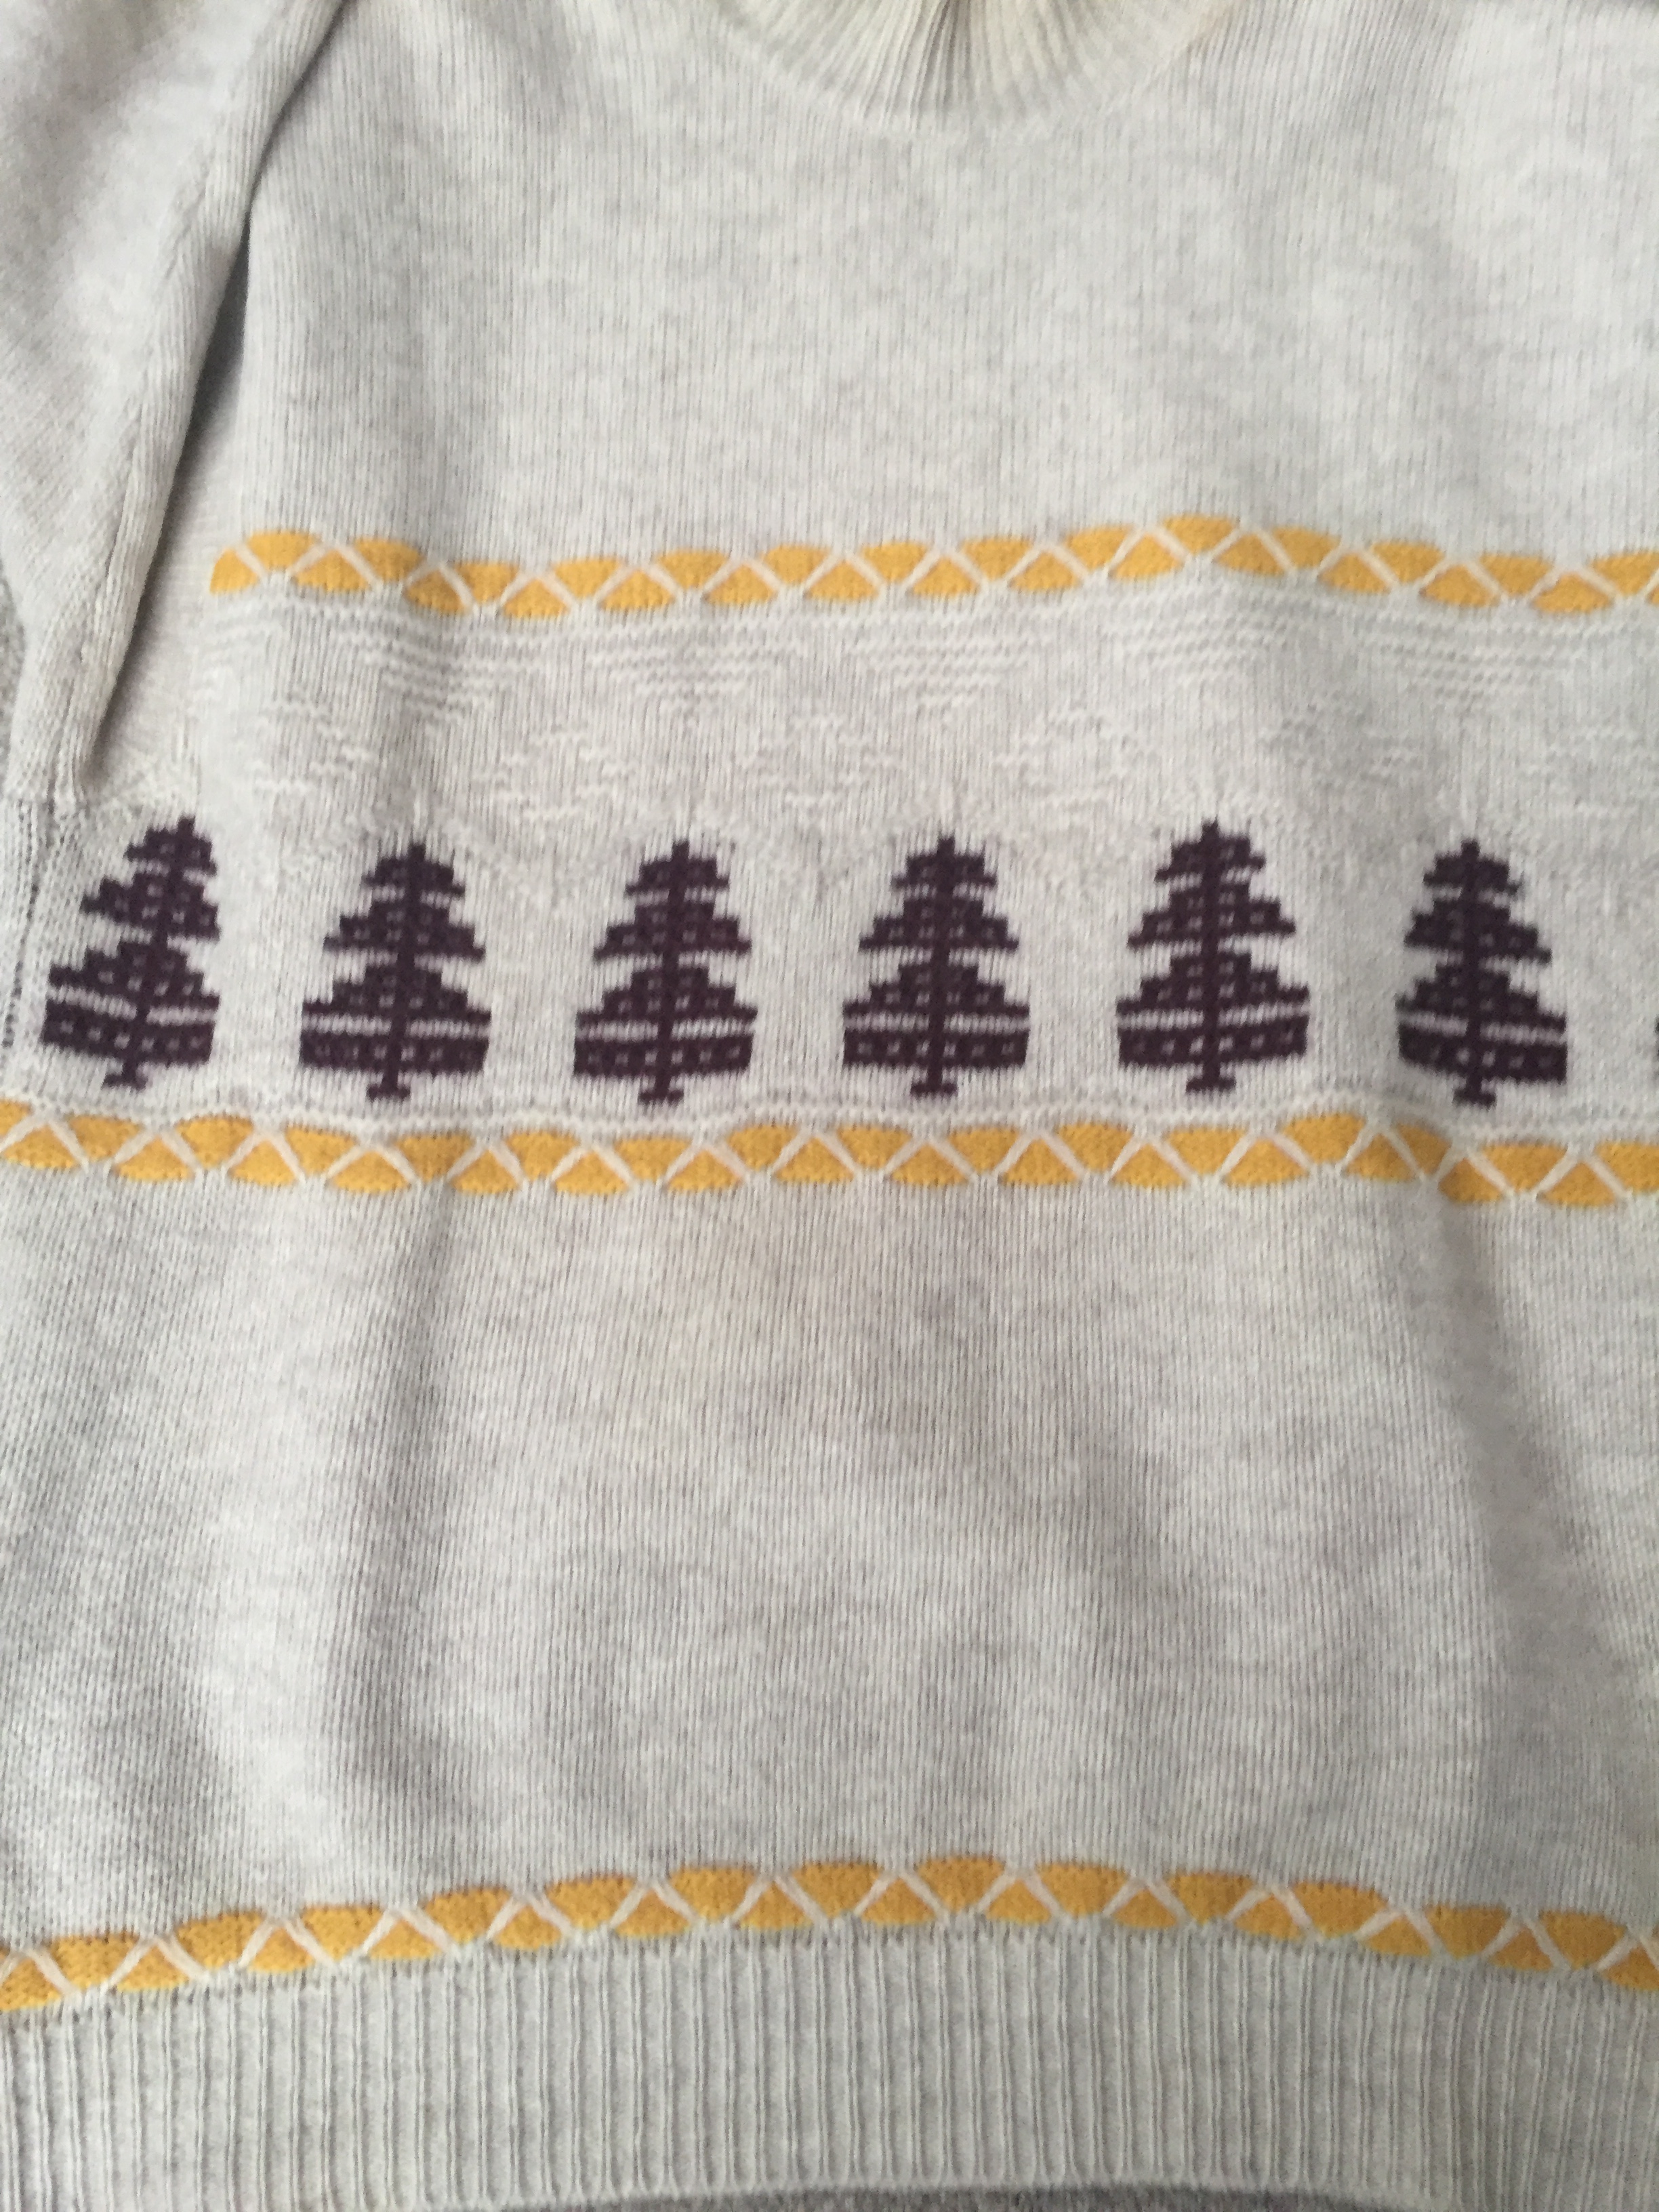
All these heavily worn jumpers belong to me and have been in my possession for many years: especially the beige jumper is 26 years old and it still plays a significant part of my life especially in the winter time when it’s on. Dressing in it feels like I’m wearing a piece of history , my personal one!!!
EXERSISE 1.3 :MAKING MARKS
I’m about to face my worst nightmare: drawing!
My drawing skills are not even basic, but I will try my best !!!
My task is to draw and try to demonstrate my vision regarding the garments I’ve picked above.
So, here we start then:
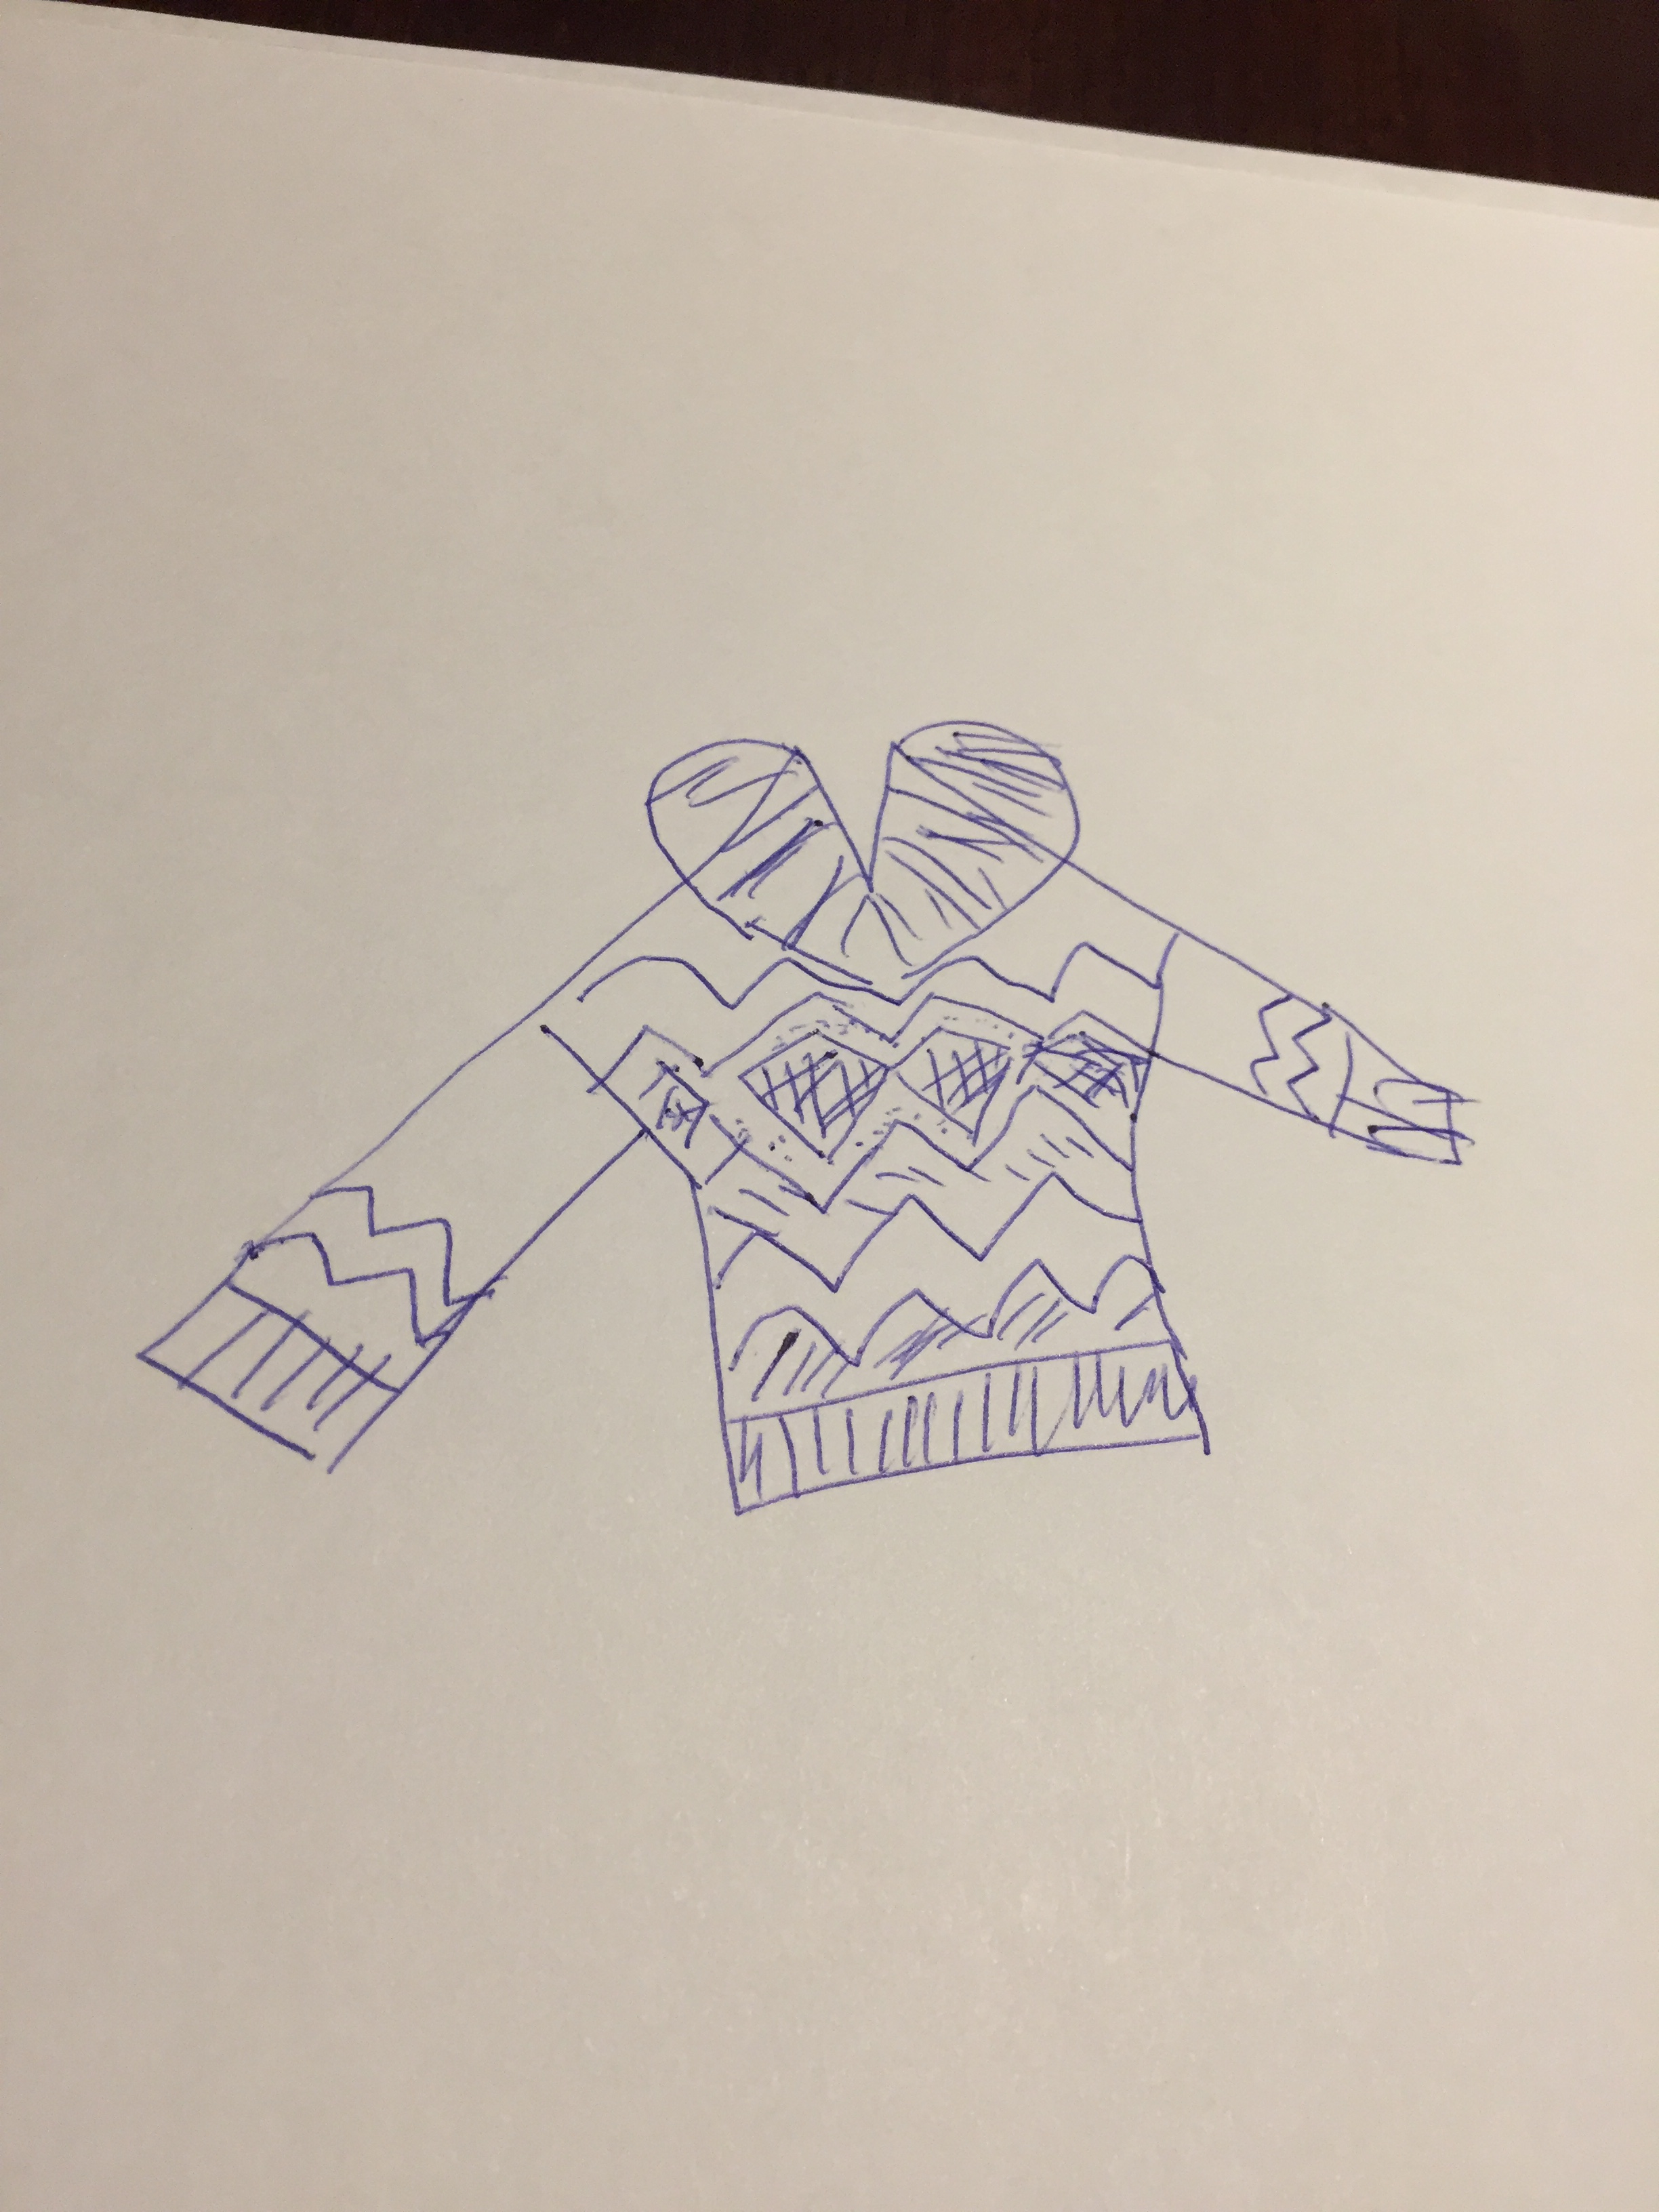
first fairisle:
Here I’m trying to give a small idea of how (roughly) the jumper looks like .
this is the jacquard preview (the way is been drawn on the computer in a grid mode).
texture with jacquard placement.
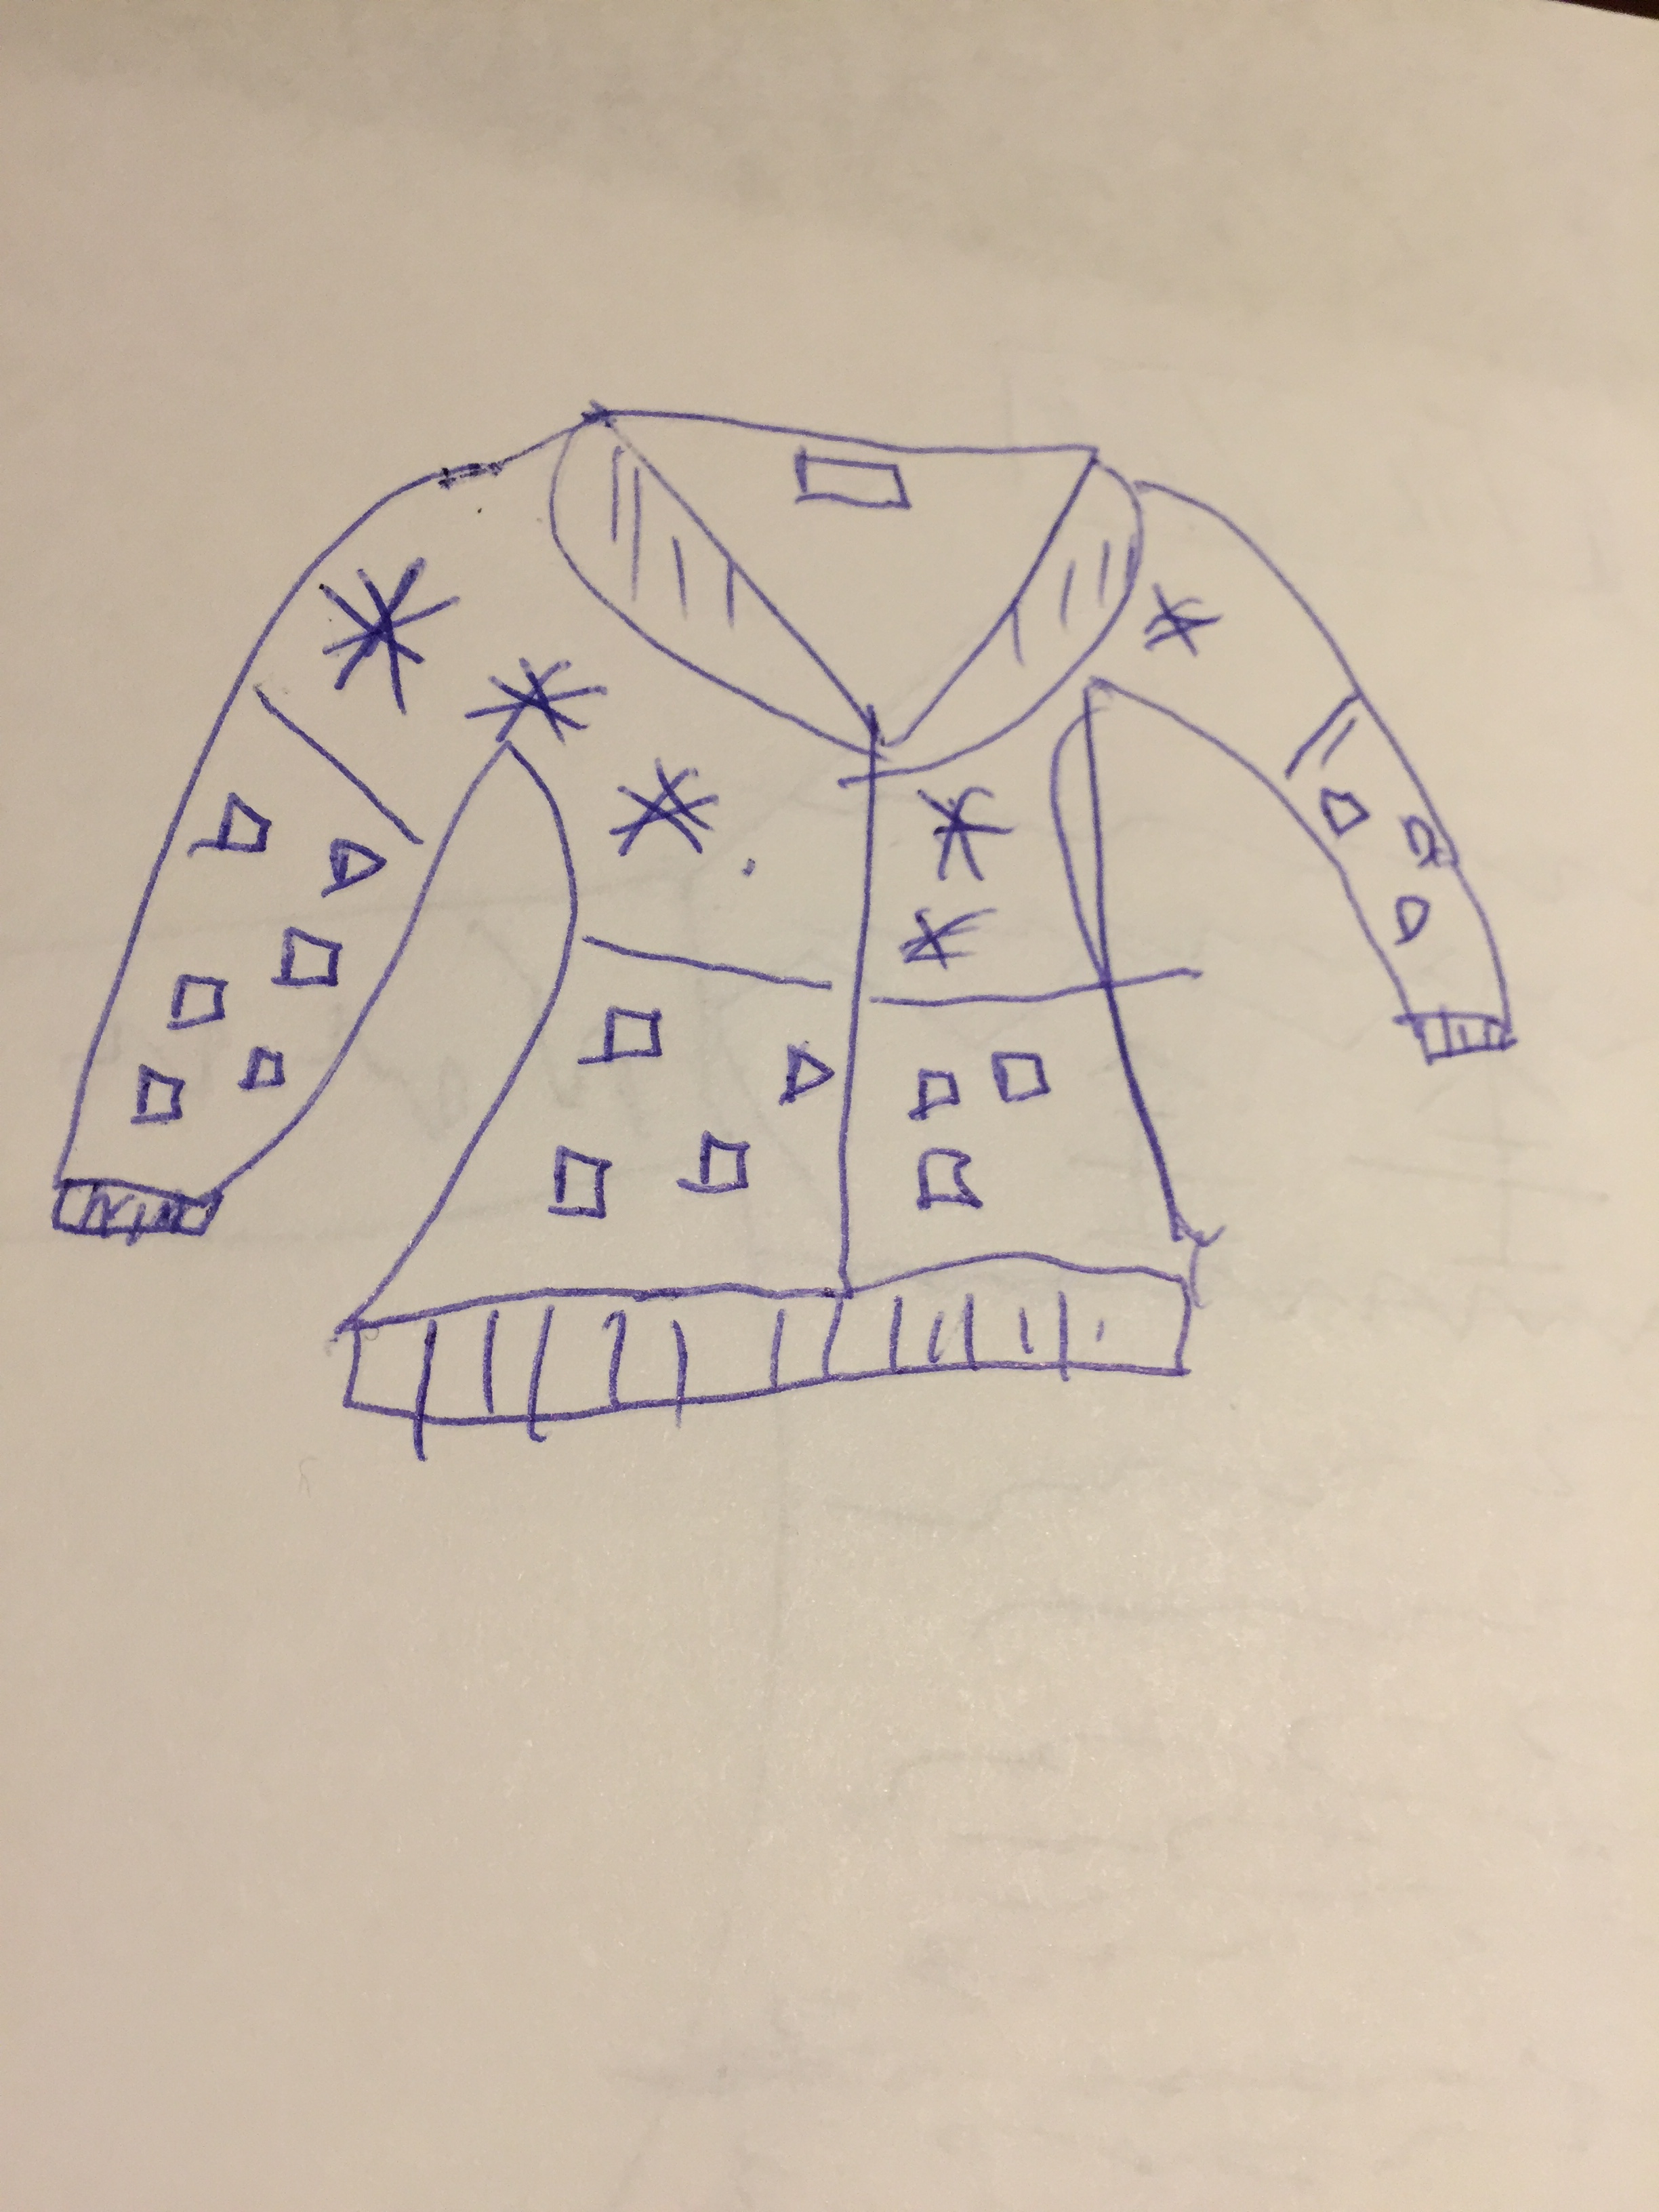
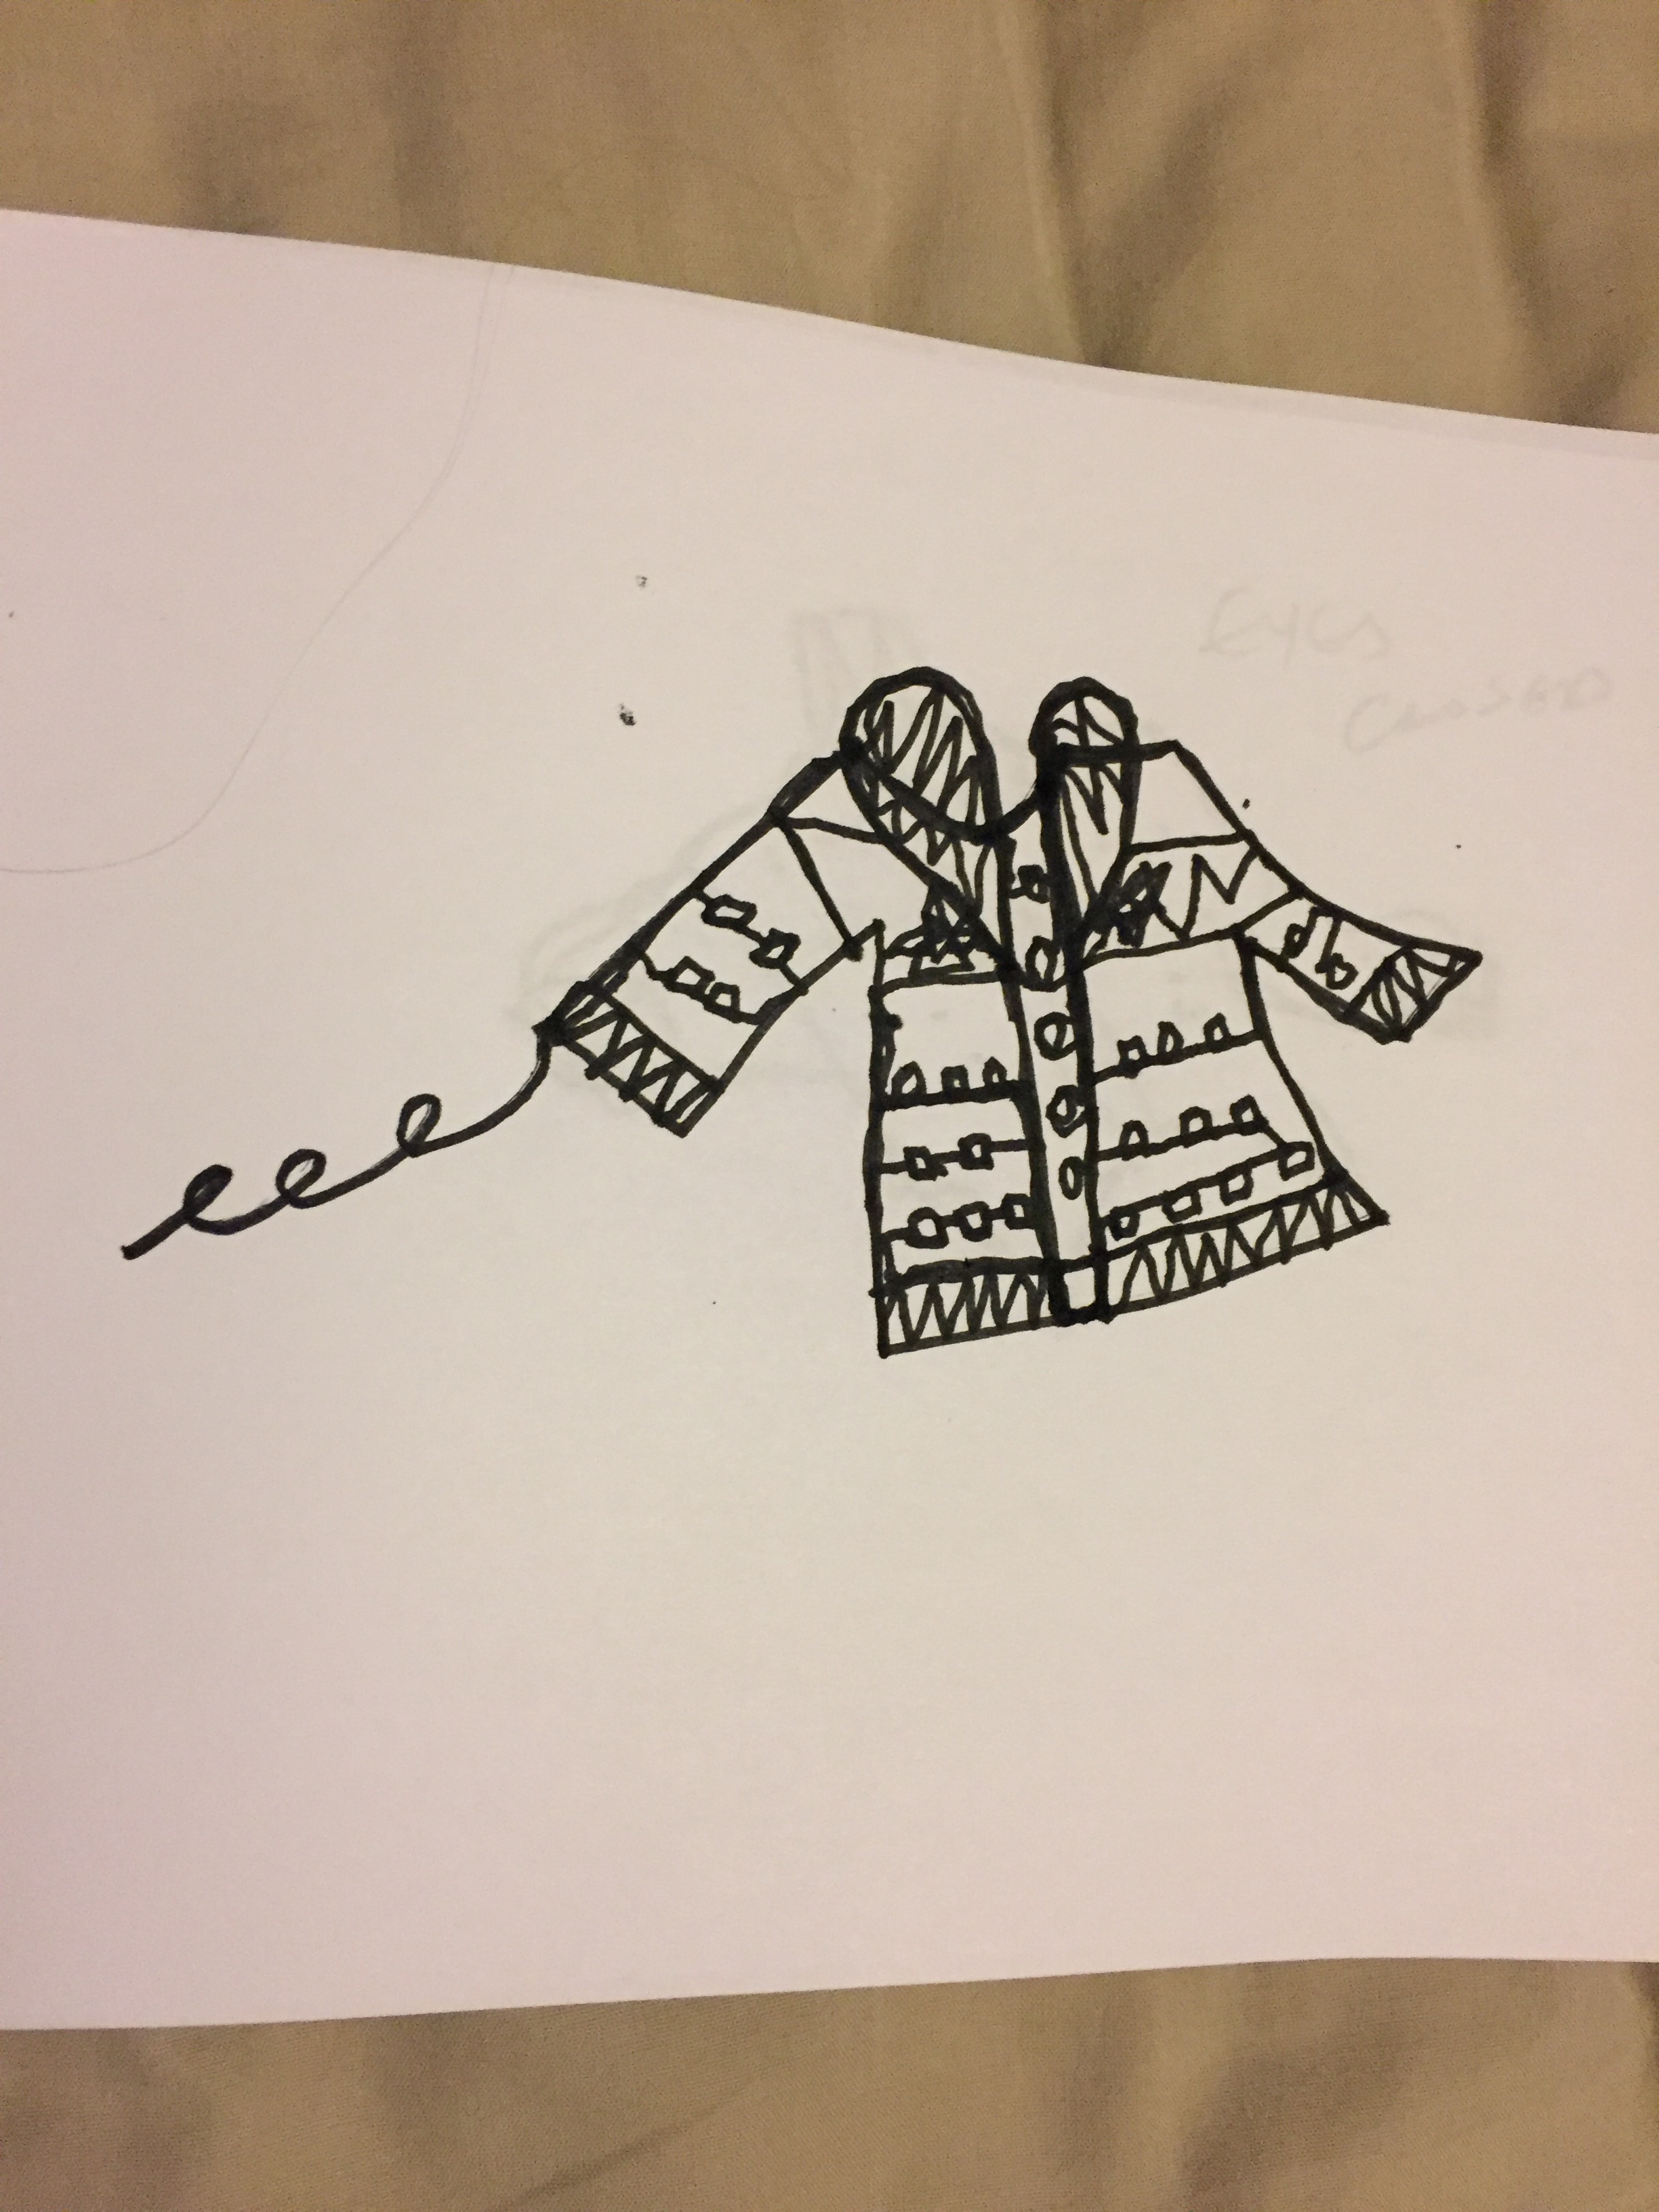
the second fairisle garment is a cardigan:
trying to demonstrate the shawl neck along with the pattern:
texture on the neck and a bit more detail on the body.
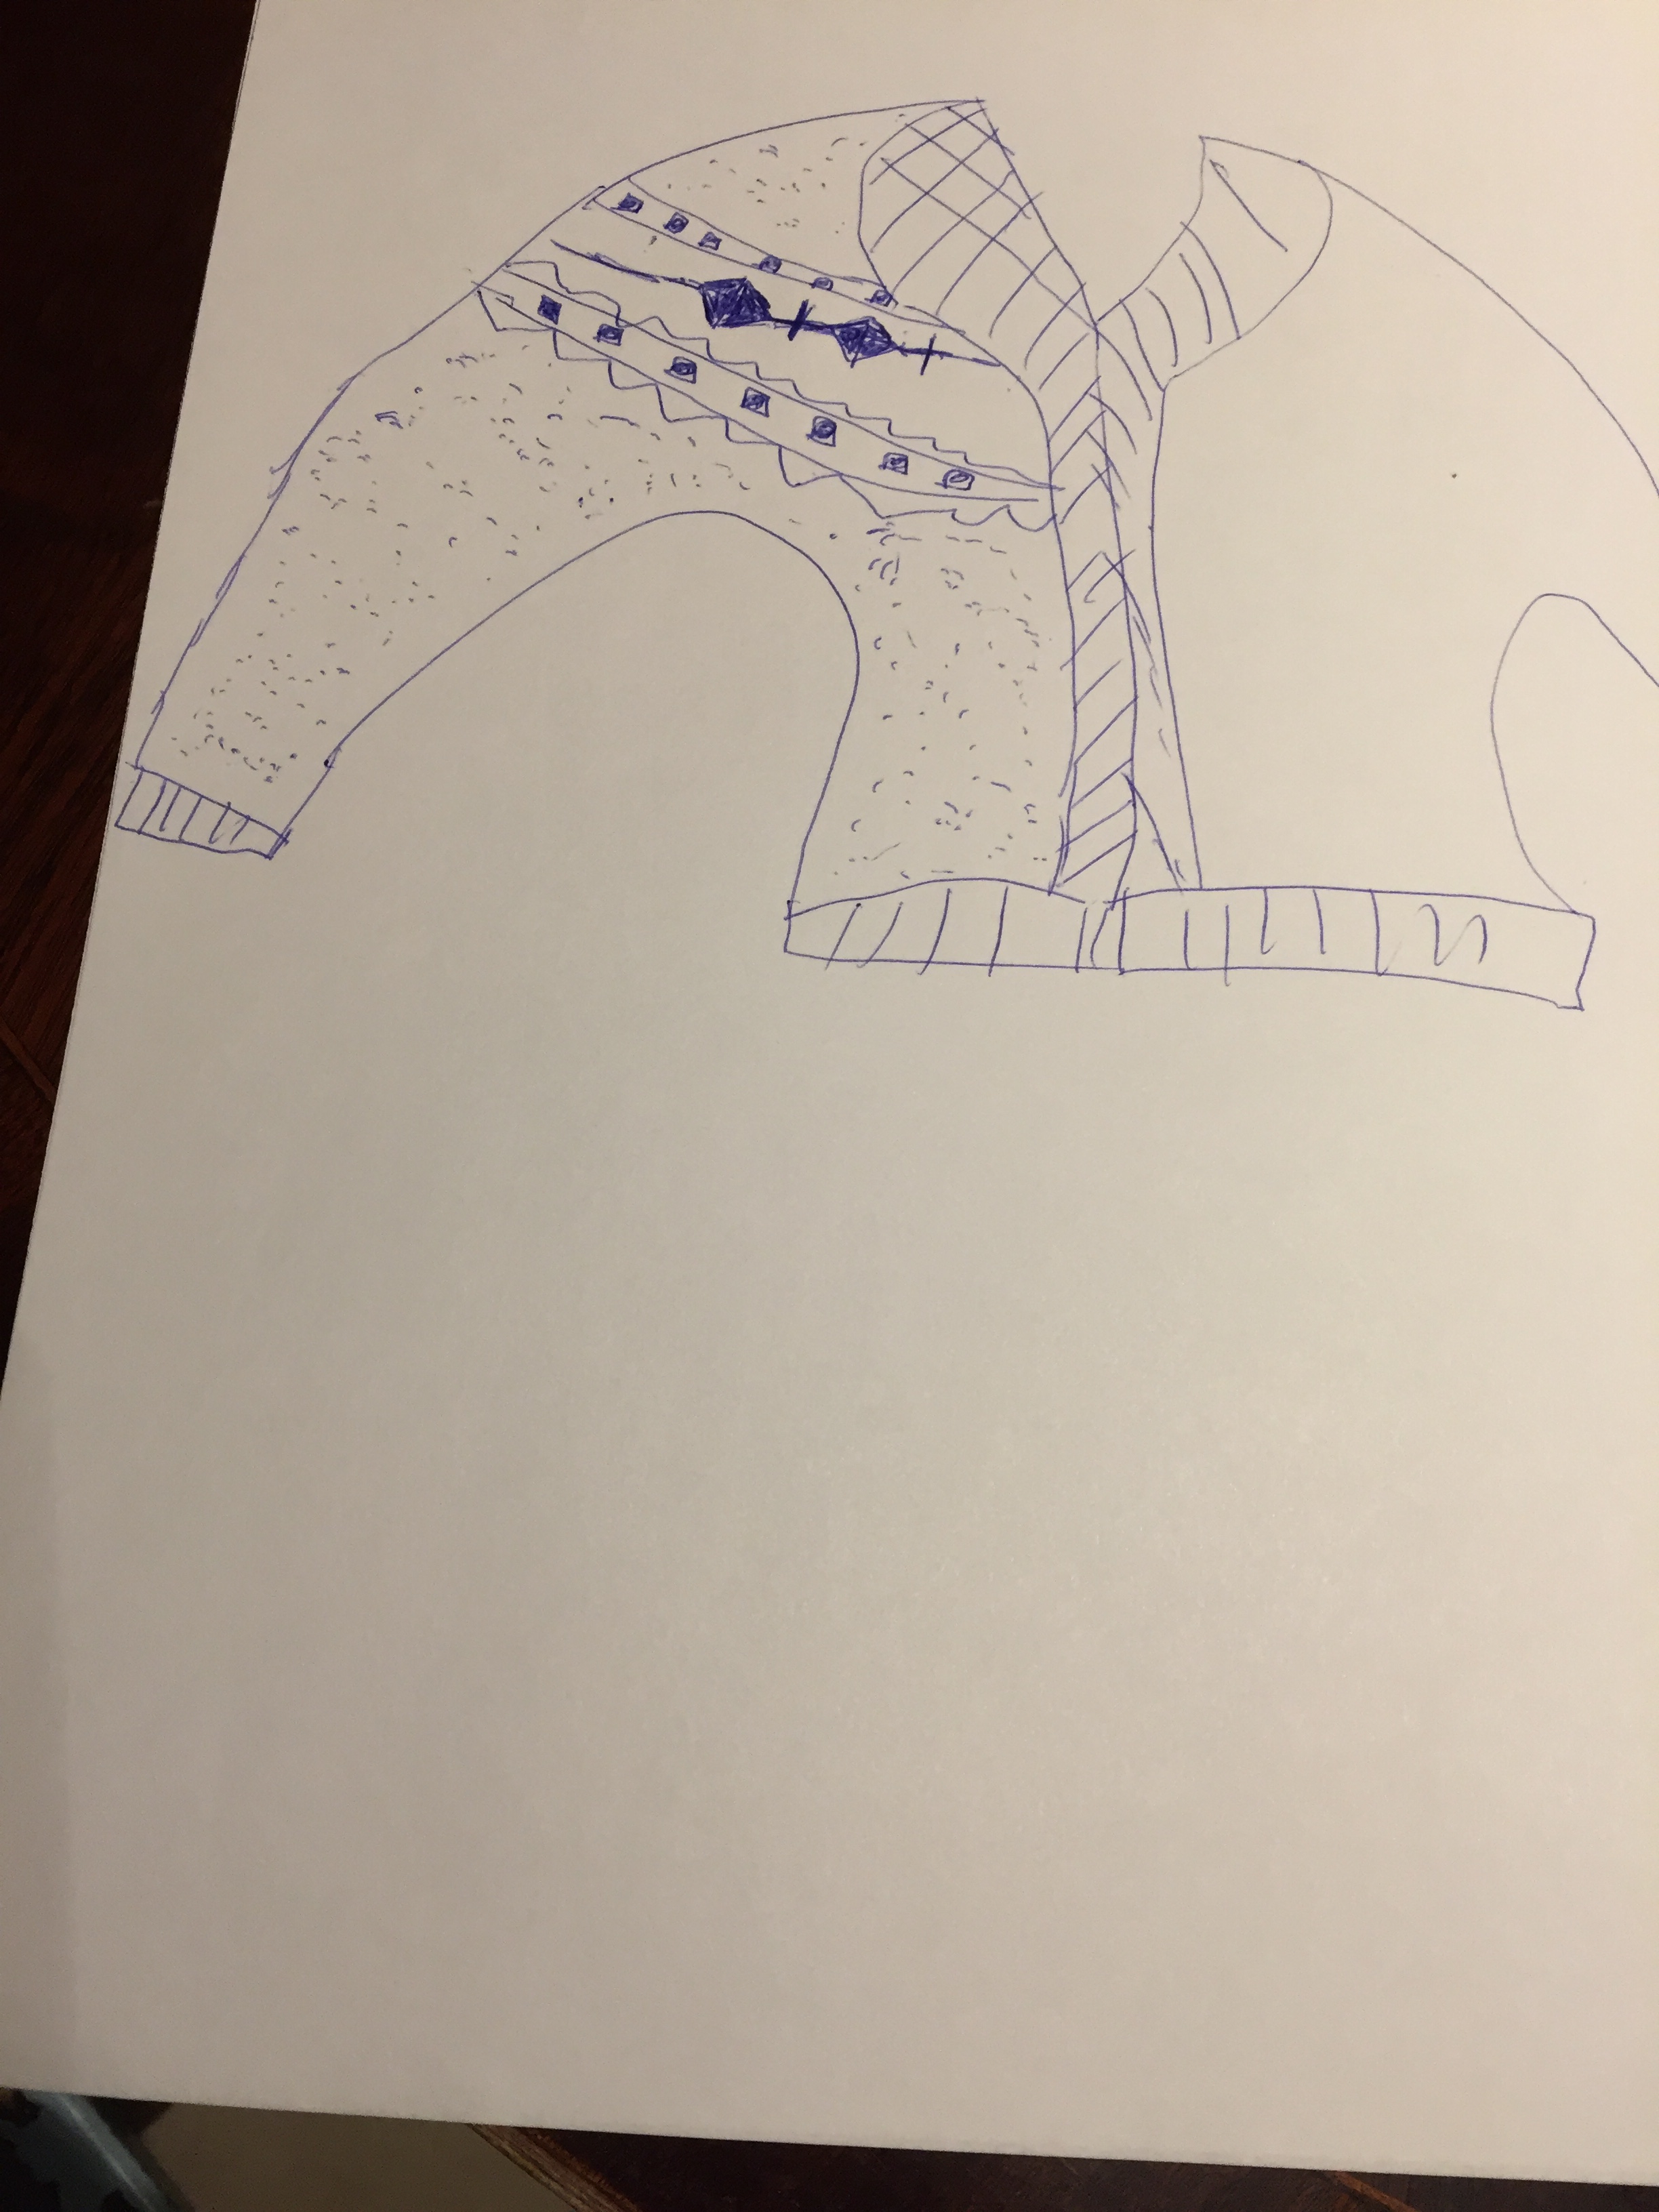
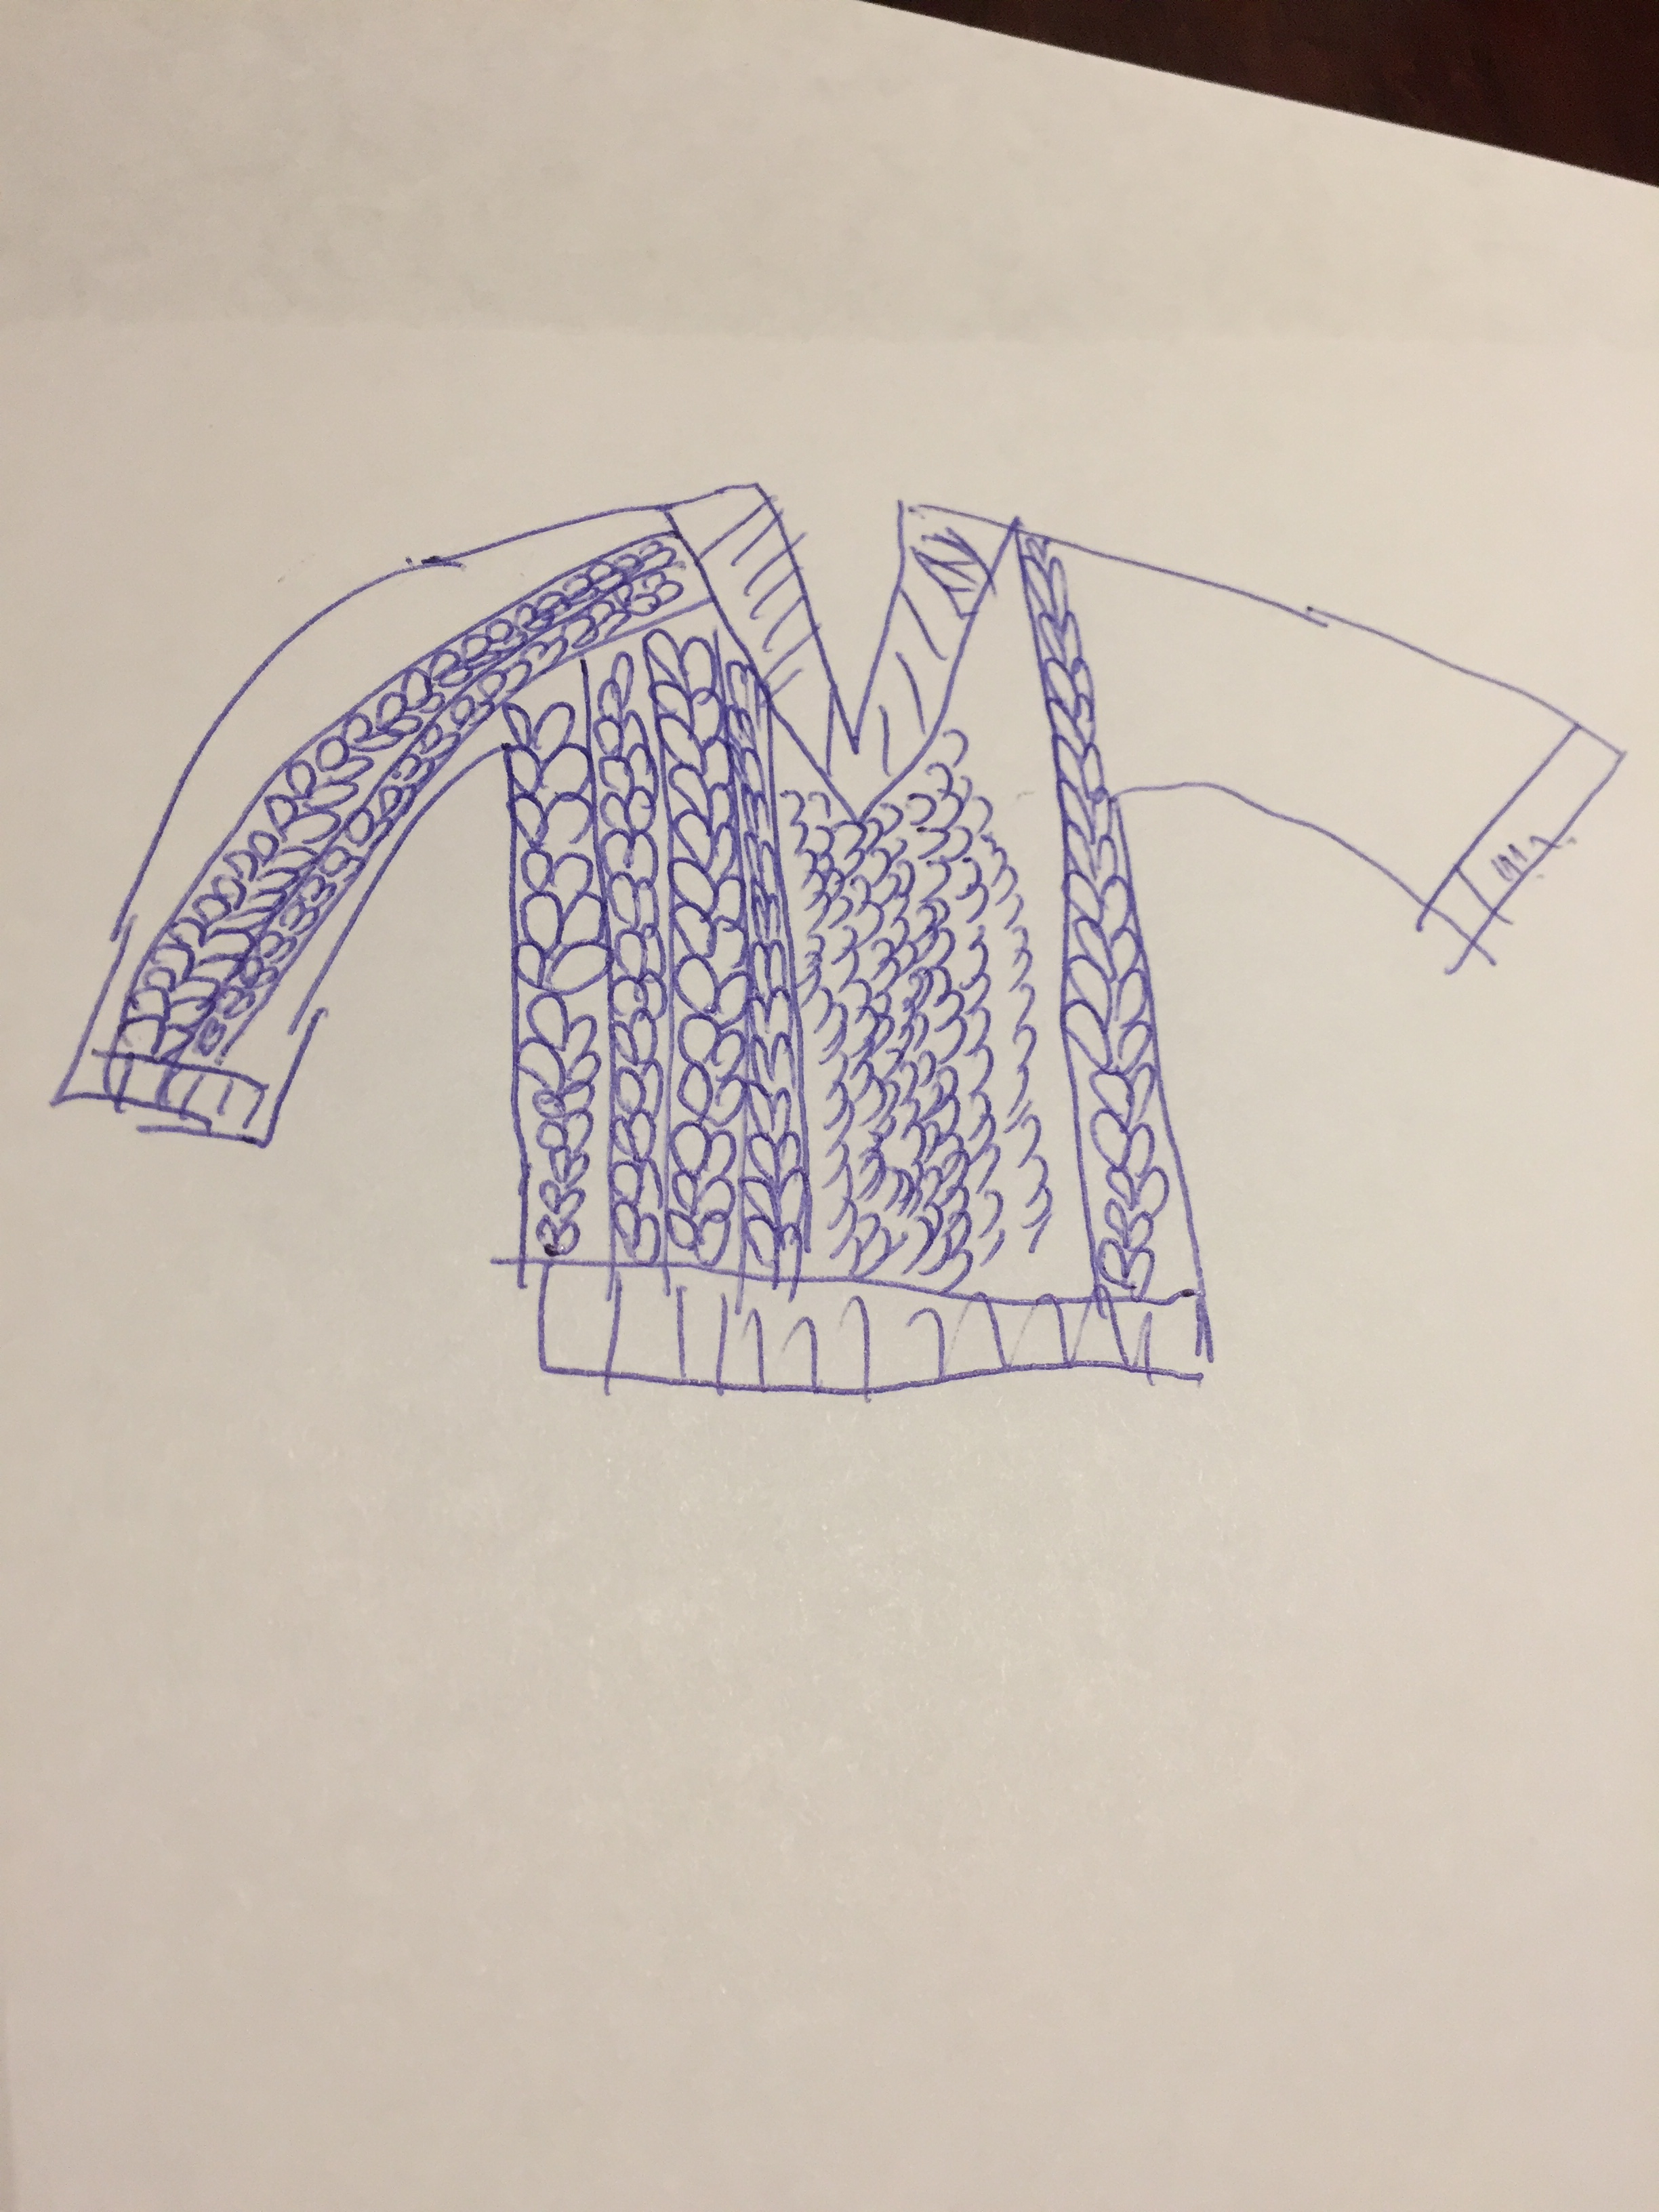
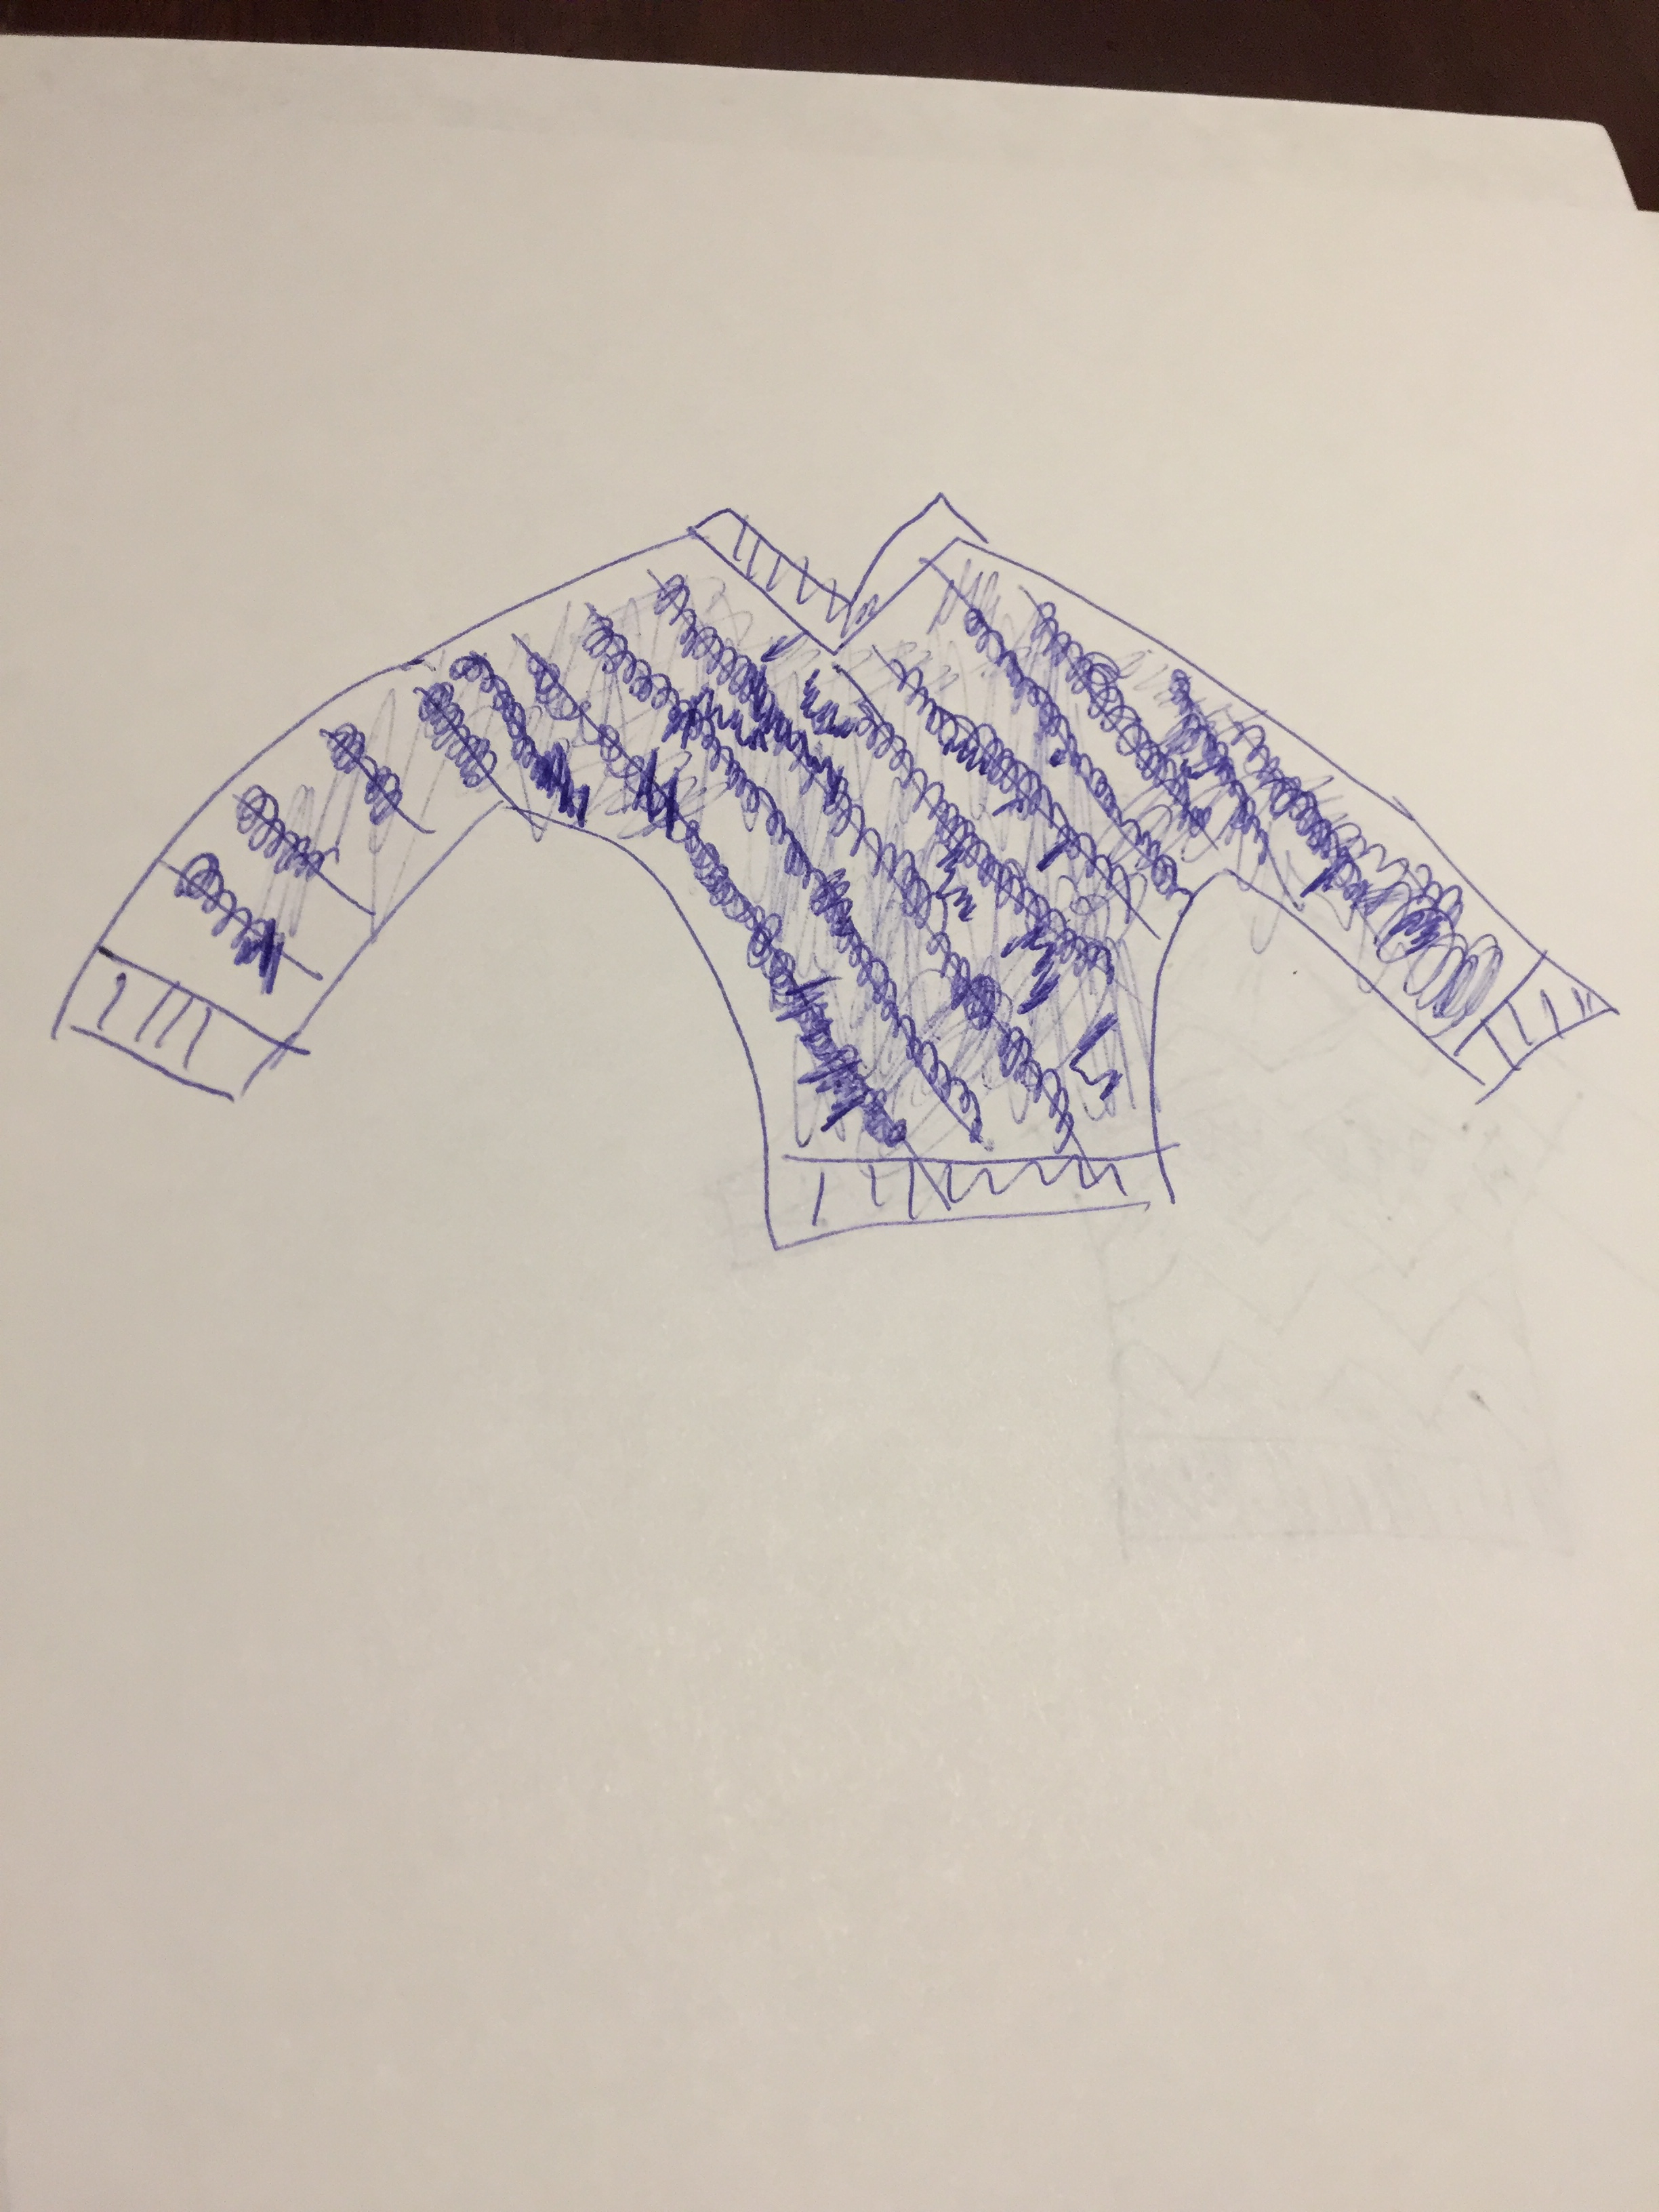
on the third fairisle I’m trying to demonstrate more of the yarn/stitch consistency
its a jumper with a nice shawl neck
on the last picture I’m trying to show a bit of the wool feel of the fabric.
EXERCISE 1.4 -LINES AND EDGES
Here we go again, facing my demons(drawing)!
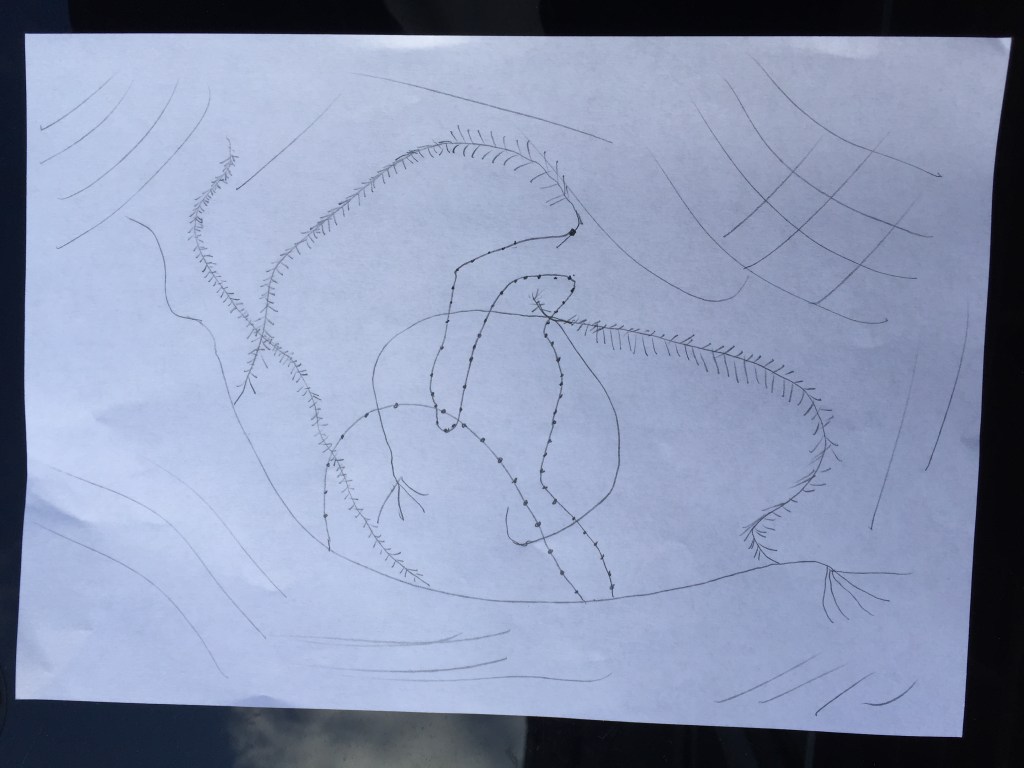
Continuous line drawing sketch 1
Continuous line drawing sketch 2
Continuous line drawing sketch 3
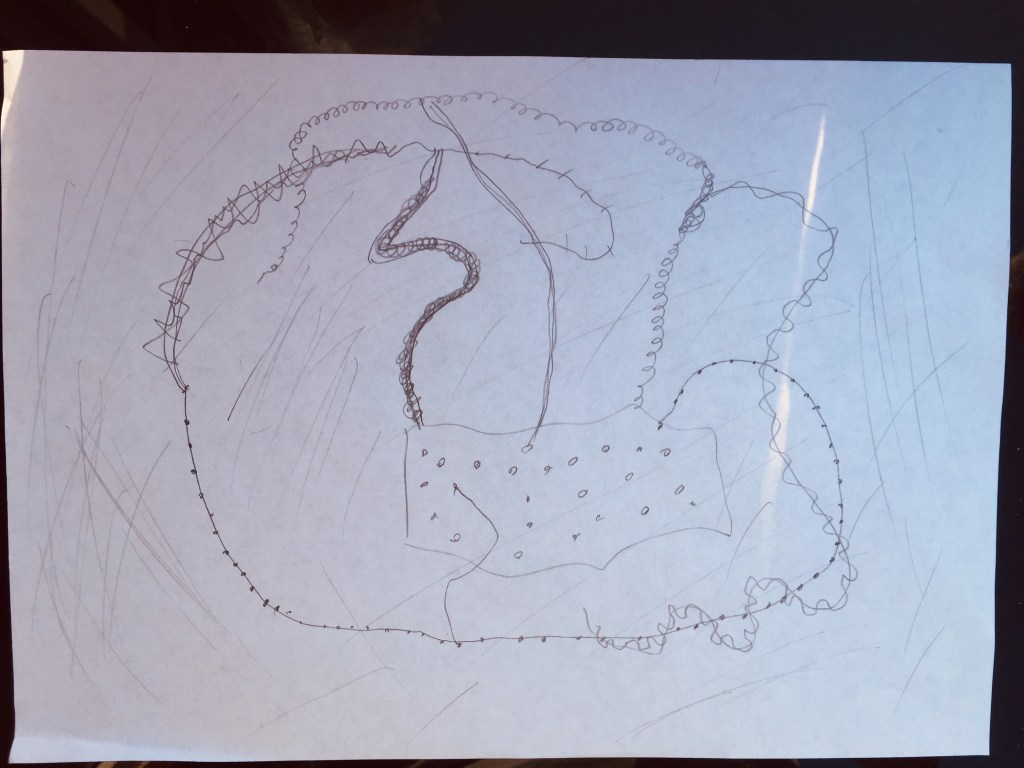
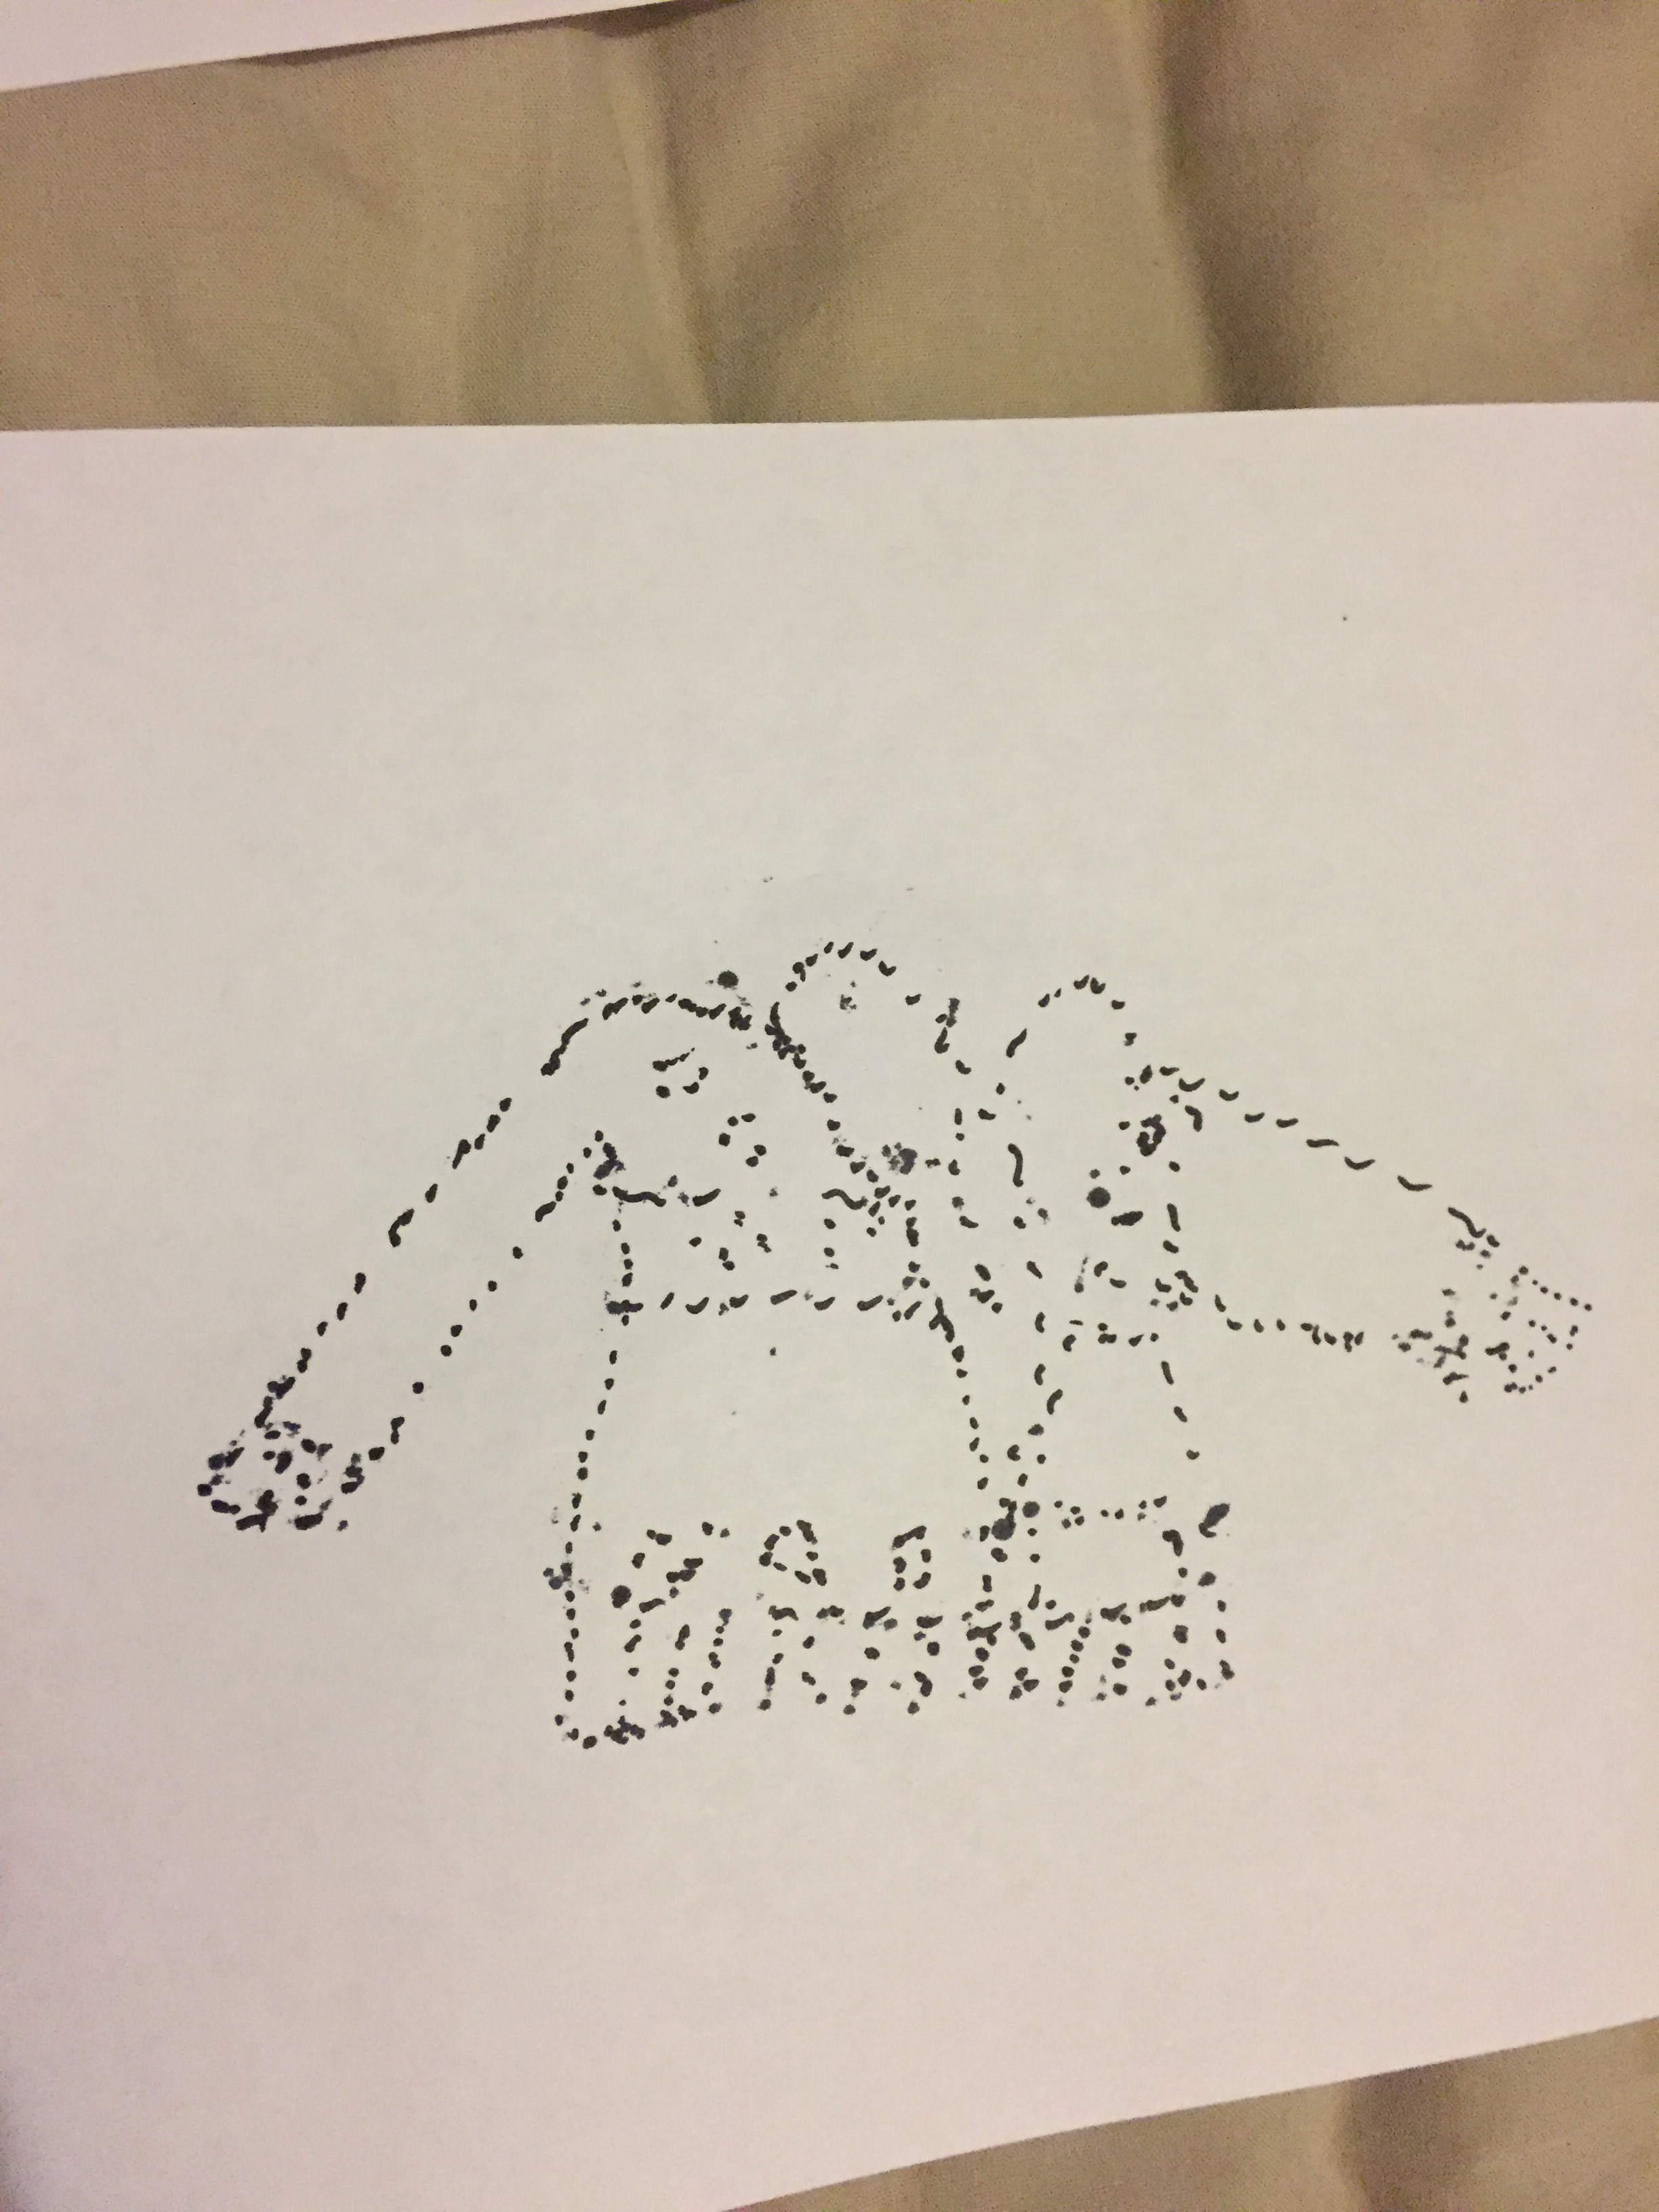
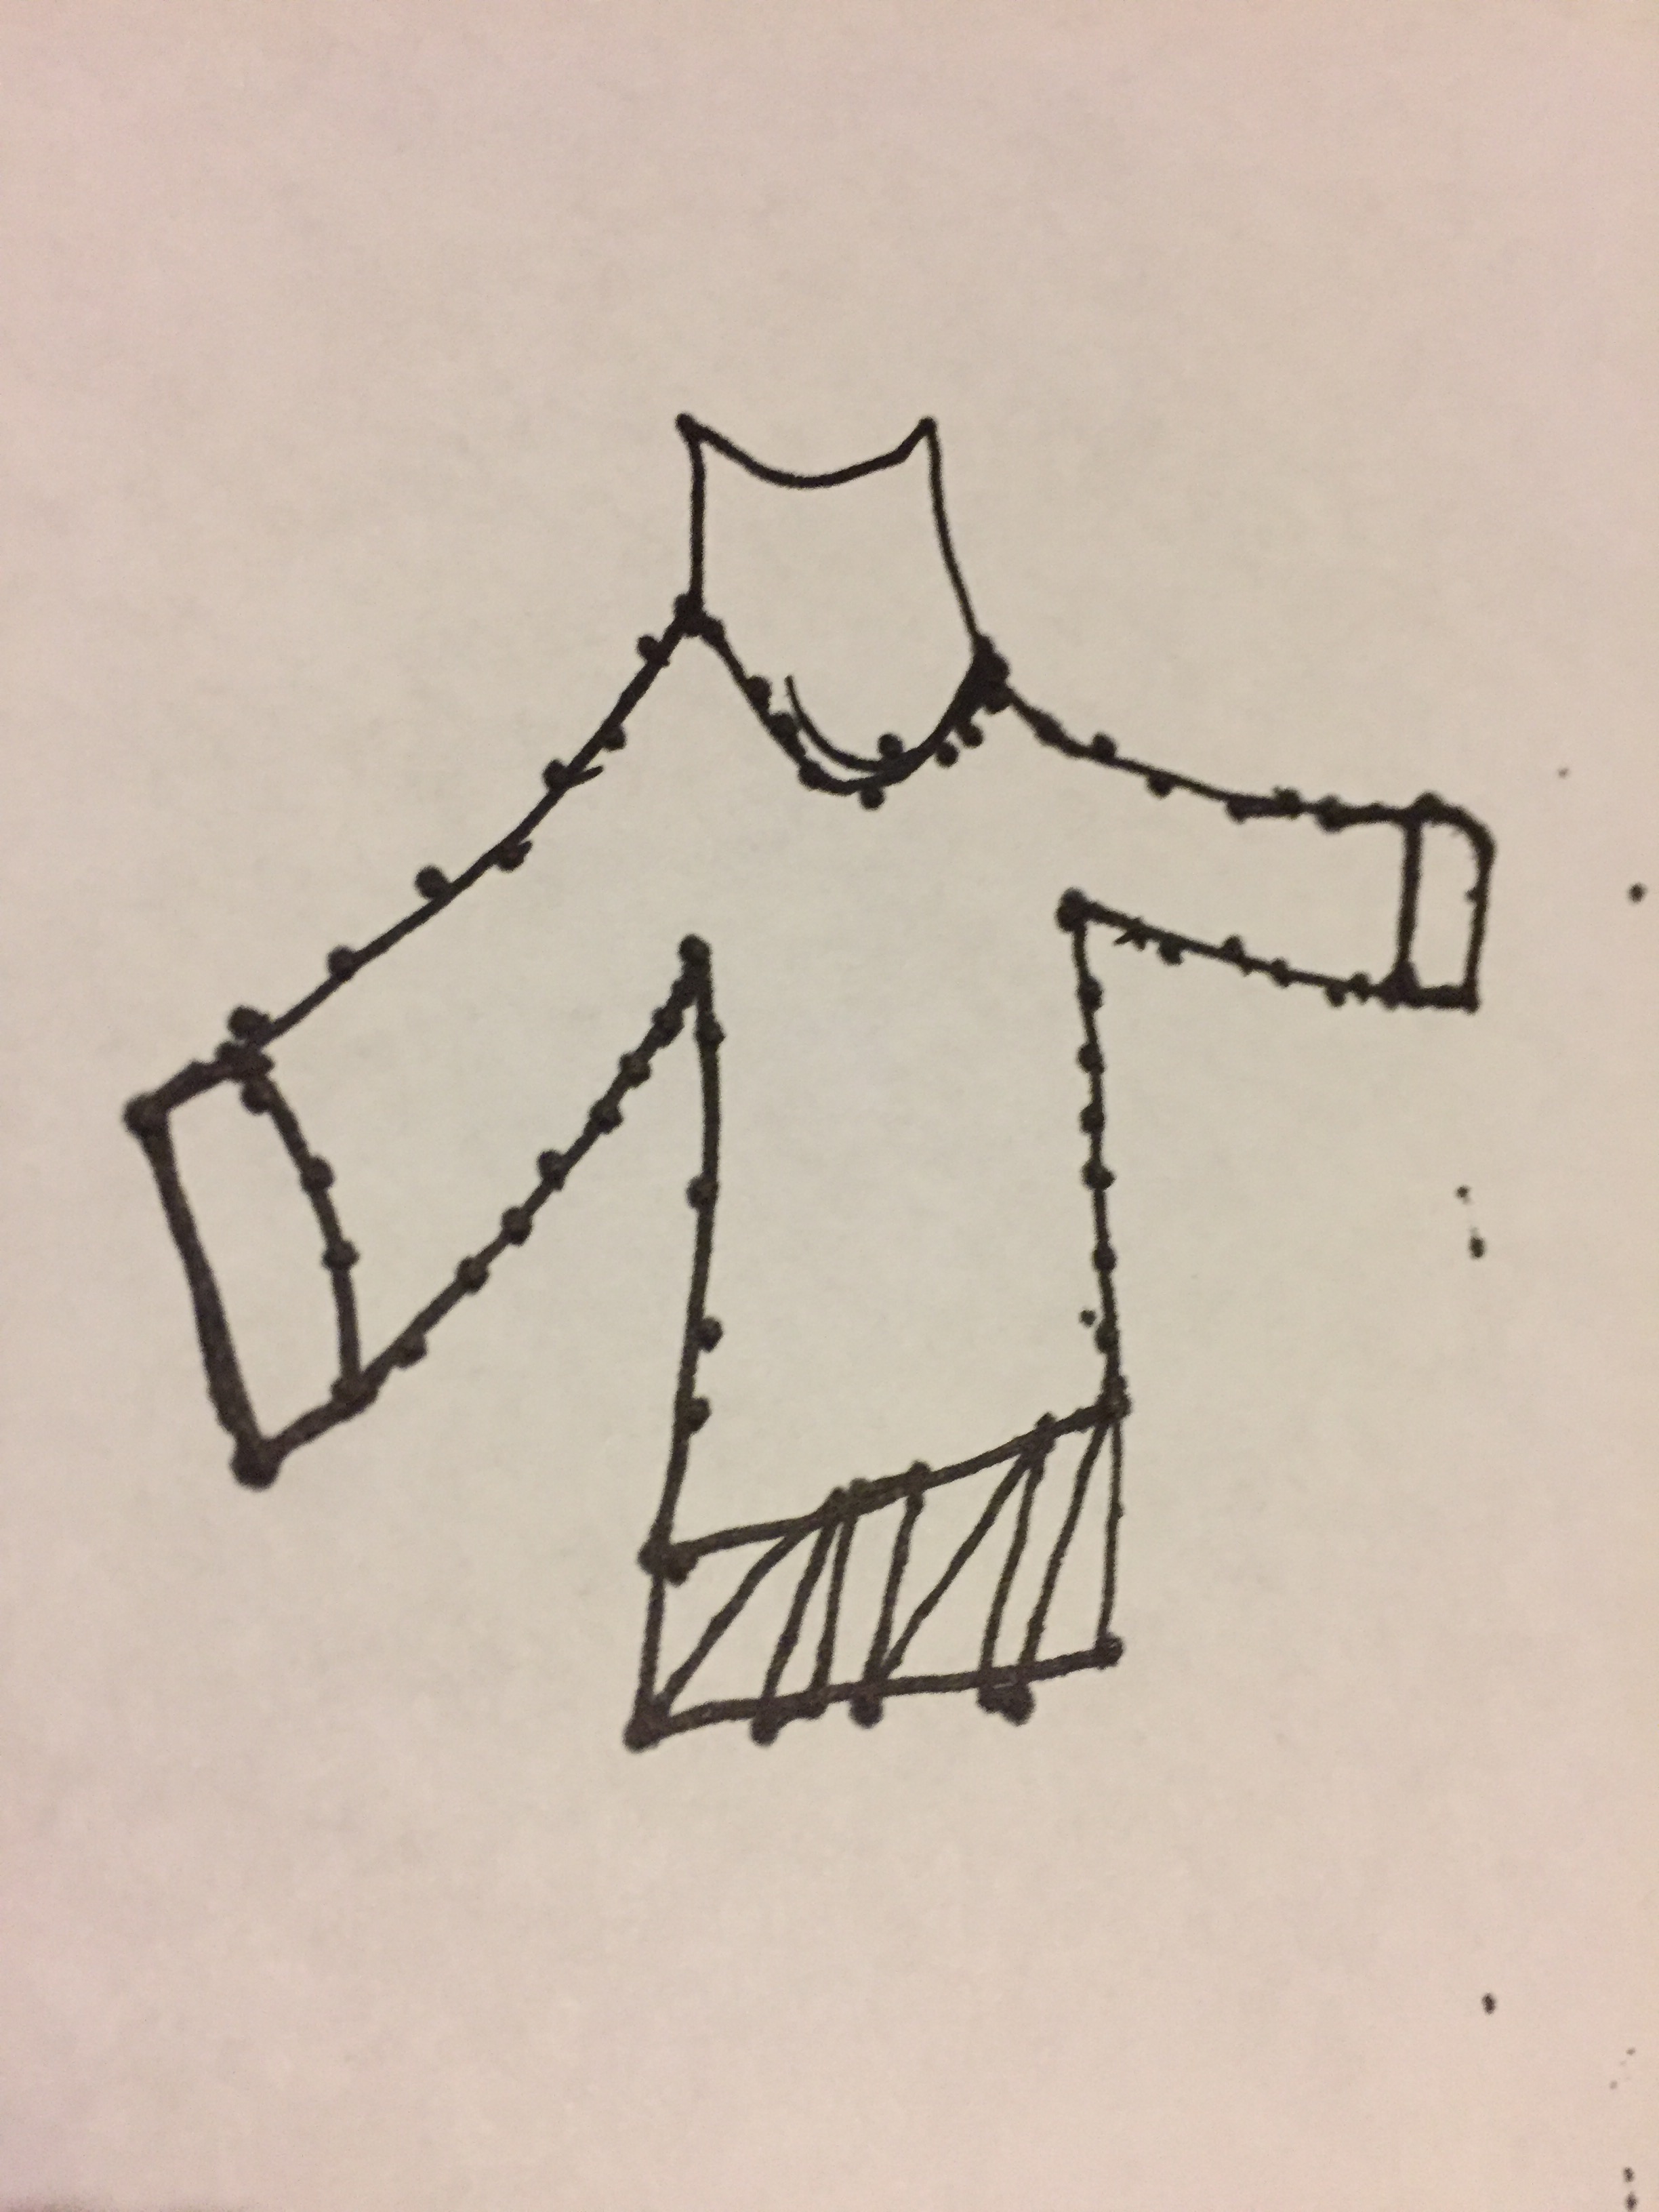
Drawing with dots
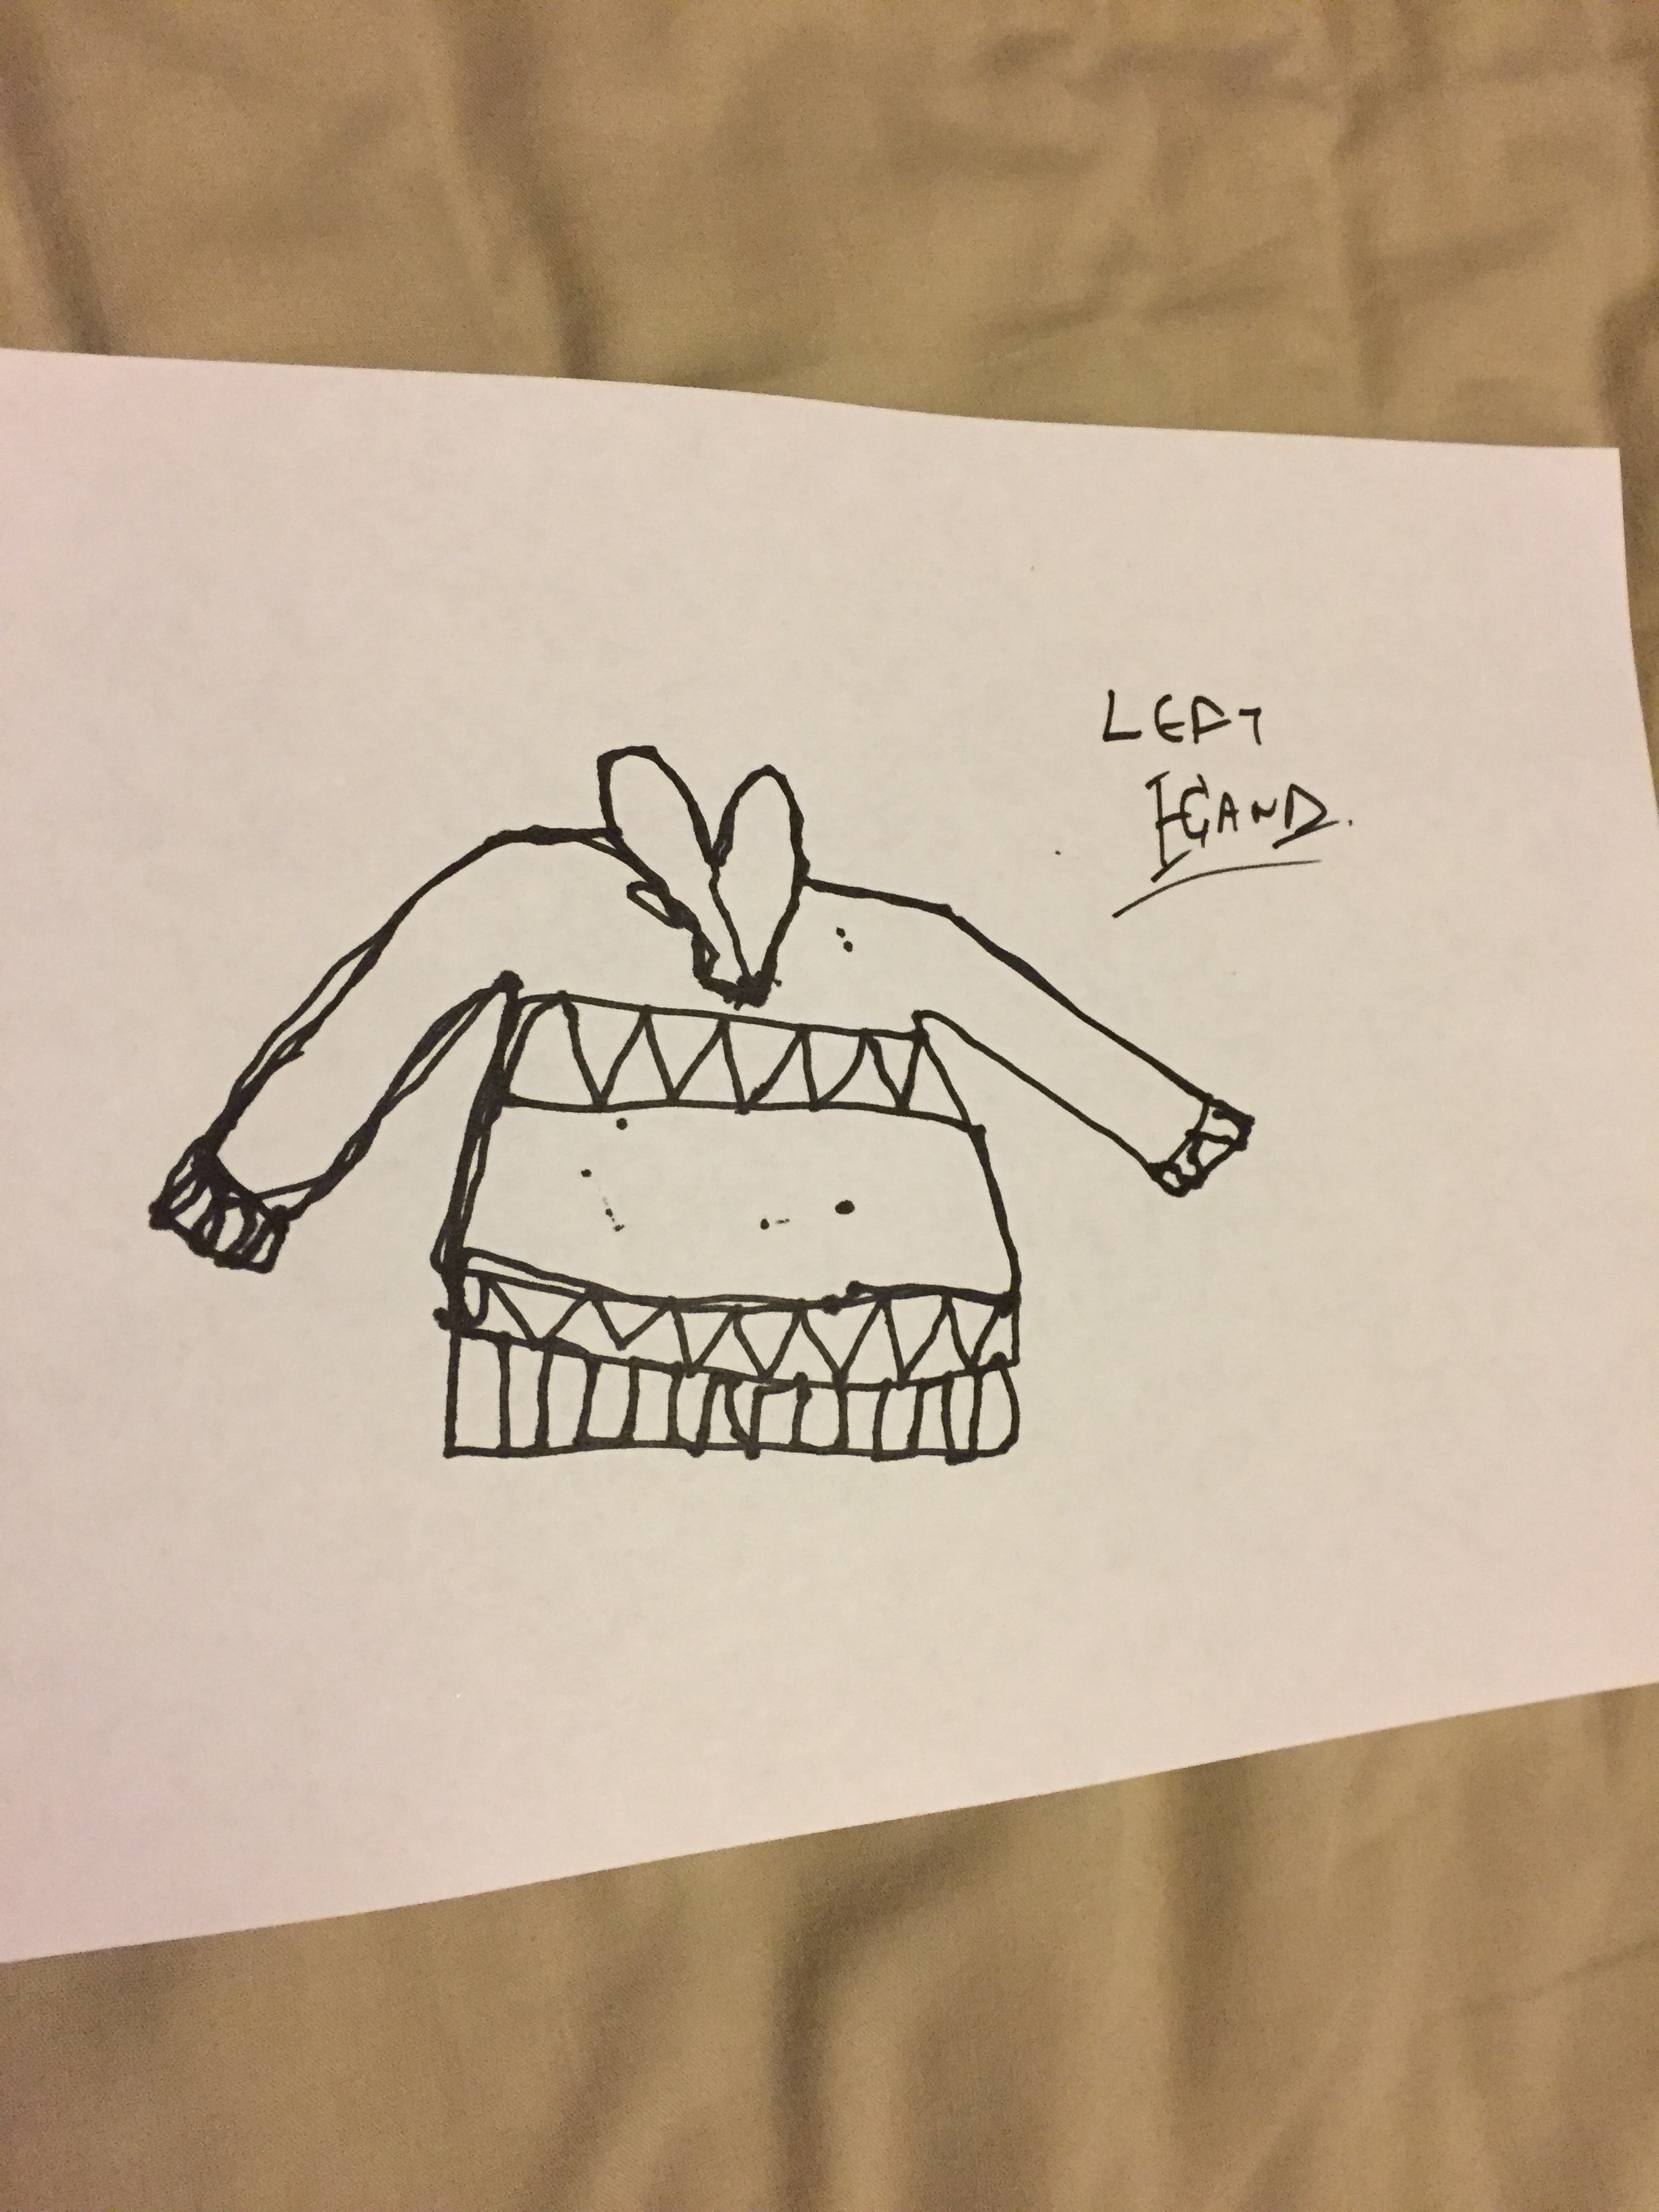
left hand continuous drawing
drawing with eyes closed and then creating dot lines with eyes open in order to create the following sketch through tracing:
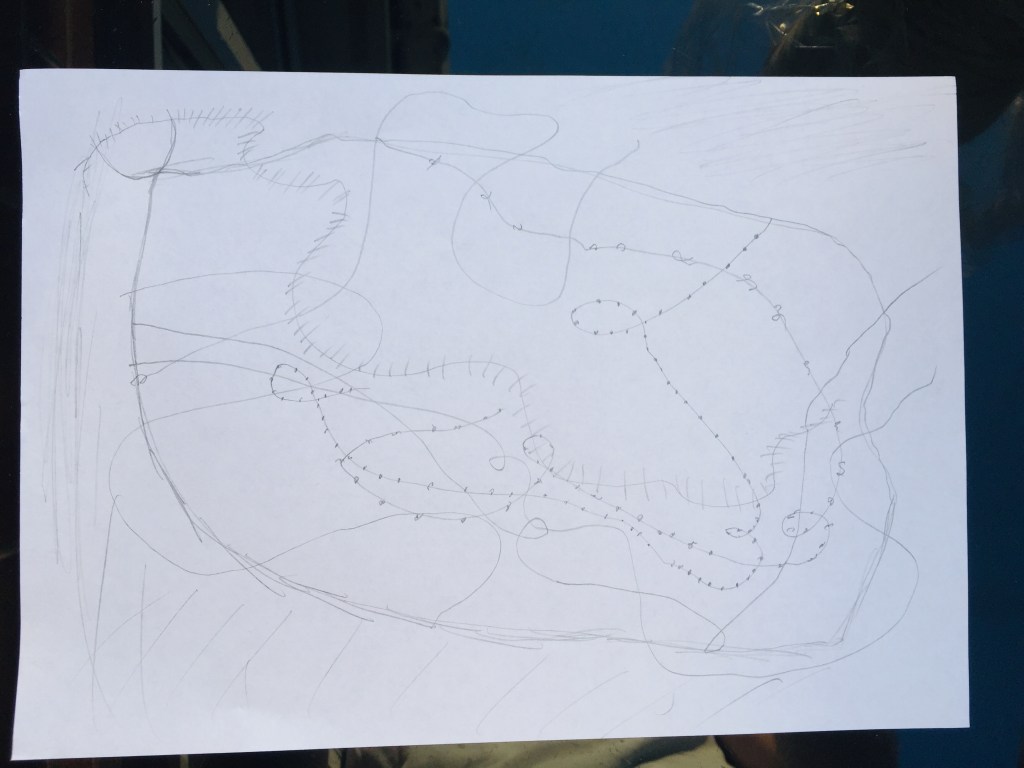
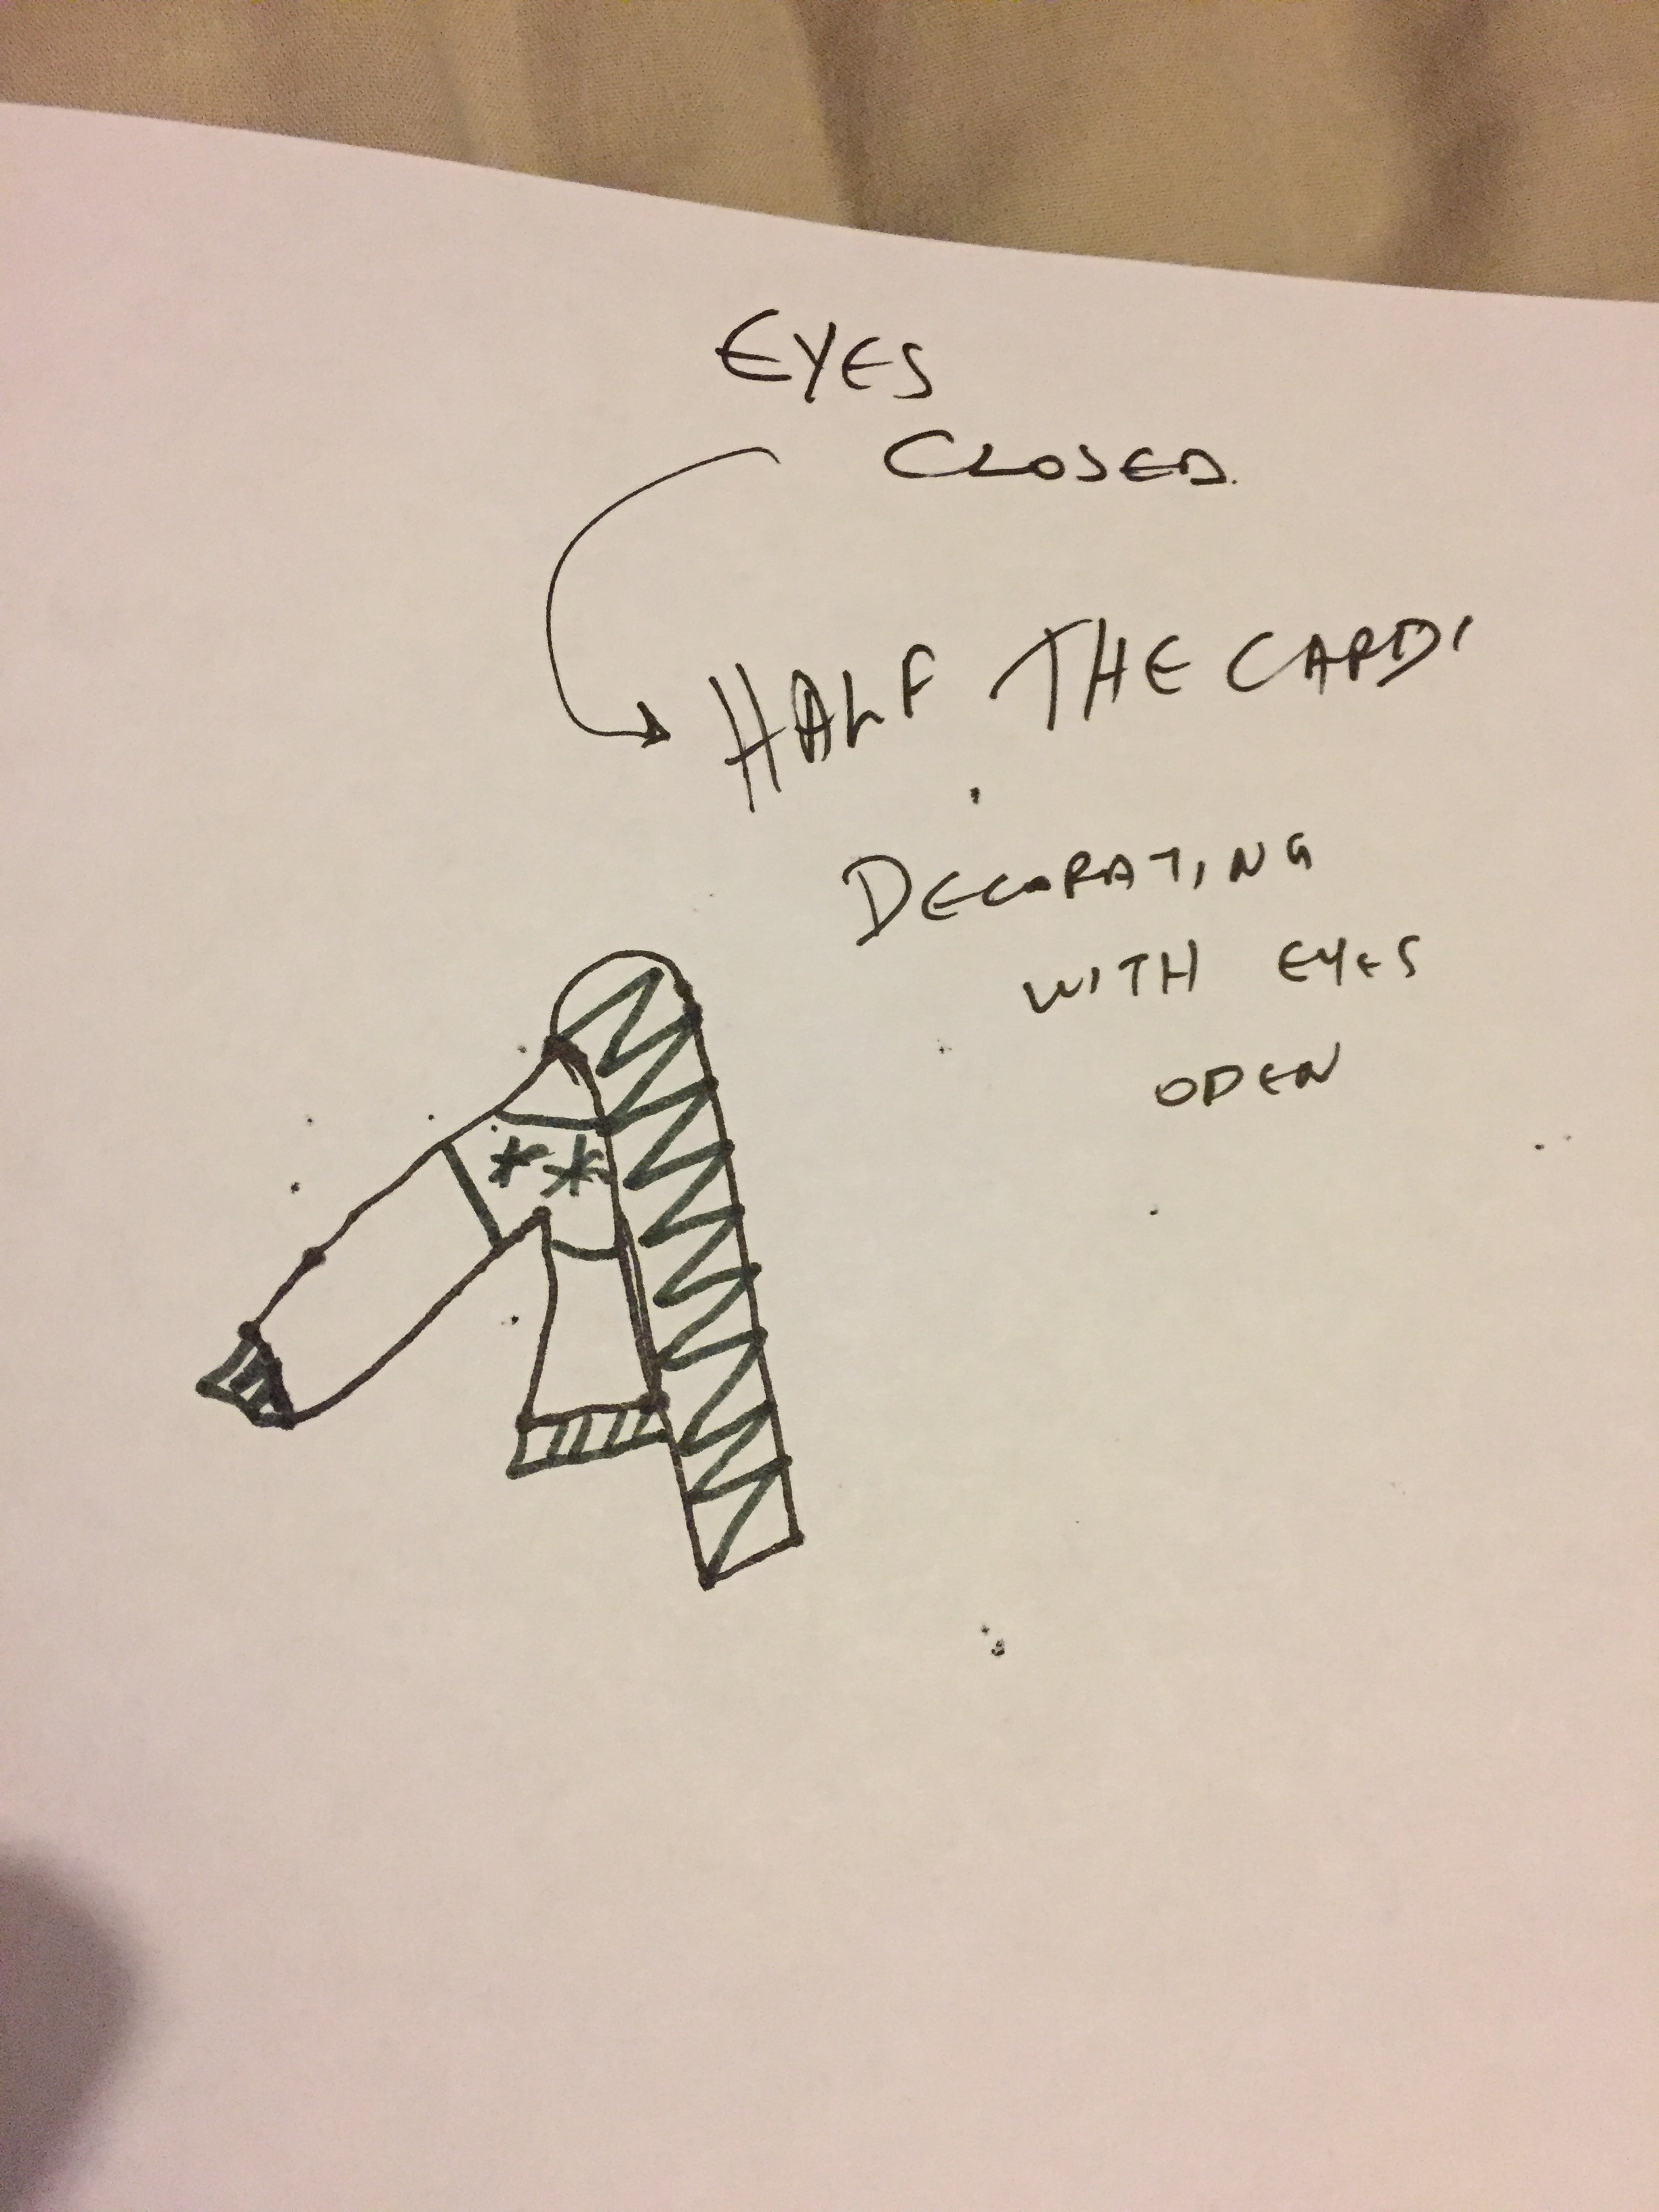
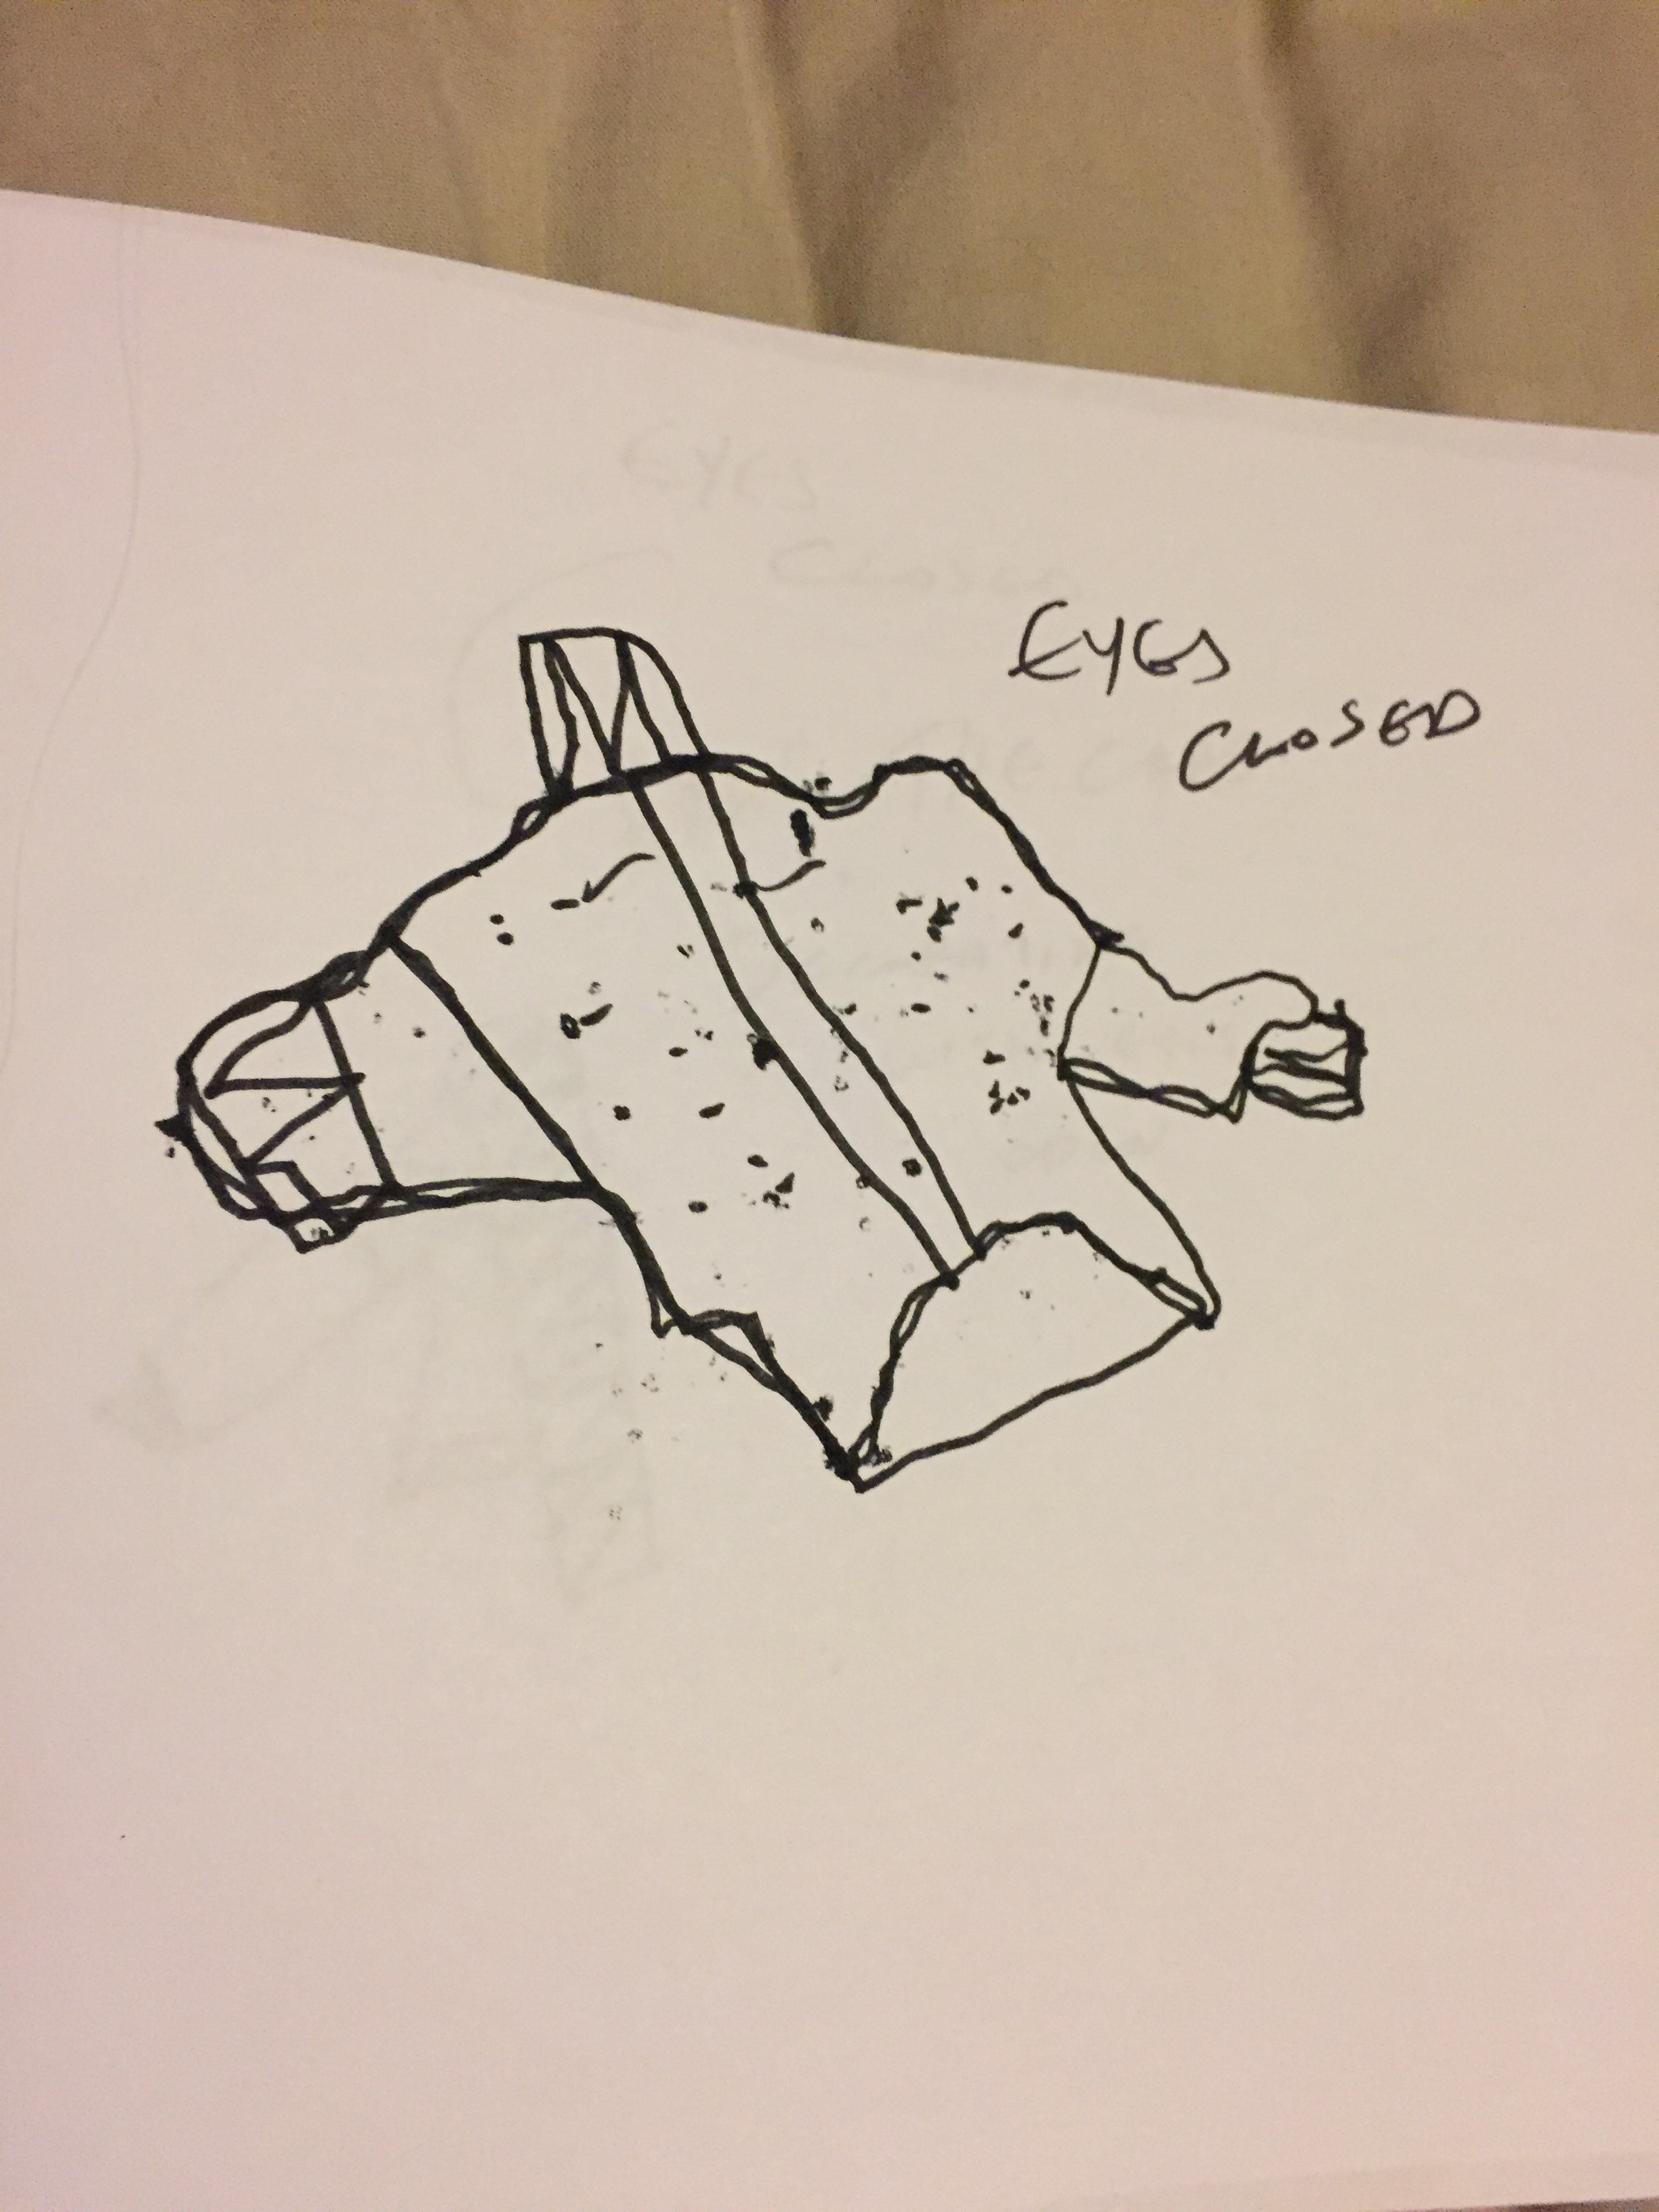
Last and more challenging exercise is drawing with my eyes closed.
I found it really interesting as I’ve started with half a garment ,
but as I was getting more familiar with it I found that my sketches were improving:
shape was made with eyes closed but stitch formation was drawn with eyes open.
Exercise 1.5 Collage and creases
Pare down to the essence, but don’t remove the poetry. (Koren, 2008, p.72)
WABI-SABI :the art of simplicity.
Poetry ,in my opinion, is a form of wabi-sabi .
It’s the art of trying to say and imply many using only few lines.
In modern Greece there is a phrase left from the ancient times: << LAKONIZEIN ESTI FILOSOFEIN>> and it is about the ancient Spartans who were living a simple yet glorious life. The meaning of the saying is that if you live like a Spartan you tend to live like a philosopher!
It’s really hard to achieve simplicity , especially when it comes to apparel designing.
On the other hand simple things are the most popular and have the best sales !
People love them because it’s easy to see the concept behind and the use of them.
So, trying to achieve wabi-sabi is trying to infiltrate, get to the core and make the most of everything .
TASK:
Again something I’ve never done before!
A collage!
It took me several days and time of research to understand what I need to do, as well as I had to short of “squeeze” my brain to put things in order.
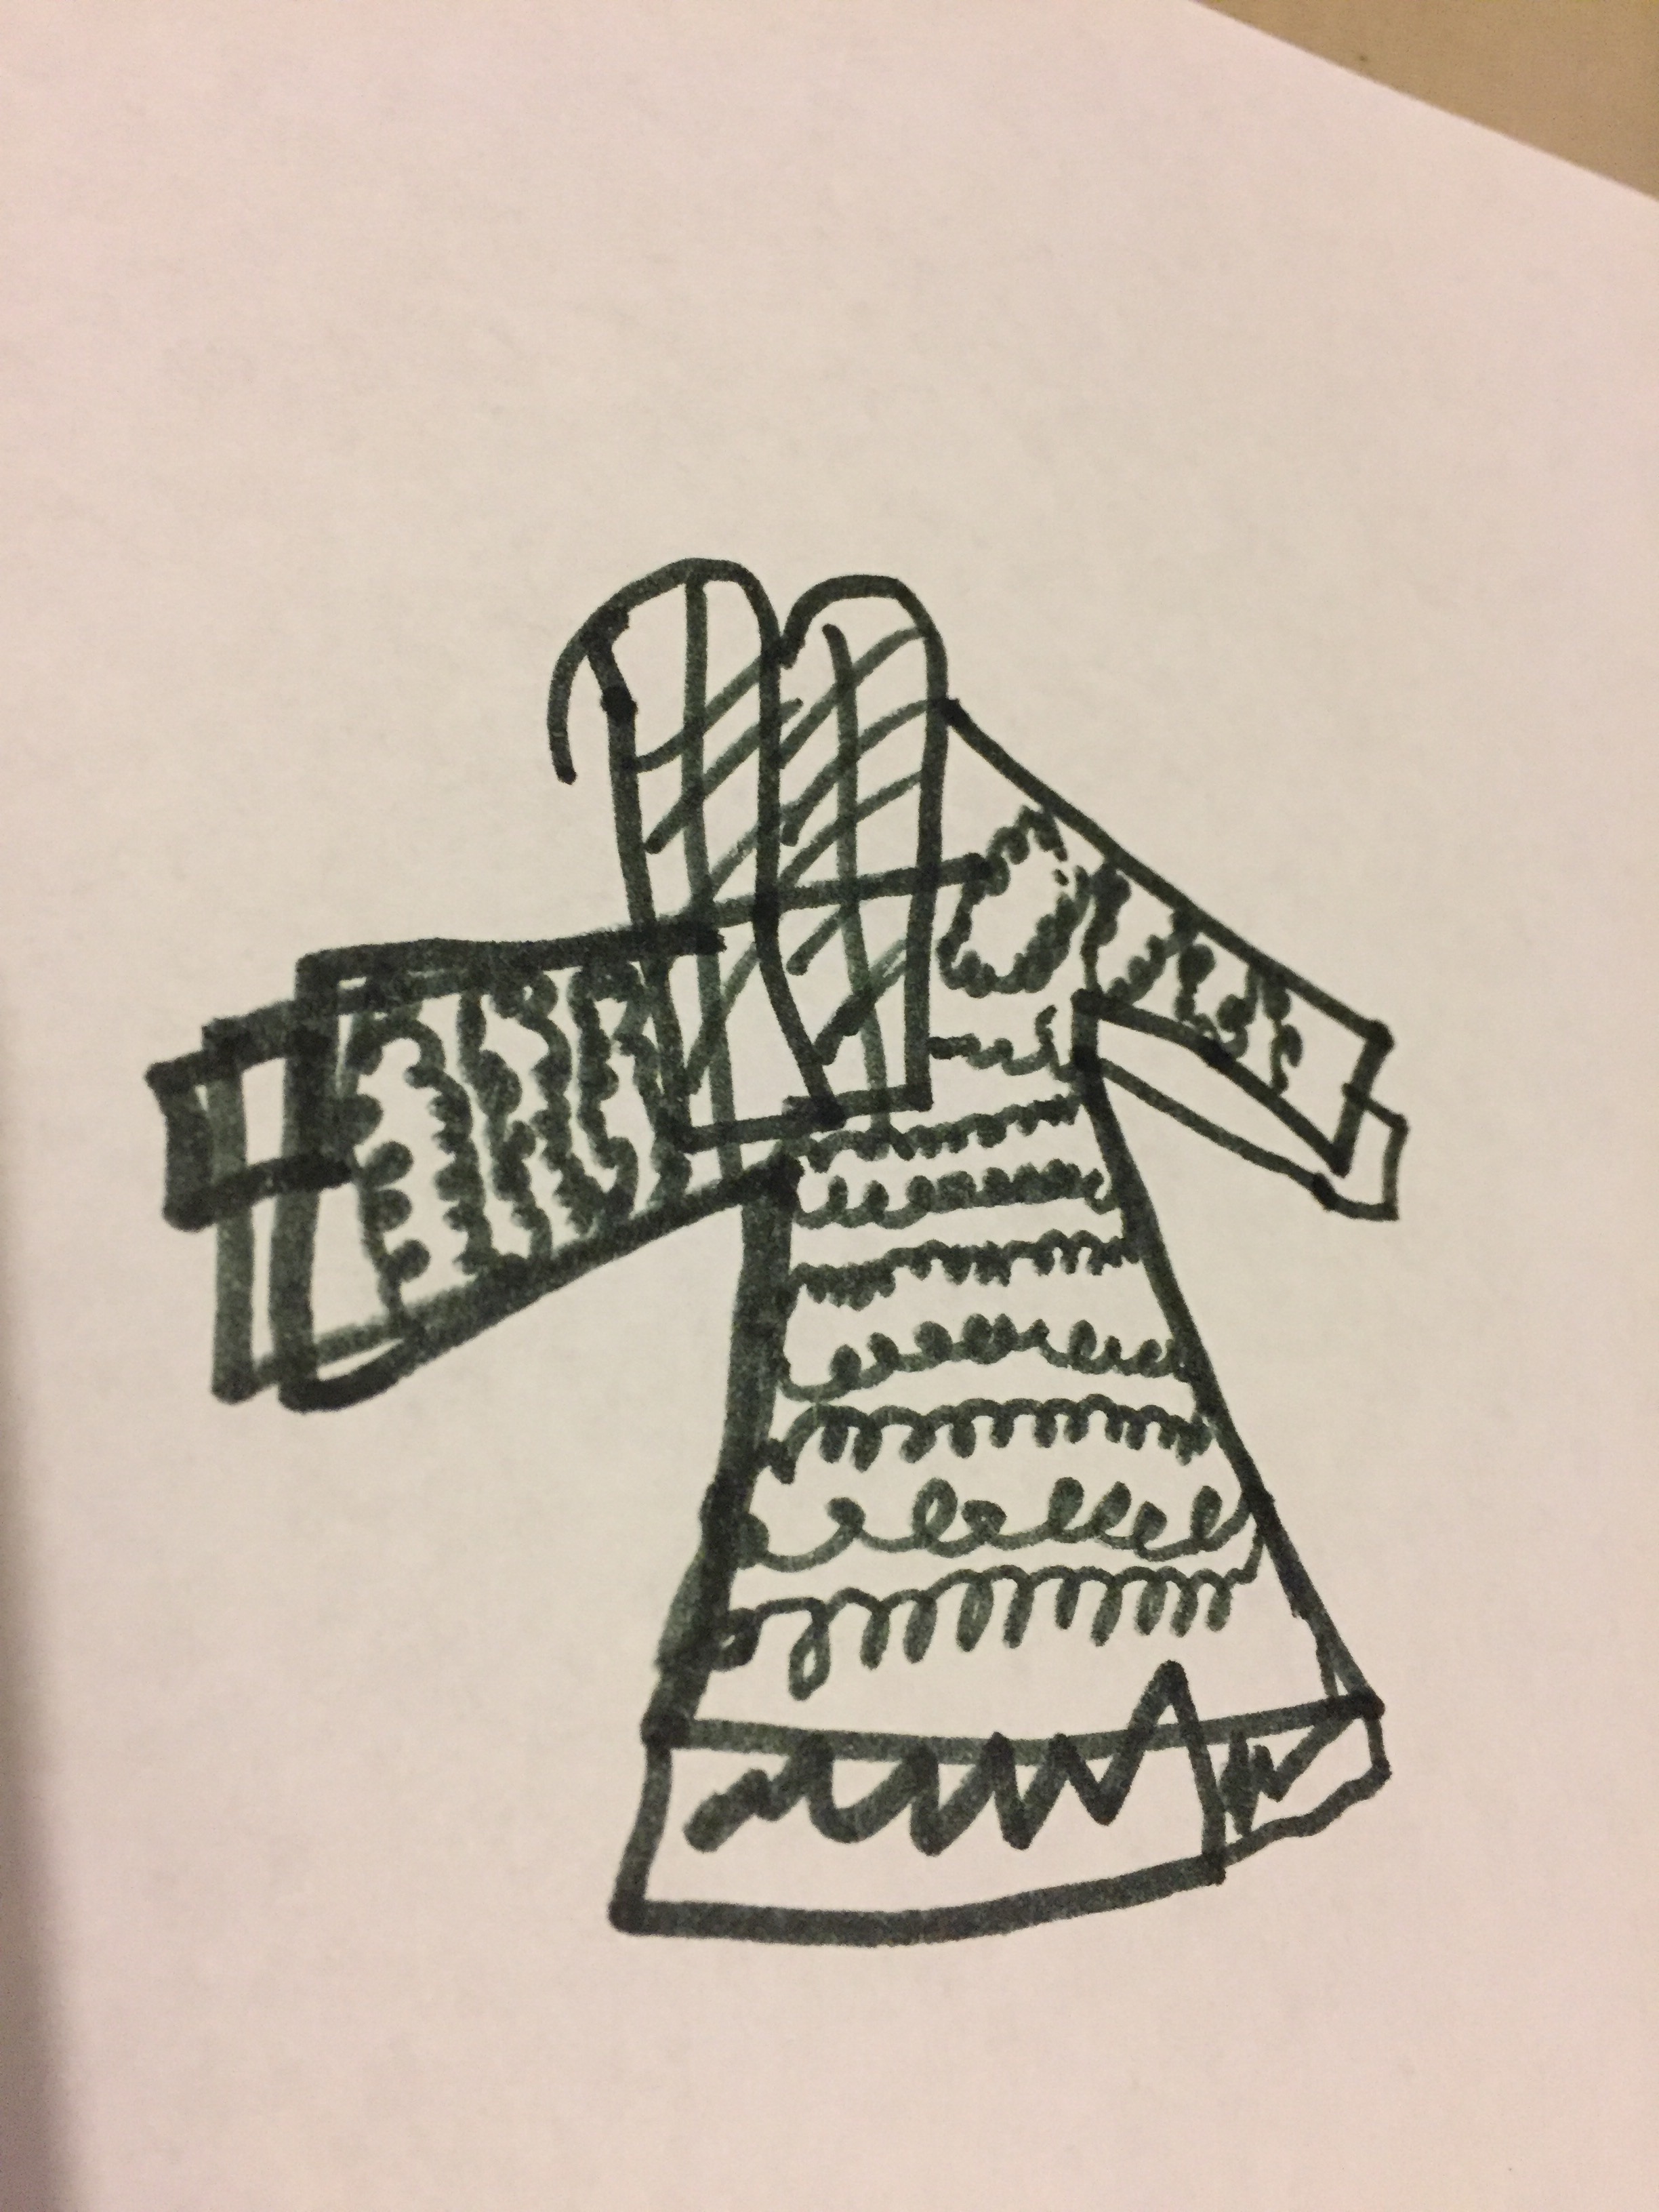
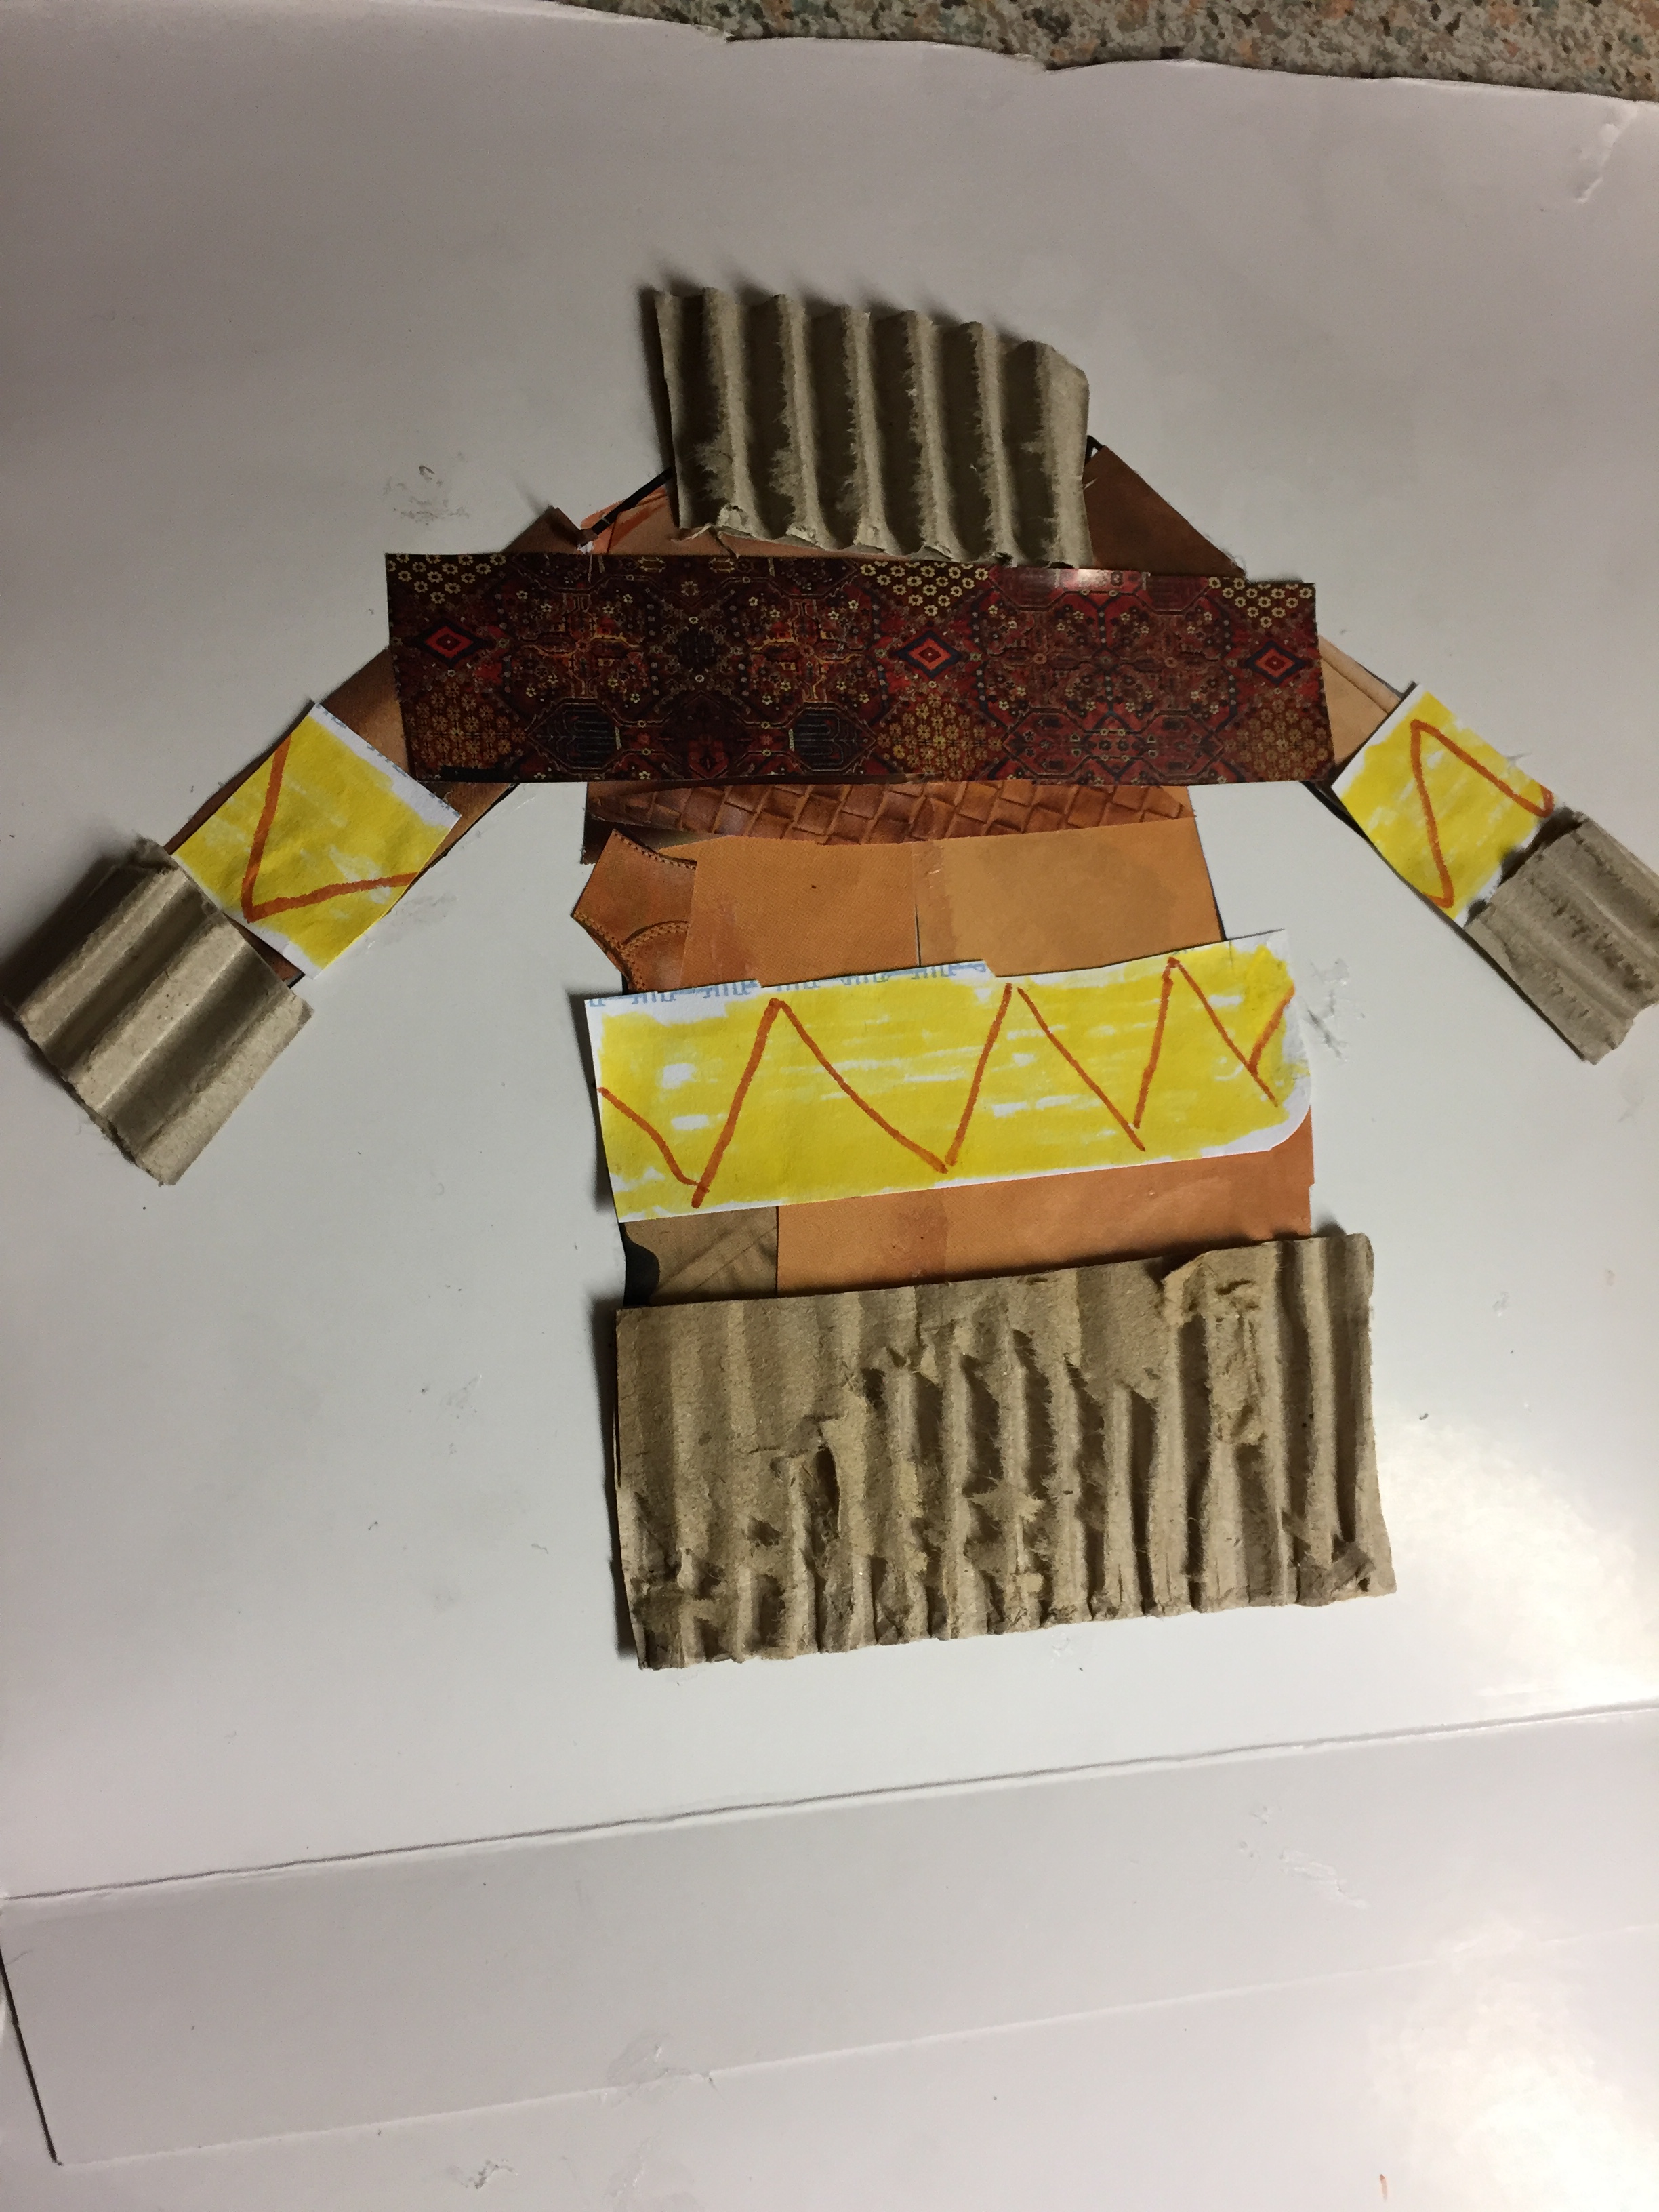
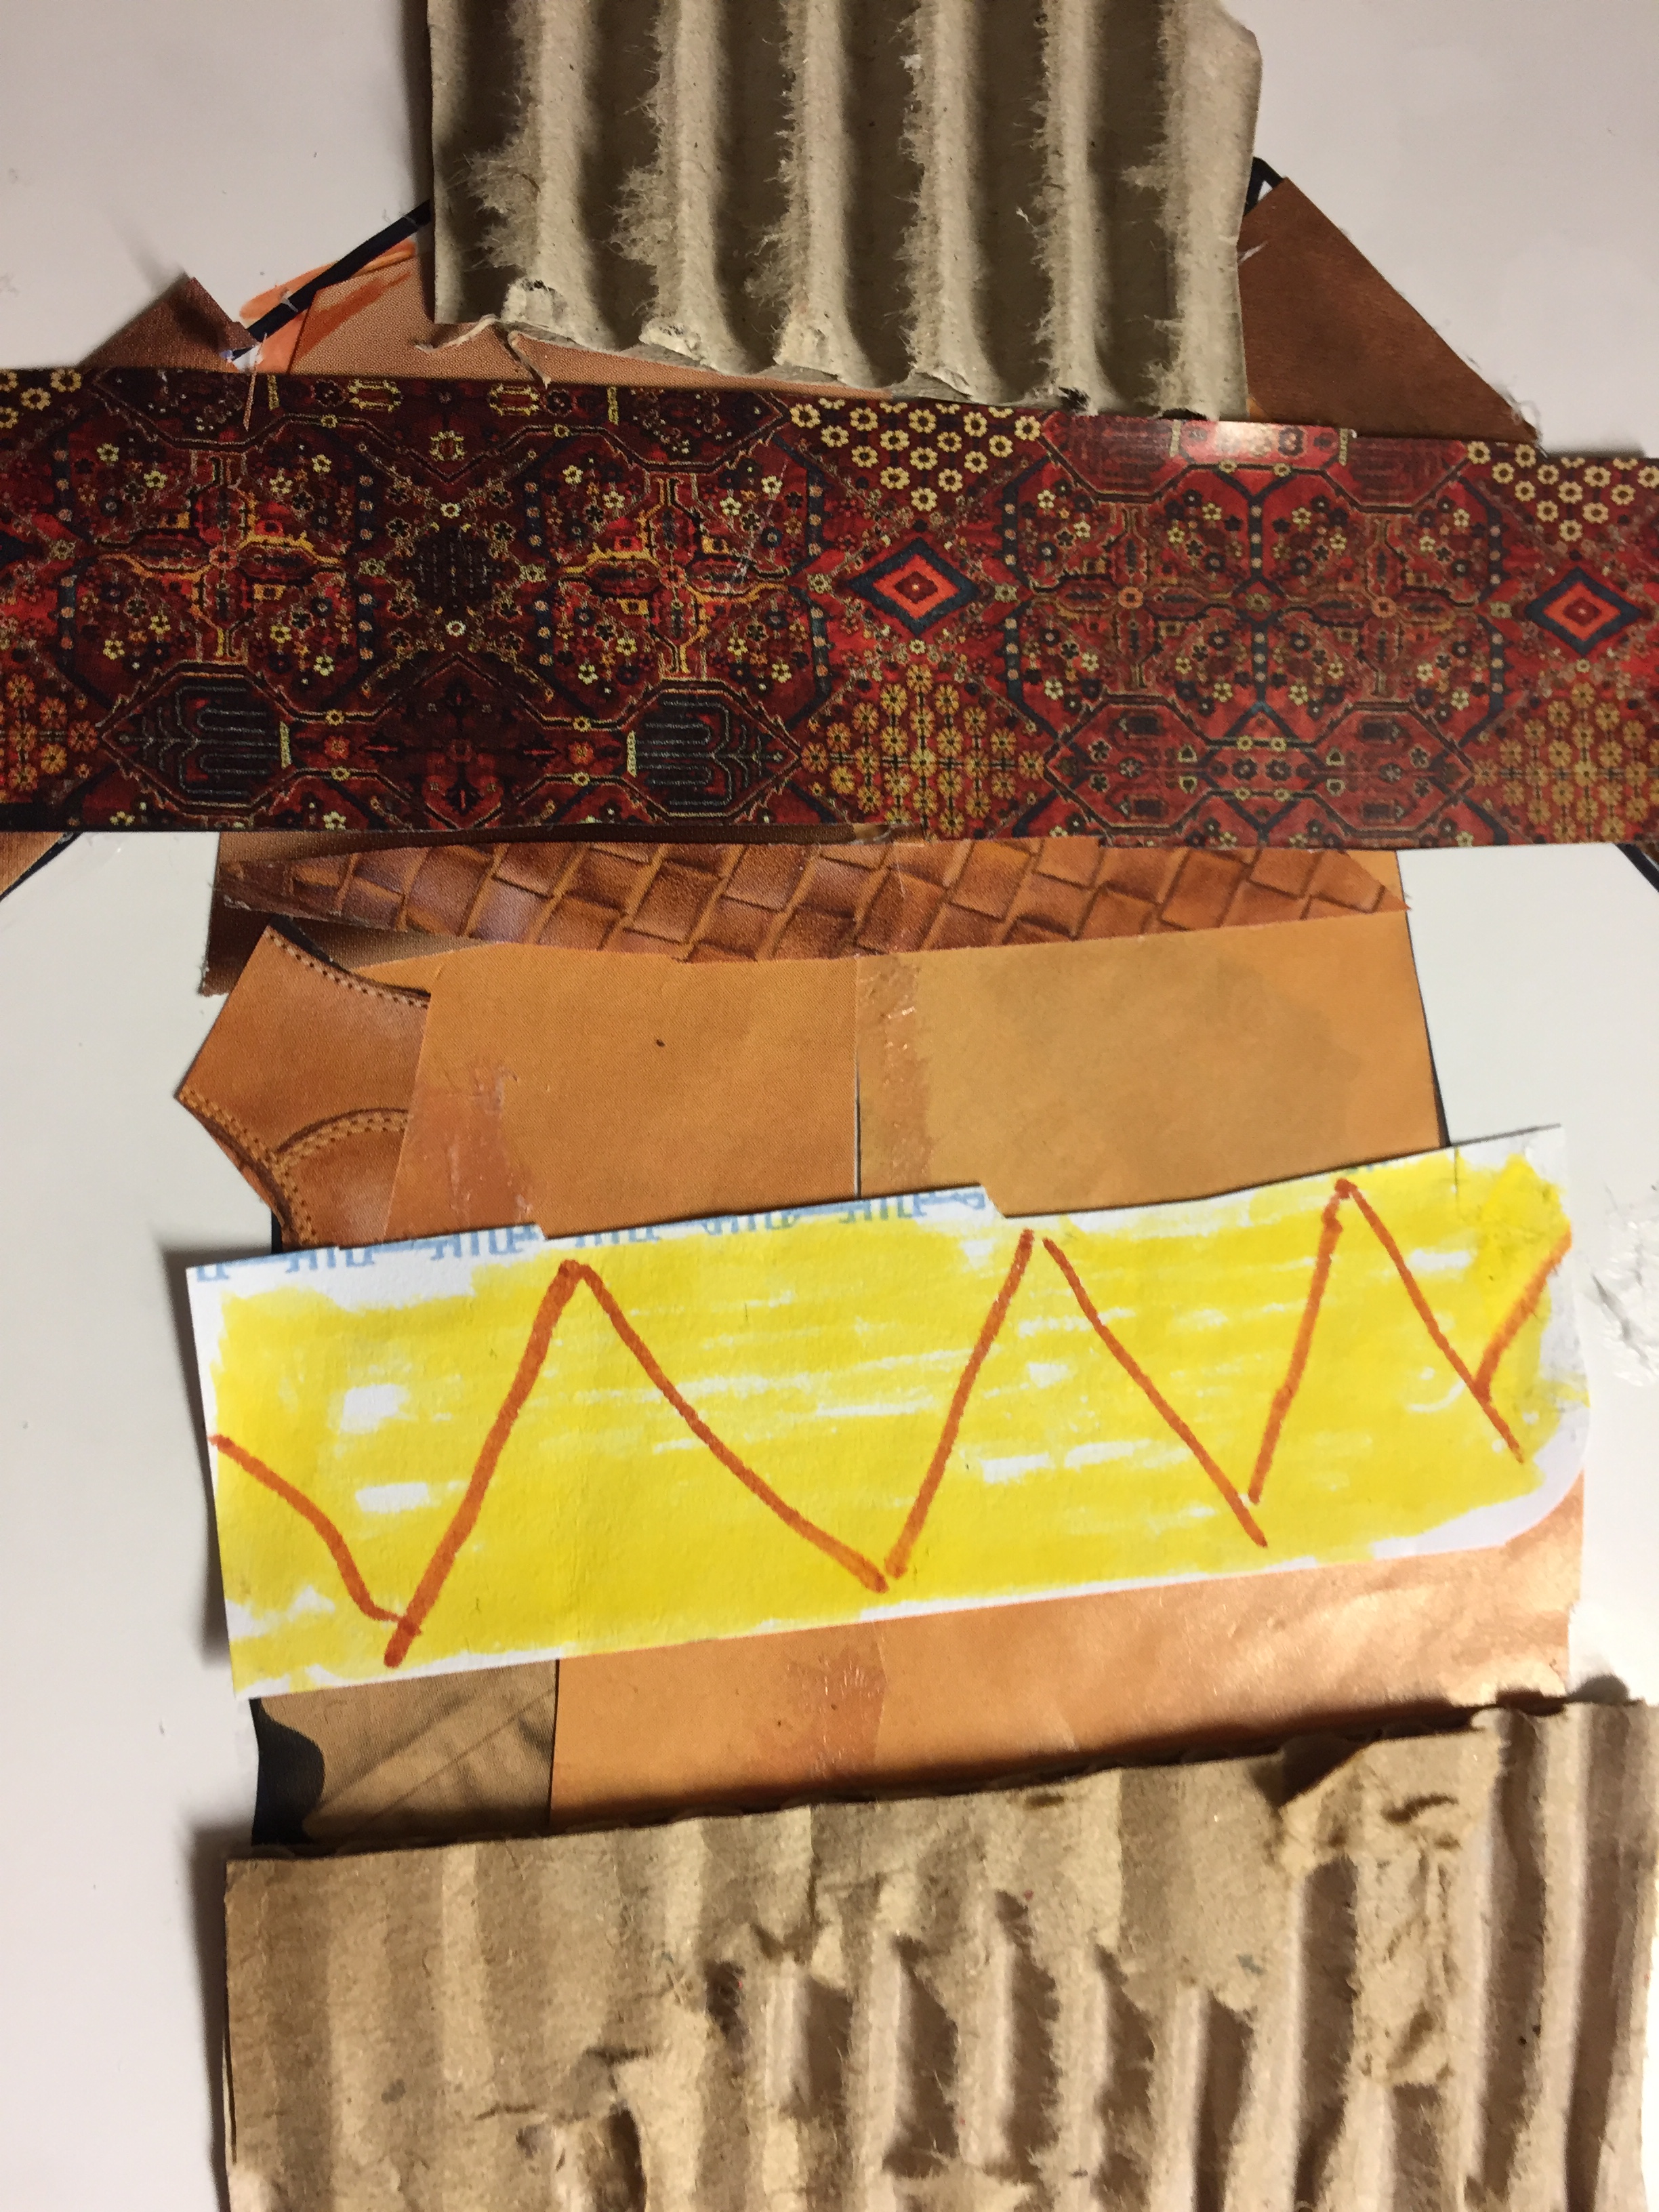
Finally , I managed to come out with two decent designs trying to present as many features of two of my garments possible:
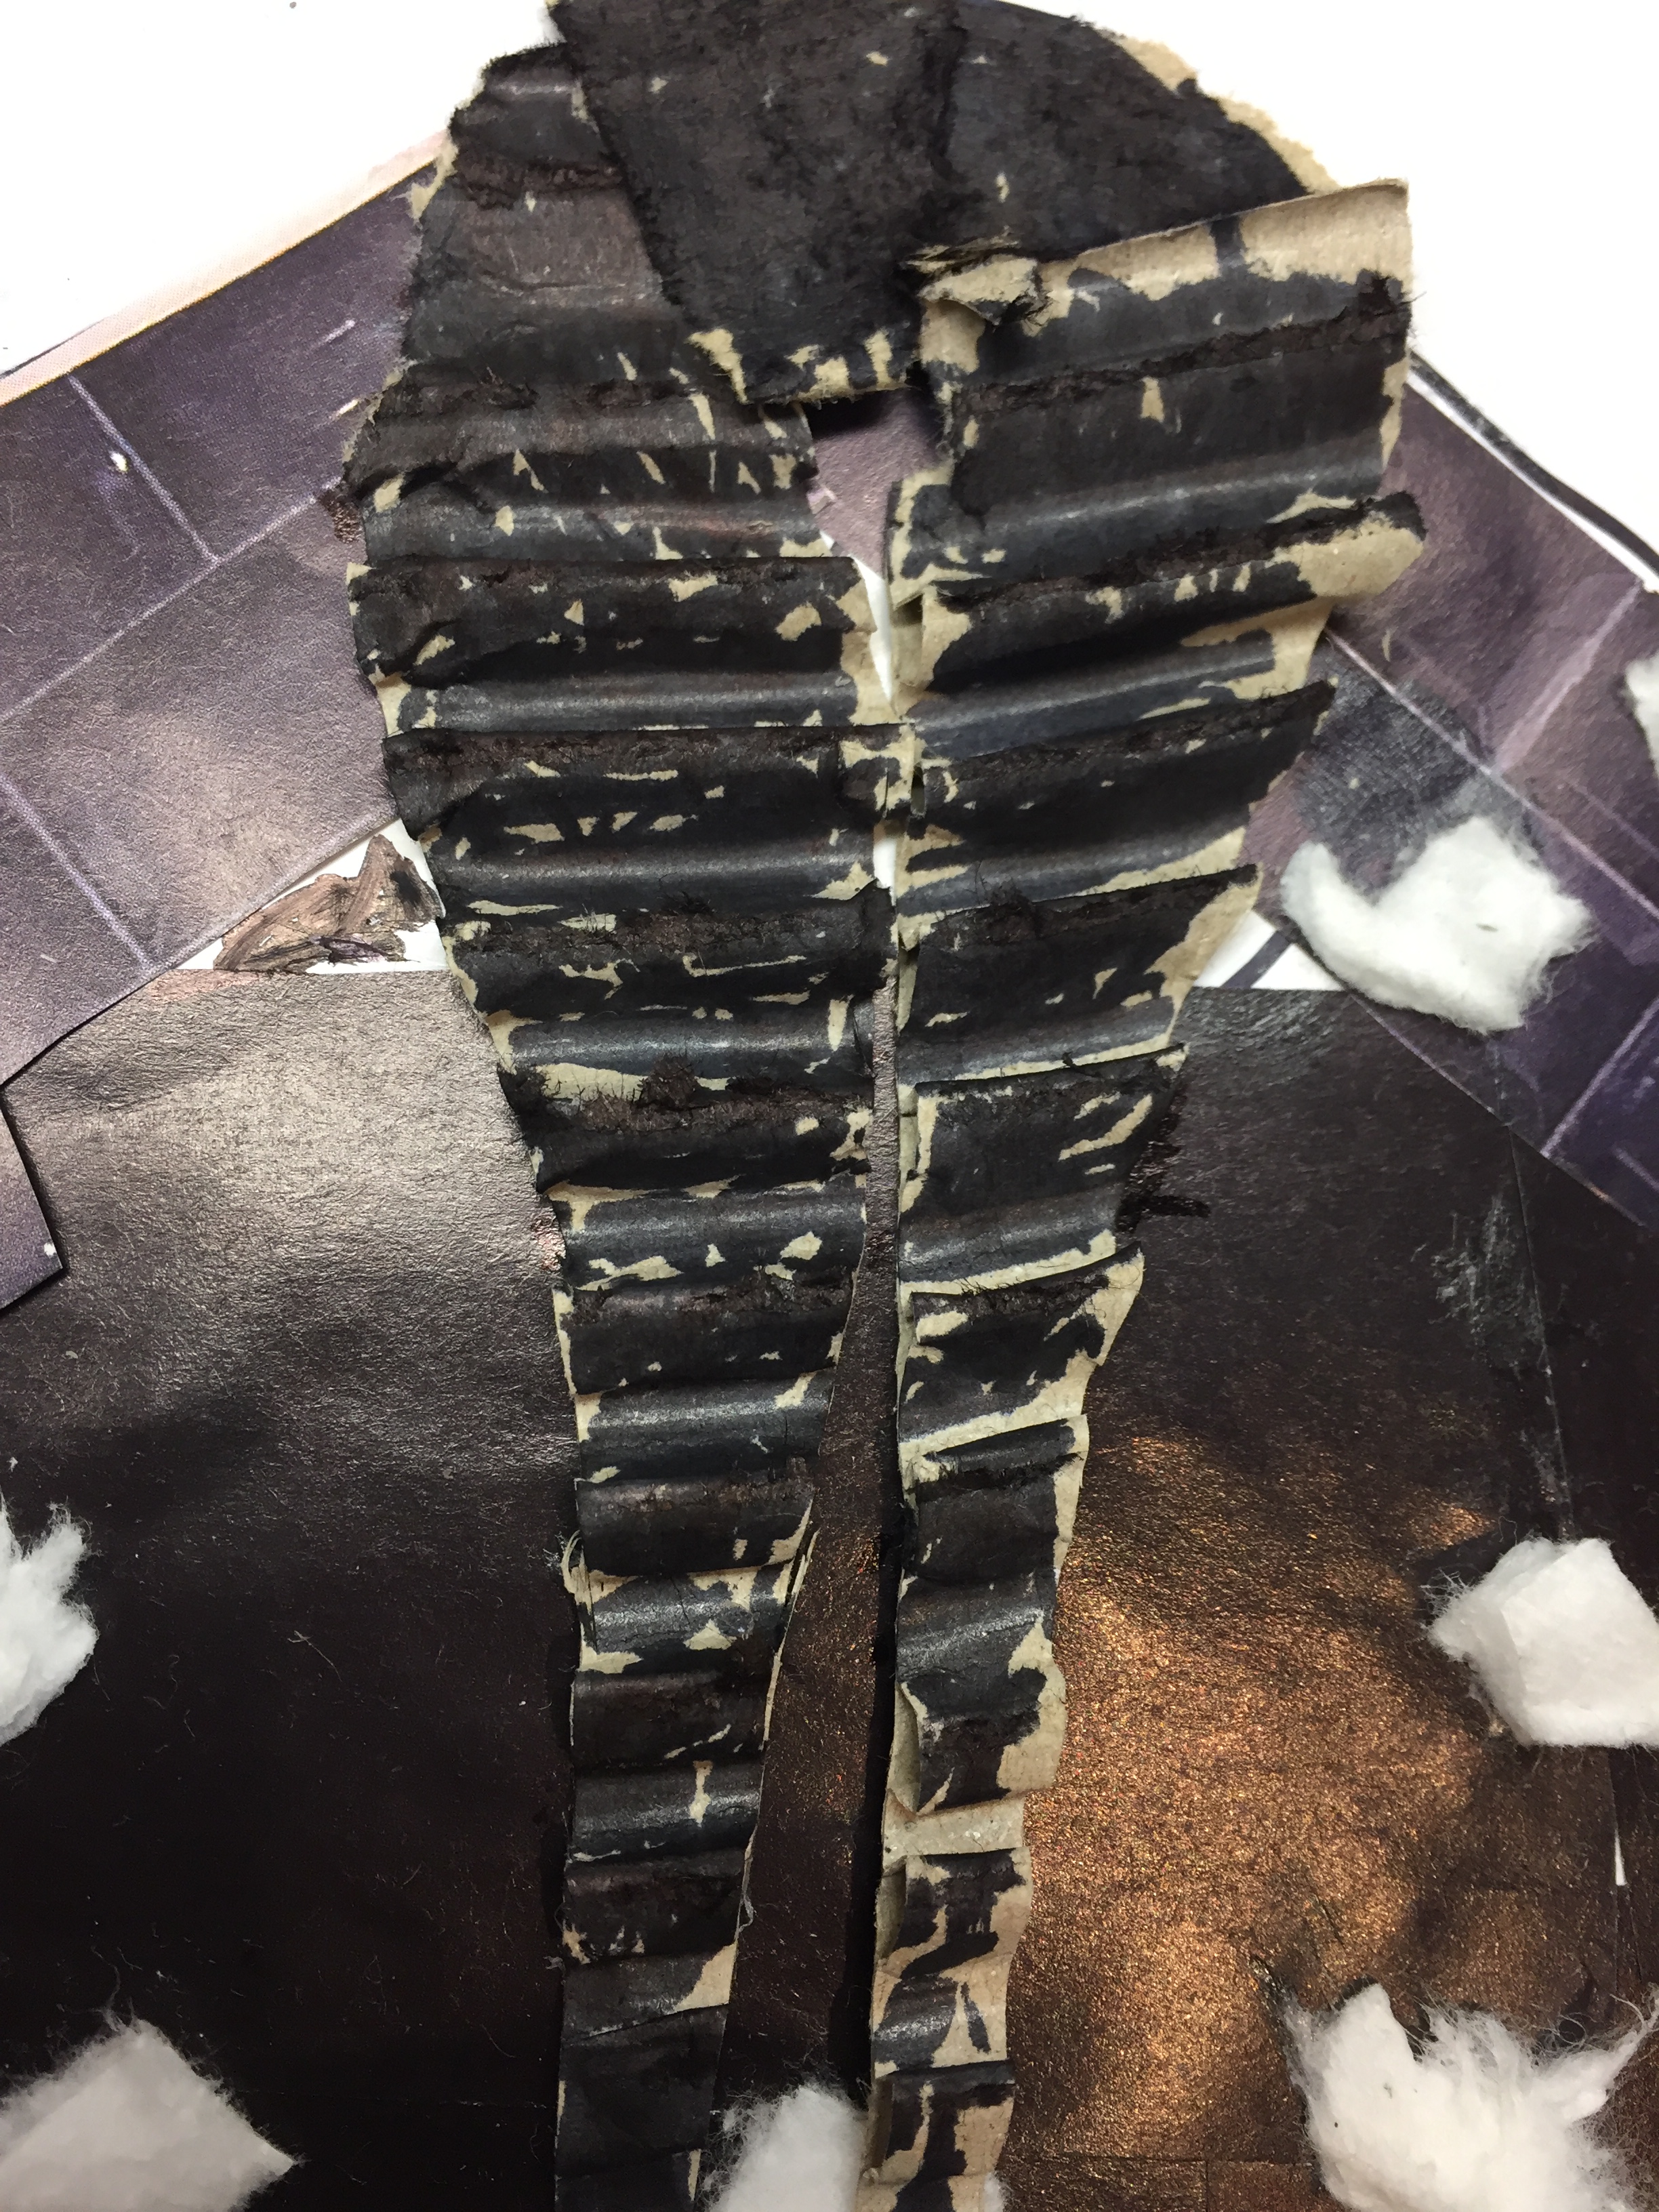
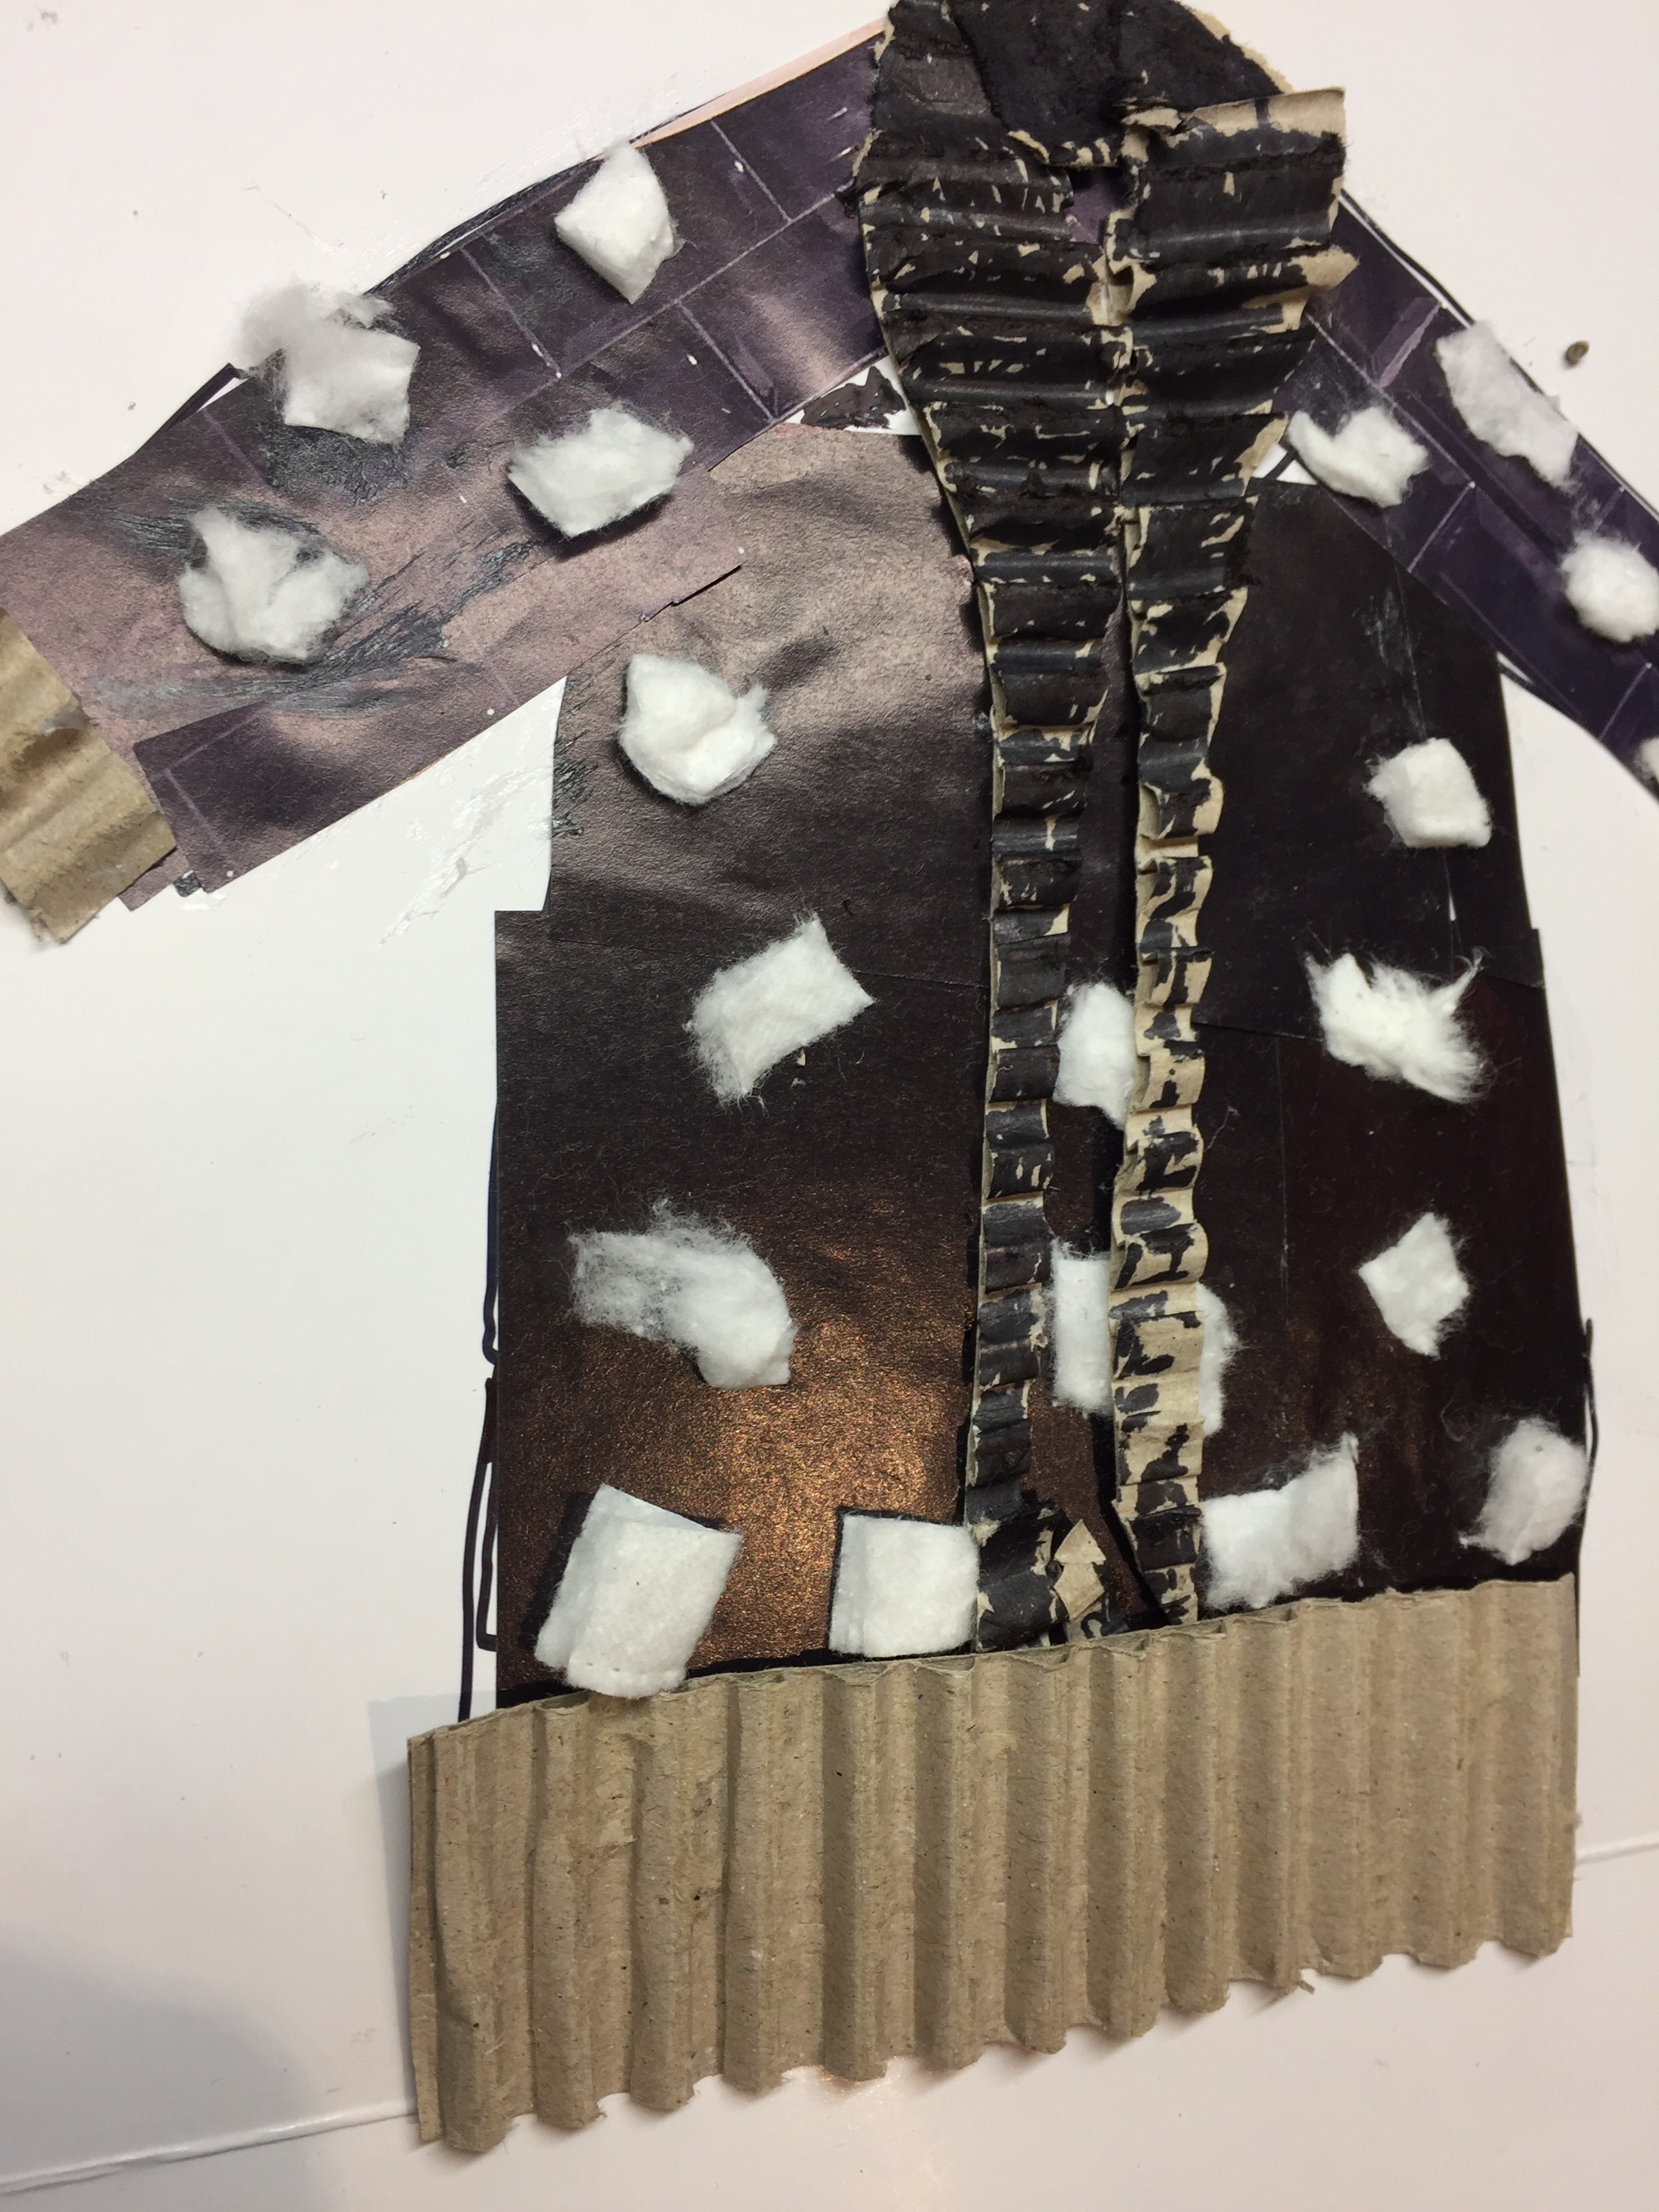
I’ve used carton to show the rib stitch detail as well as cotton wool to show the fluffy and hairy effect of one of the fabrics:
so here we go! style one:
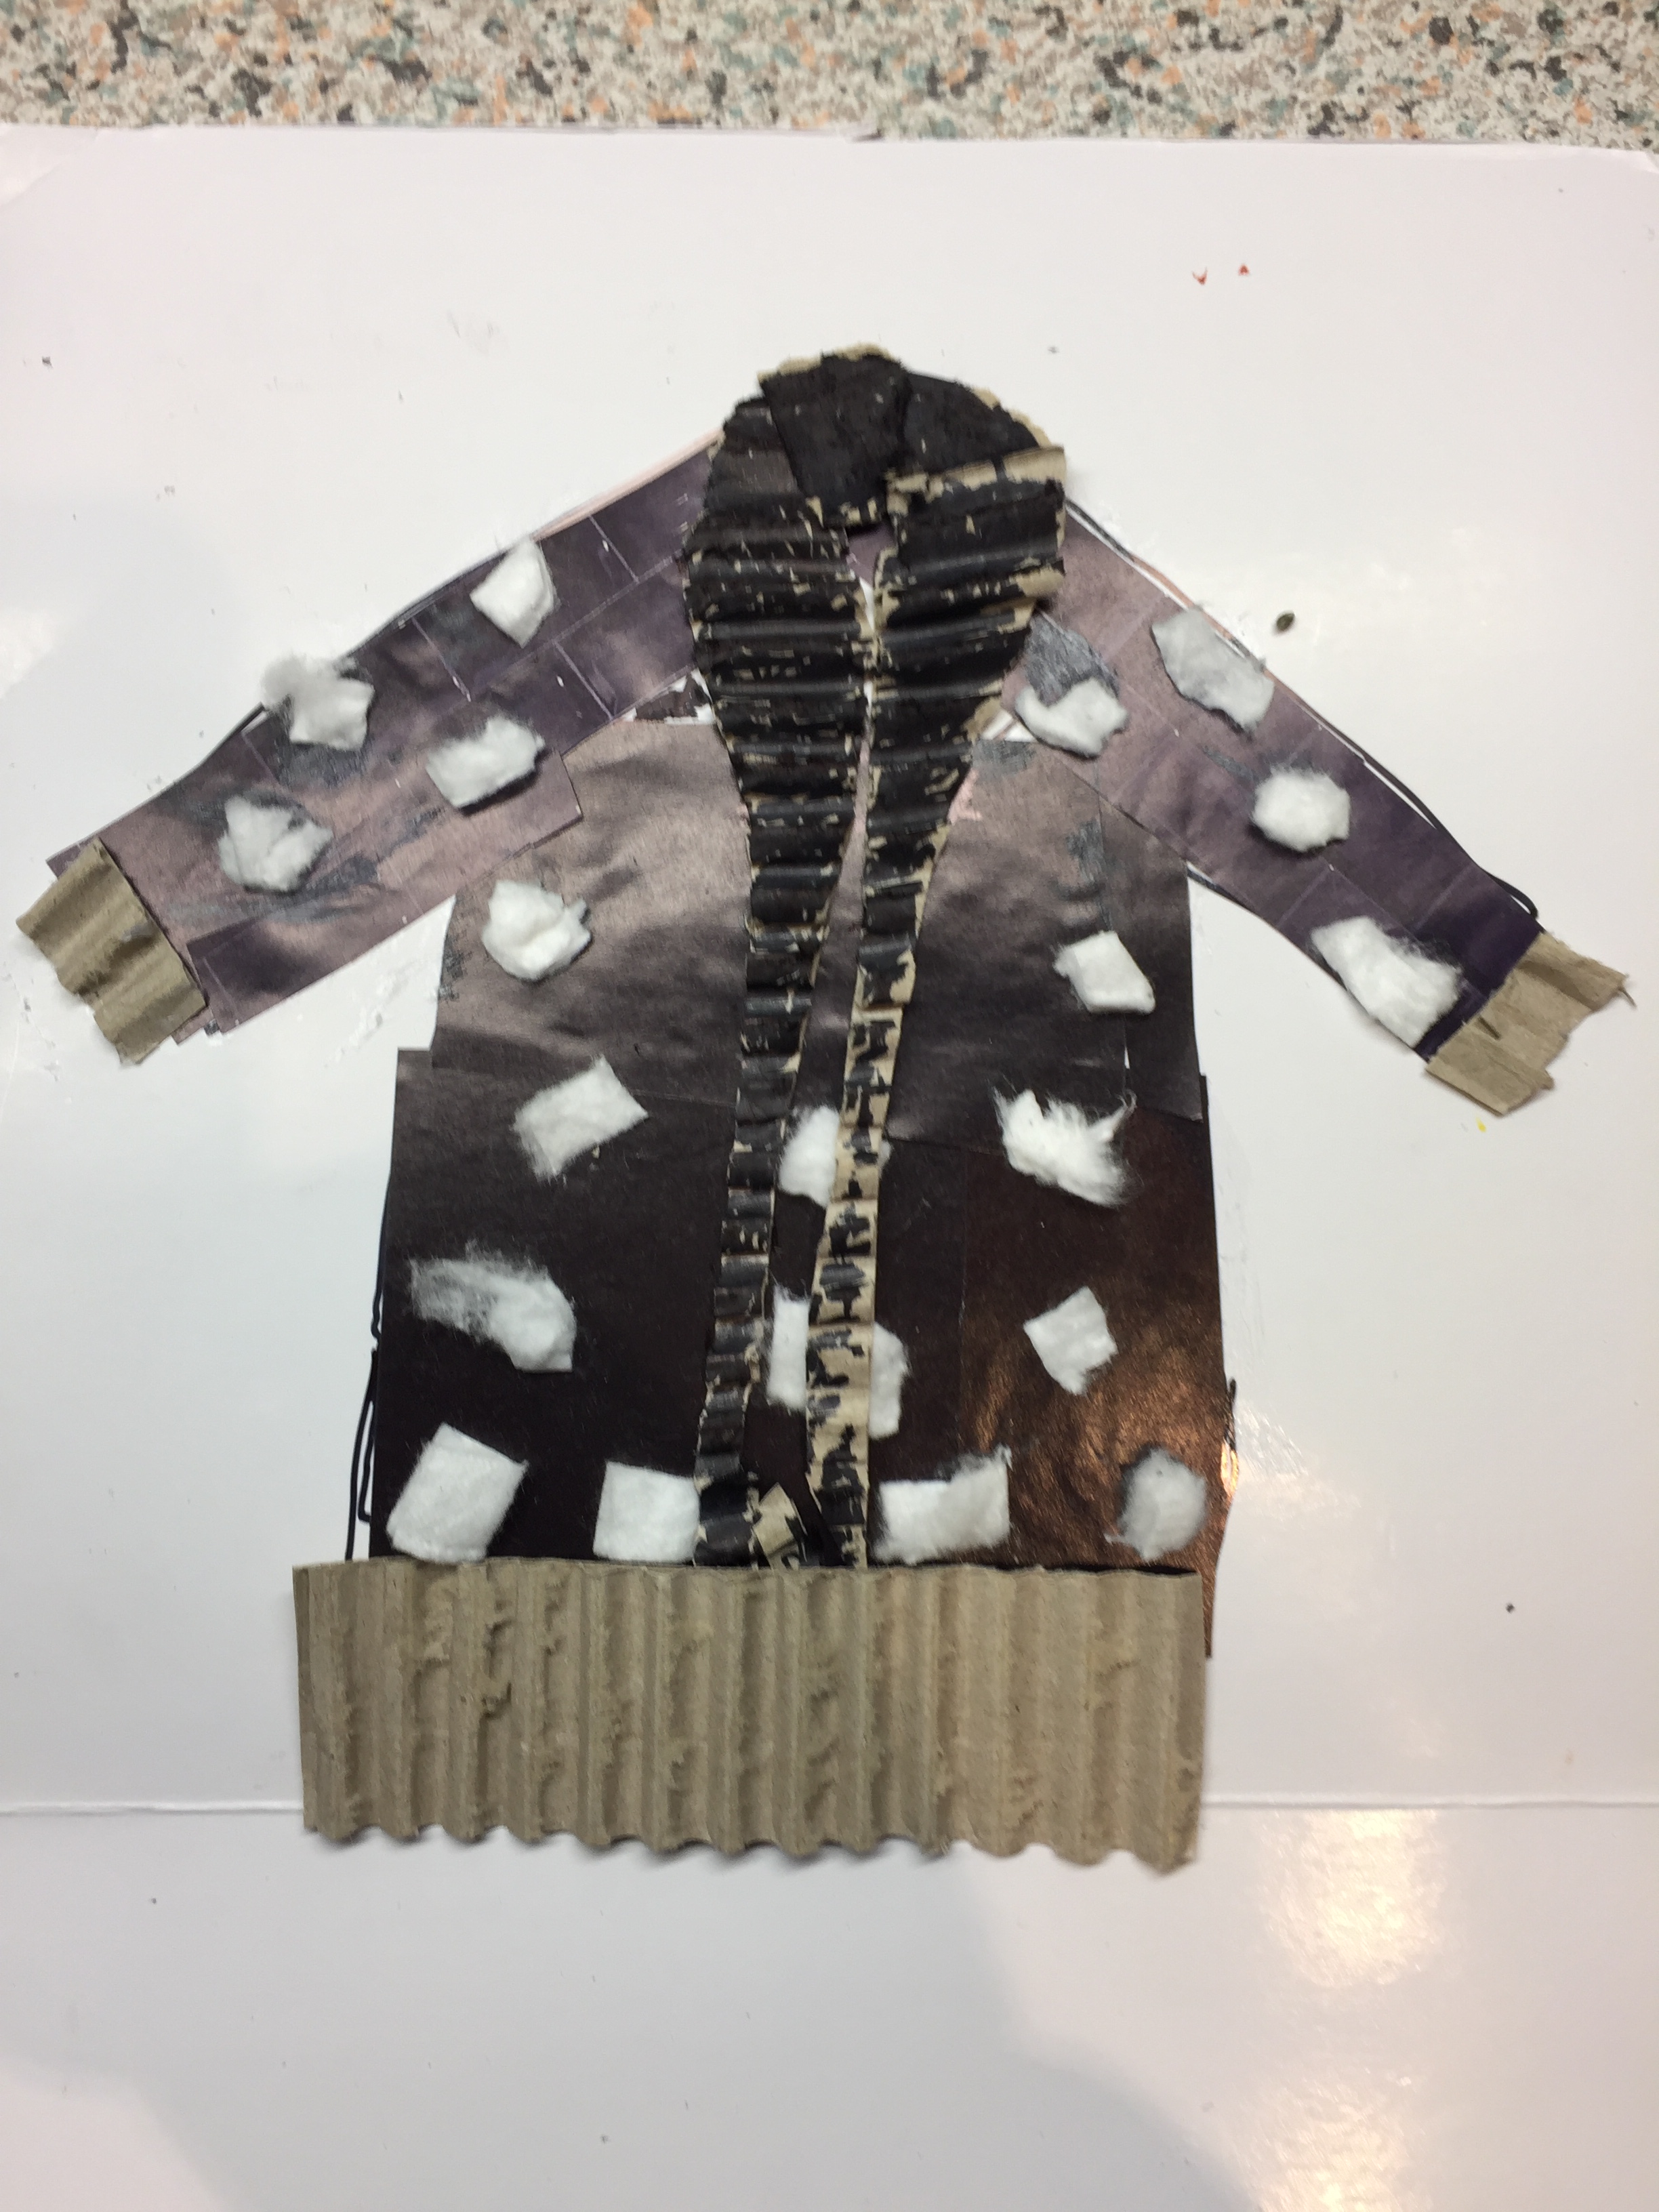
style two: shawl neck wool cardigan.
Exercise 1.6 Detail and definition
The purpose of this assignment is to capture details on the selected fairisle styles.
Again, I have to manage the difficulties I encounter that have to do with drawing.
In this exercise I went really deep into the details.
I tried to capture stitch details like a magnifying glass .
this is the style I tried to capture details fromstyle number two: I’ve reversed the fabric and I tried to show the stitch float details
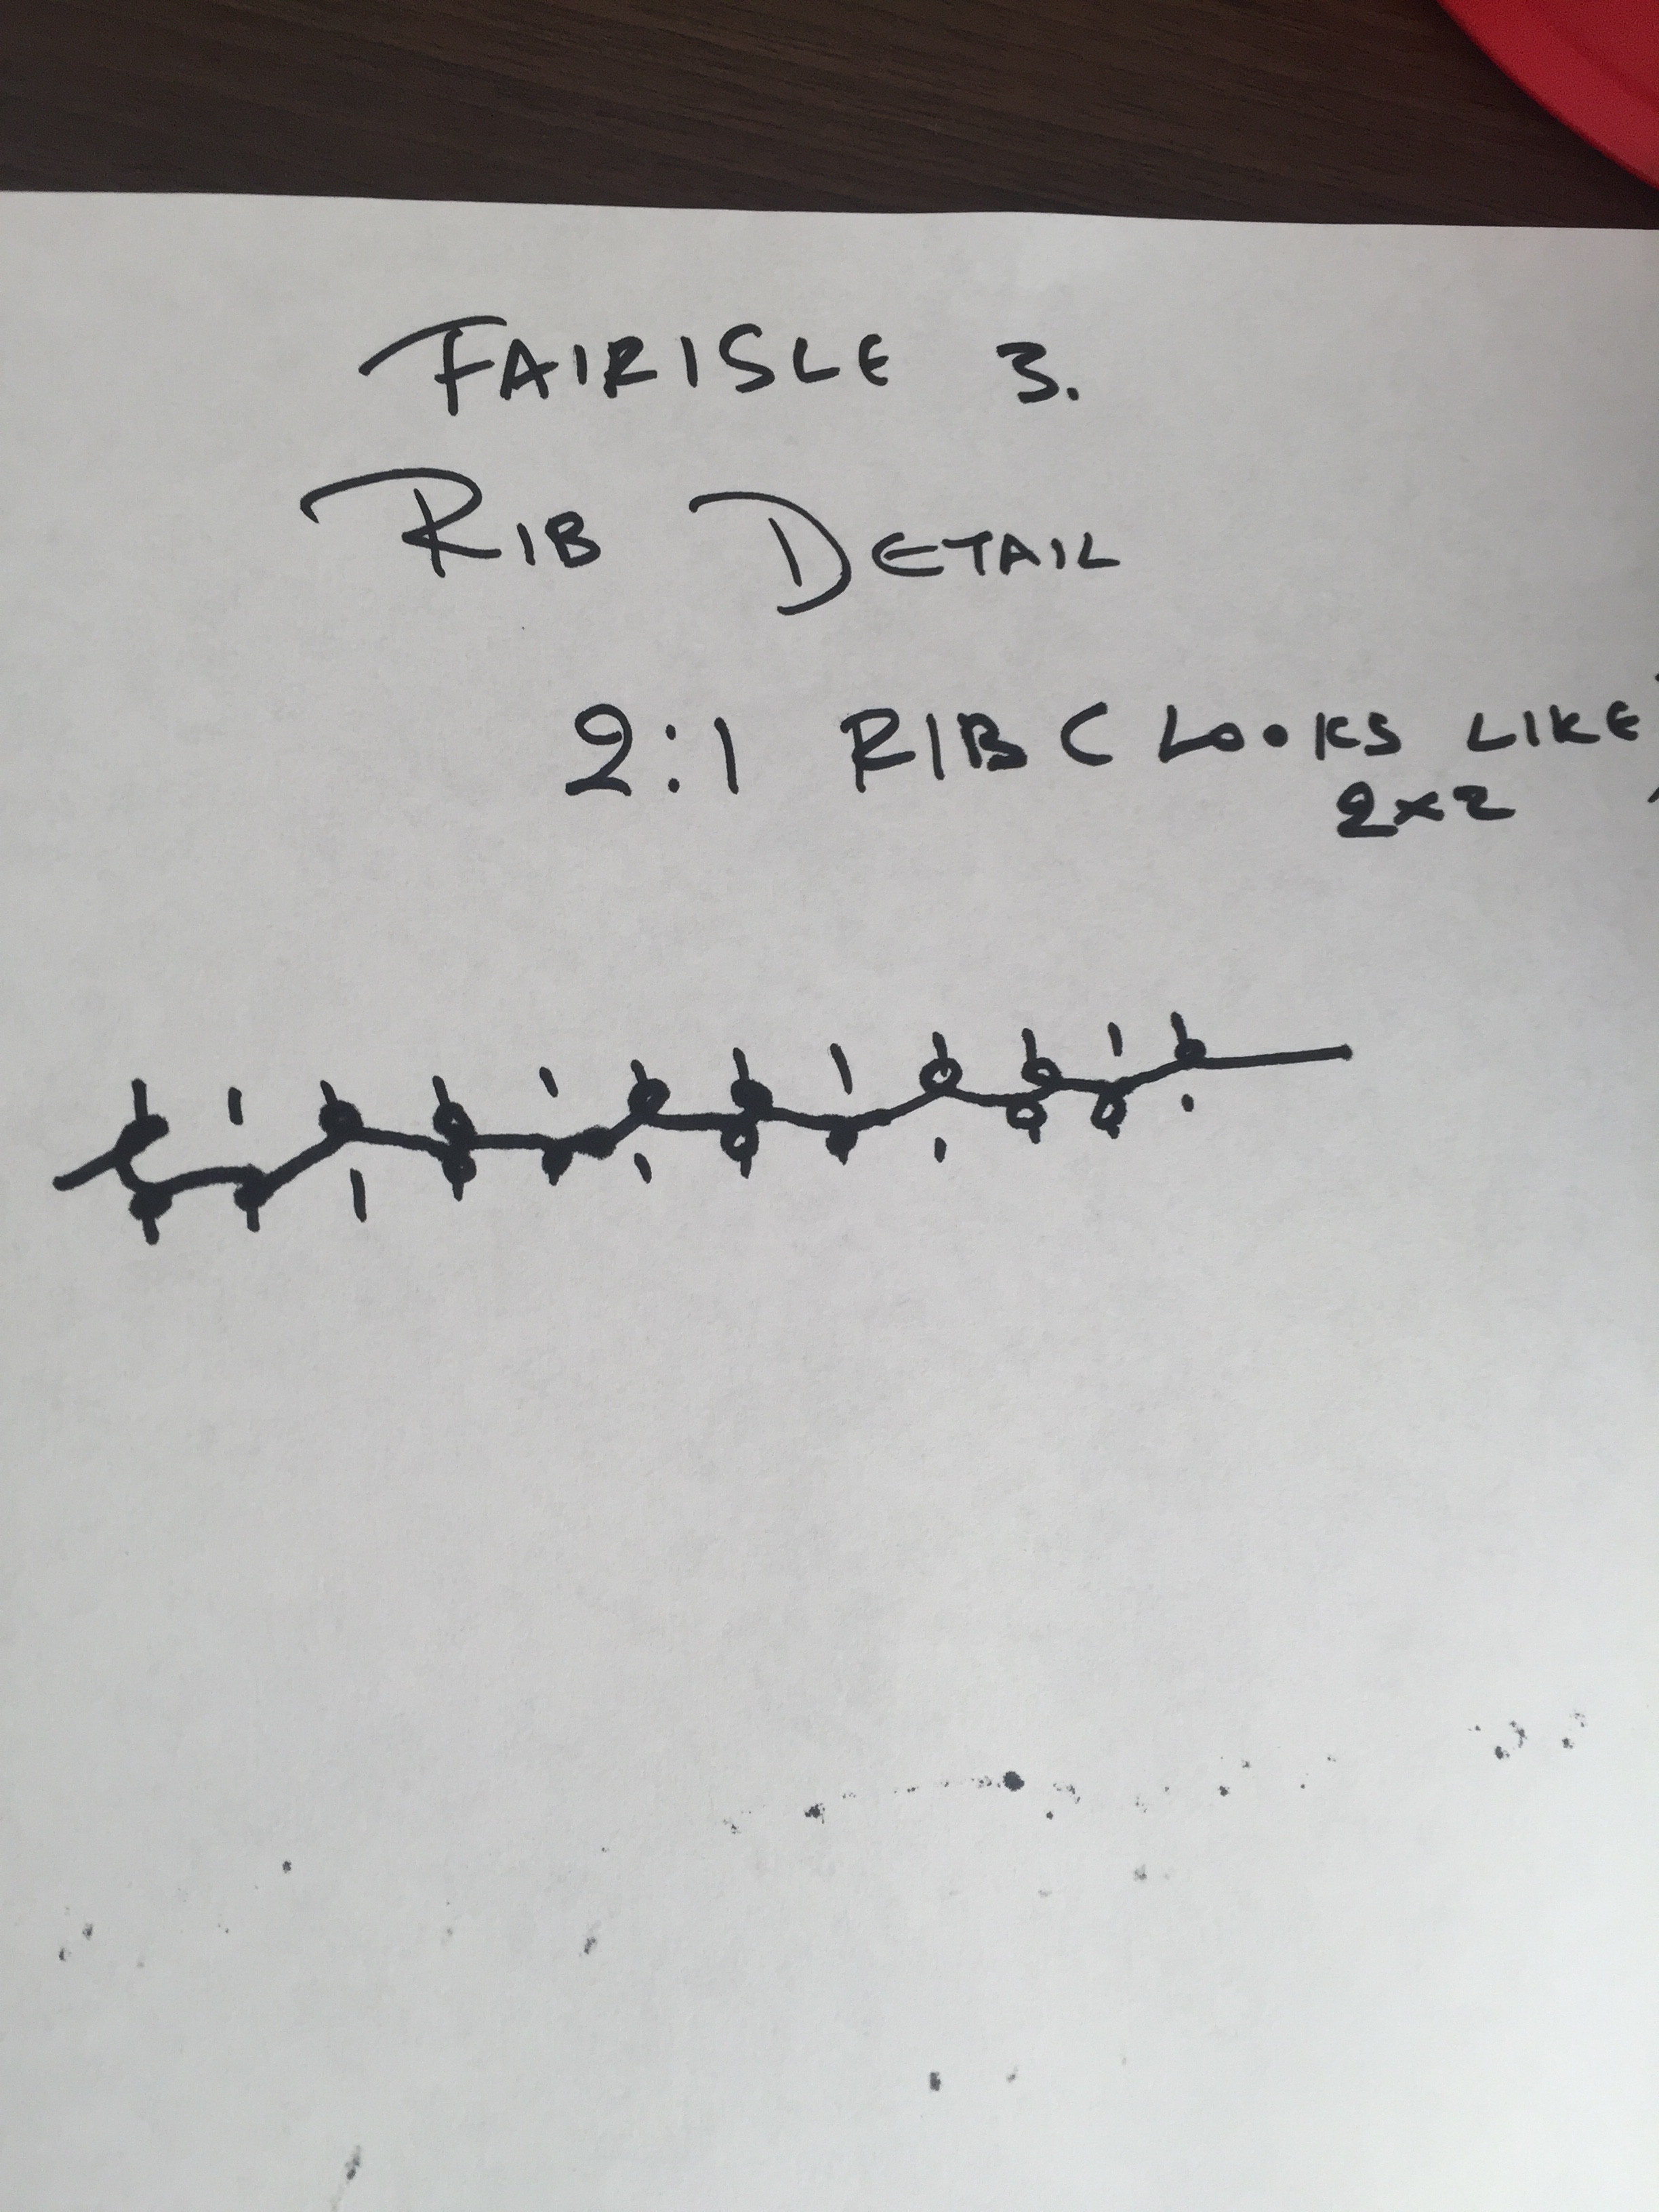
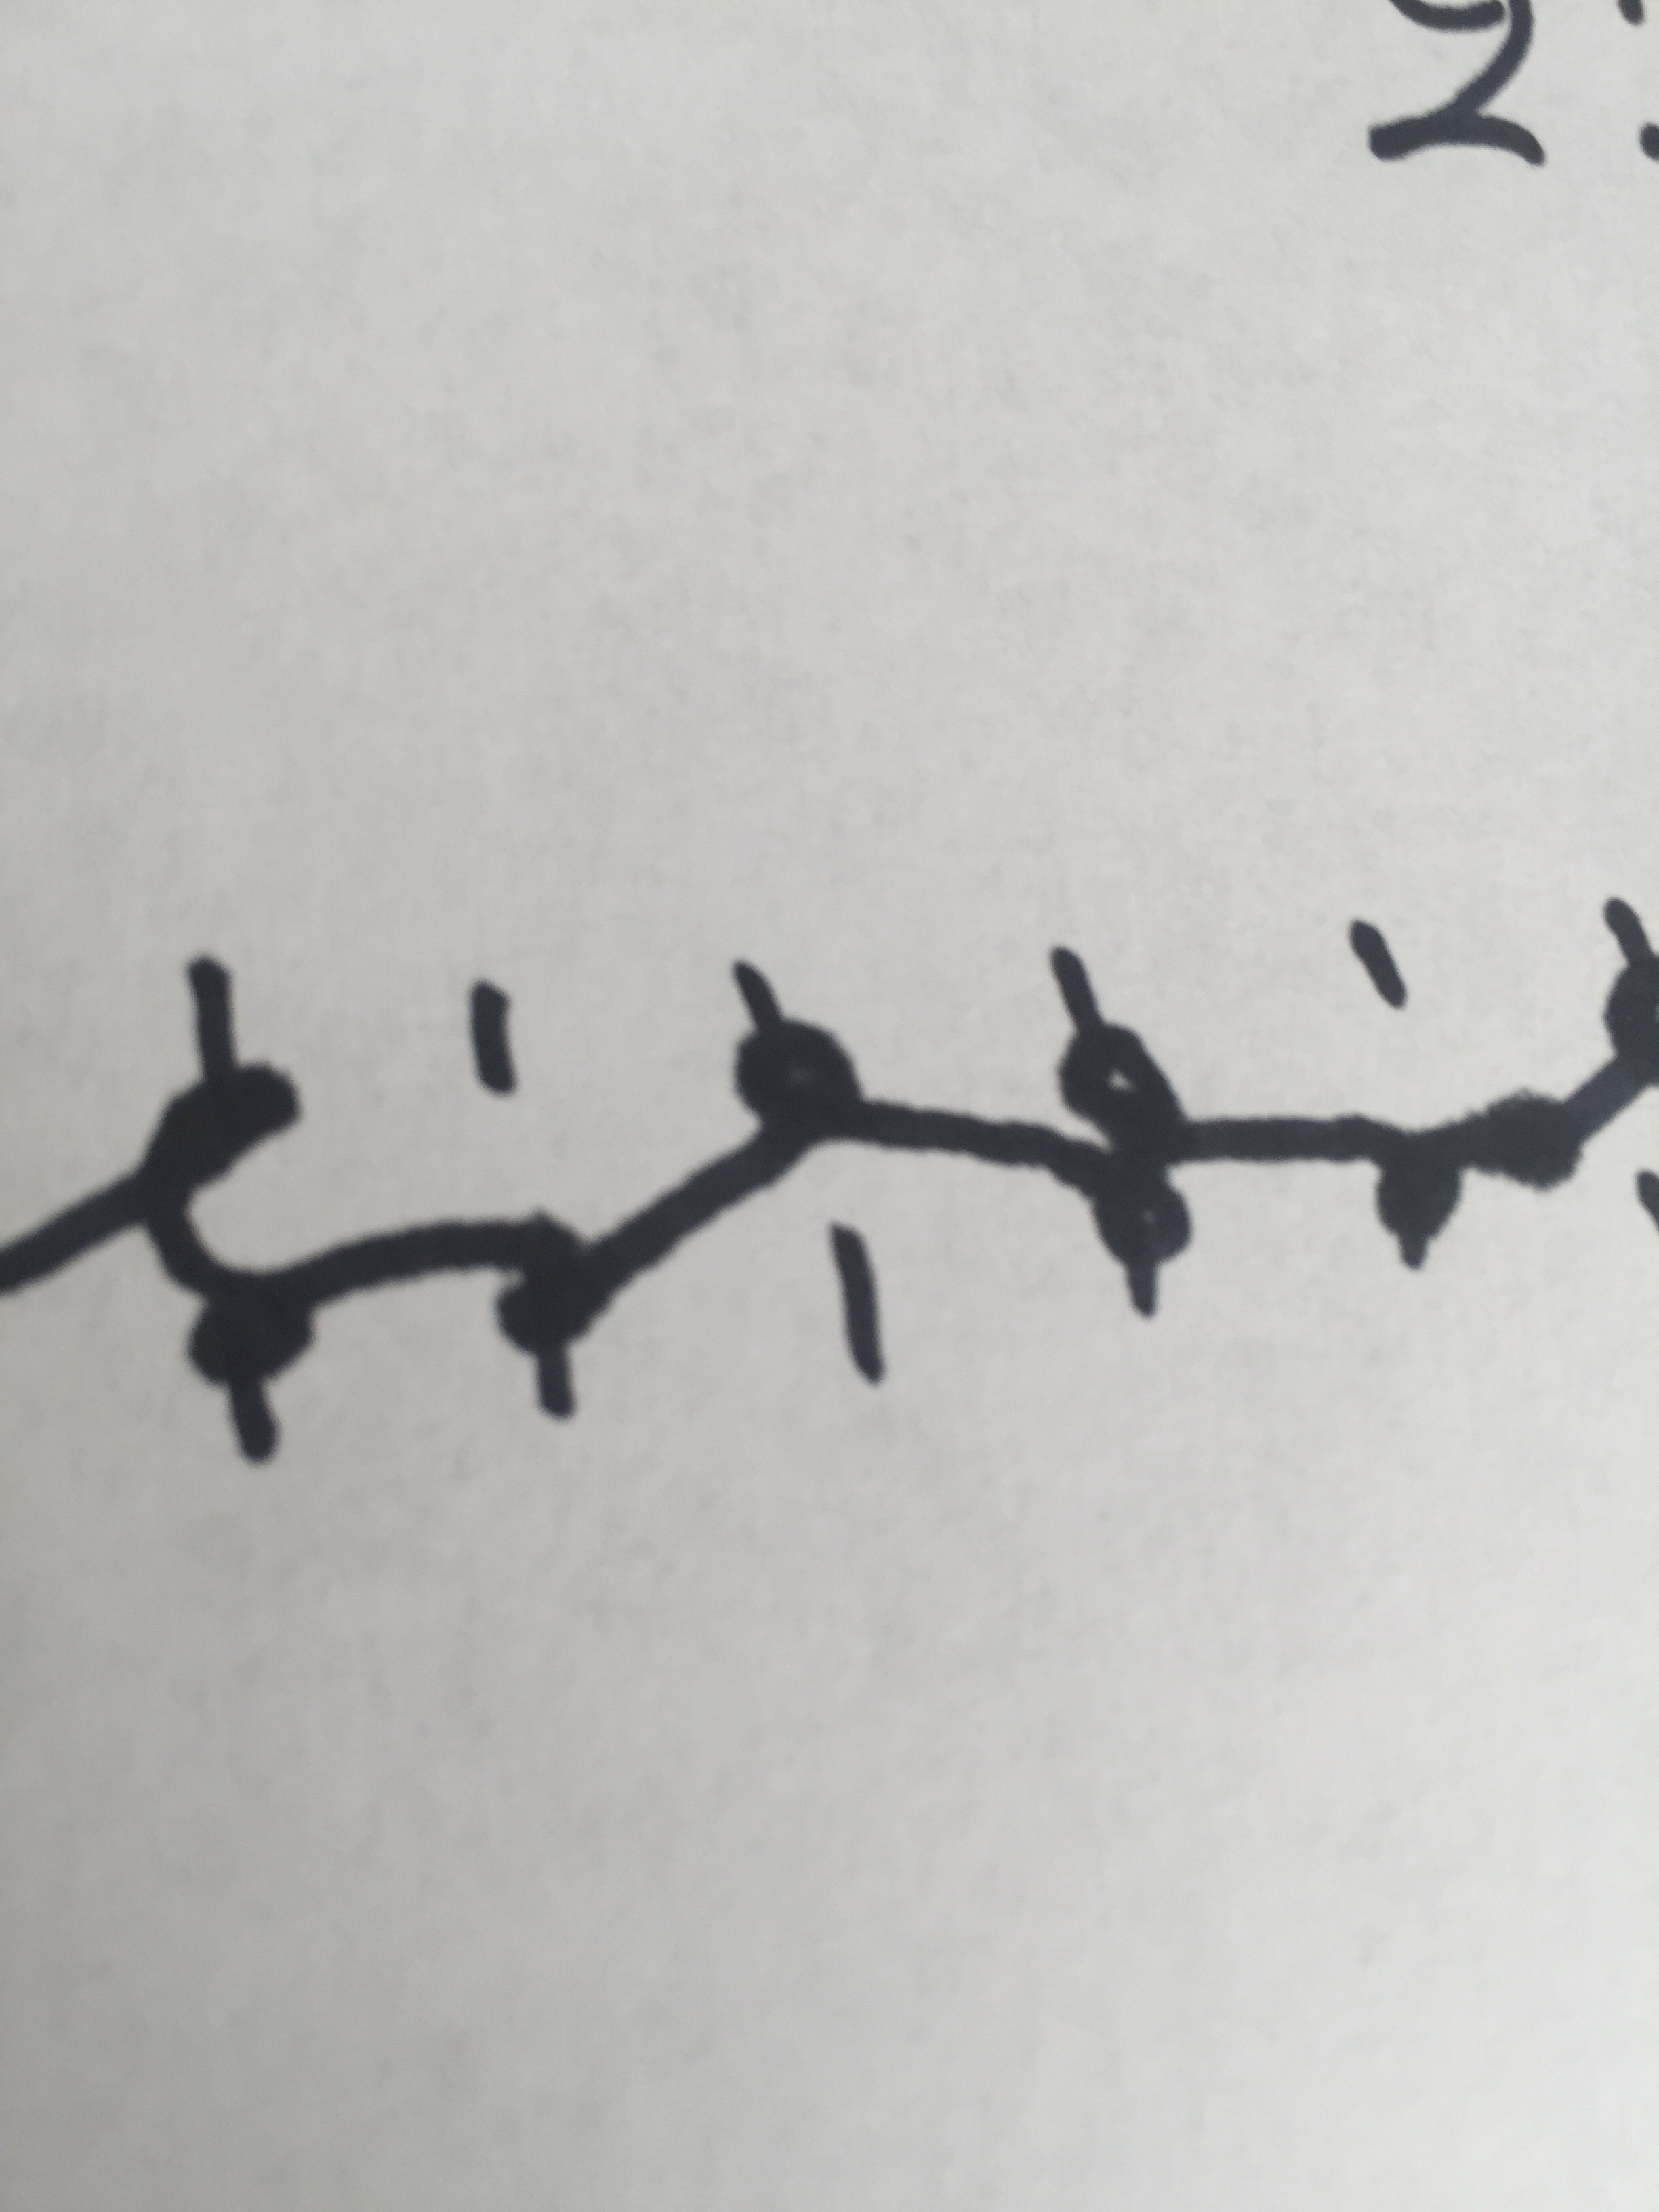
rib detail on style number 3
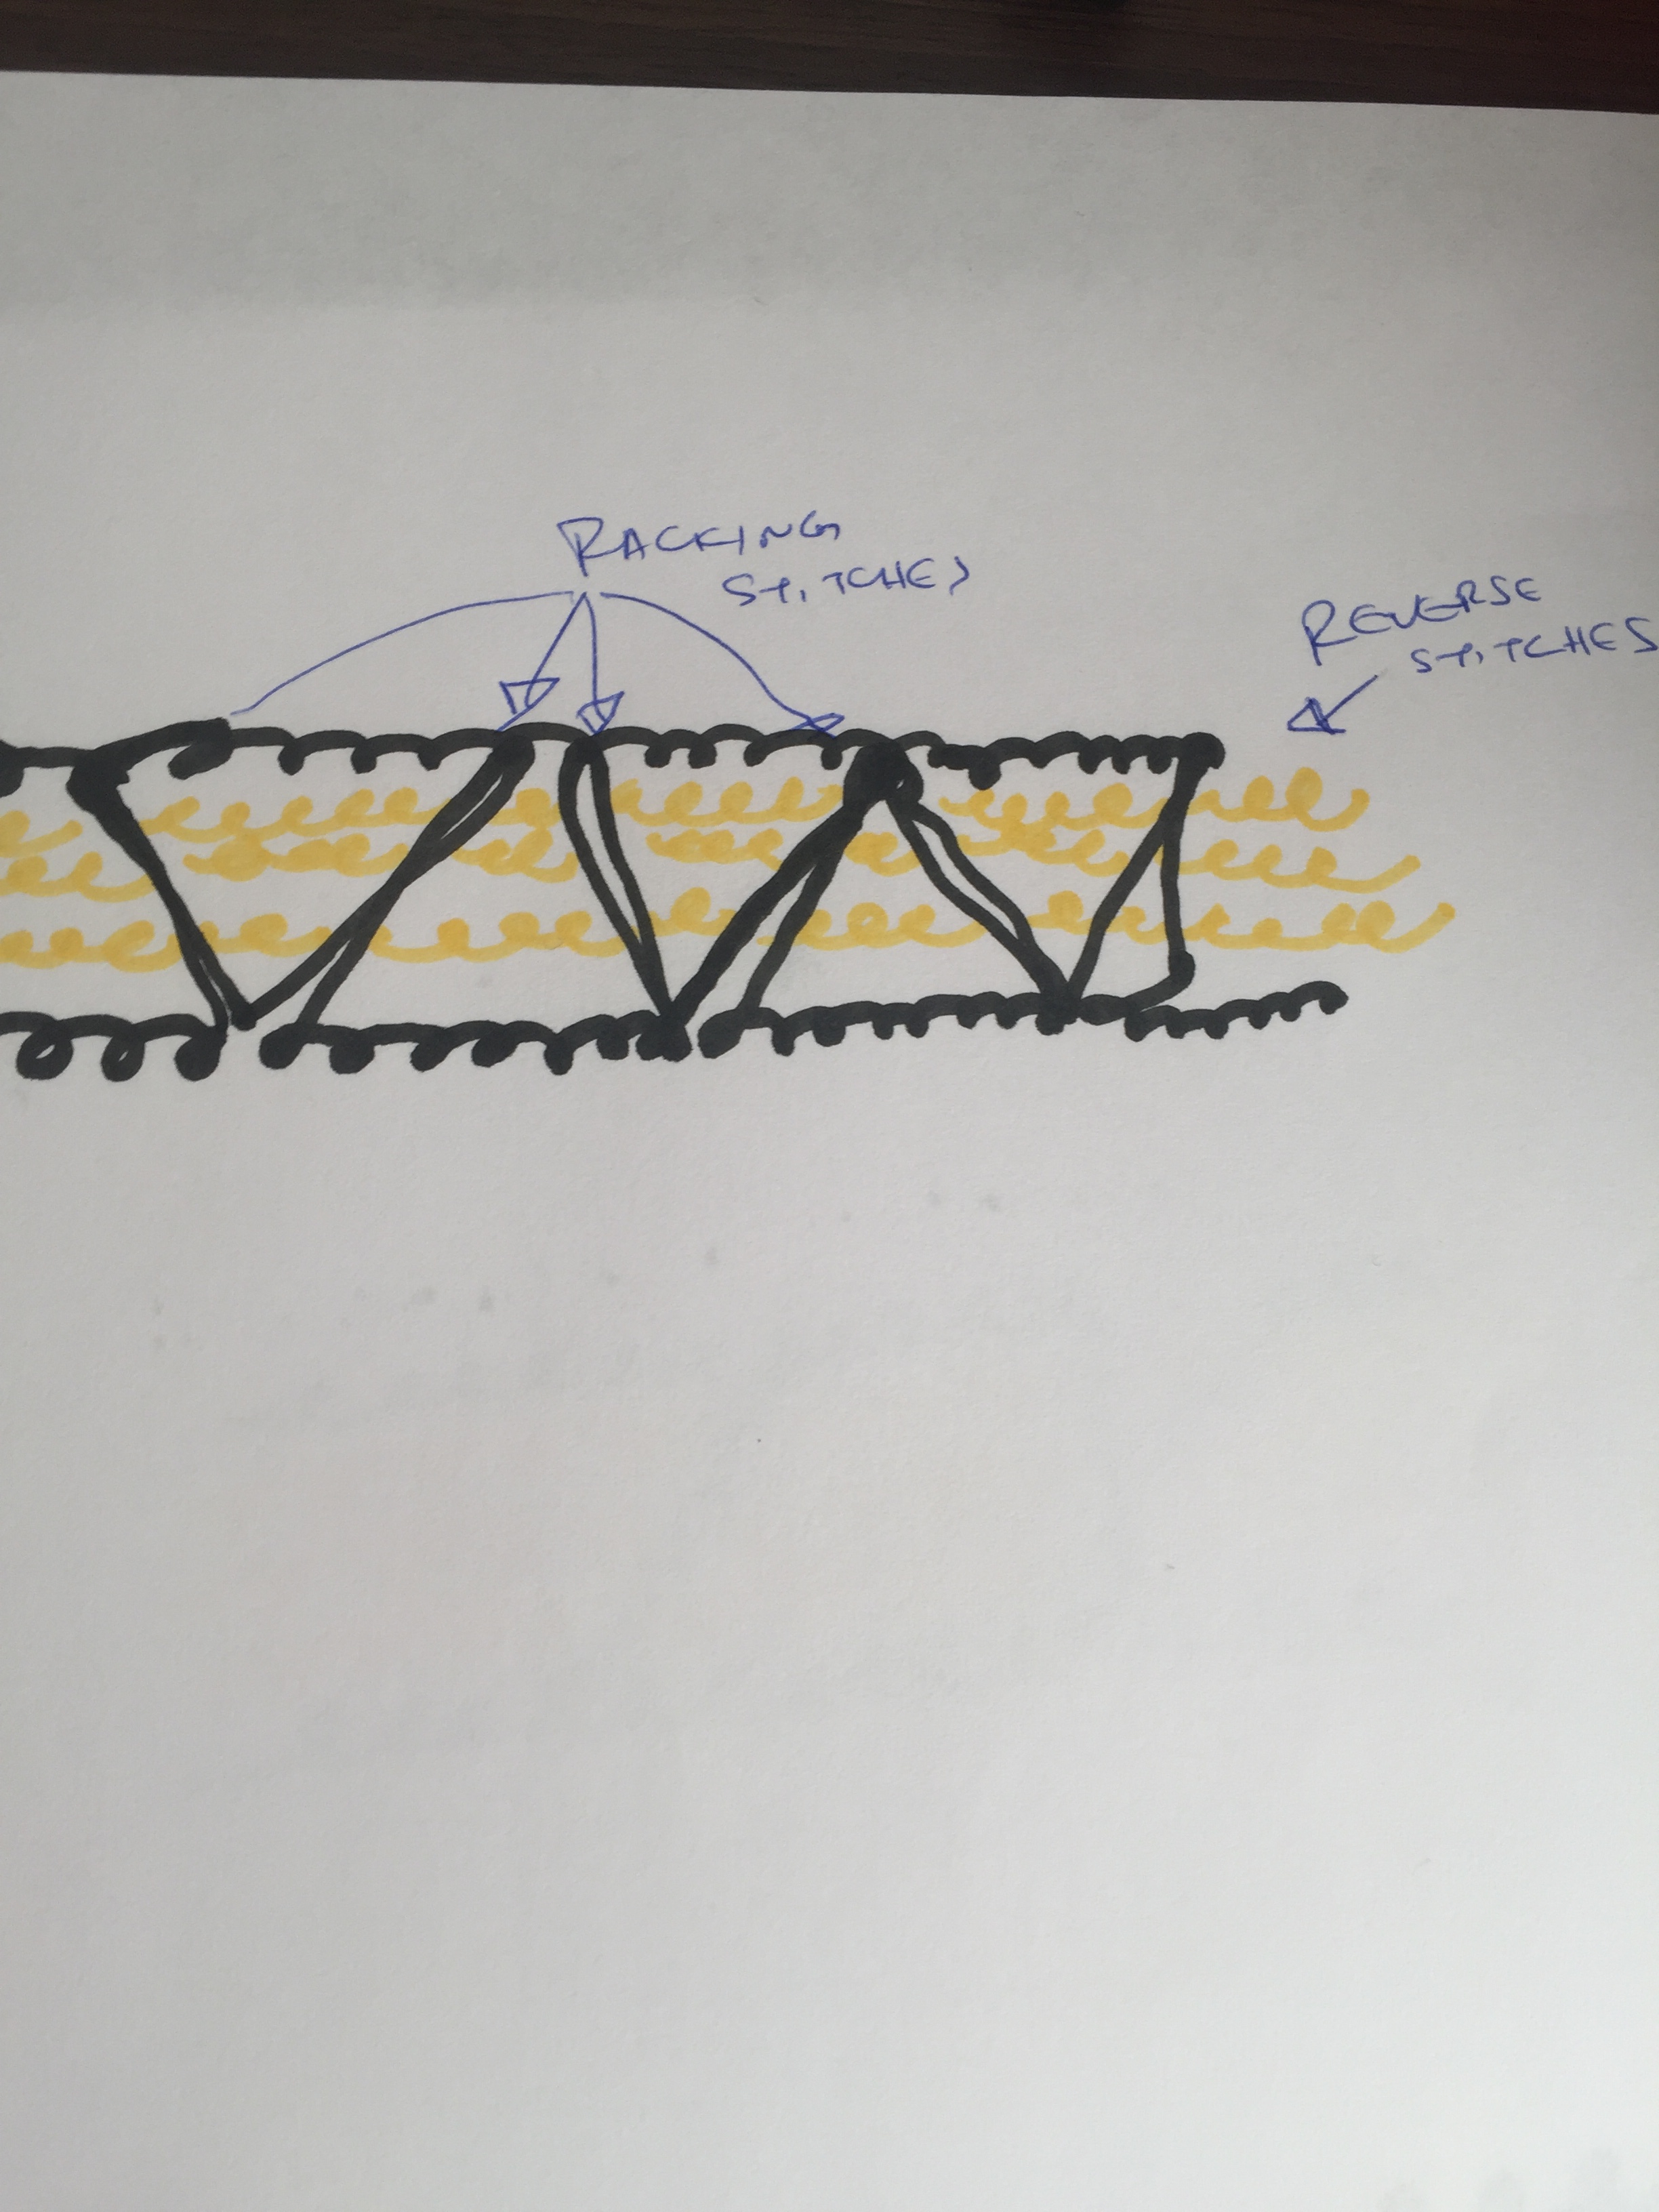
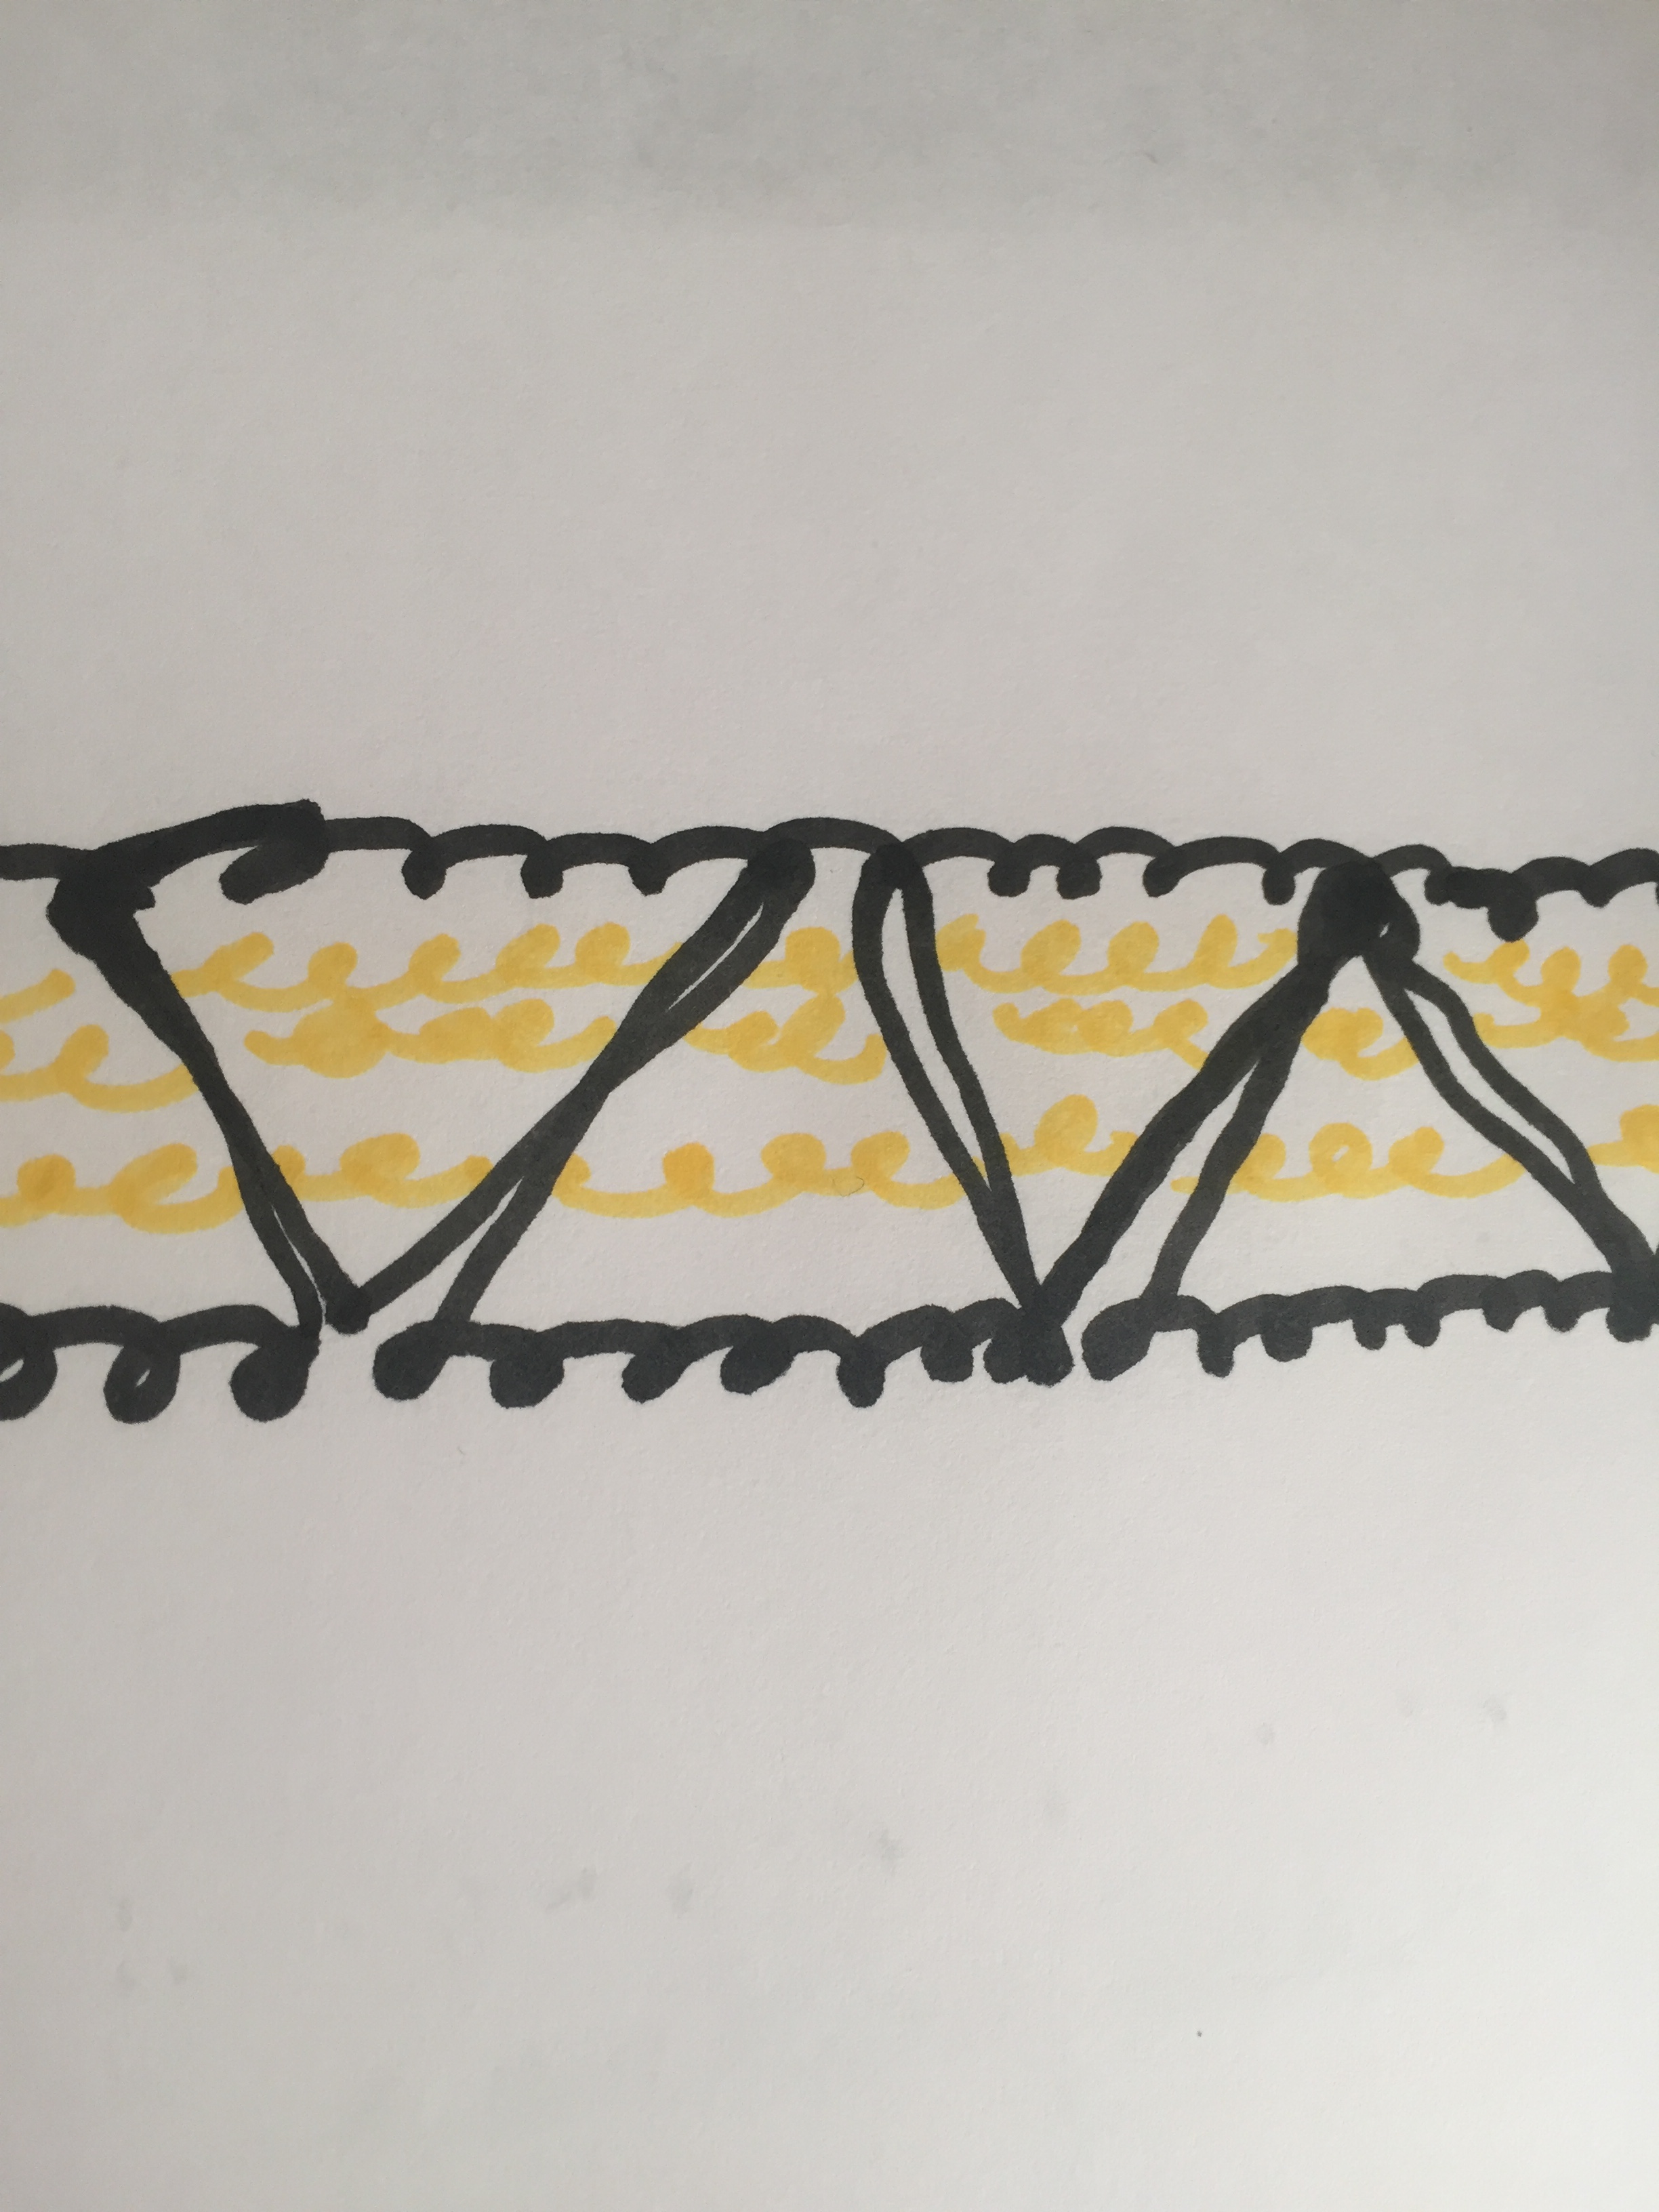
knitting construction detail 2×1 (2×2) rib.
1.8 PORTRAYING BY DRAWING
At last ! I’m able to use the computer!
The only way of drawing I can perform, understand and deliver is by grid drawing, a sort of mosaic creating kind of thing:
My problems where two:
firstly how to portray a physical design and to convert it into a two/ three color jacquard.
second hurdle I had to overcome was to find a way to transfer the .tif file I’ve created into the blog as drag and drop didn’t work.
Finally I found out that .gif file was acceptable but with the down side of not having a clear picture (that’s why all pics are a bit blurred).
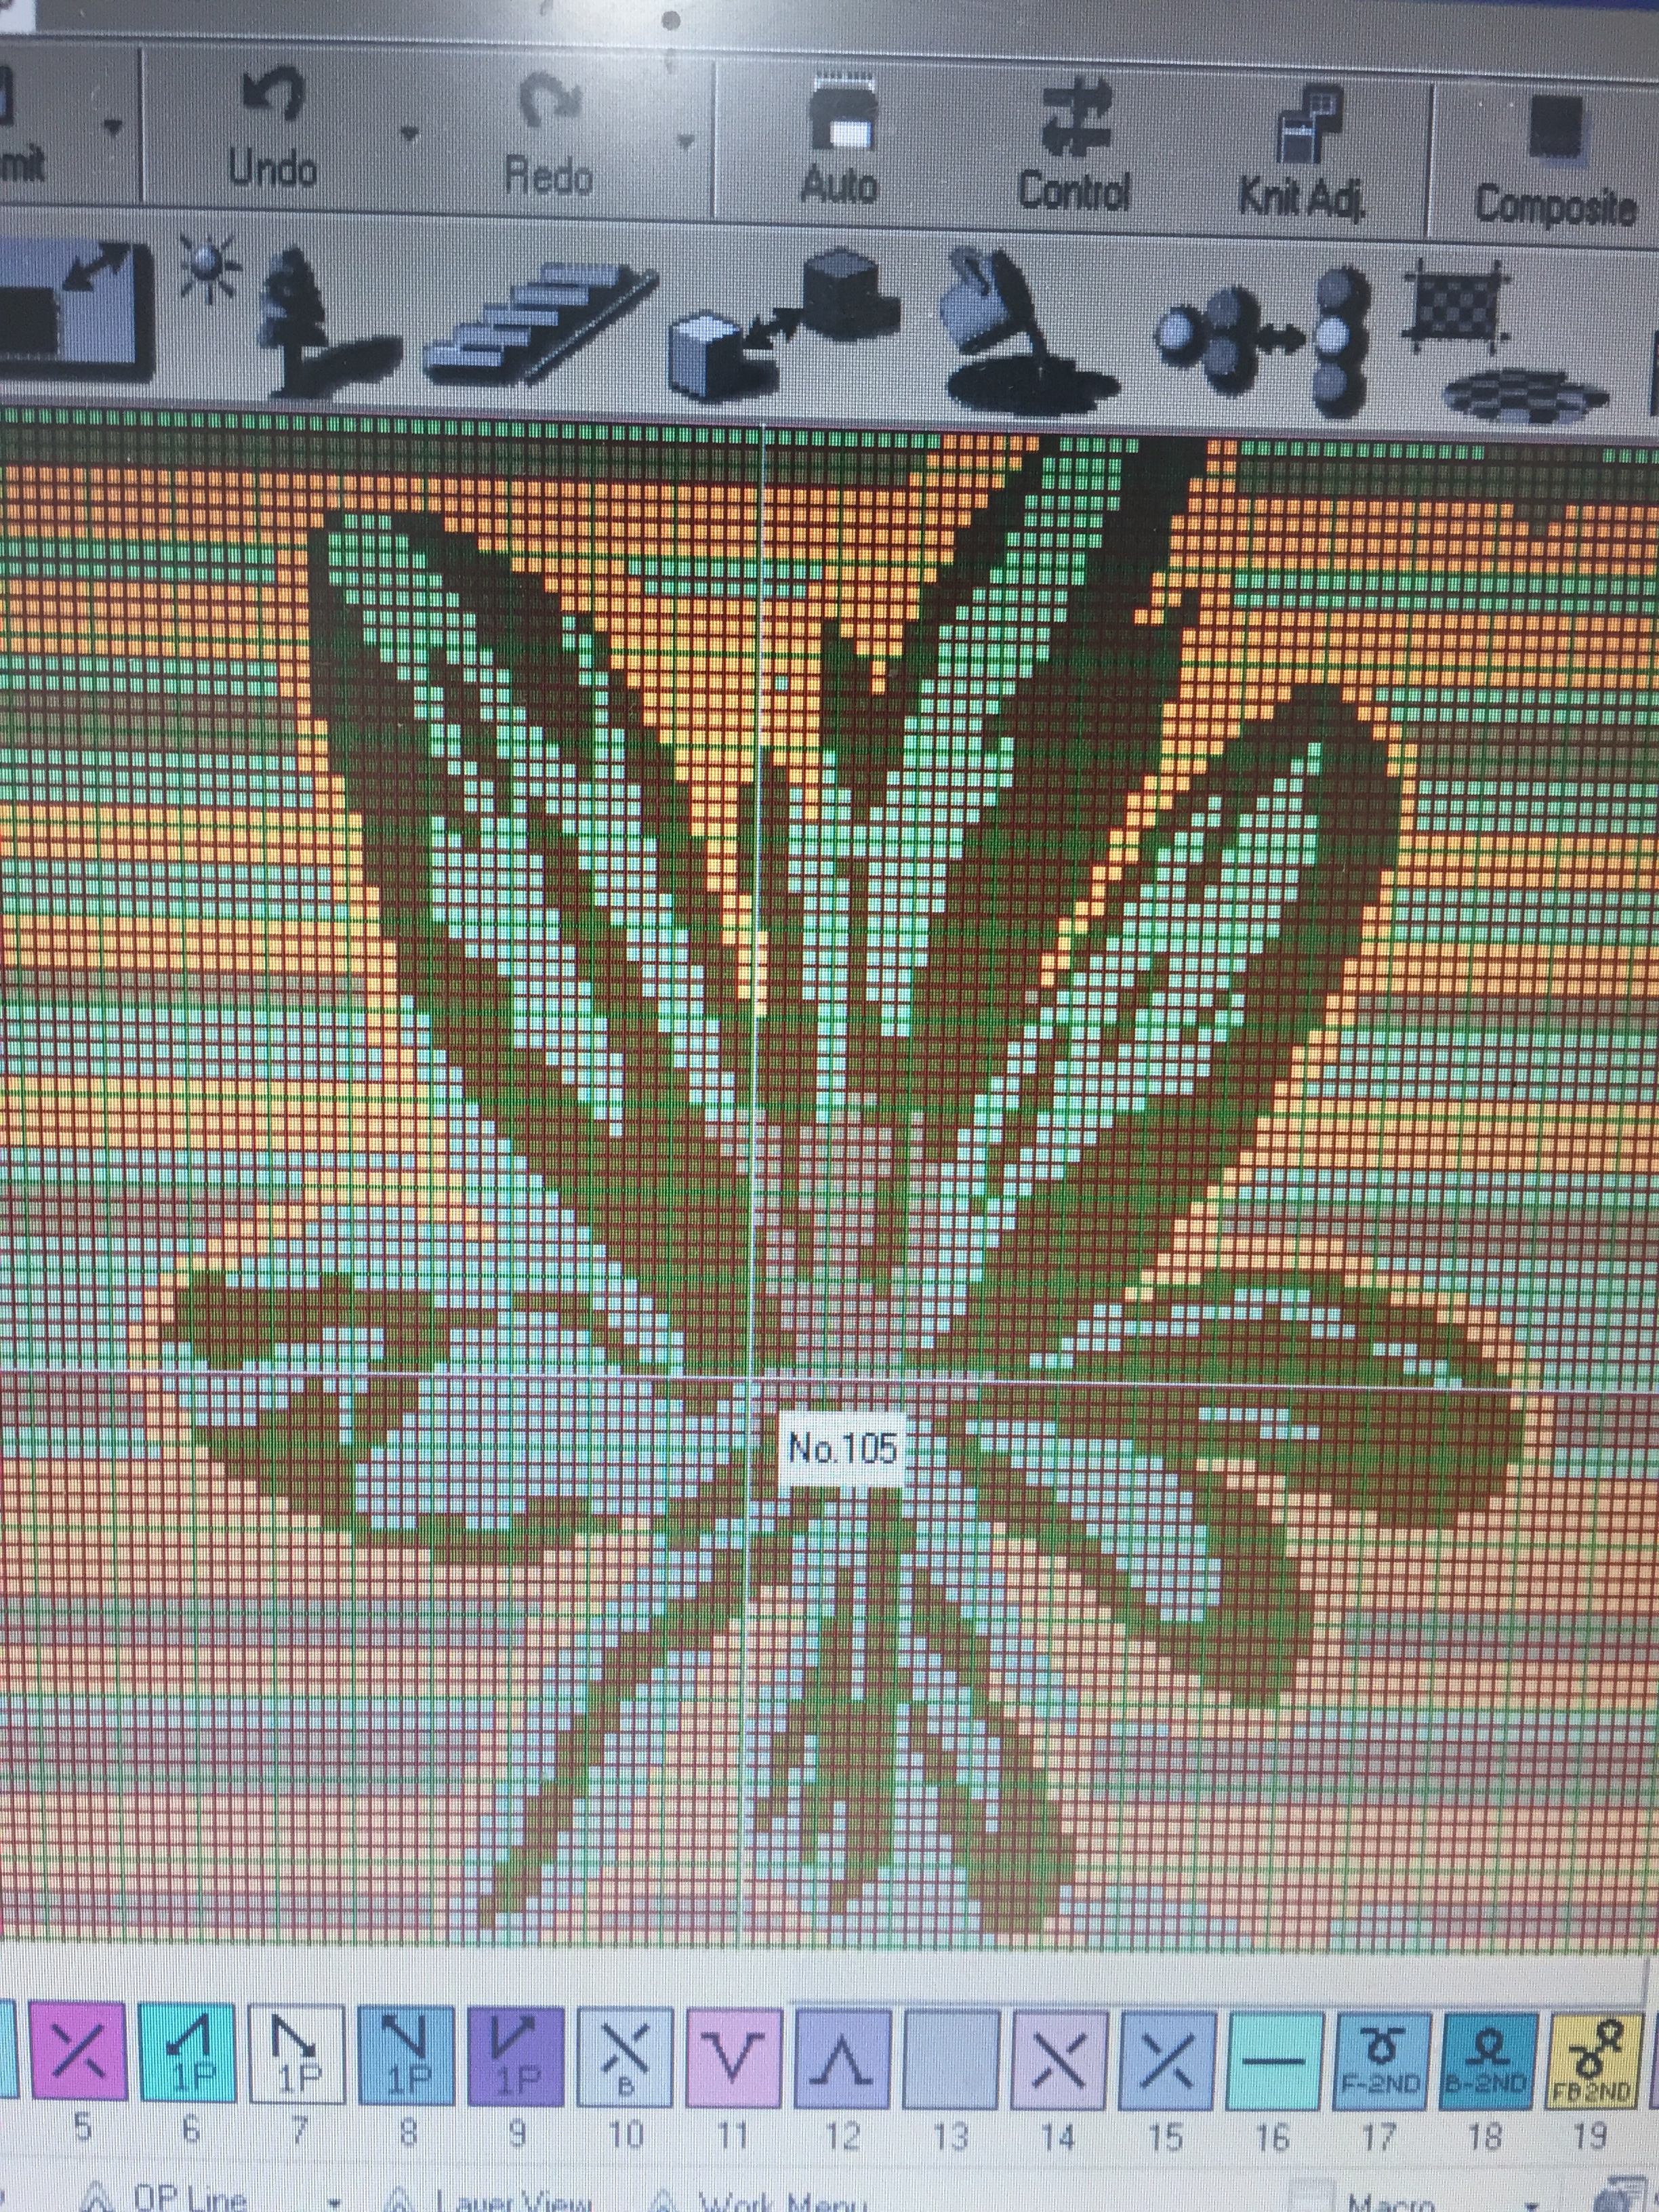
my goal was to create physical looking graph which can be used by a knitting machine and convert it into fabric if required.
FERN DESIGN.
two leaf designs…
a very popular tree from my home country : plane tree leaf design
this is how I did it!!!
ROSE
FLOWER DESIGN DONE BY ERASING EVERY OTHER COLUMN
FERN DESIGN
Final assessment:
On the first, introductory part of my course, I had the chance to start thinking outside of the box.
All these years I was creating fabrics and stitches without having on the back side of my head the creation element I’ve used in this course . It was sort of a revelation to me as I’m working in a fast paced environment were I really haven’t got time for second thoughts, time to use my imagination in a whole or look back and rework on what I’ve created or even oversee what I’ve done in a different perspective.
Especially in the task that we had to draw with our hands closed or with our left hand, I had the feeling of being free from any kind of restriction, were time didn’t matter as much as the joy of playing about with your imagination , a sheet of paper and a marker.
I faced two things I’m not familiar with: craftsmanship were I had to create a collage and hand drawing which is something I haven’t practiced since I was a child.
I managed to master these ”fears” and finish my tasks after working around them where I realized how much I enjoyed doing this course ,what a great choice to take textiles it was and how many things I can gain not only as a student but more than anything else as a person…