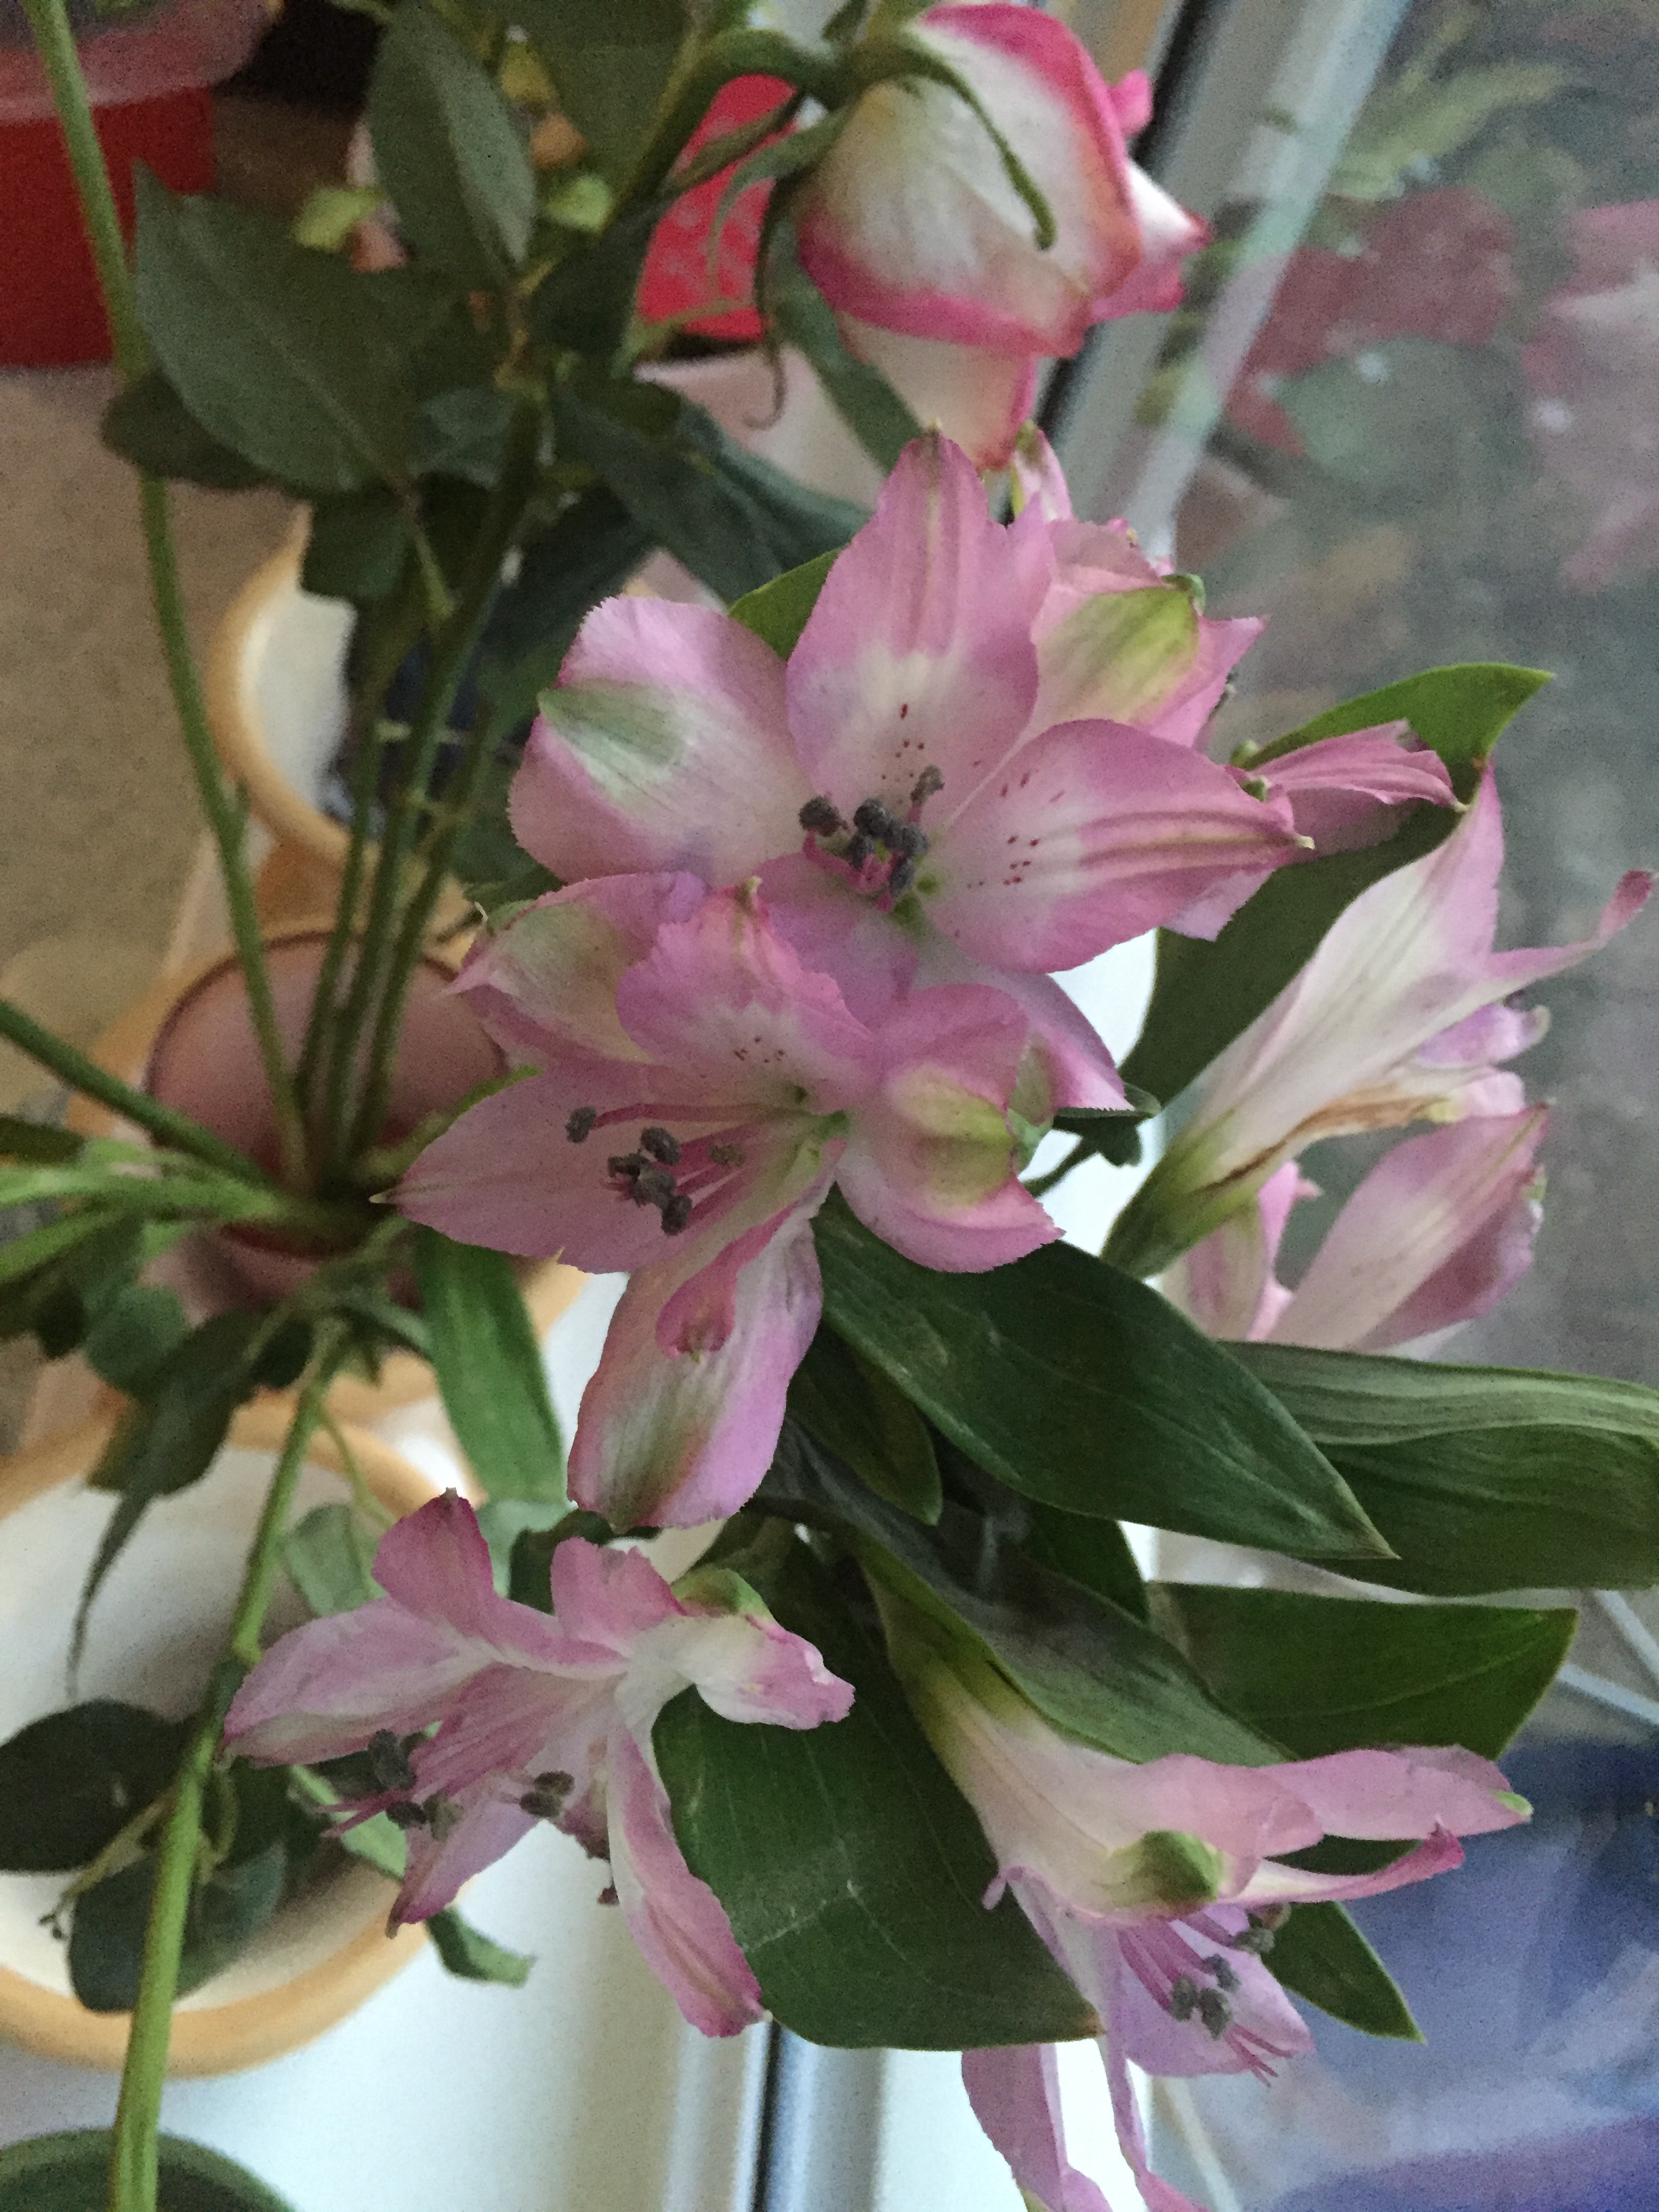
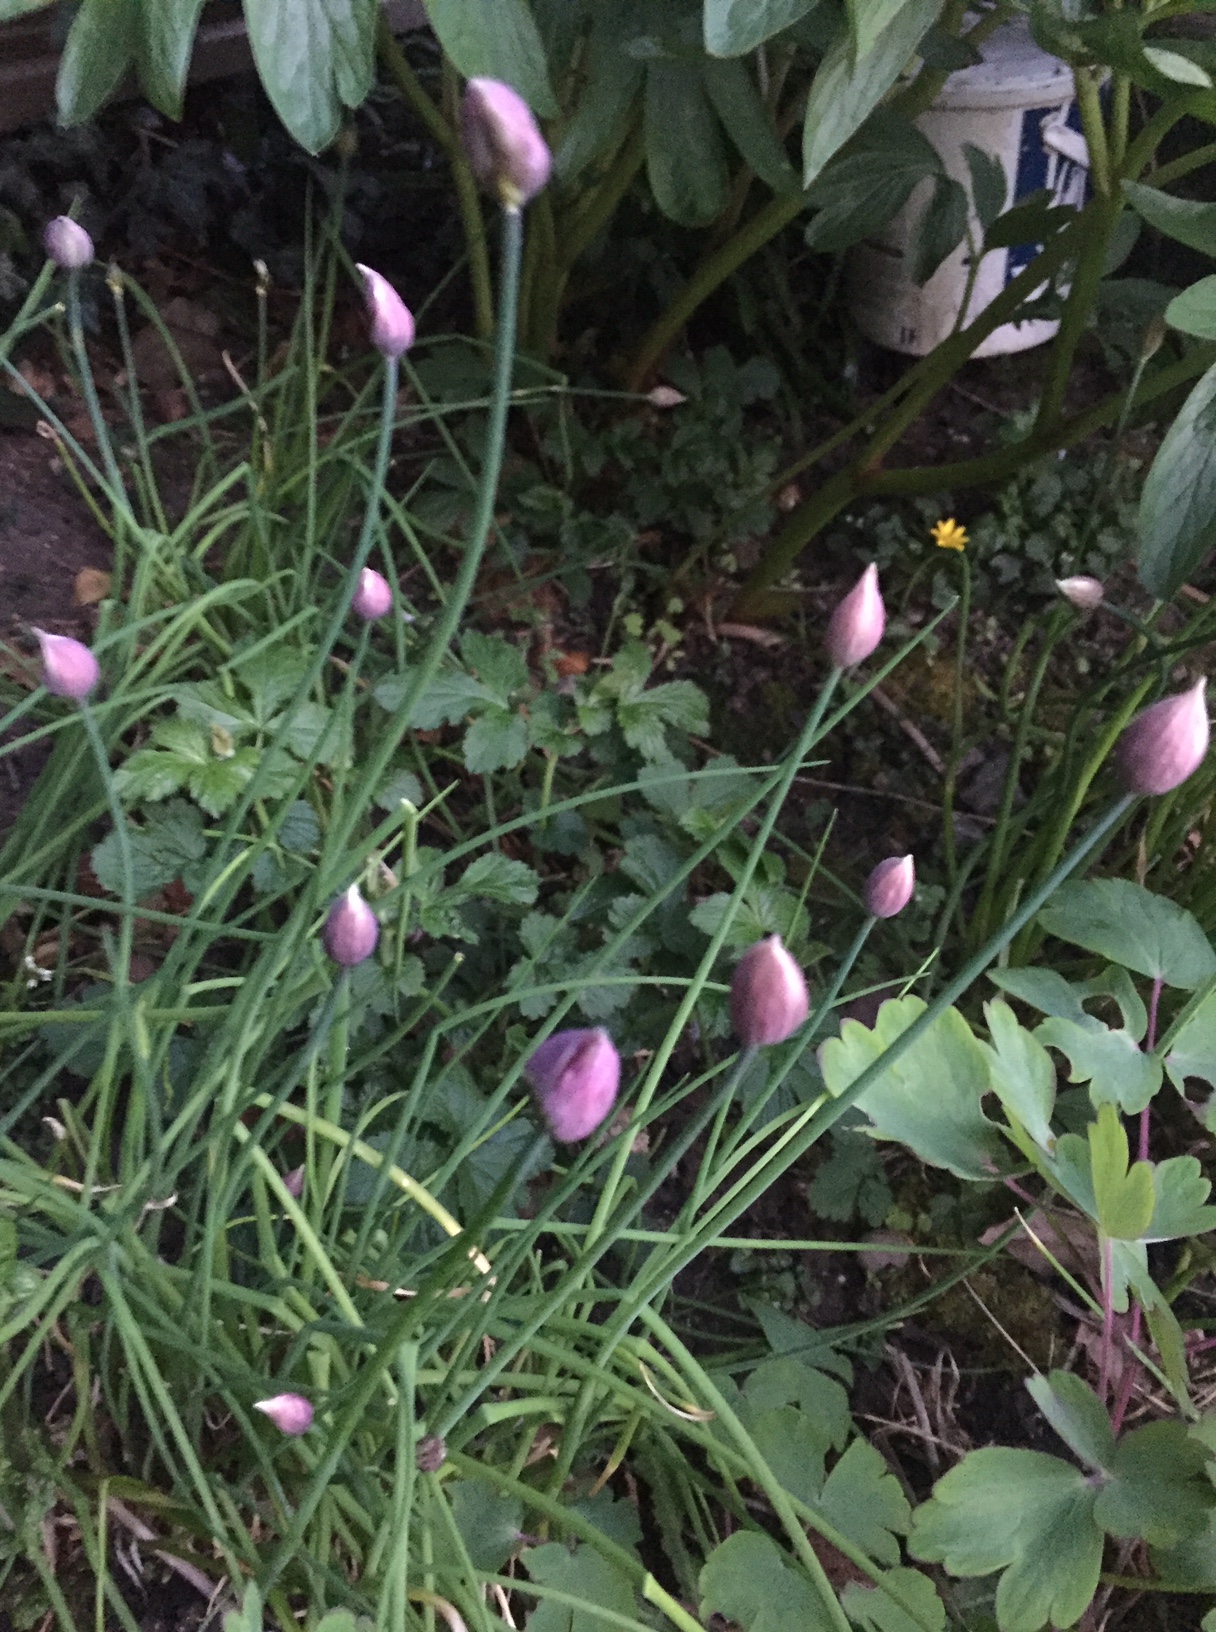
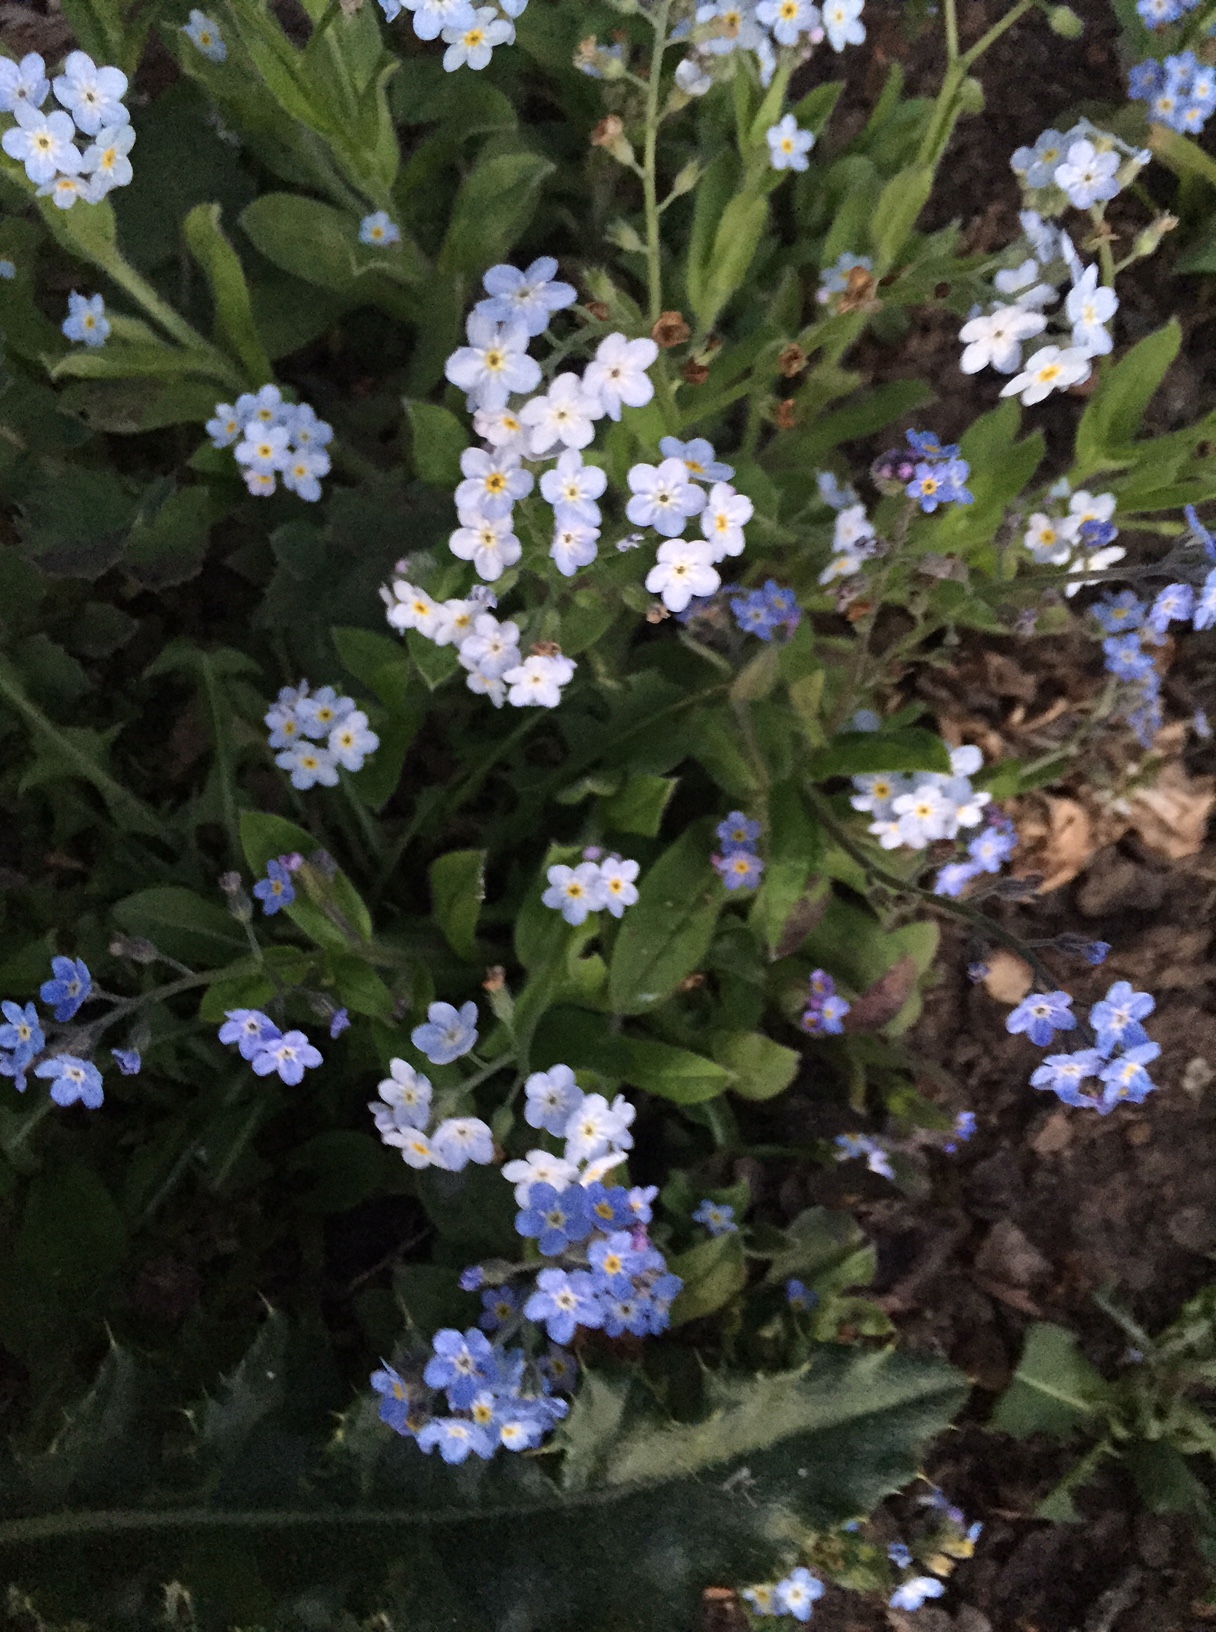
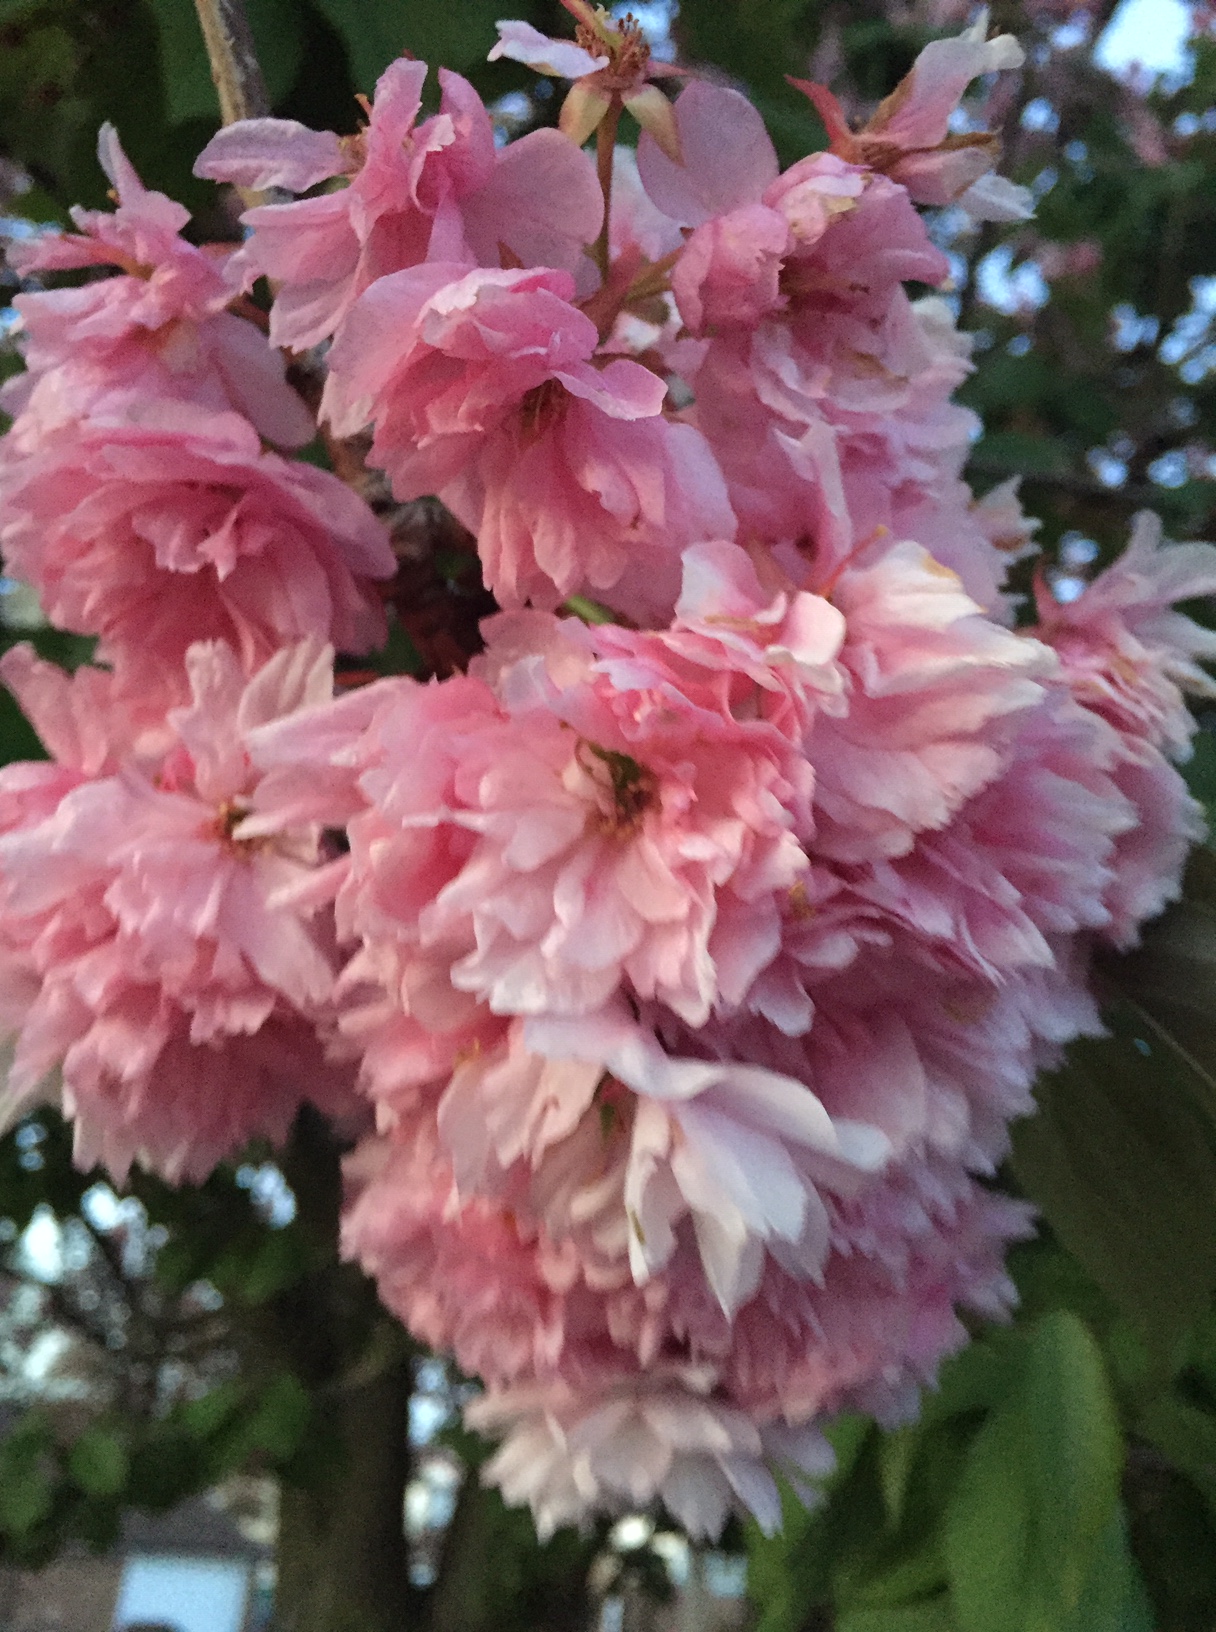
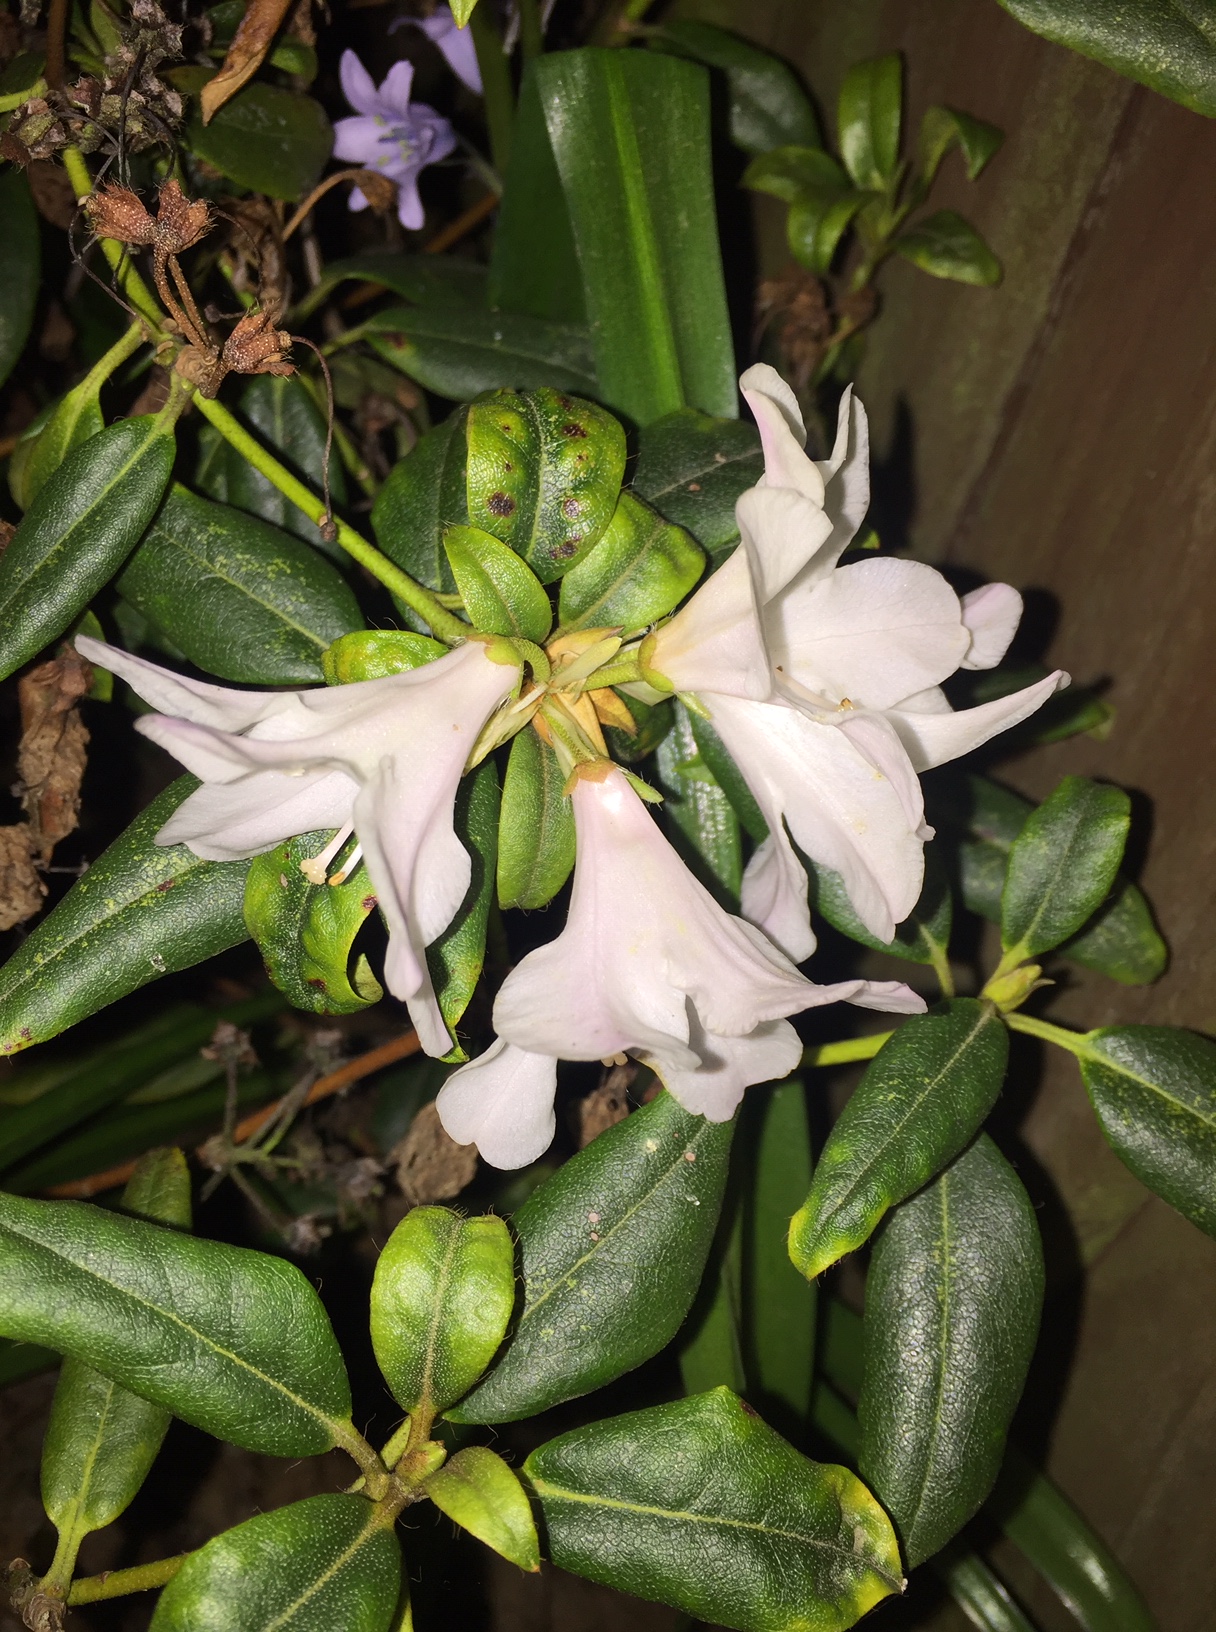
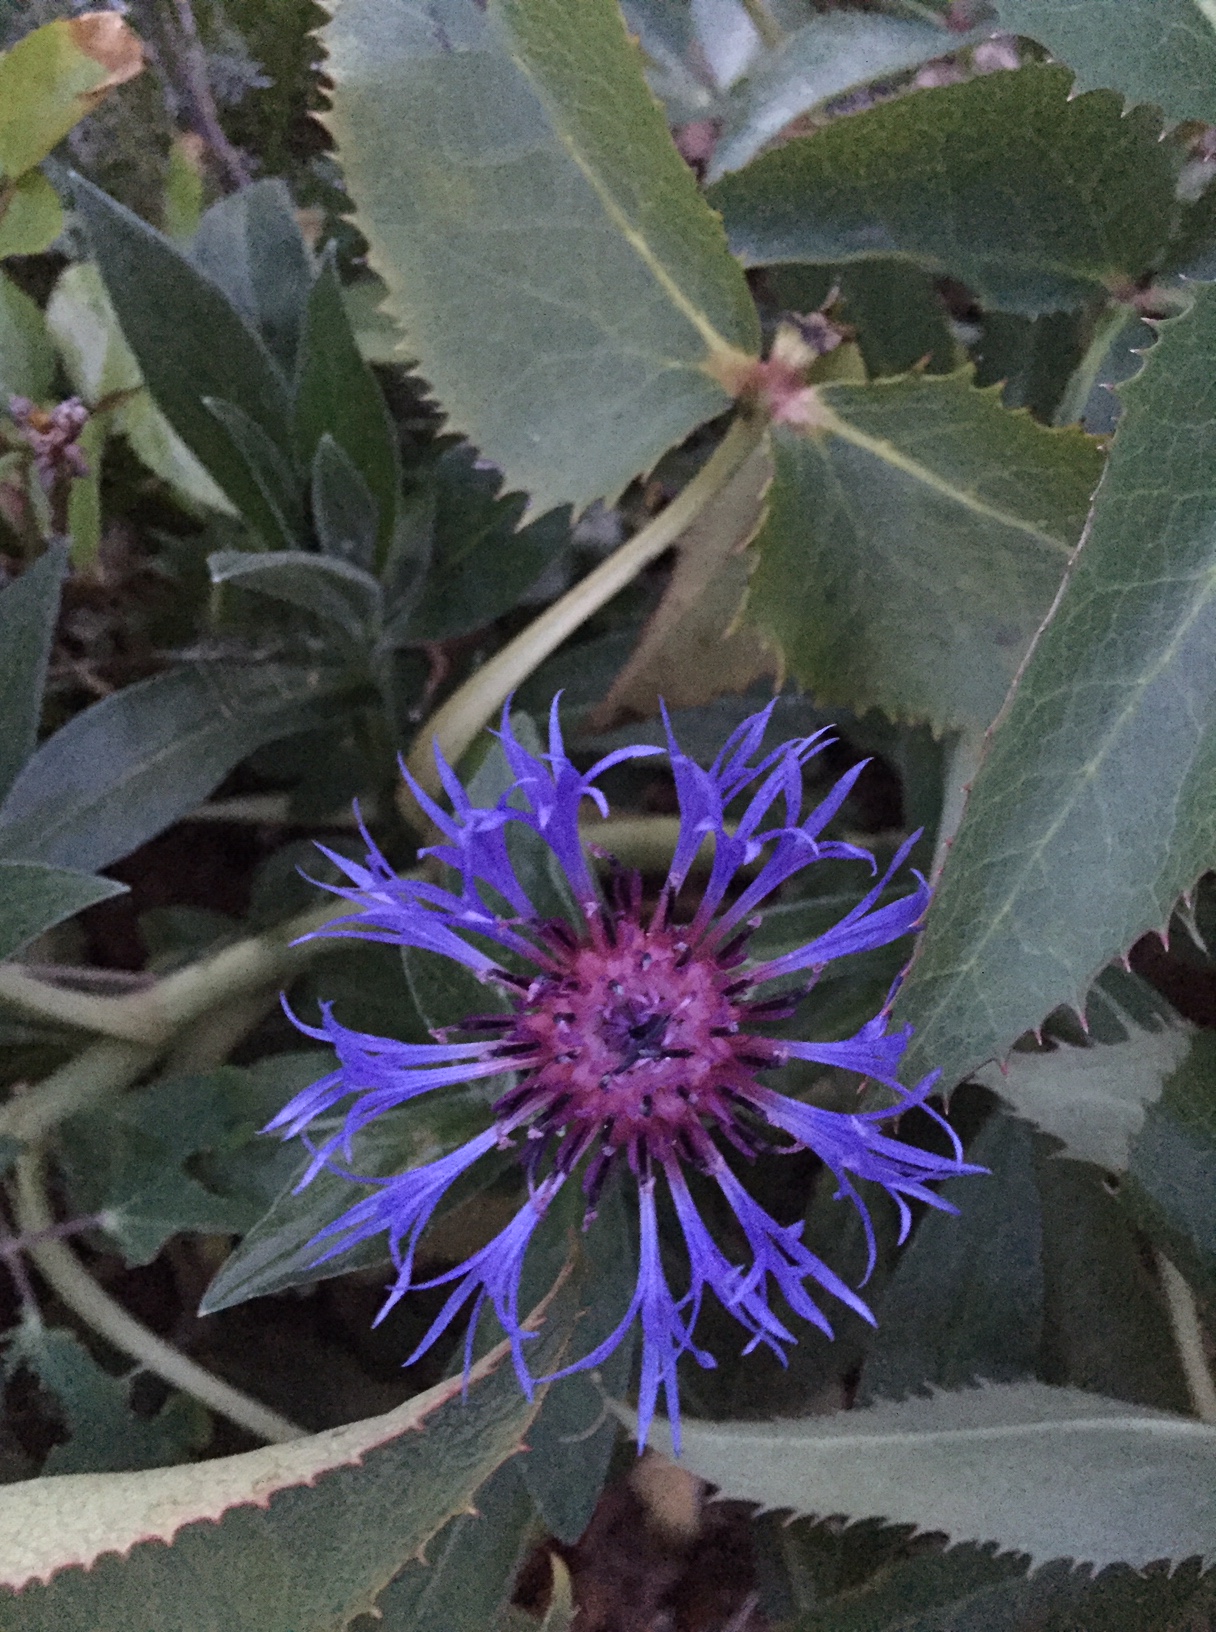
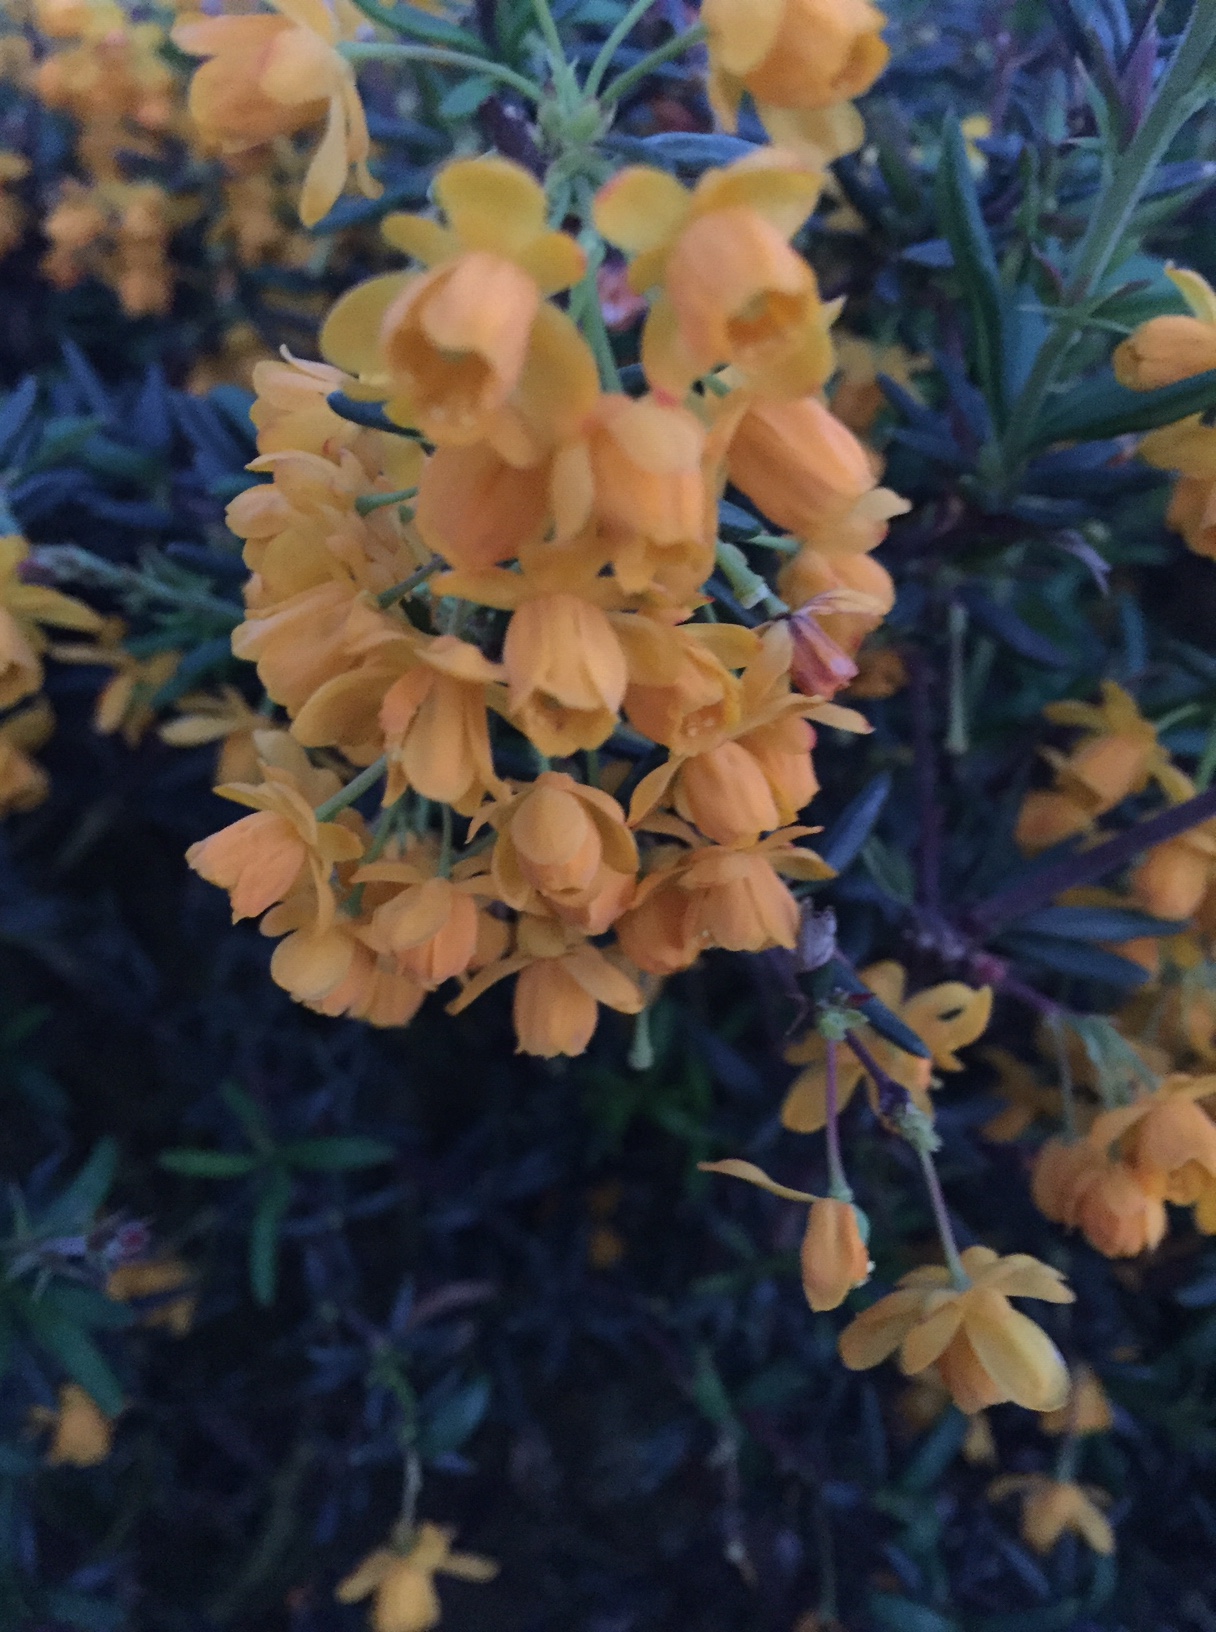
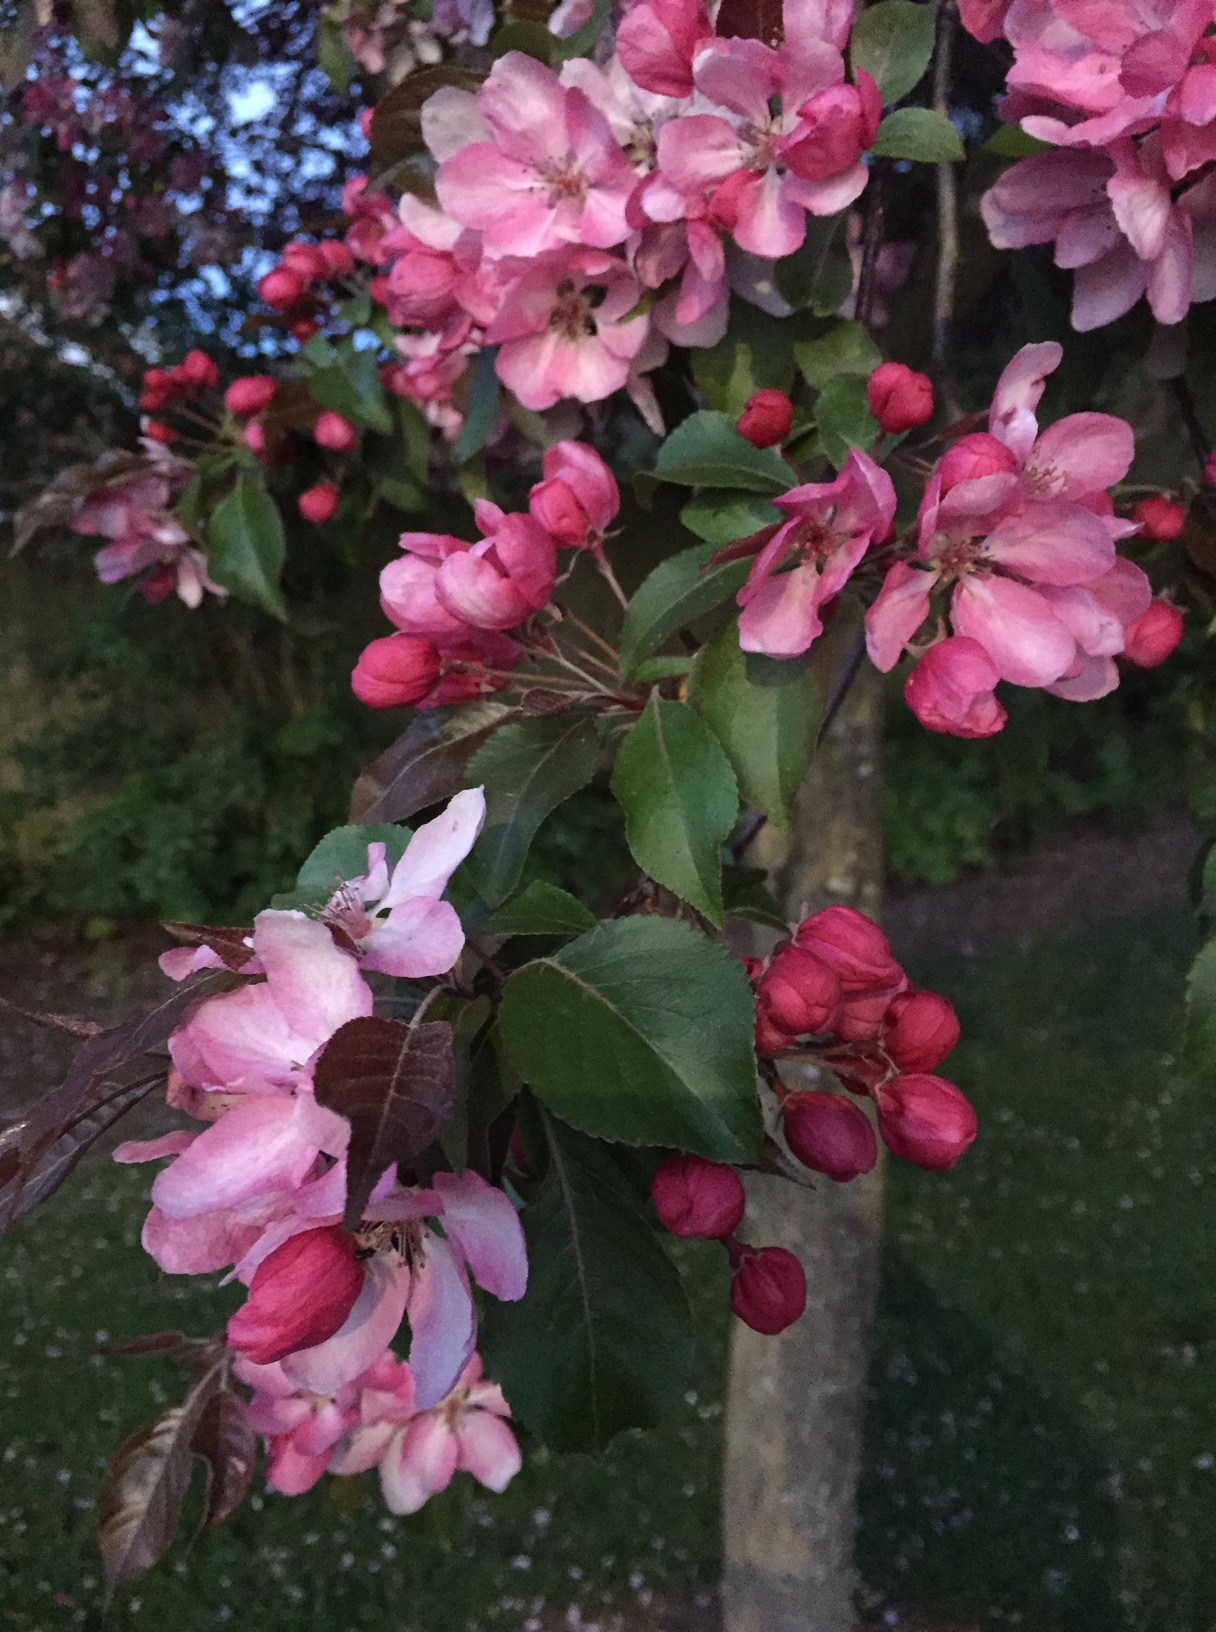
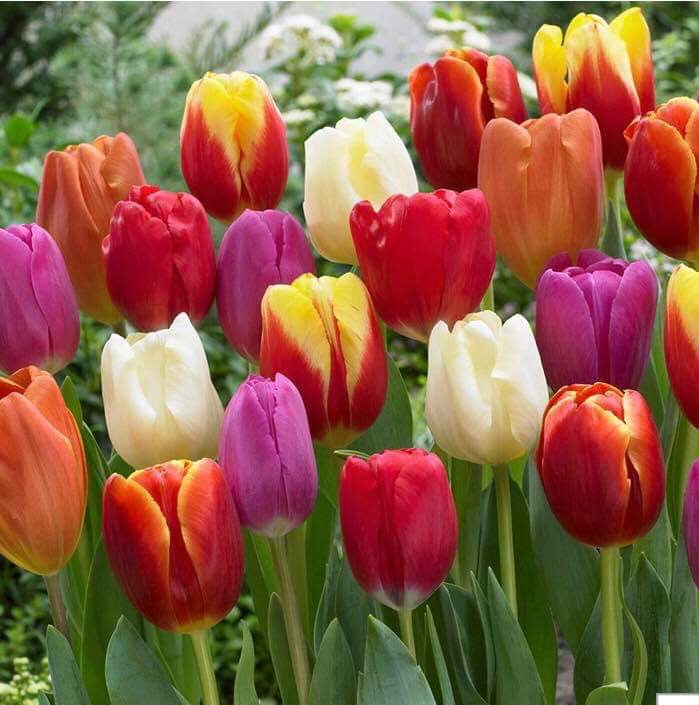
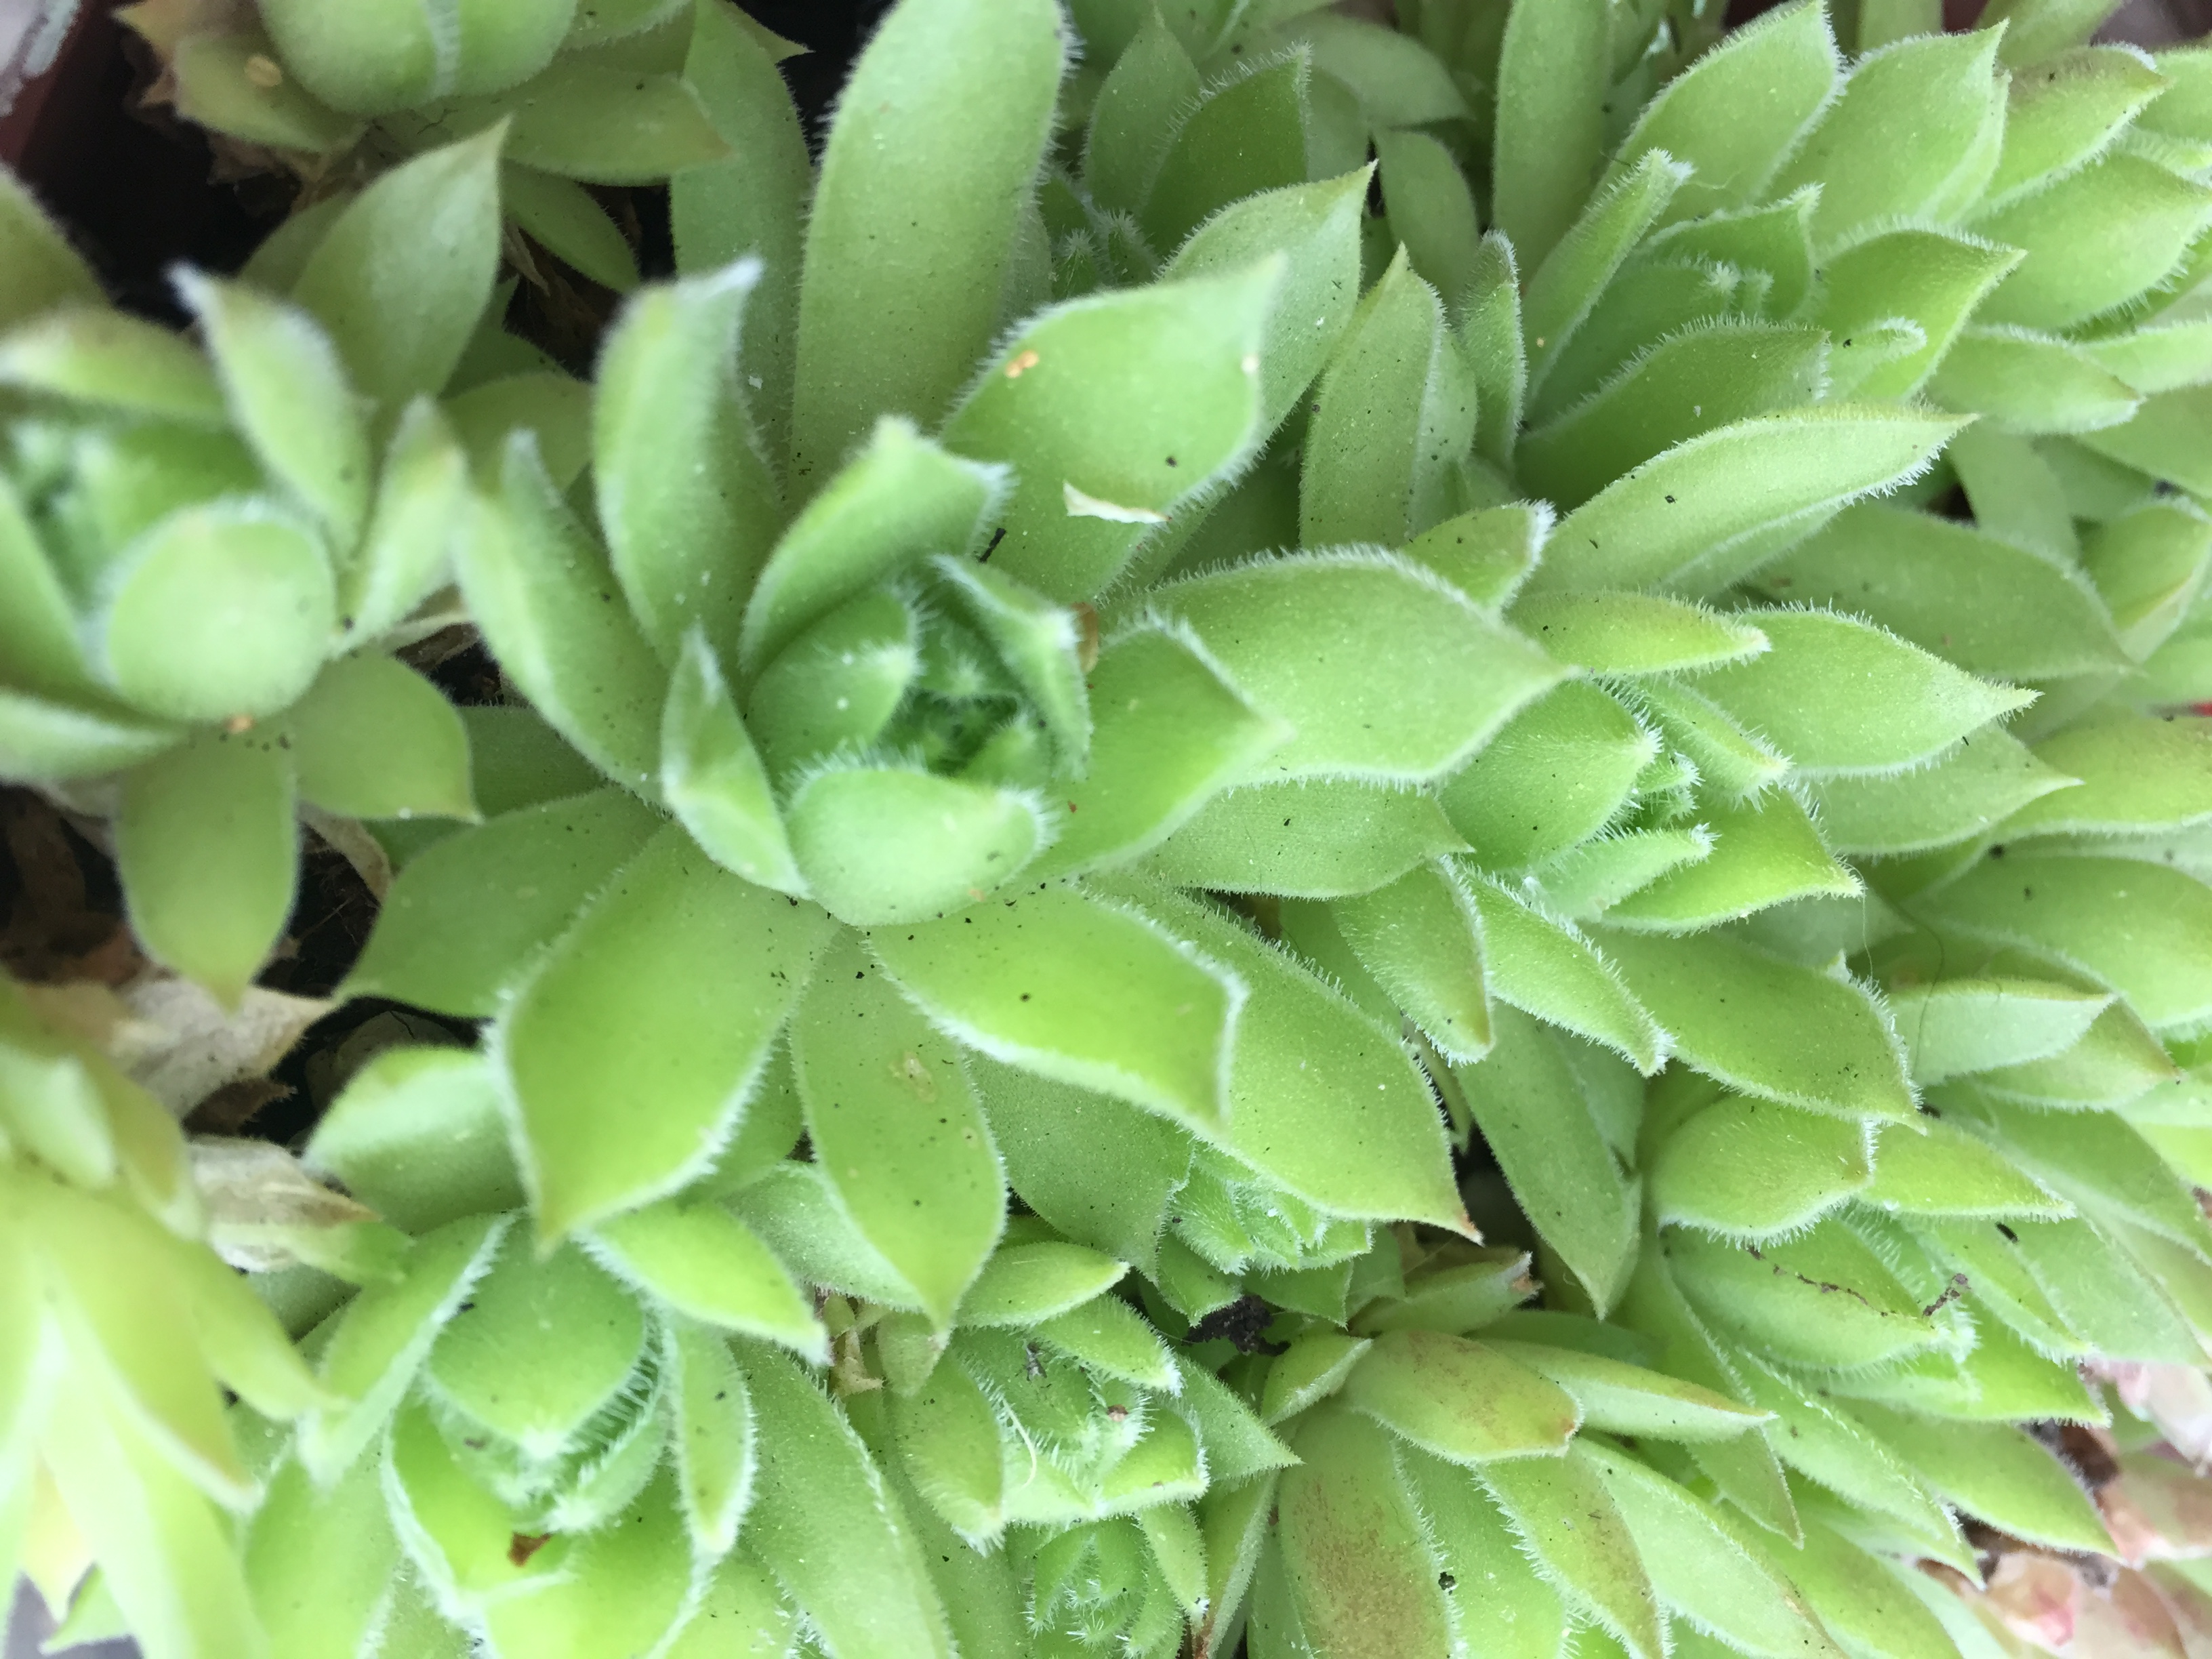
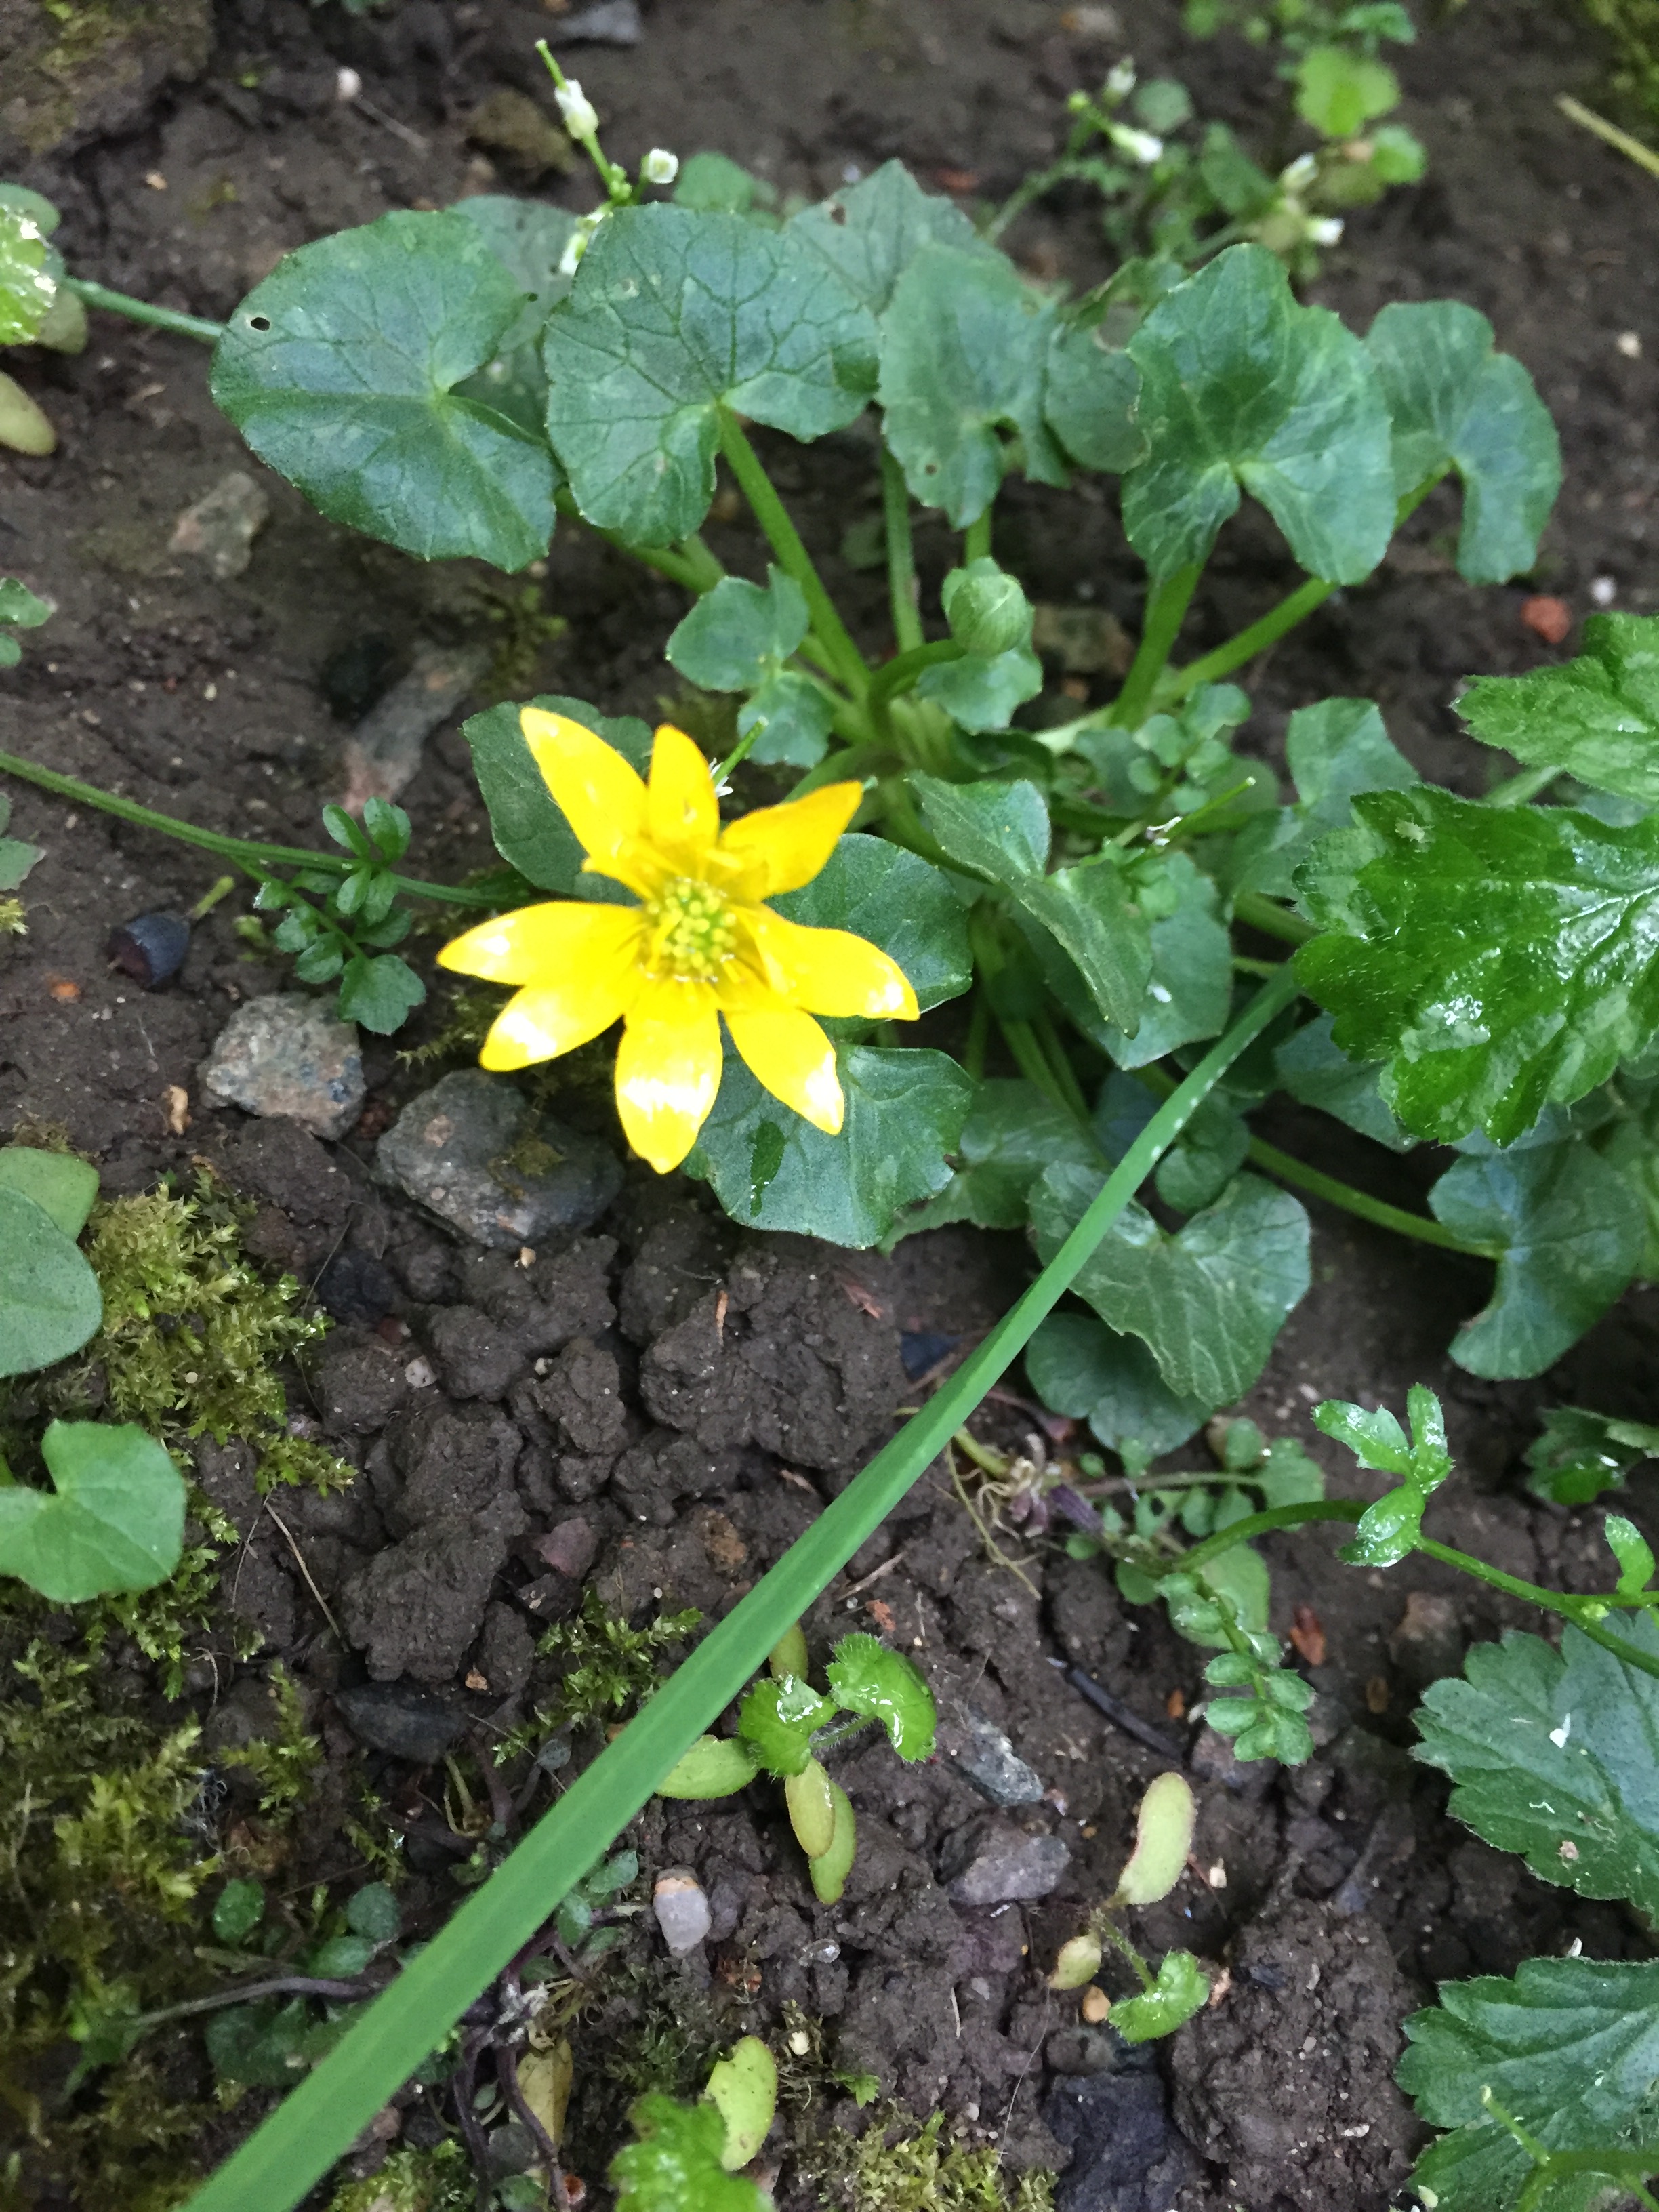
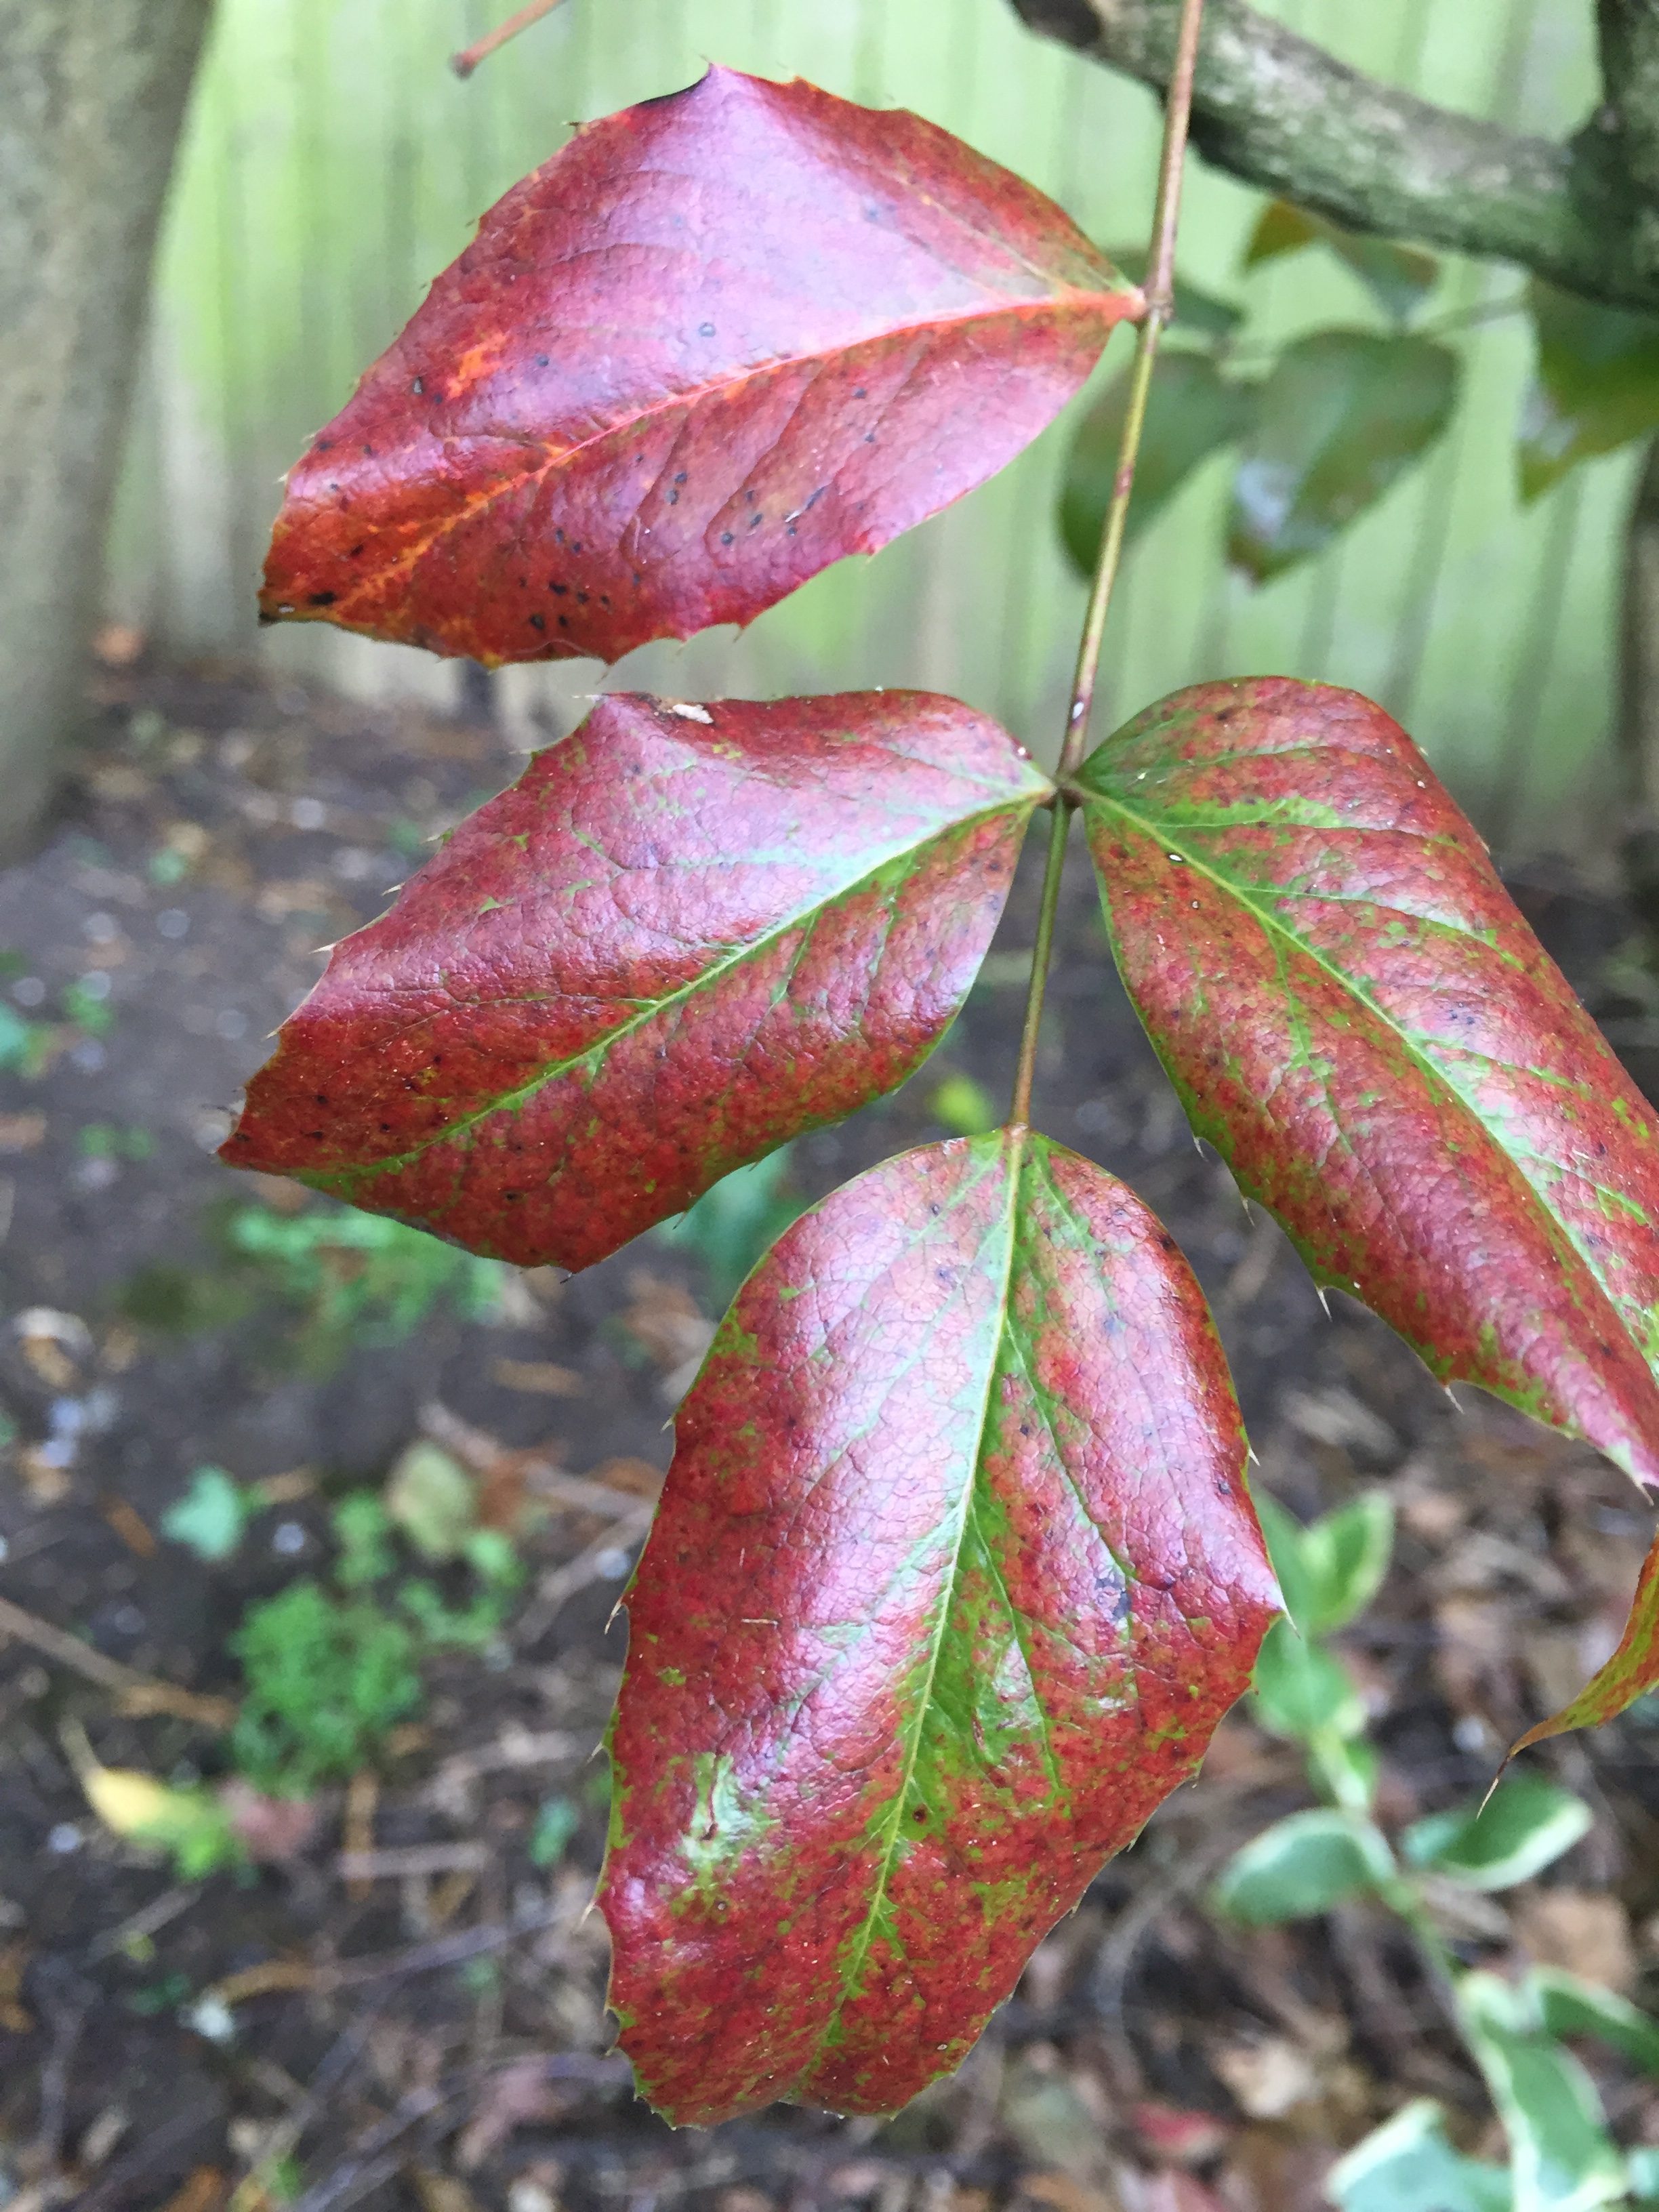
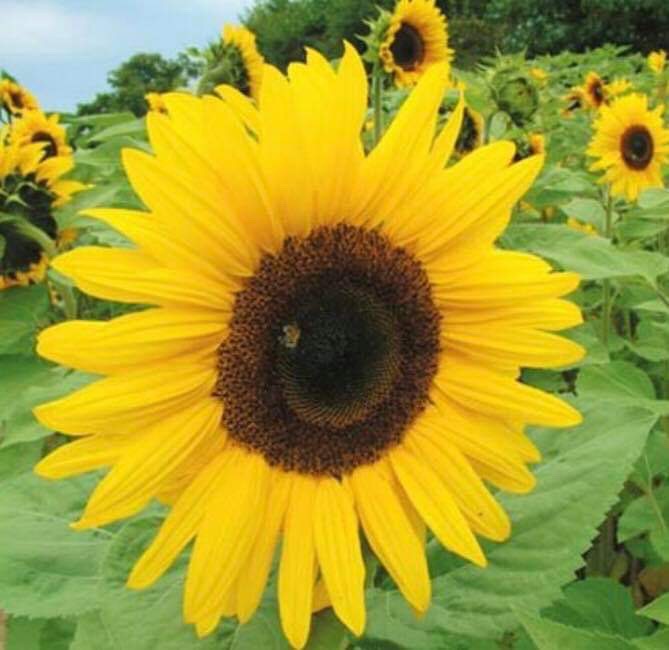
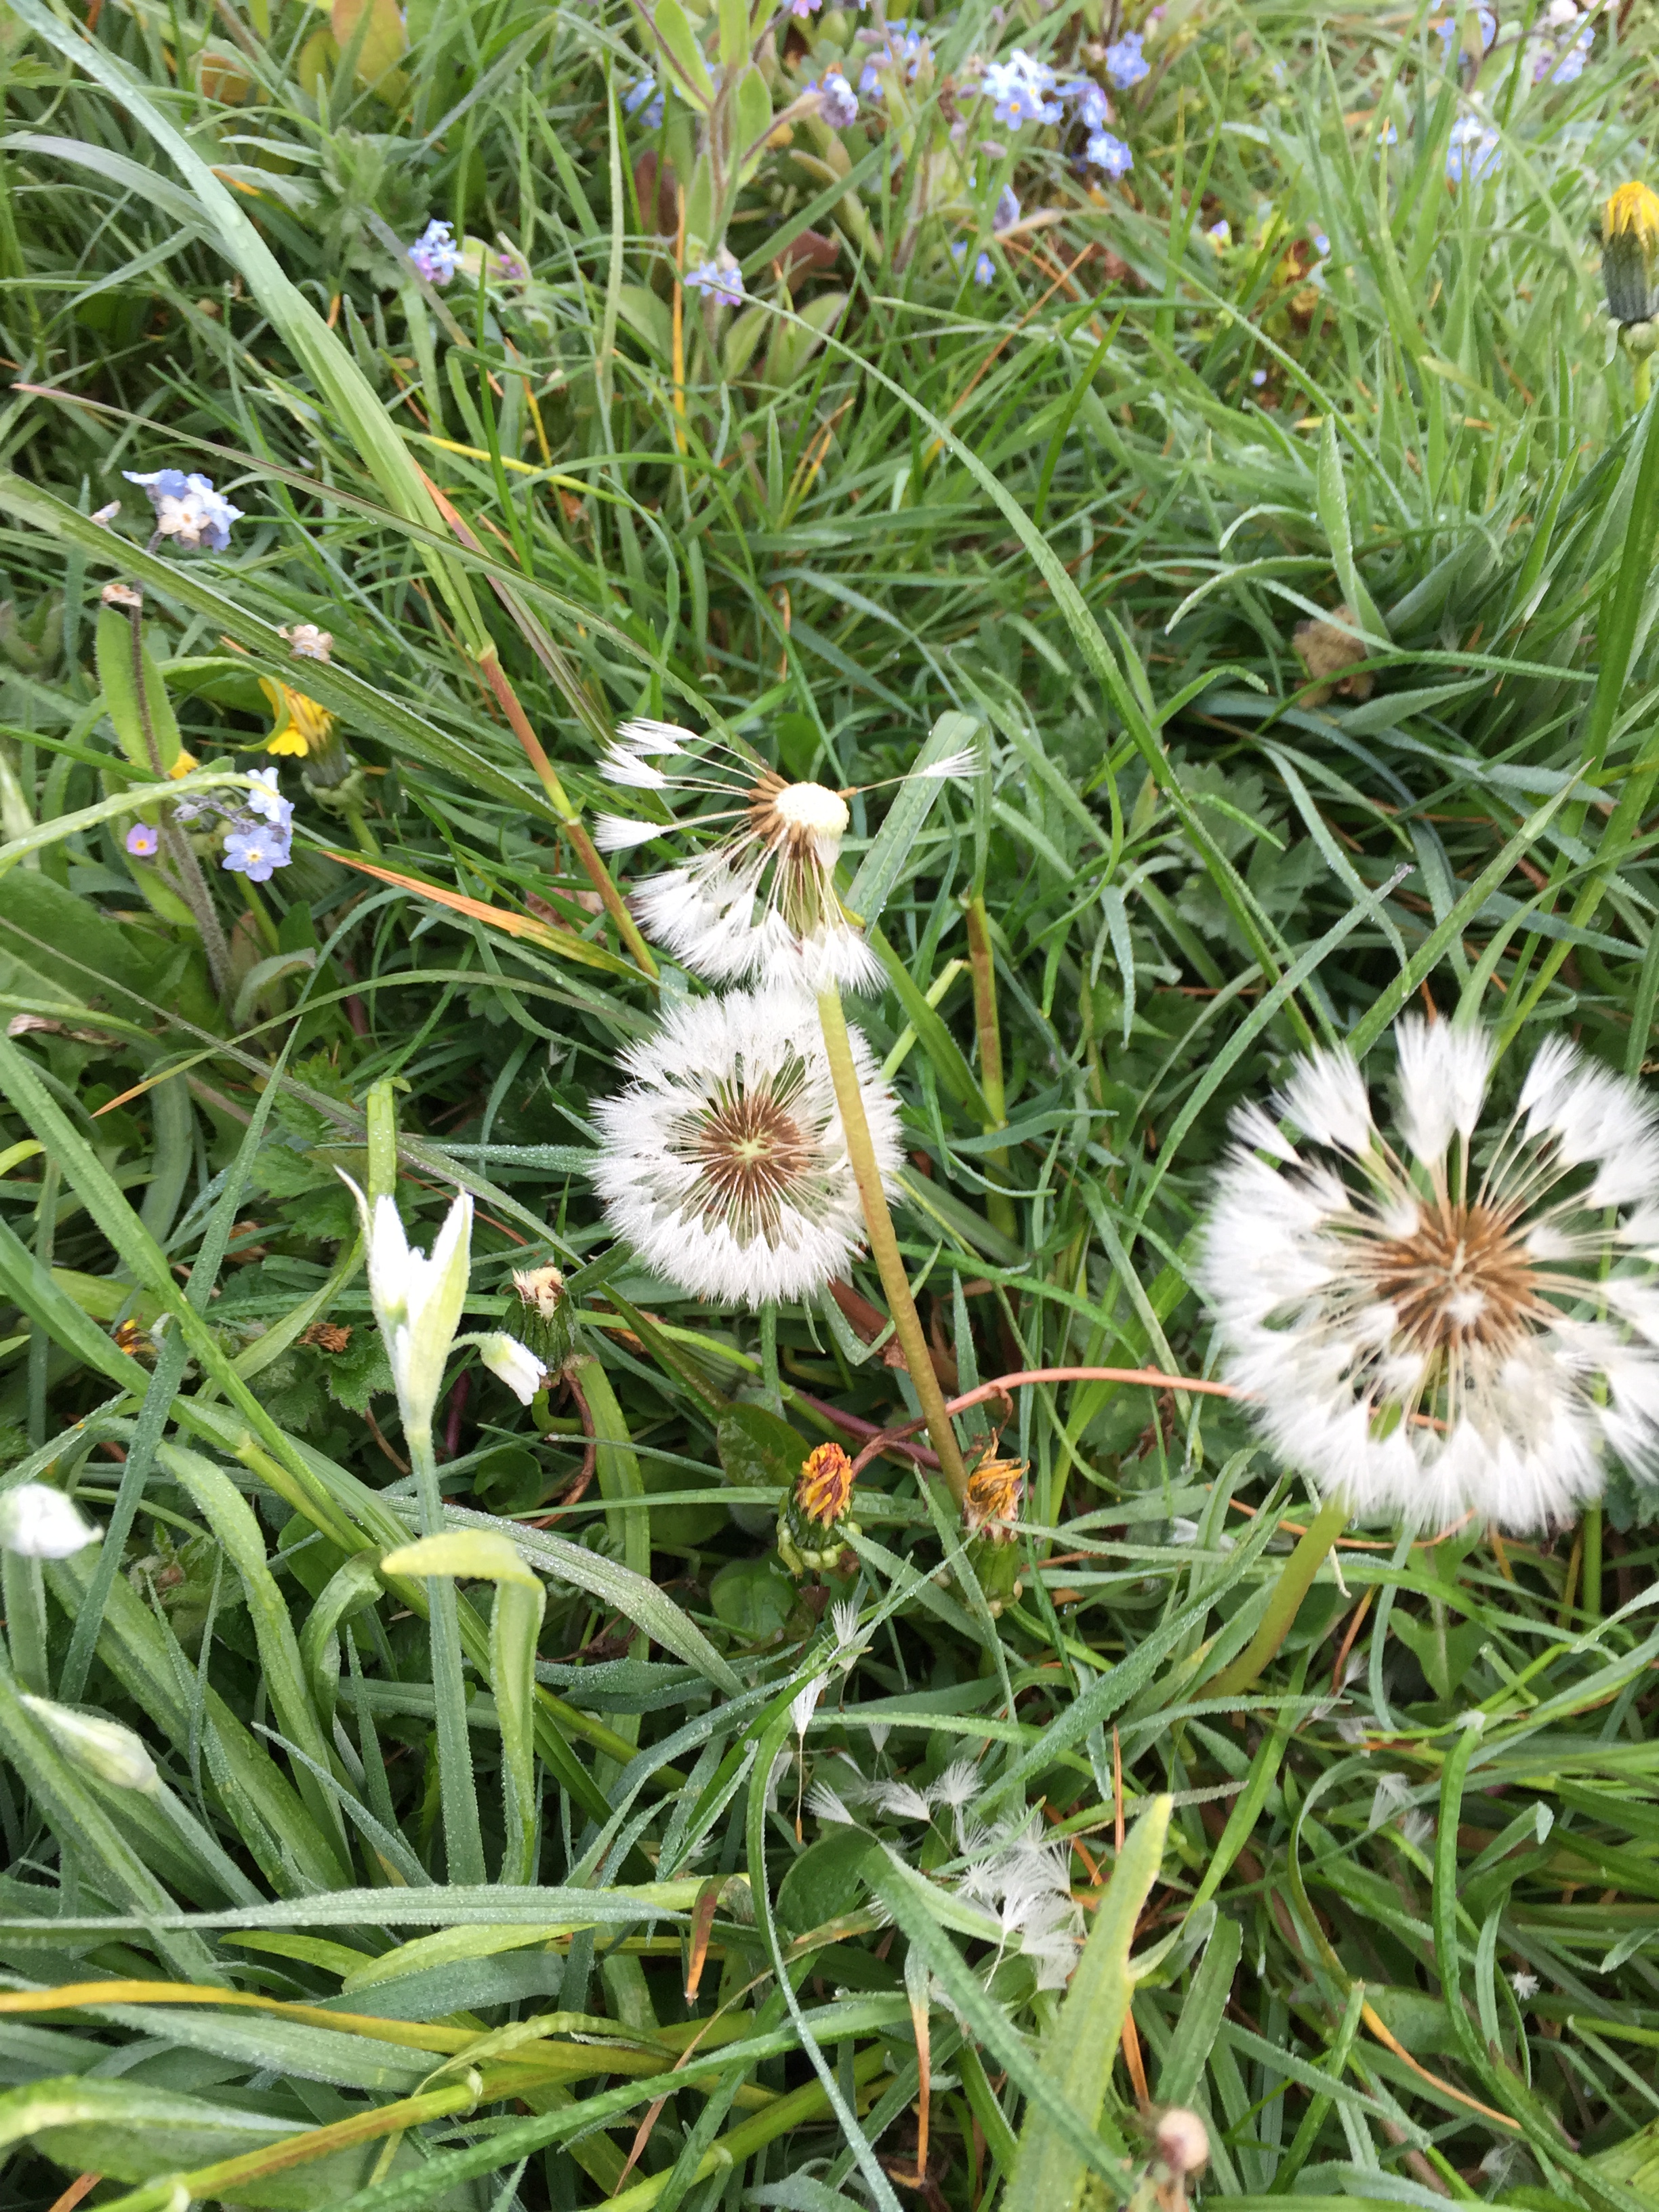
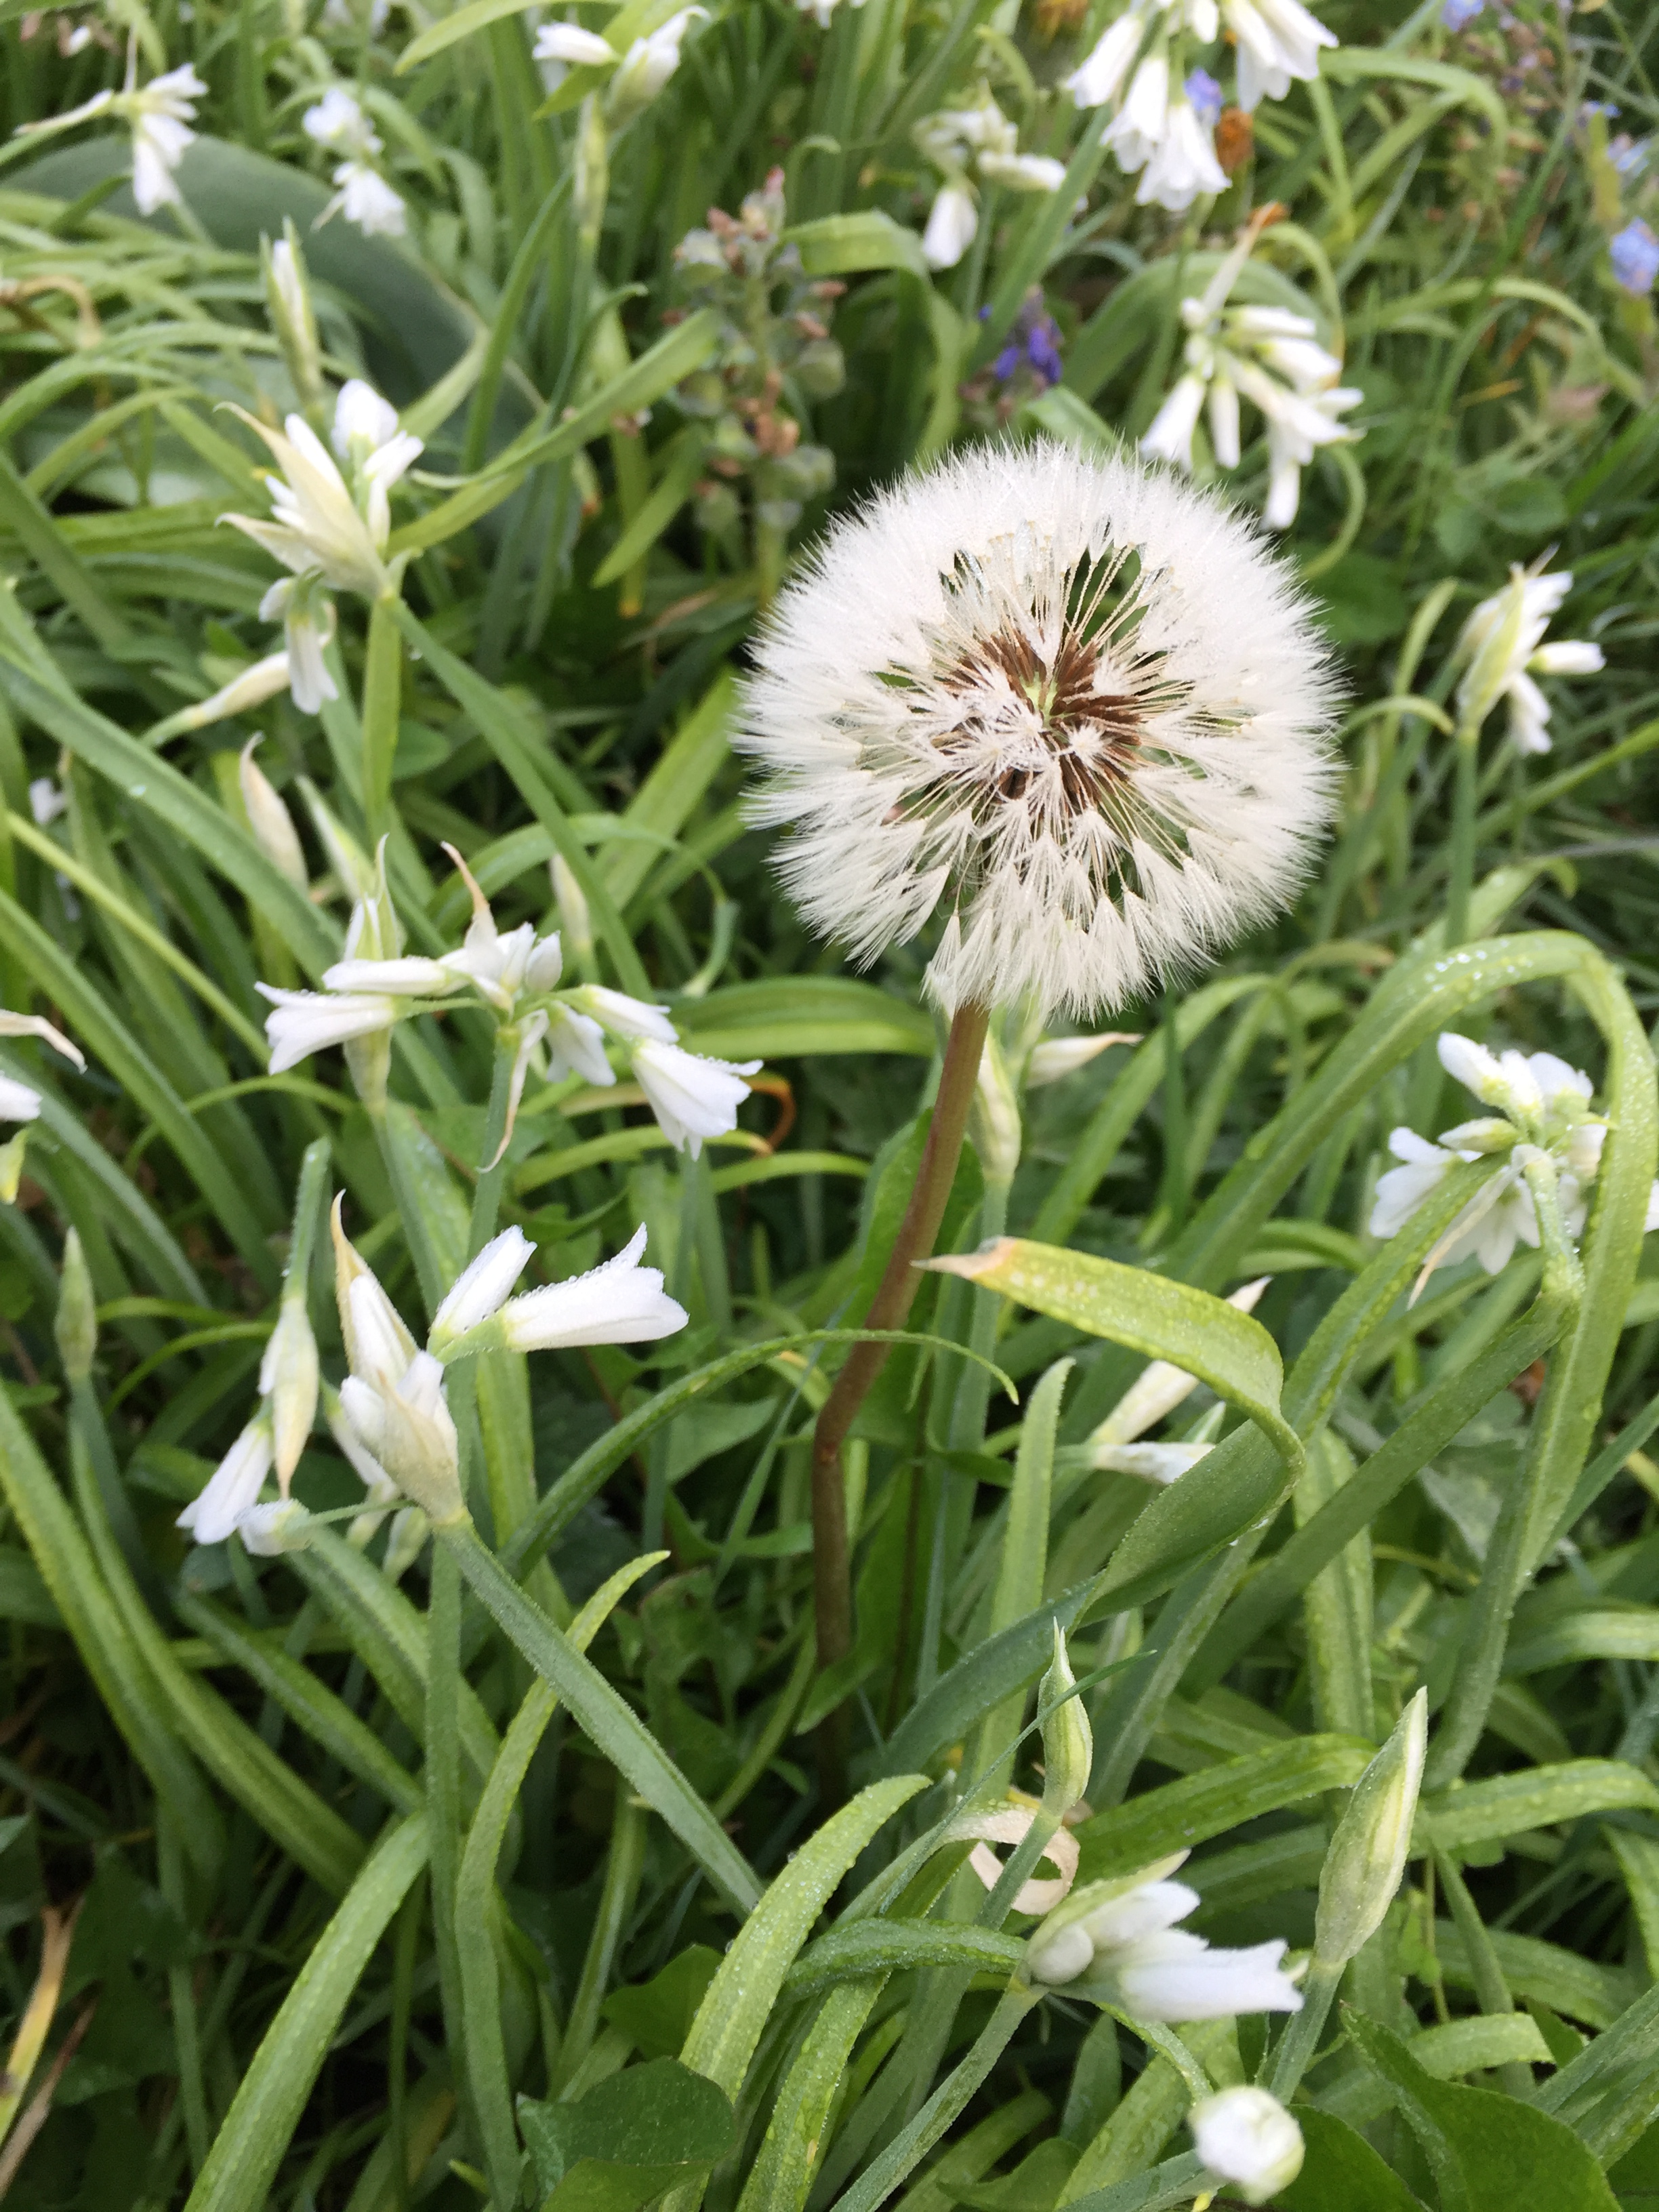
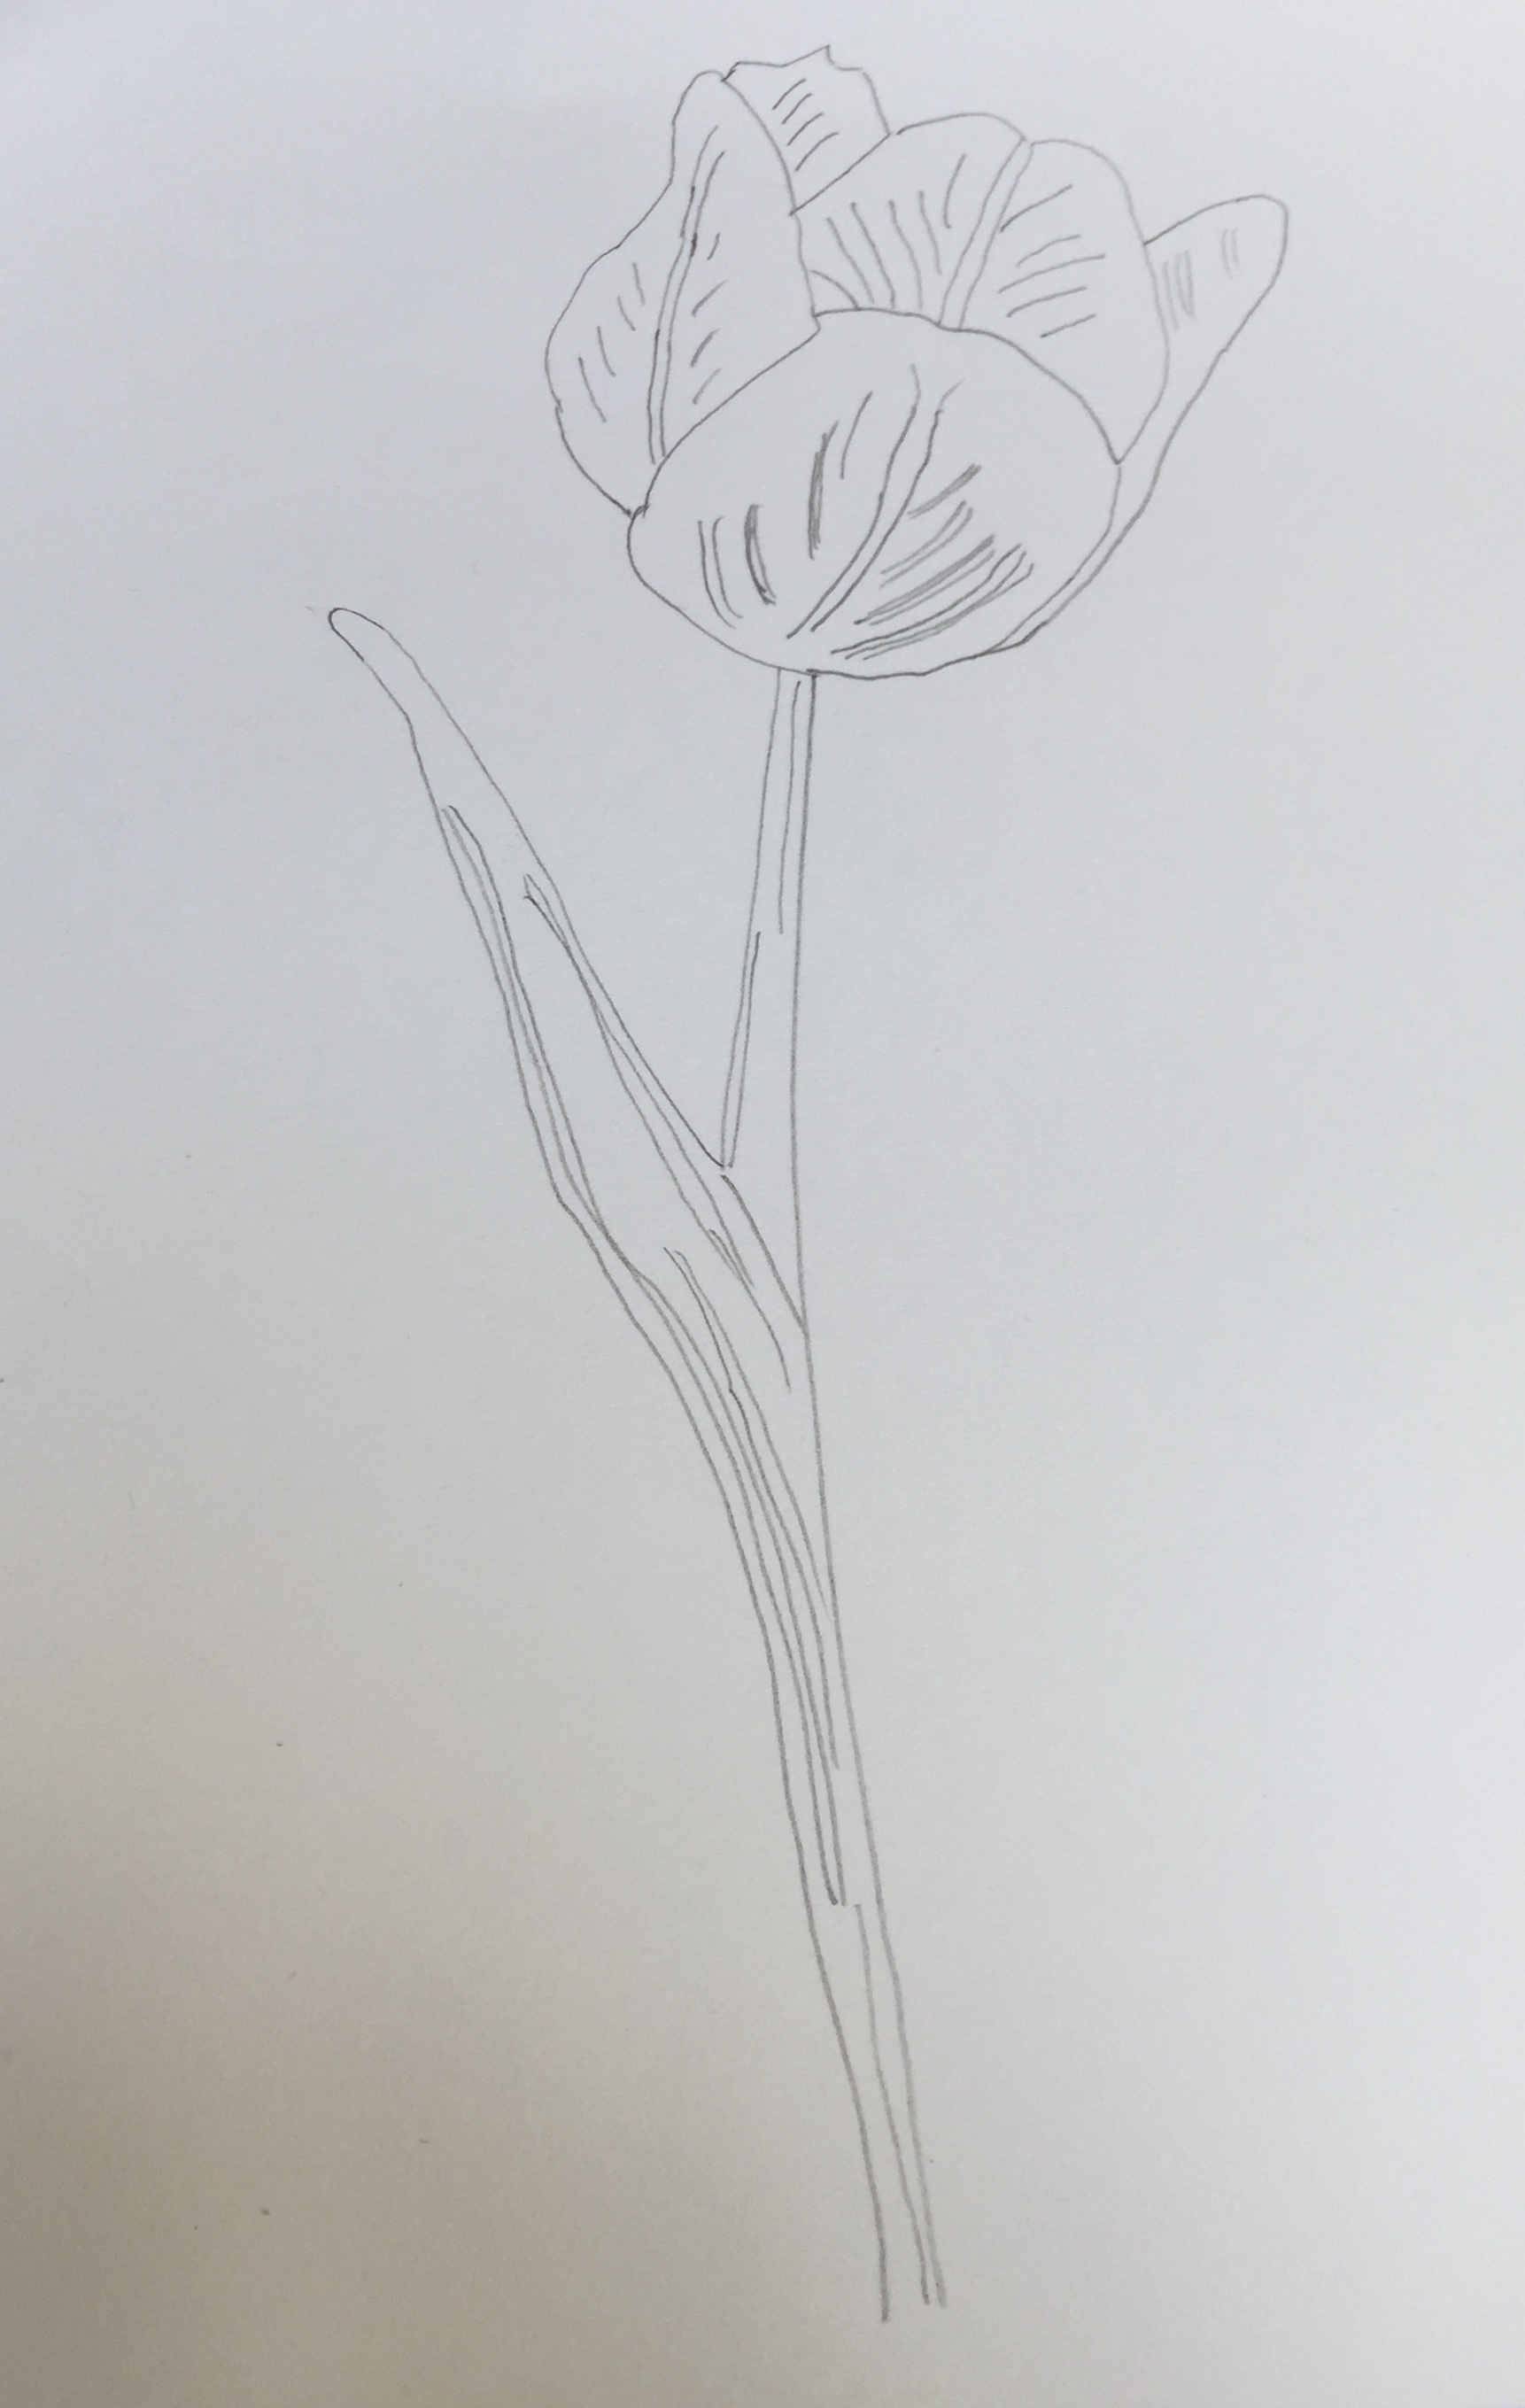
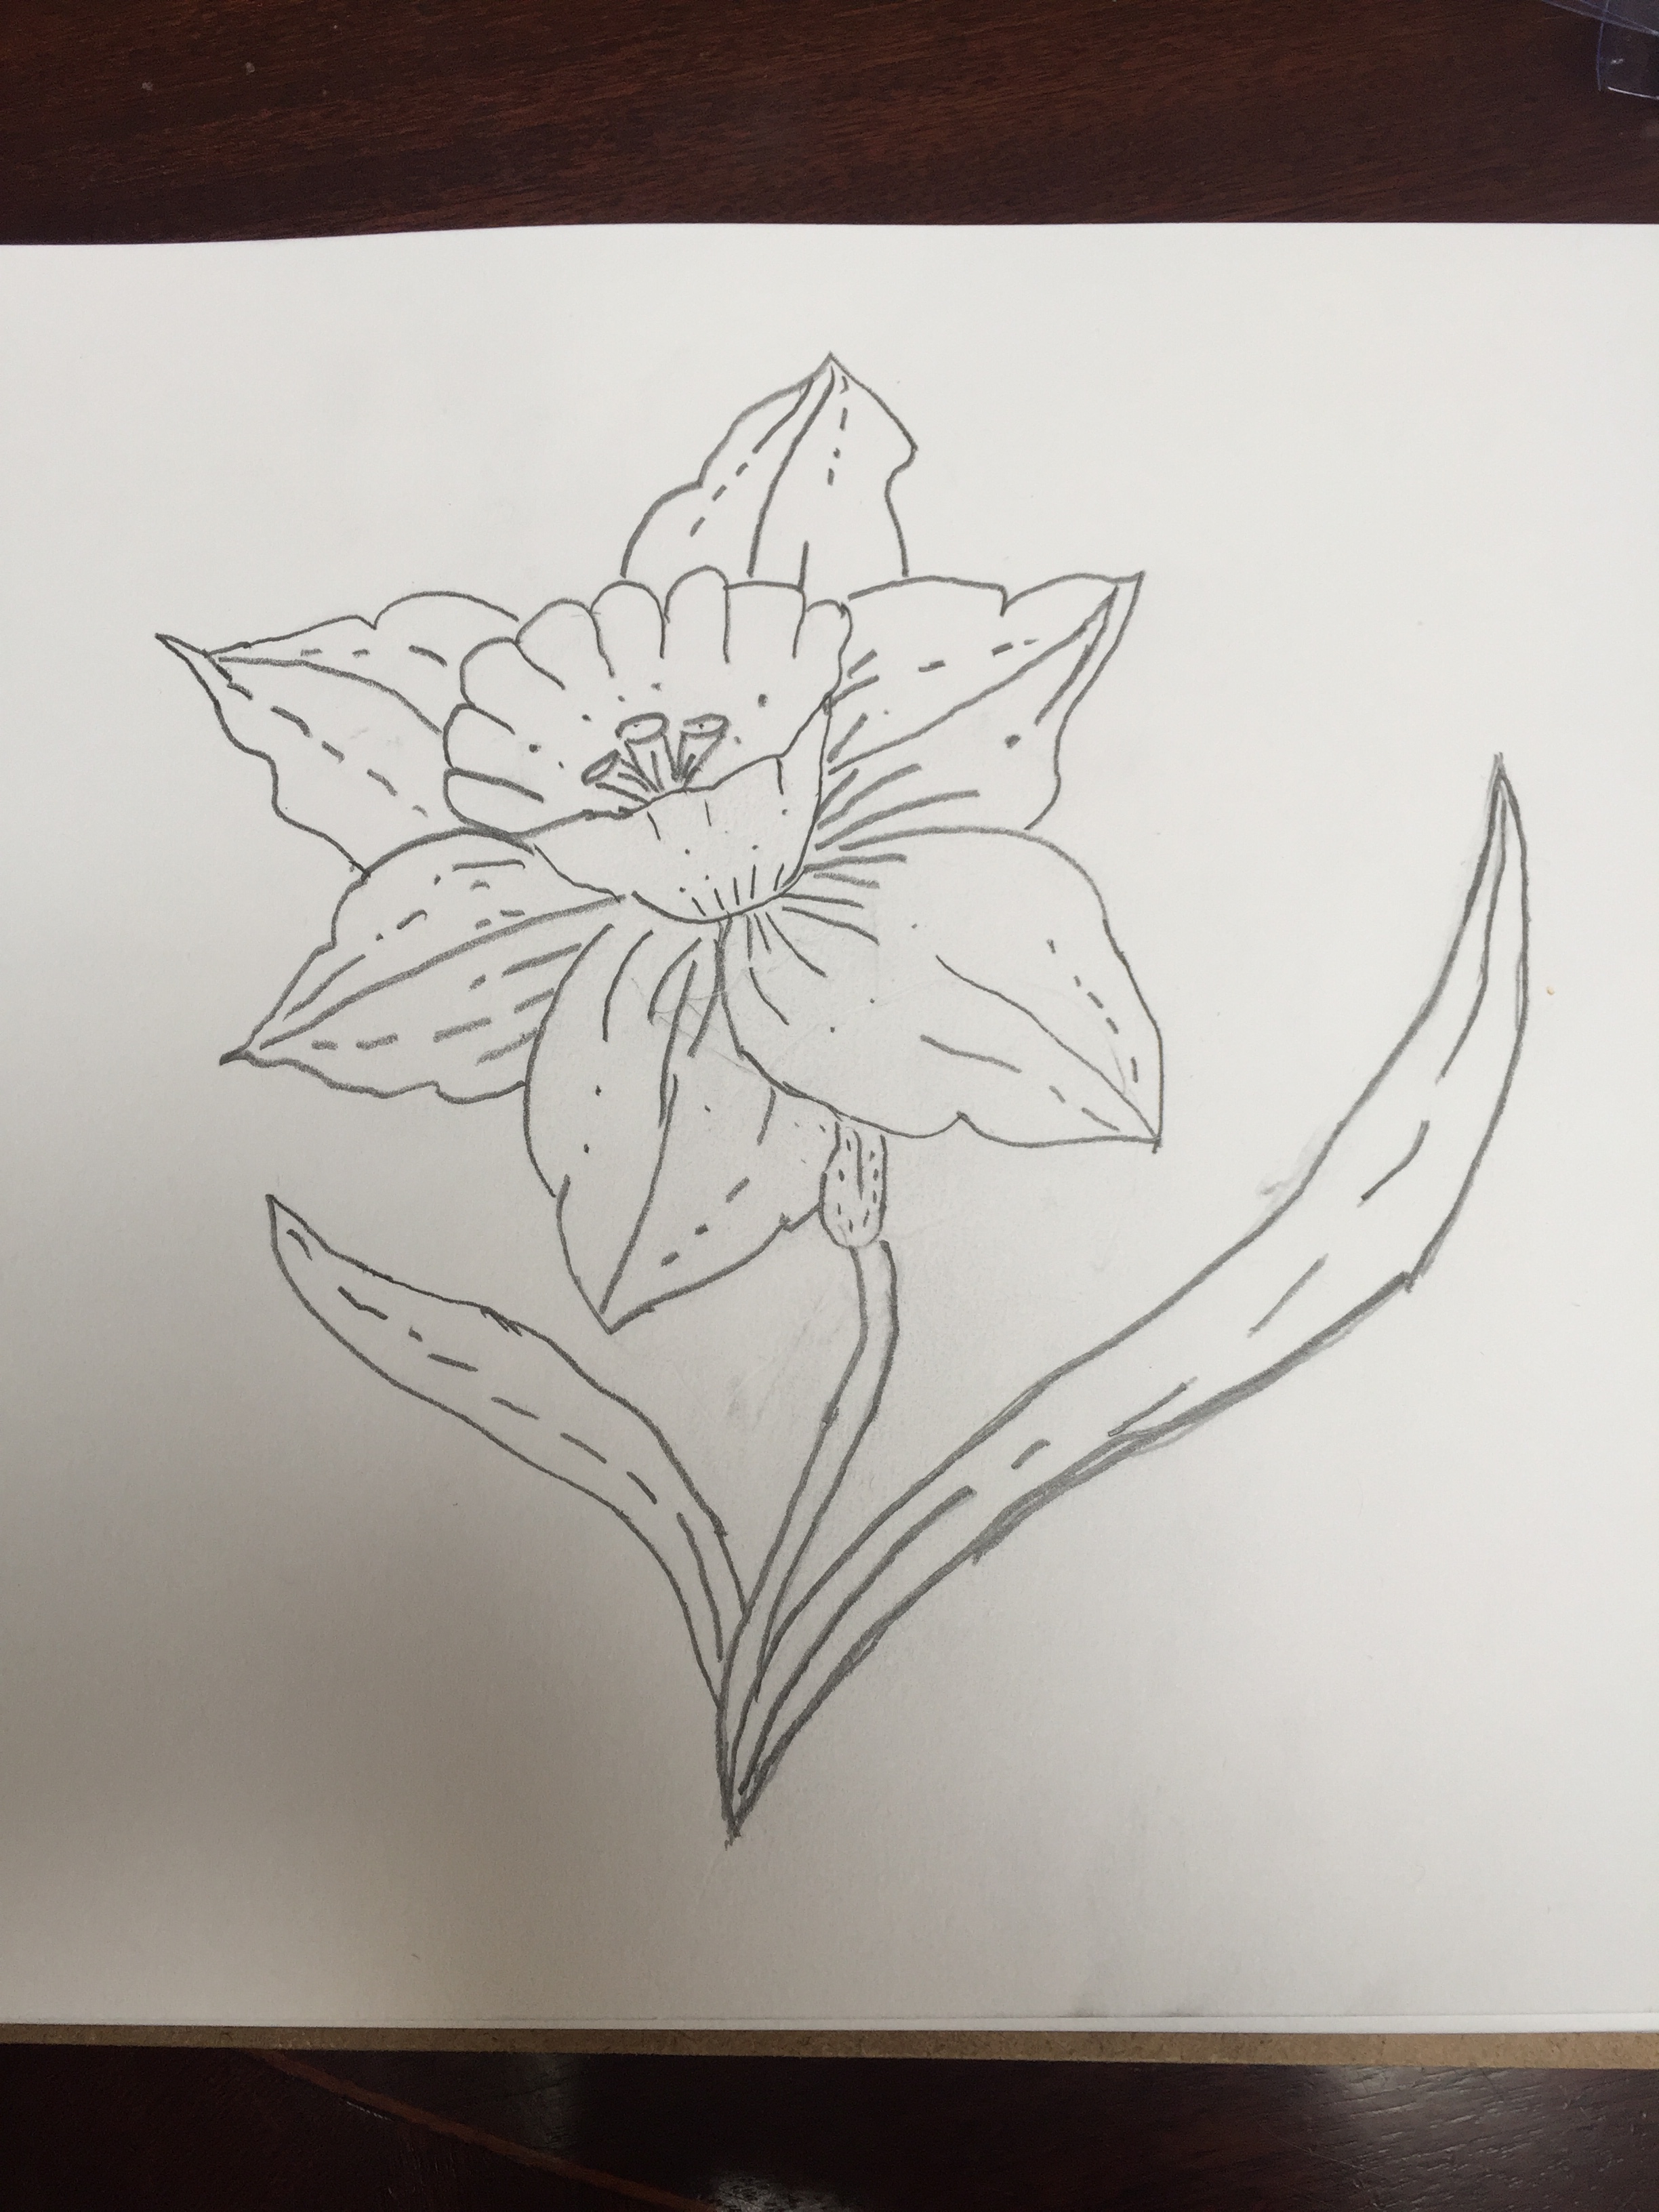
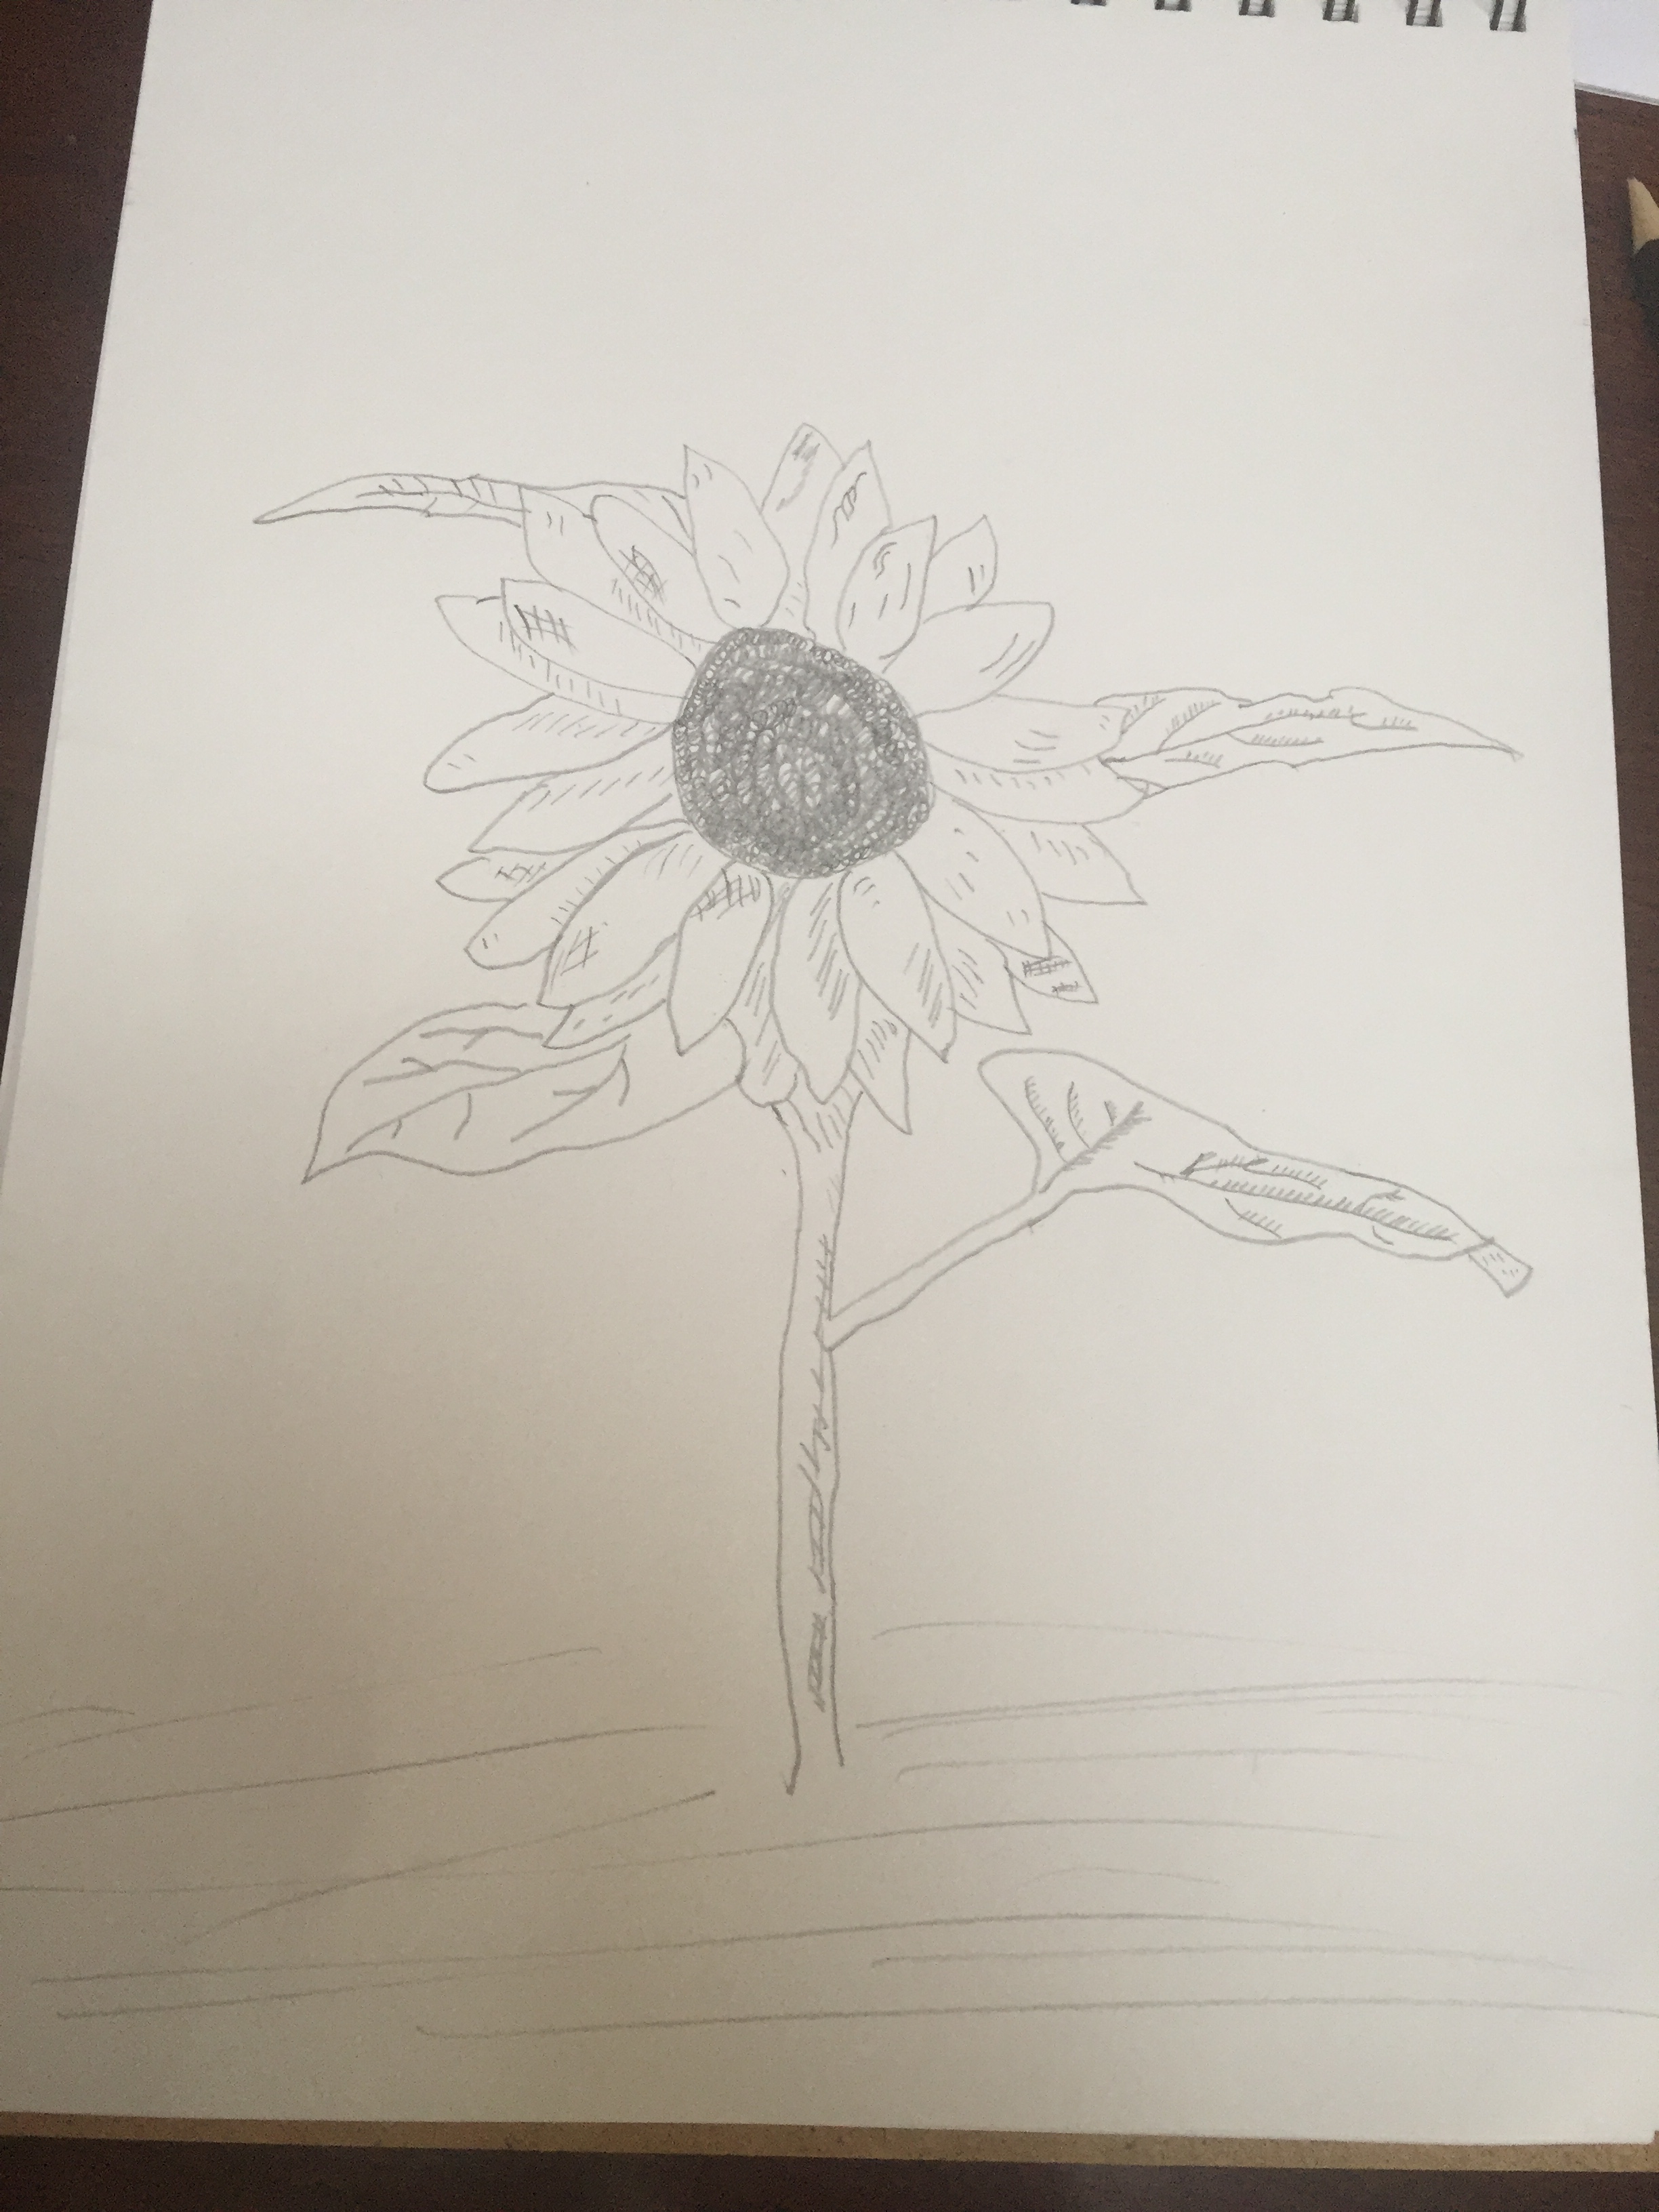
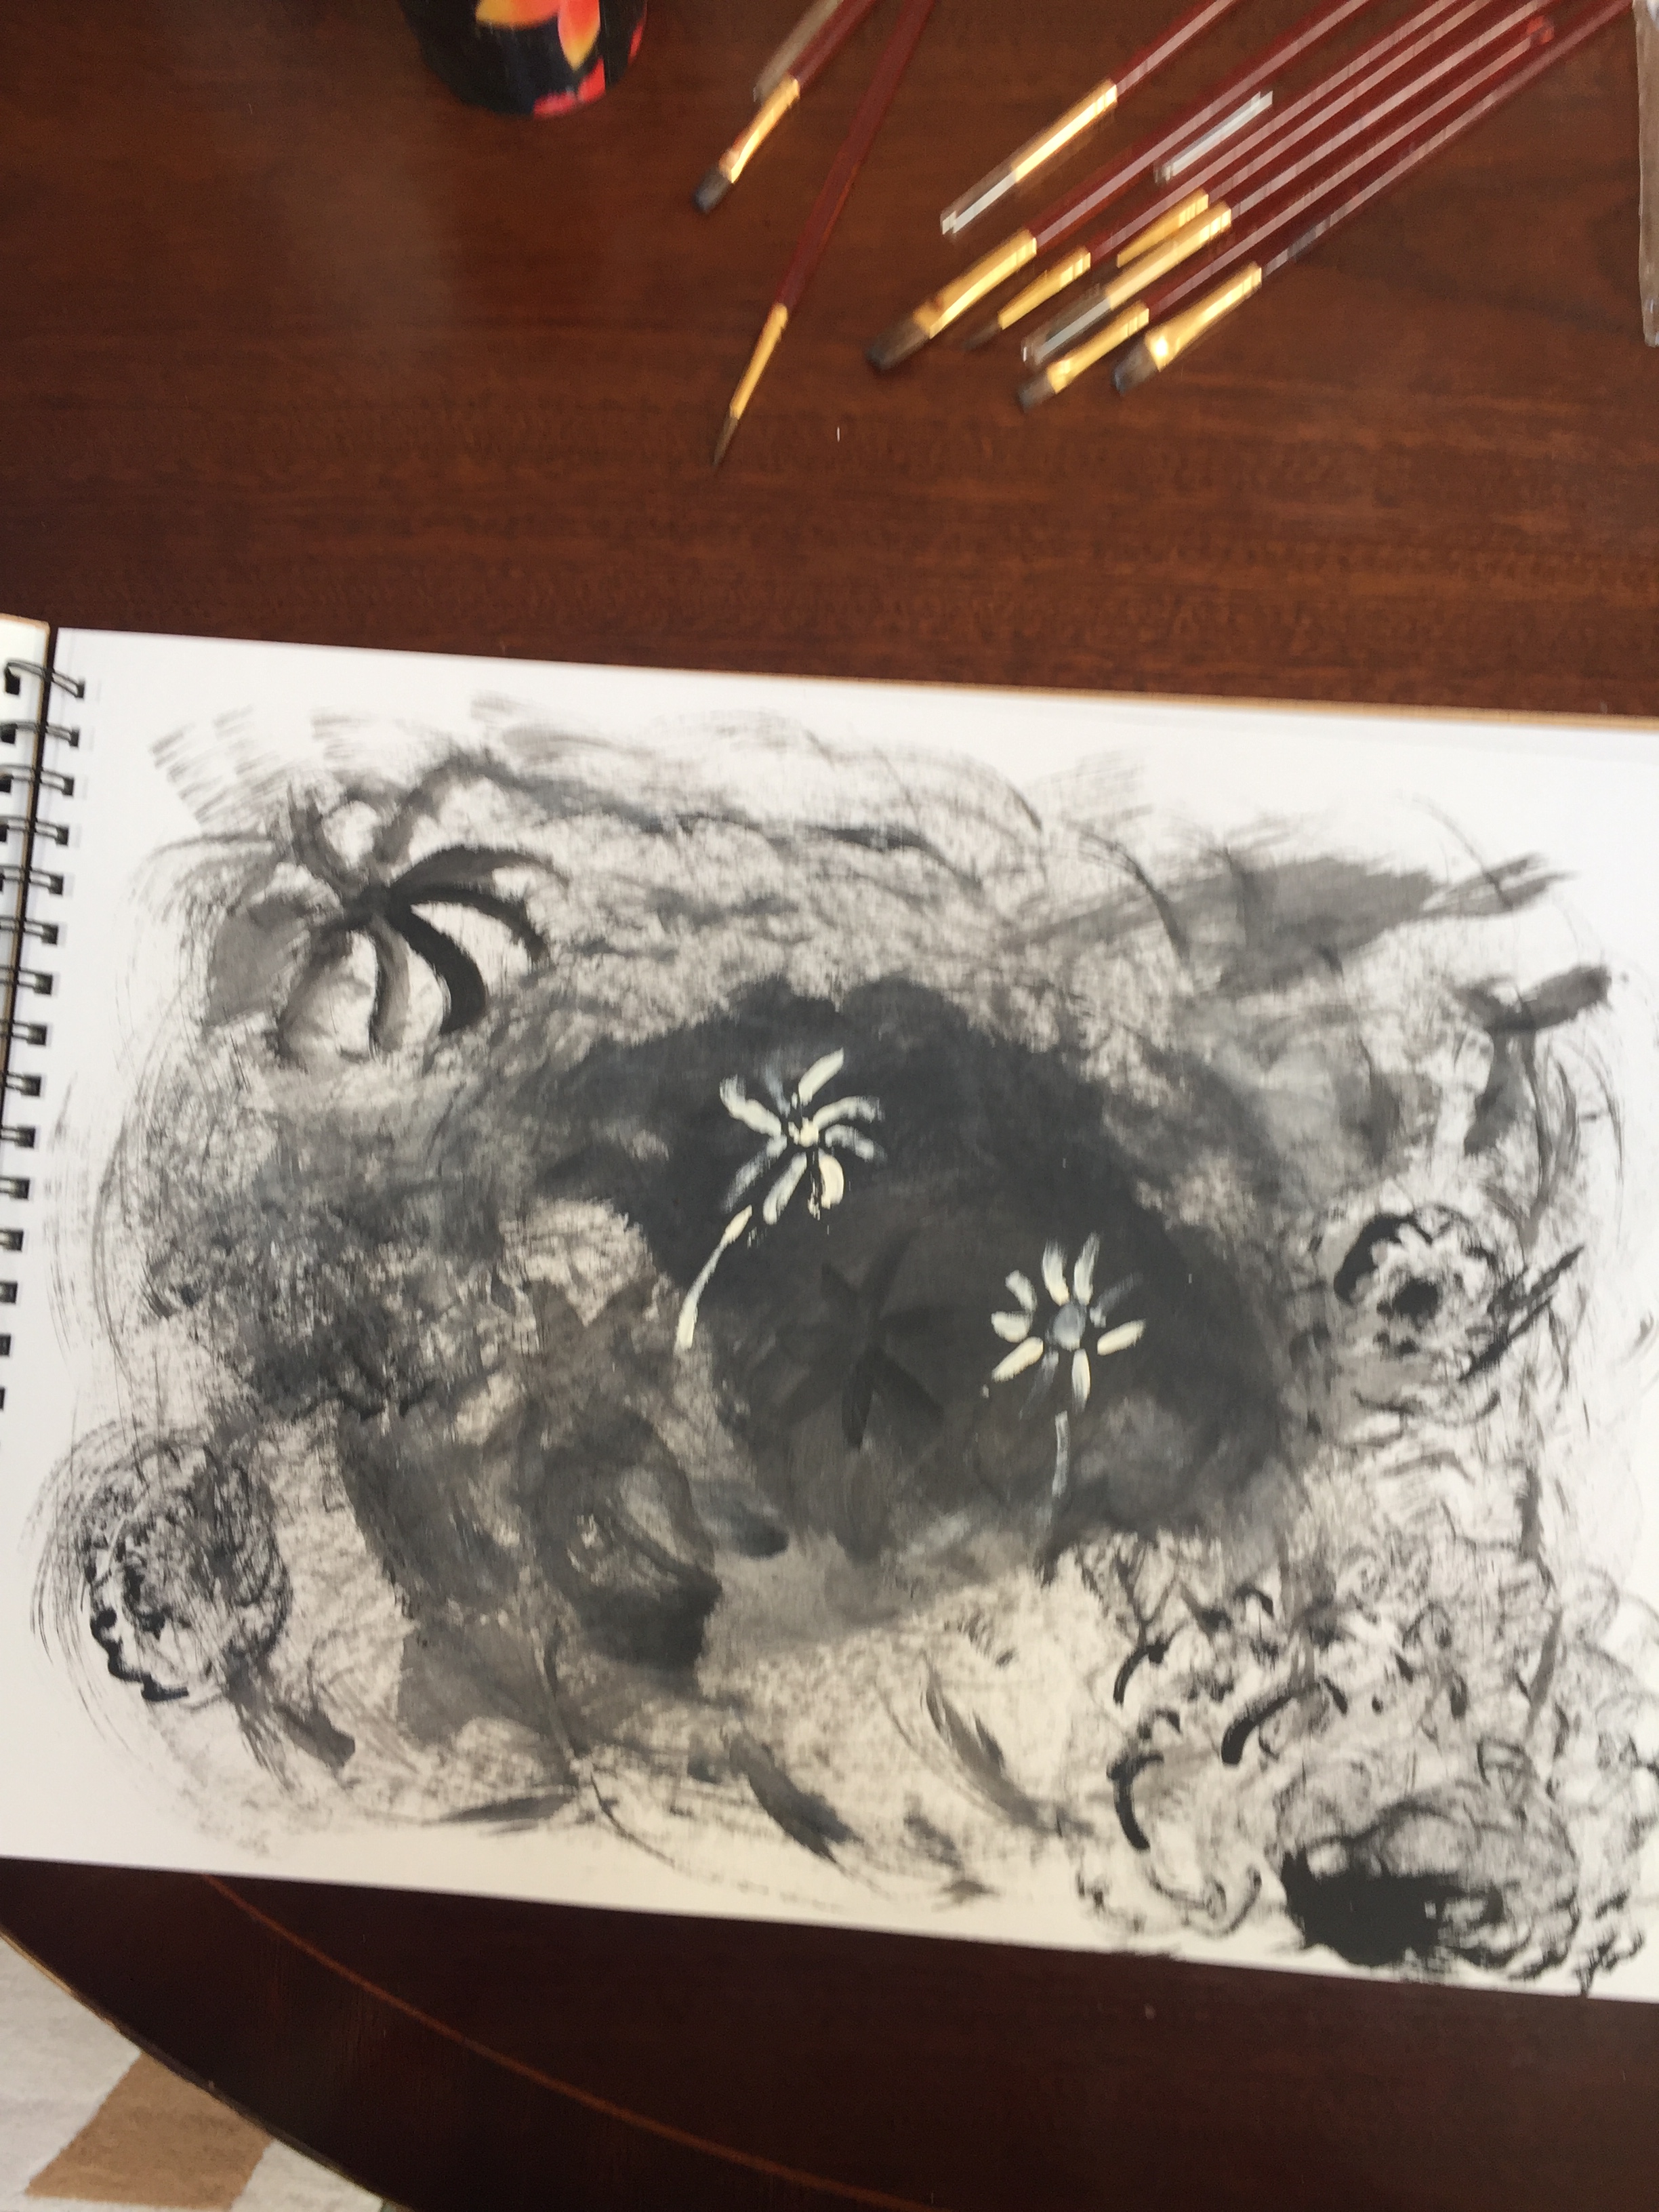
After a discussion with my tutor I’ve decided to start all over again ; the process will be same as before and will start by posting pictures of flowers and then picking enough to create my drawings.
2.1 SELECTING


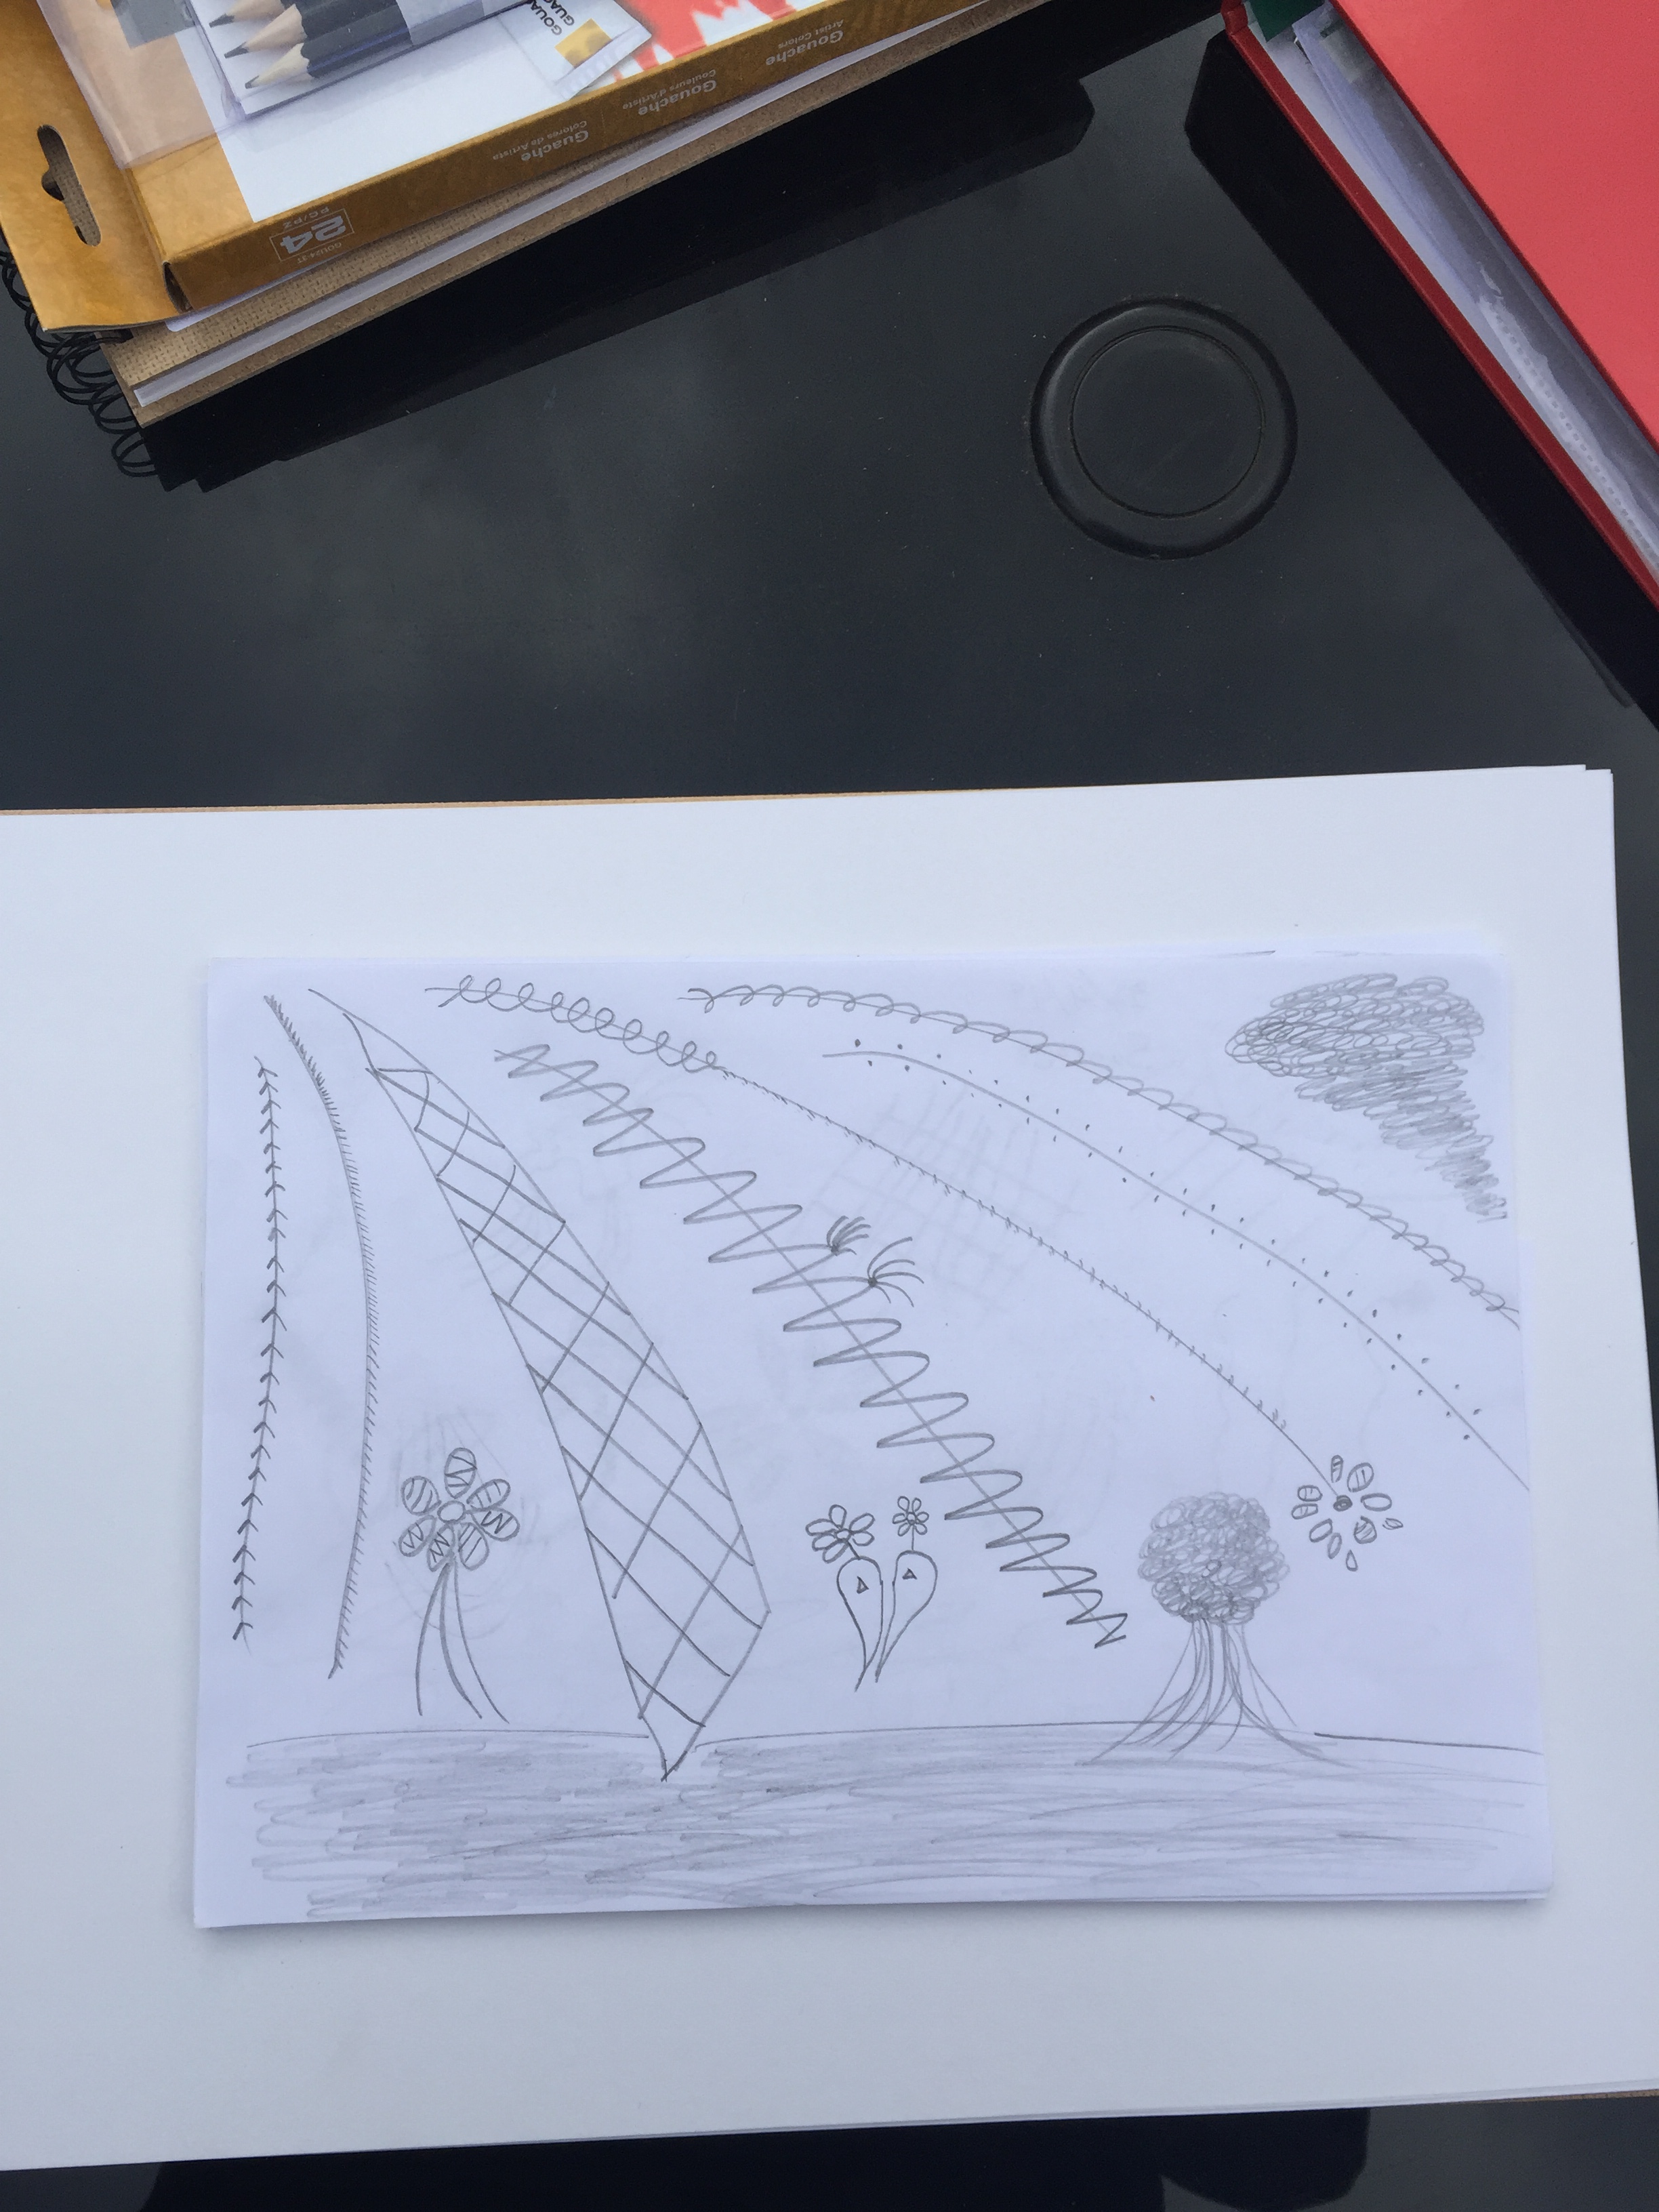
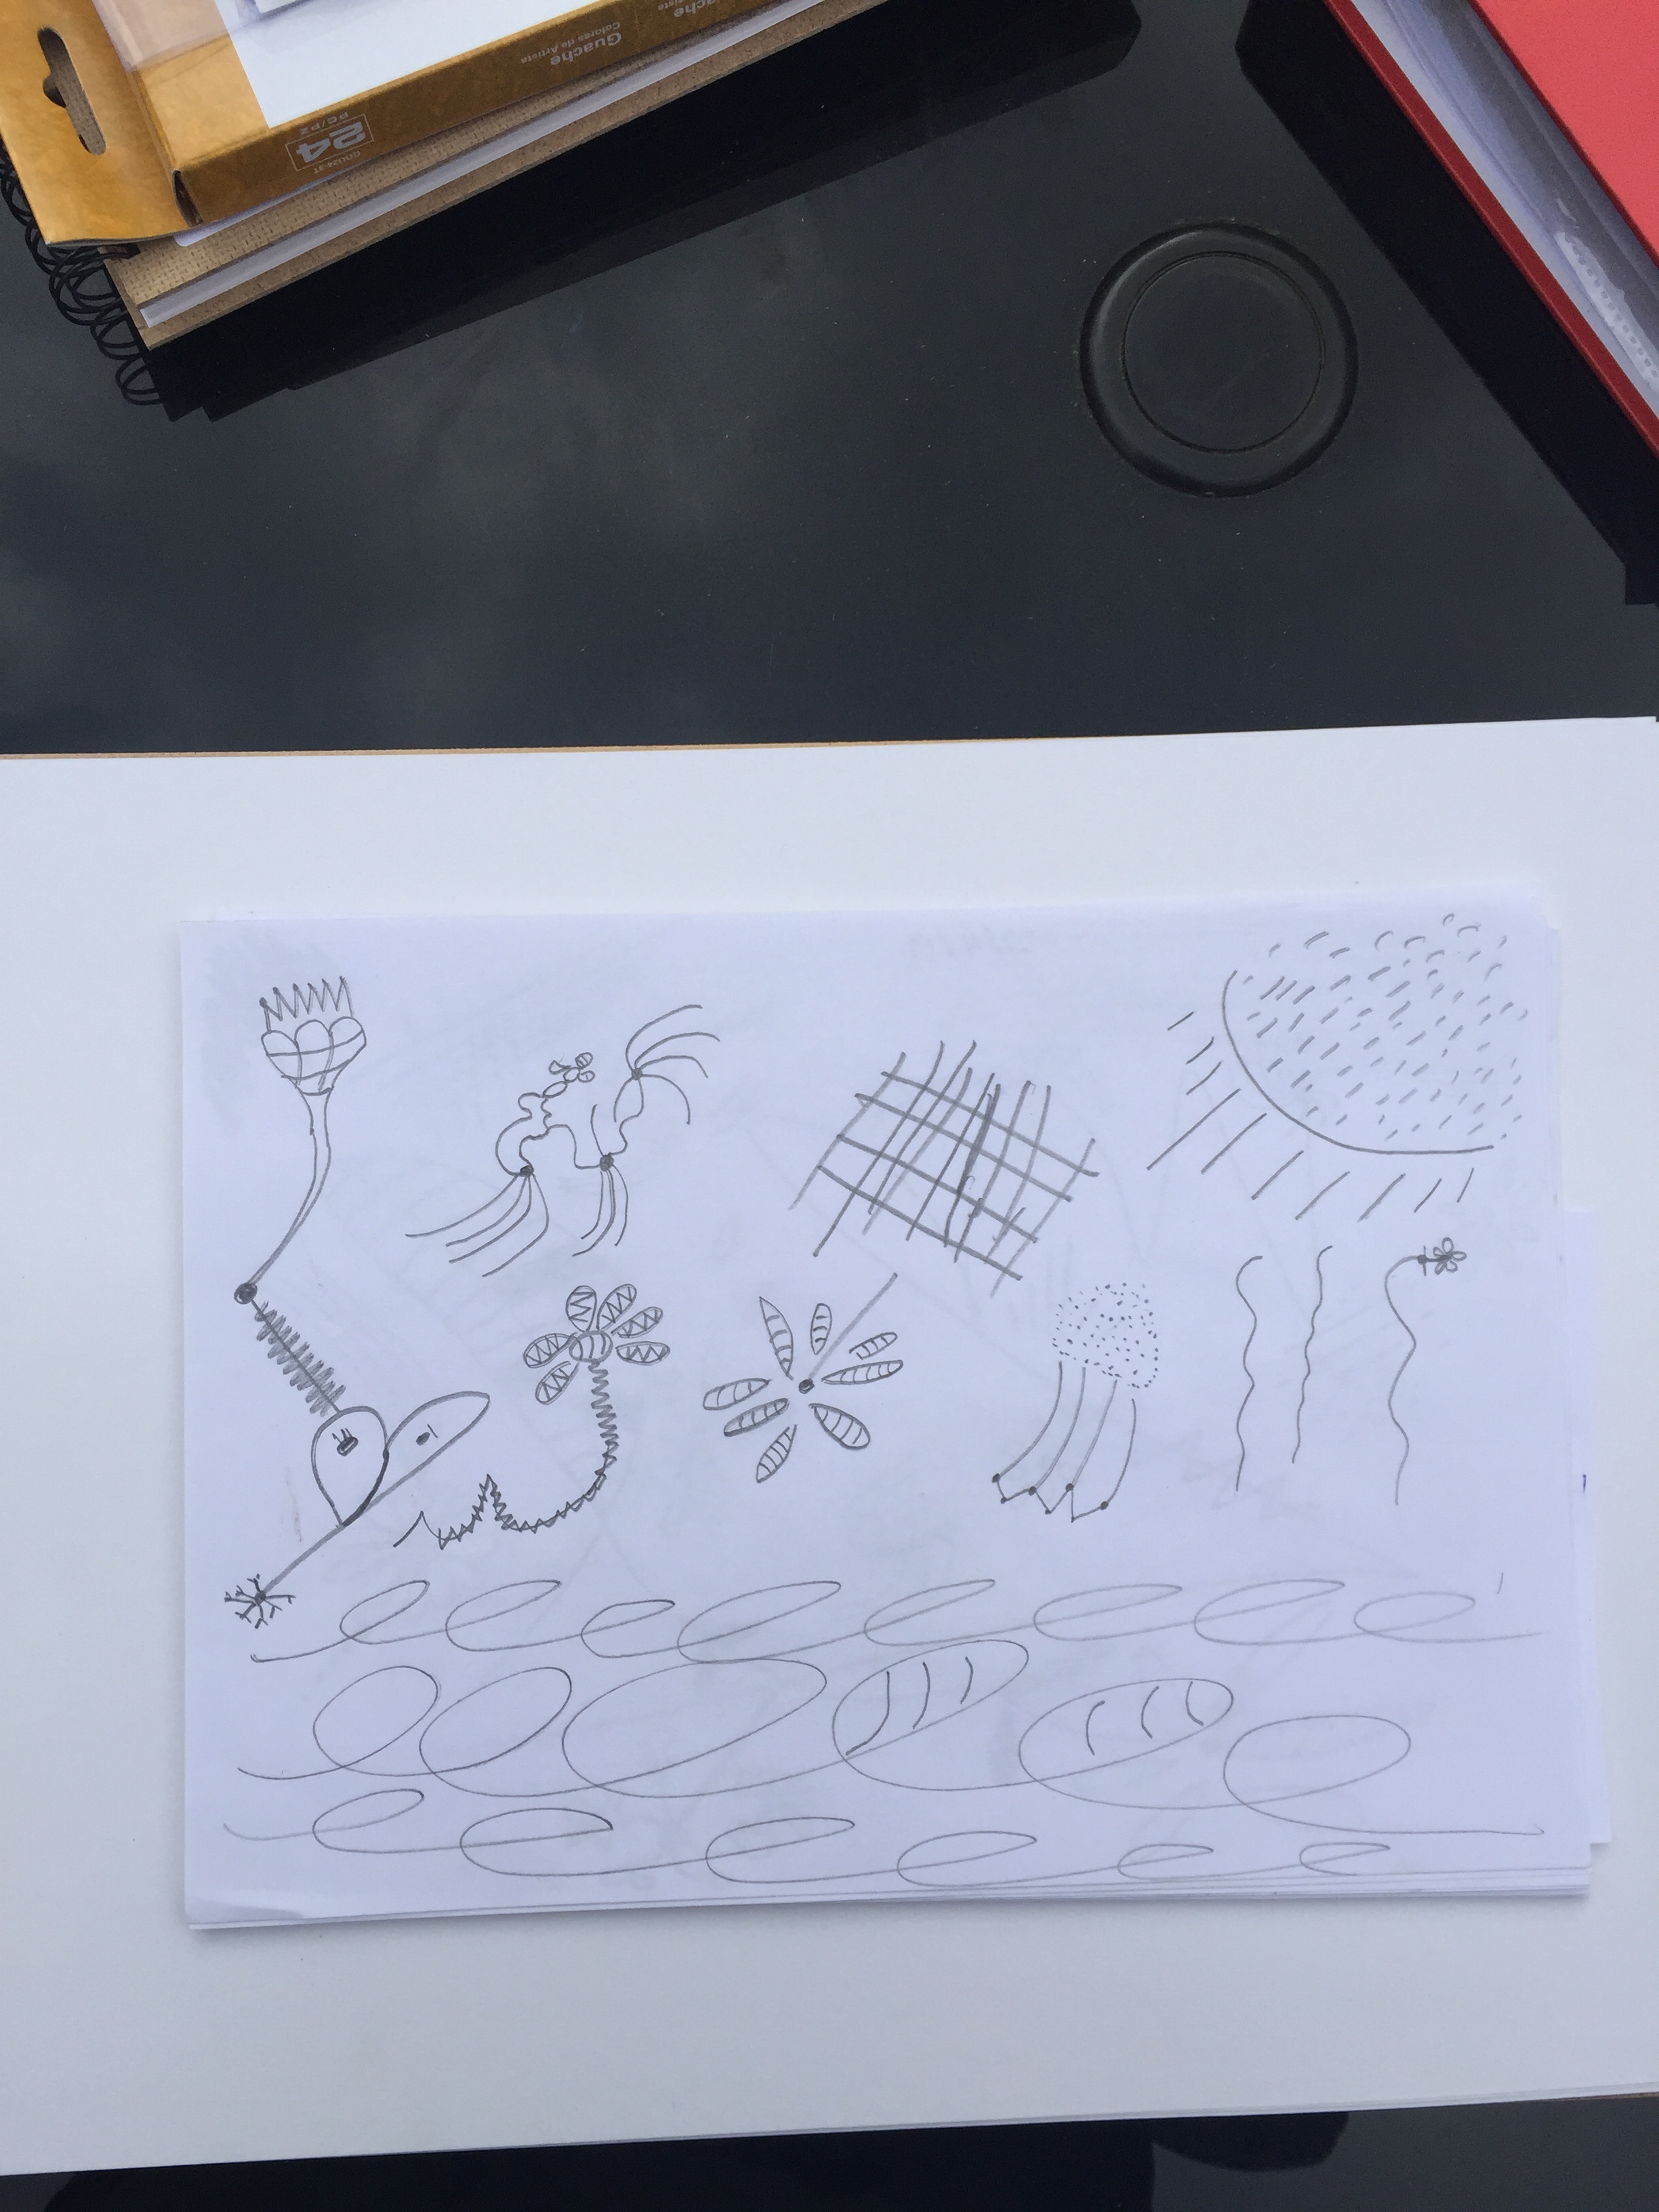


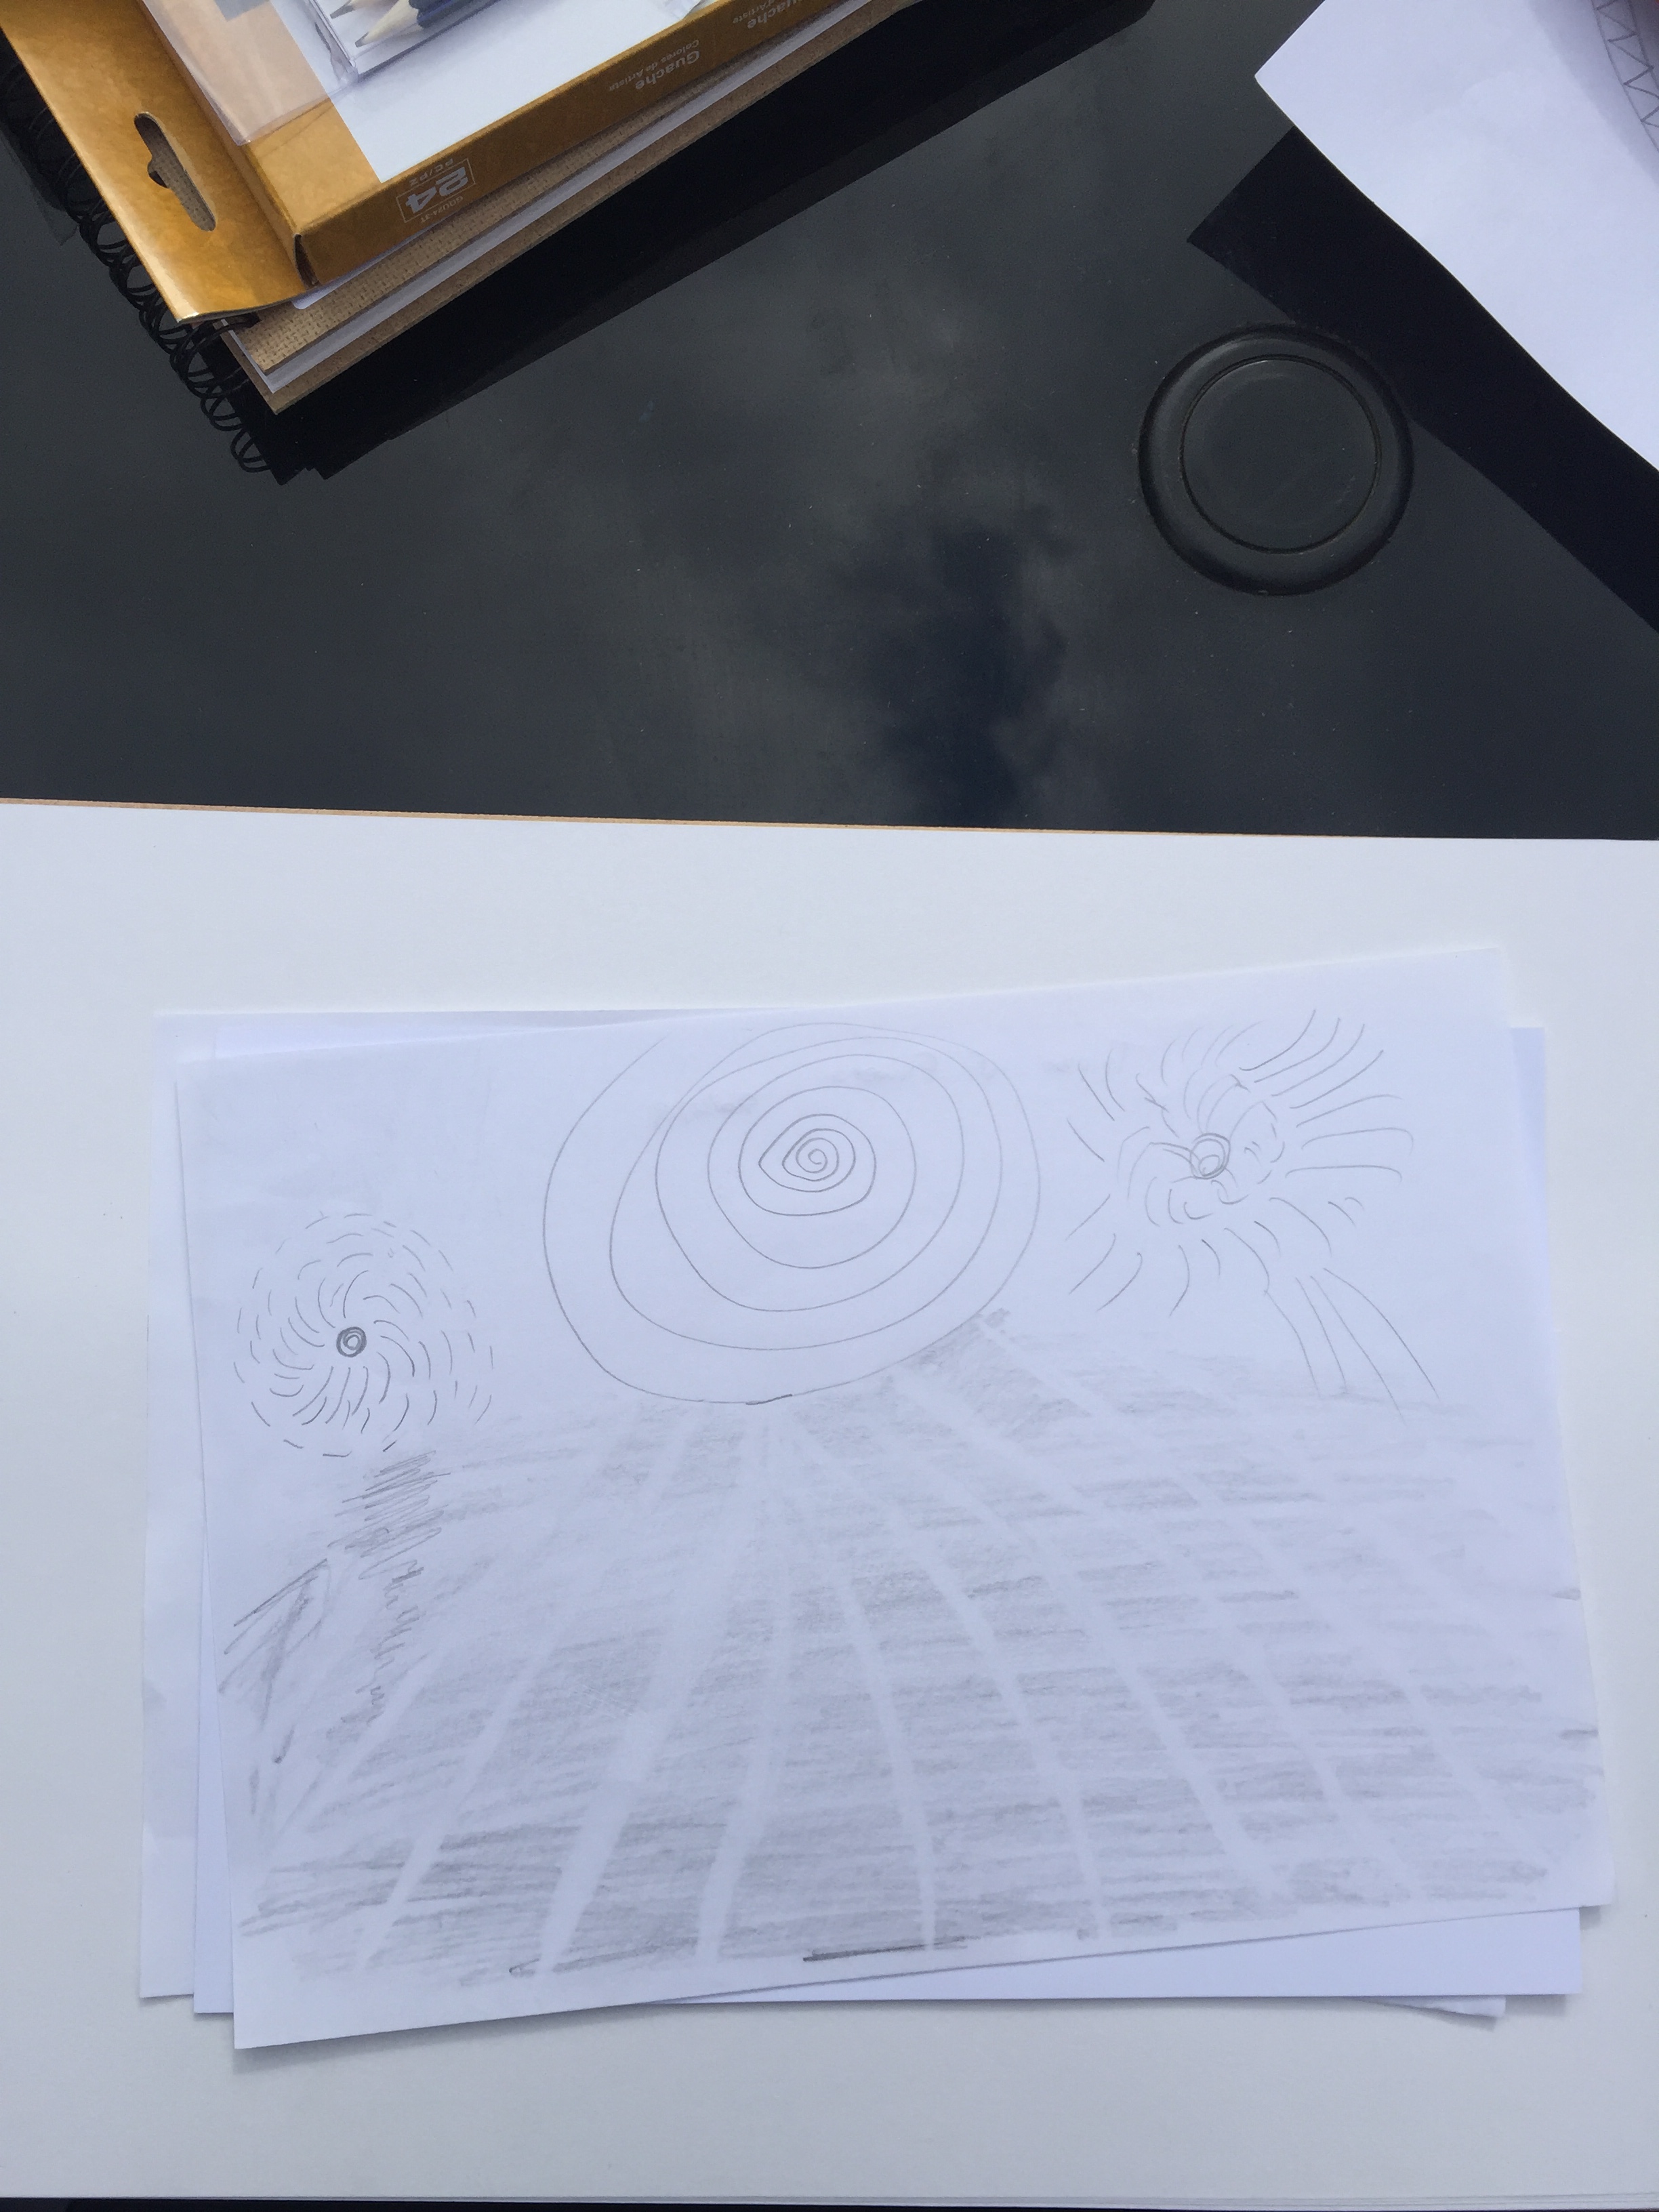

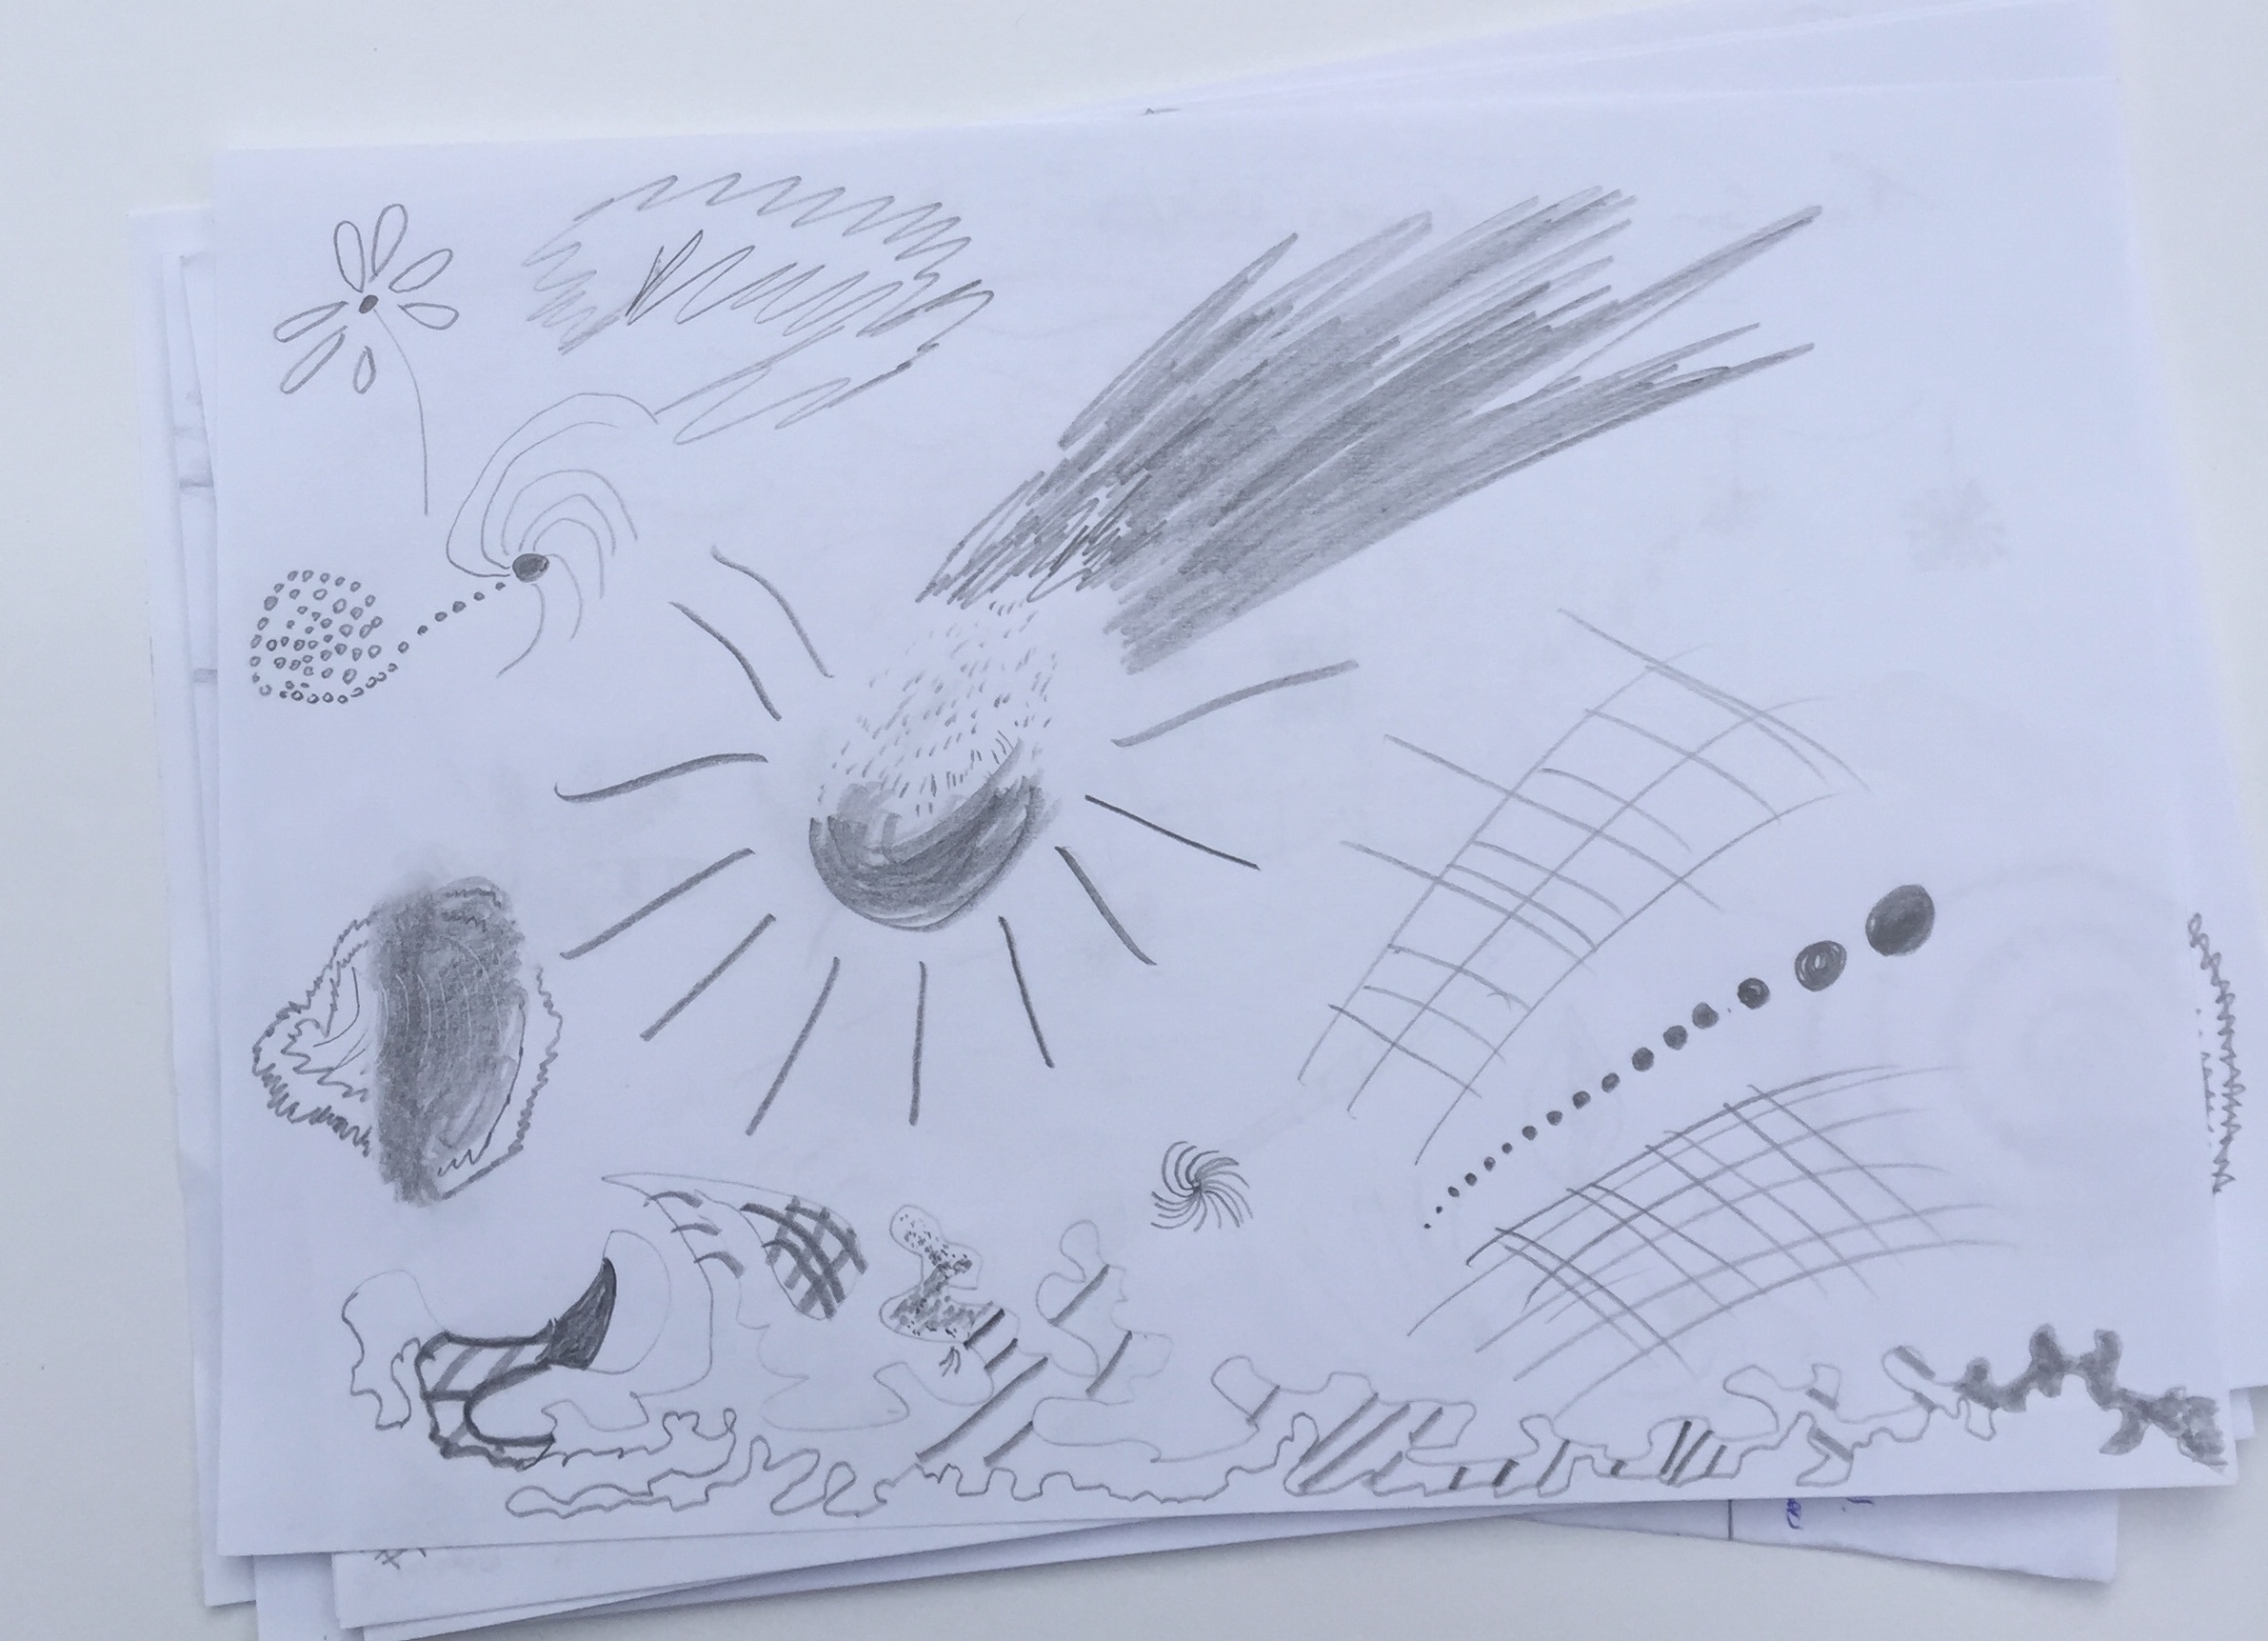

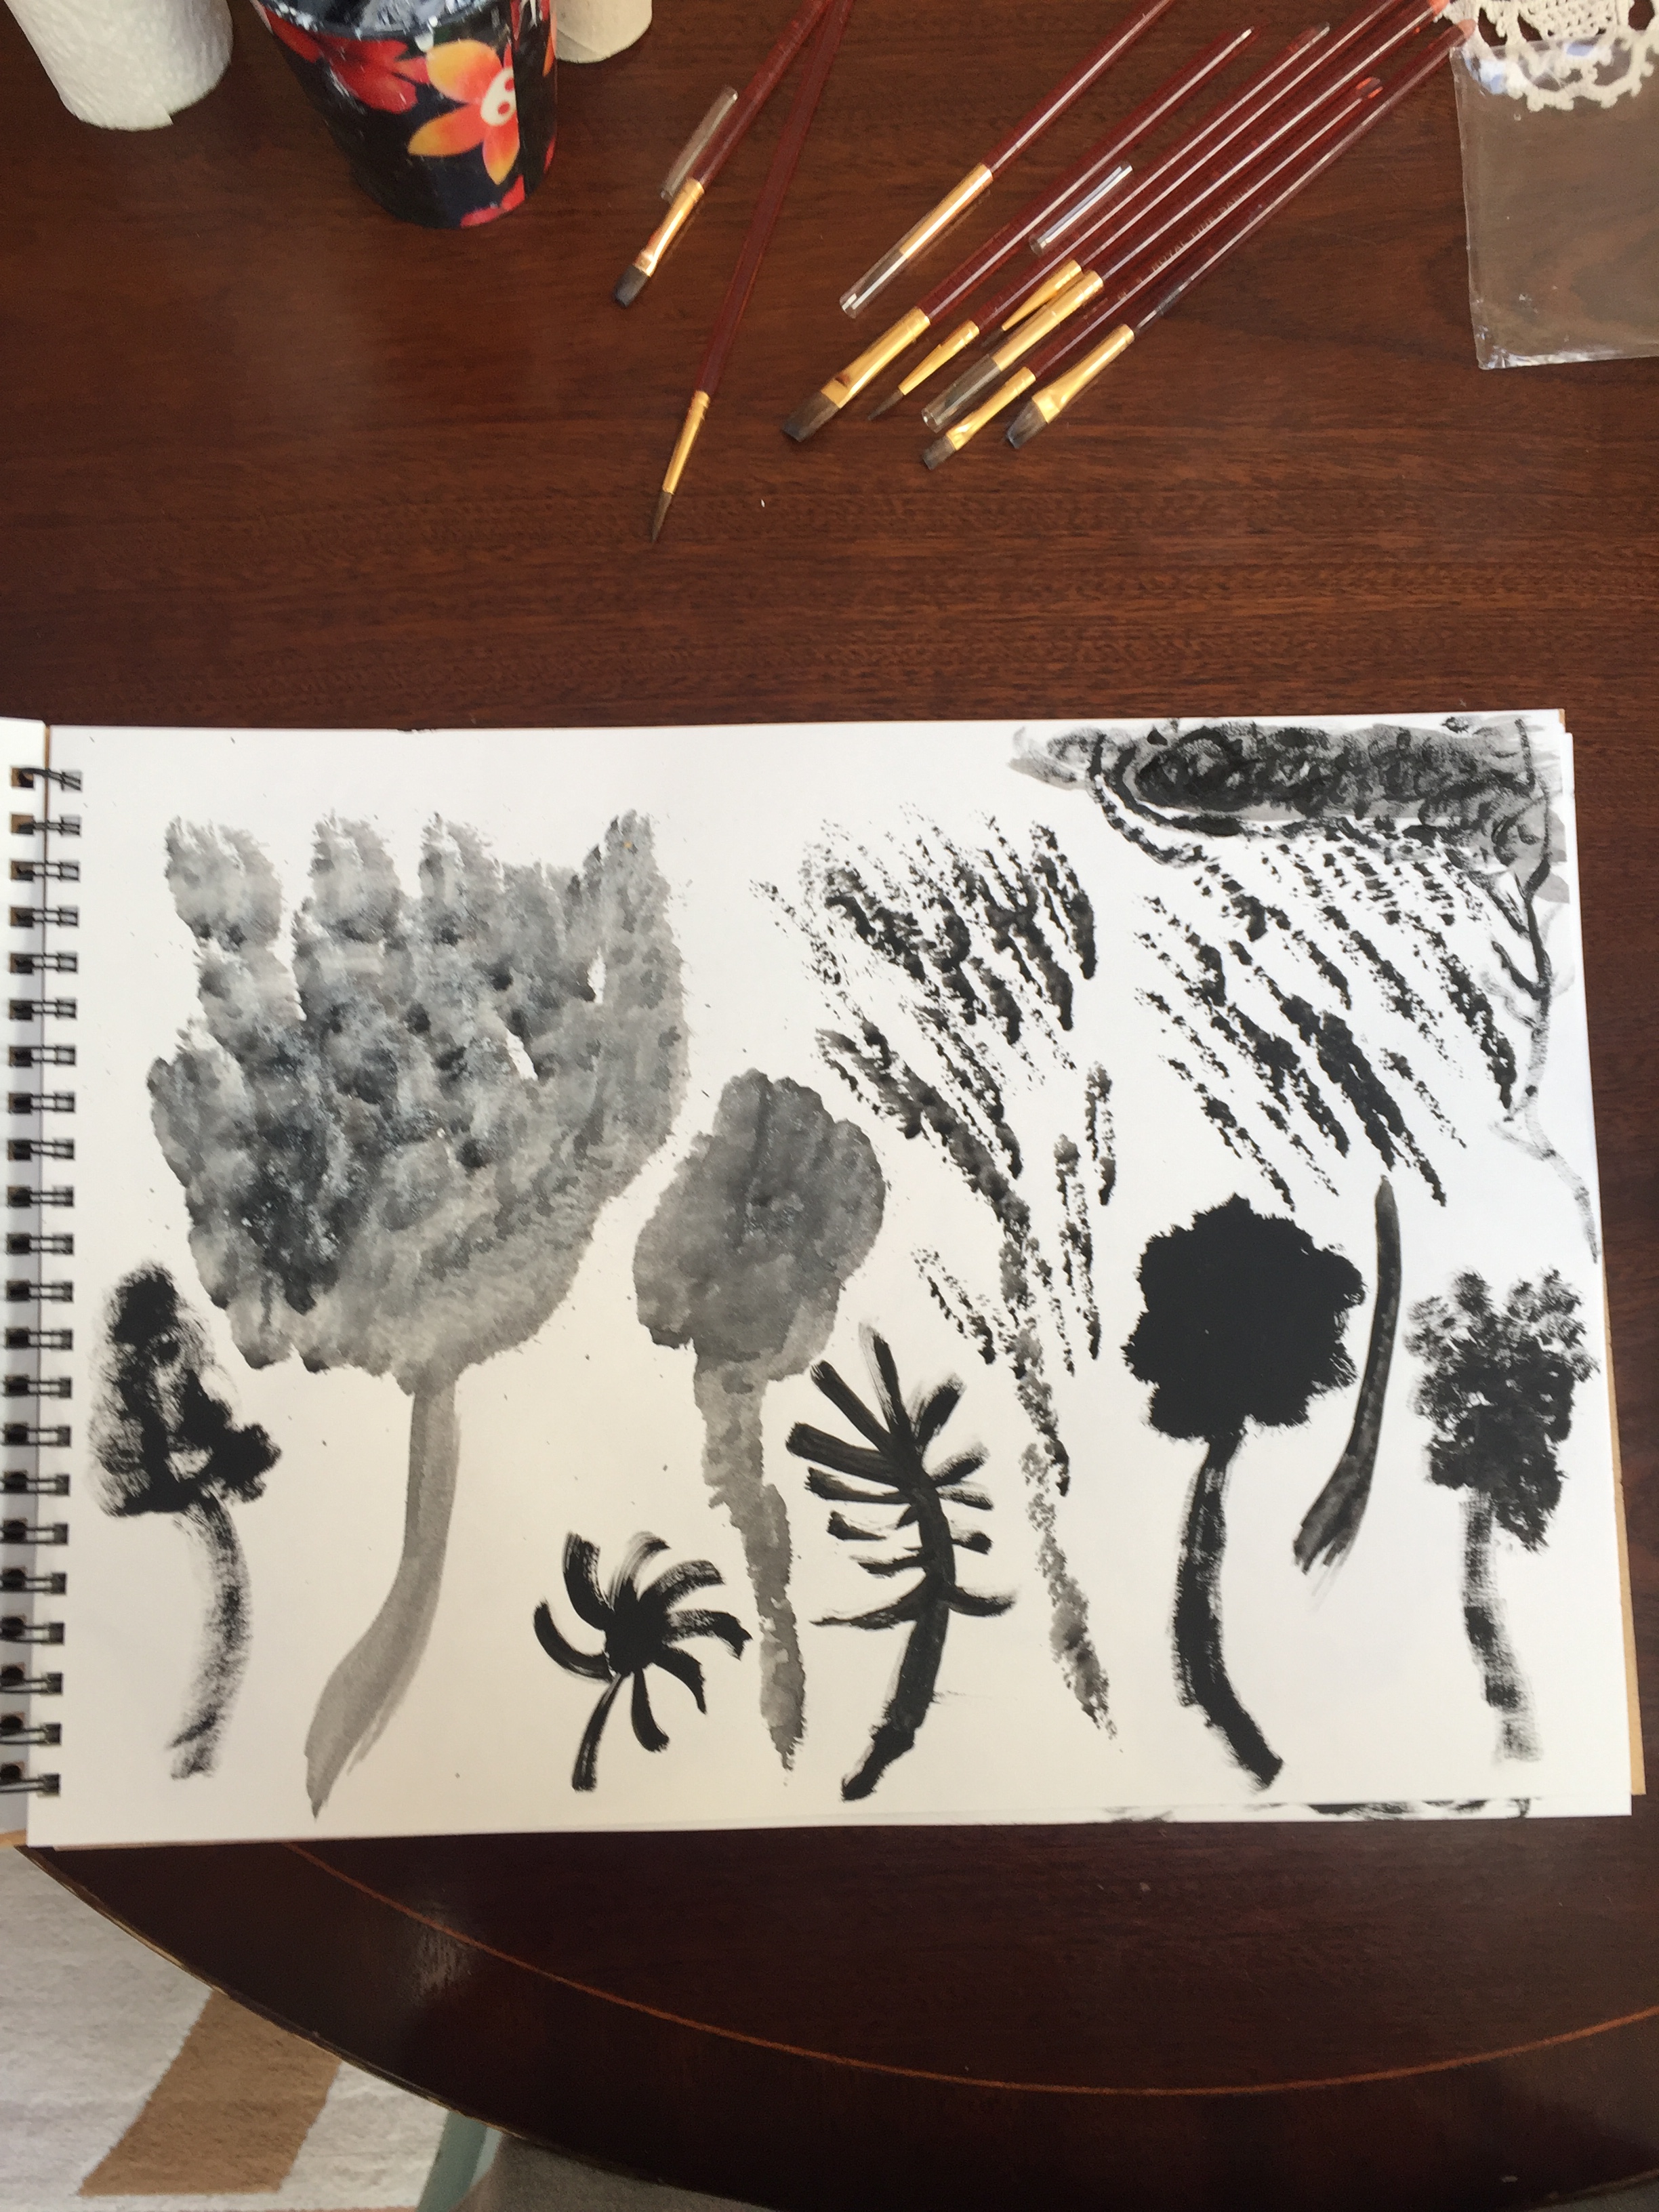
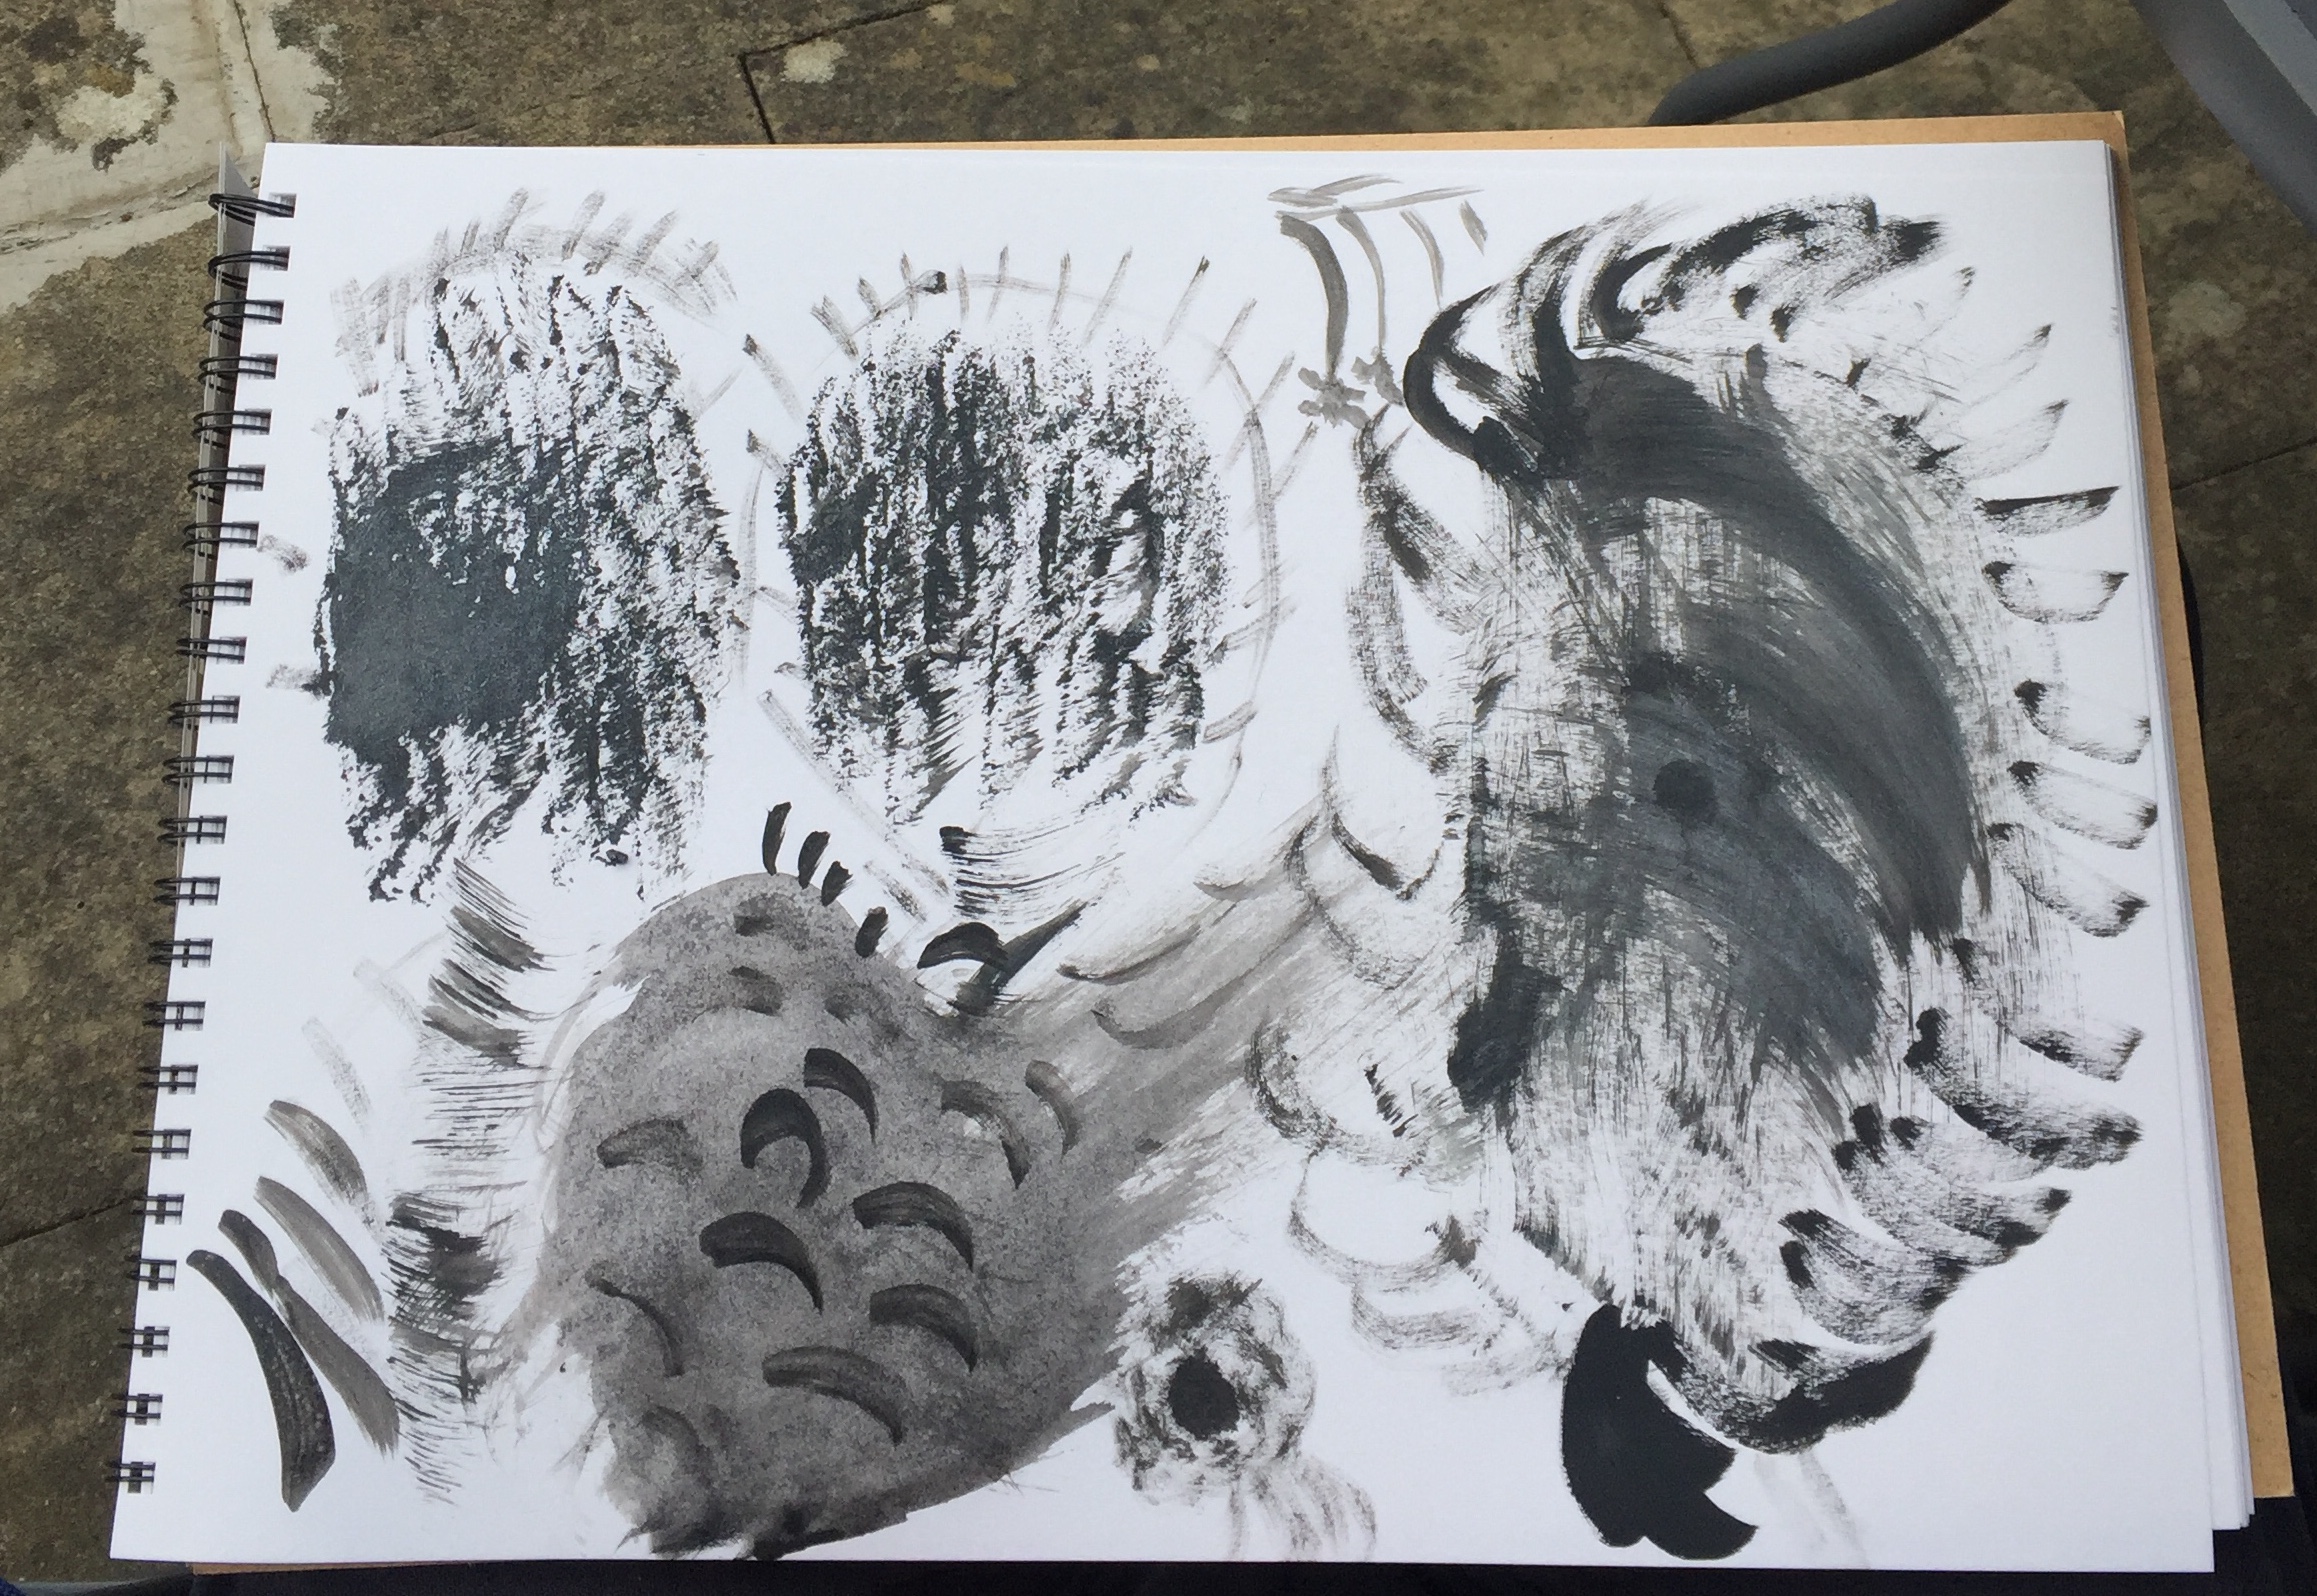
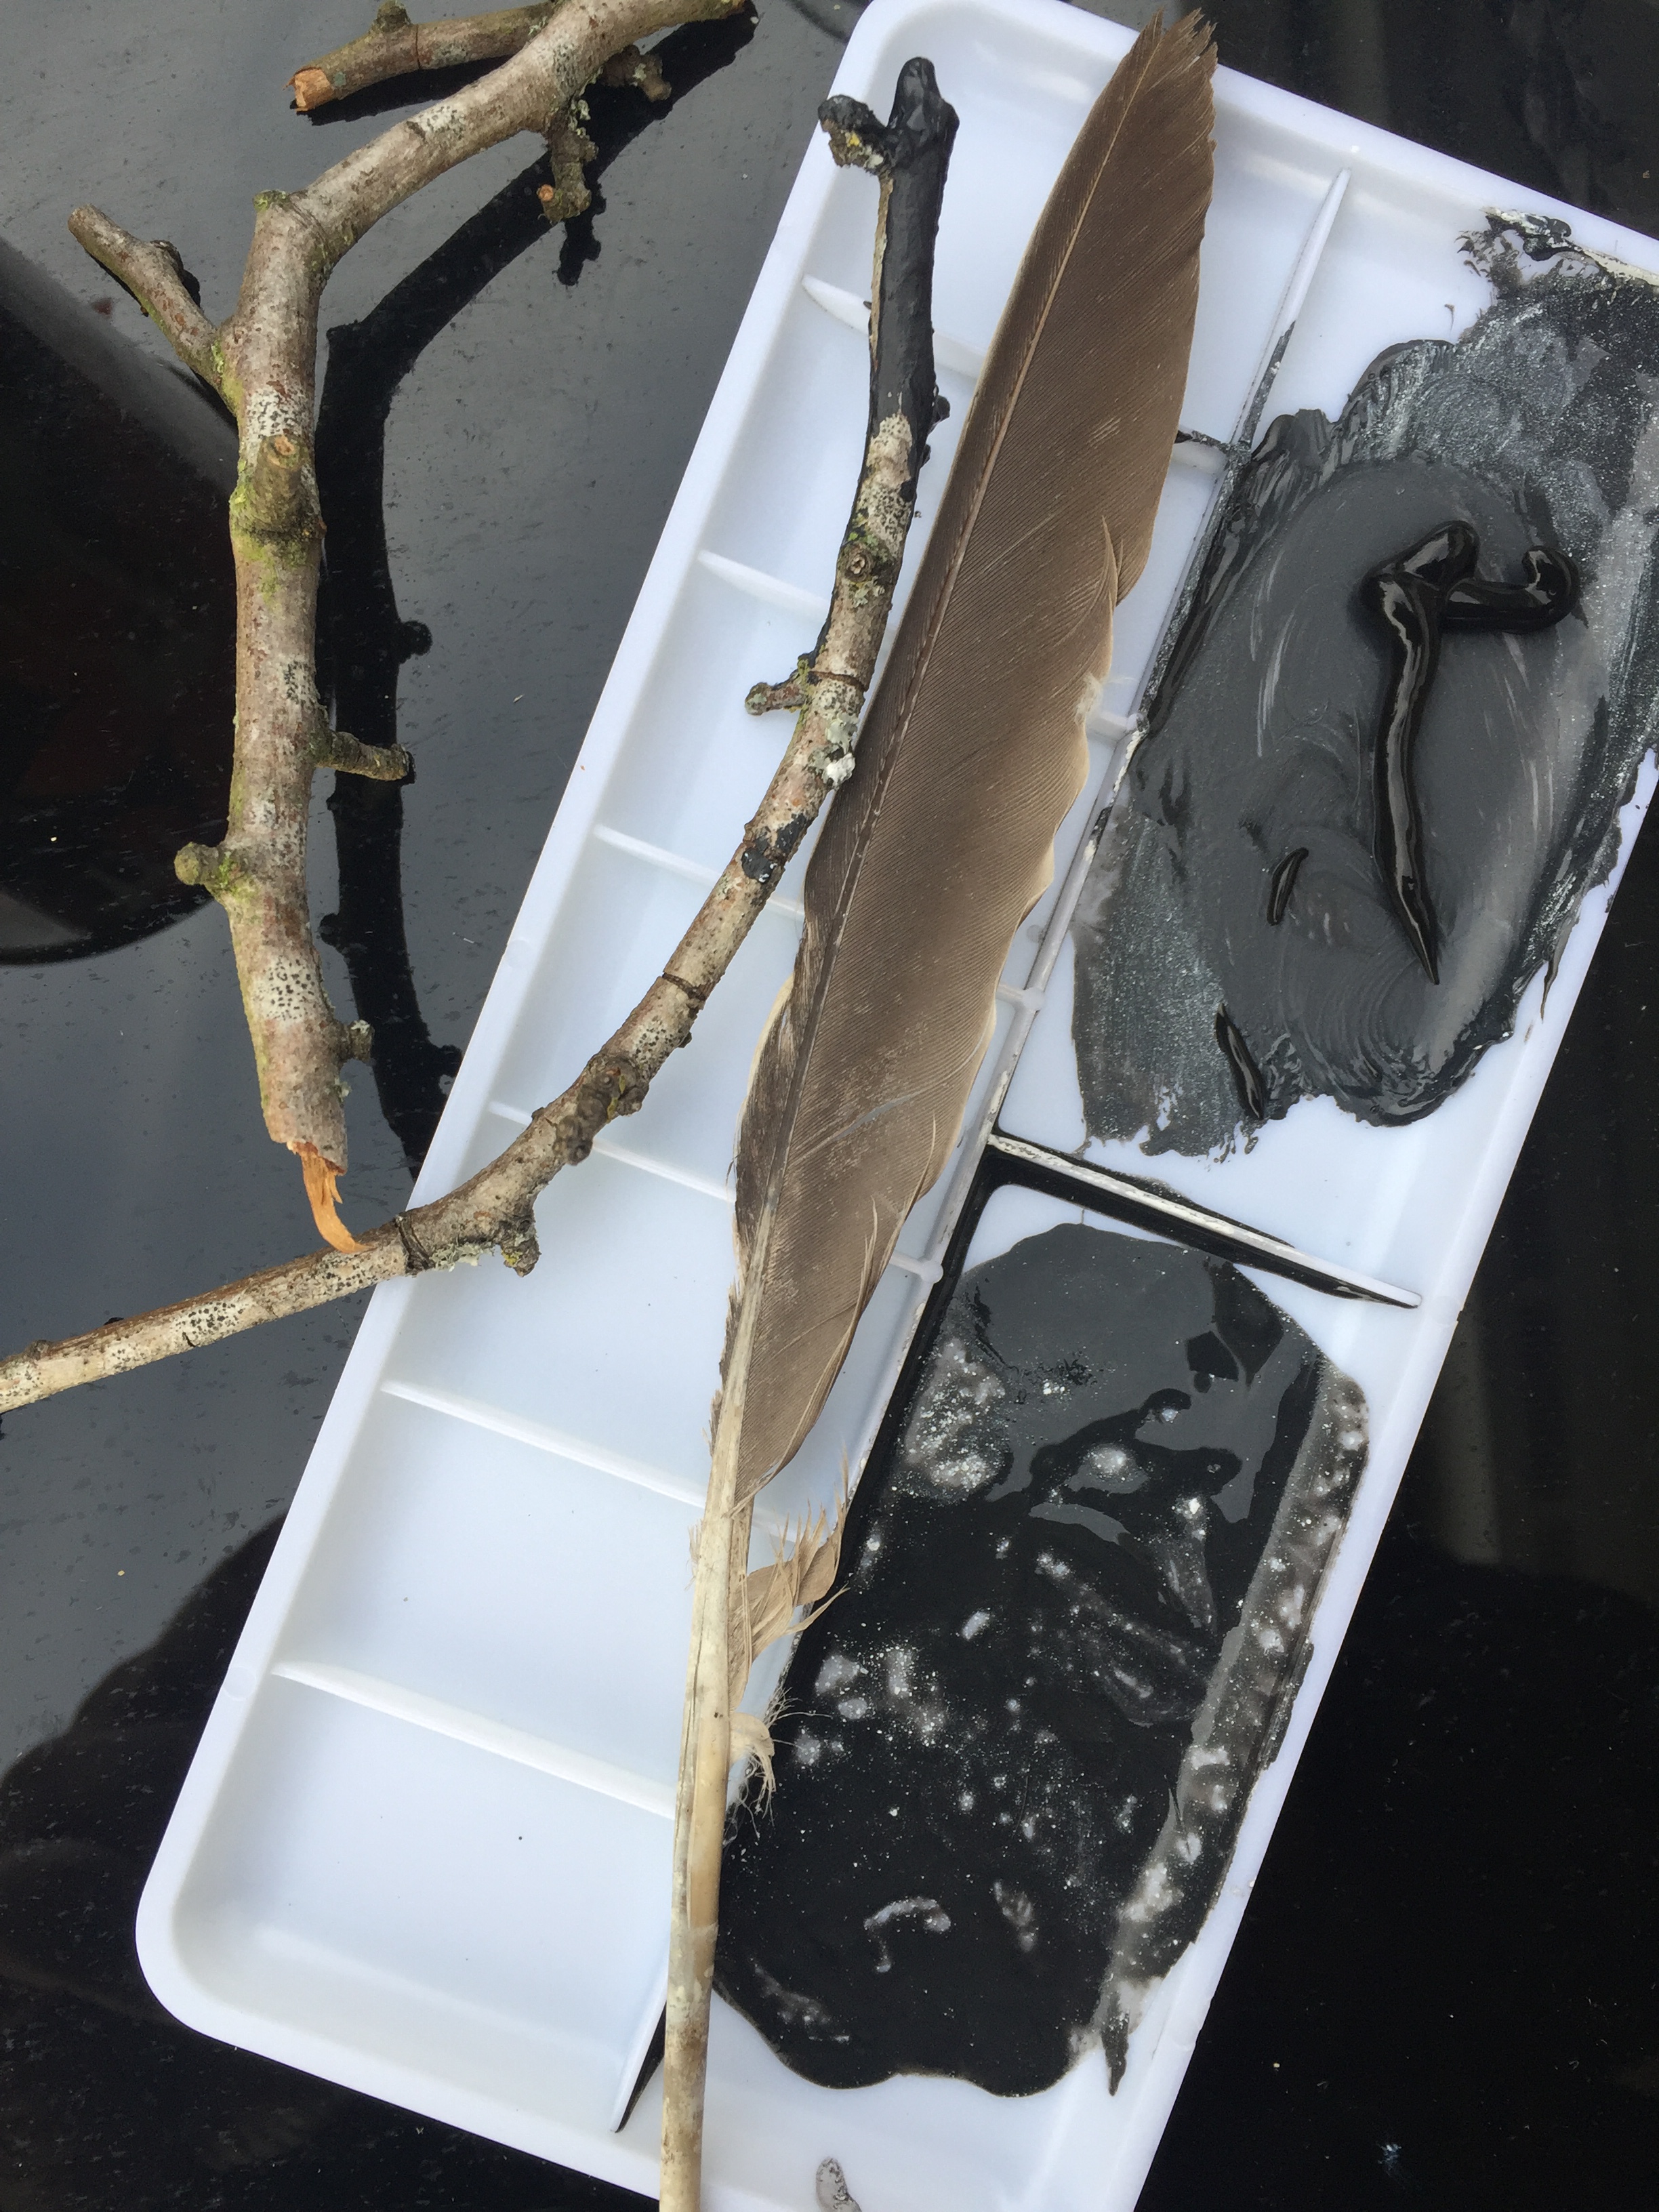
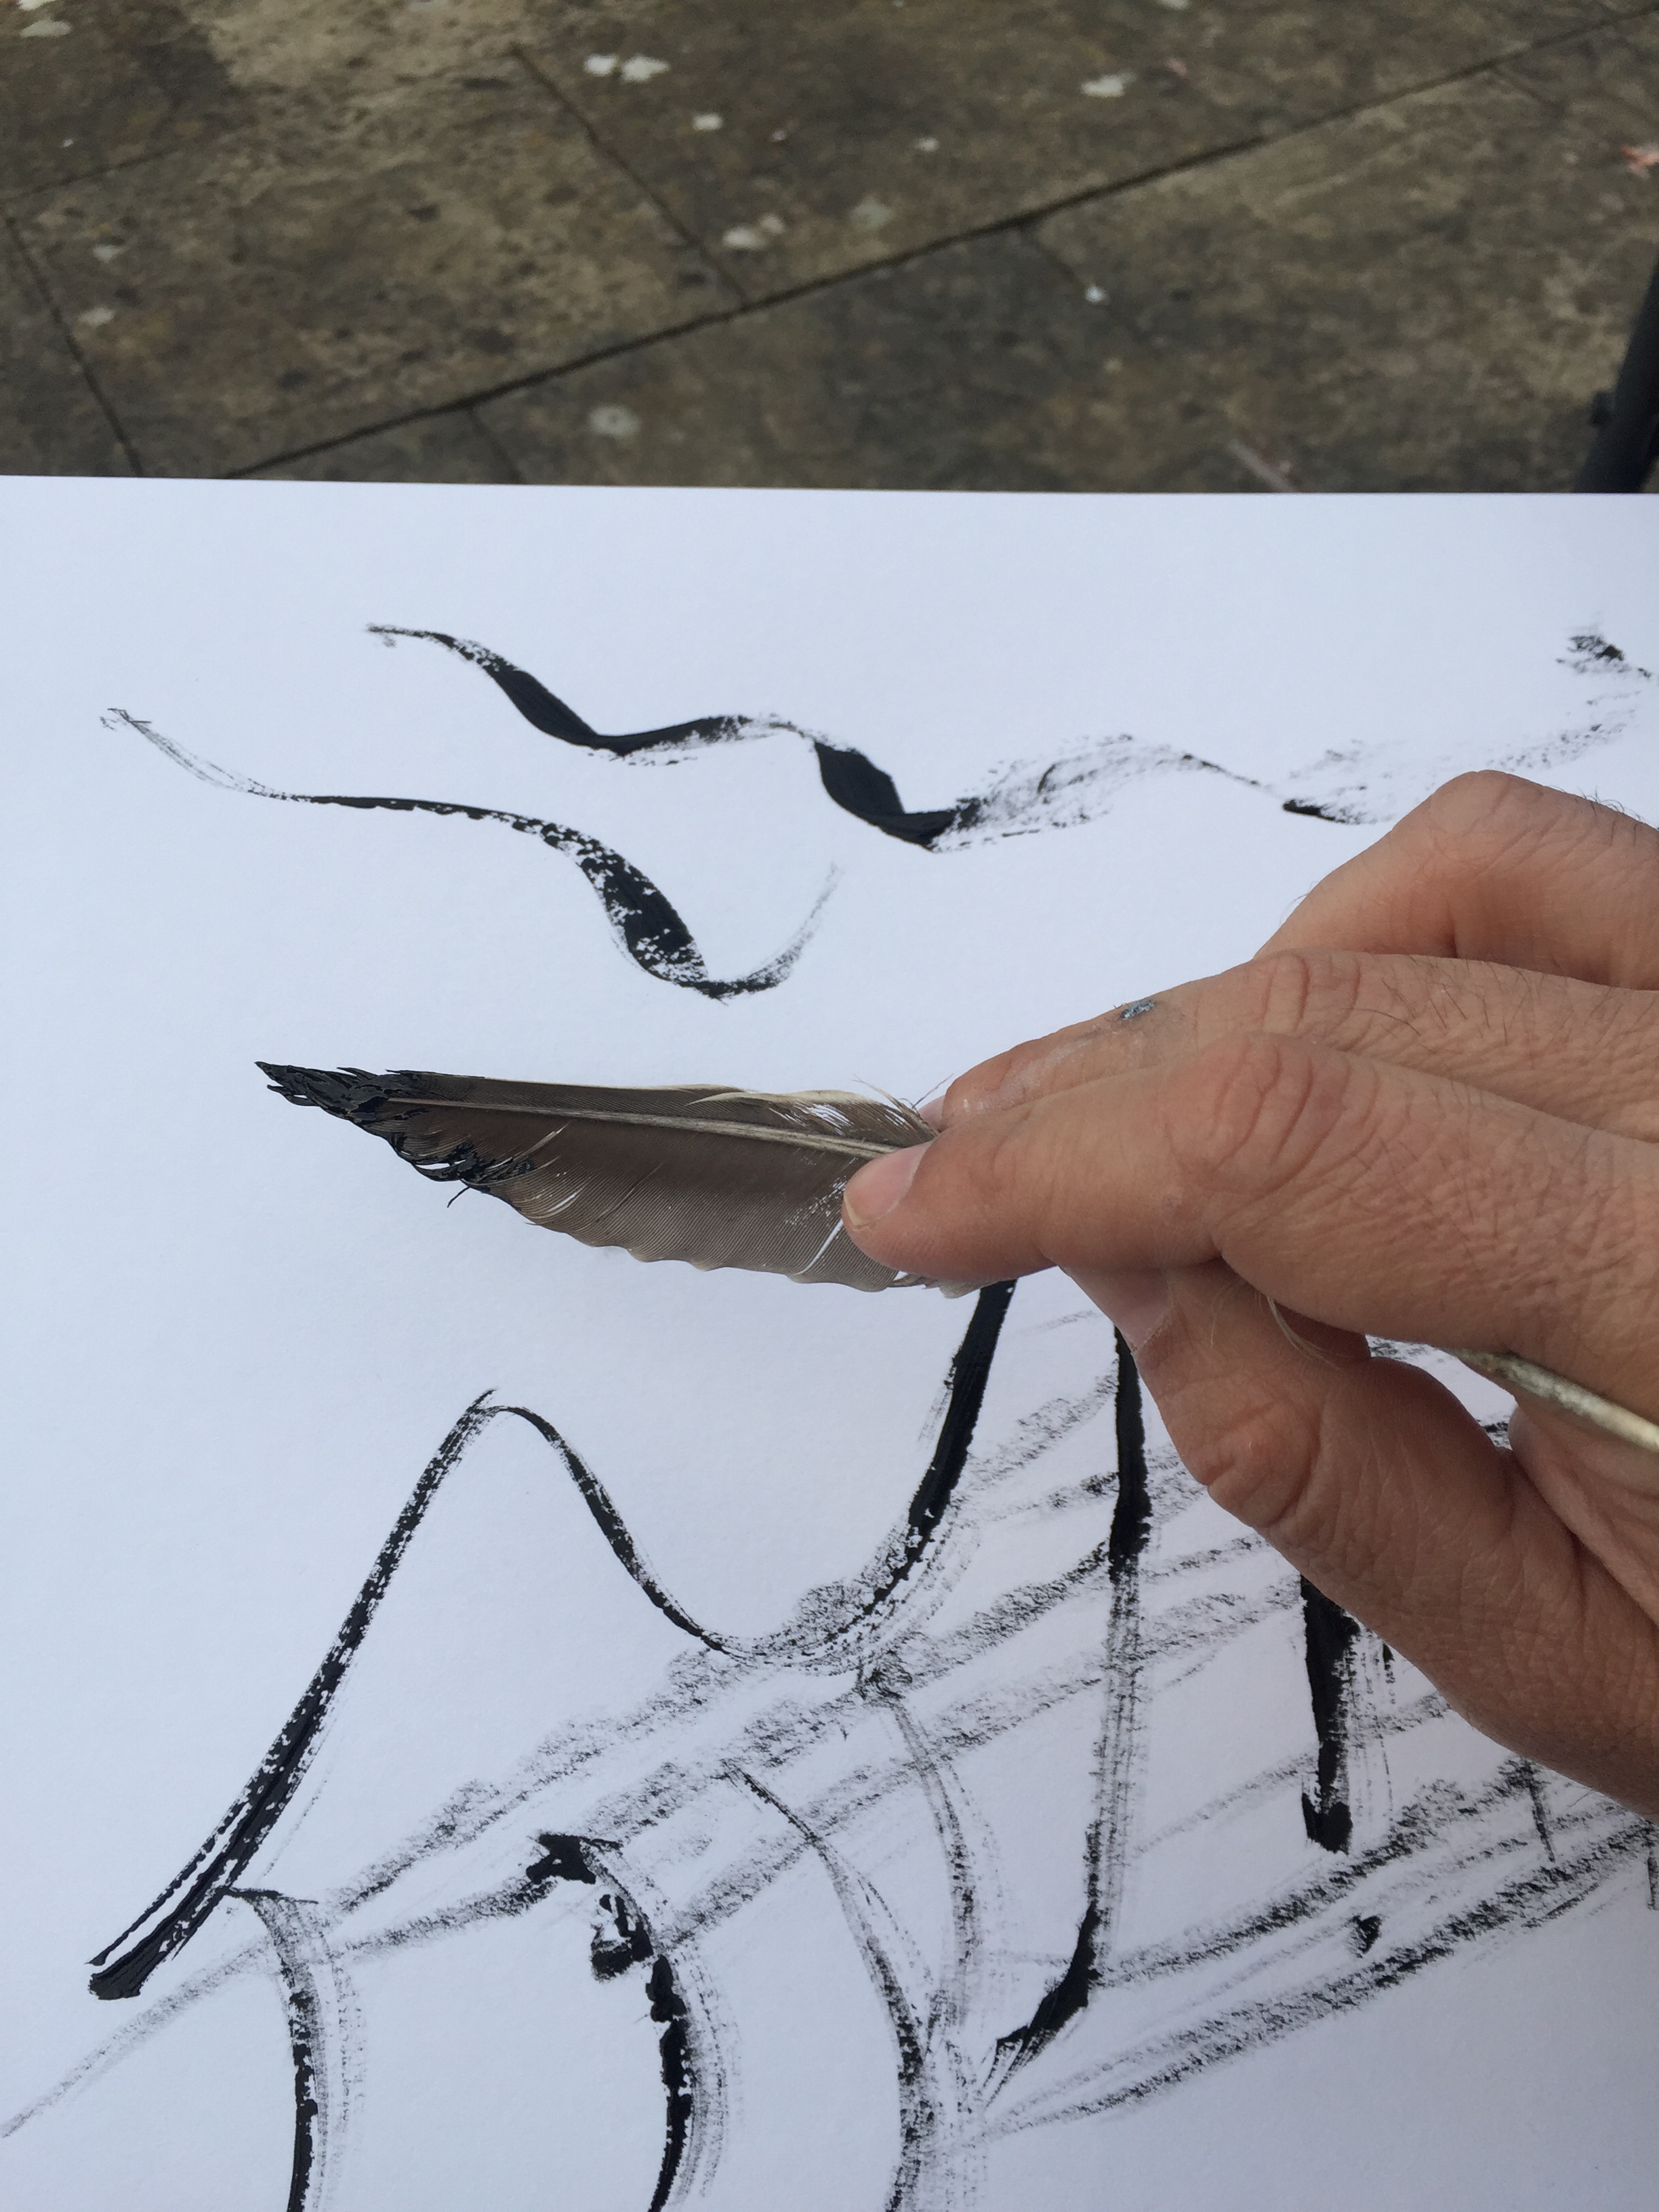
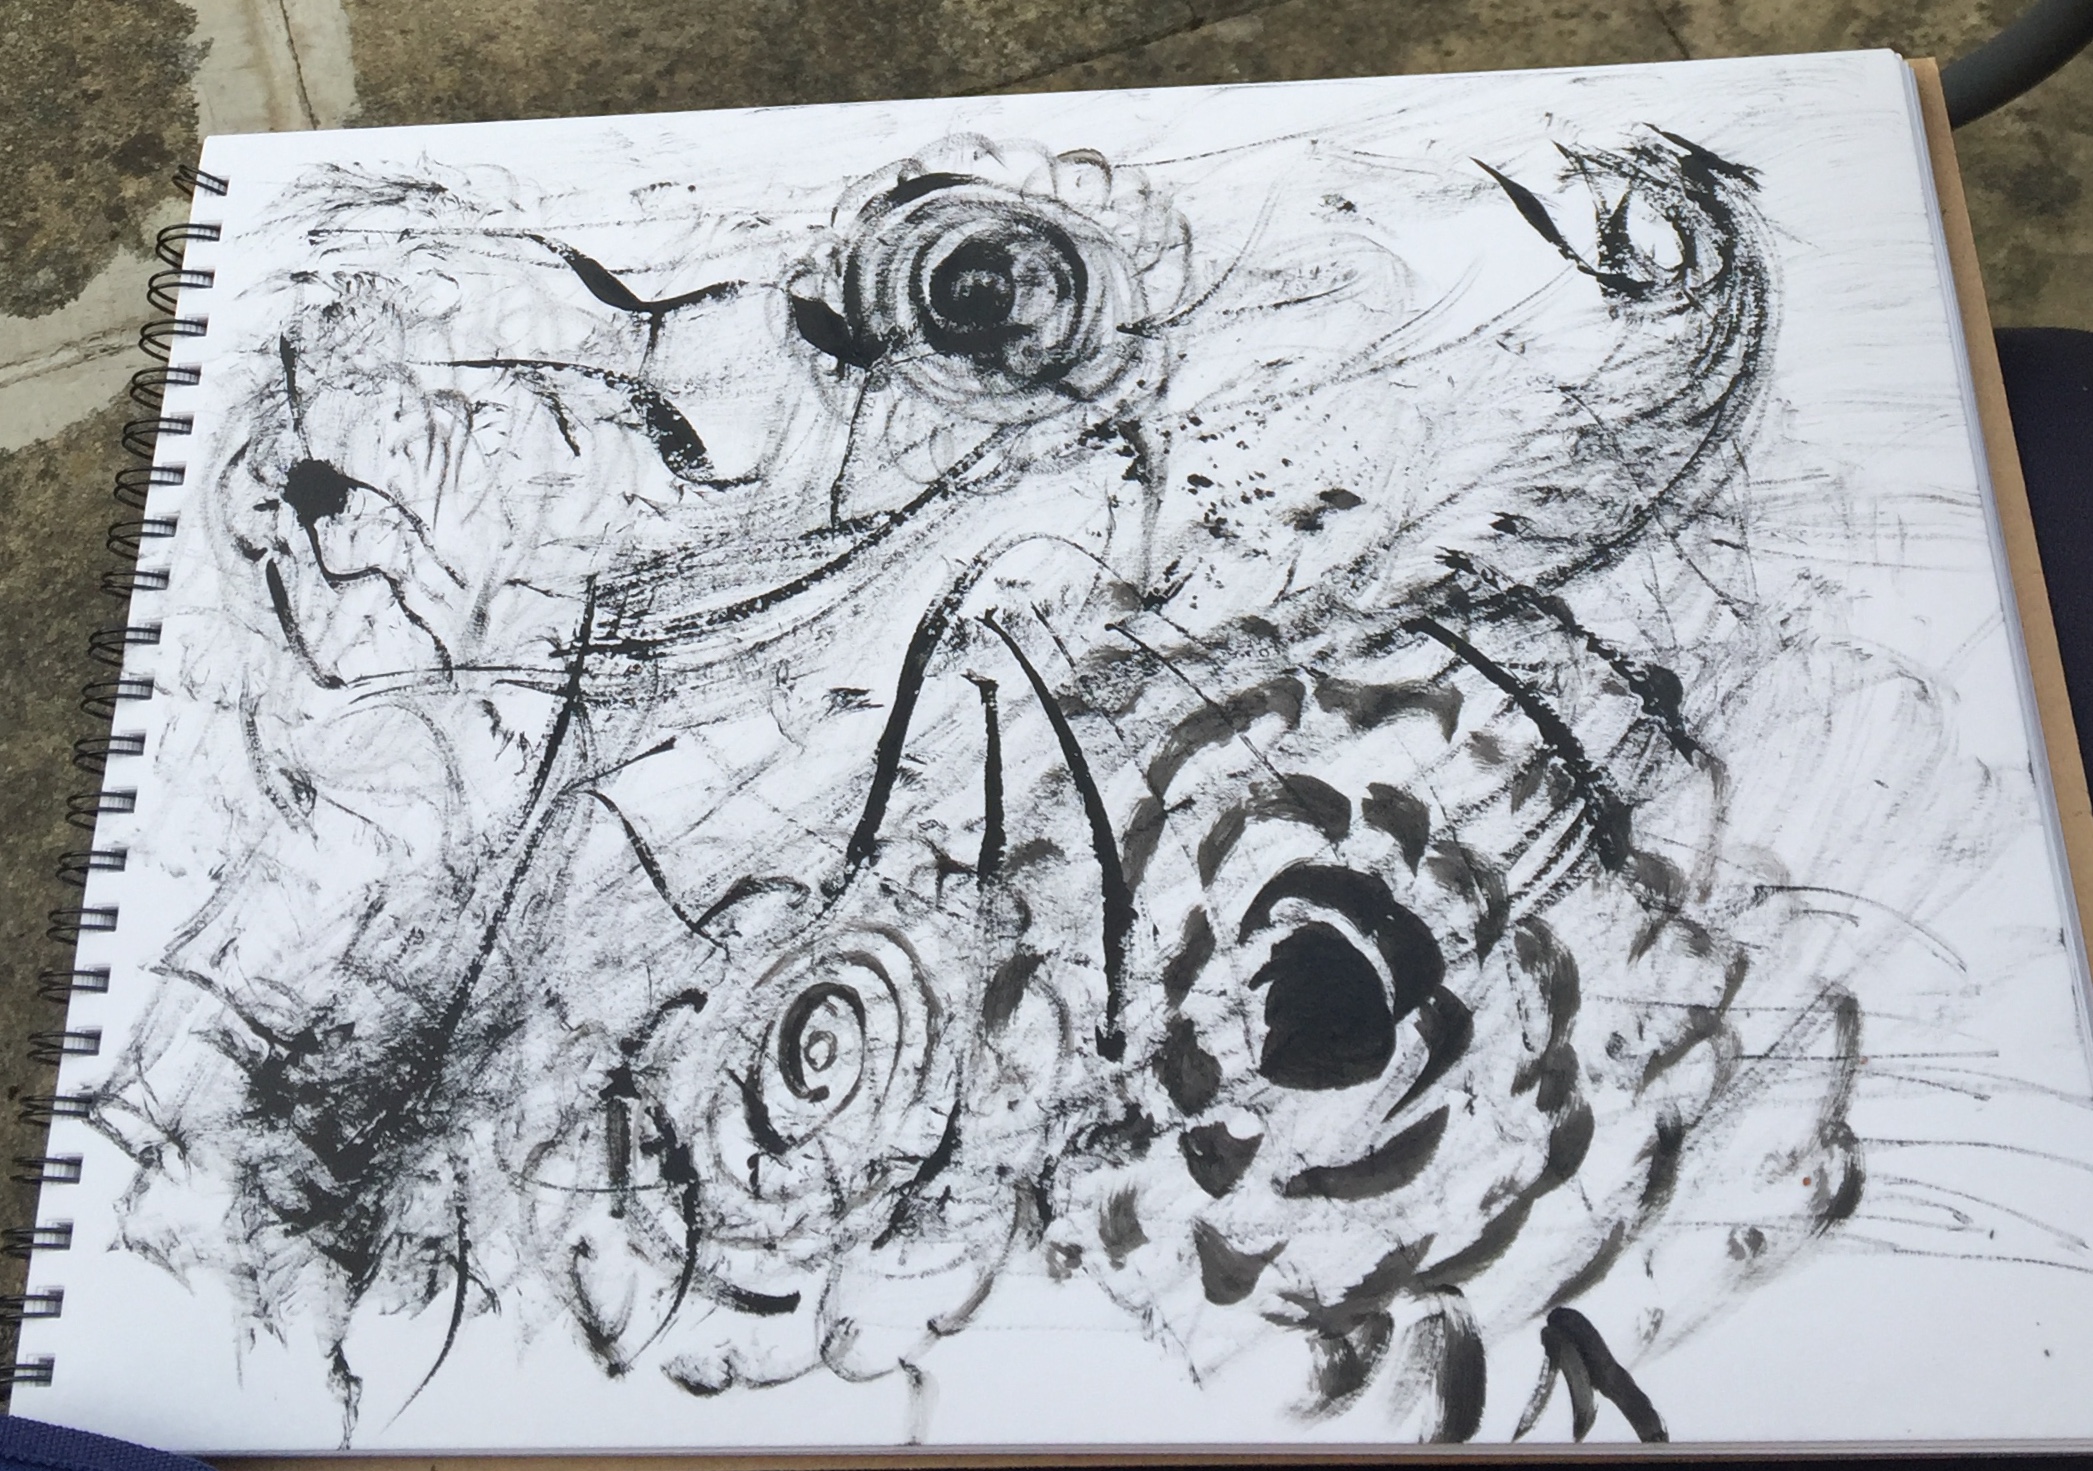

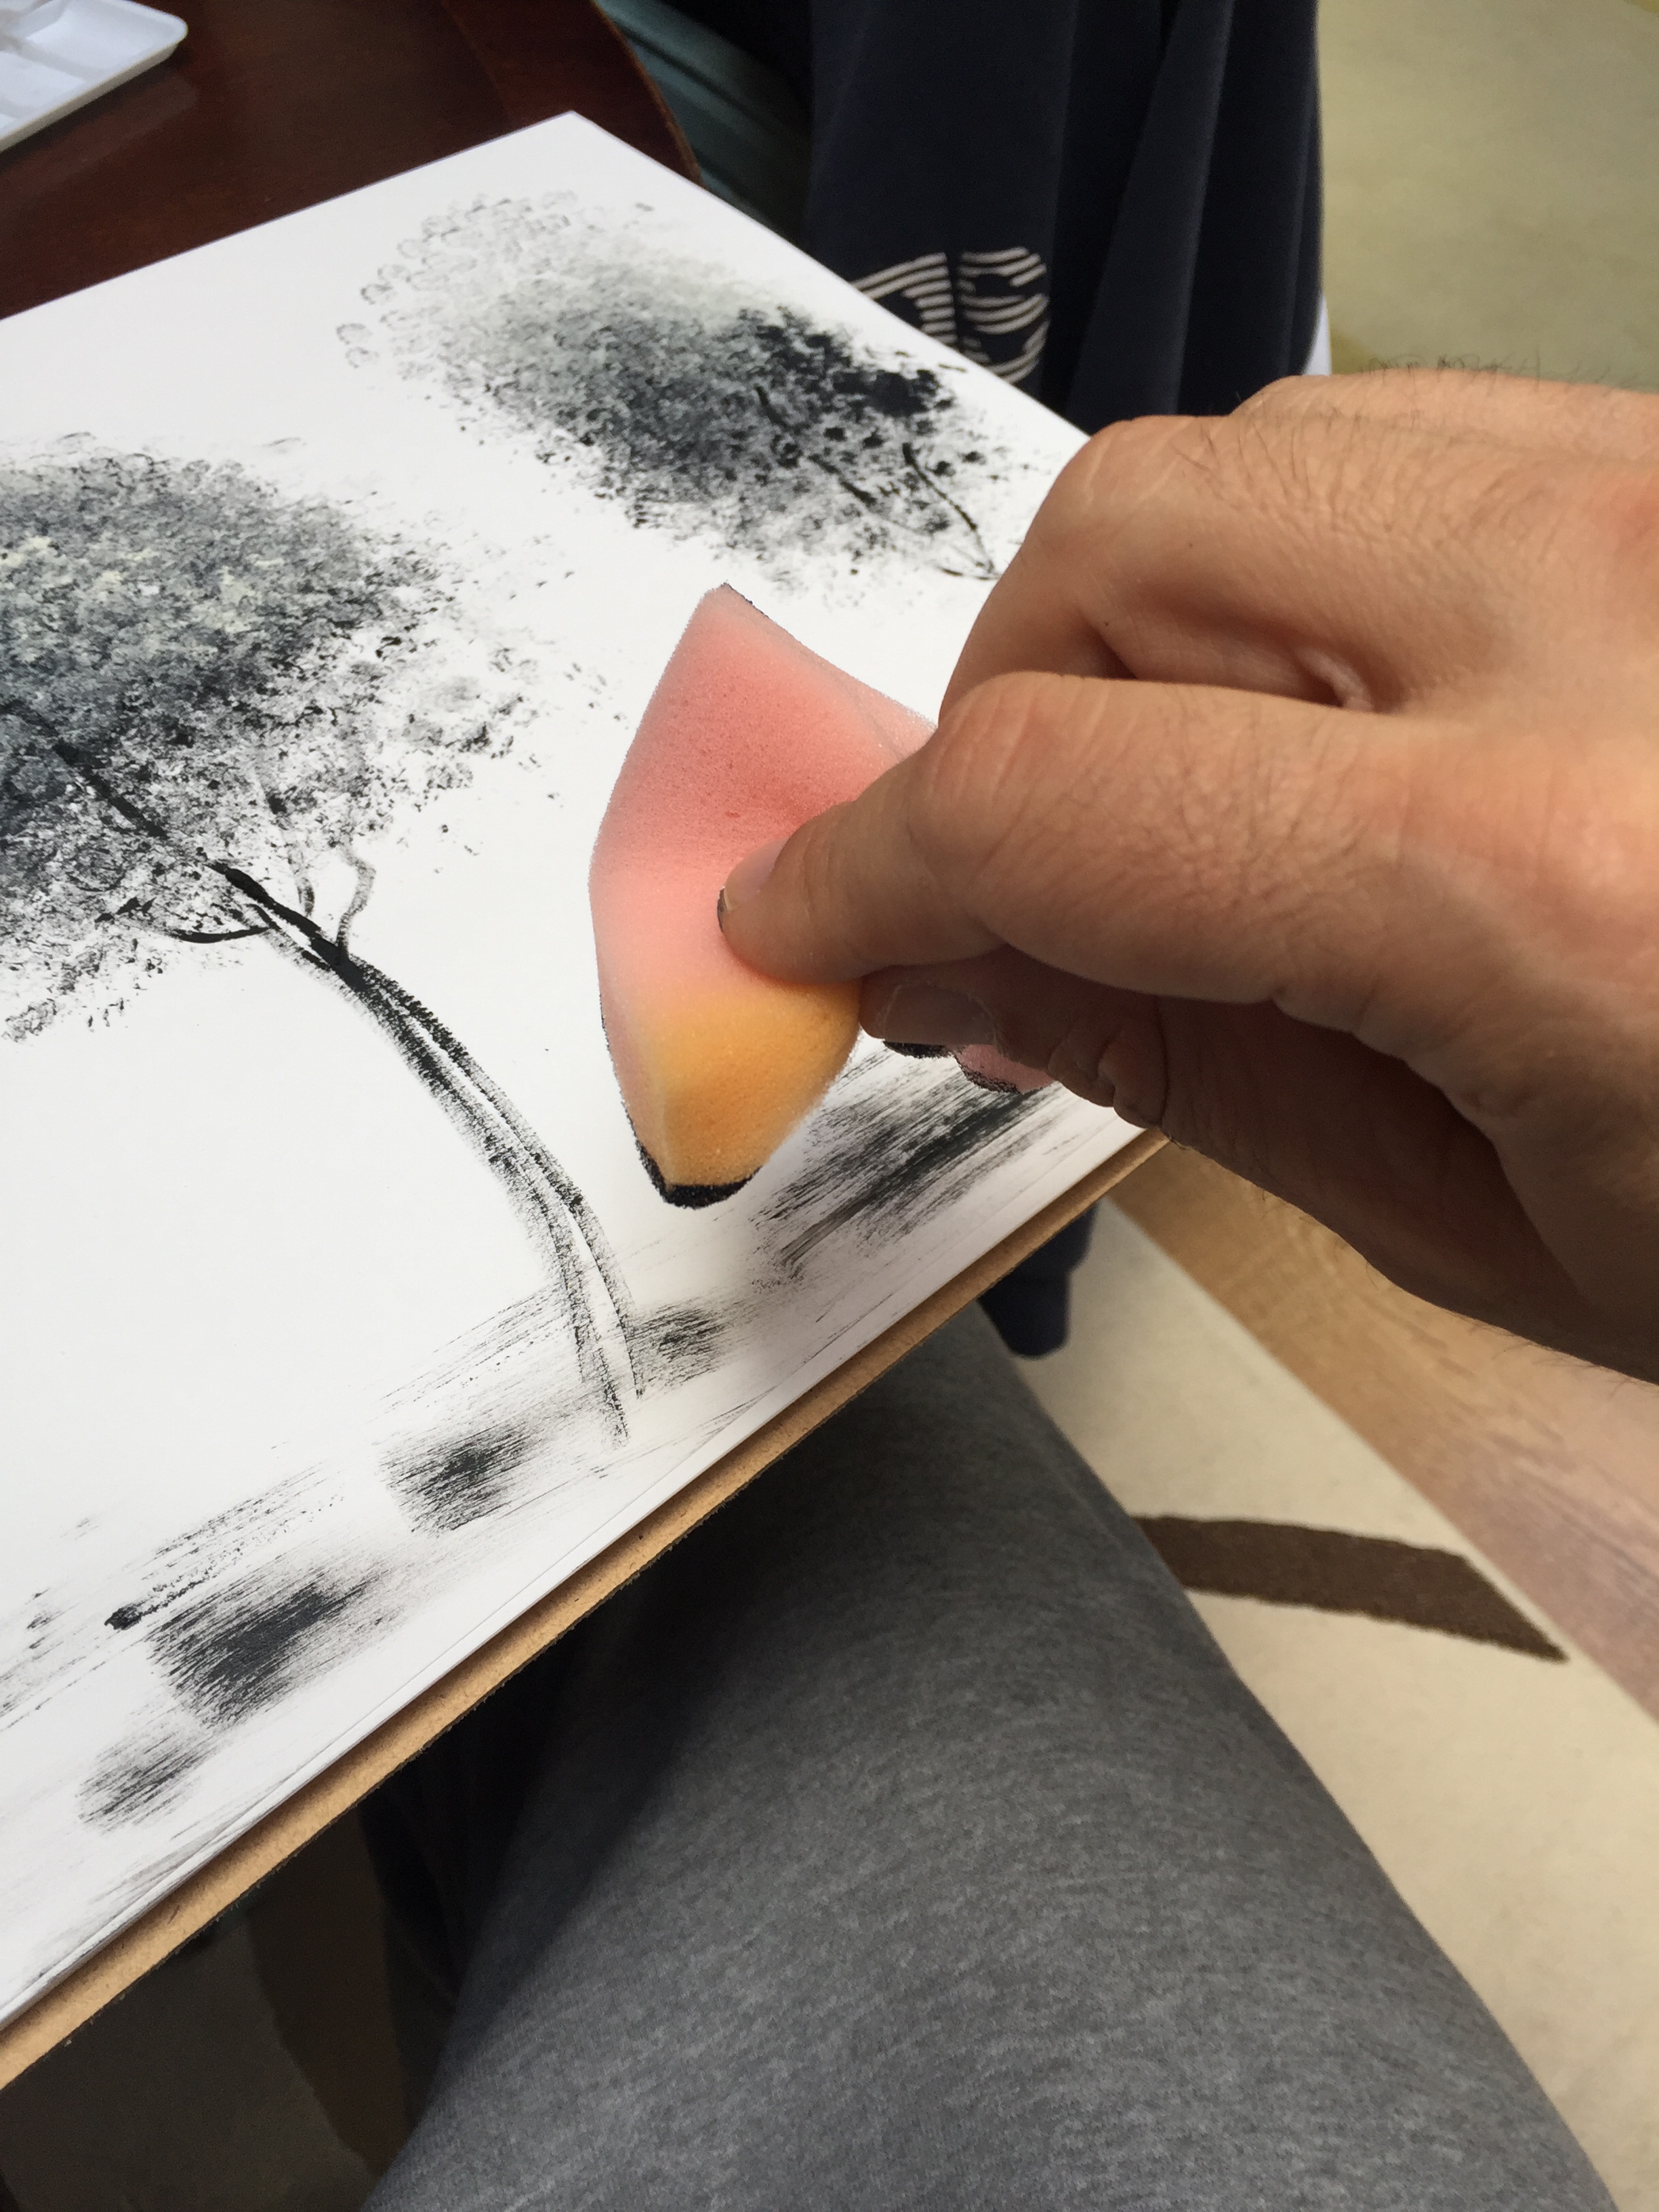
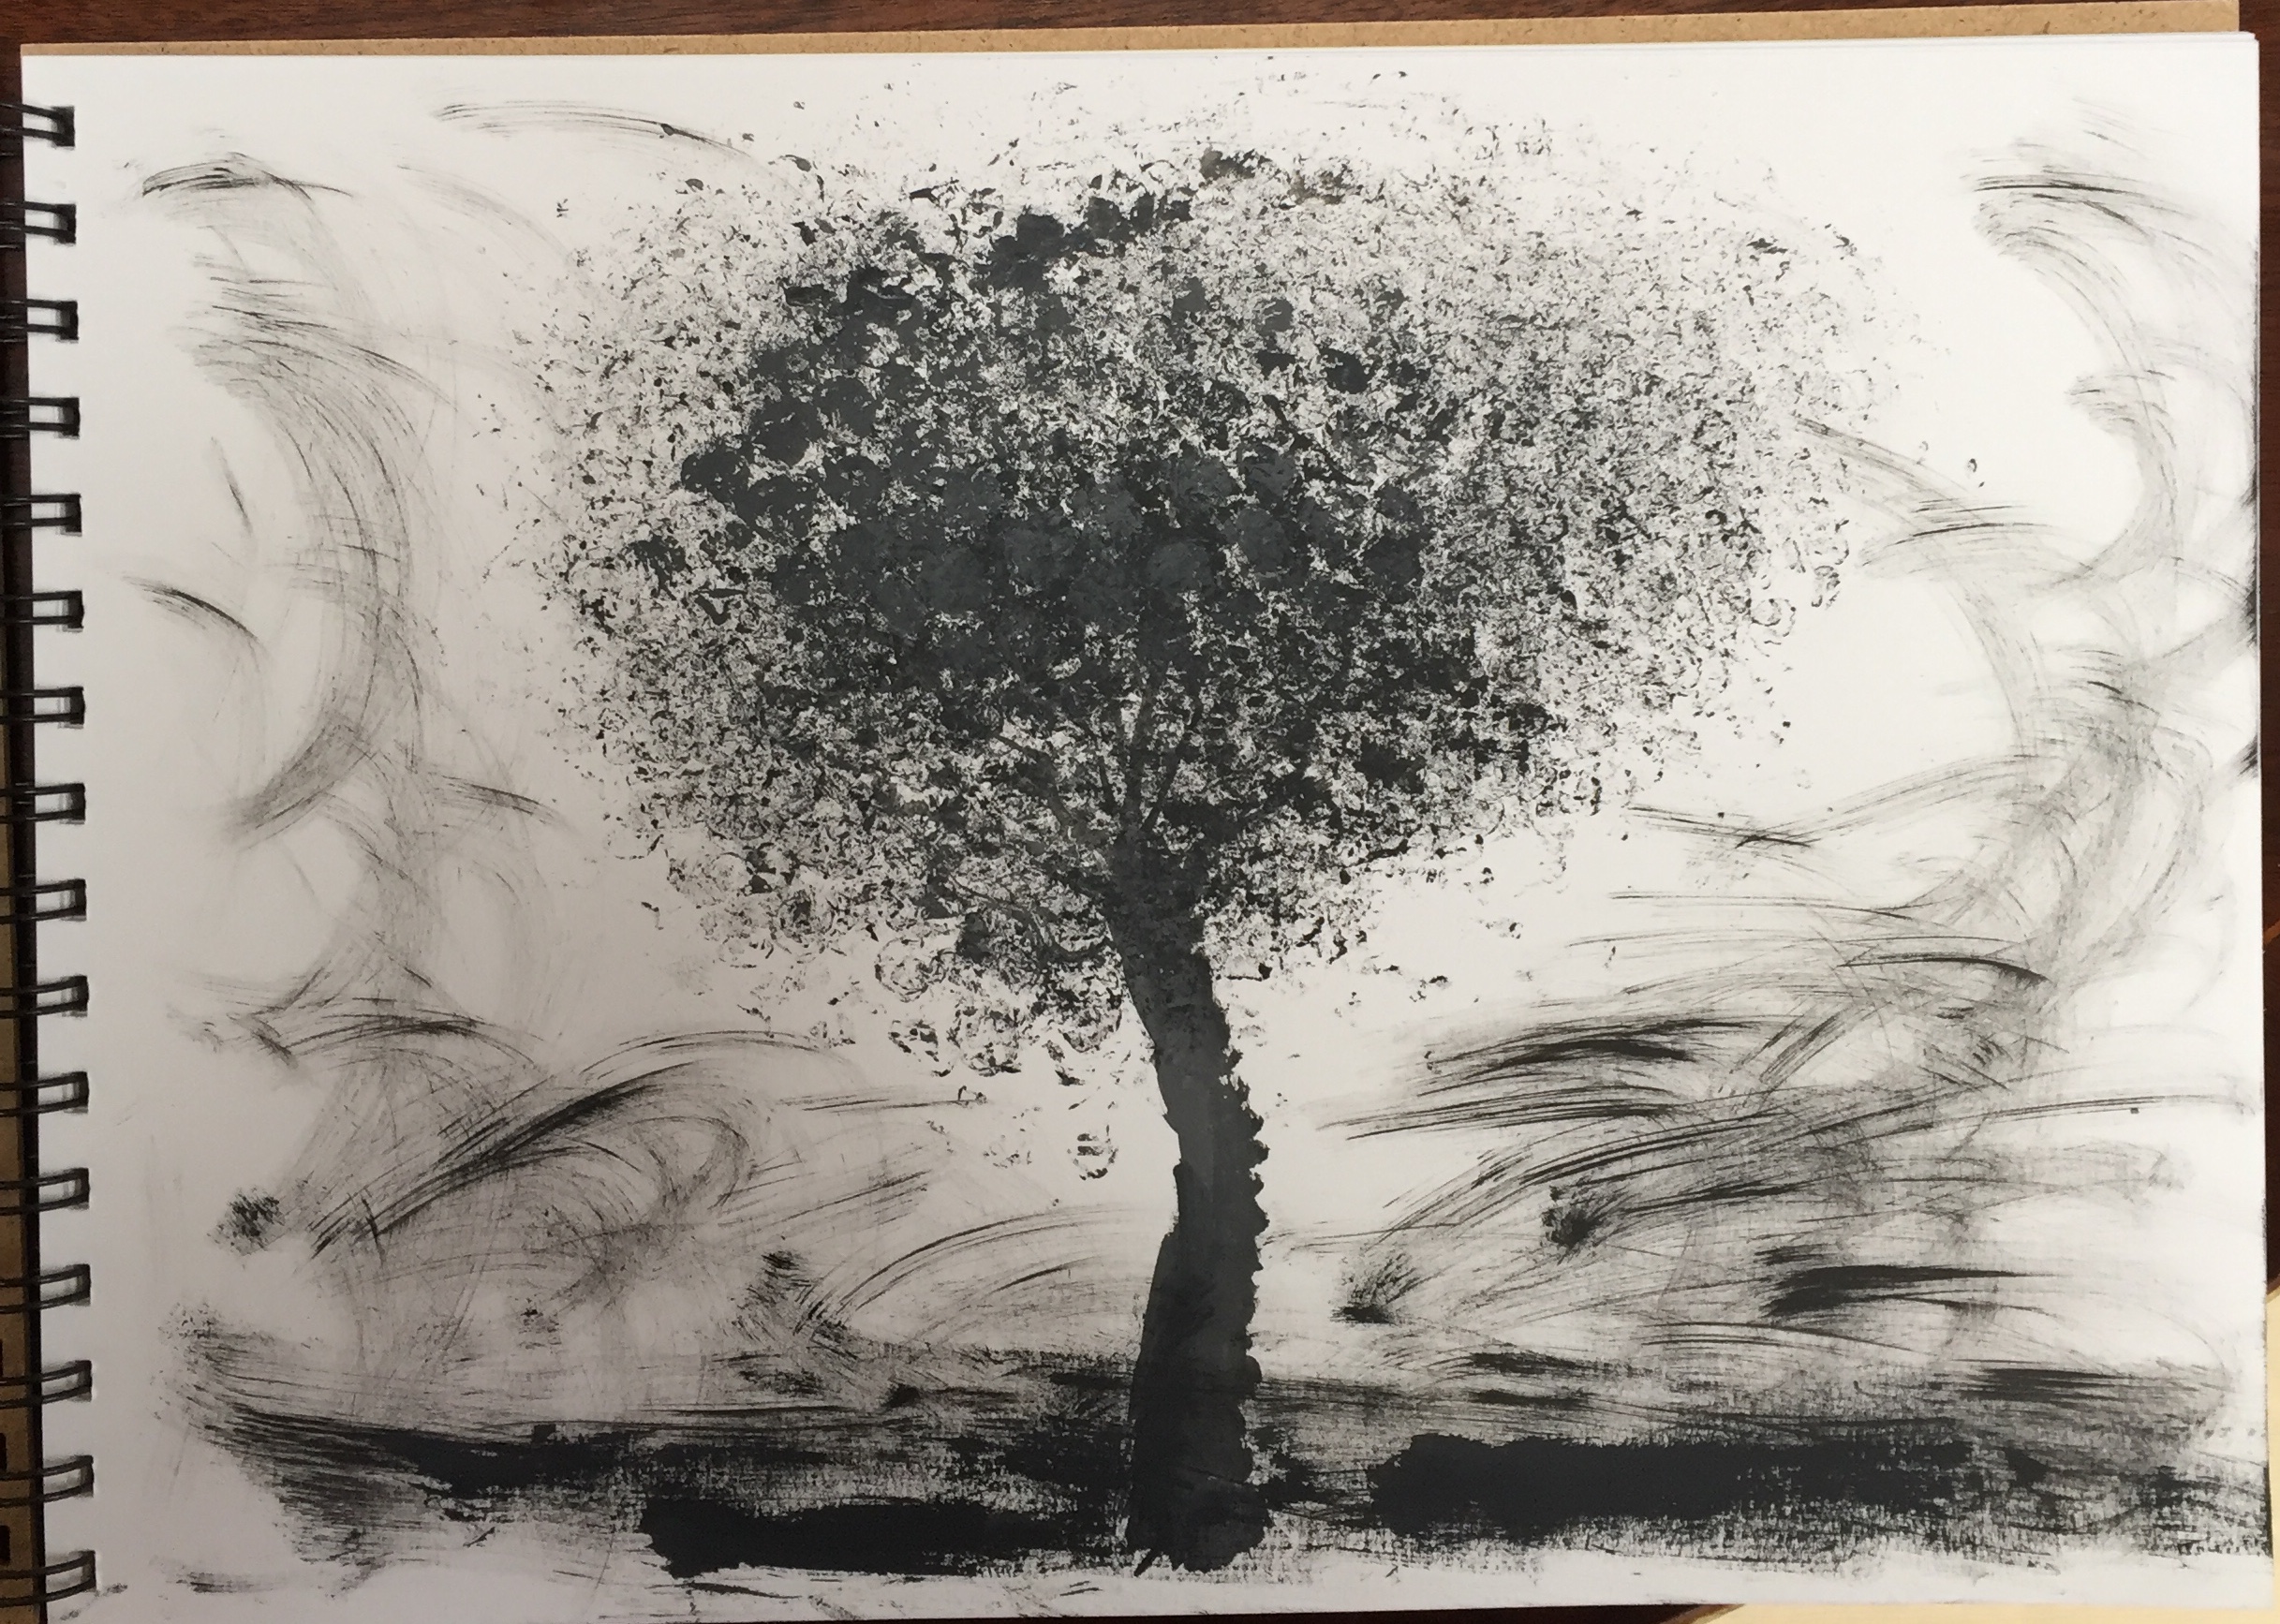
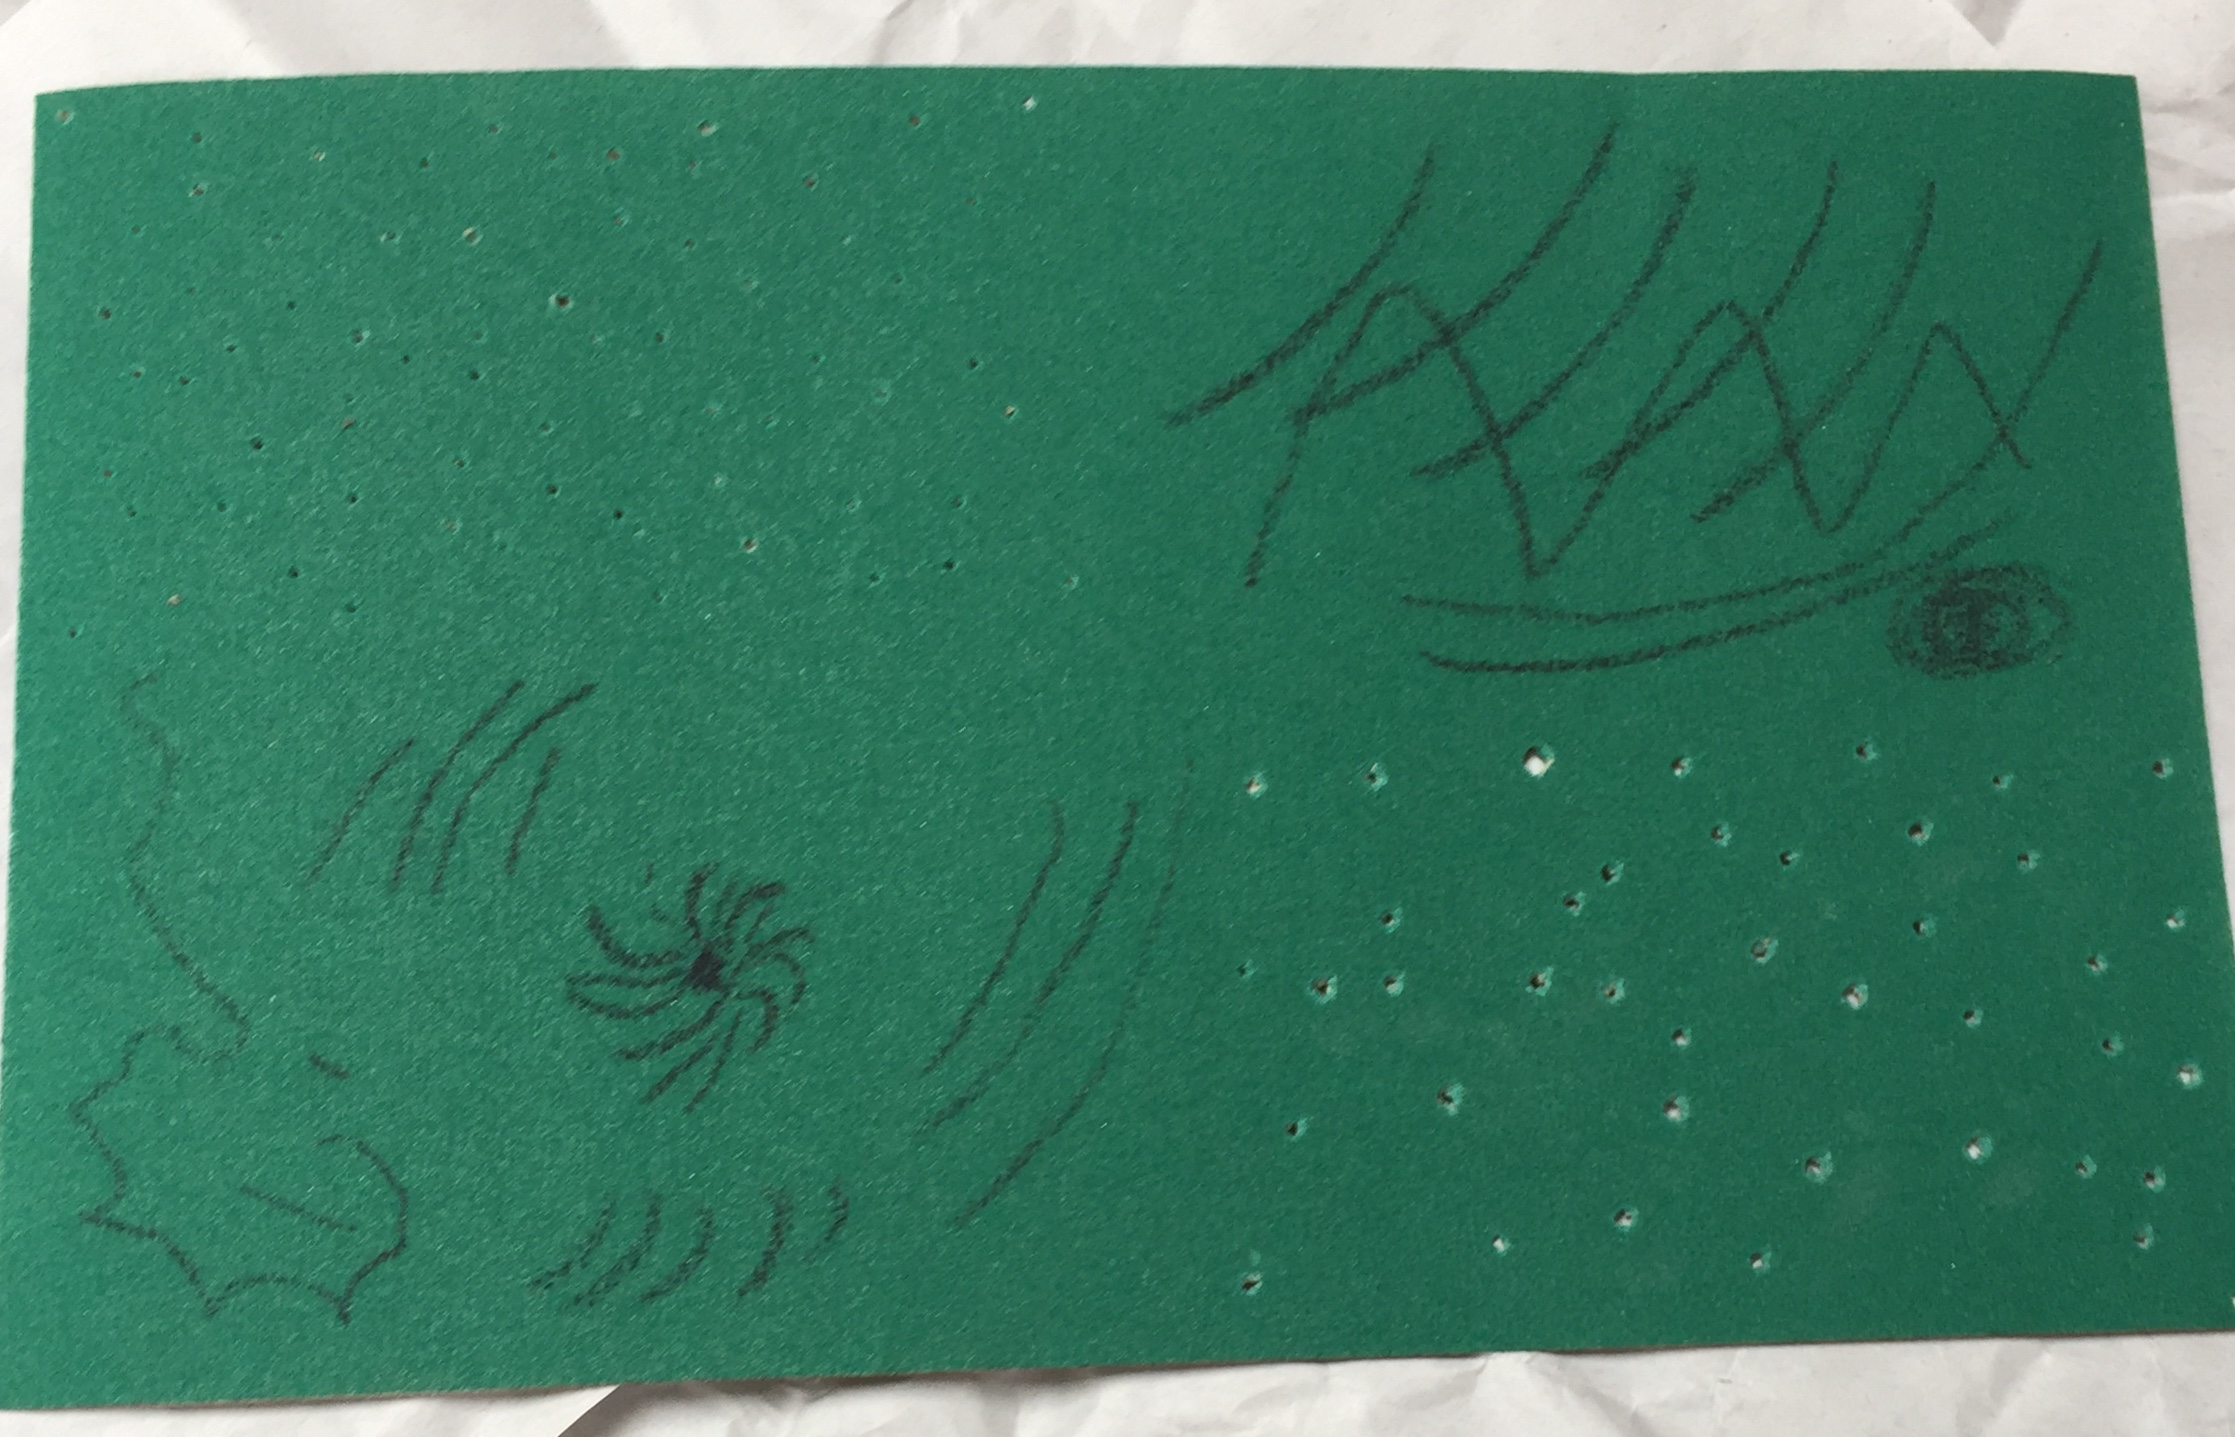
drawing method
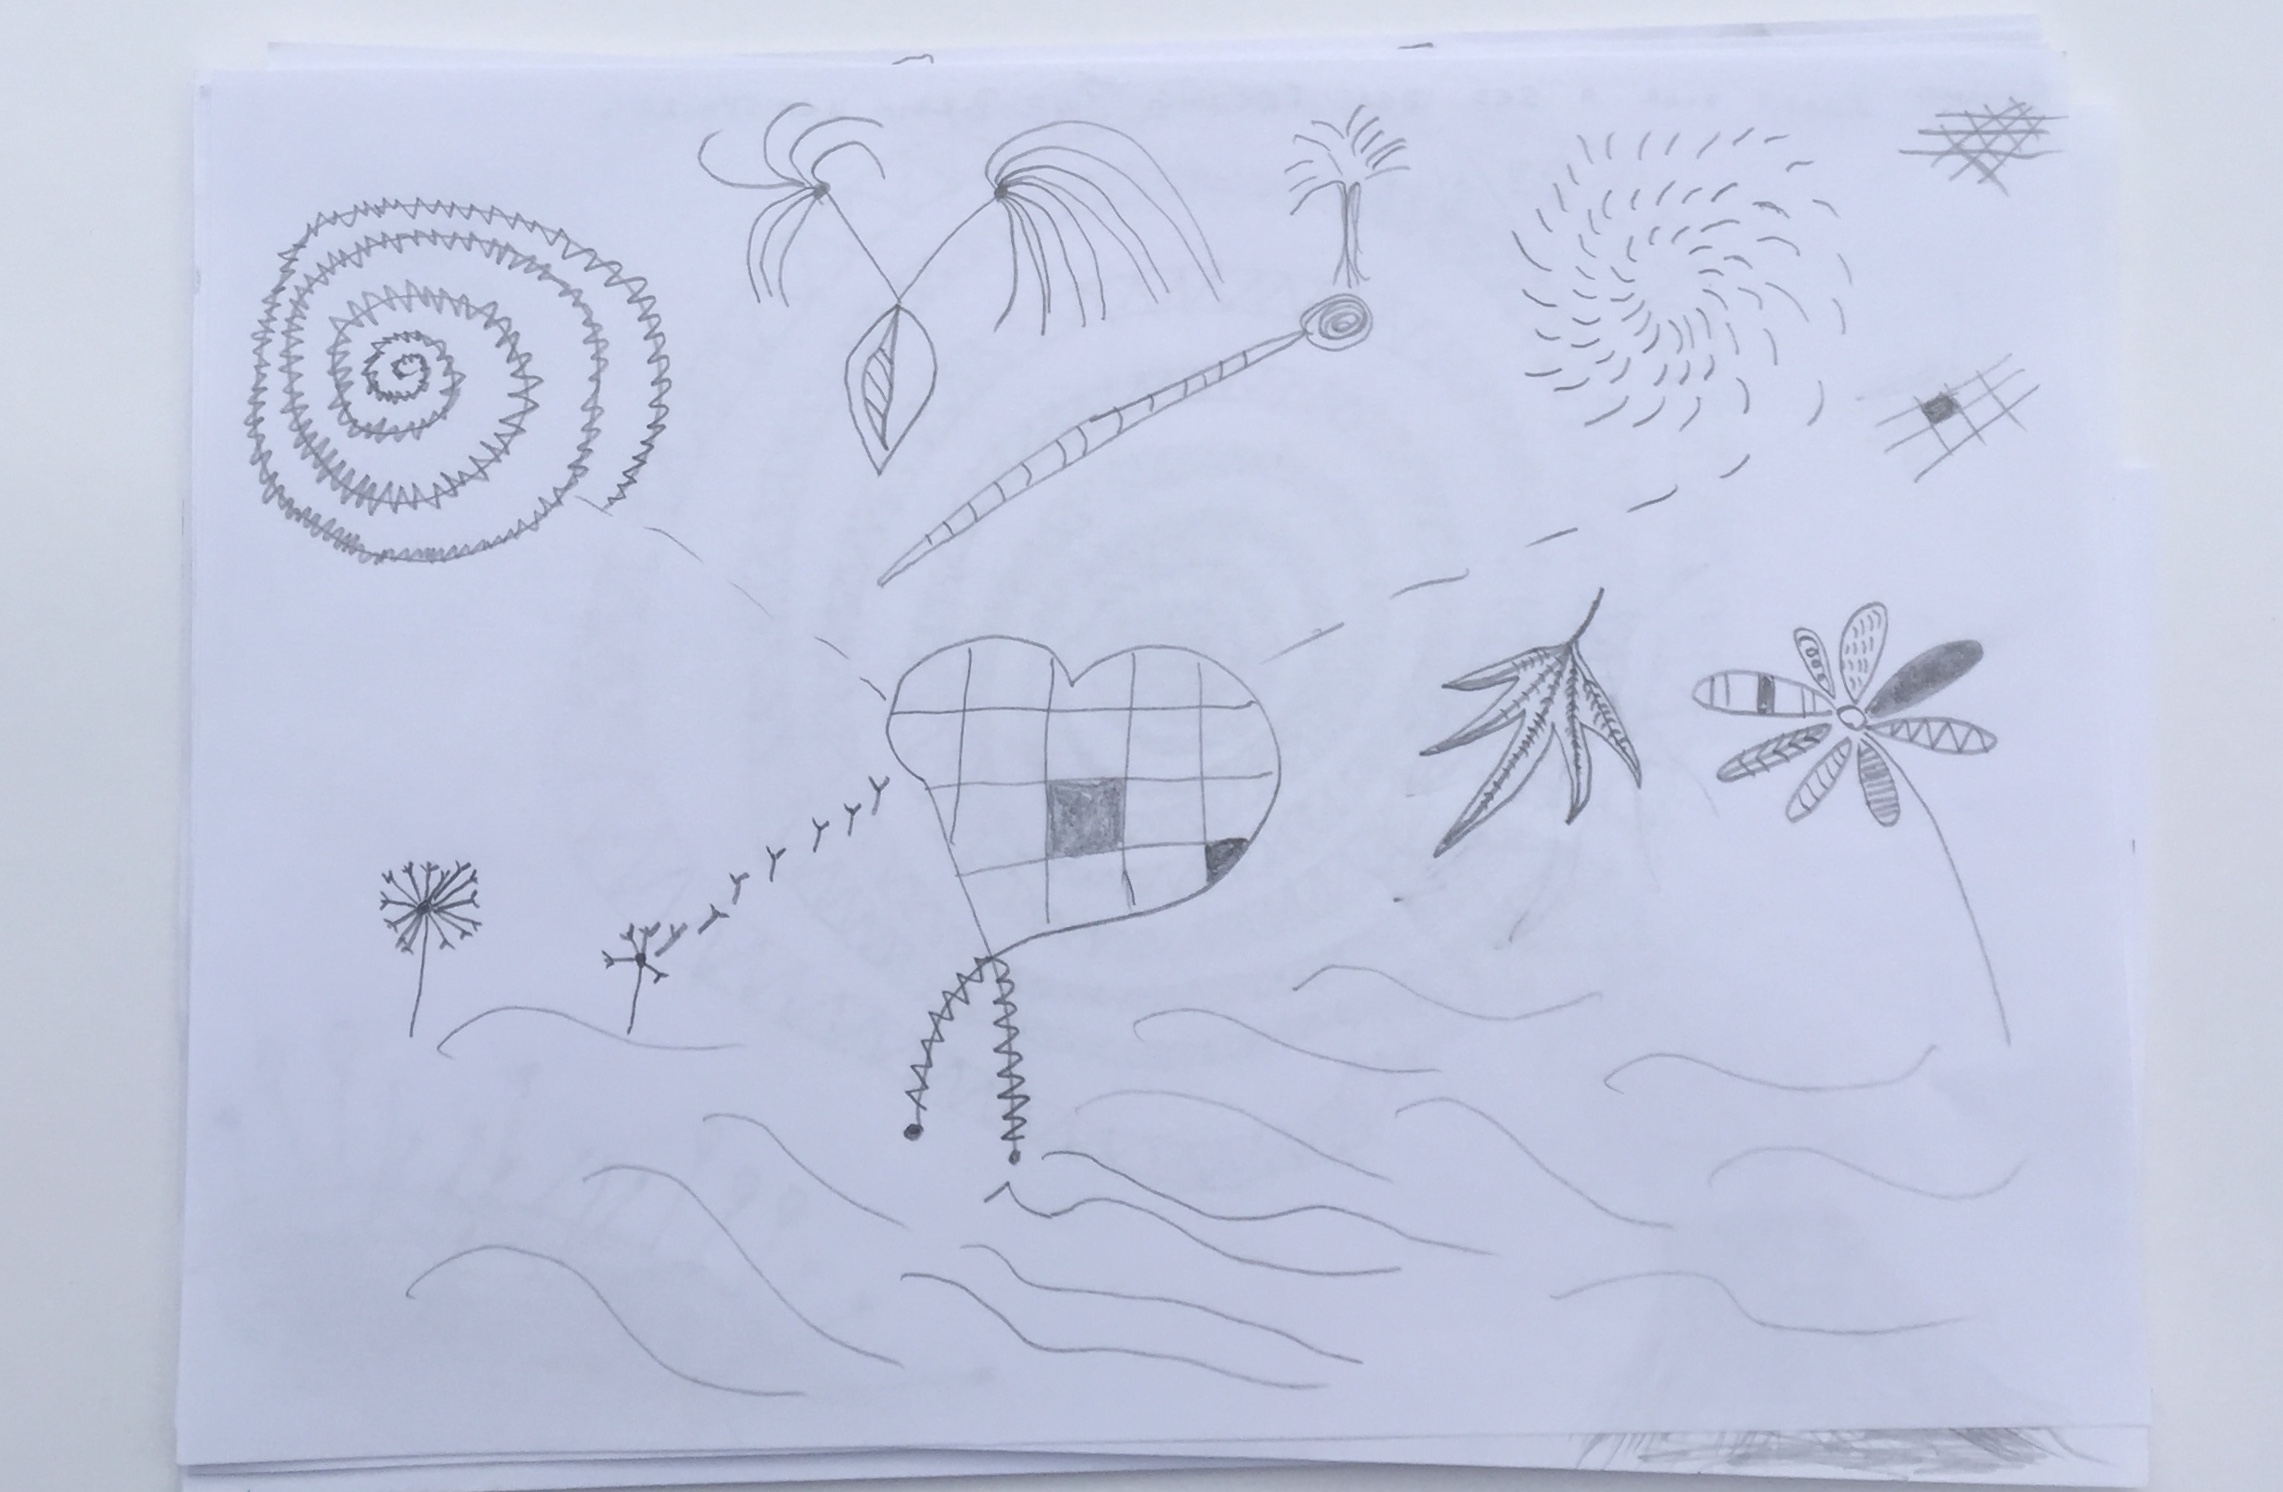
I’ve decided to move from the abstract drawings as I feel more confident now to use more materials and draw more realistically looking patterns.


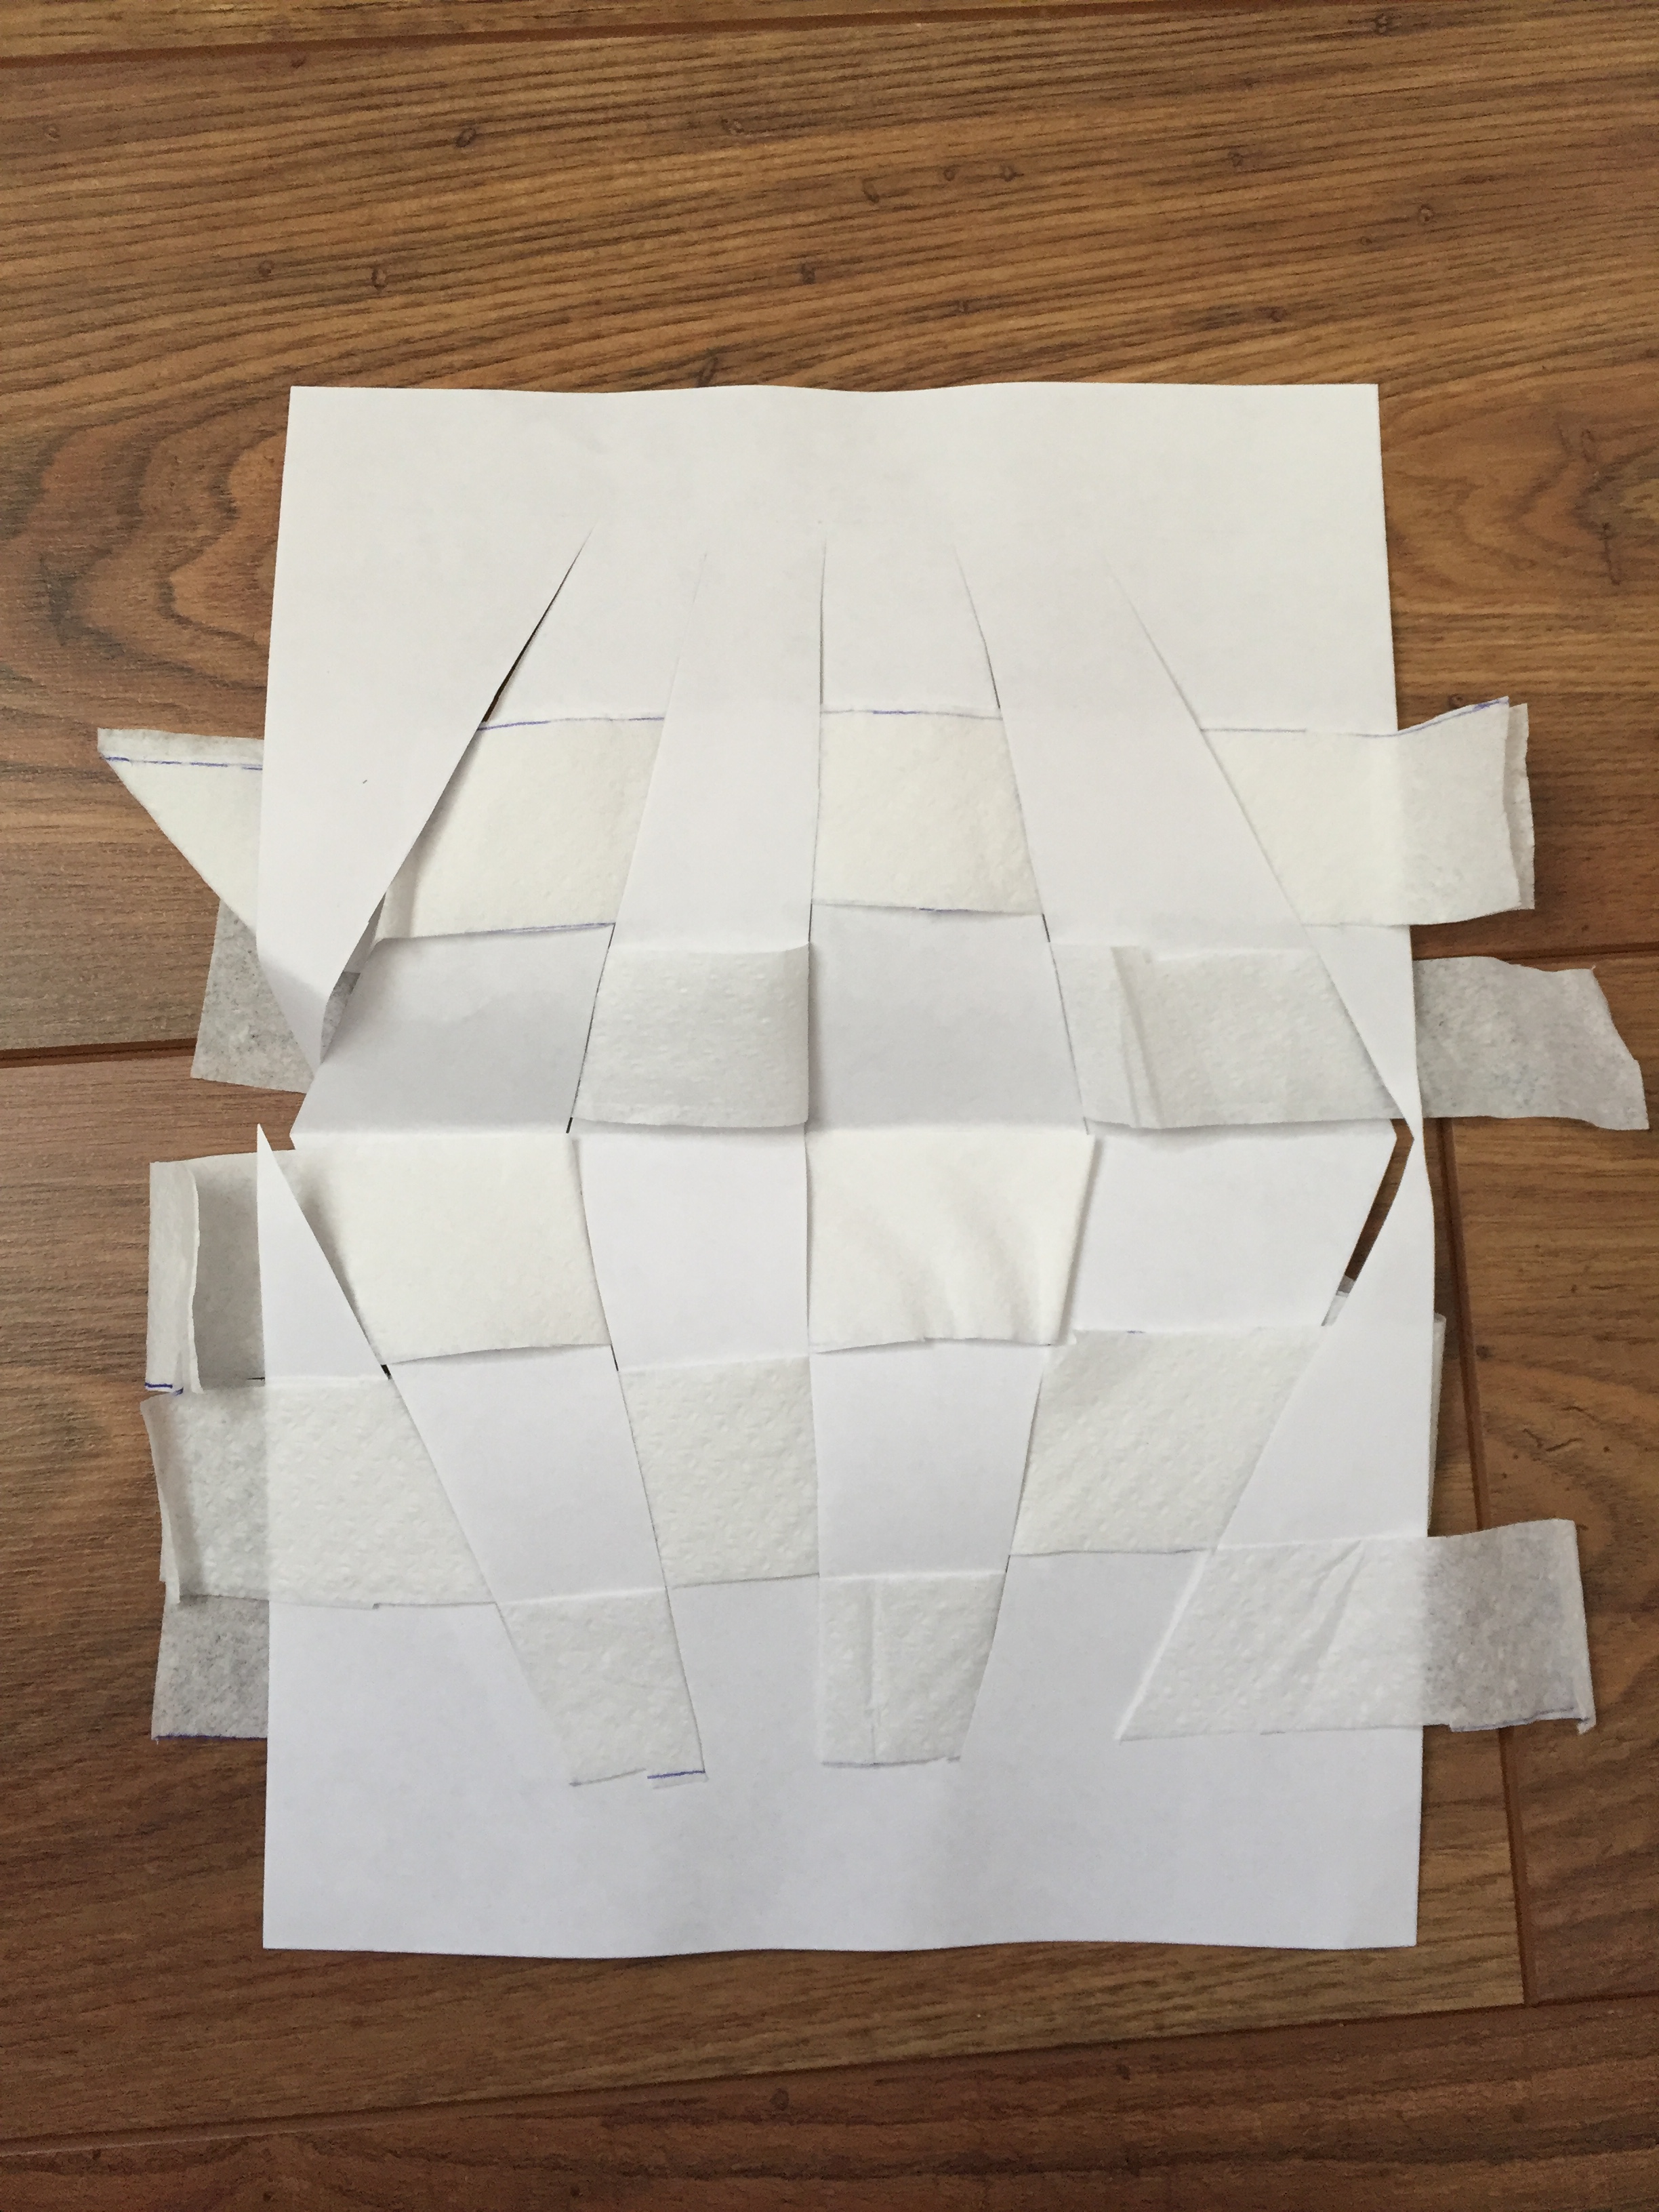
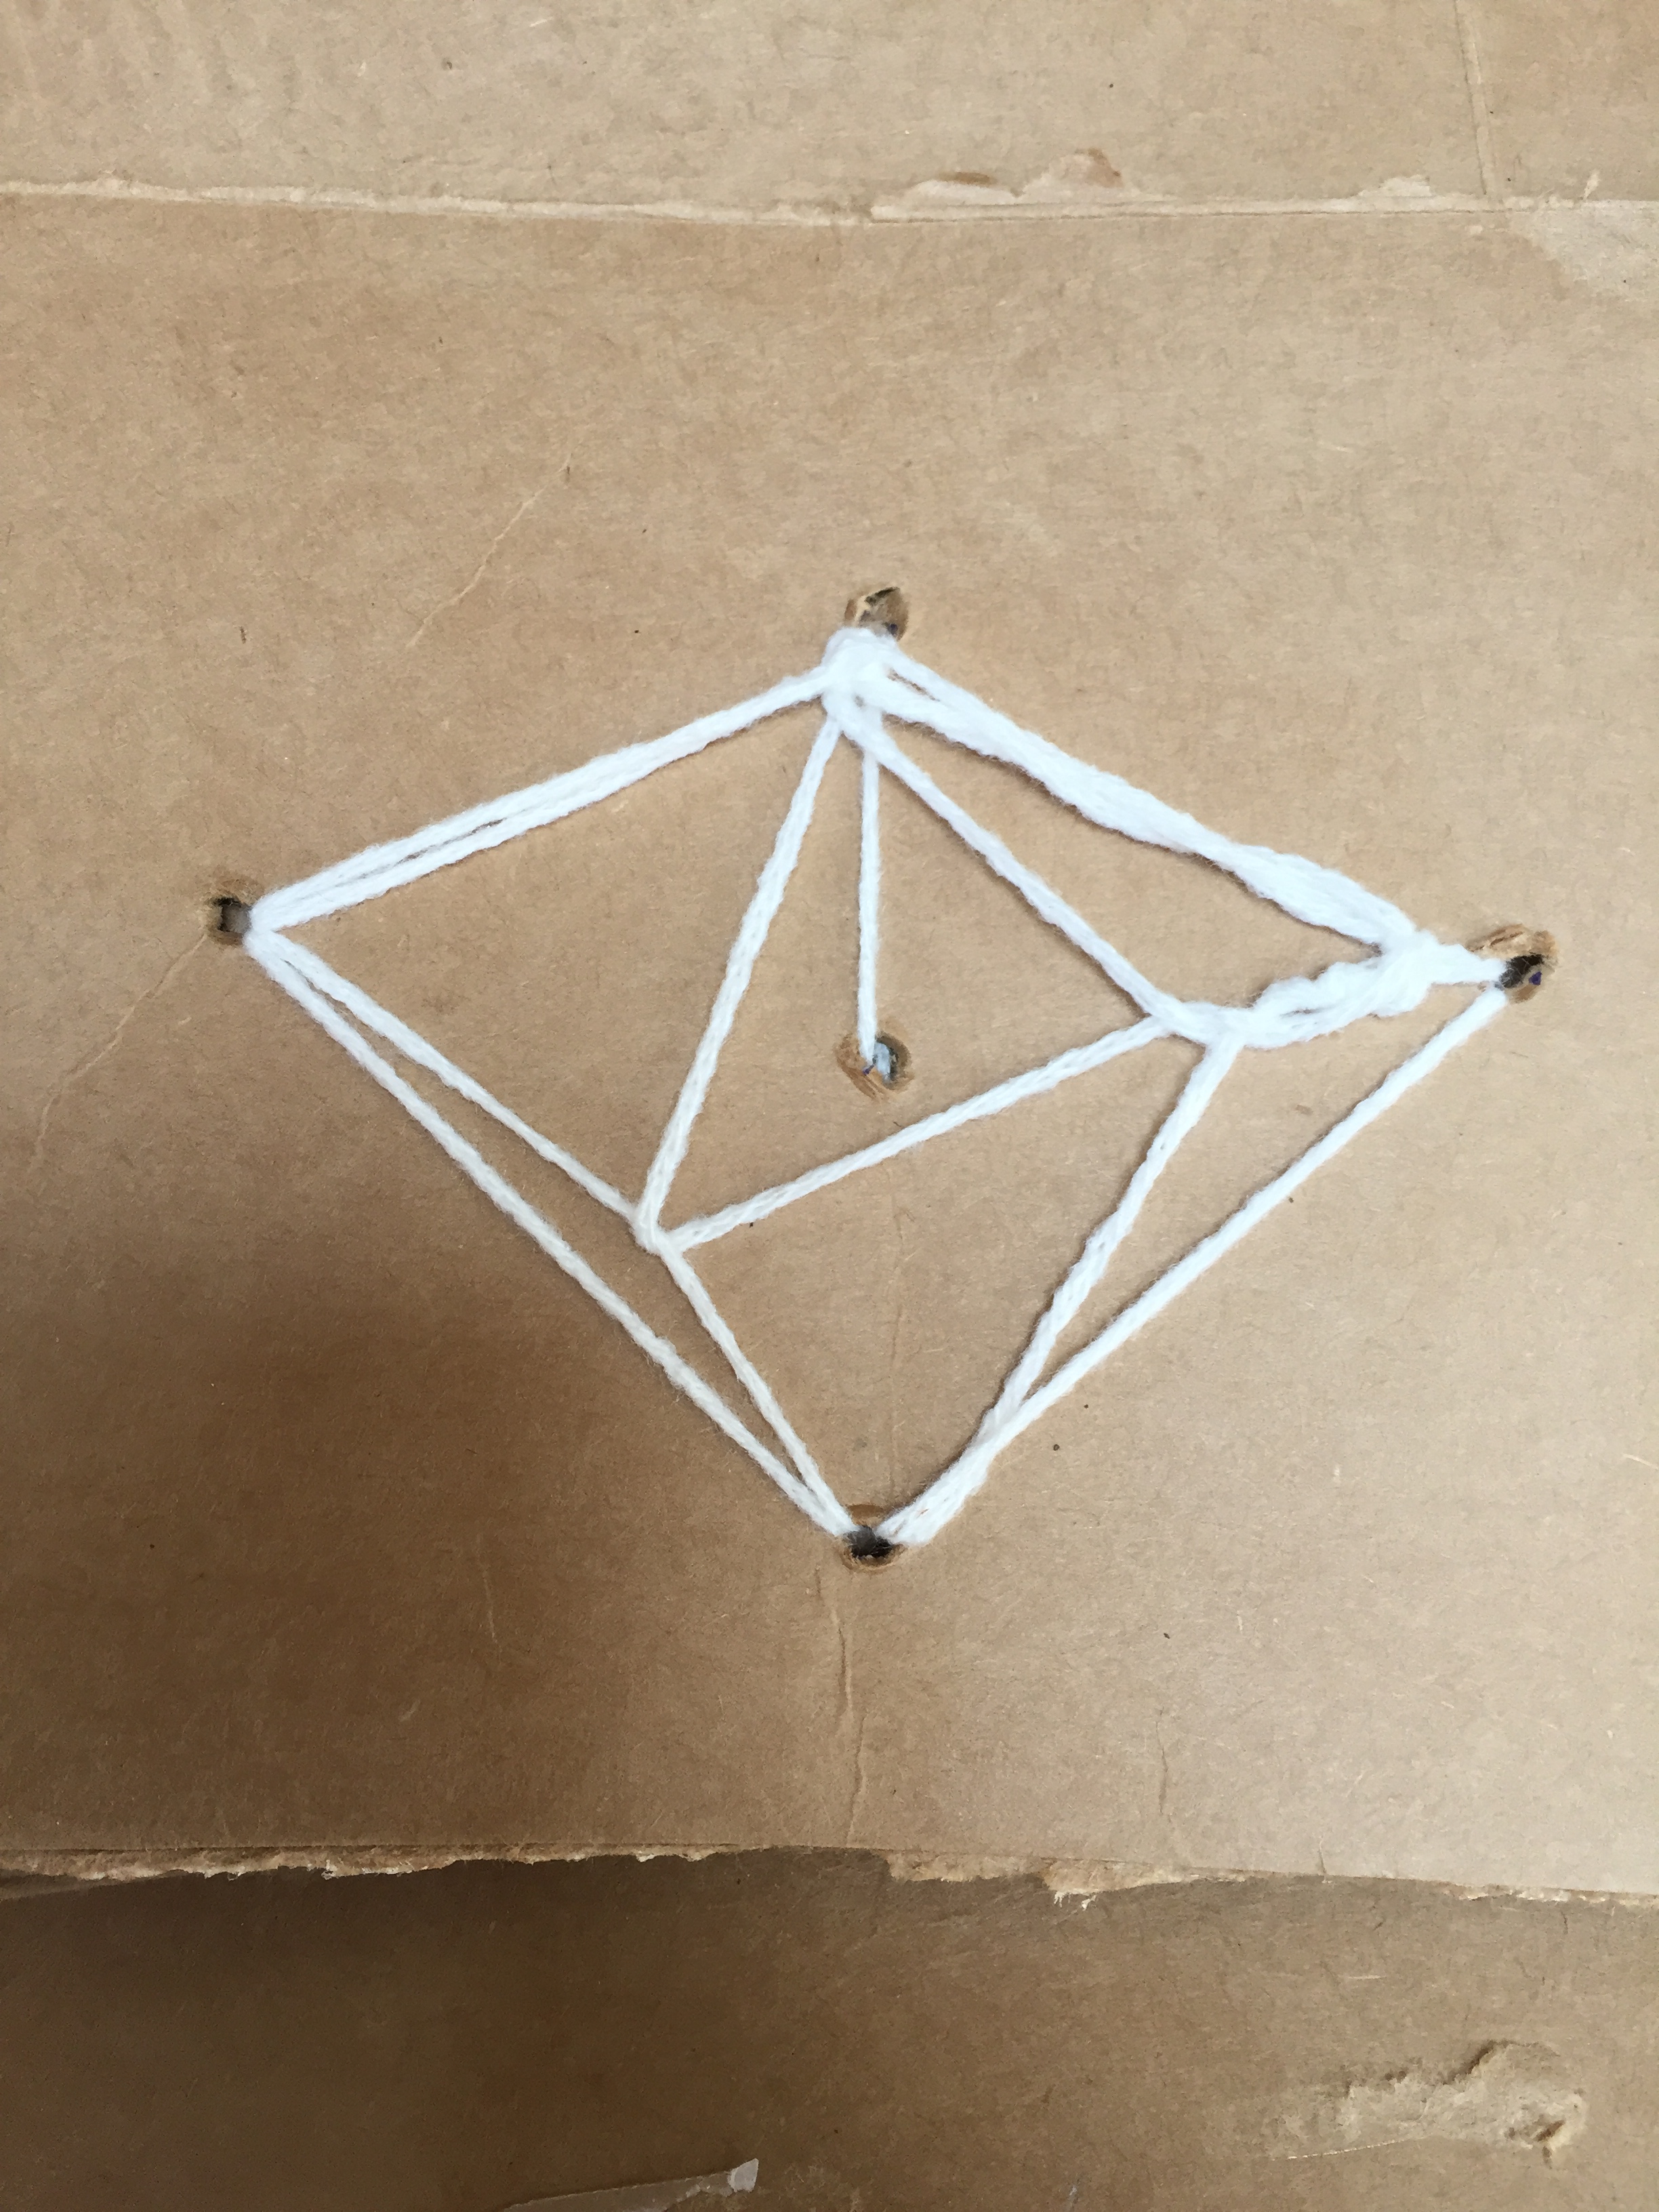
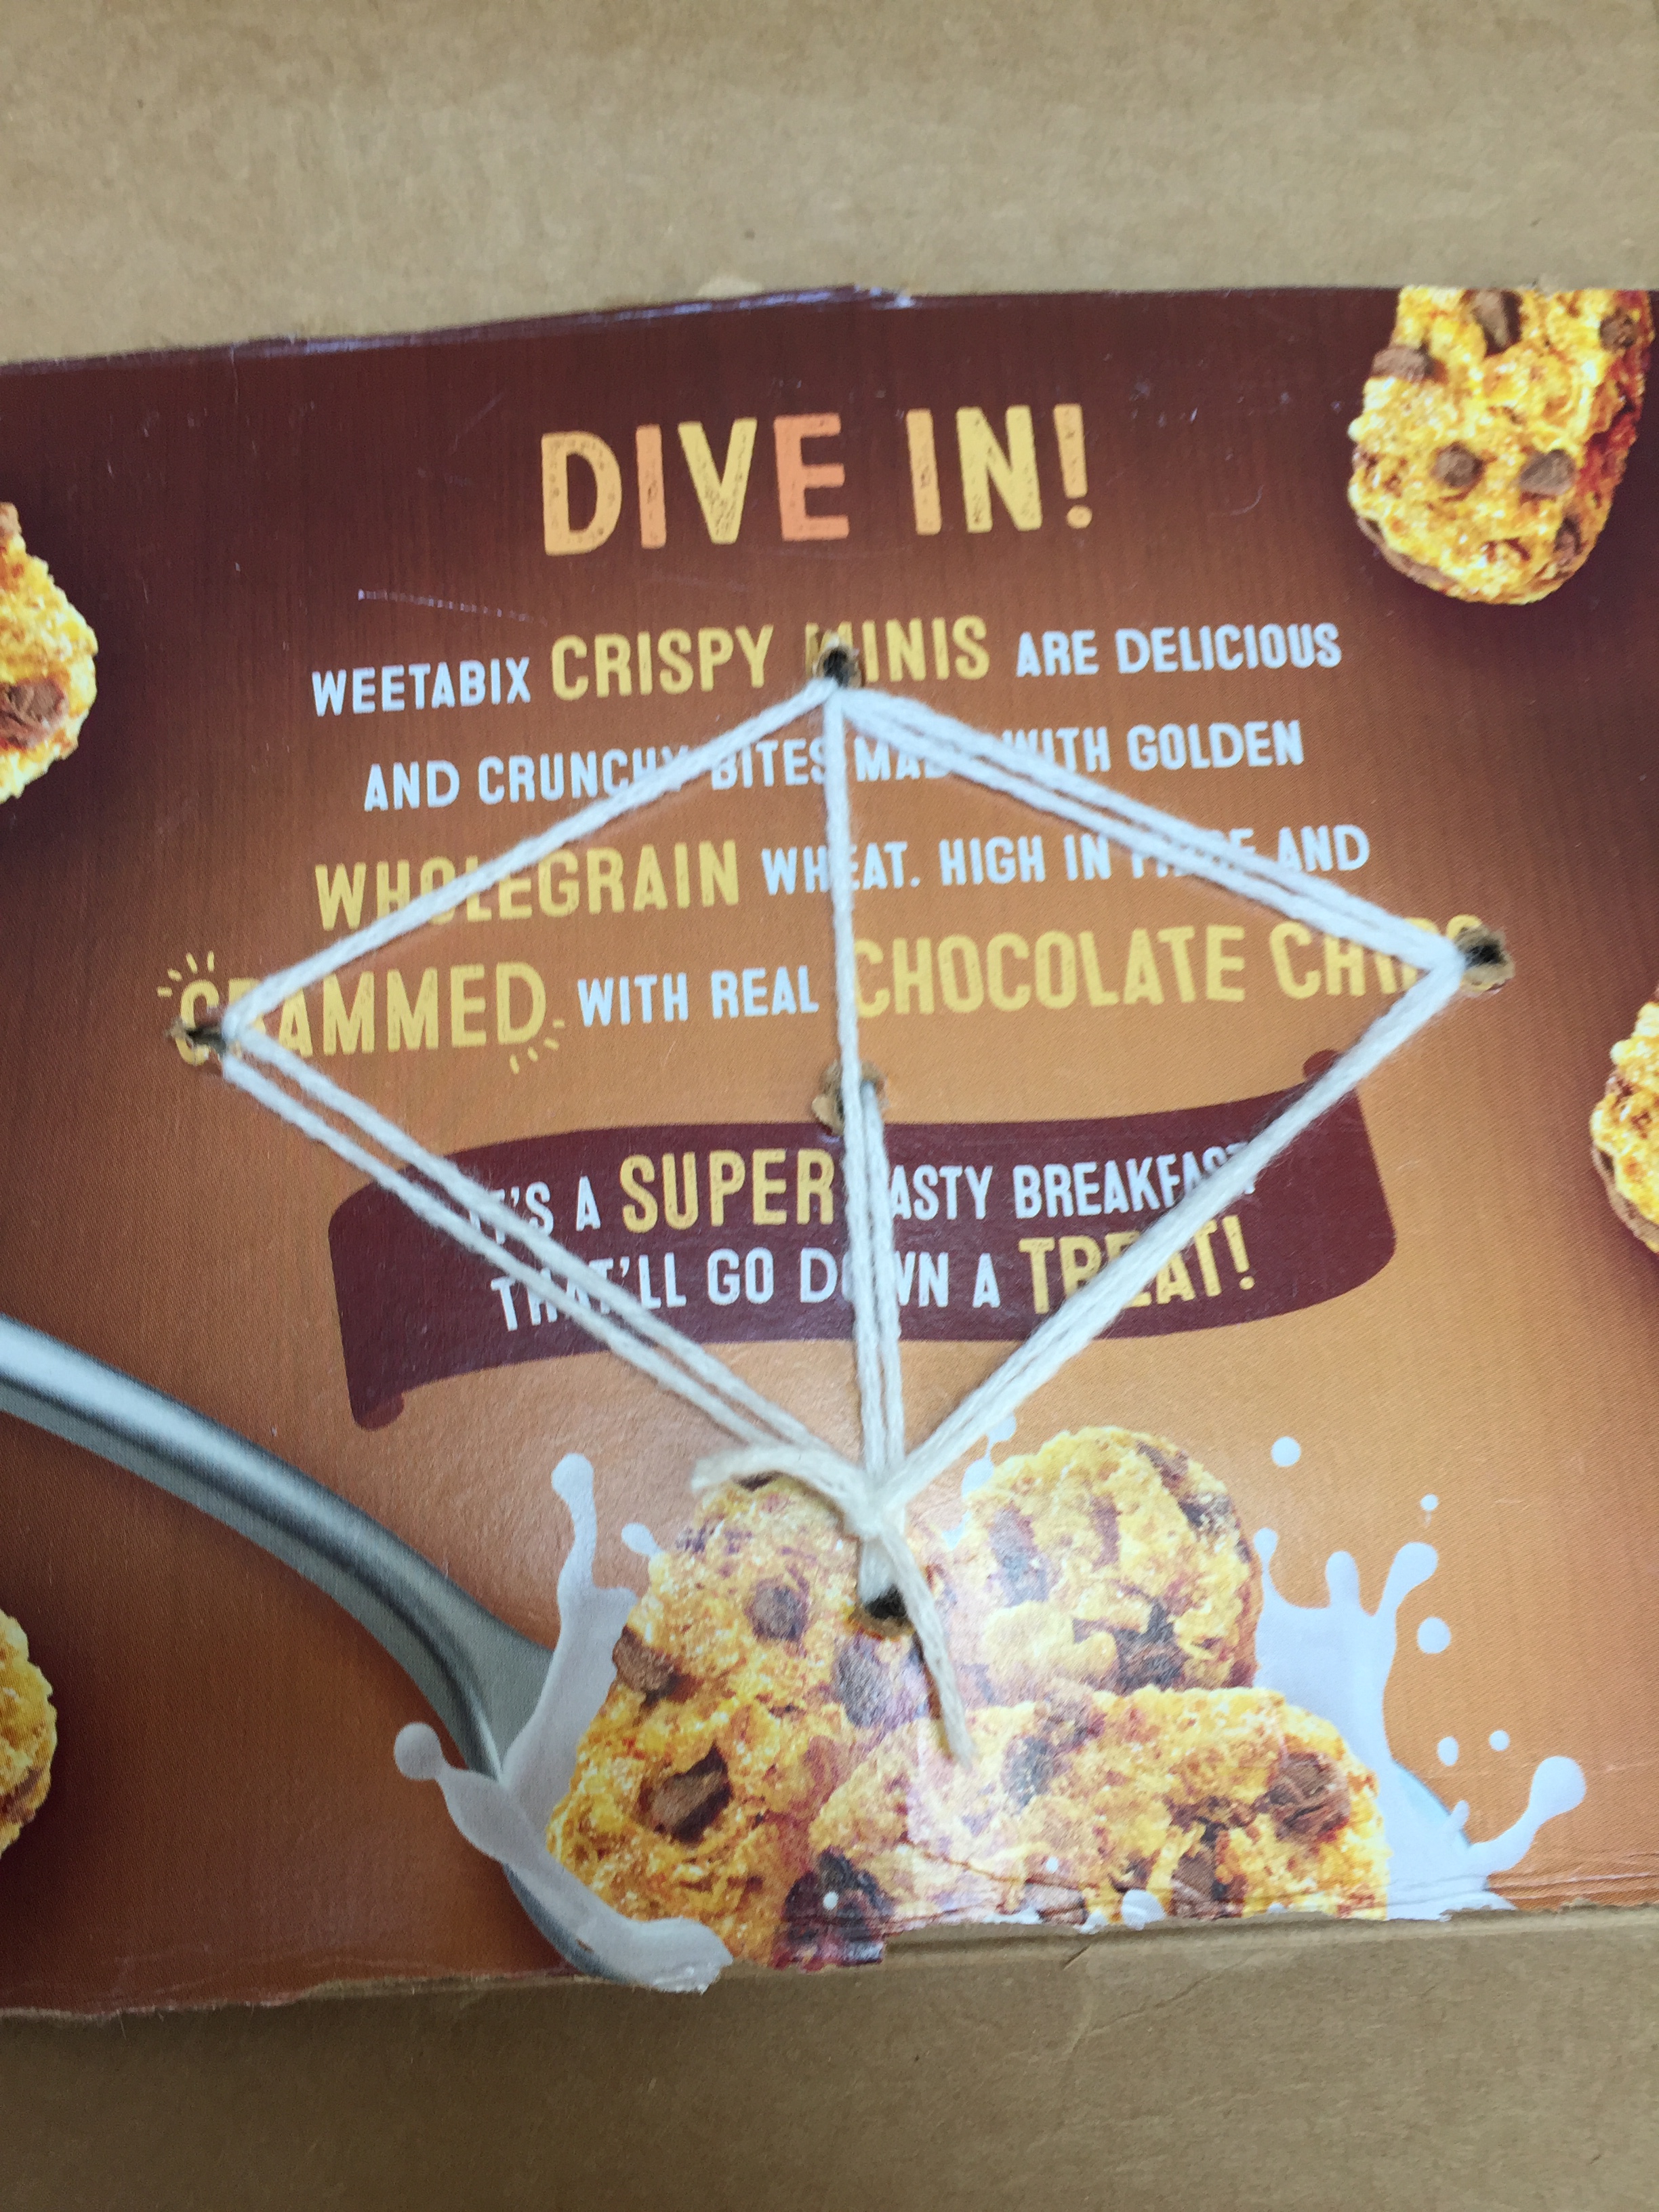
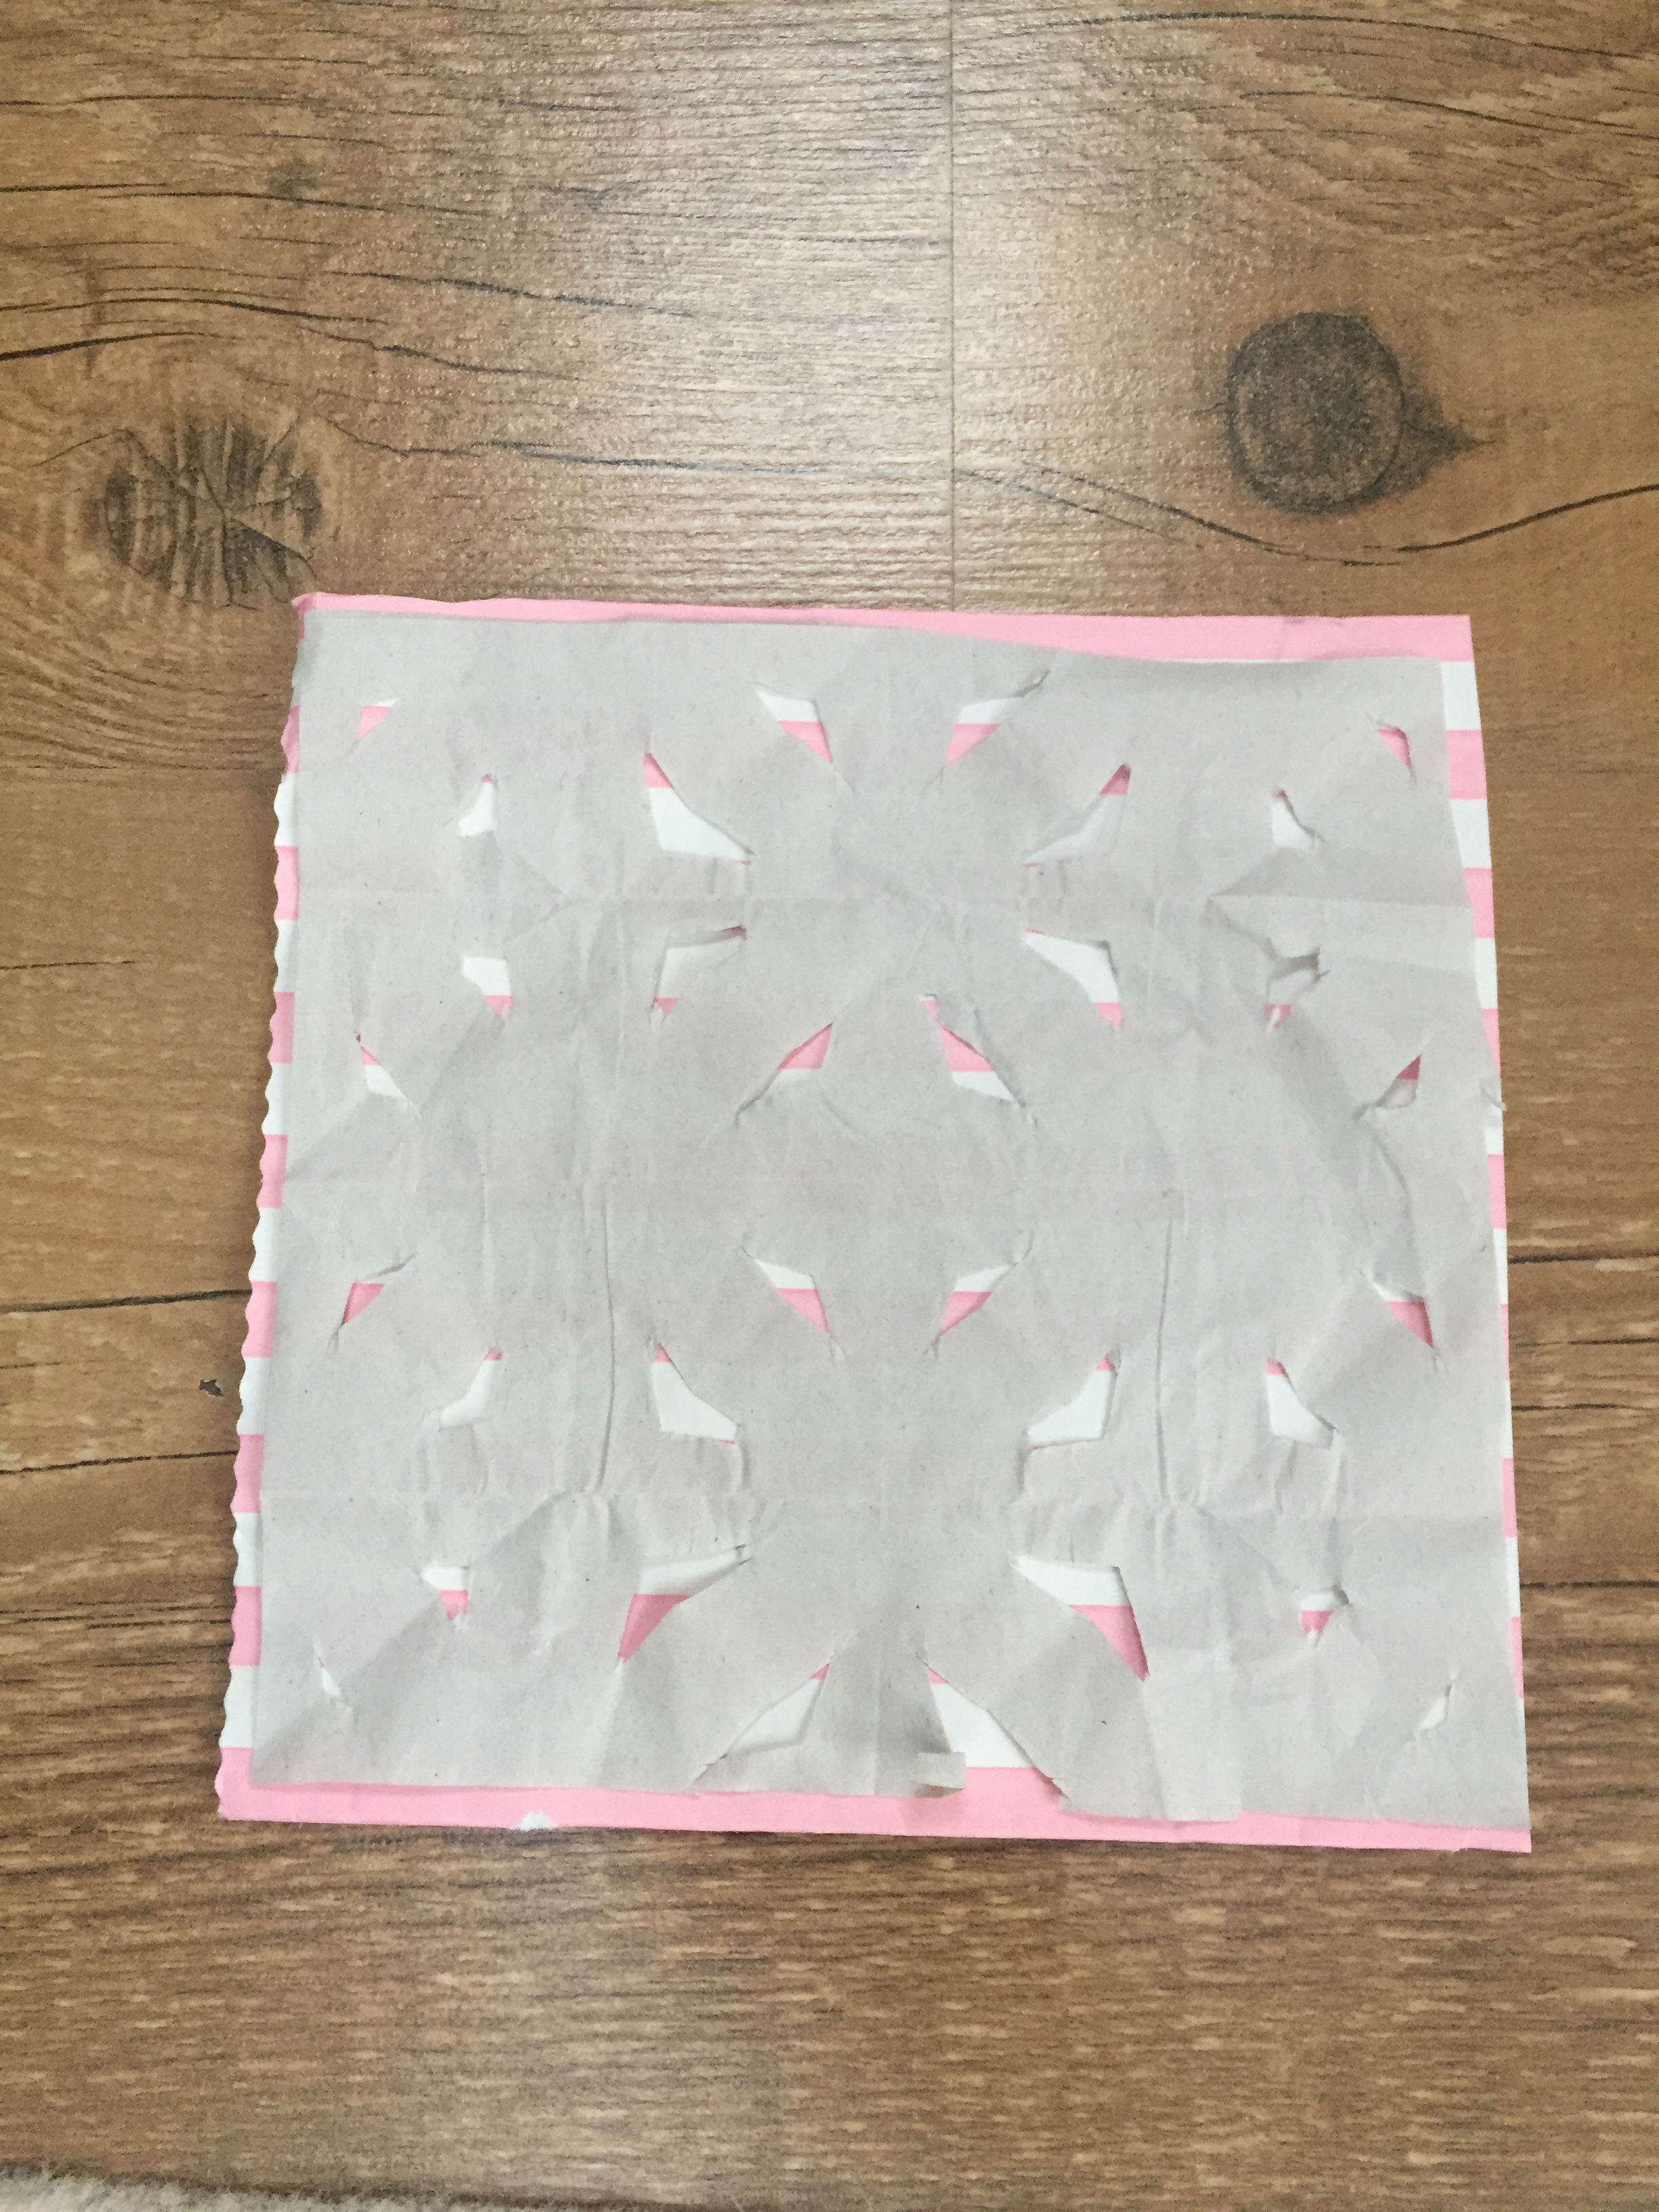
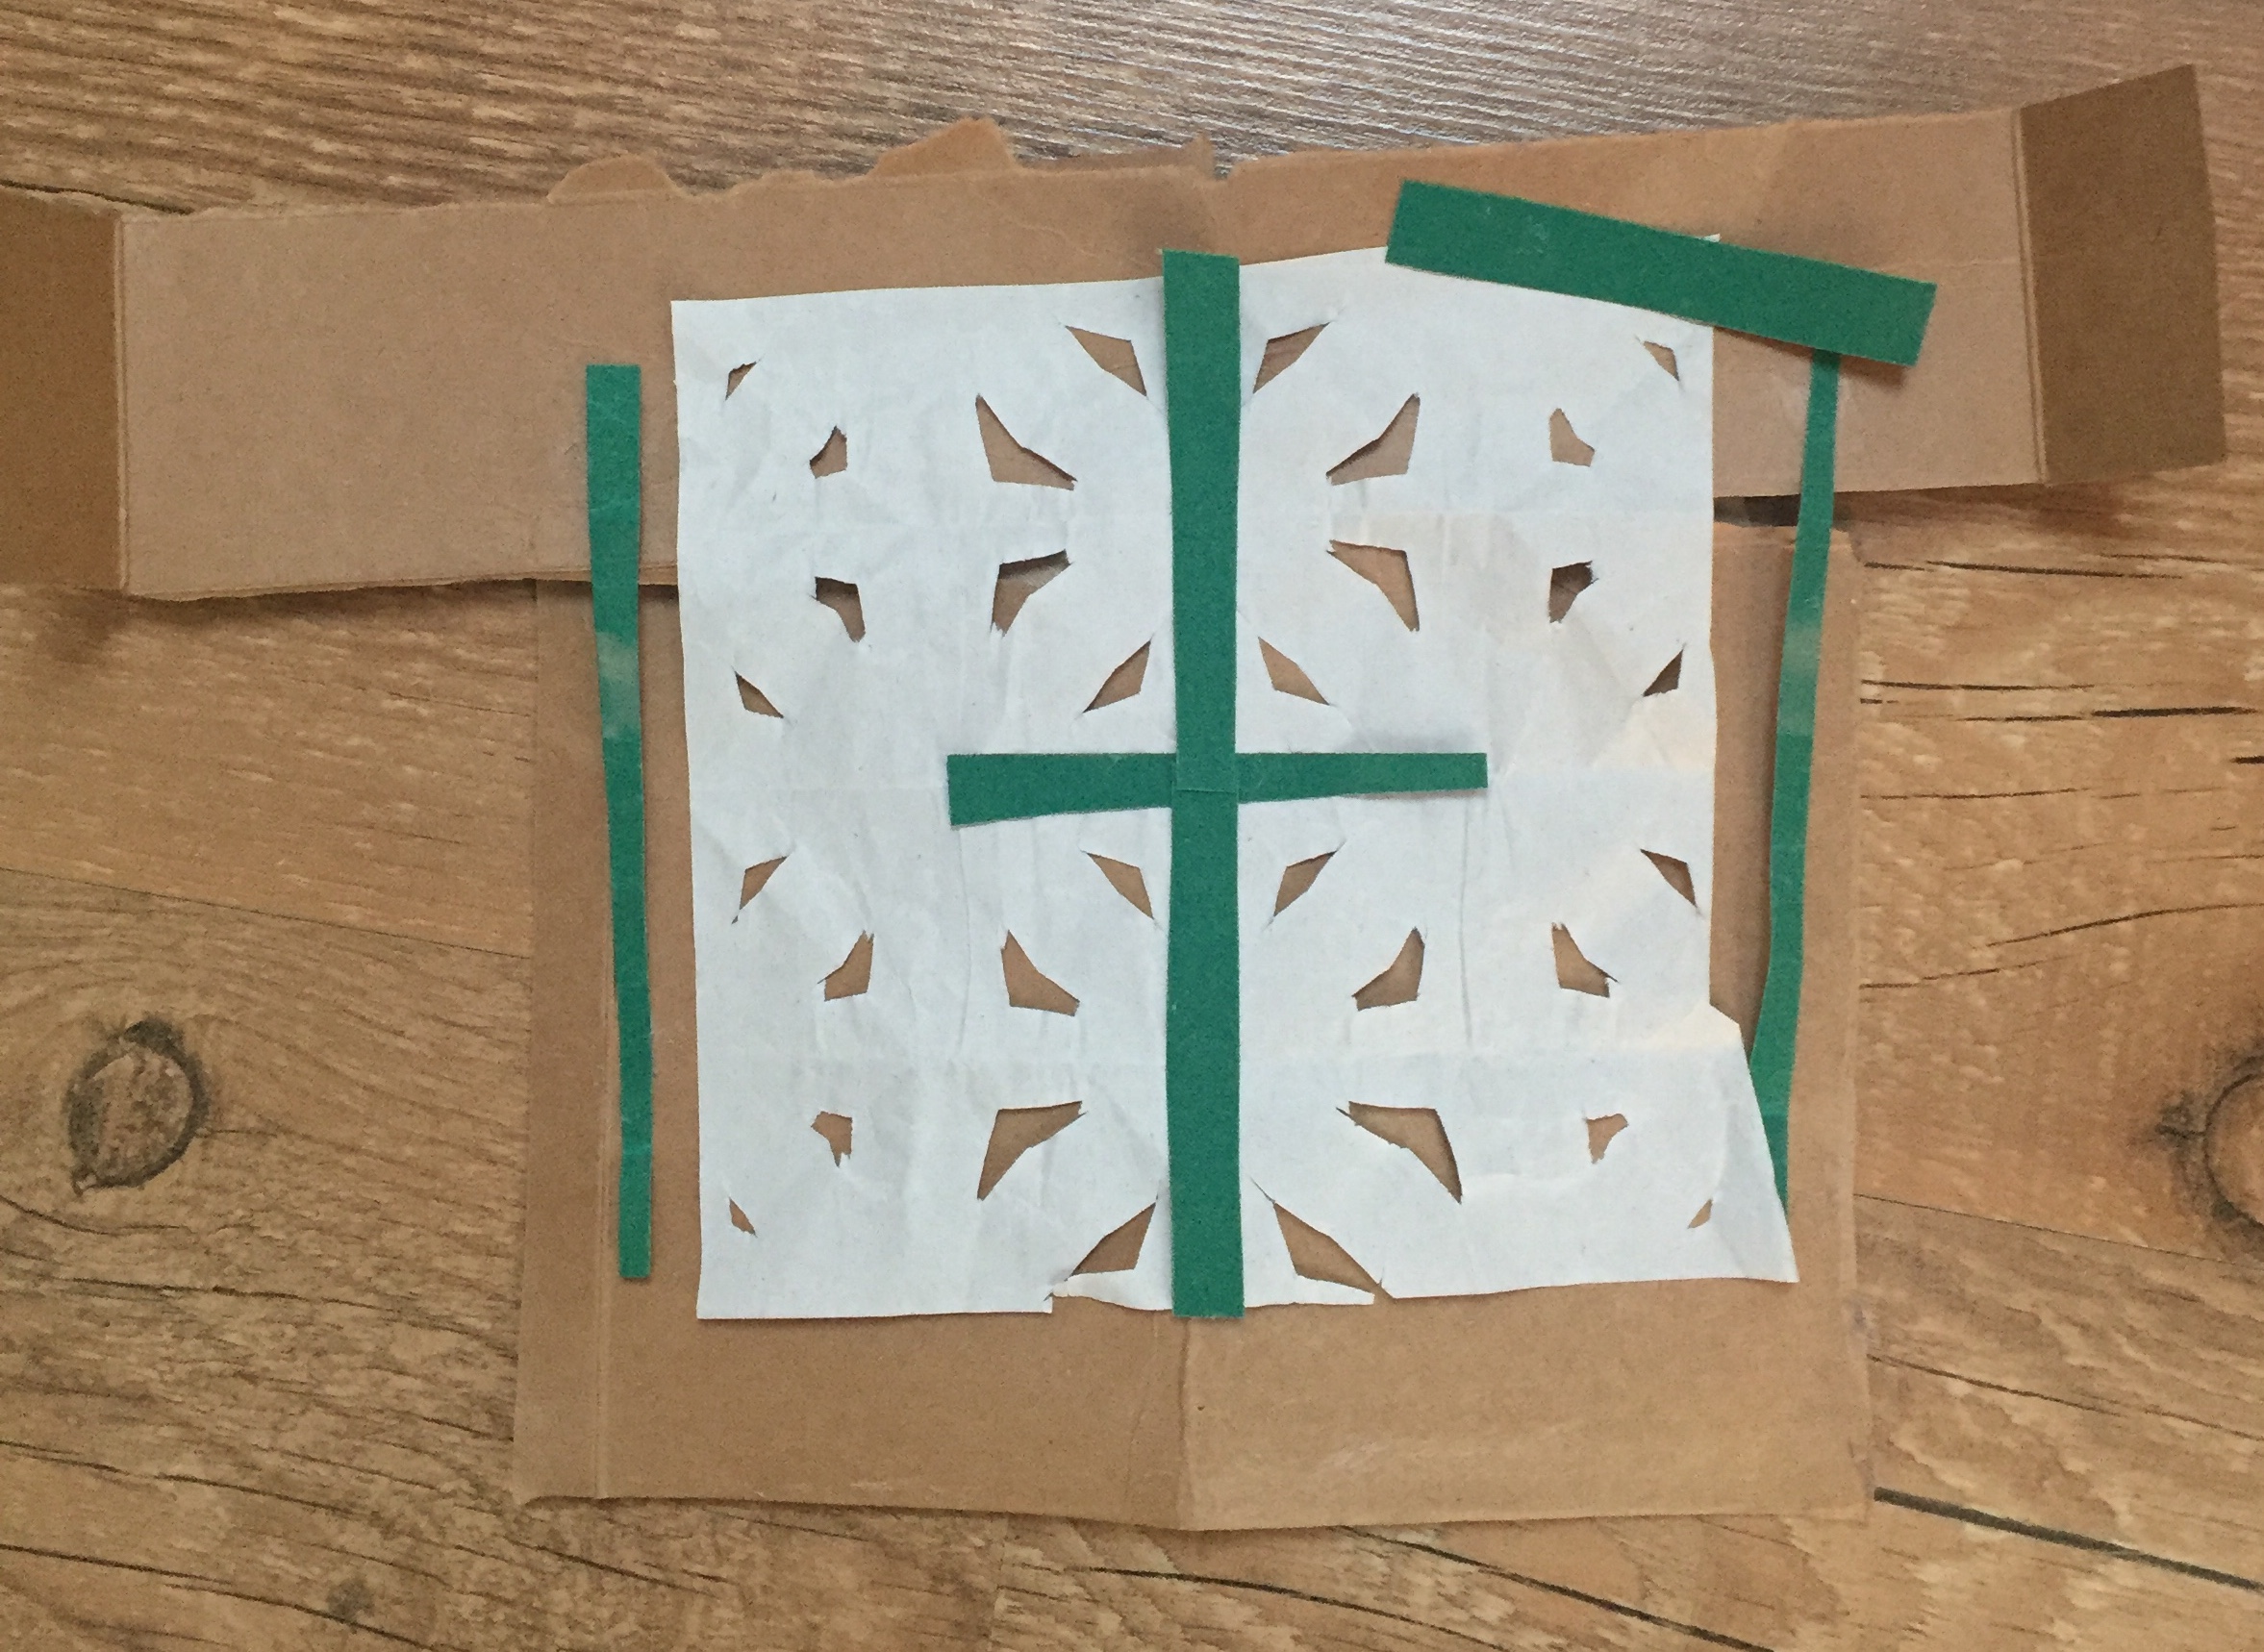
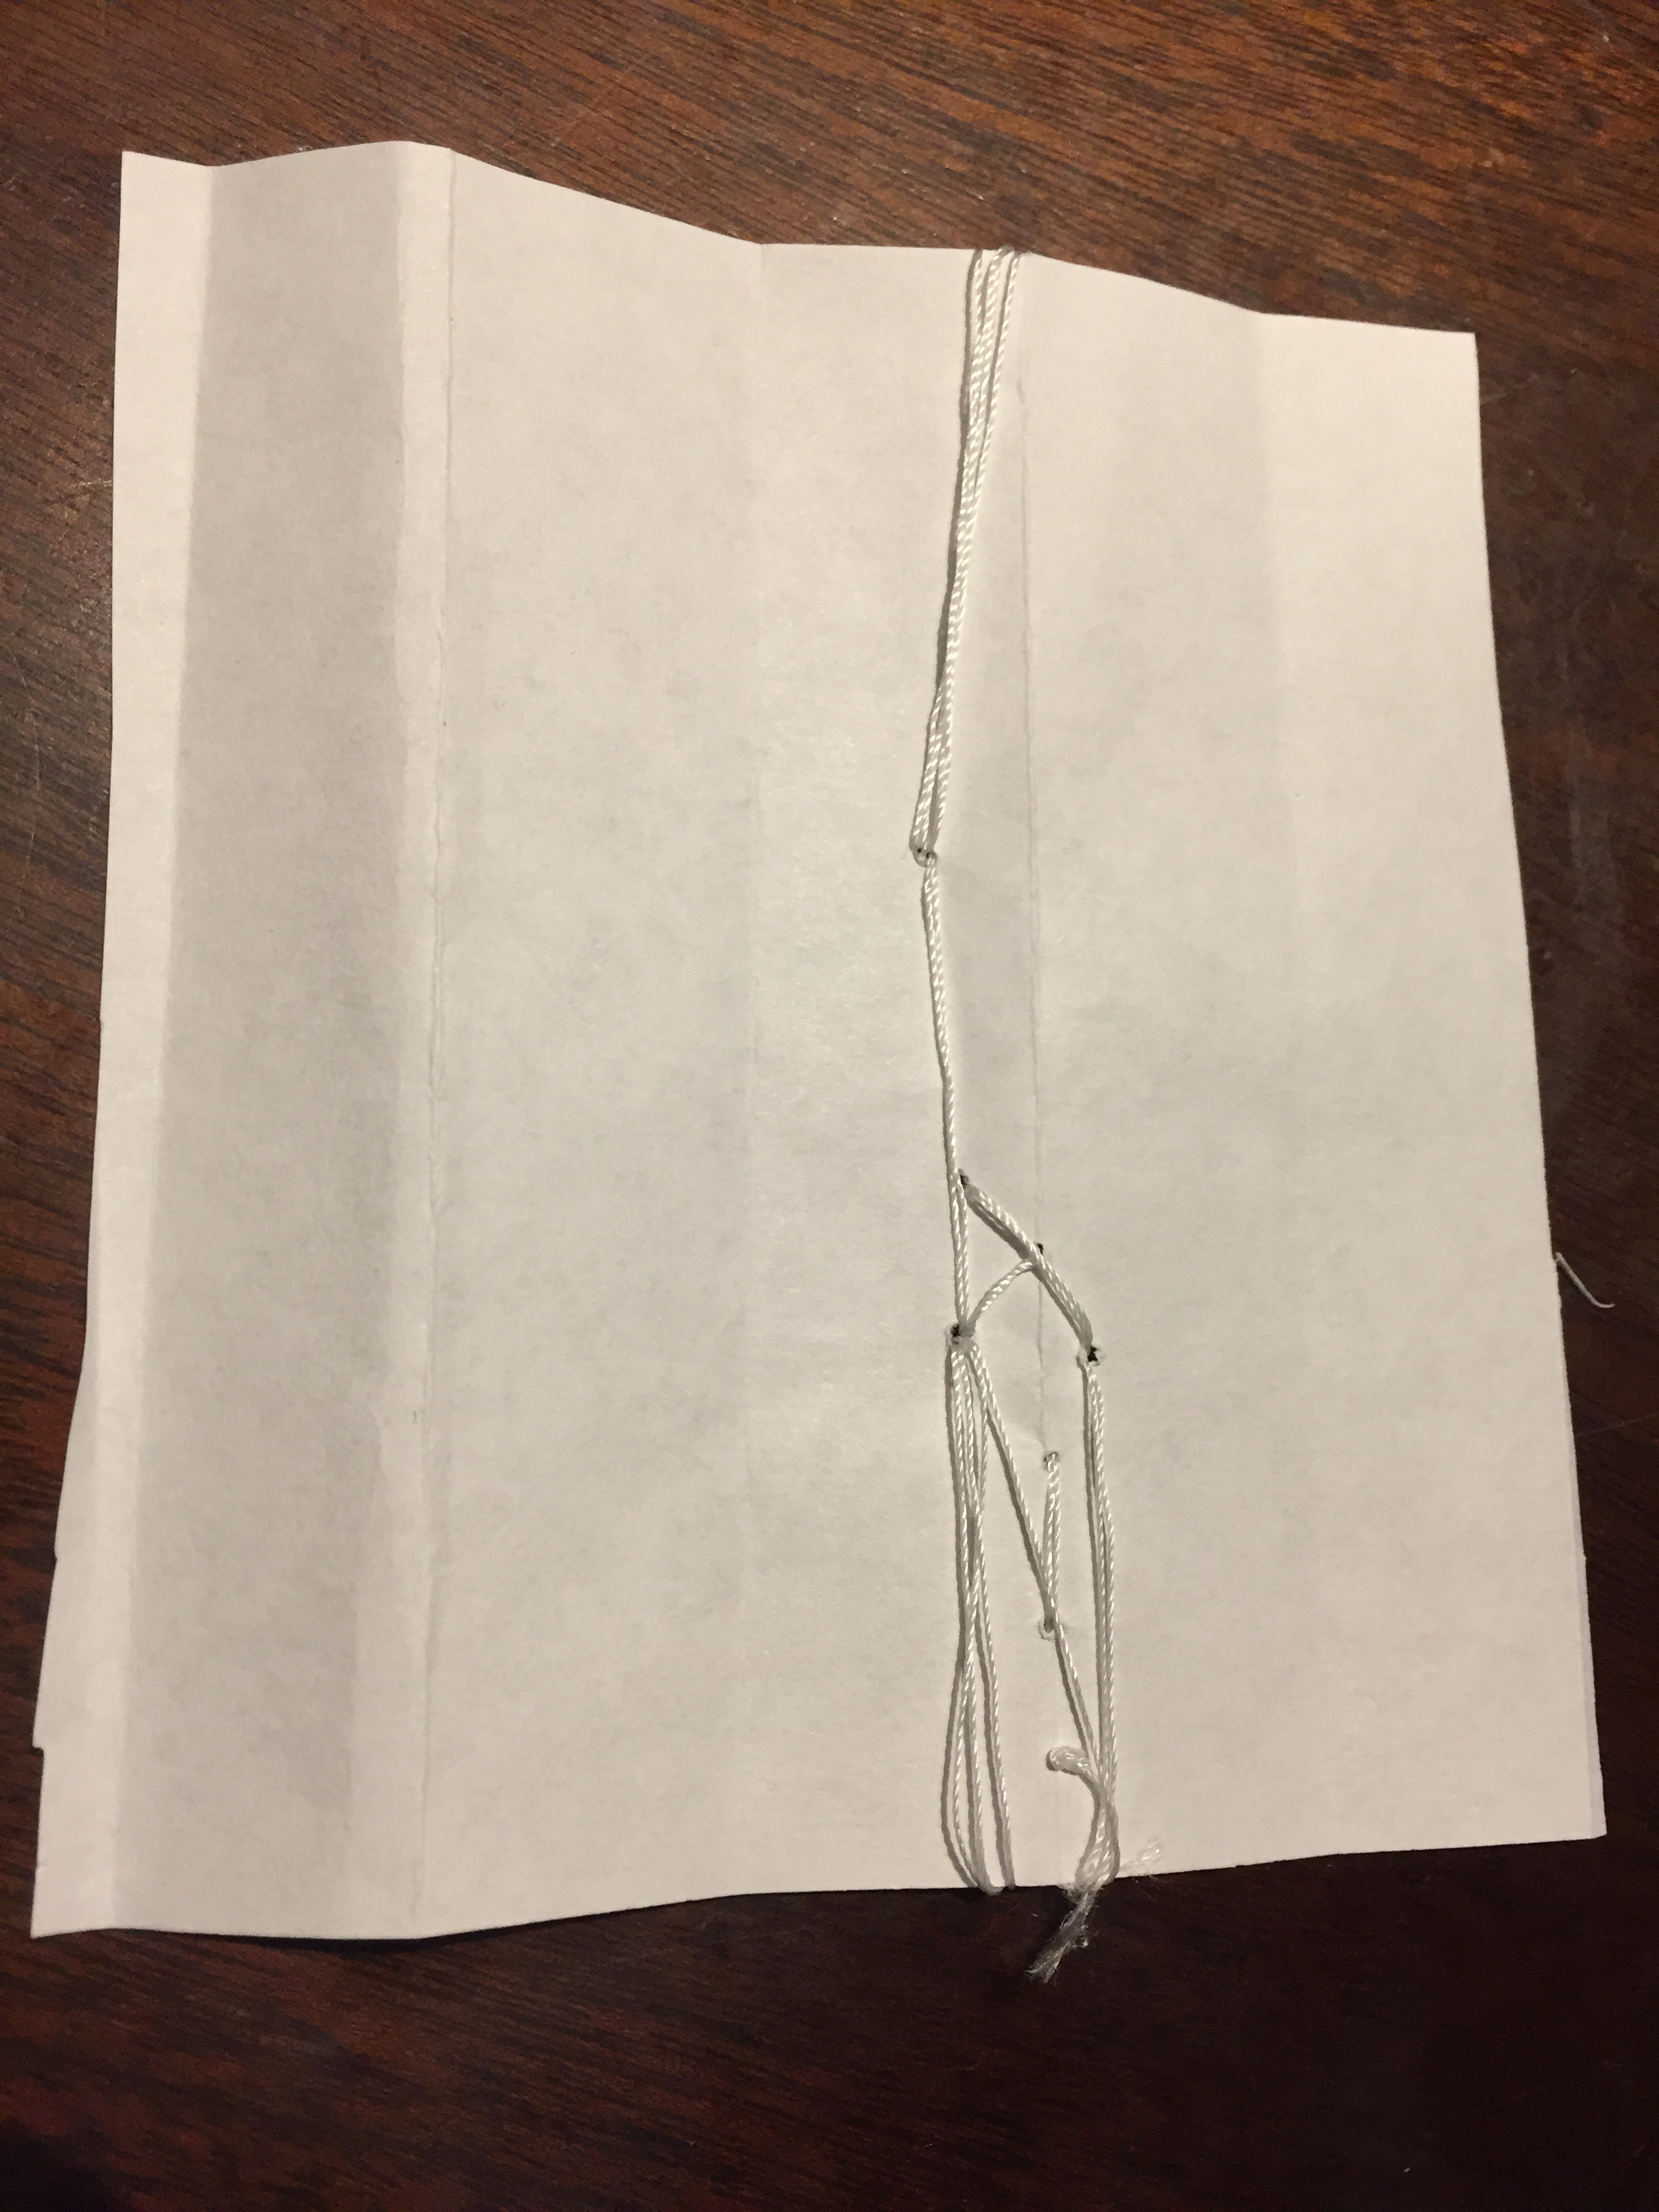
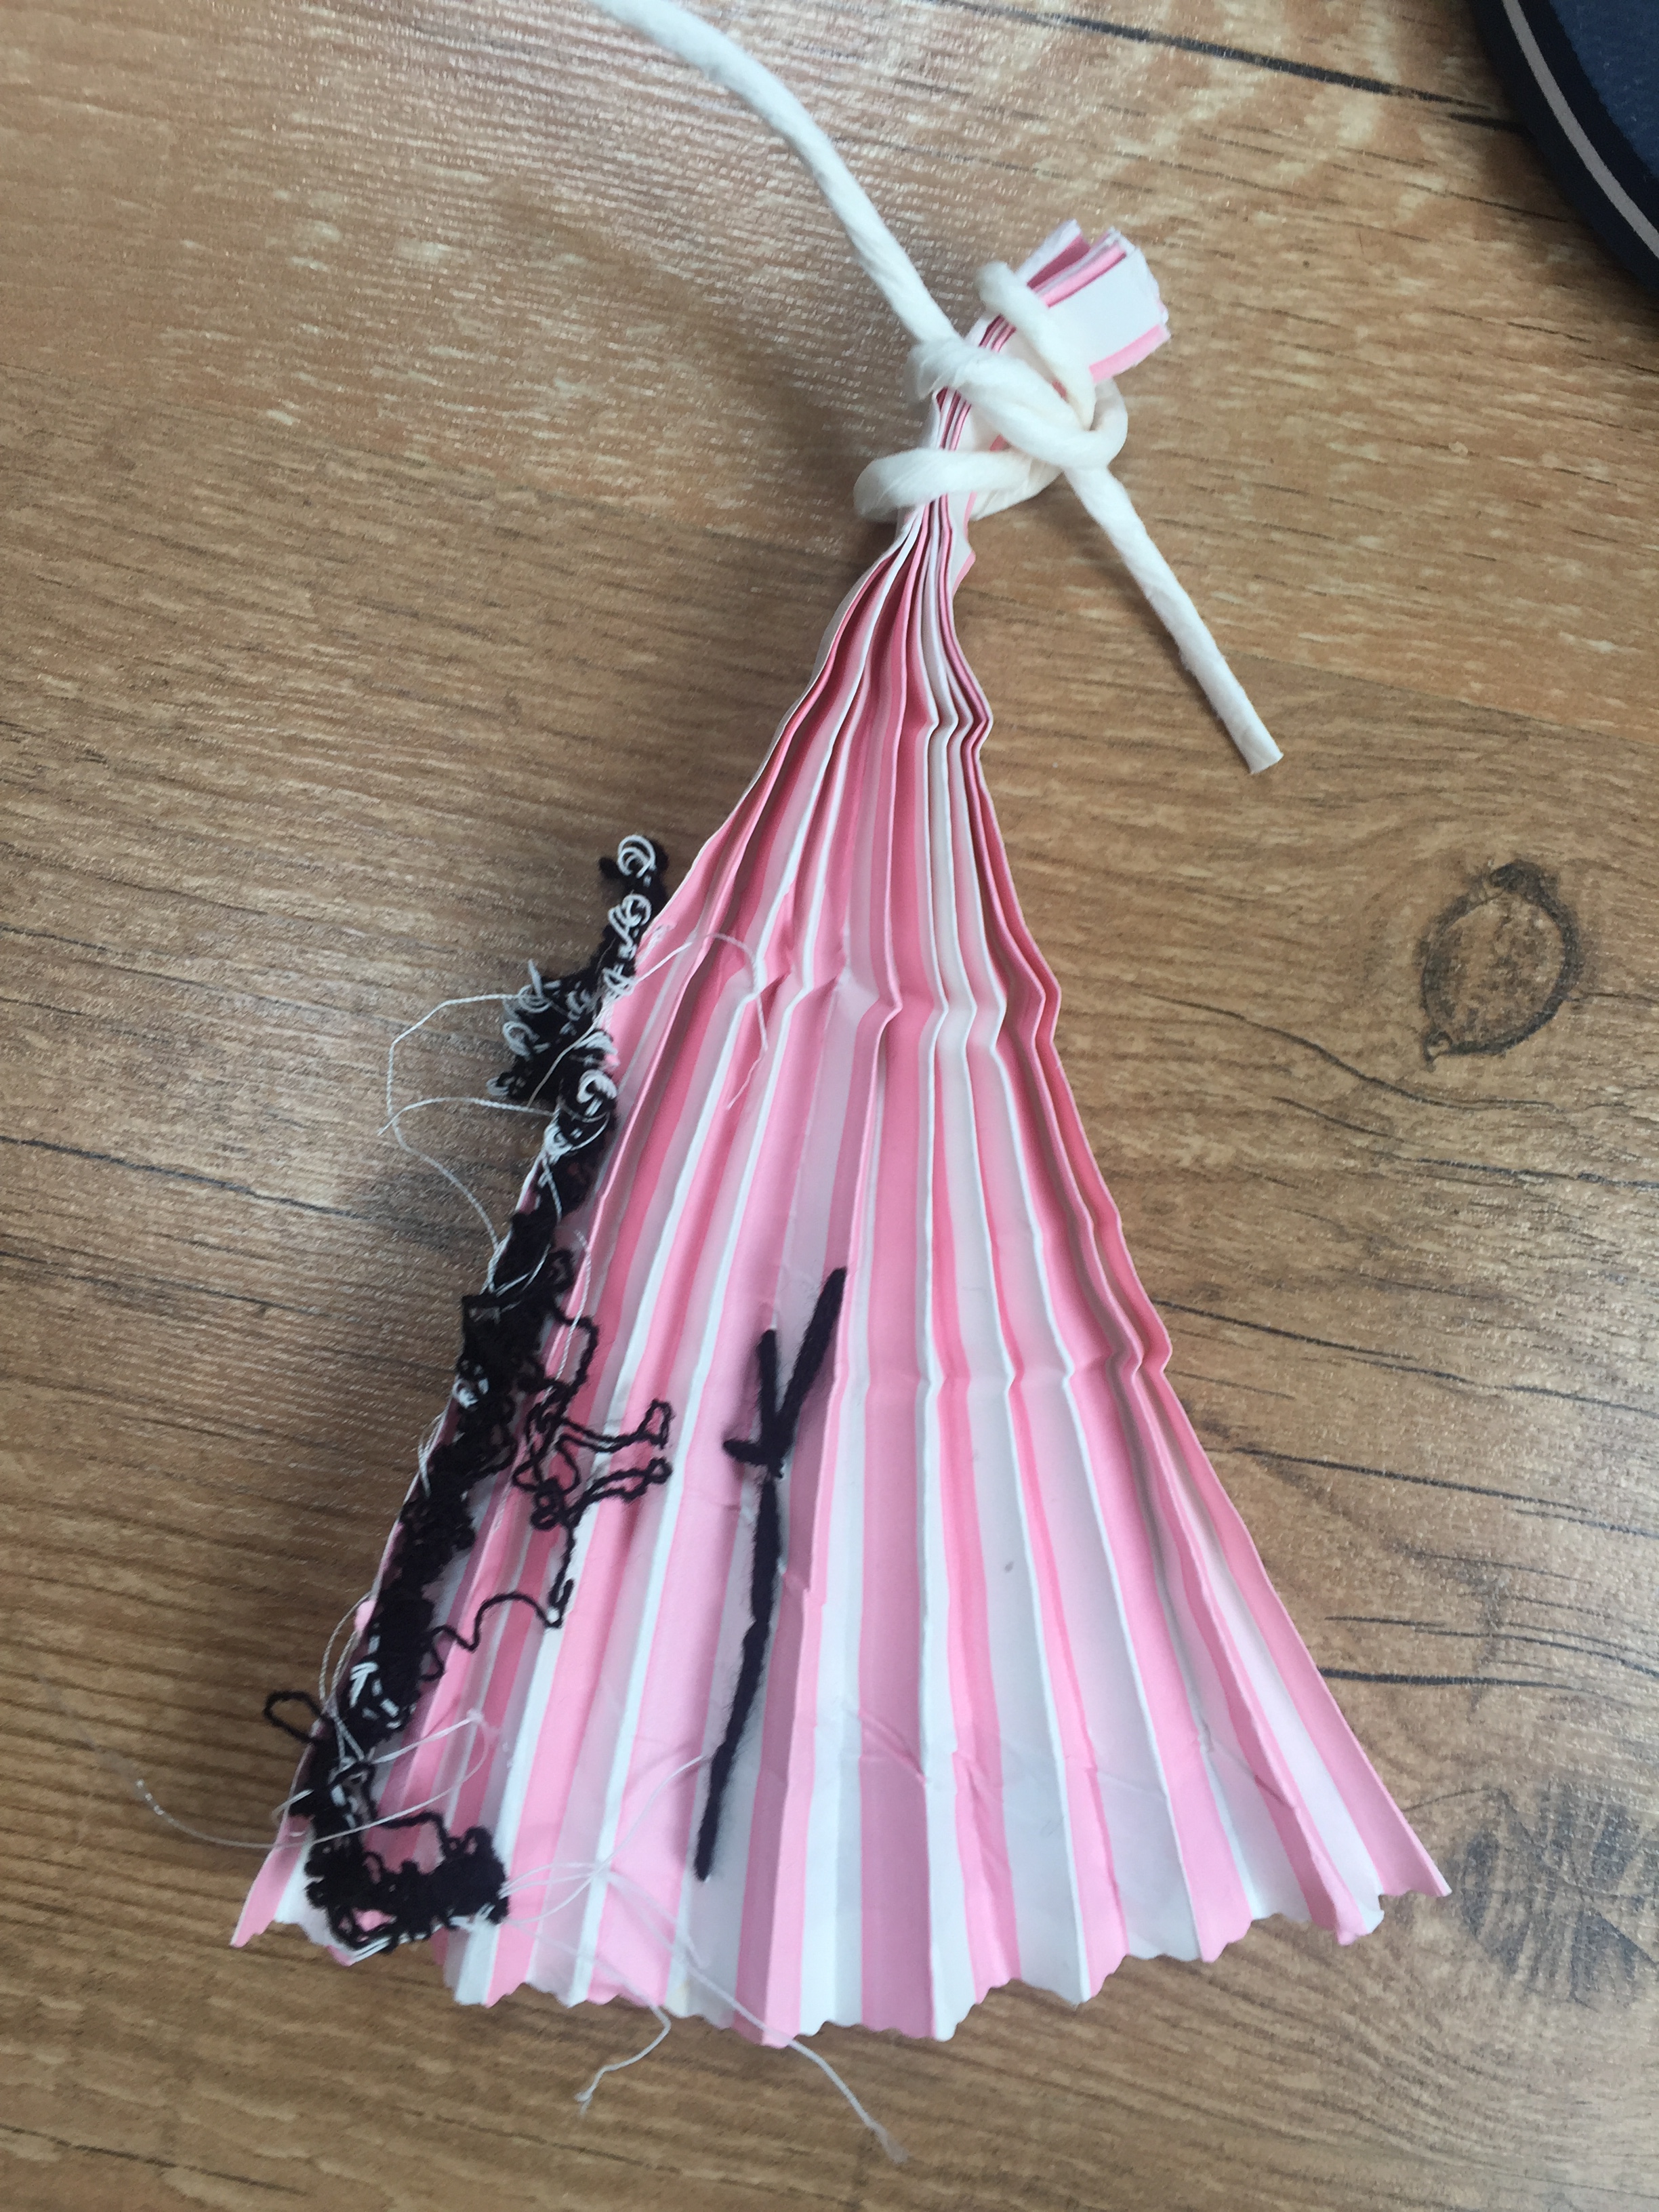
Exercise 2.2 Paper manipulation gallery
Looking back on my previous work I found out there are certain manipulation techniques that I can use for my ”take 2” assignment.
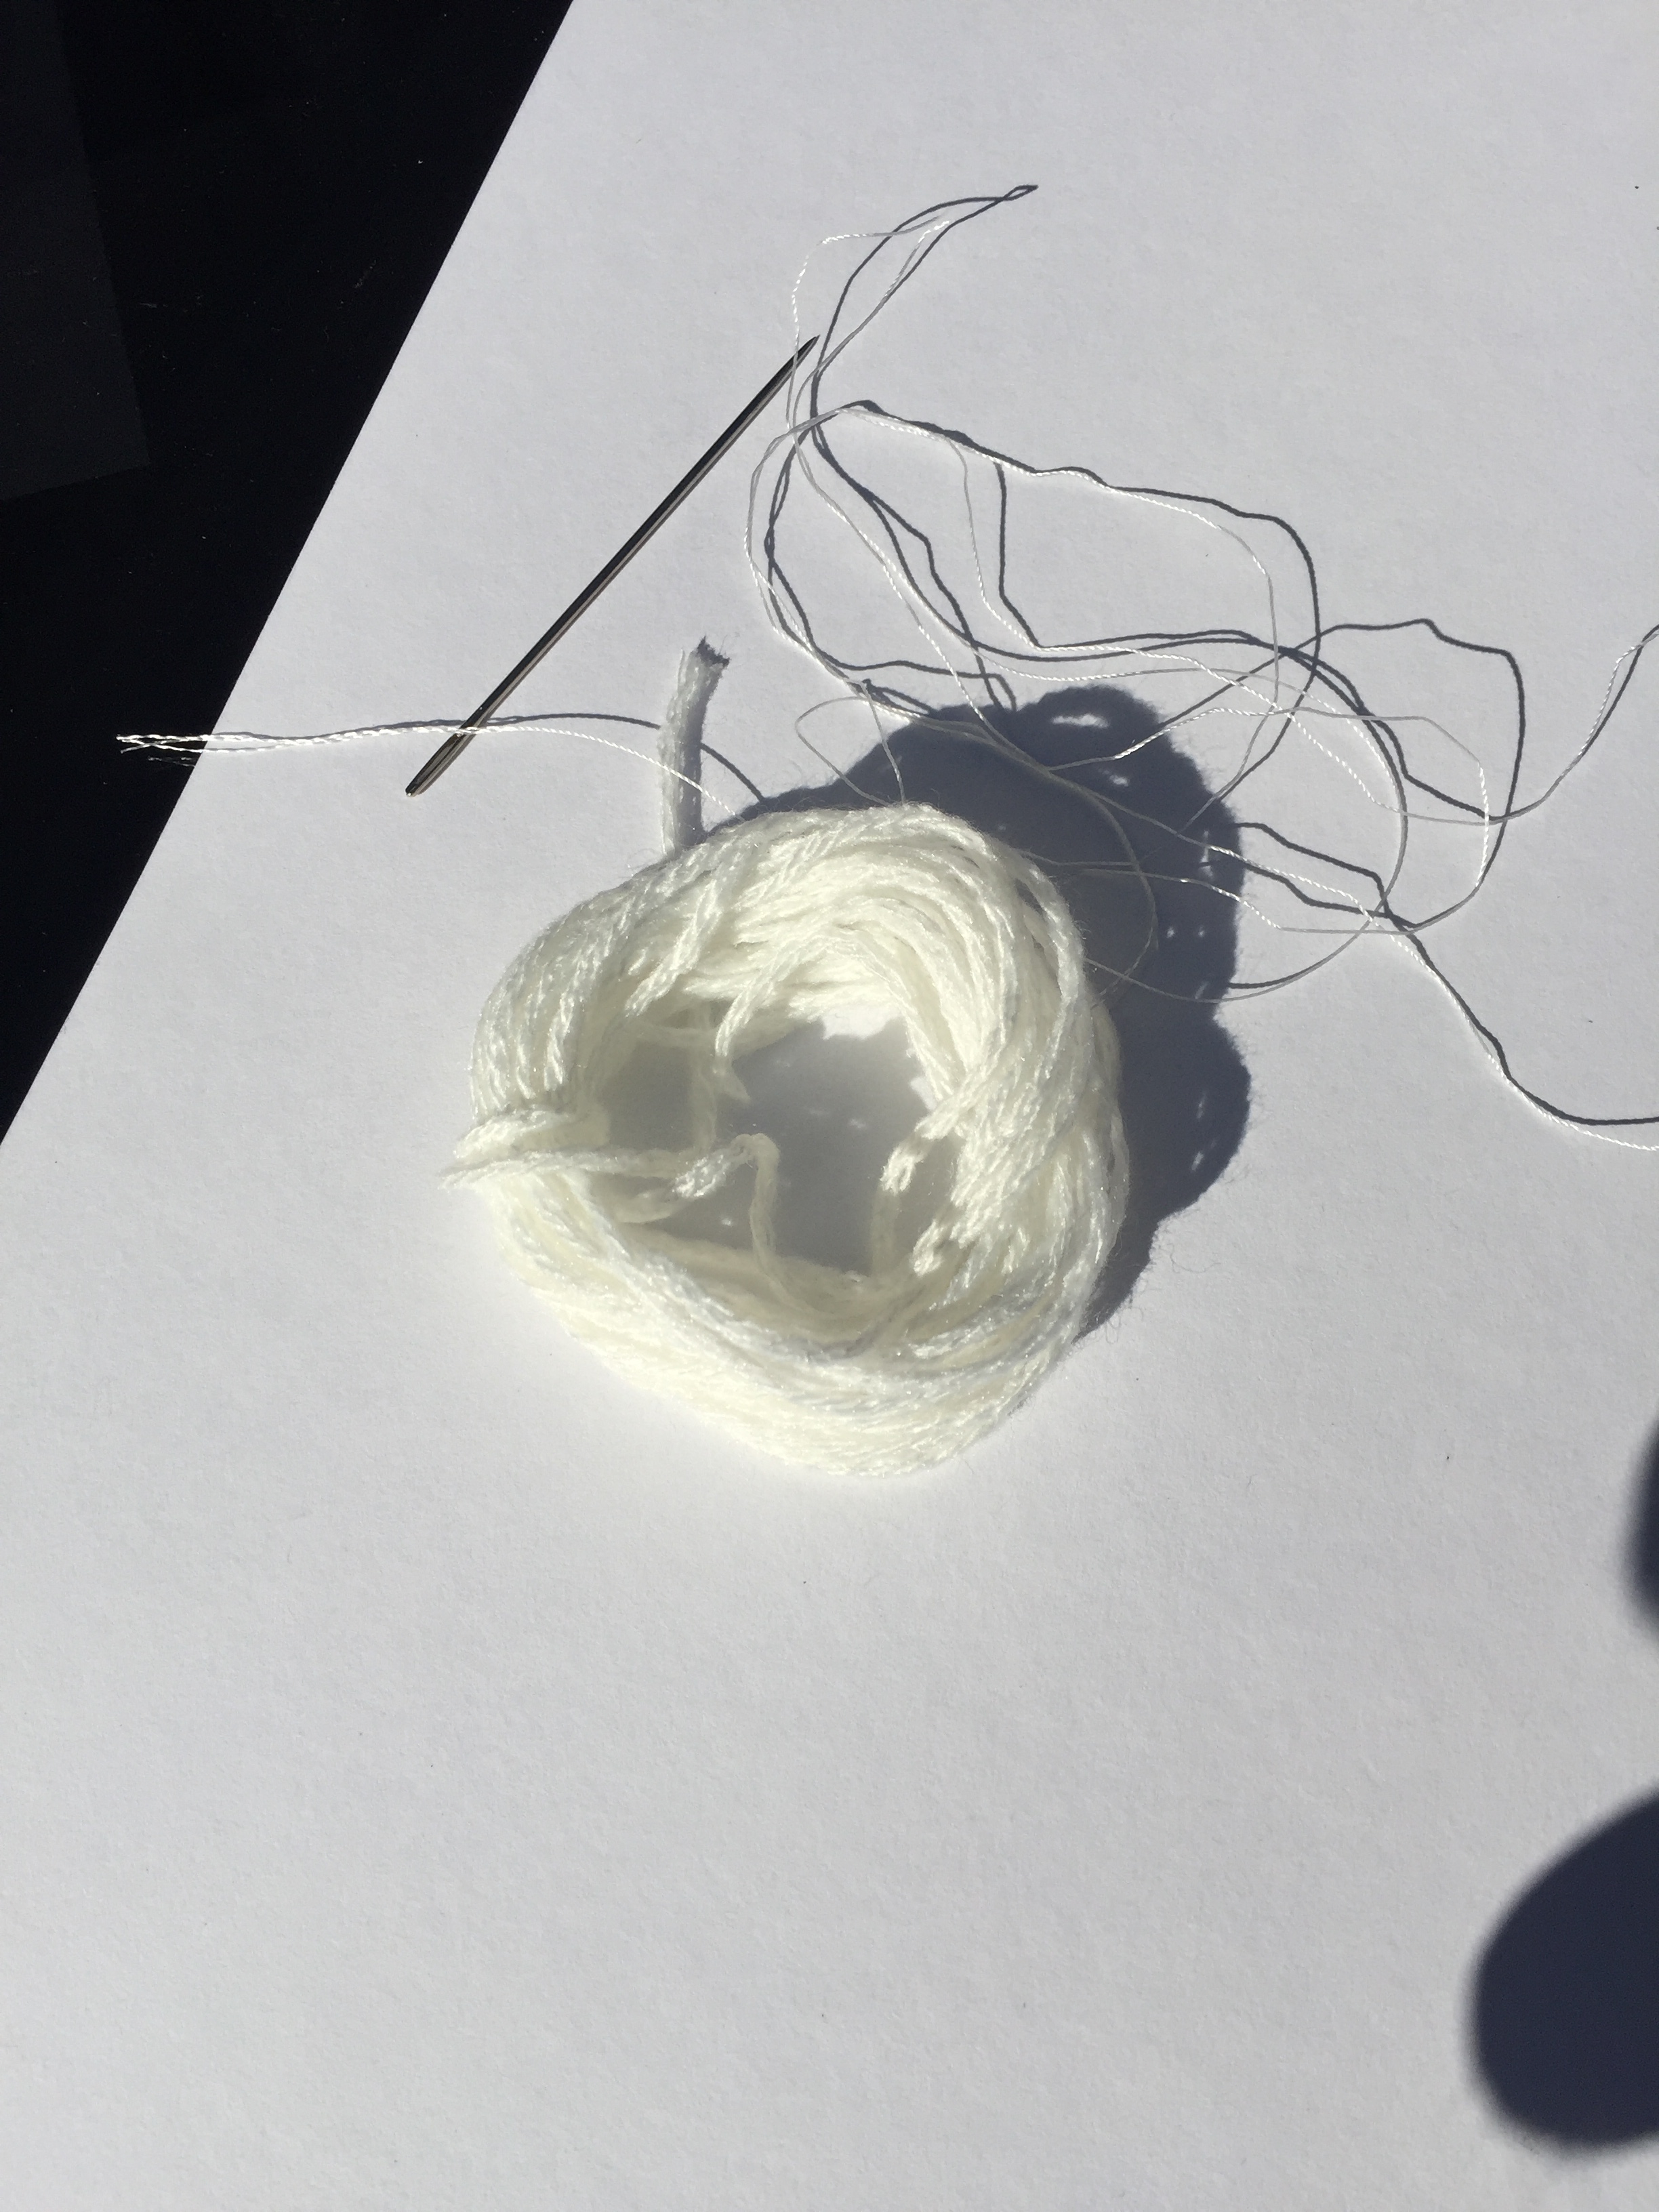
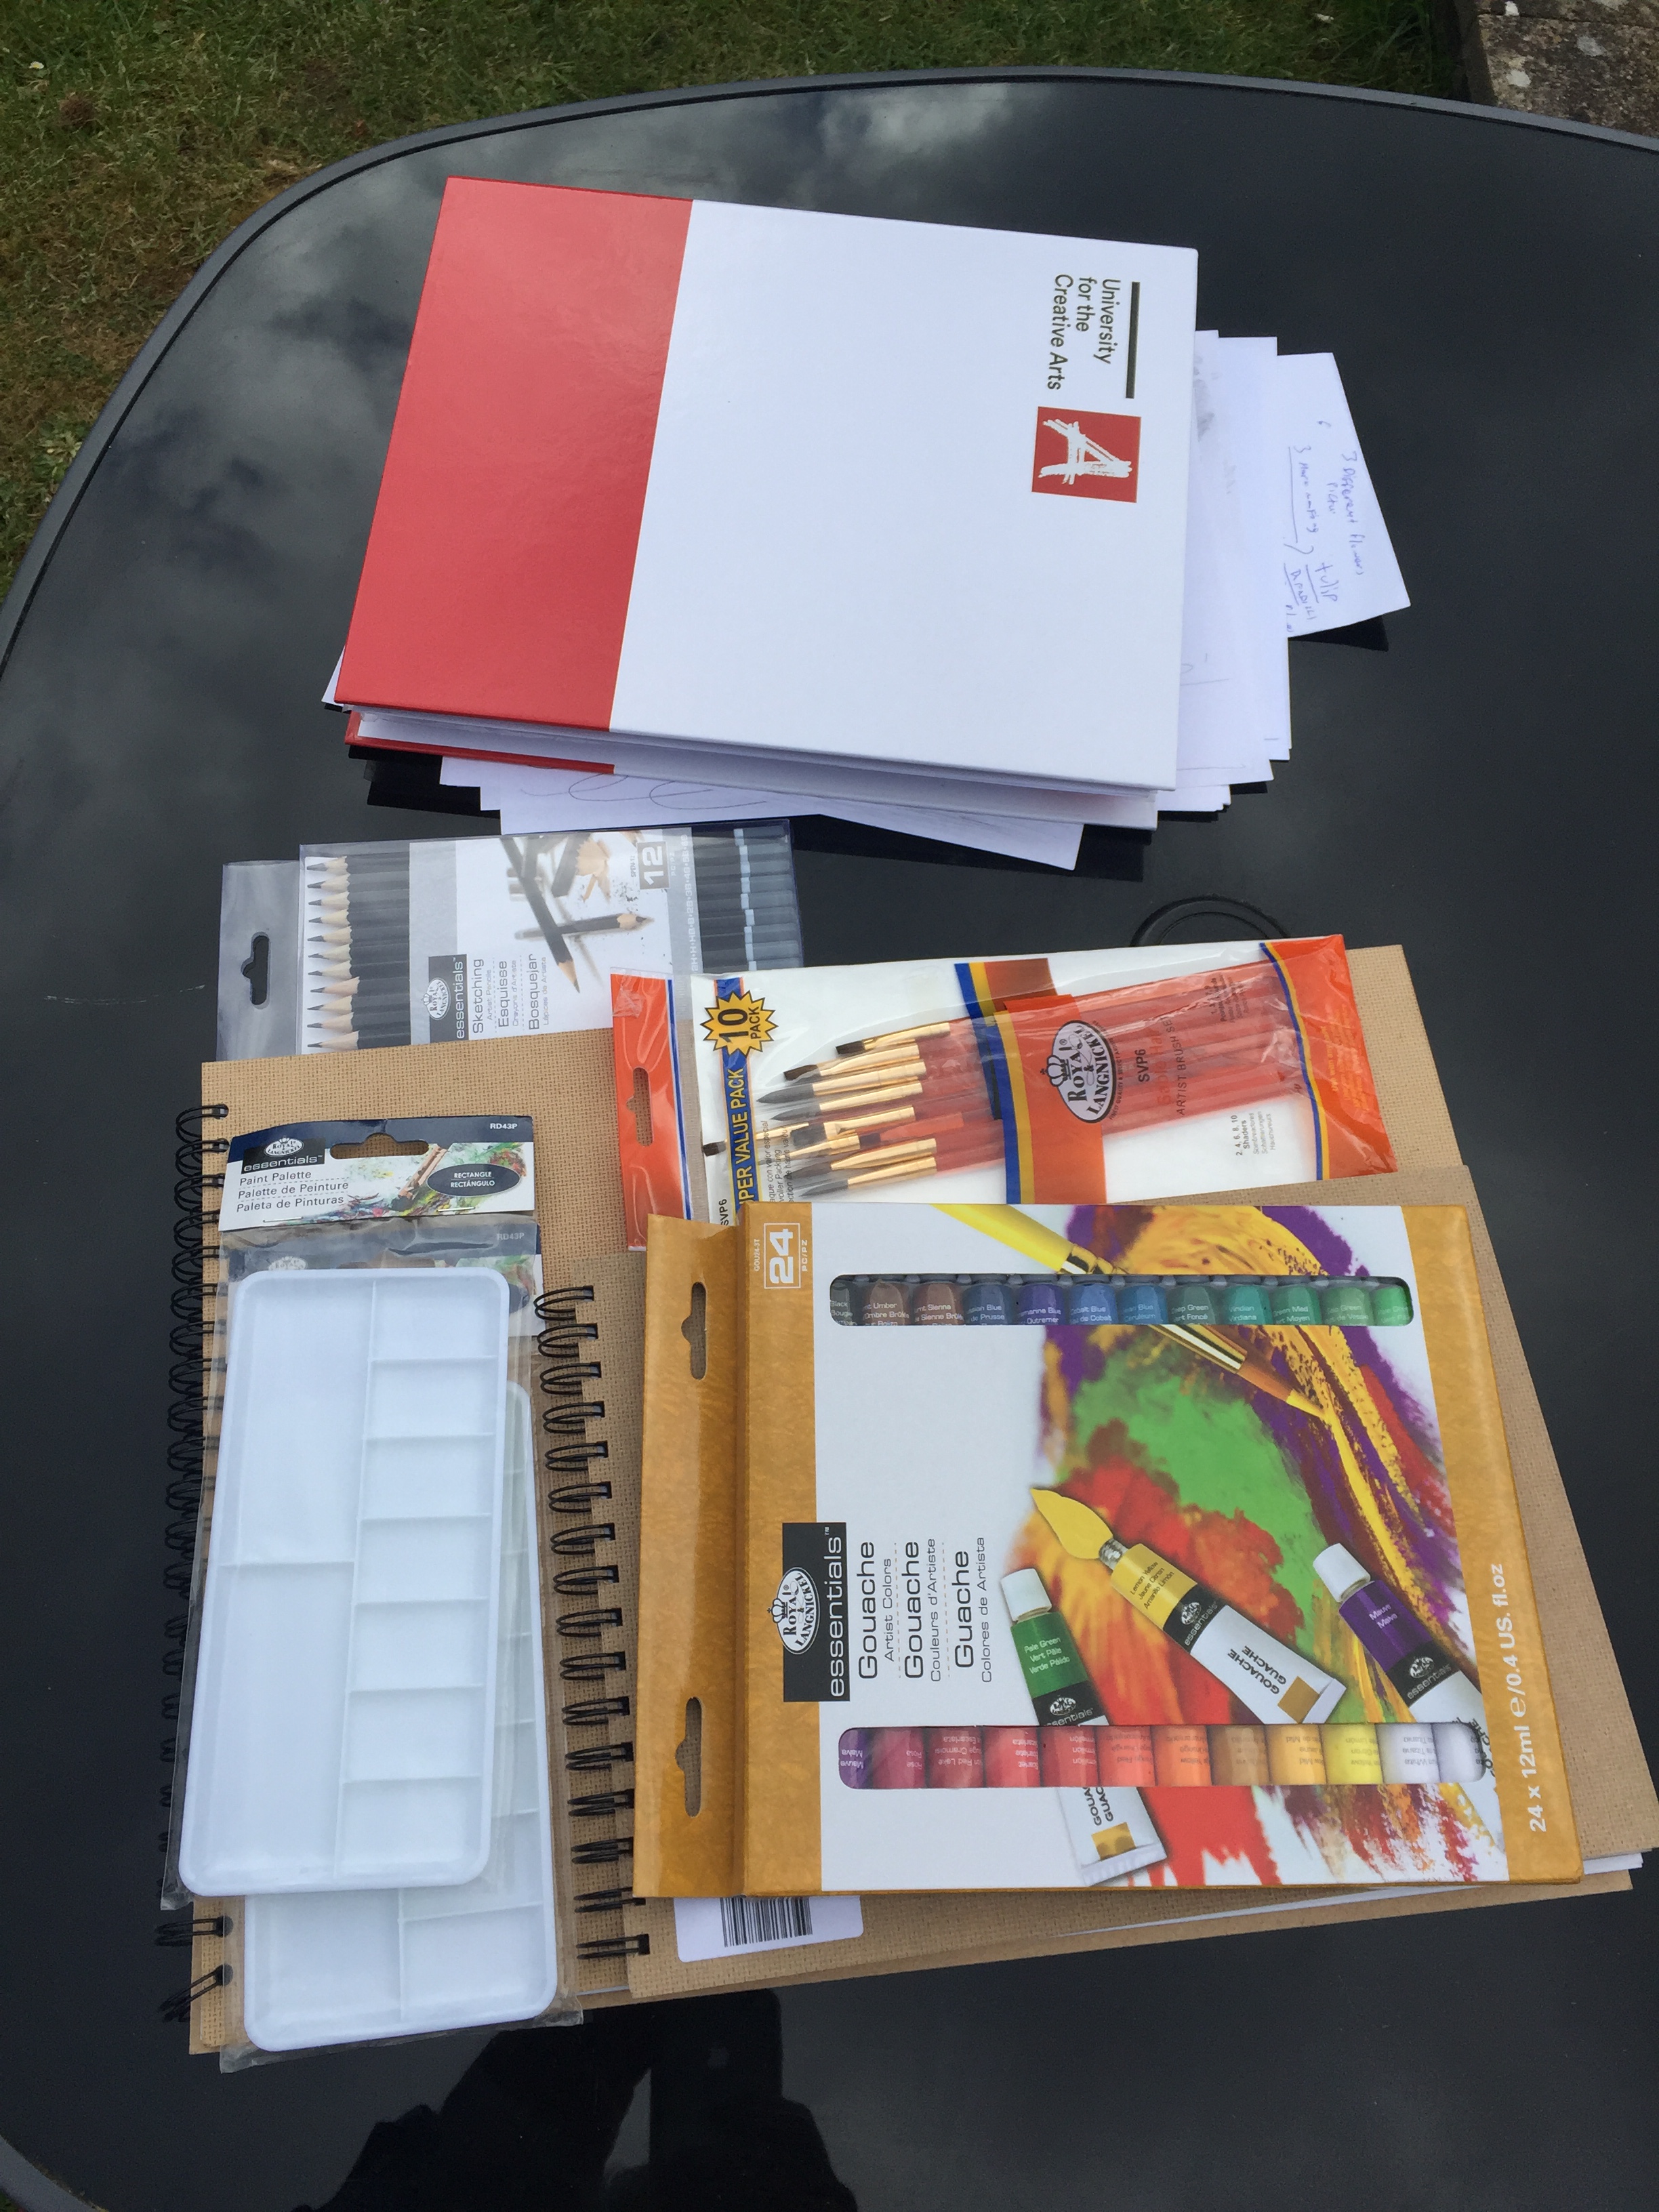
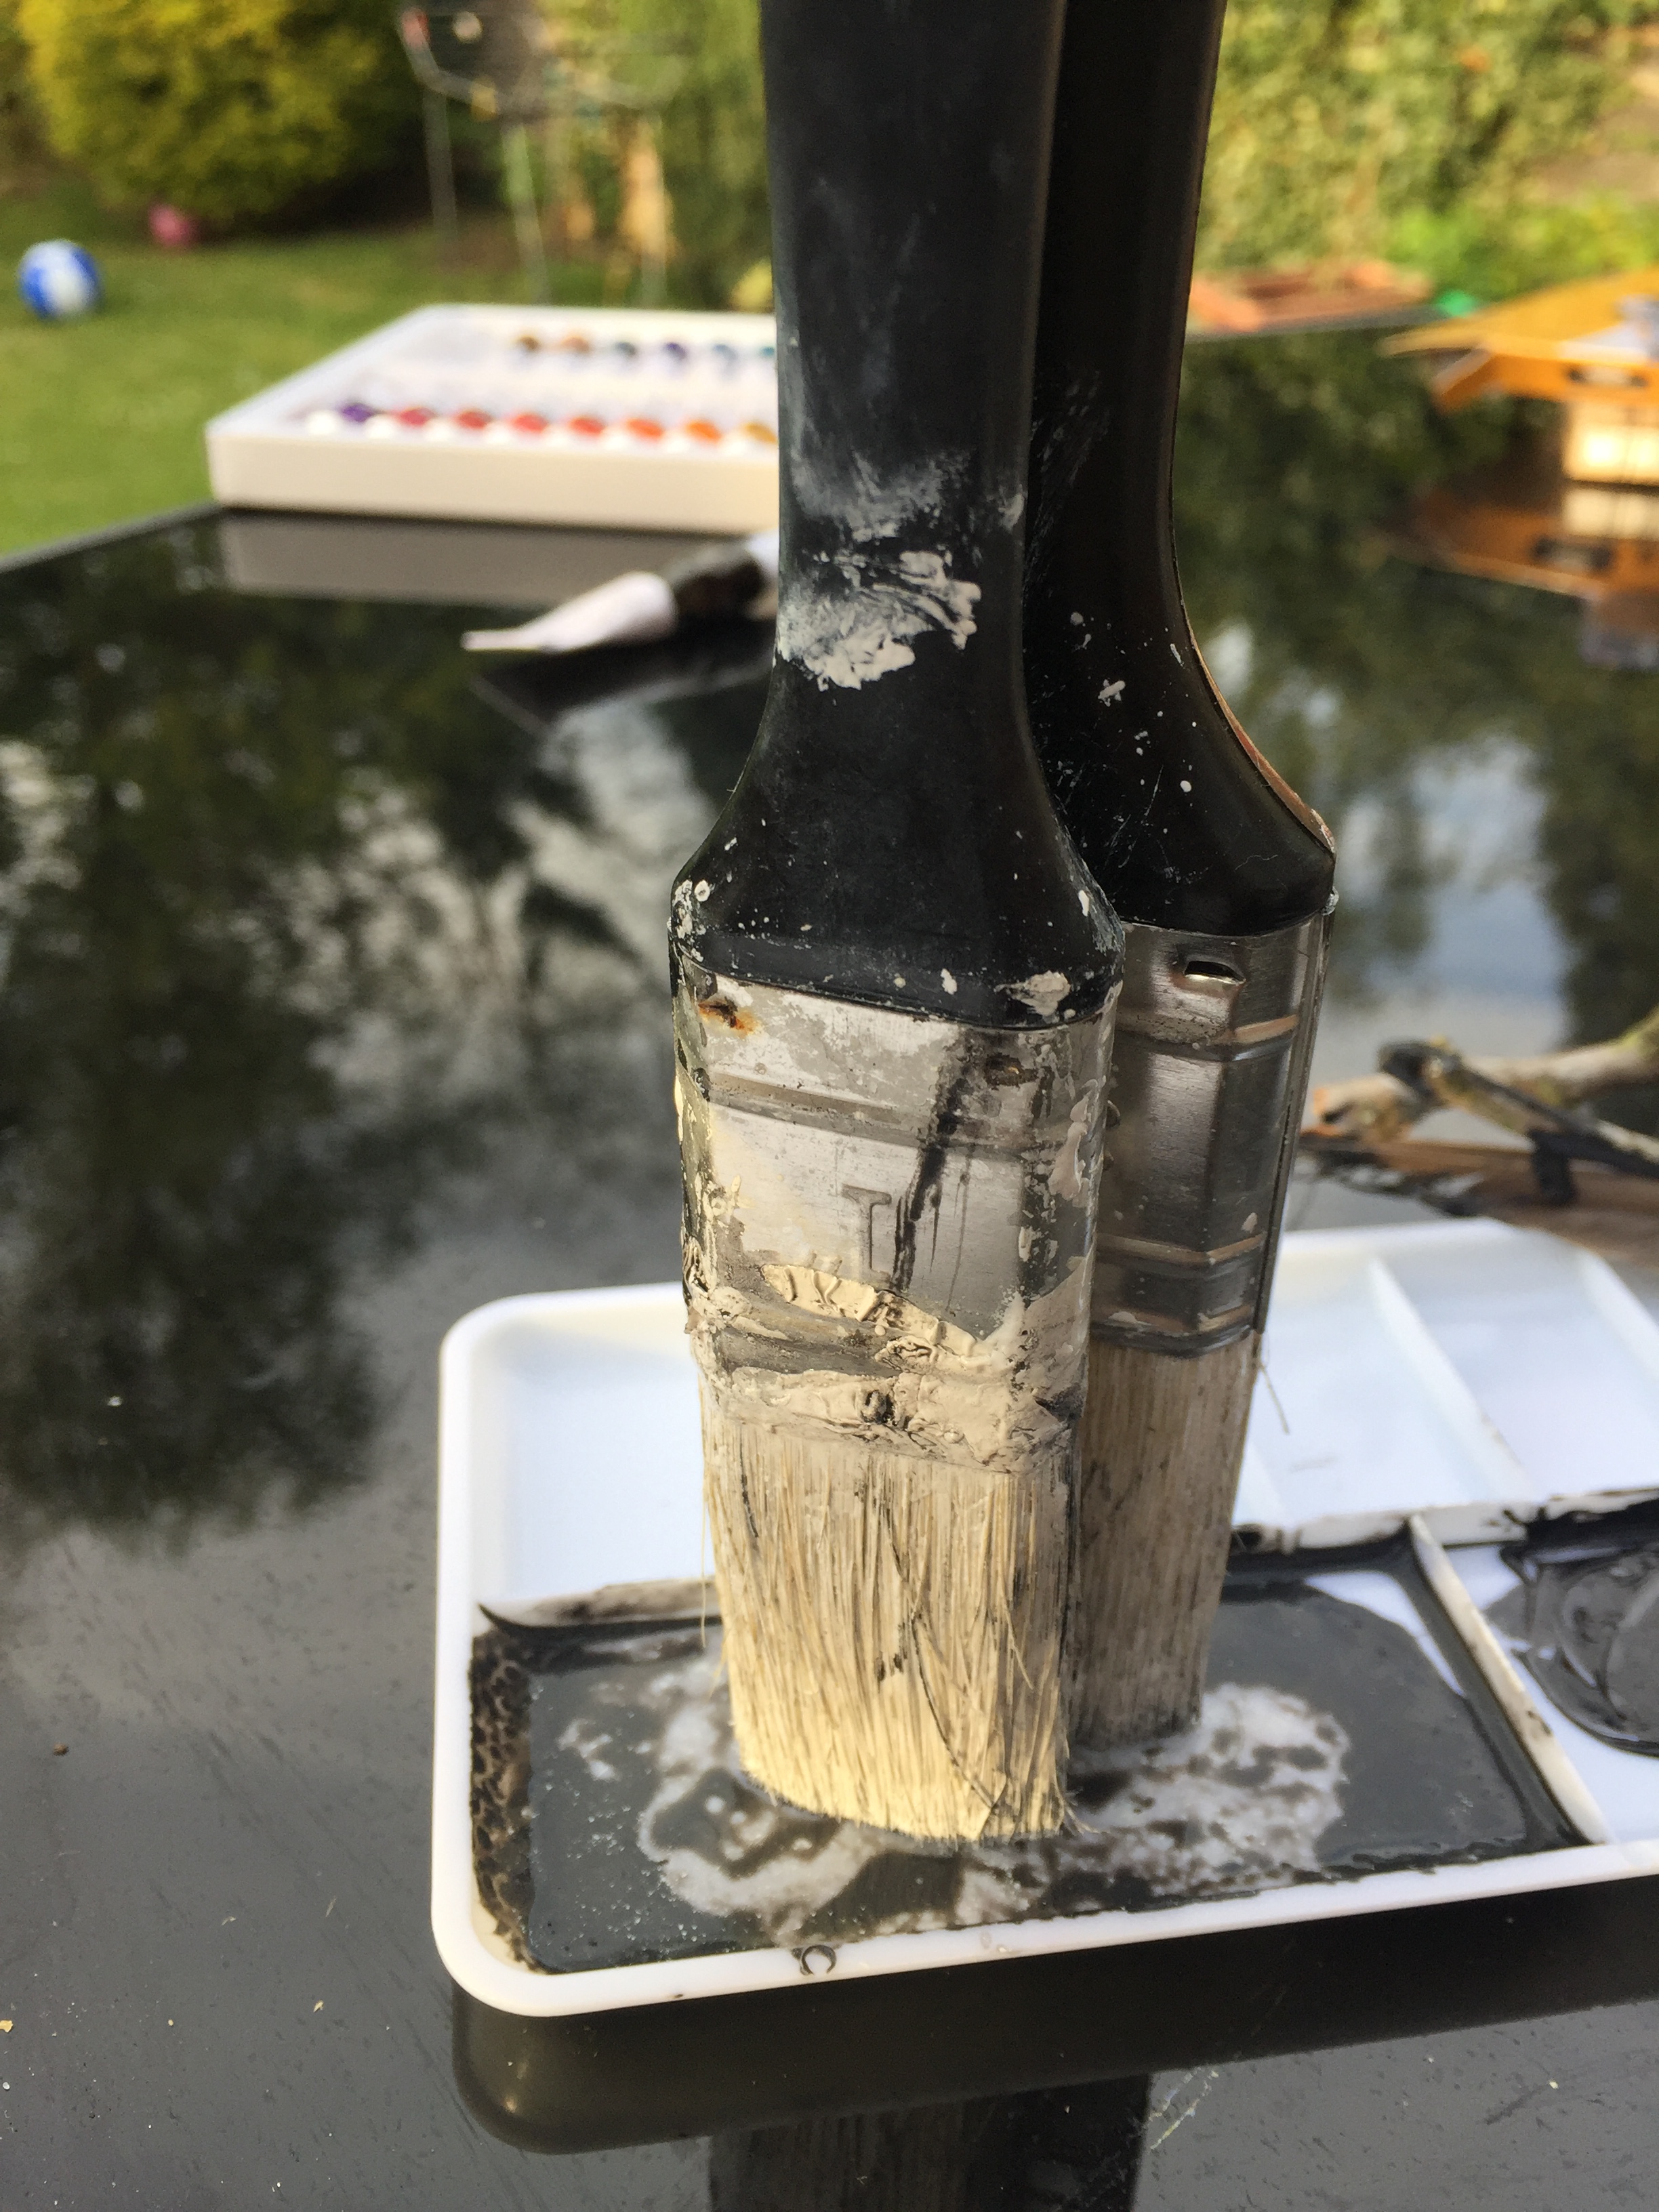
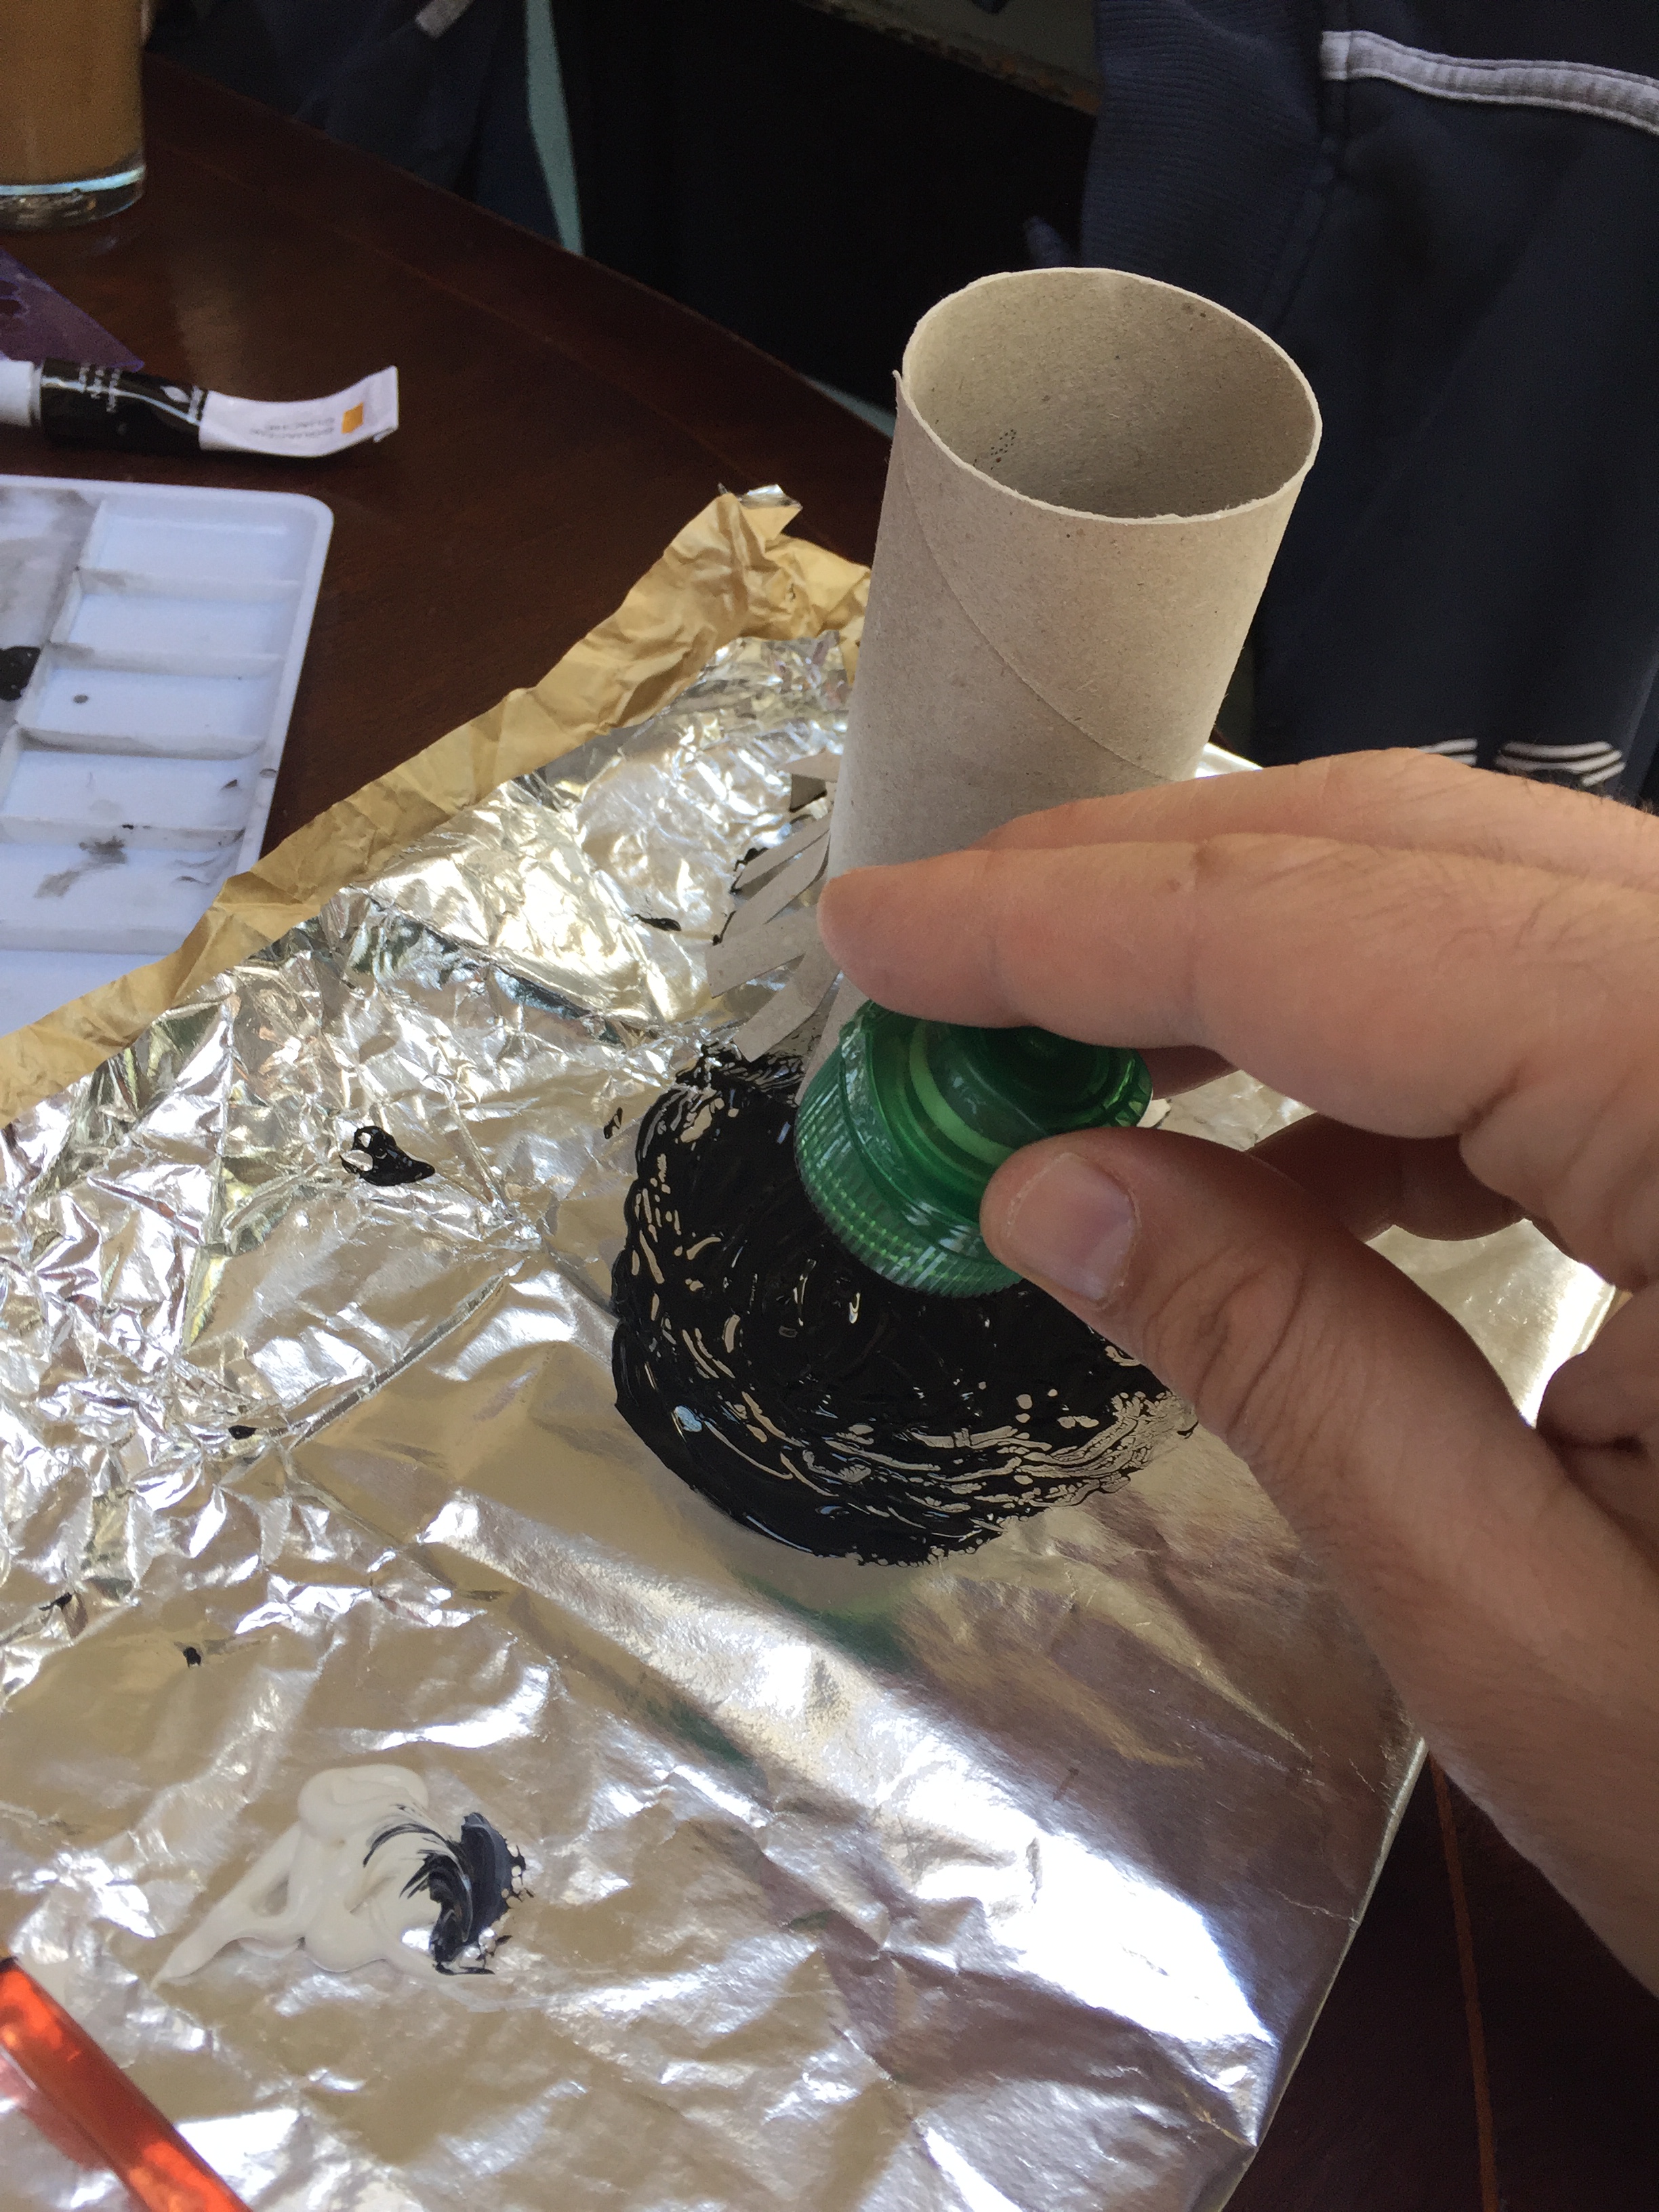
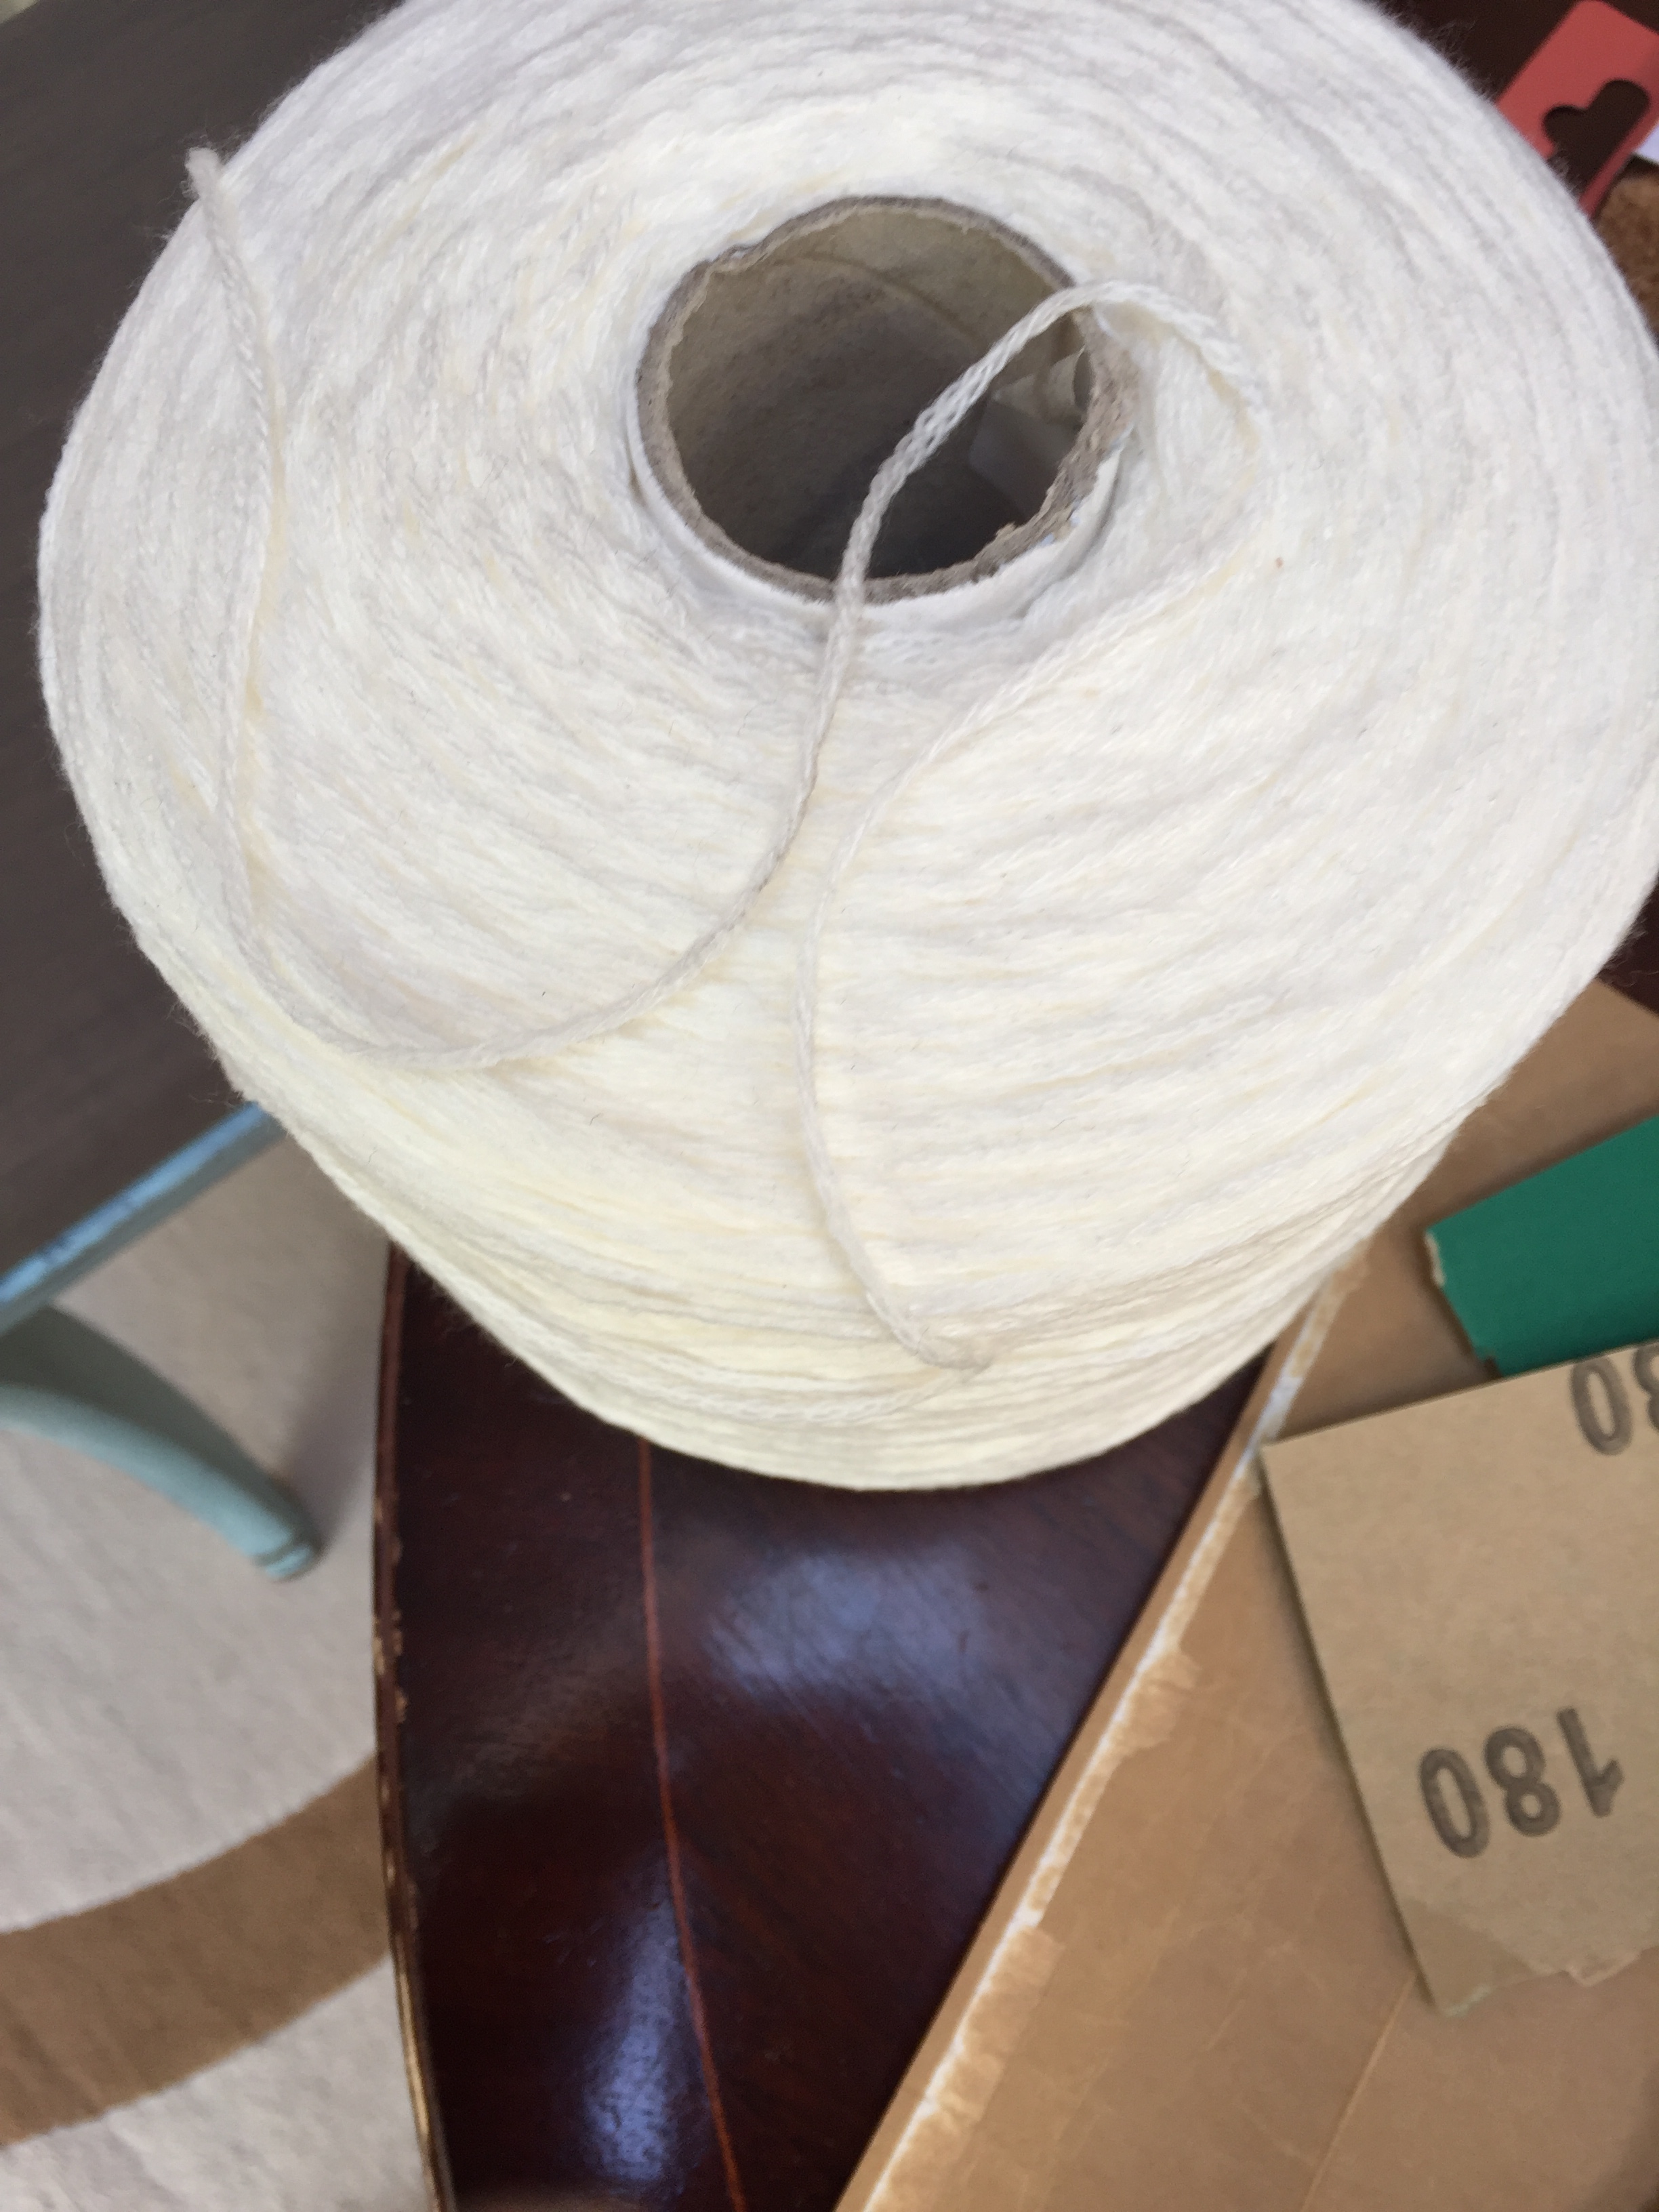
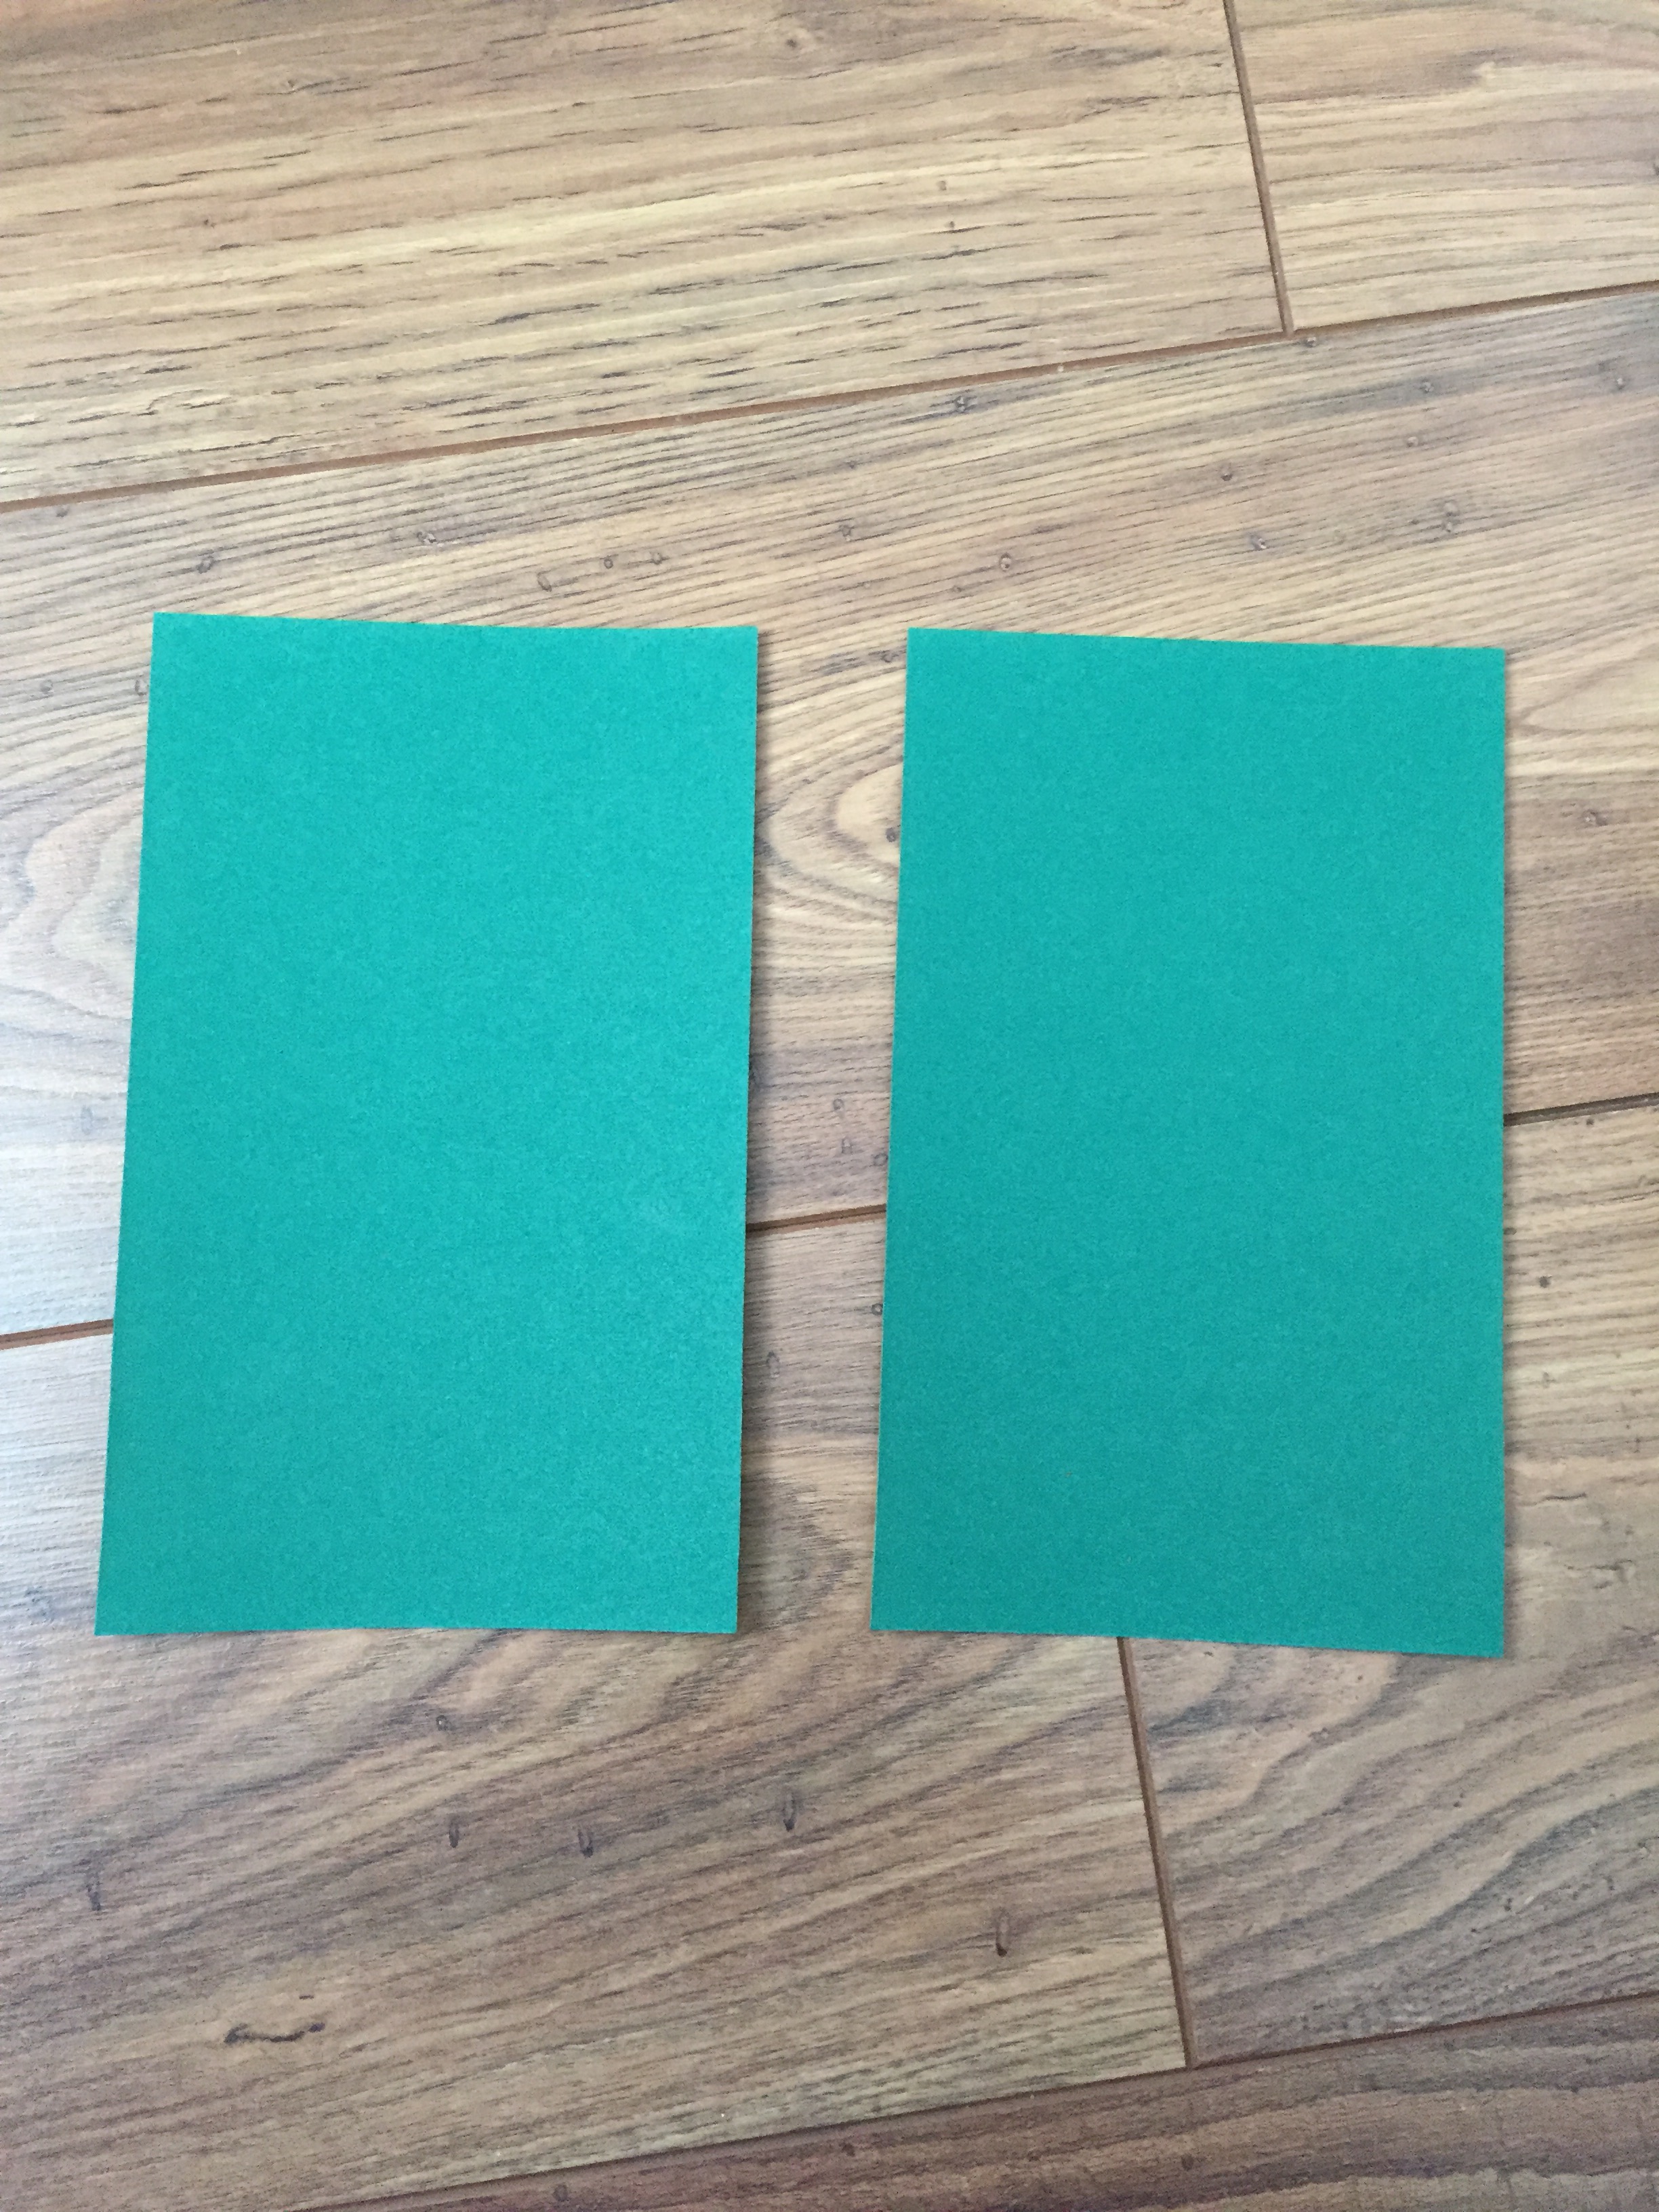
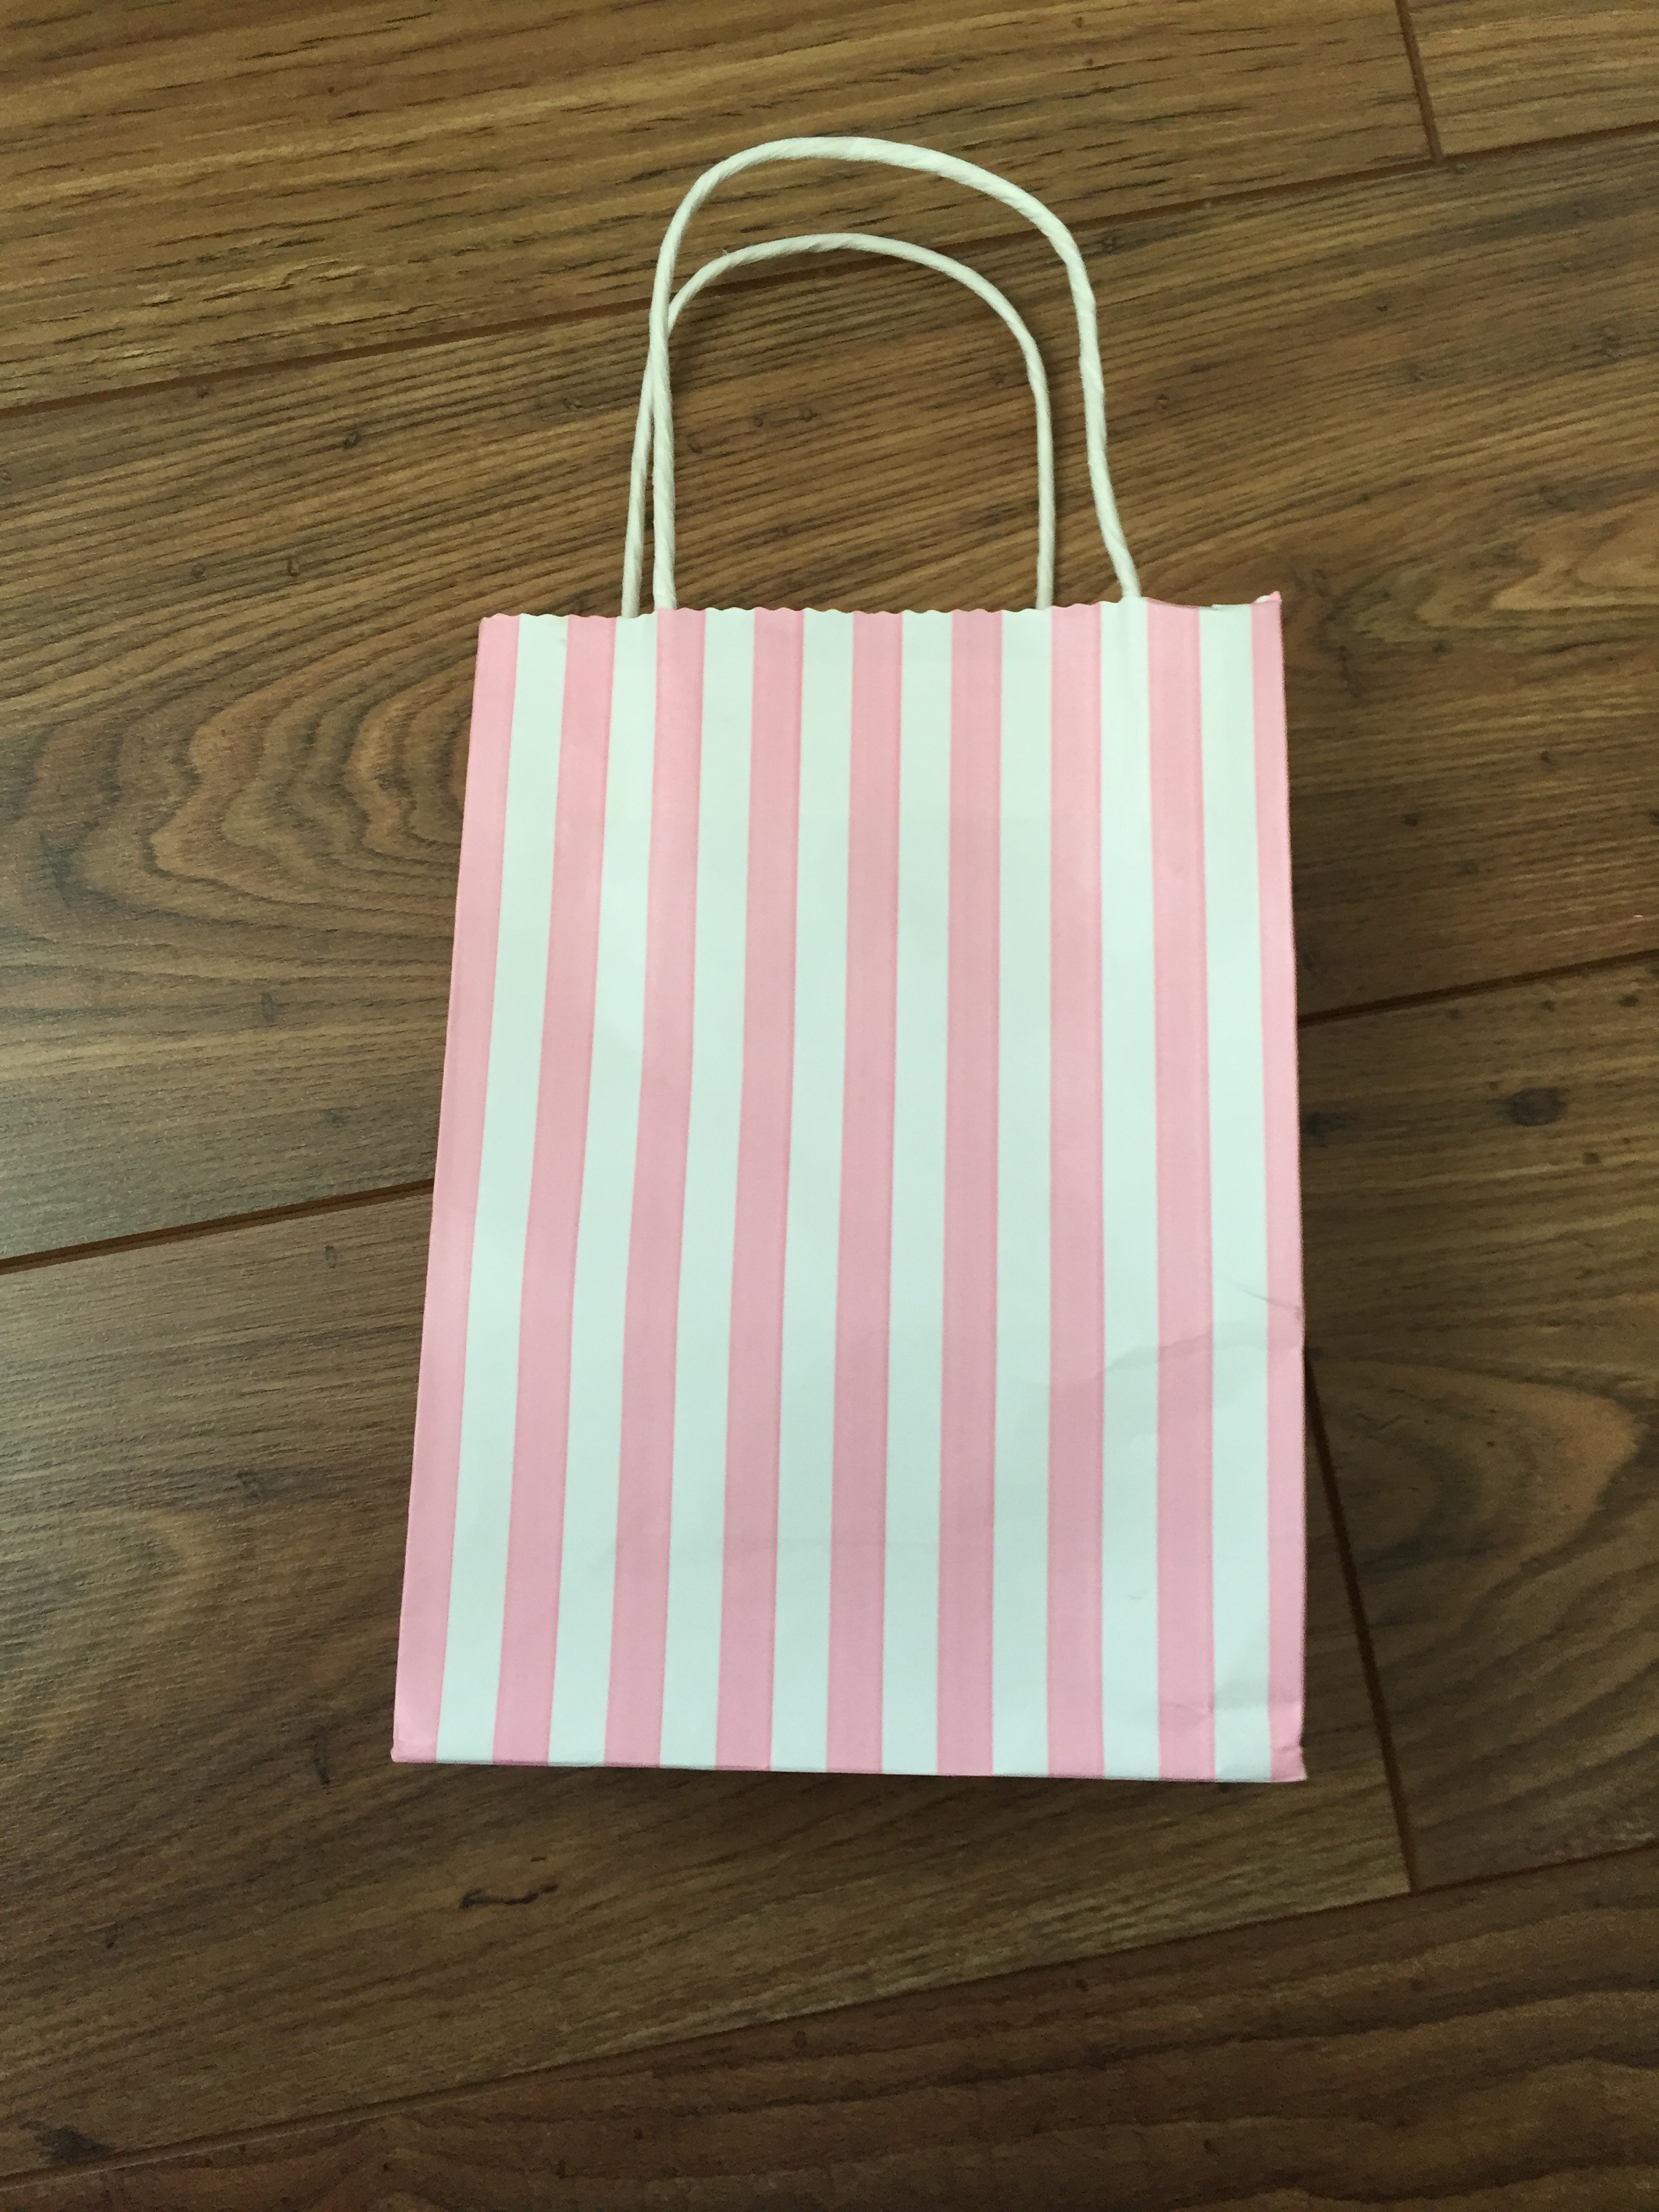
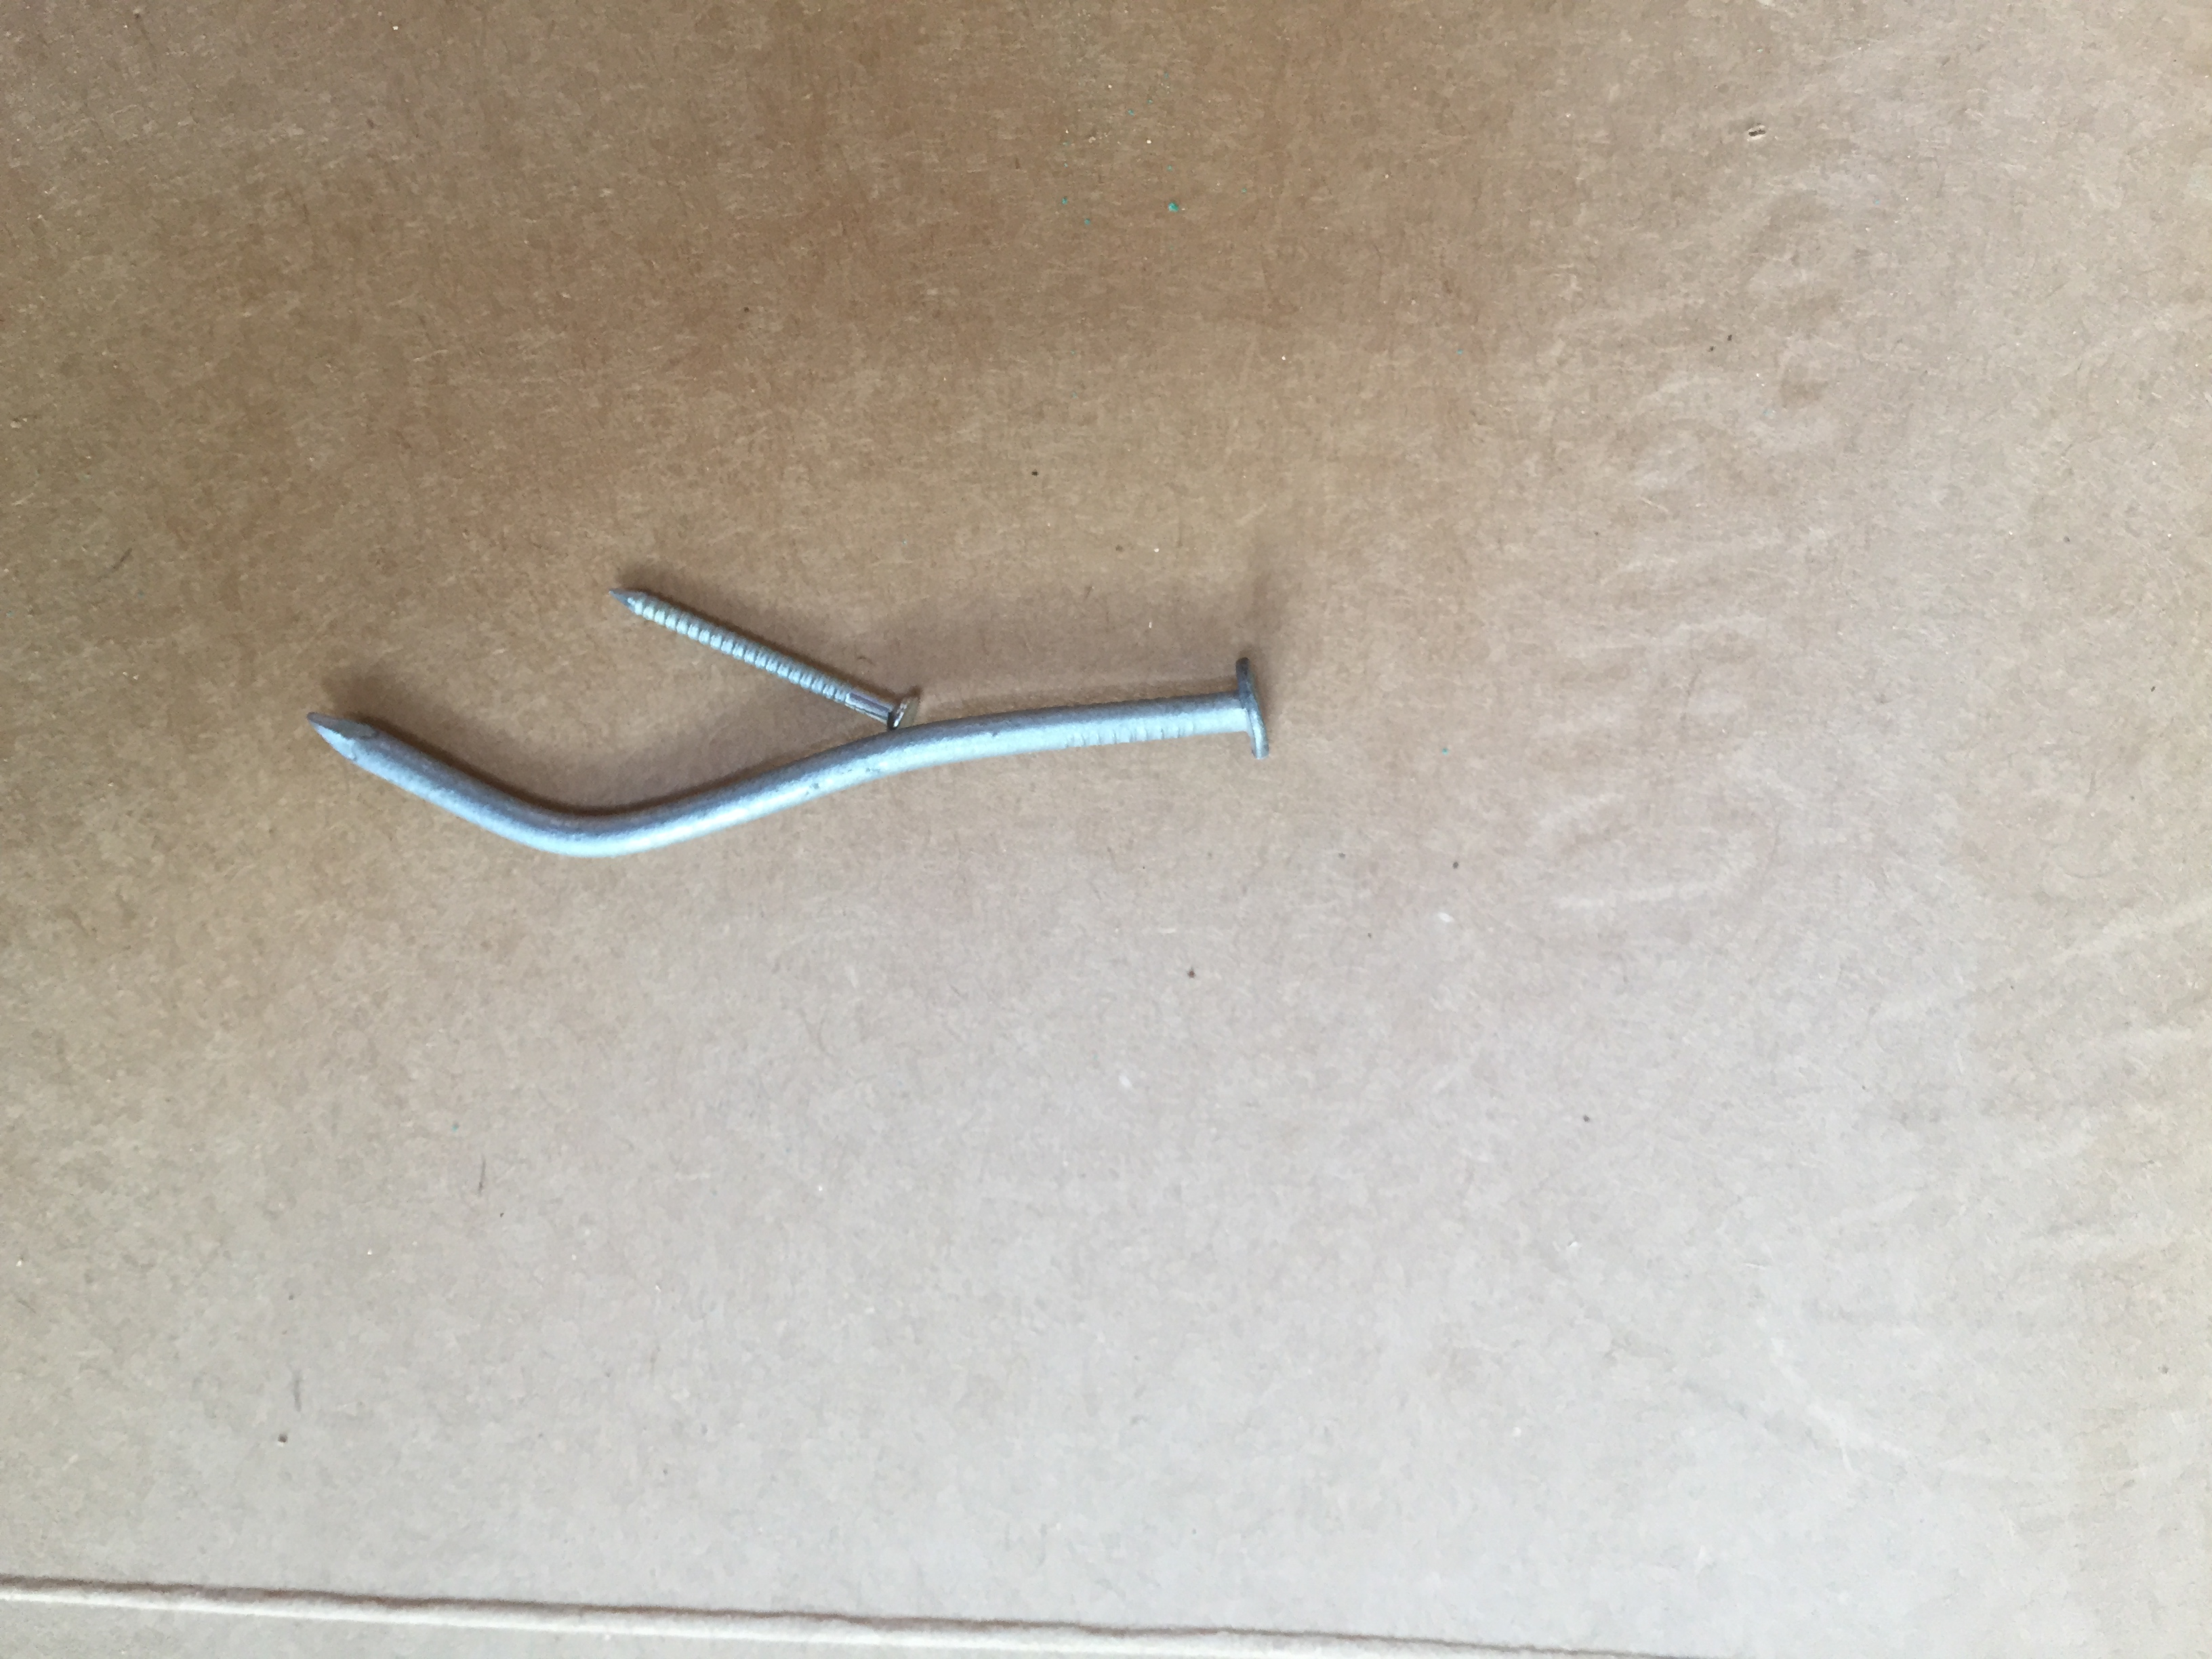
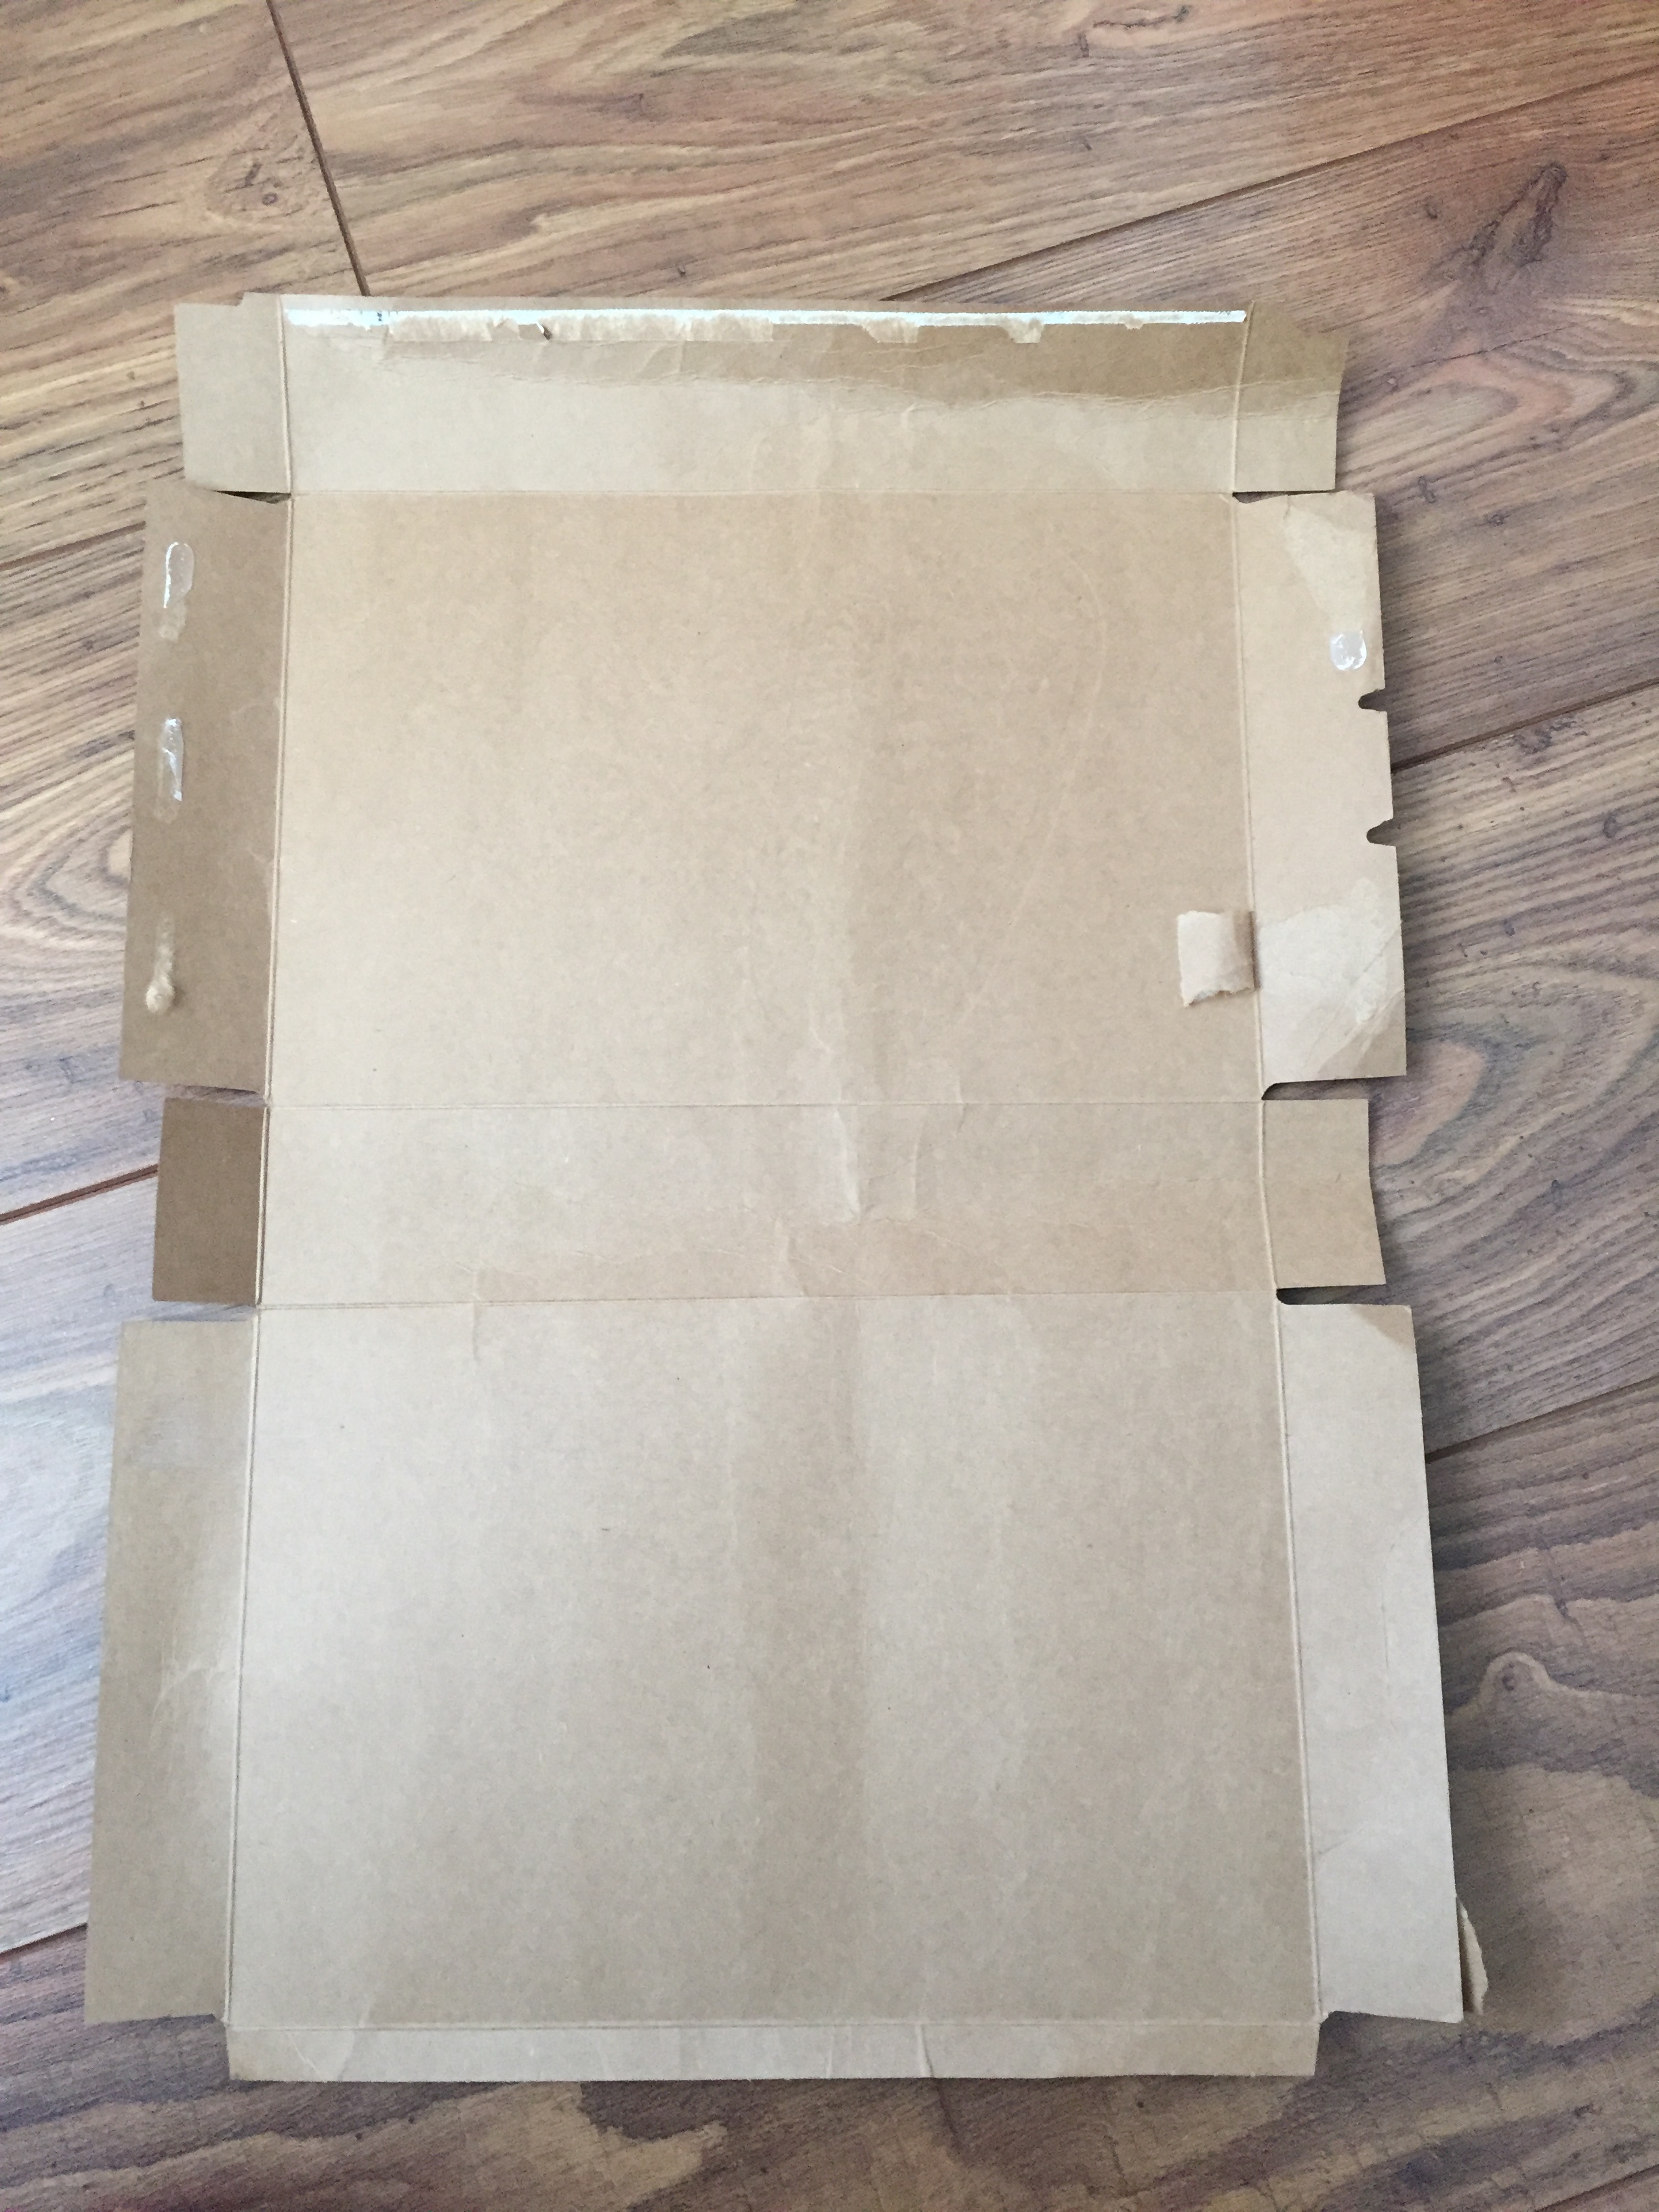
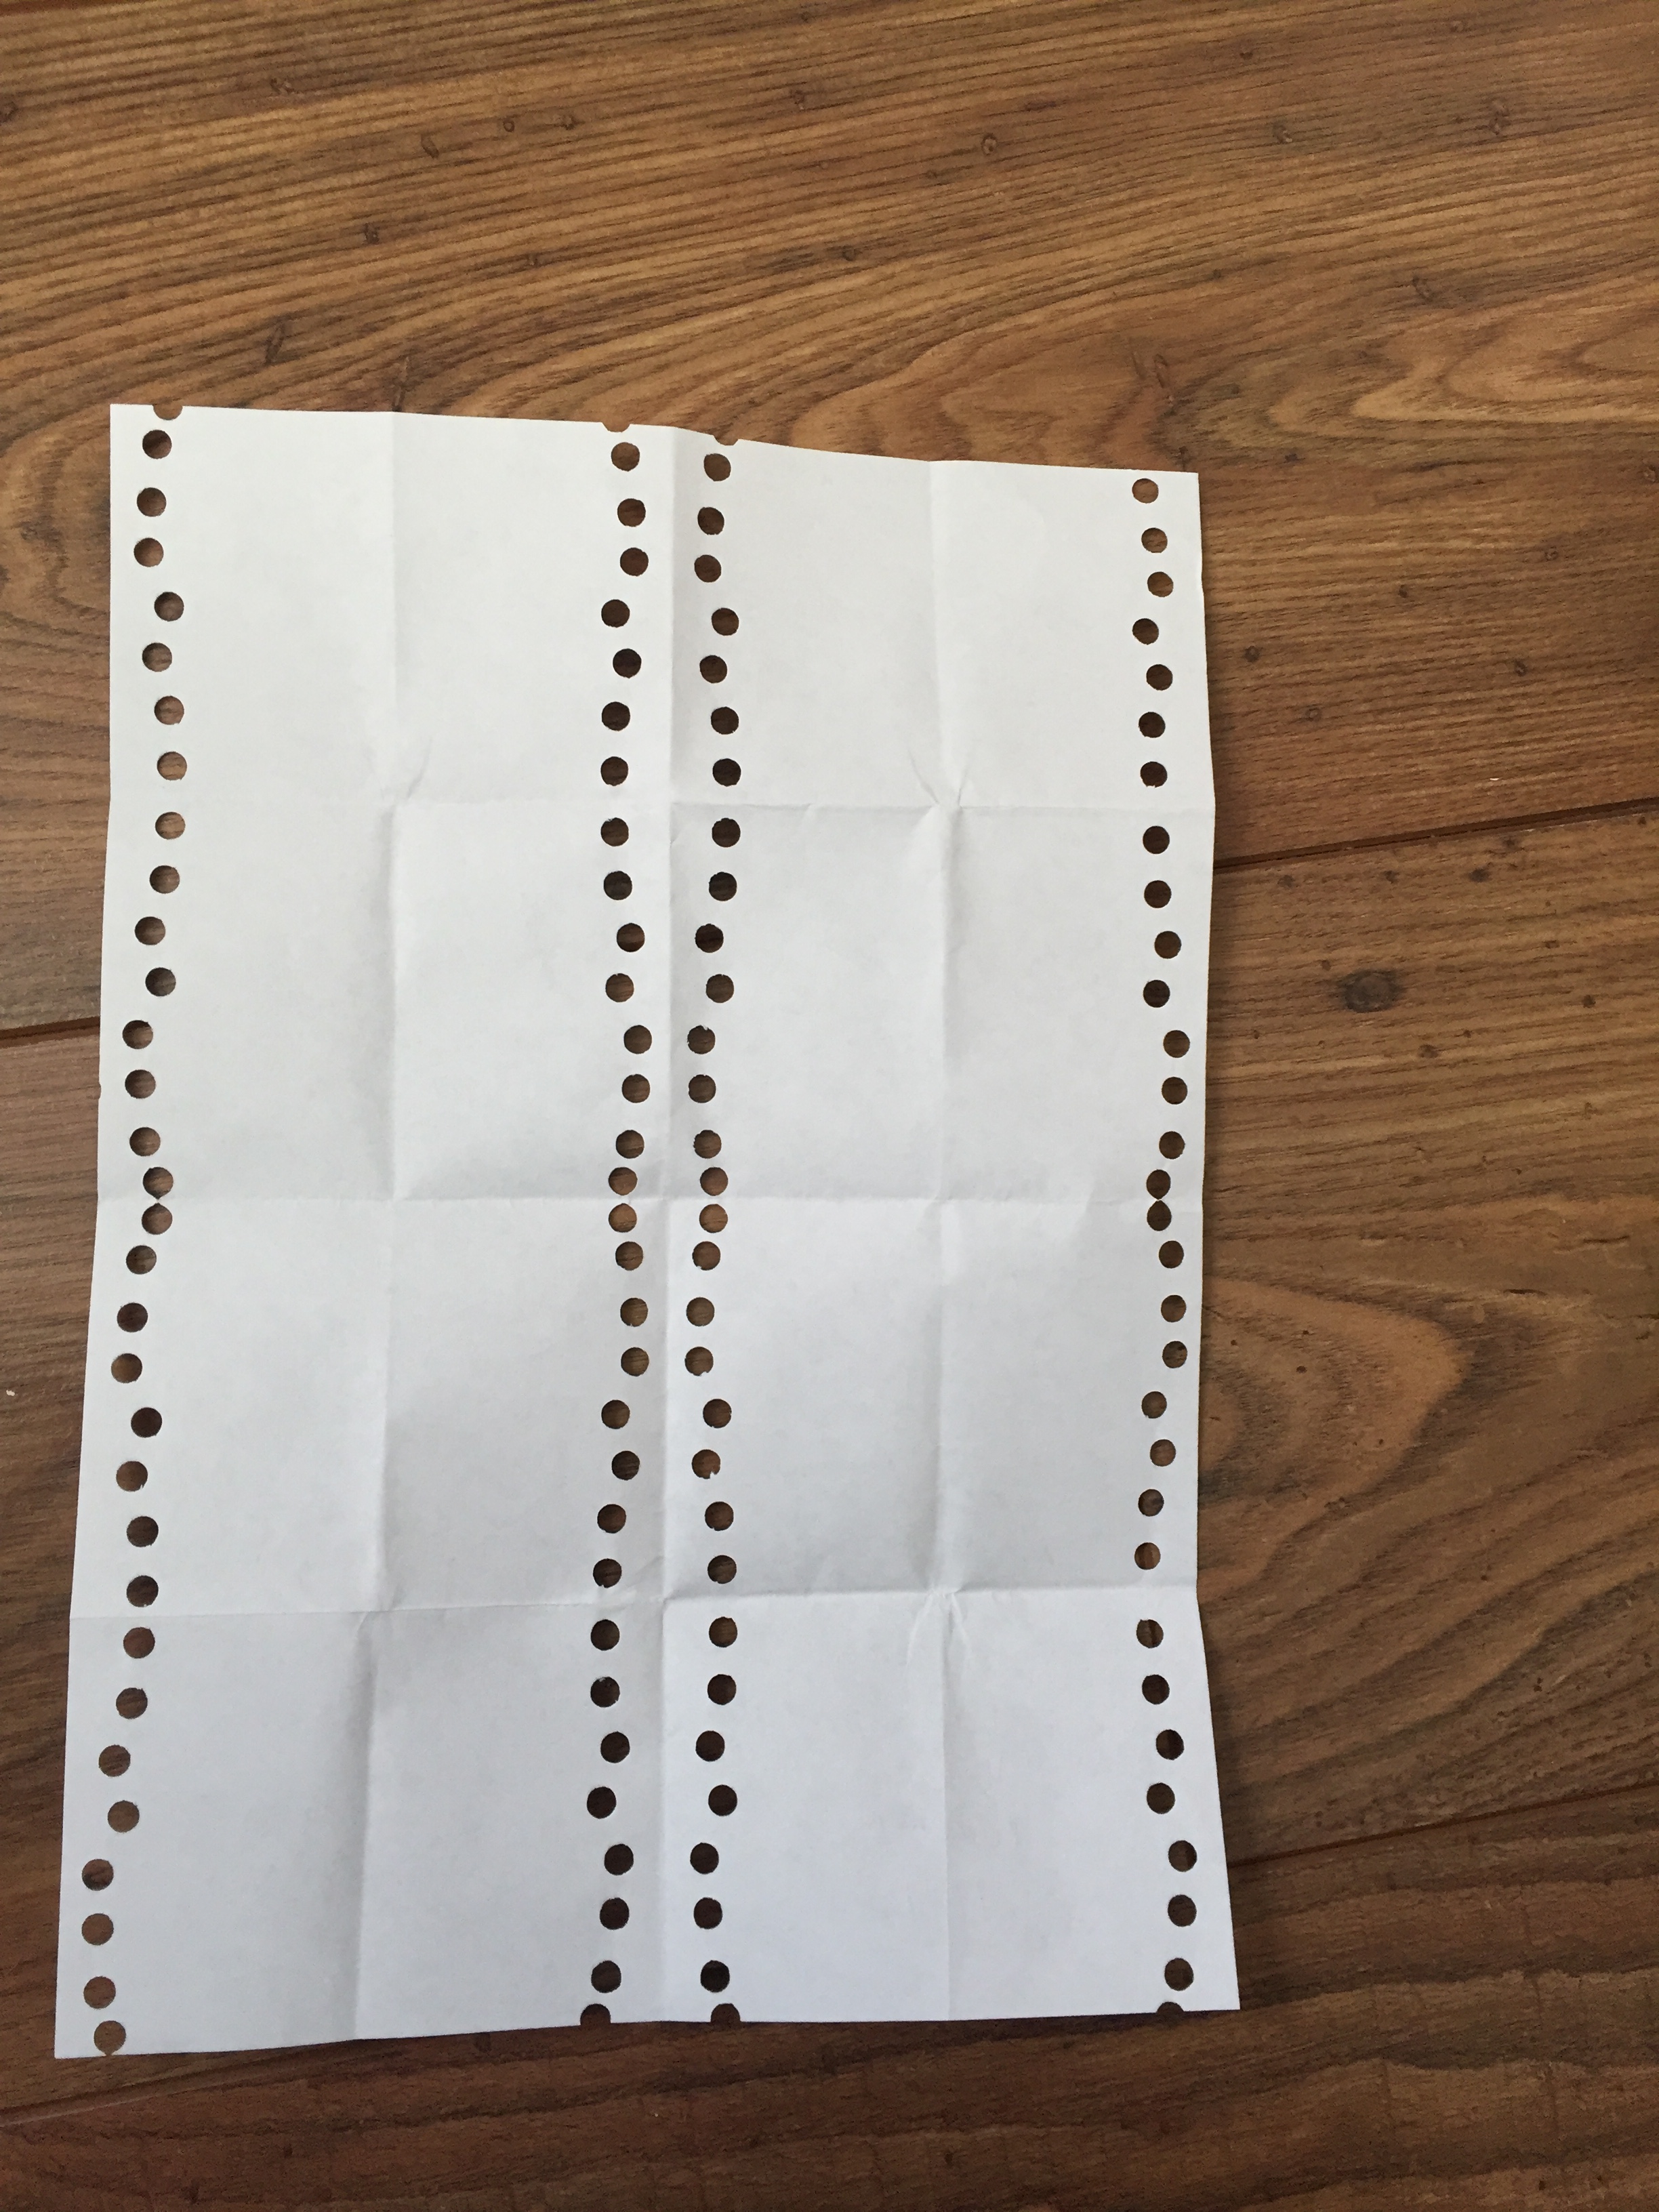
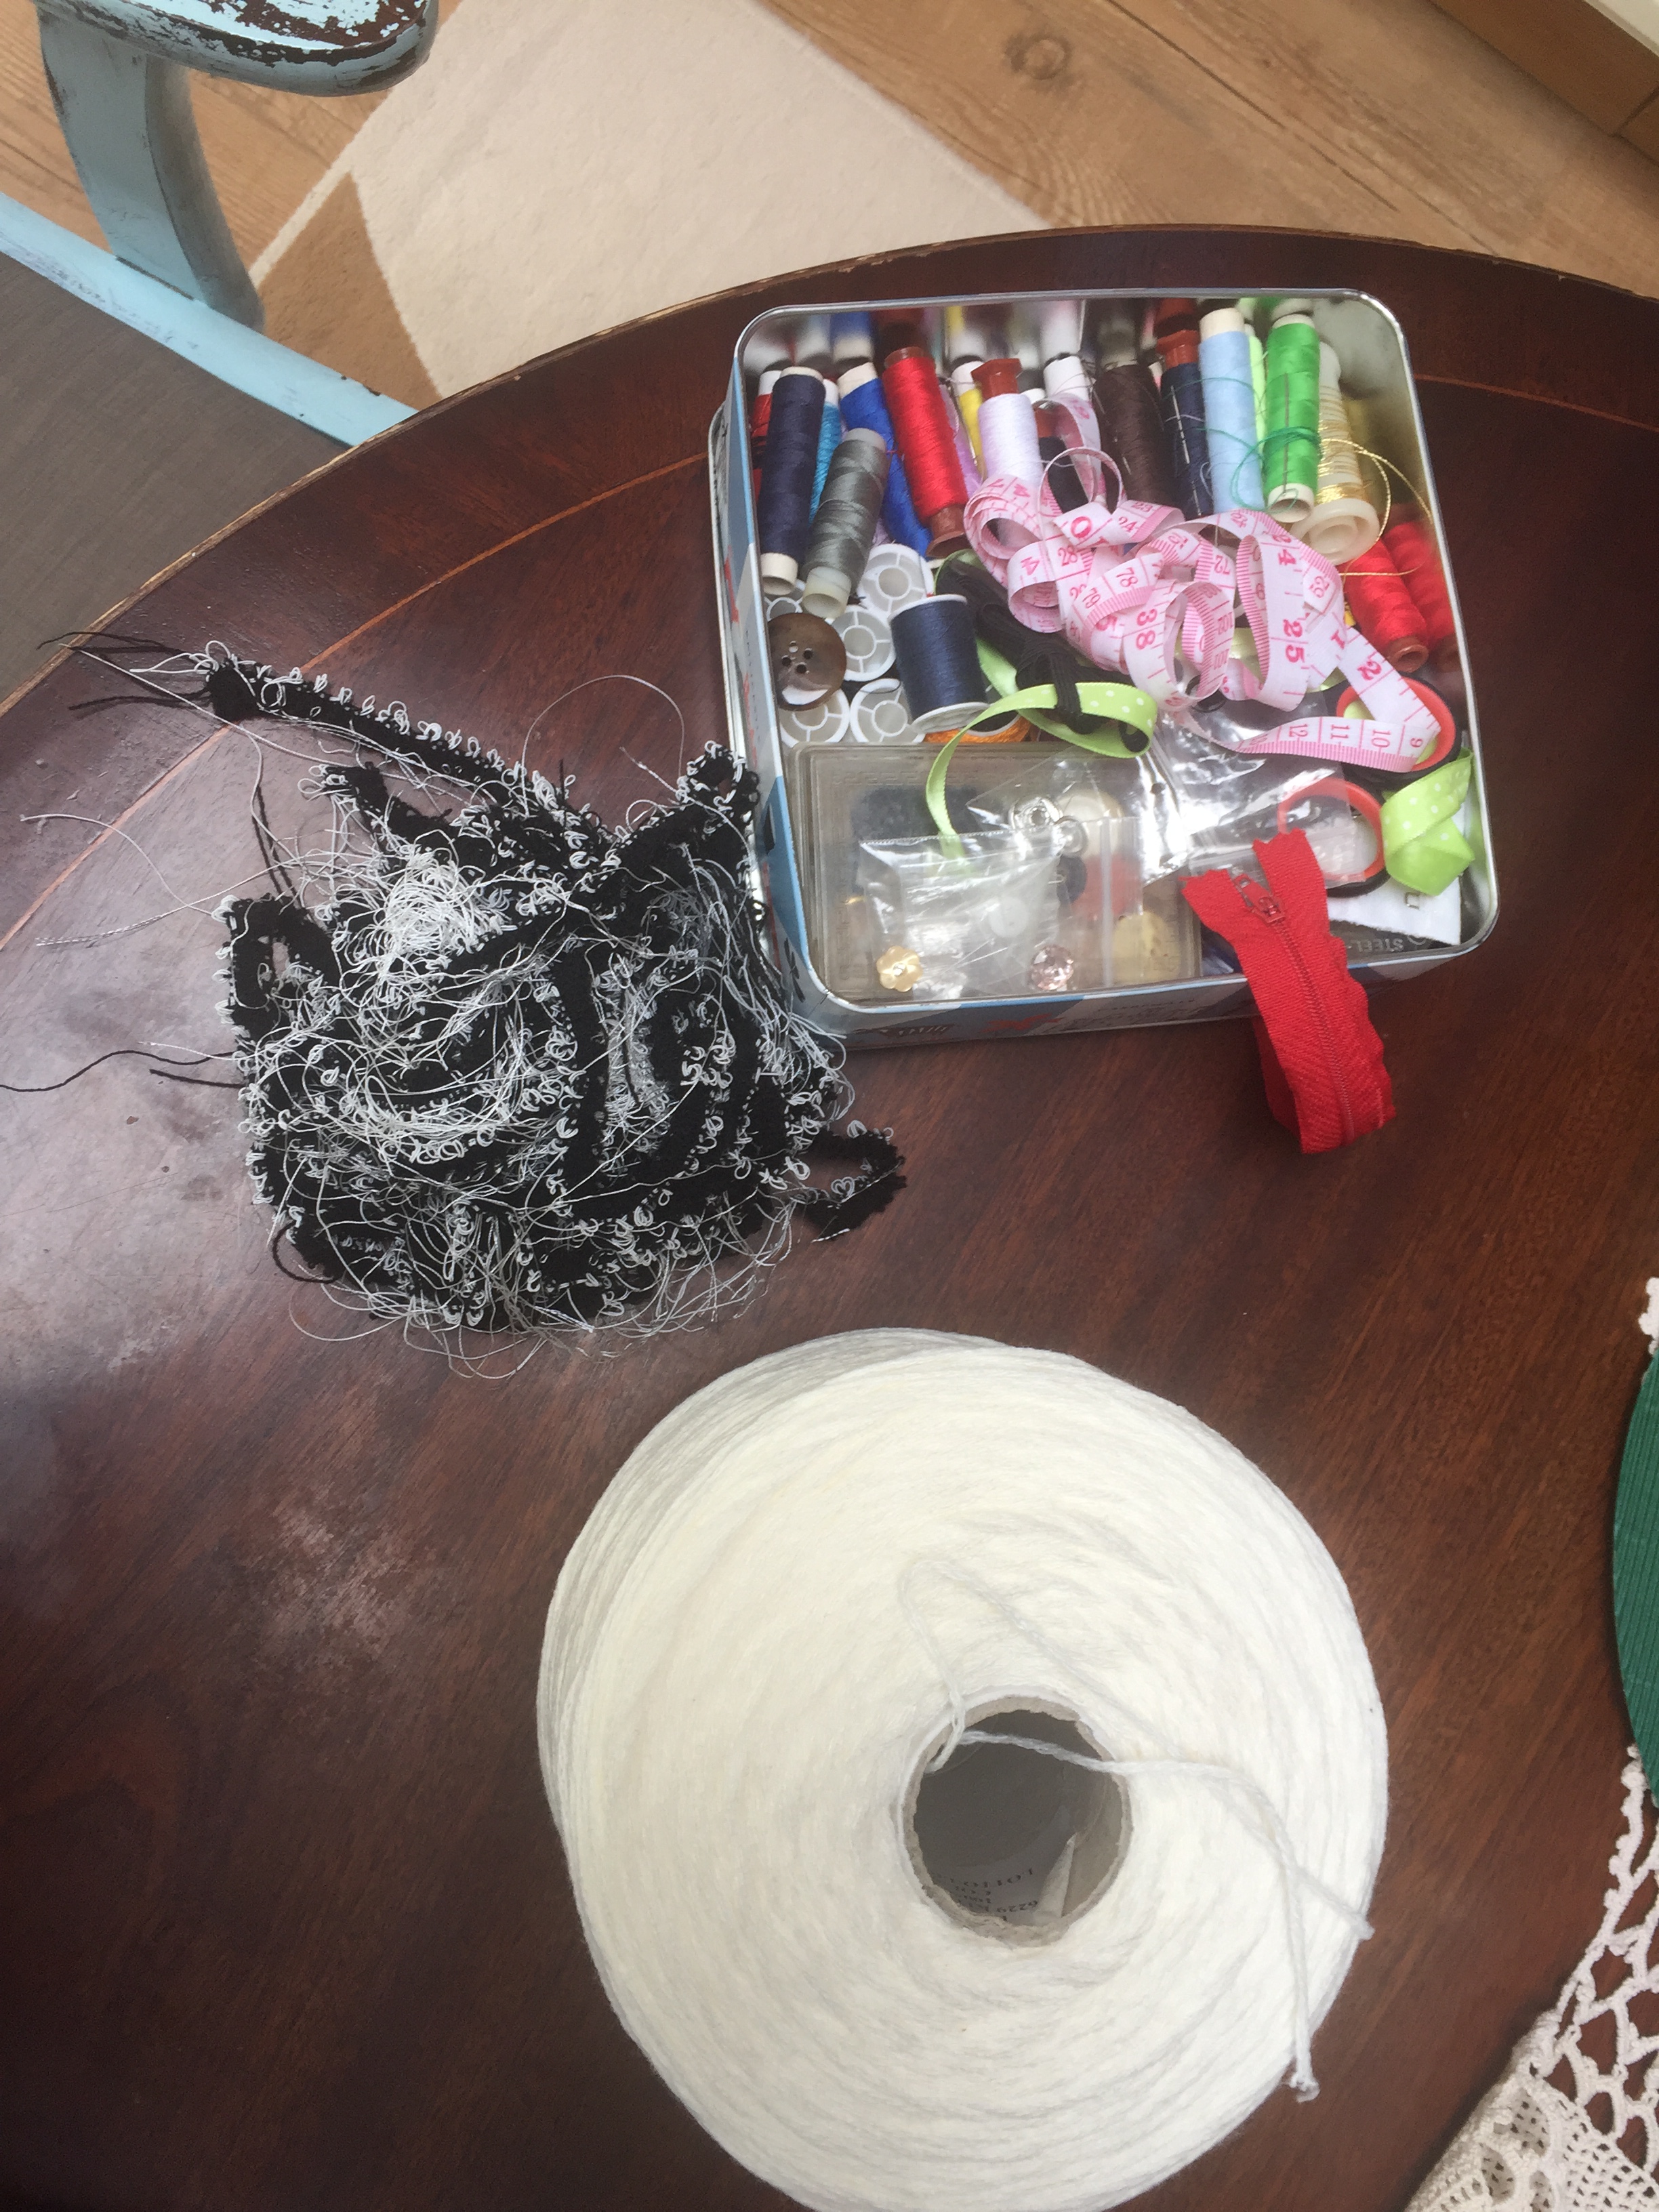
Firstly , I’ve gathered paper in different forms as well as pins and a cone of yarn.
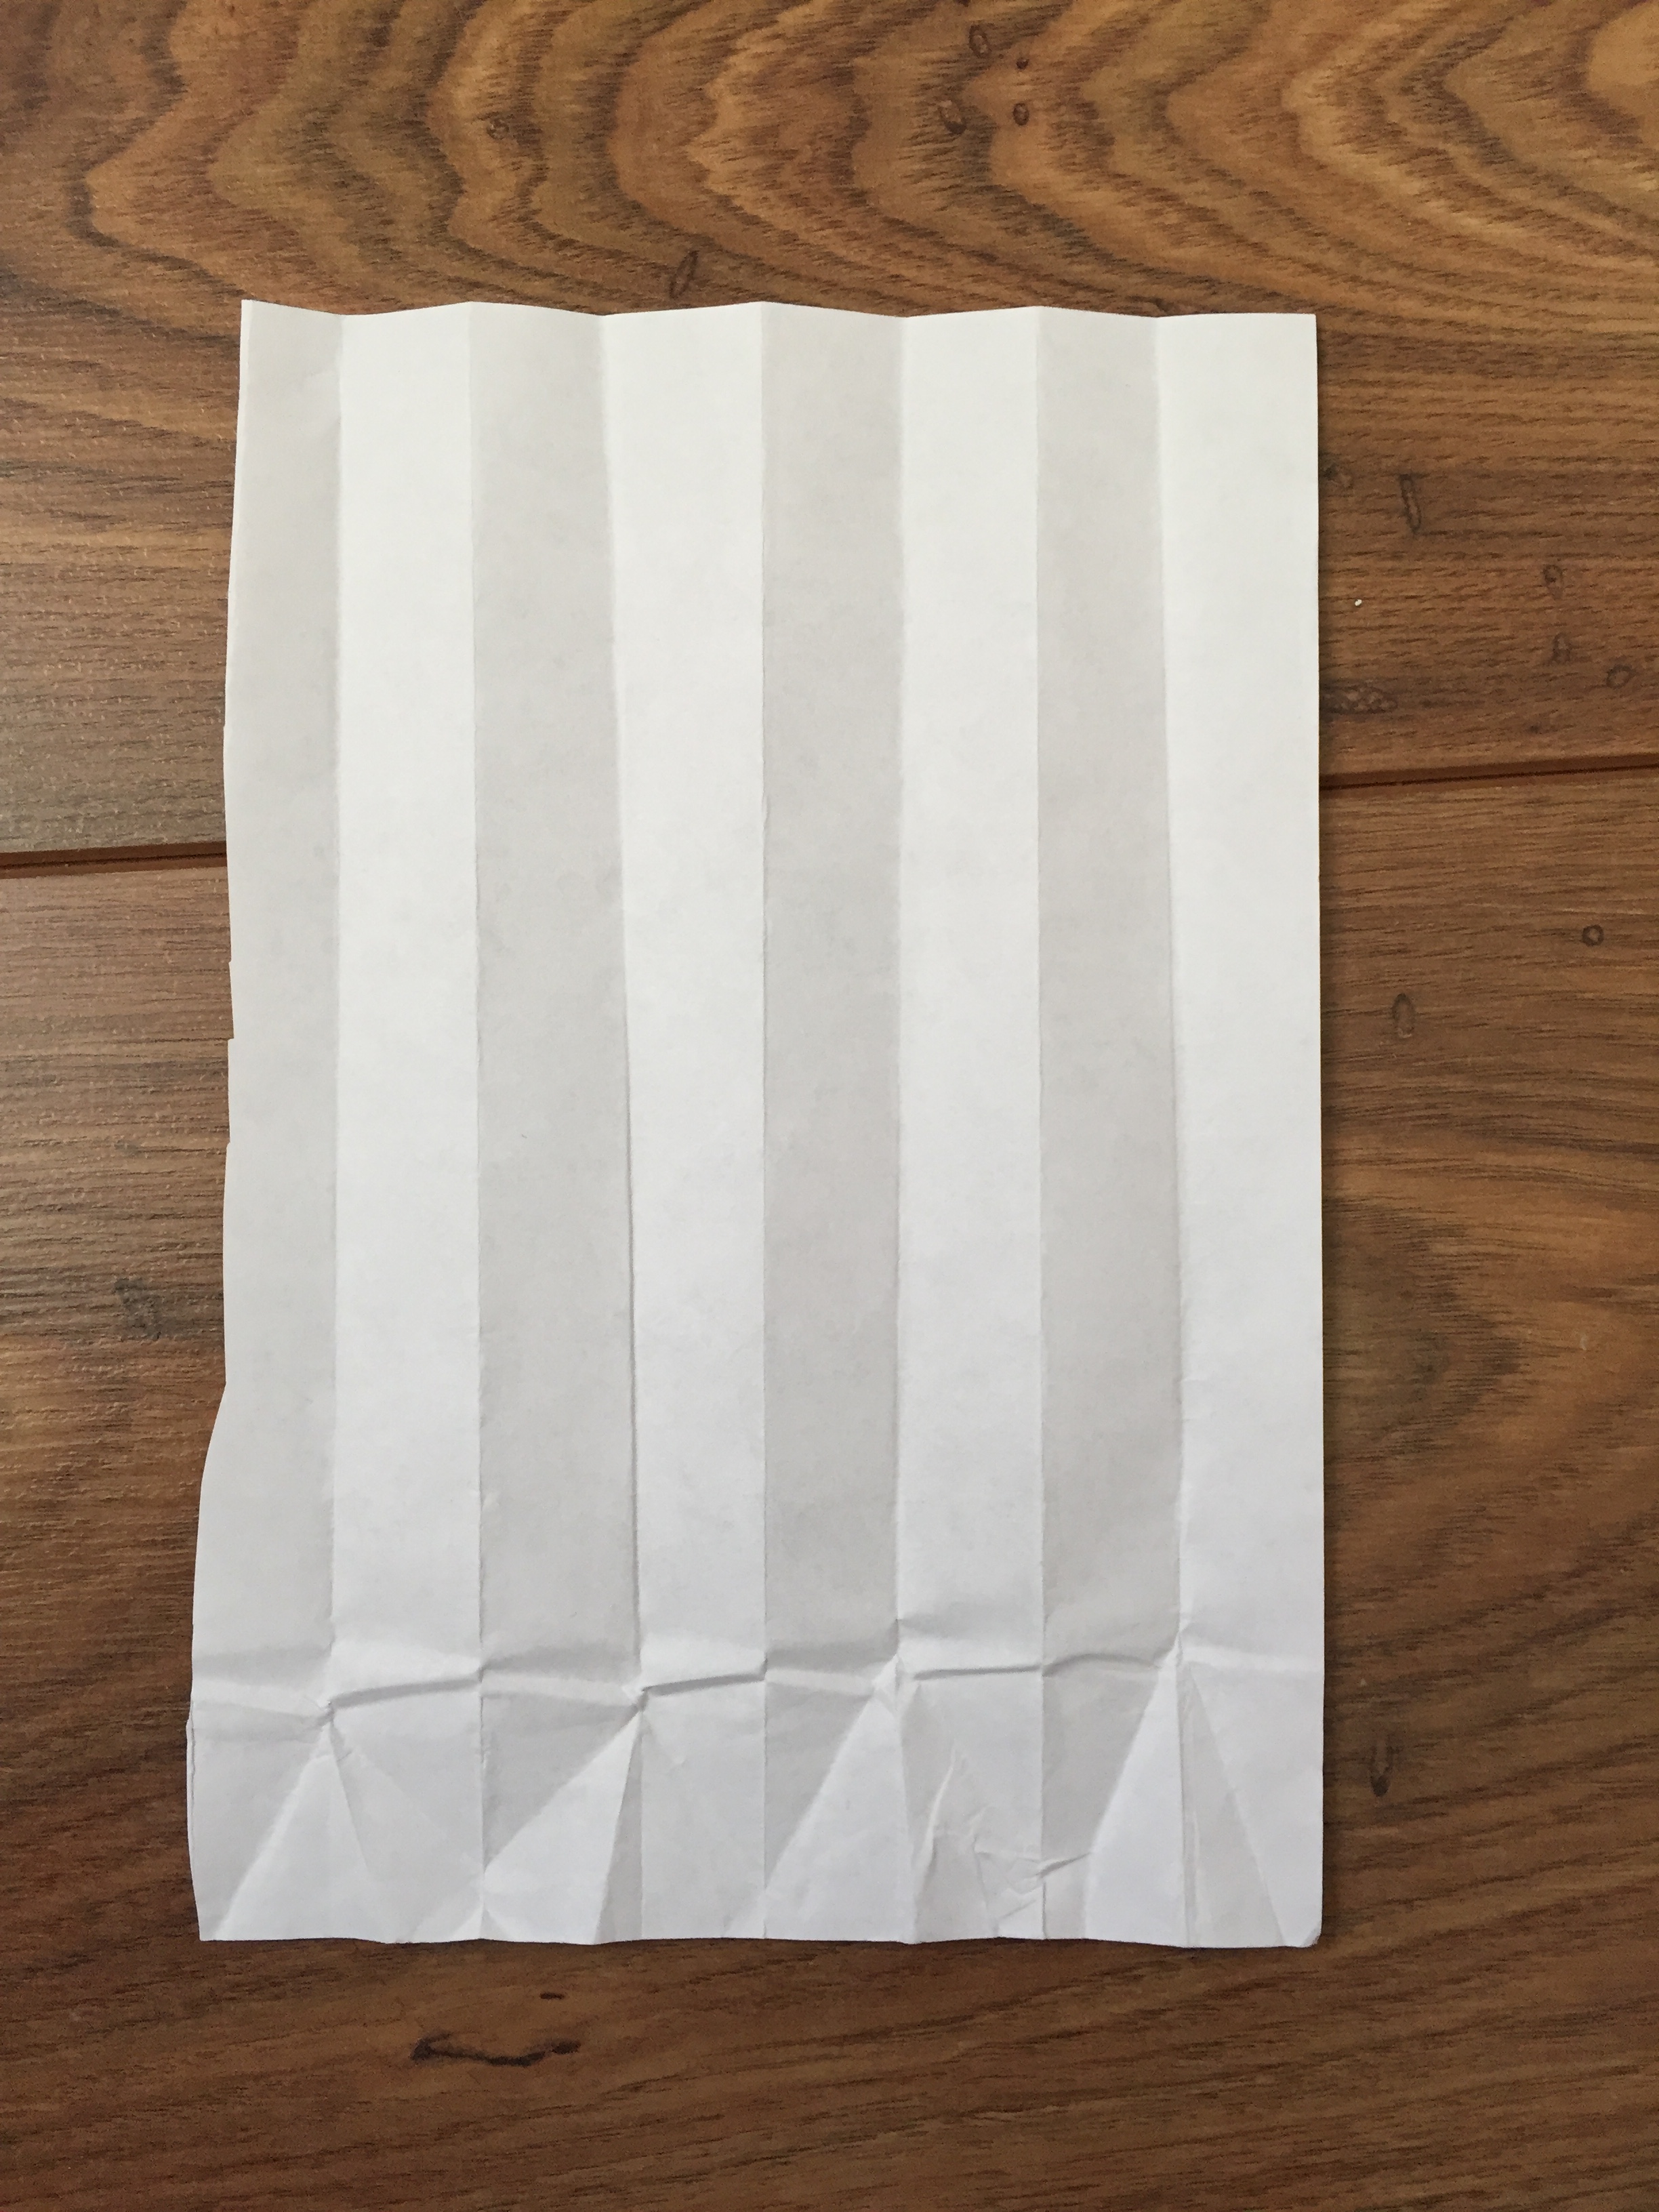
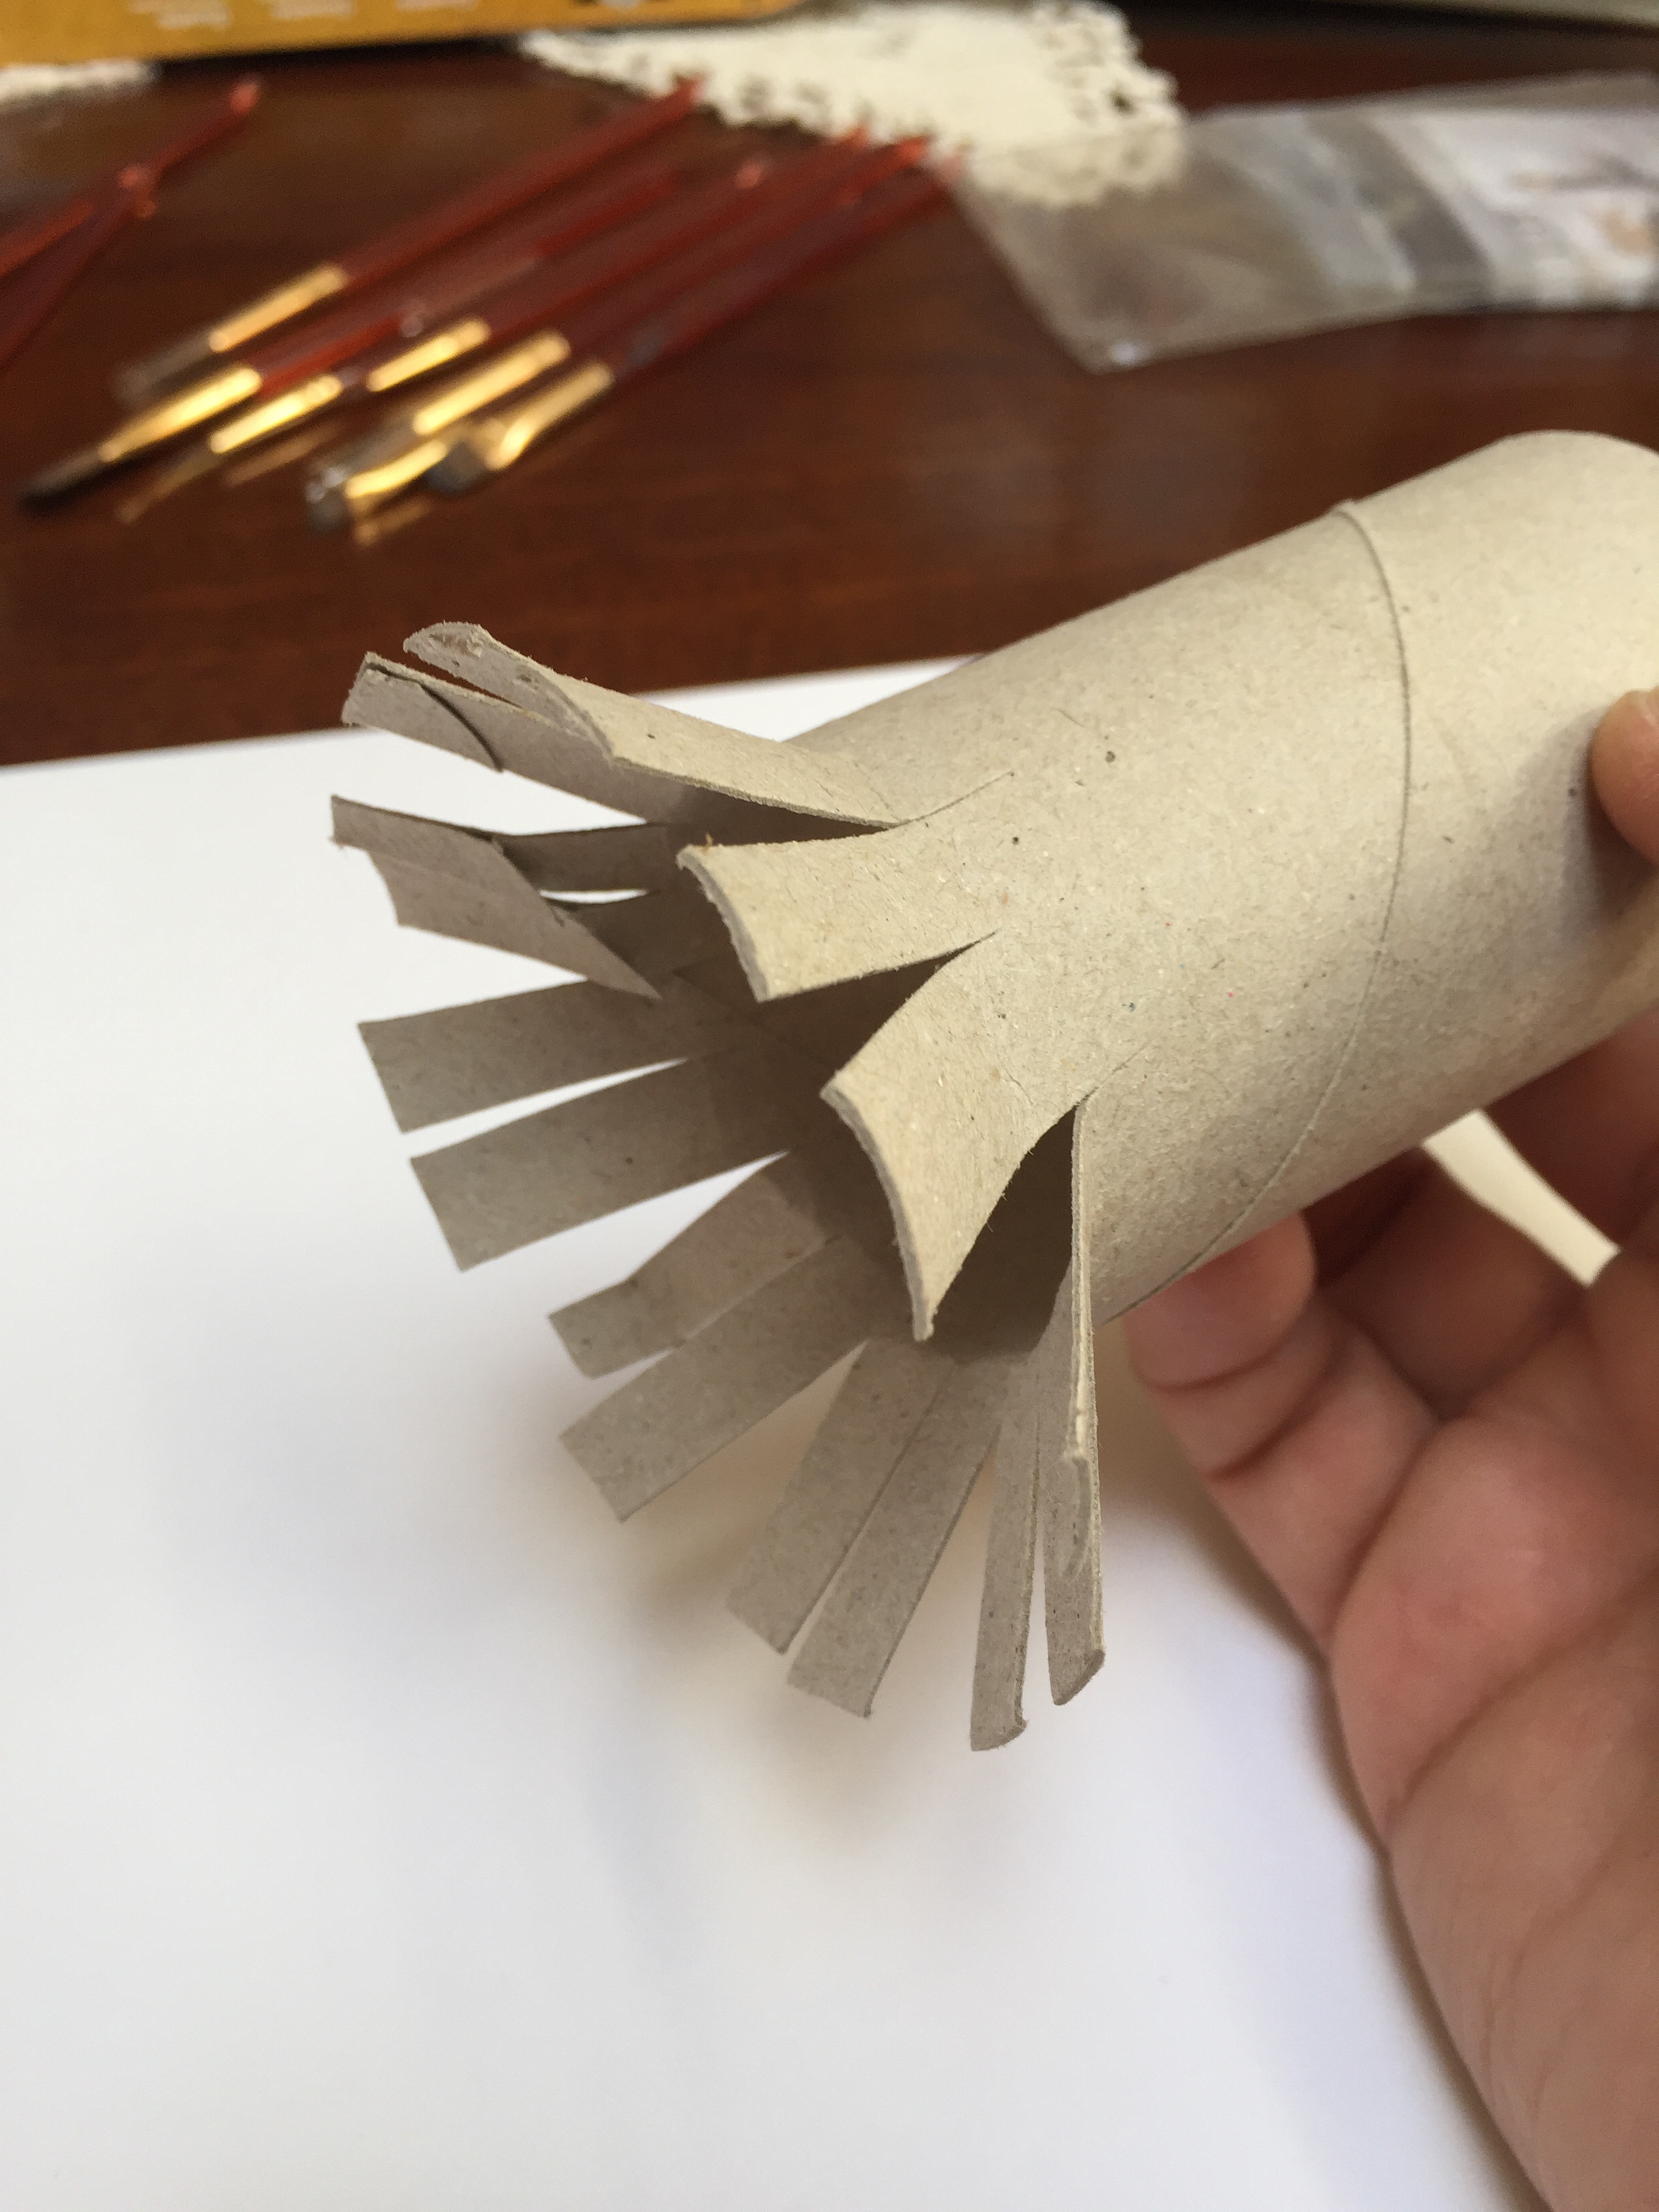
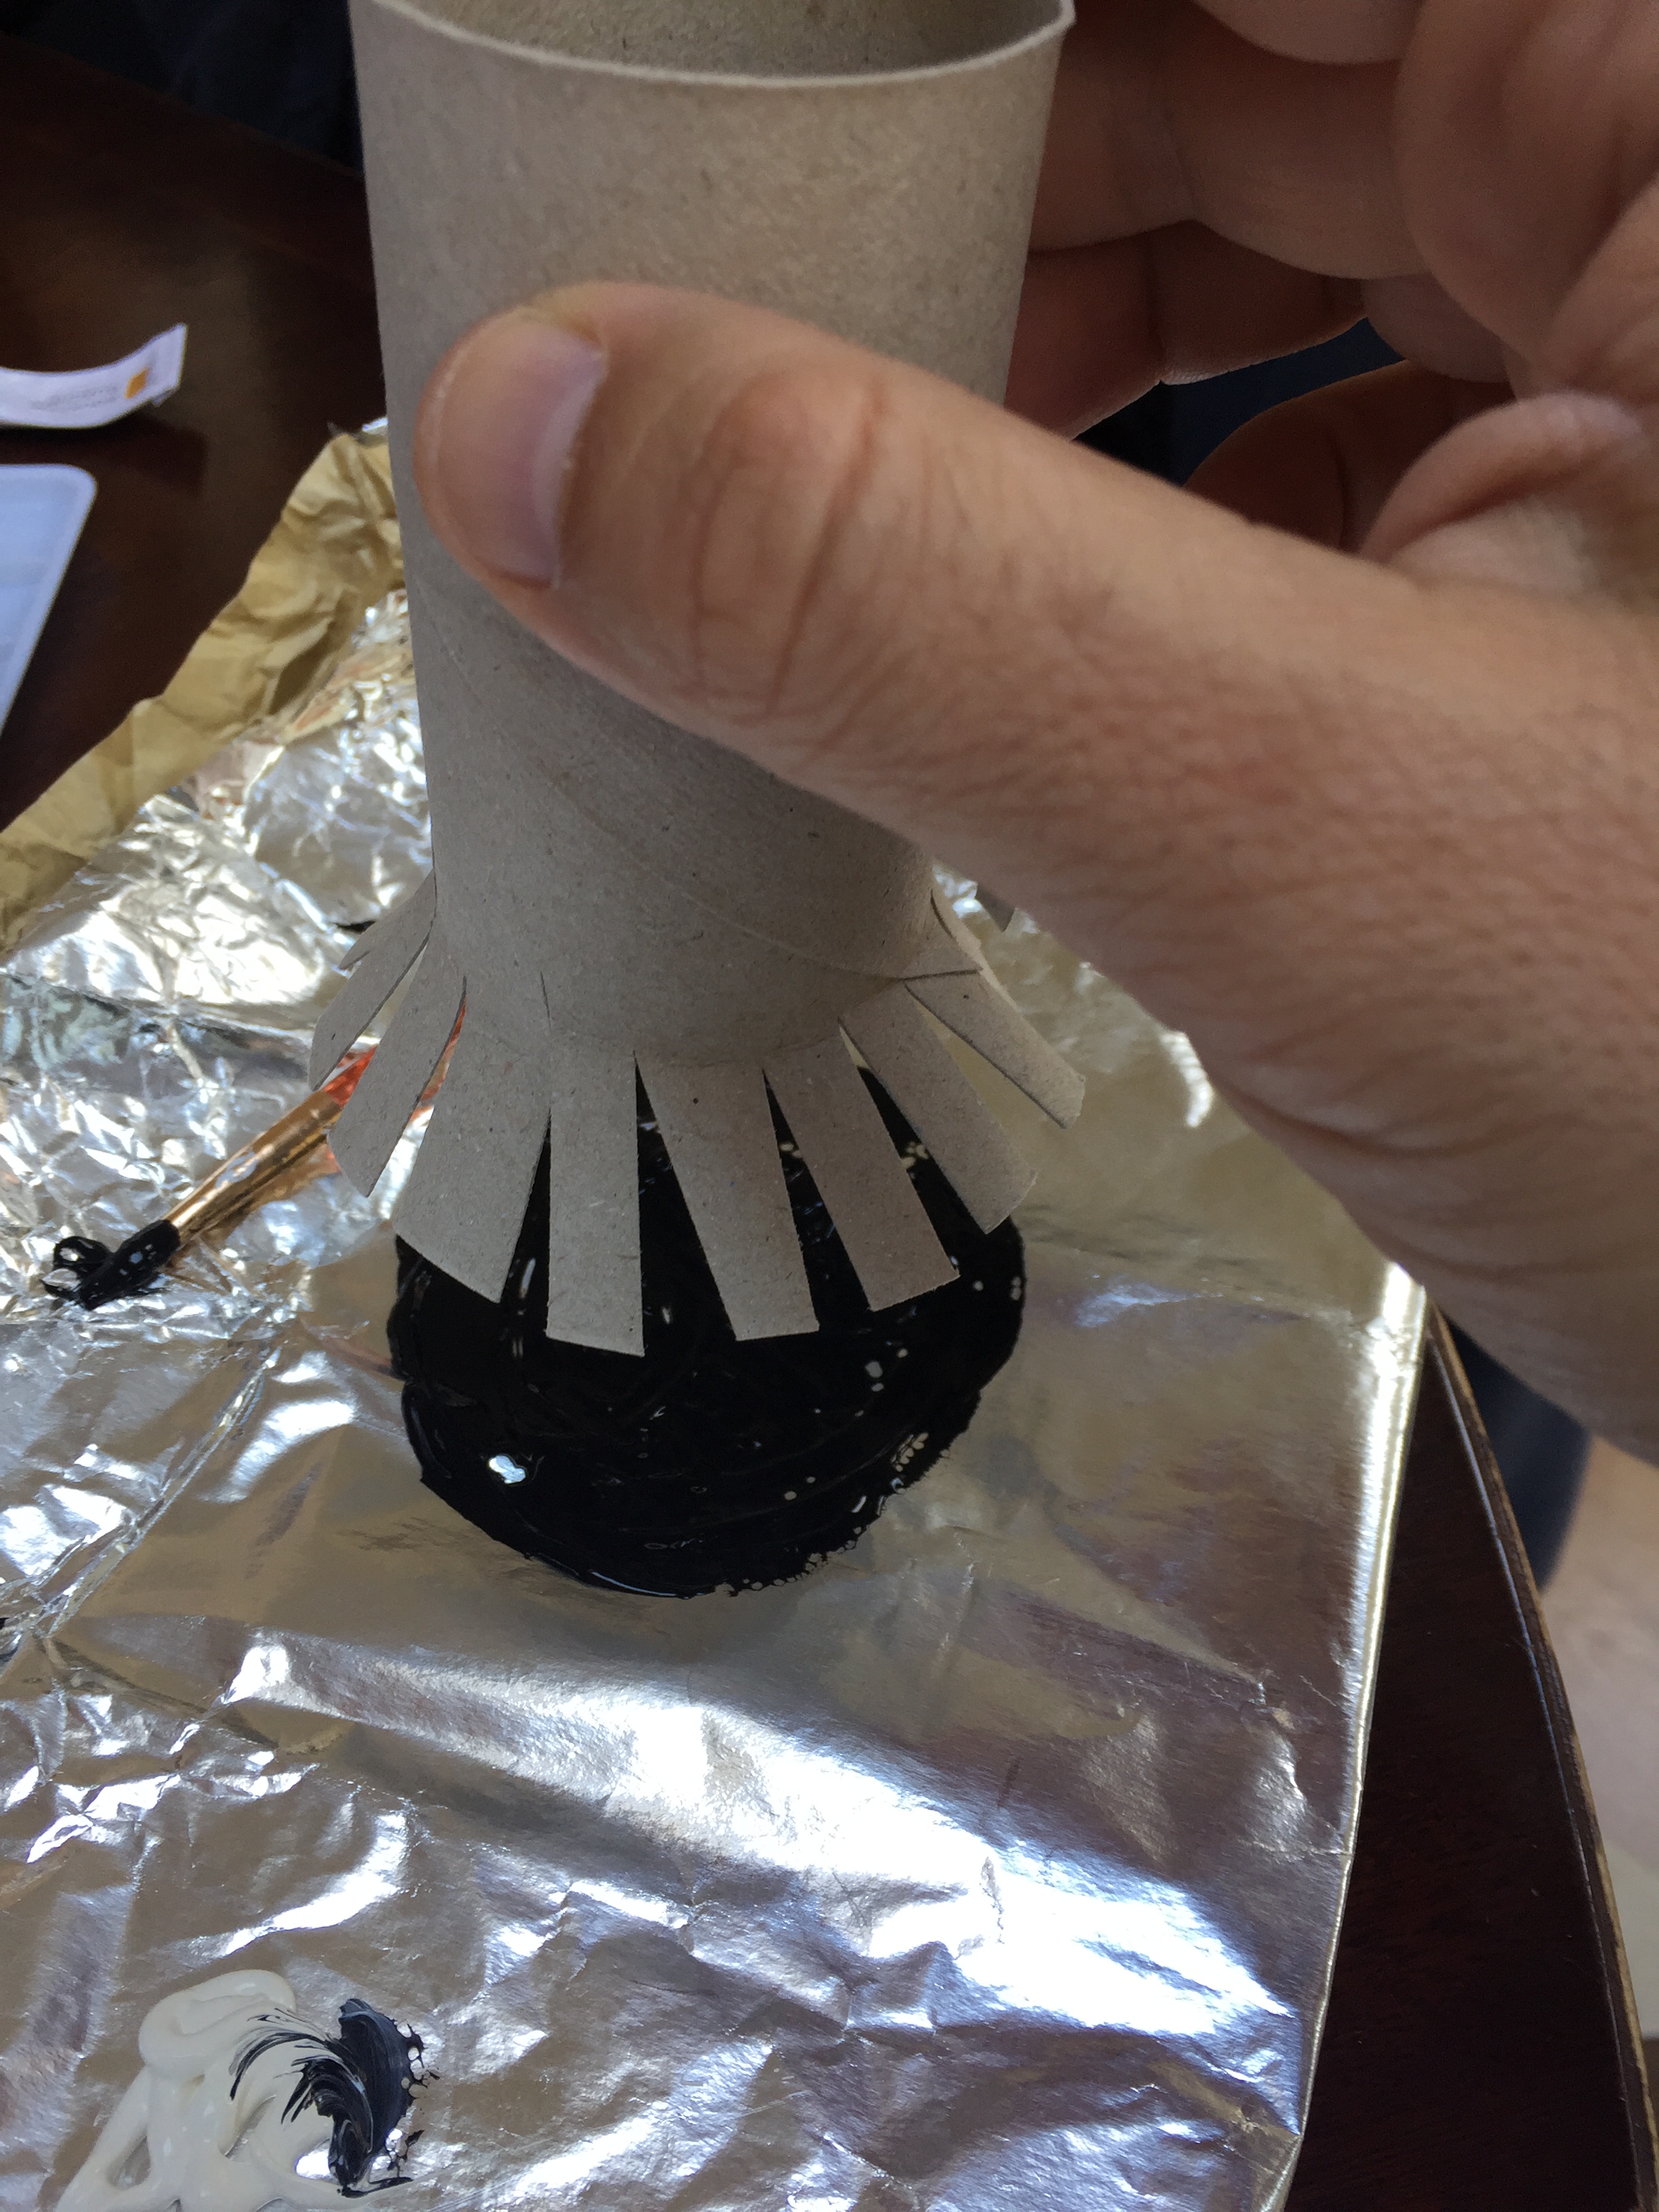
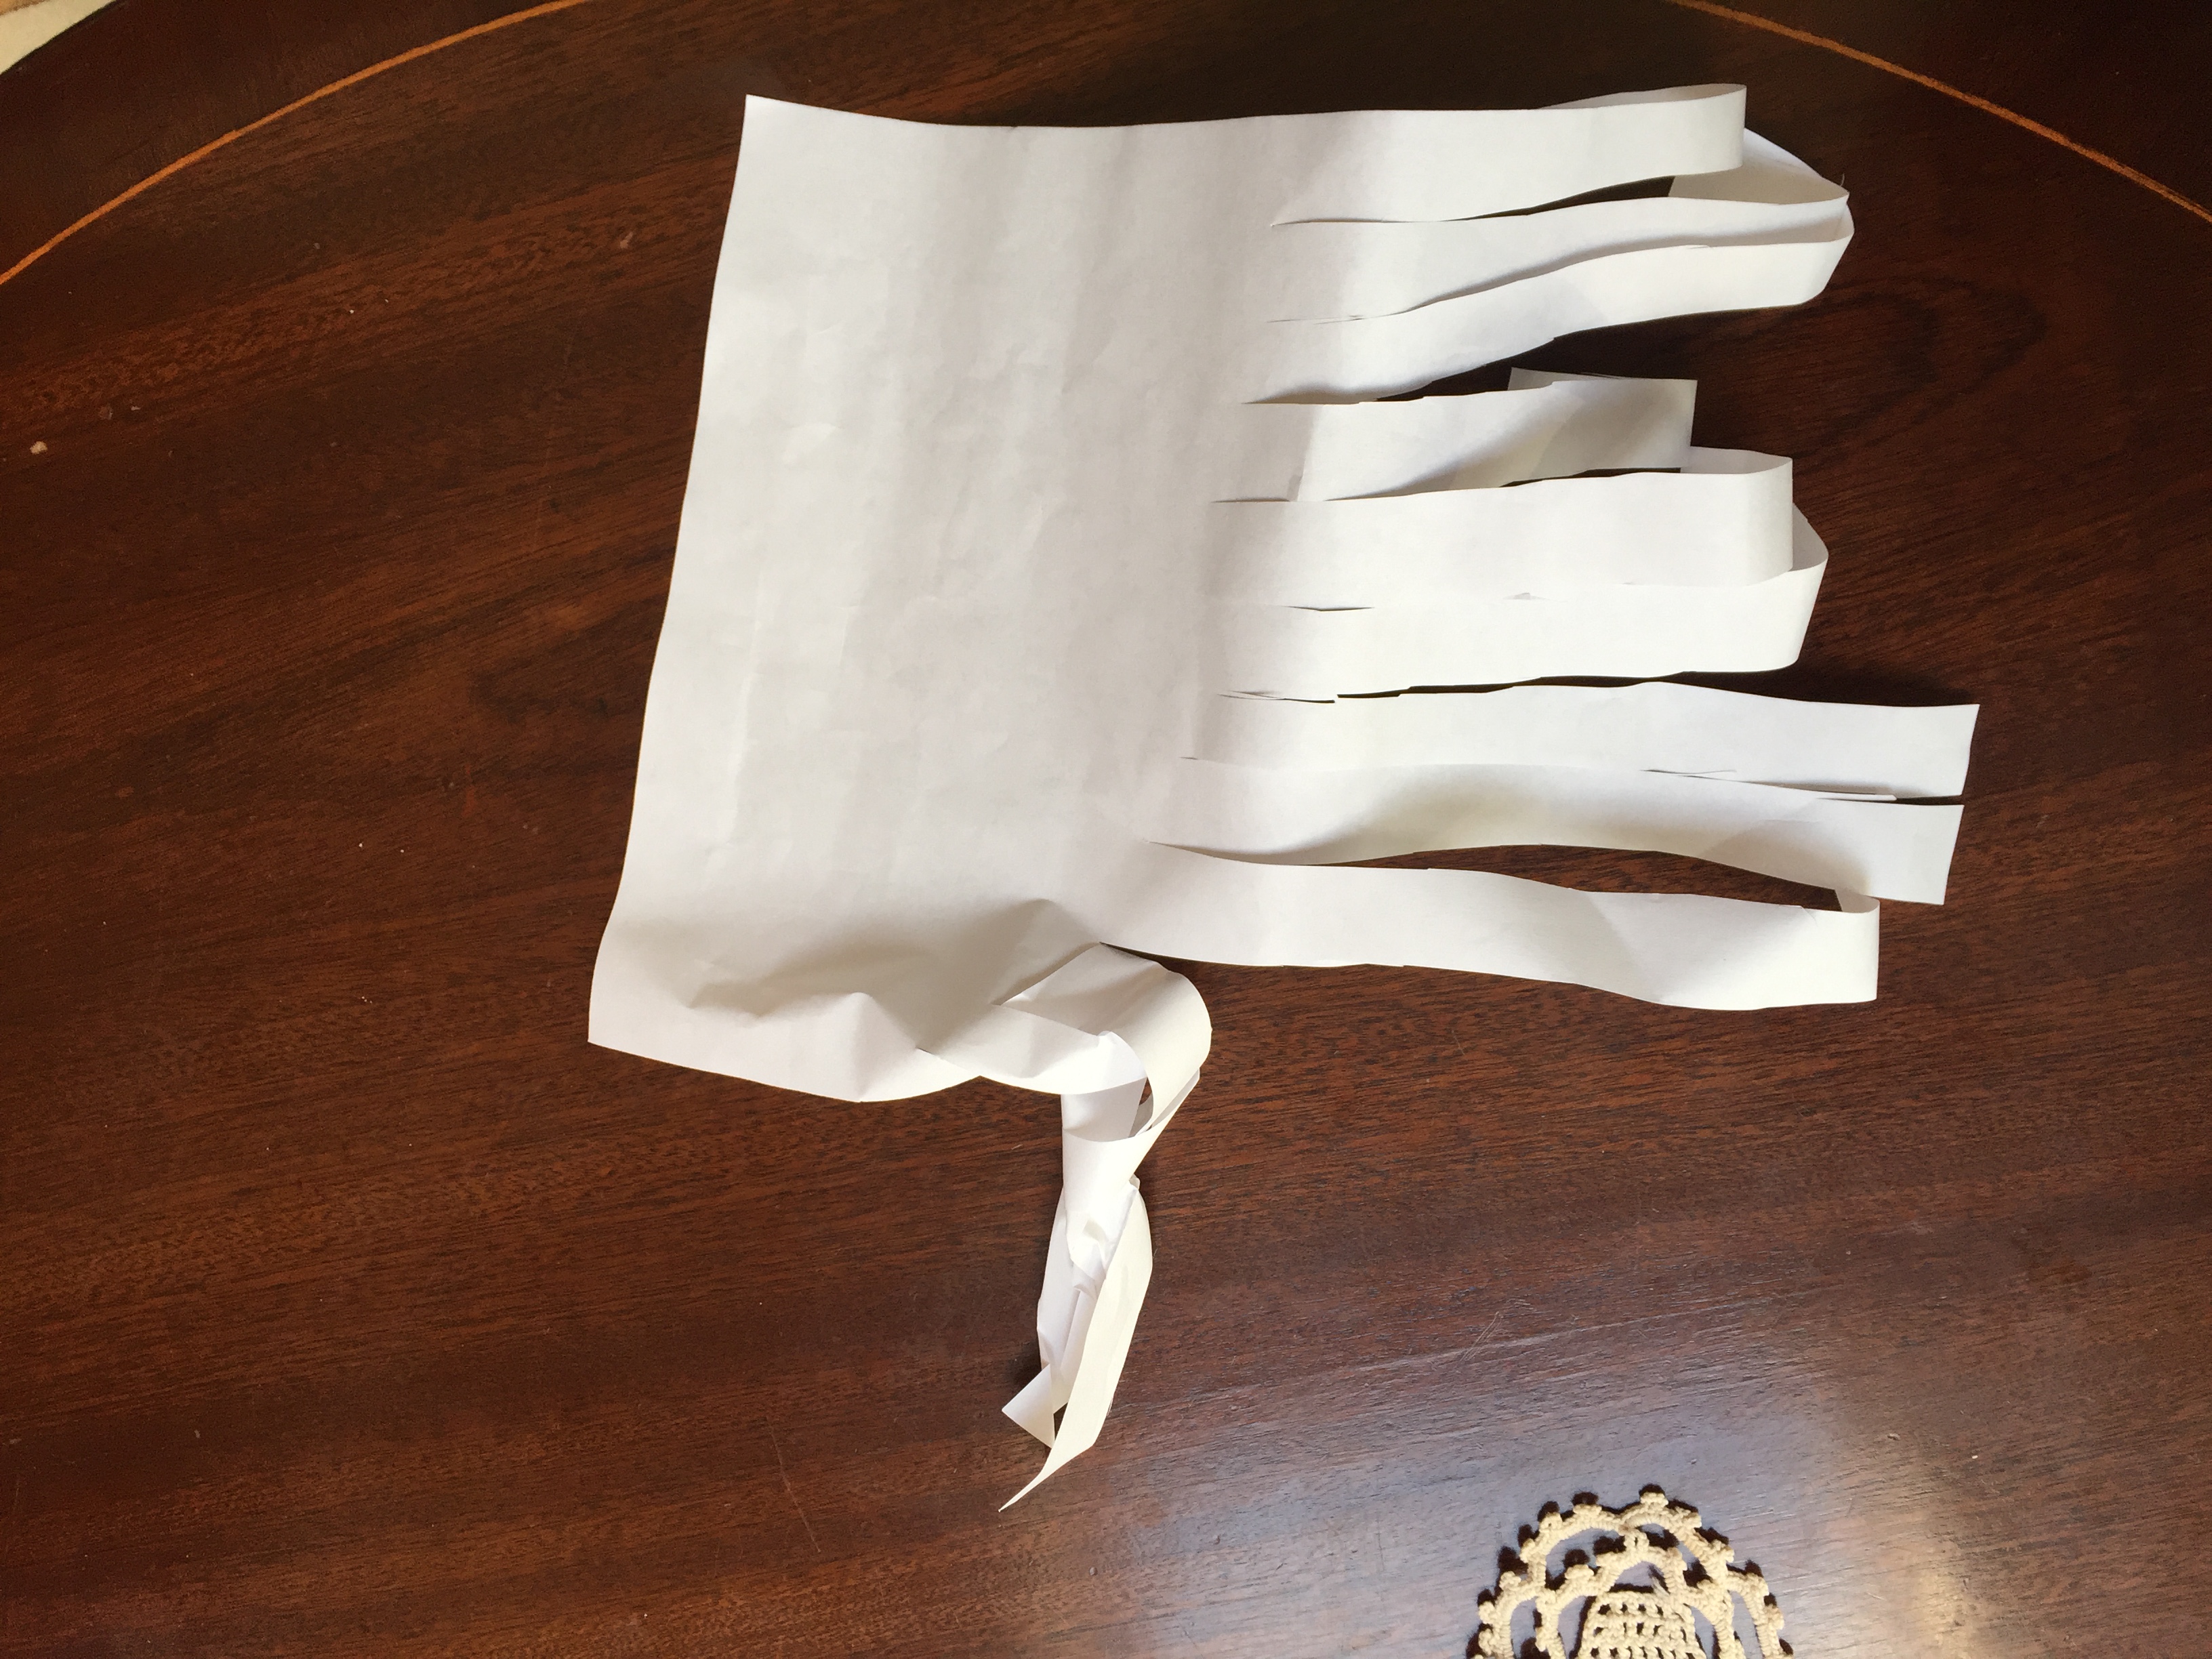
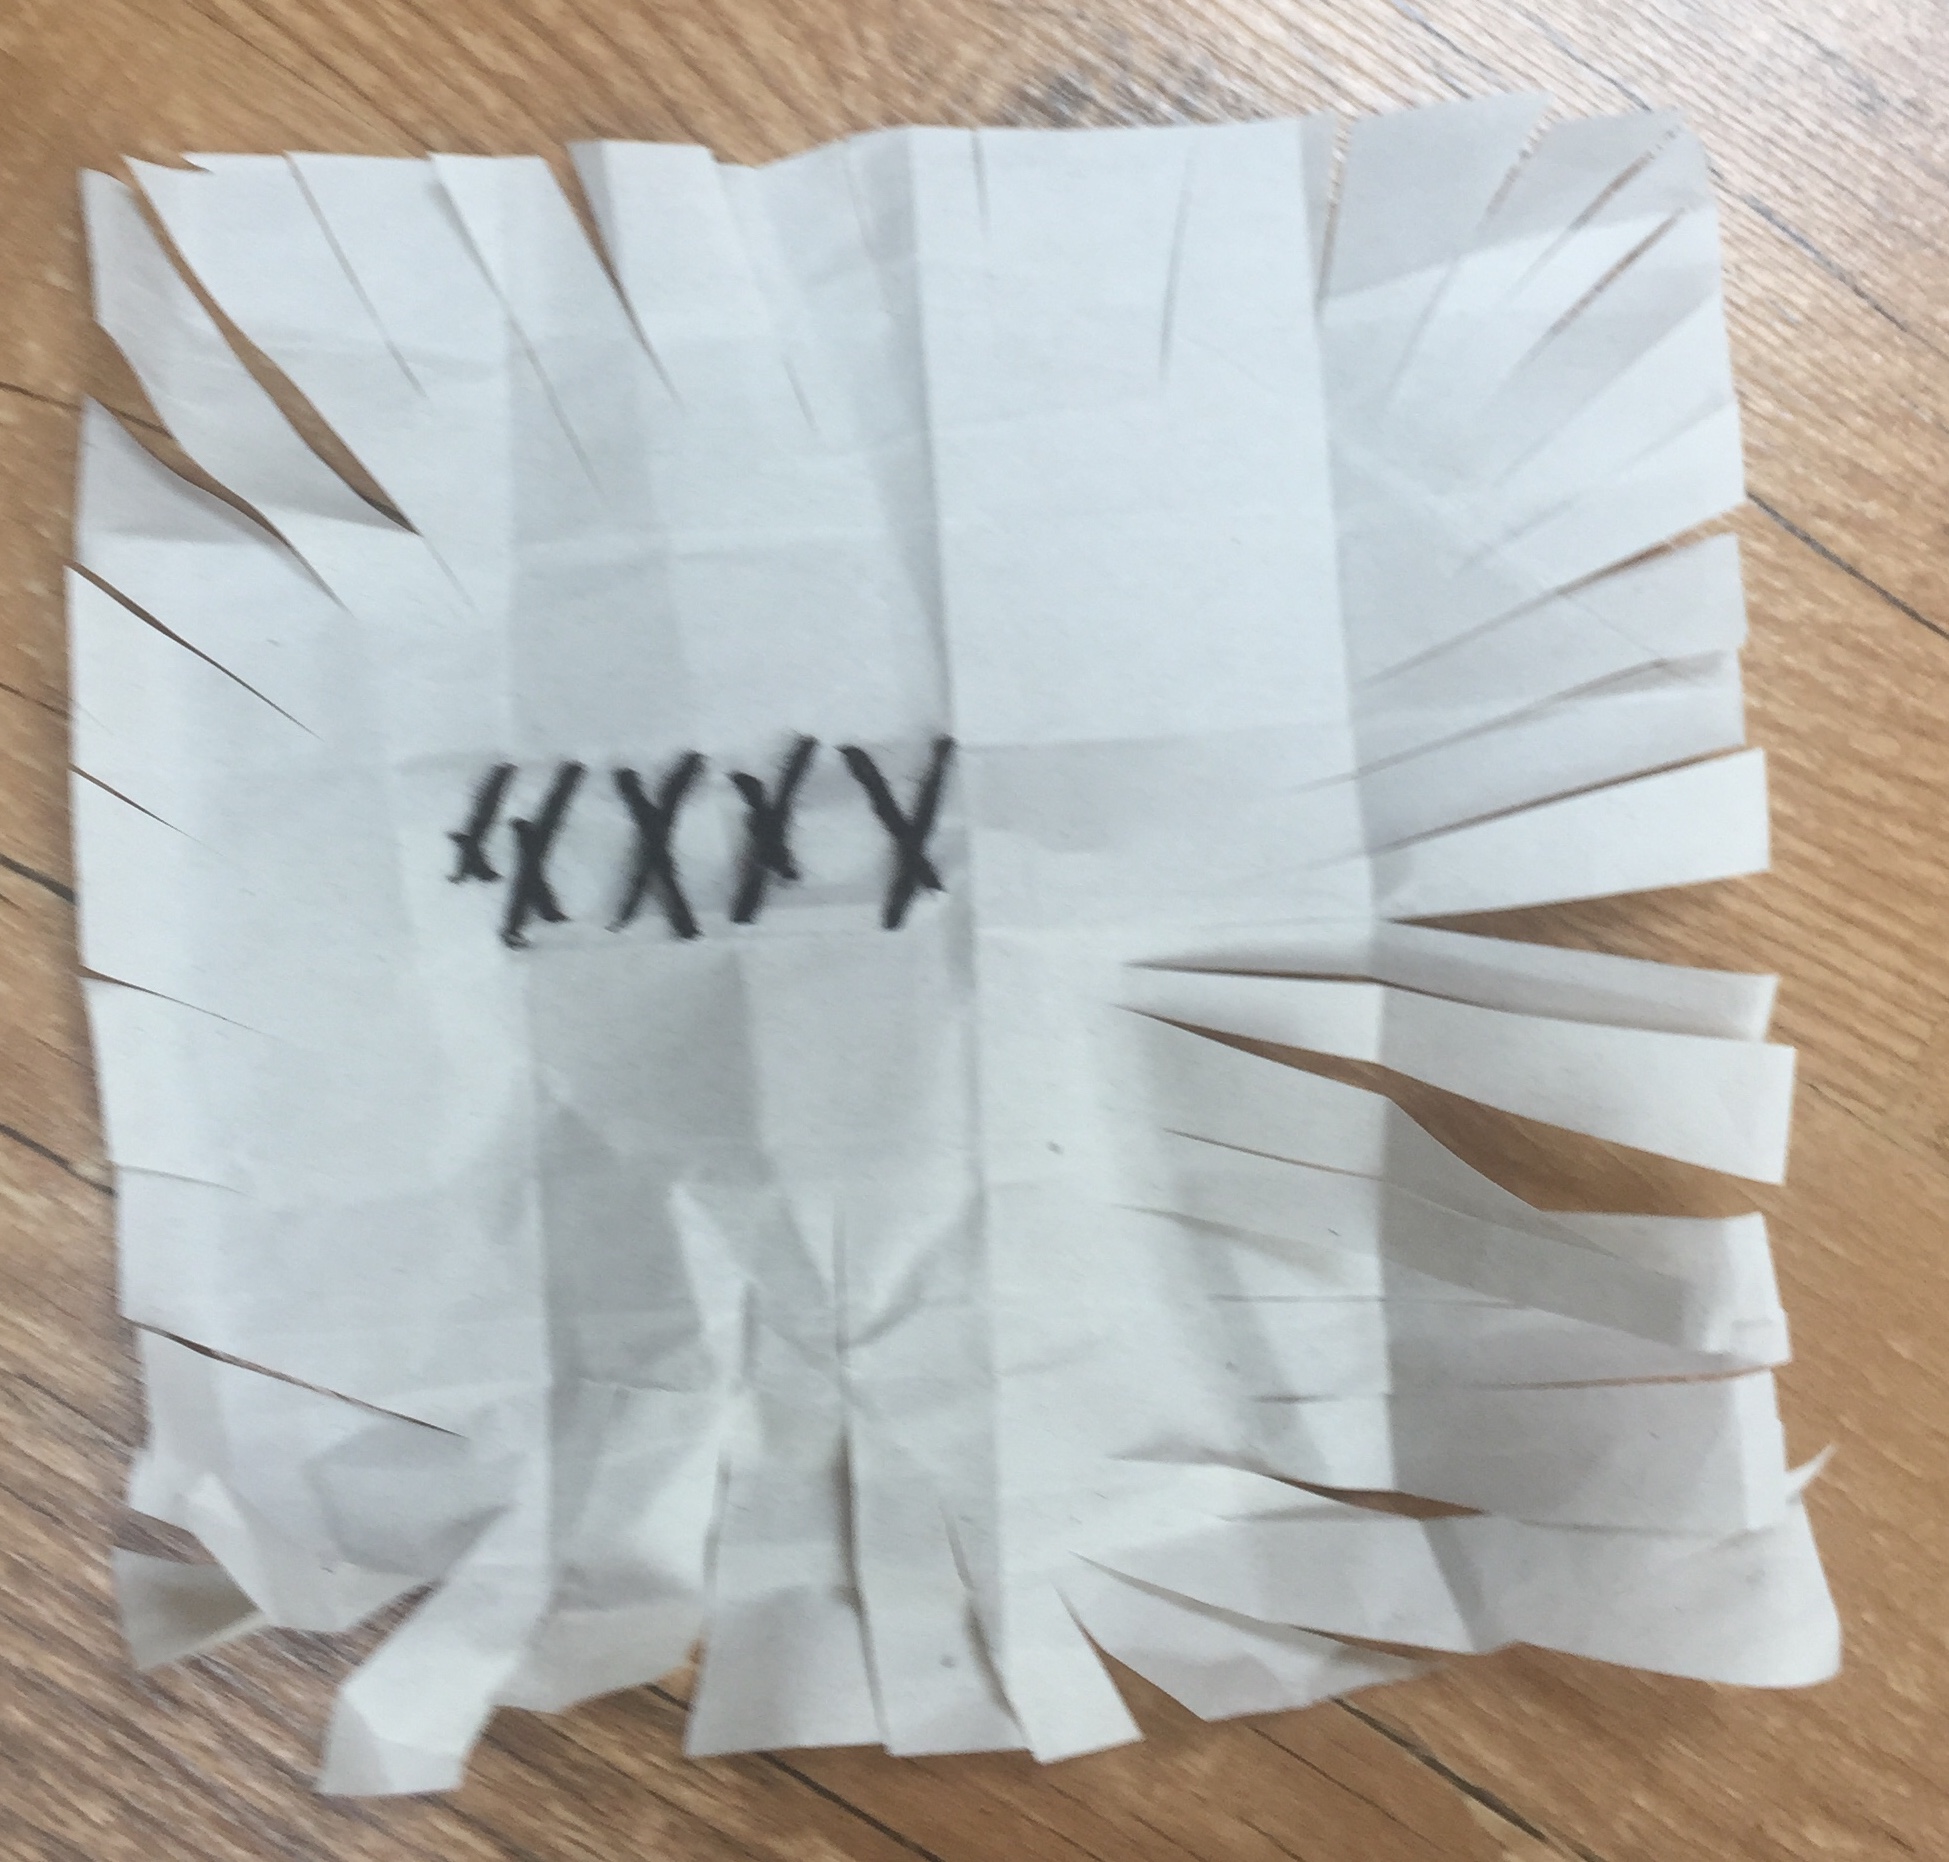
vertical lines and scallops in the edge

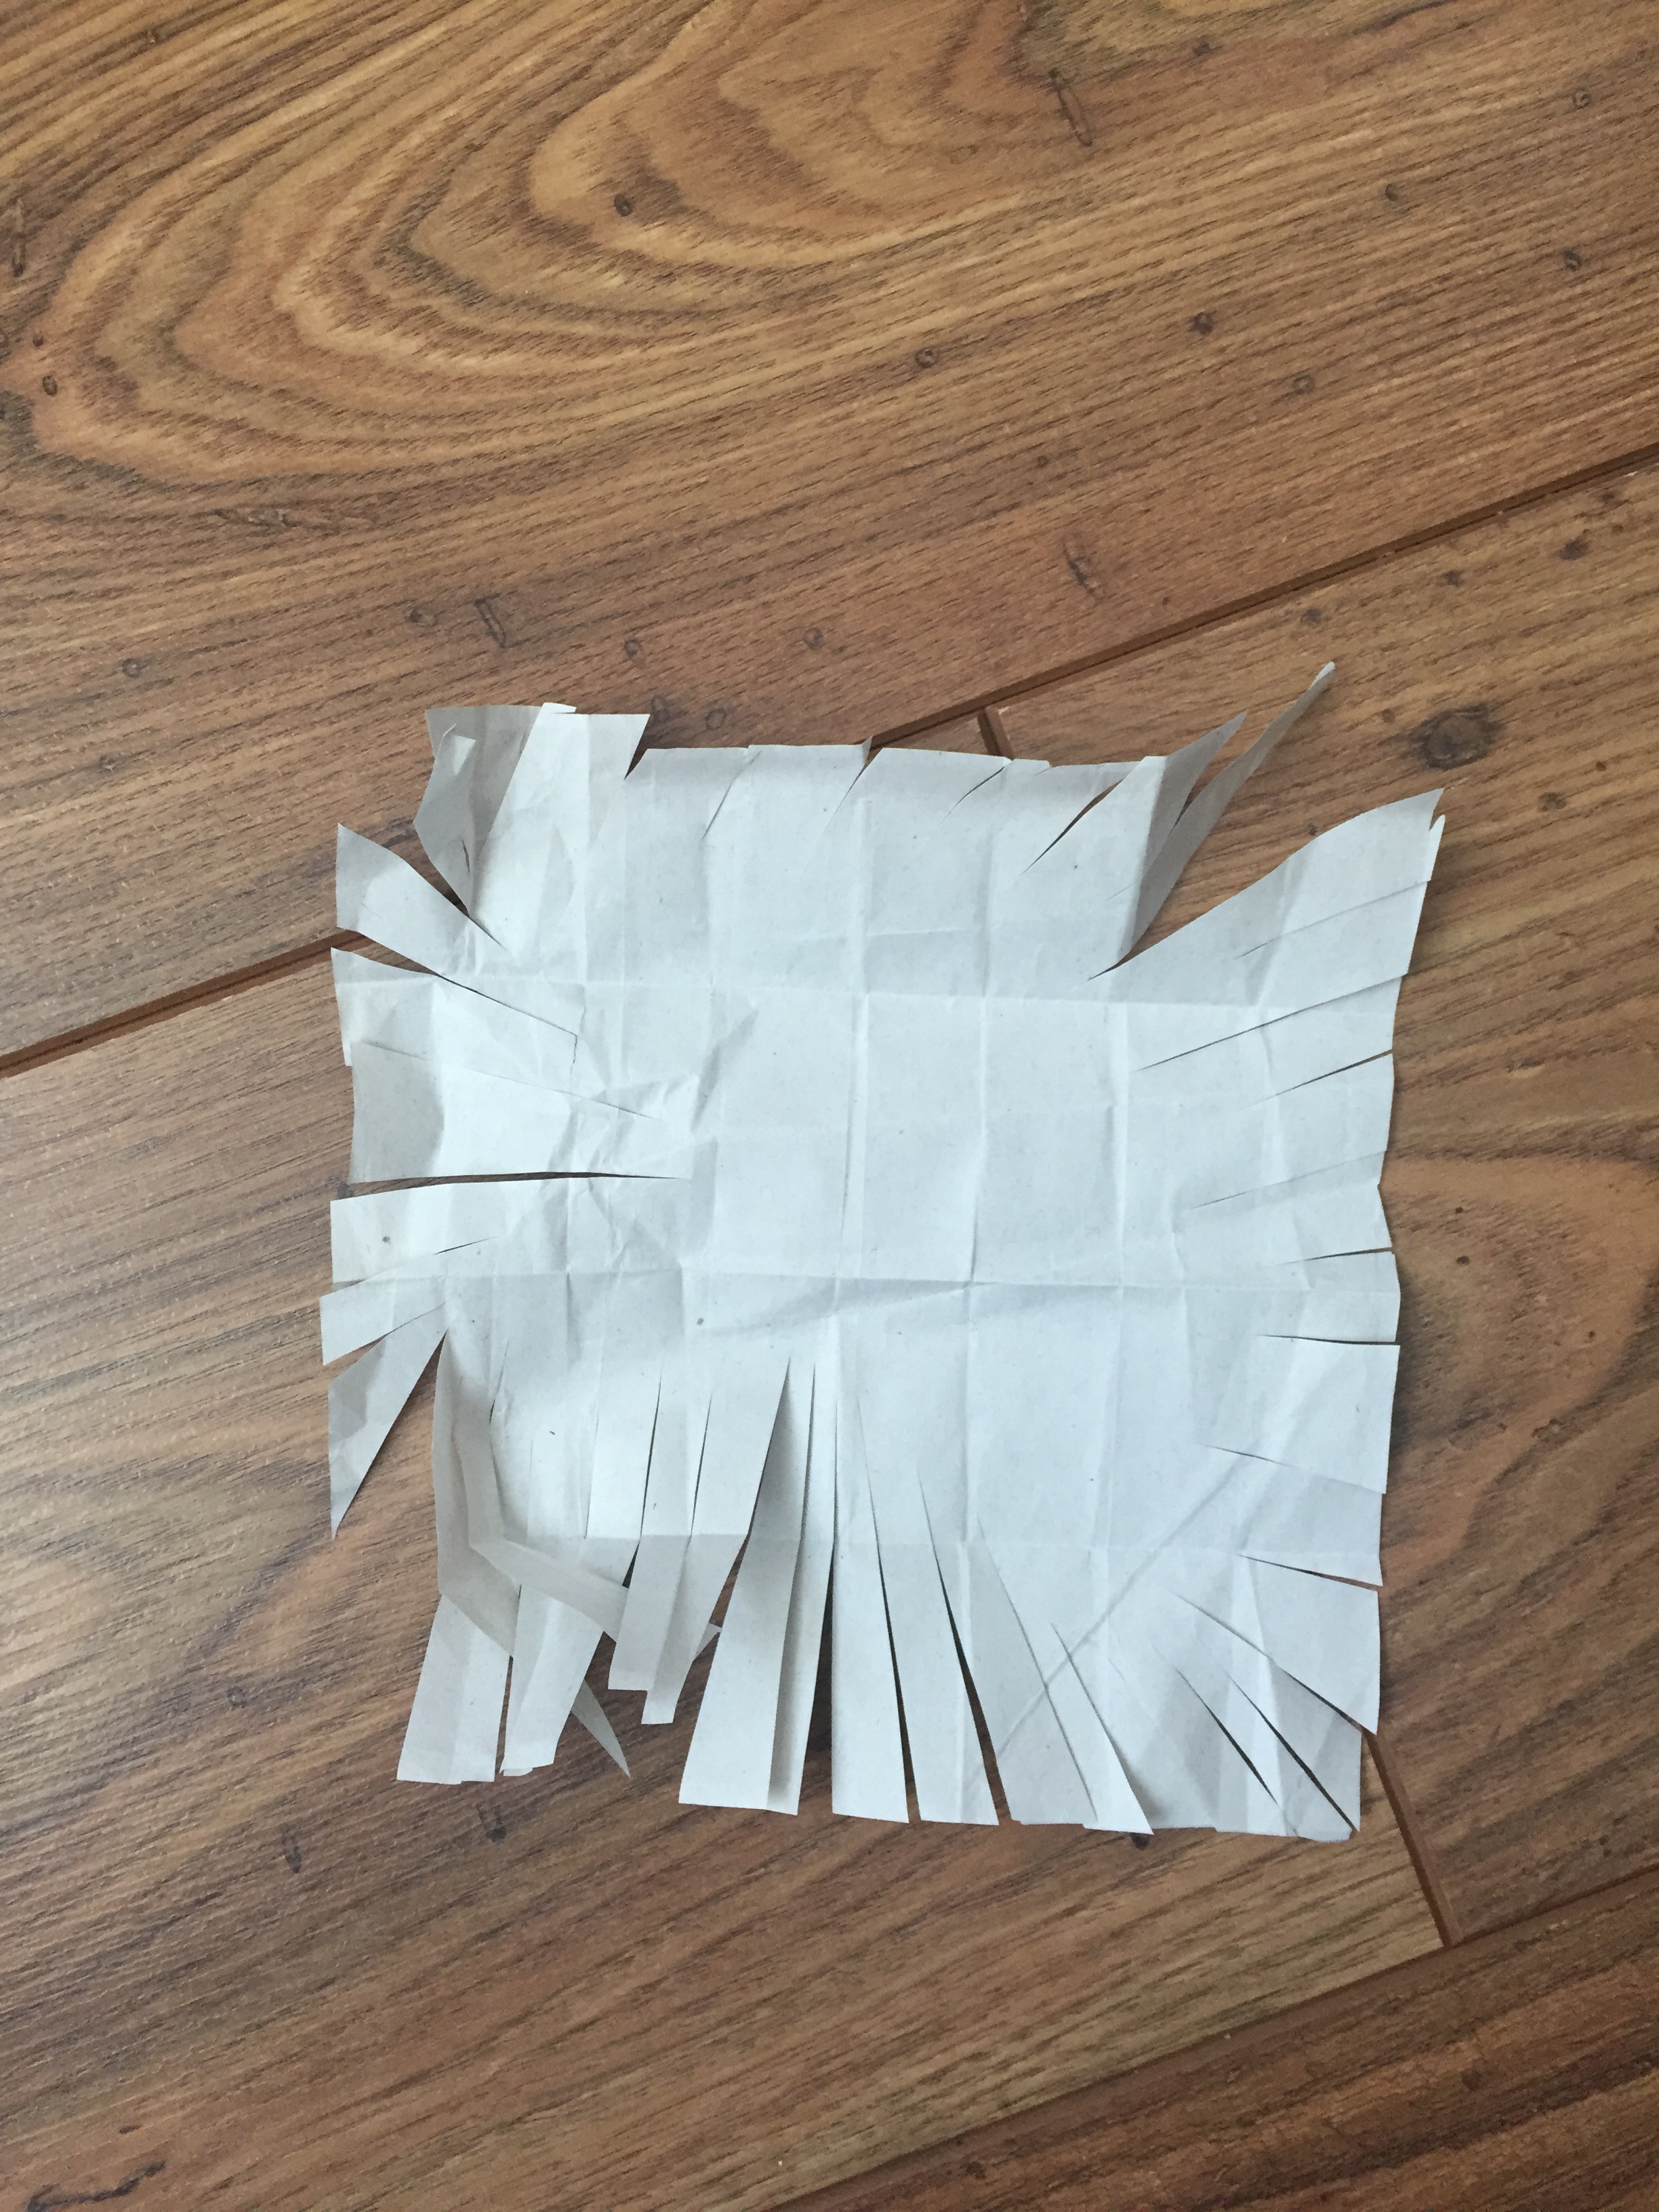
squares on a A4 paper halfed

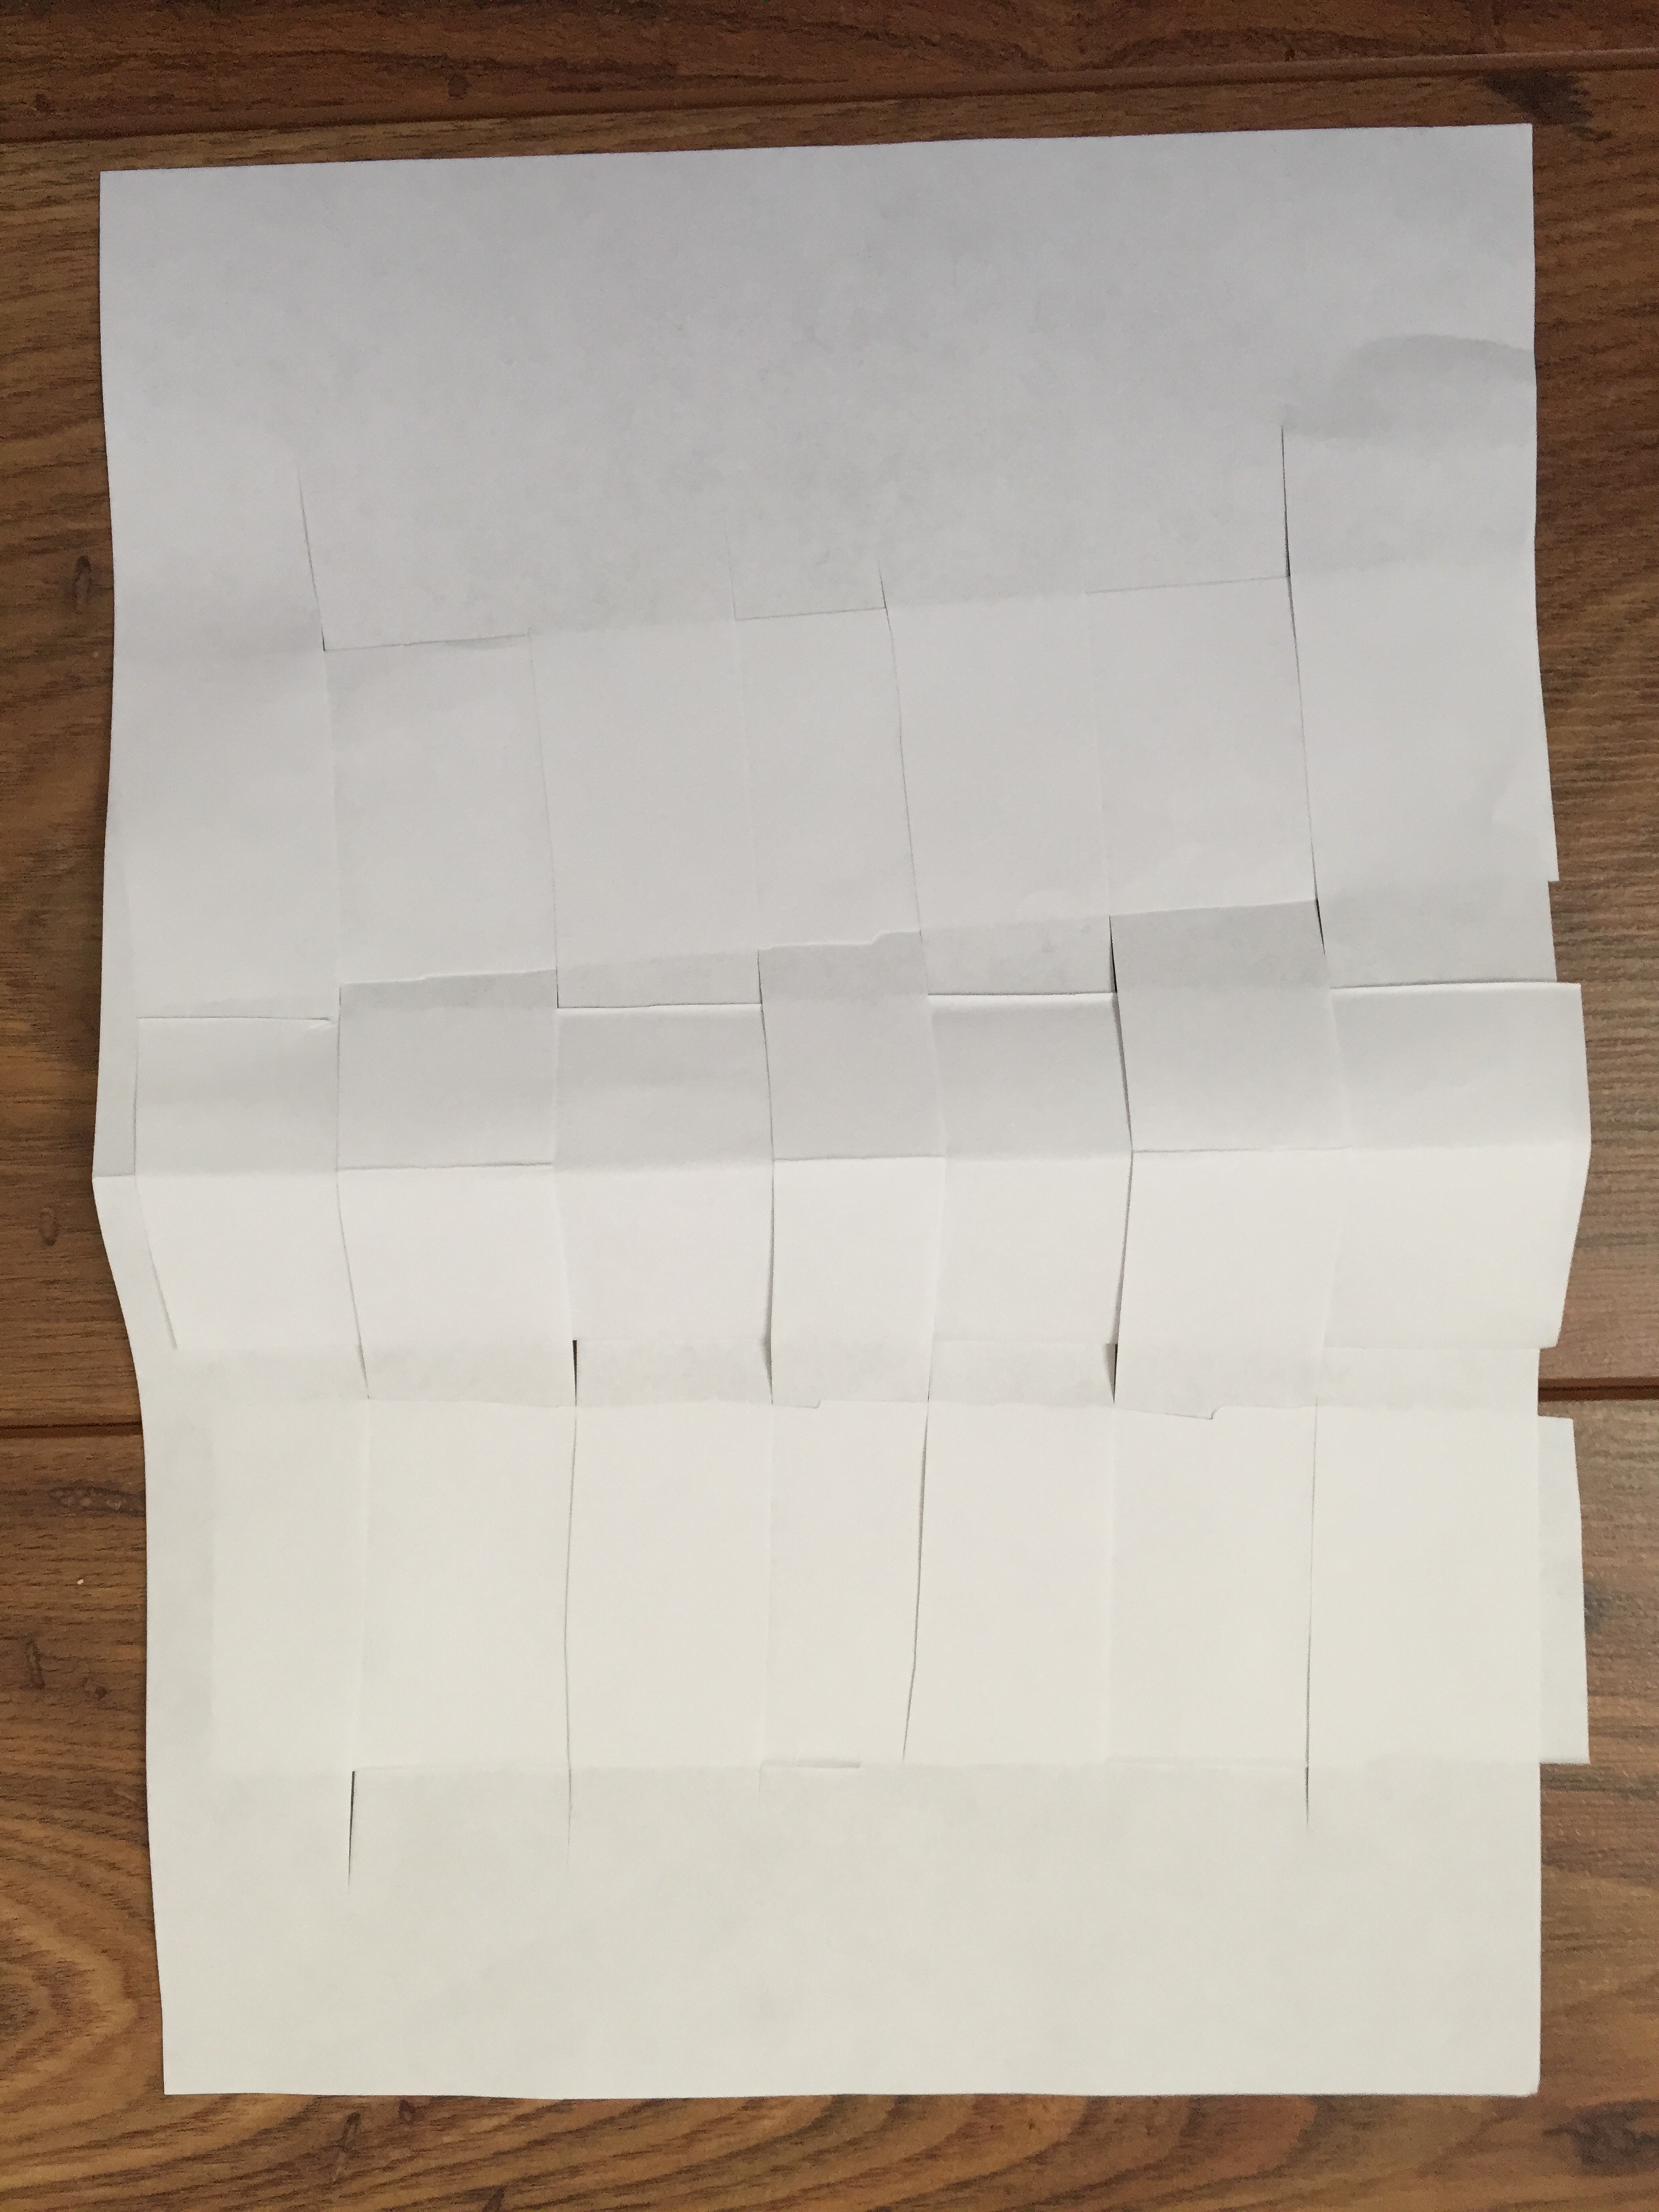
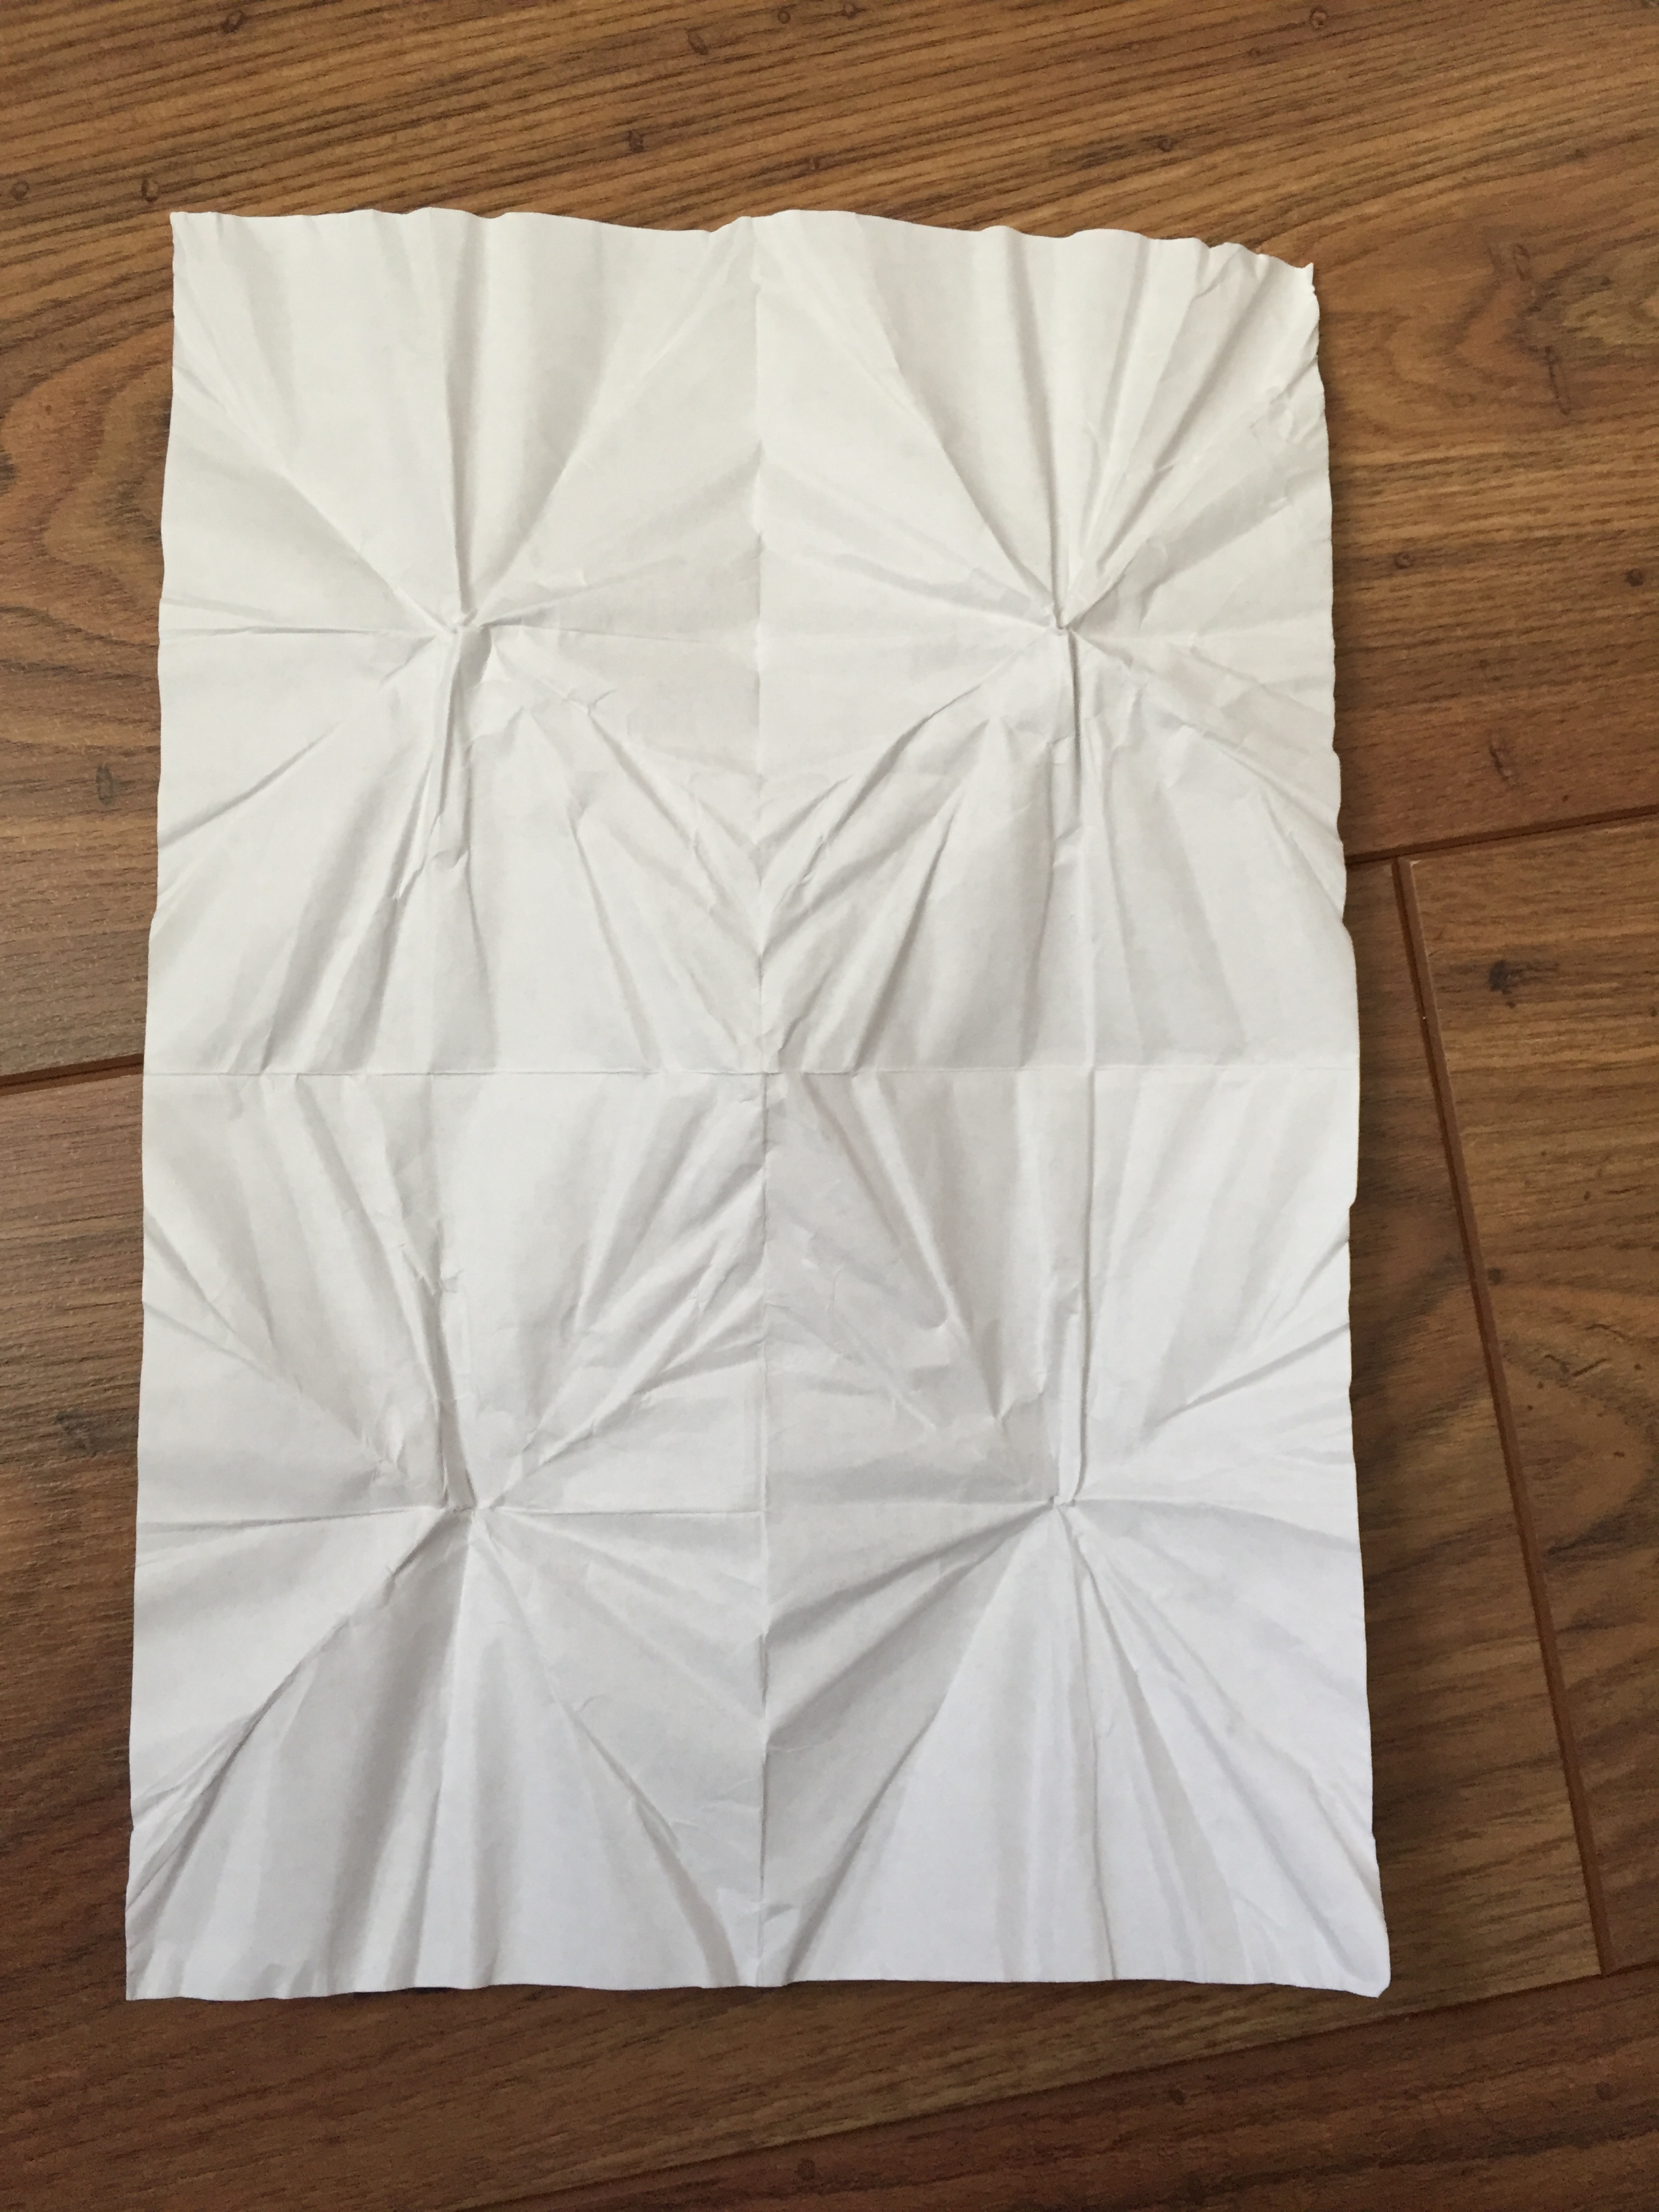

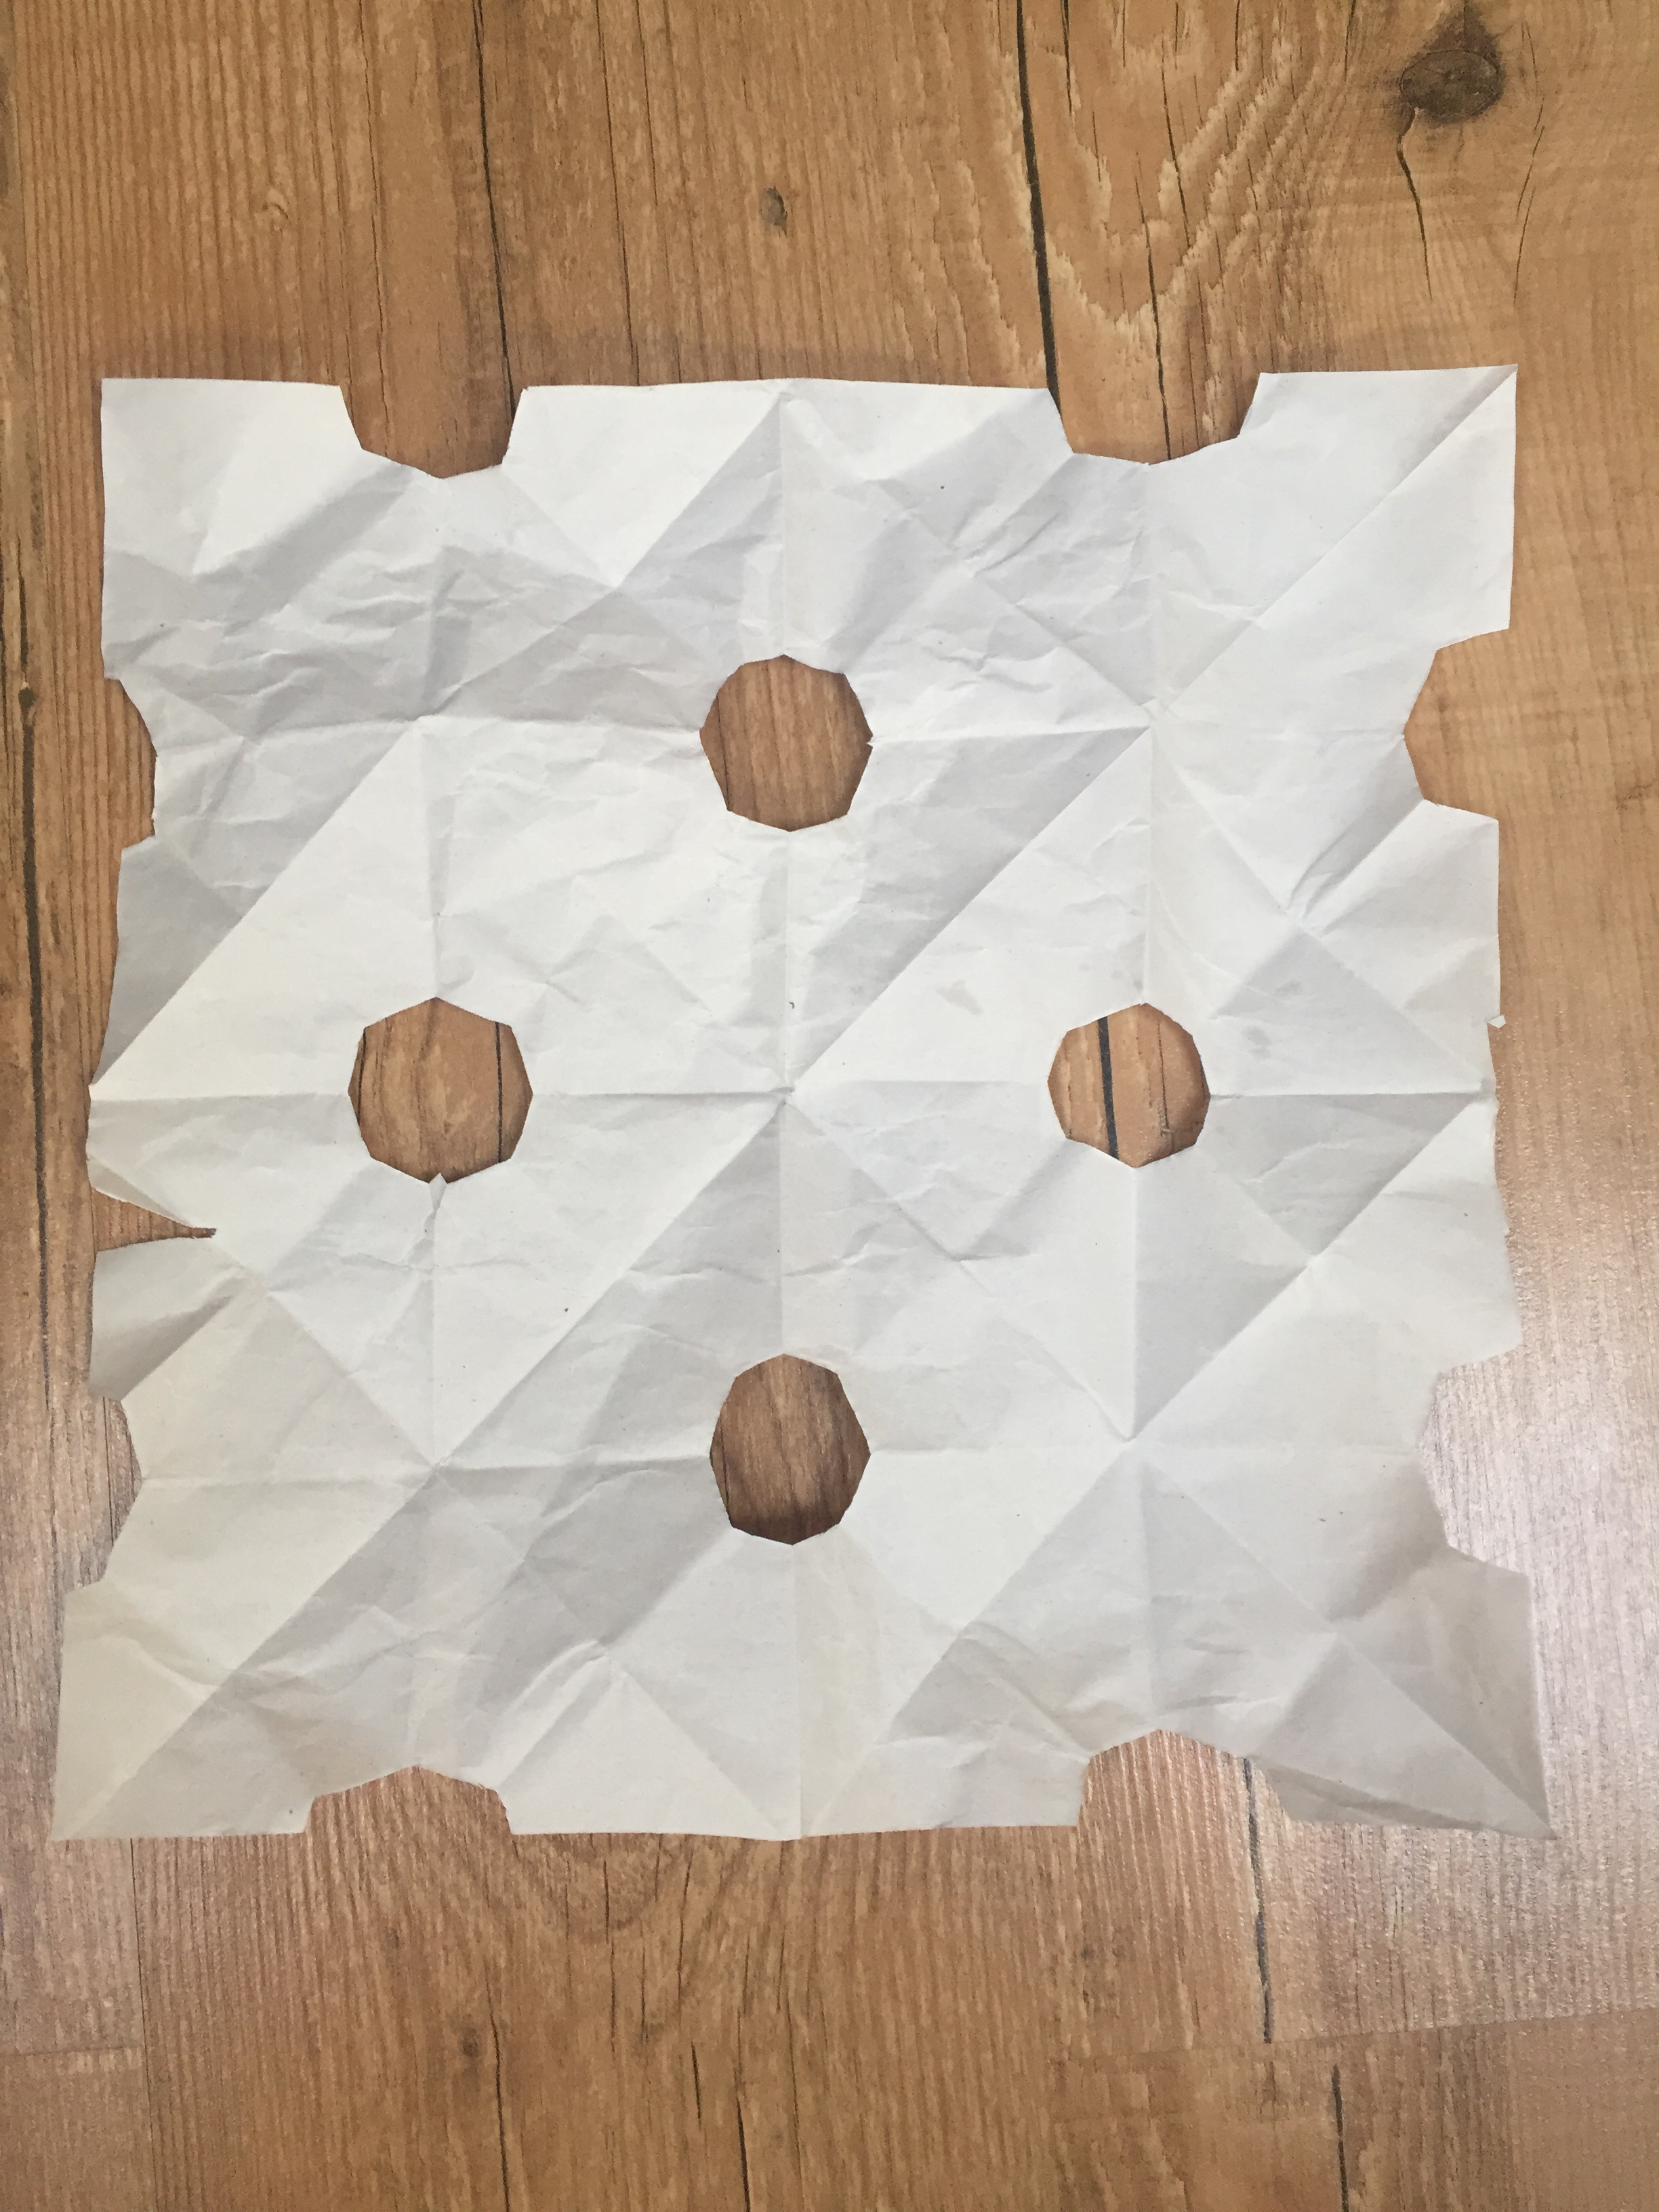


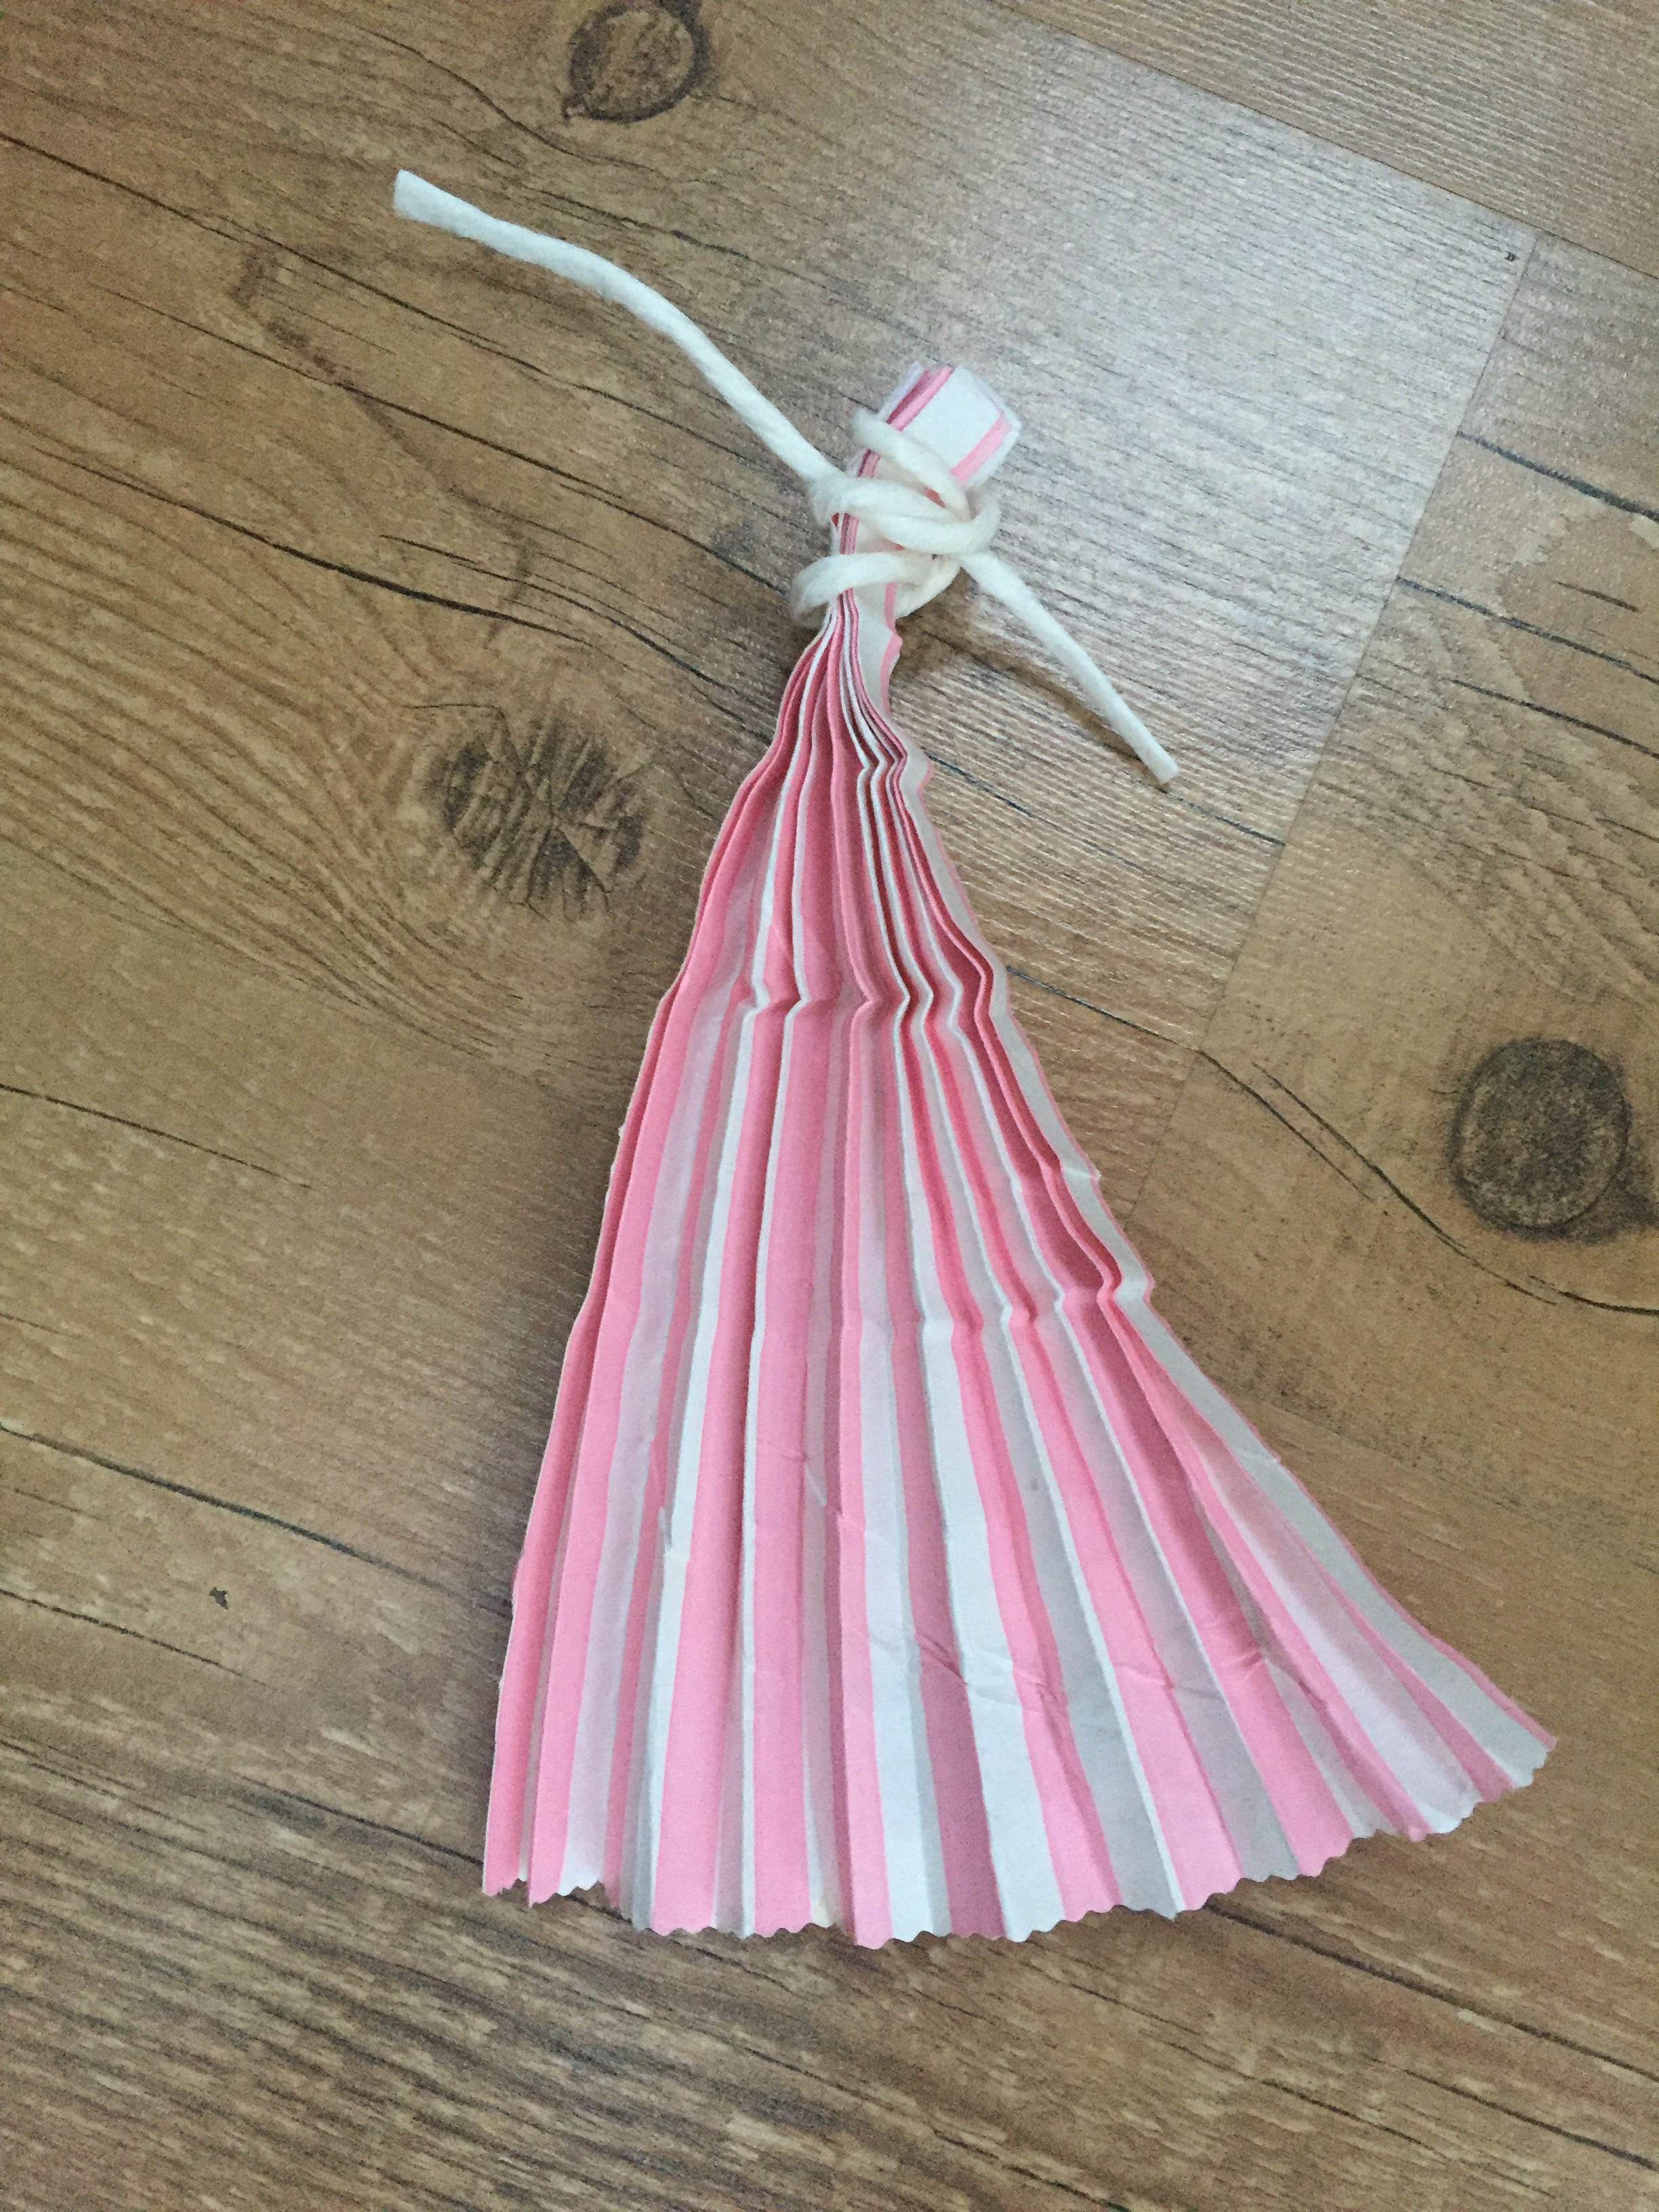
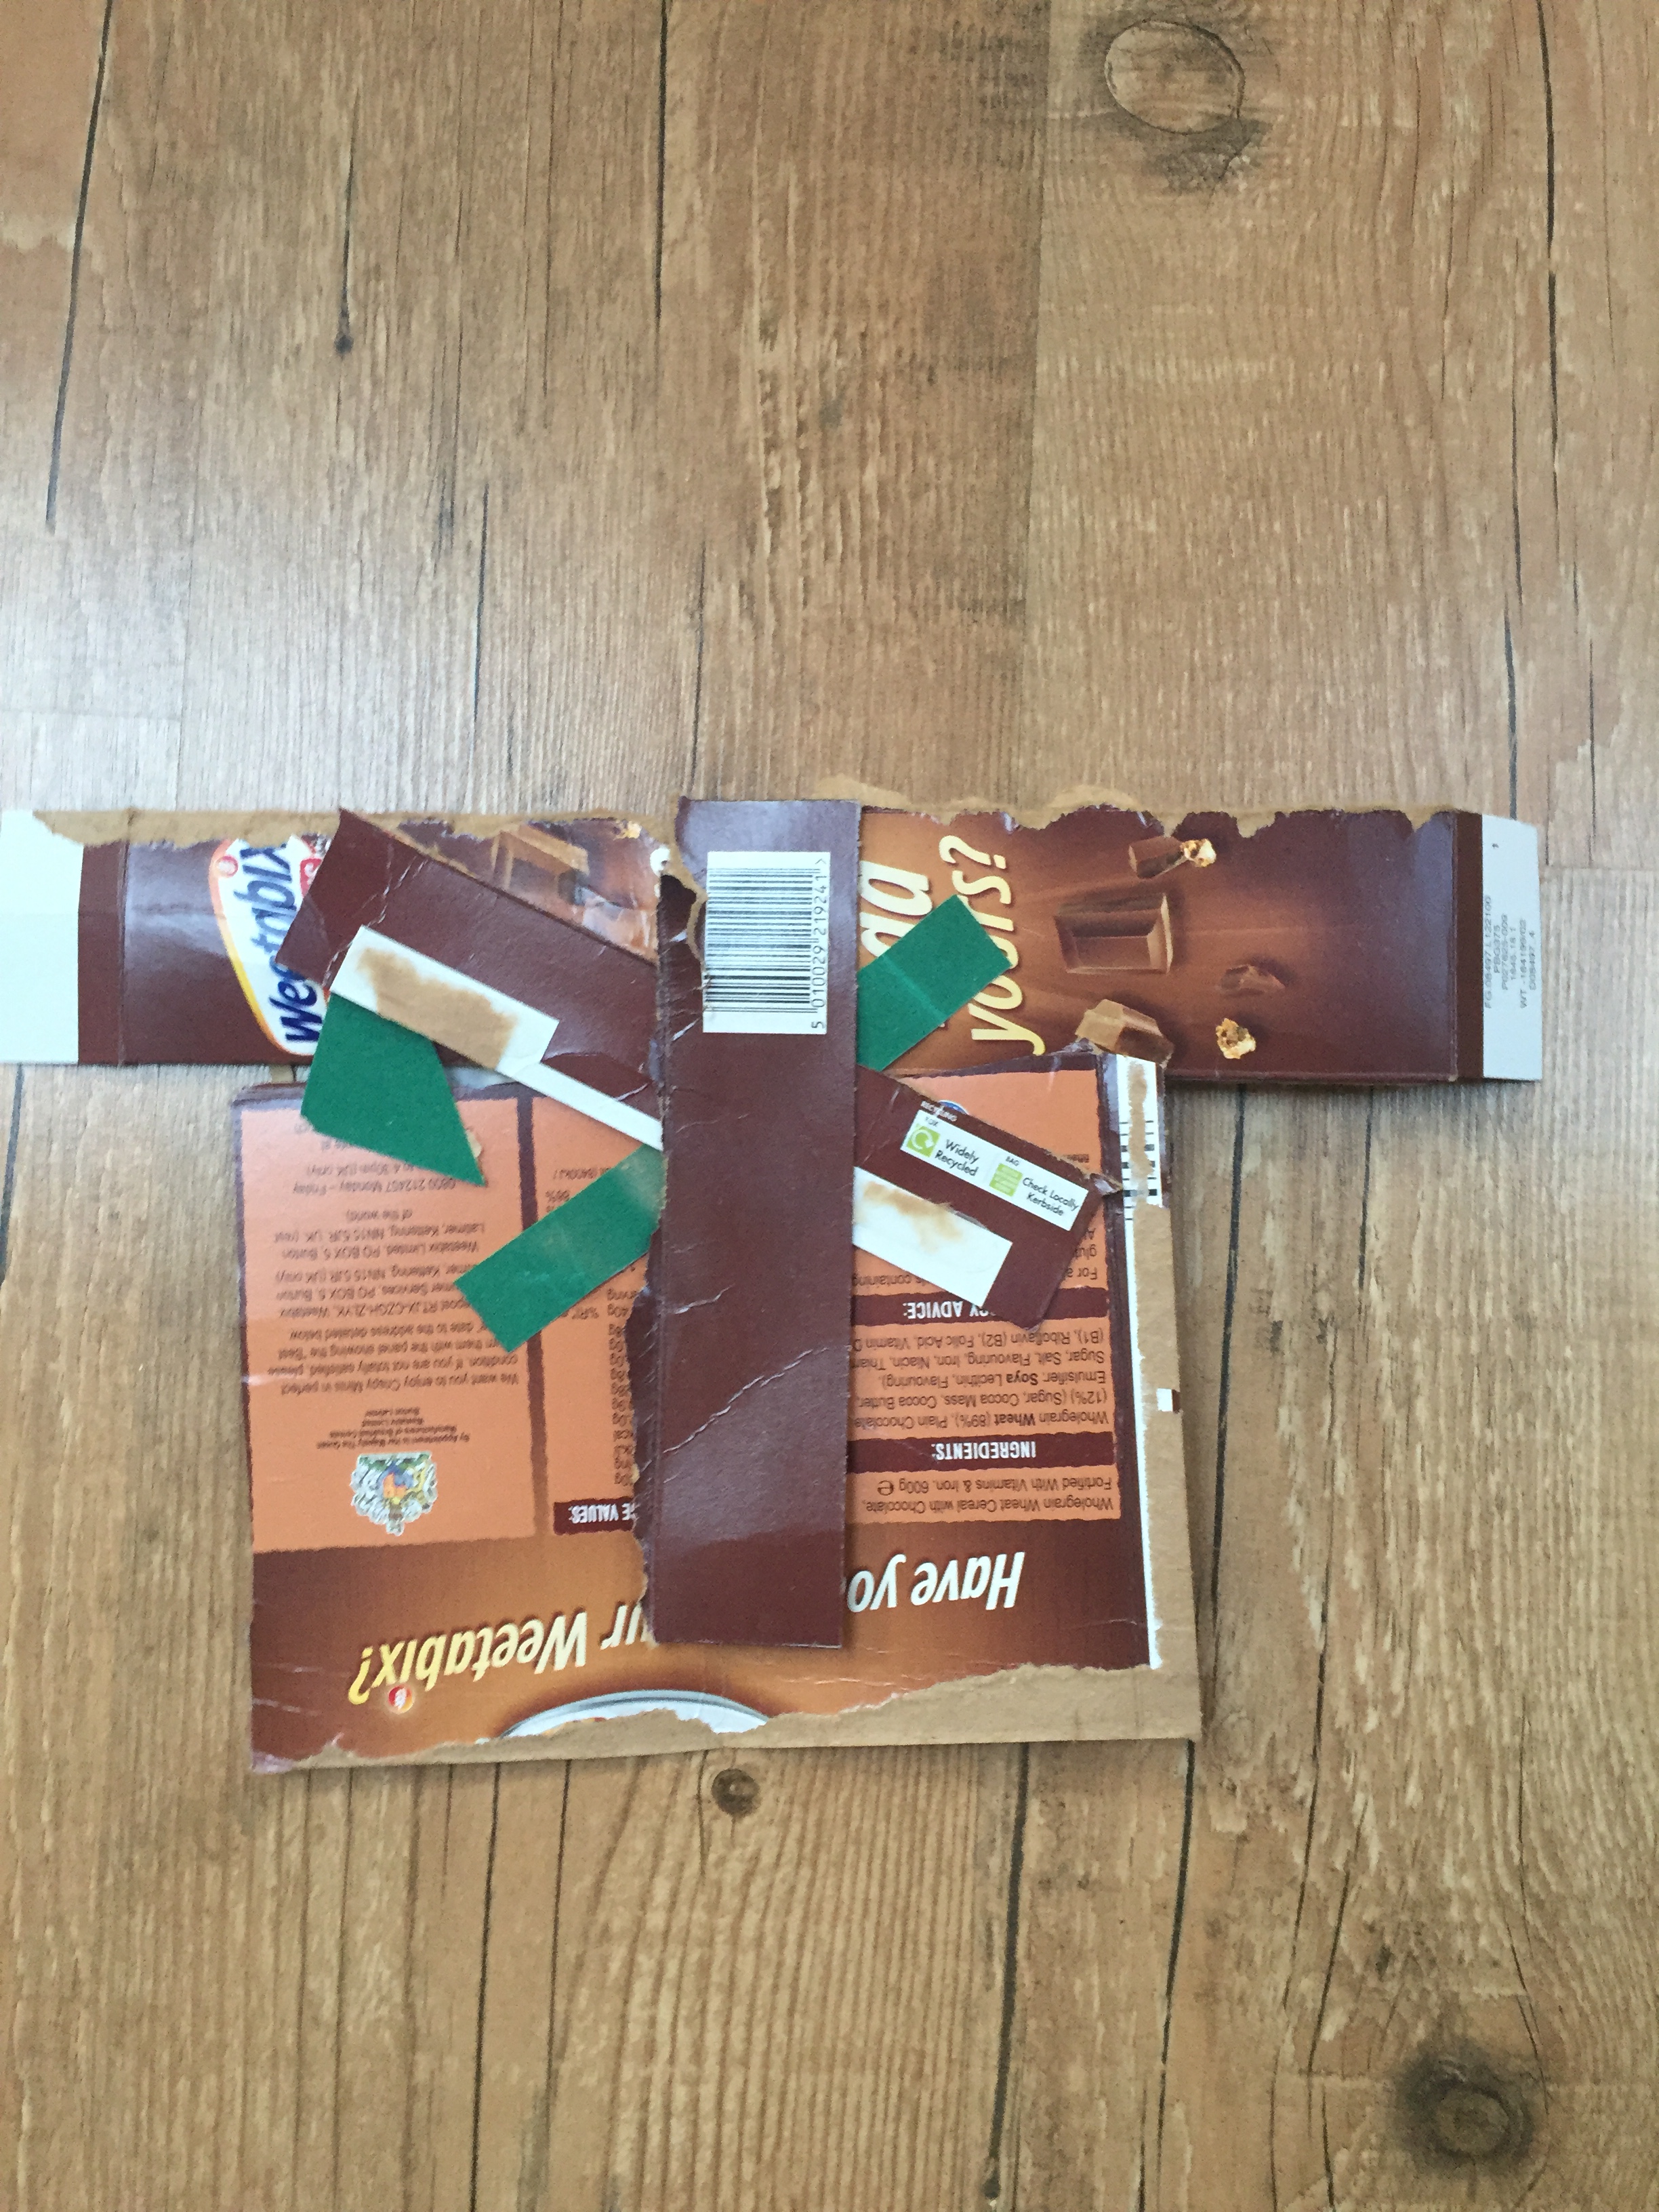
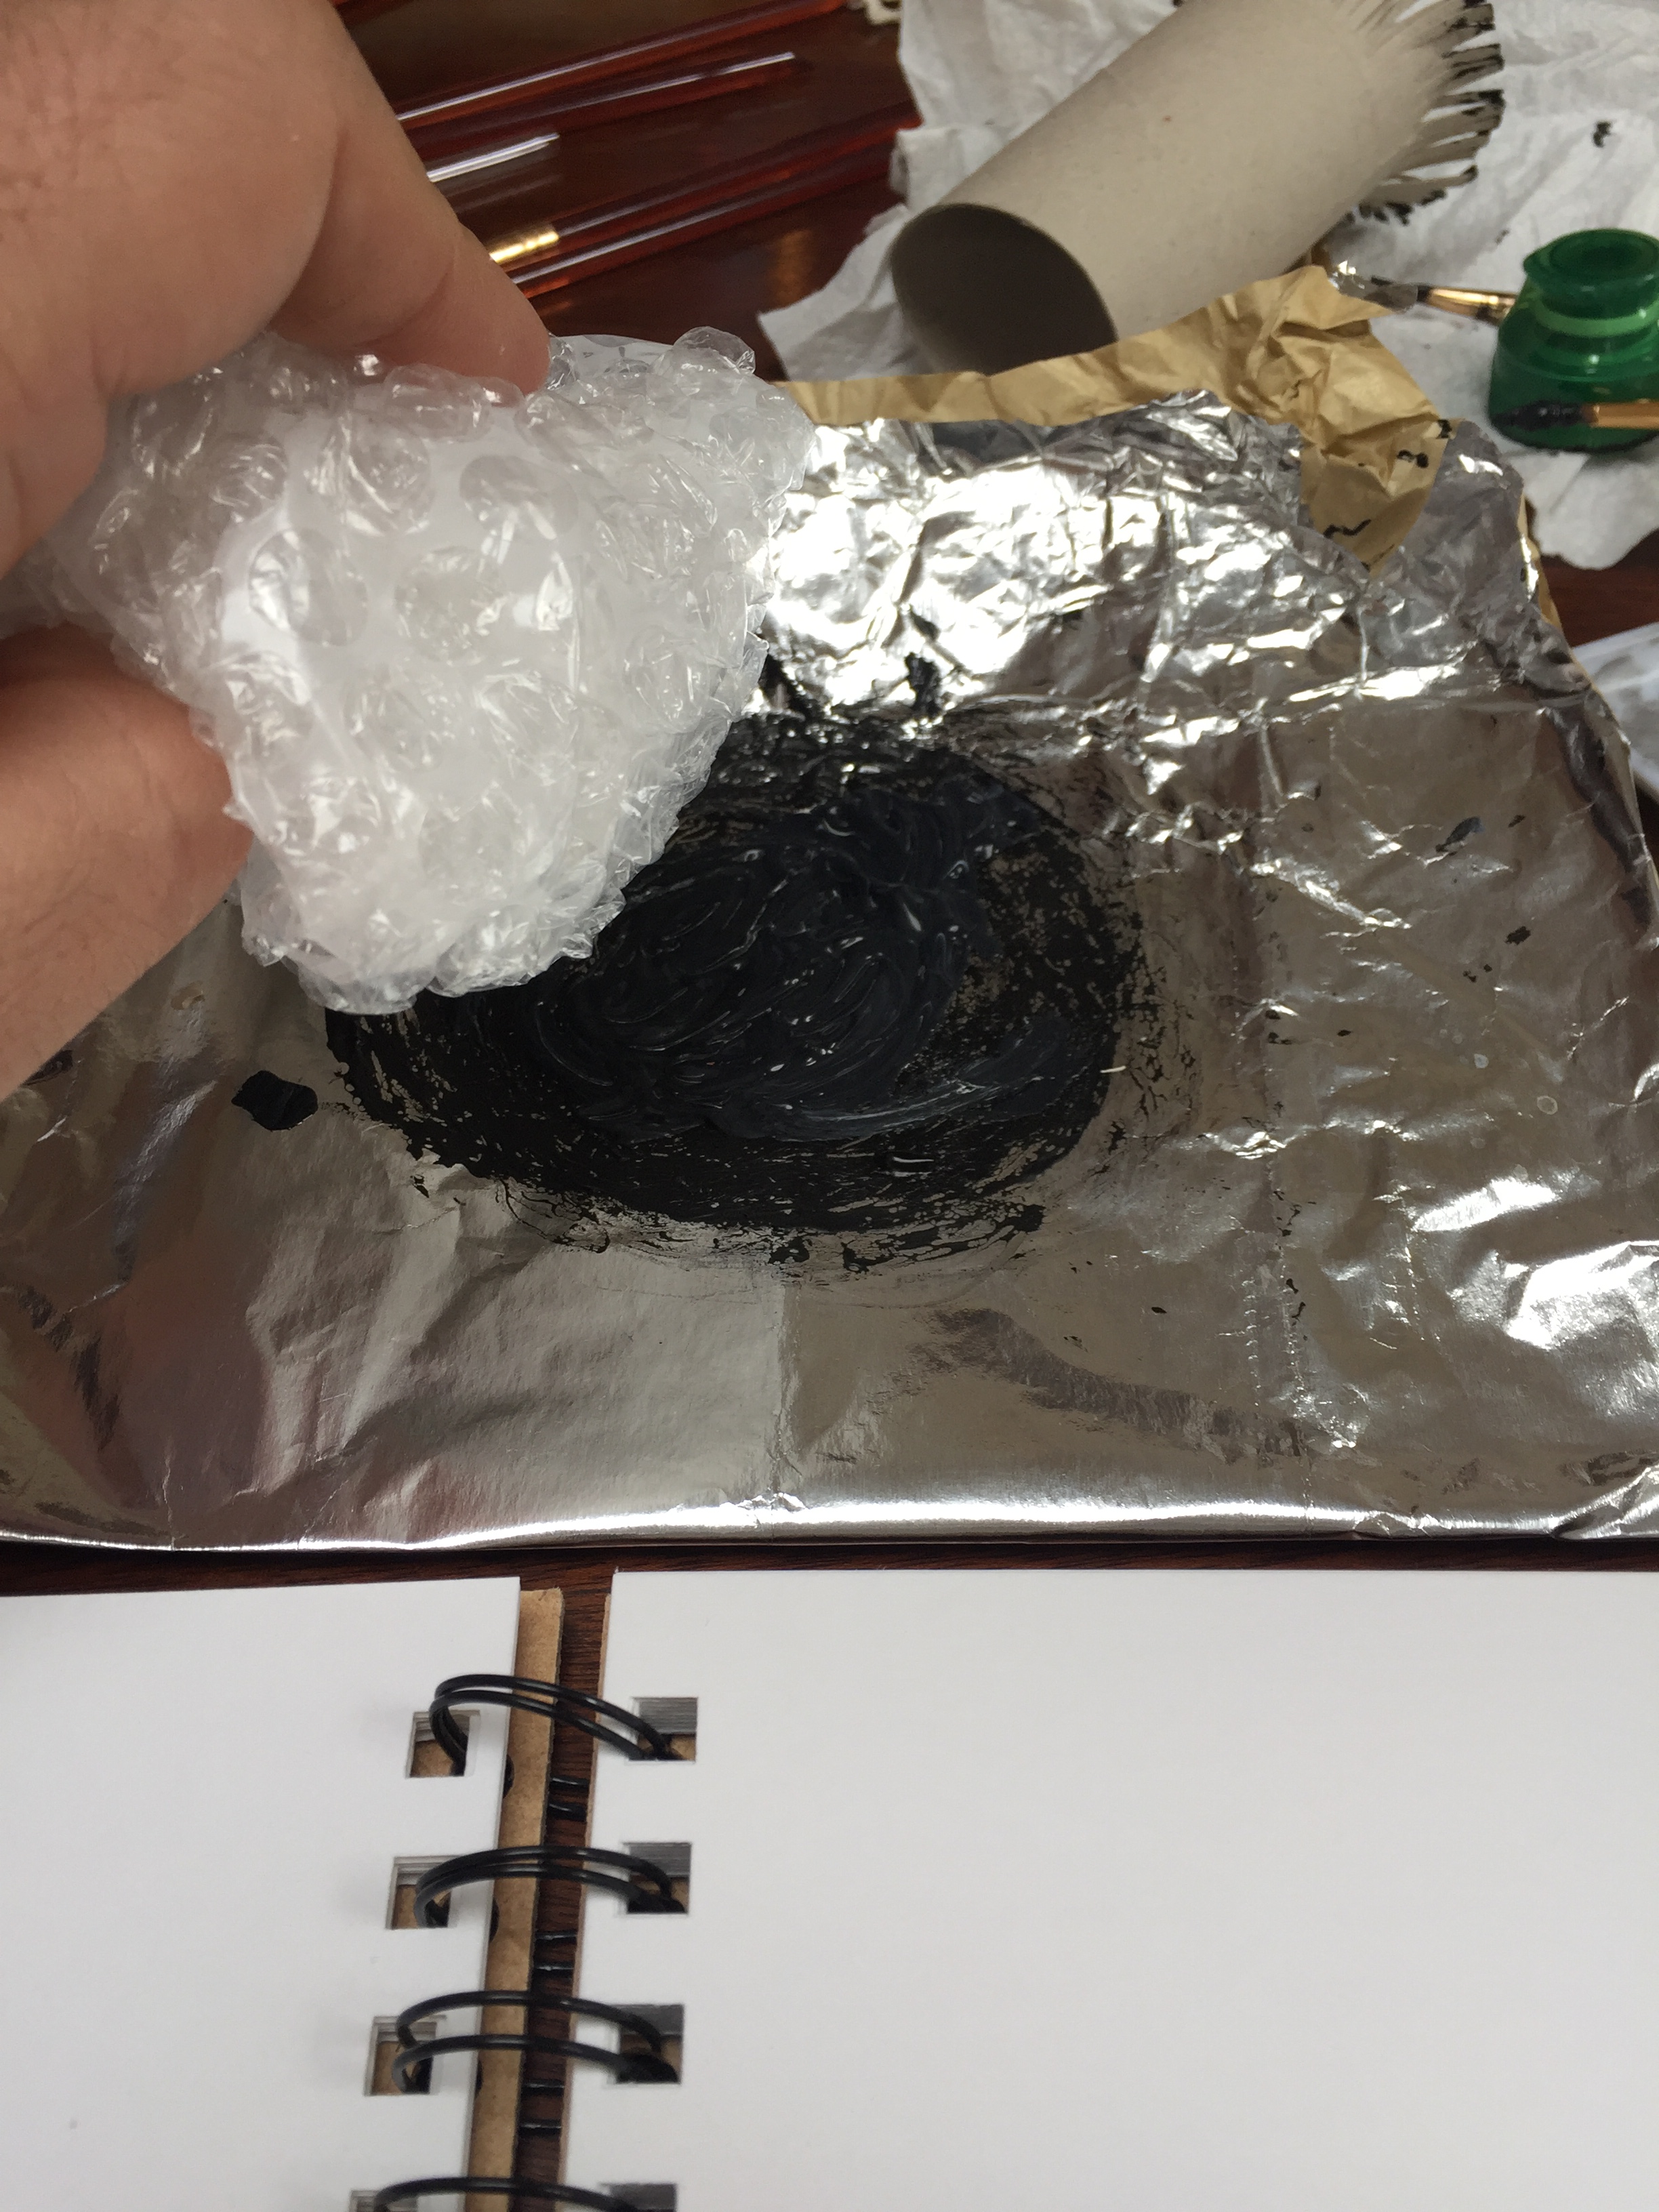
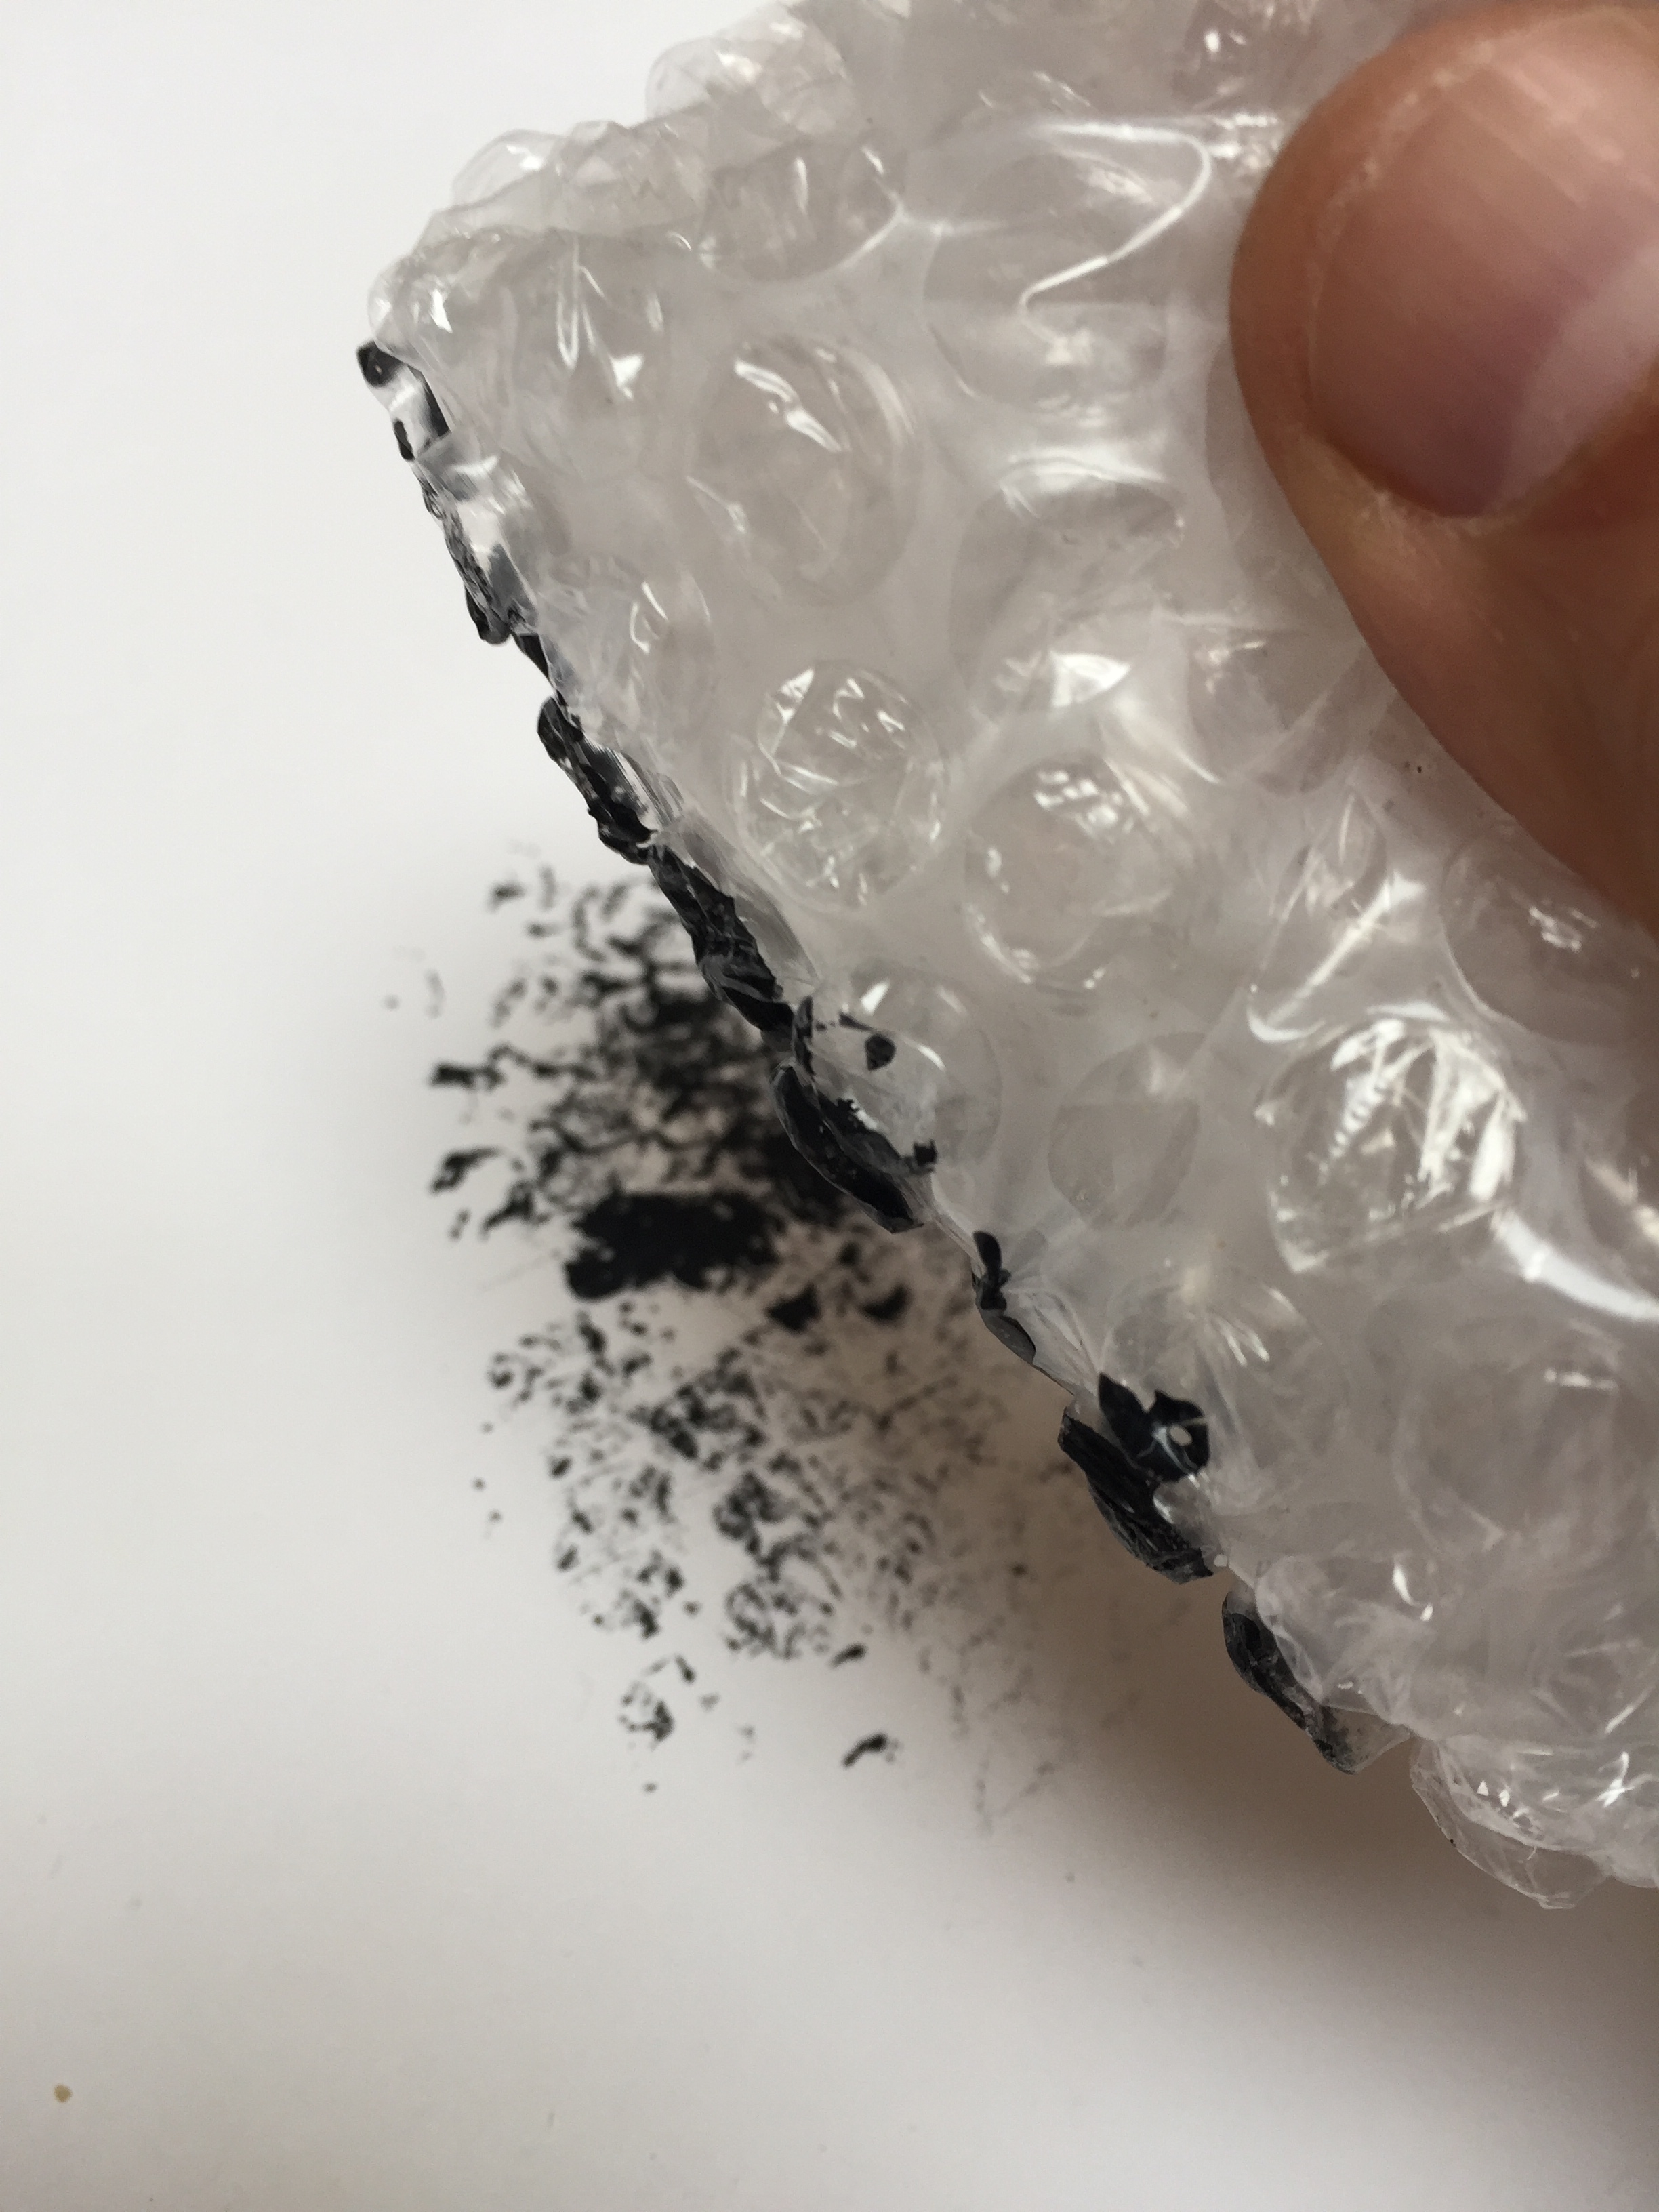
Going through the same exercise again and using papers of different quality and texture I can say it was a pleasant surprise to me and I really enjoyed the process. Having more materials and trying to marry them was quite challenging and exciting the same time.
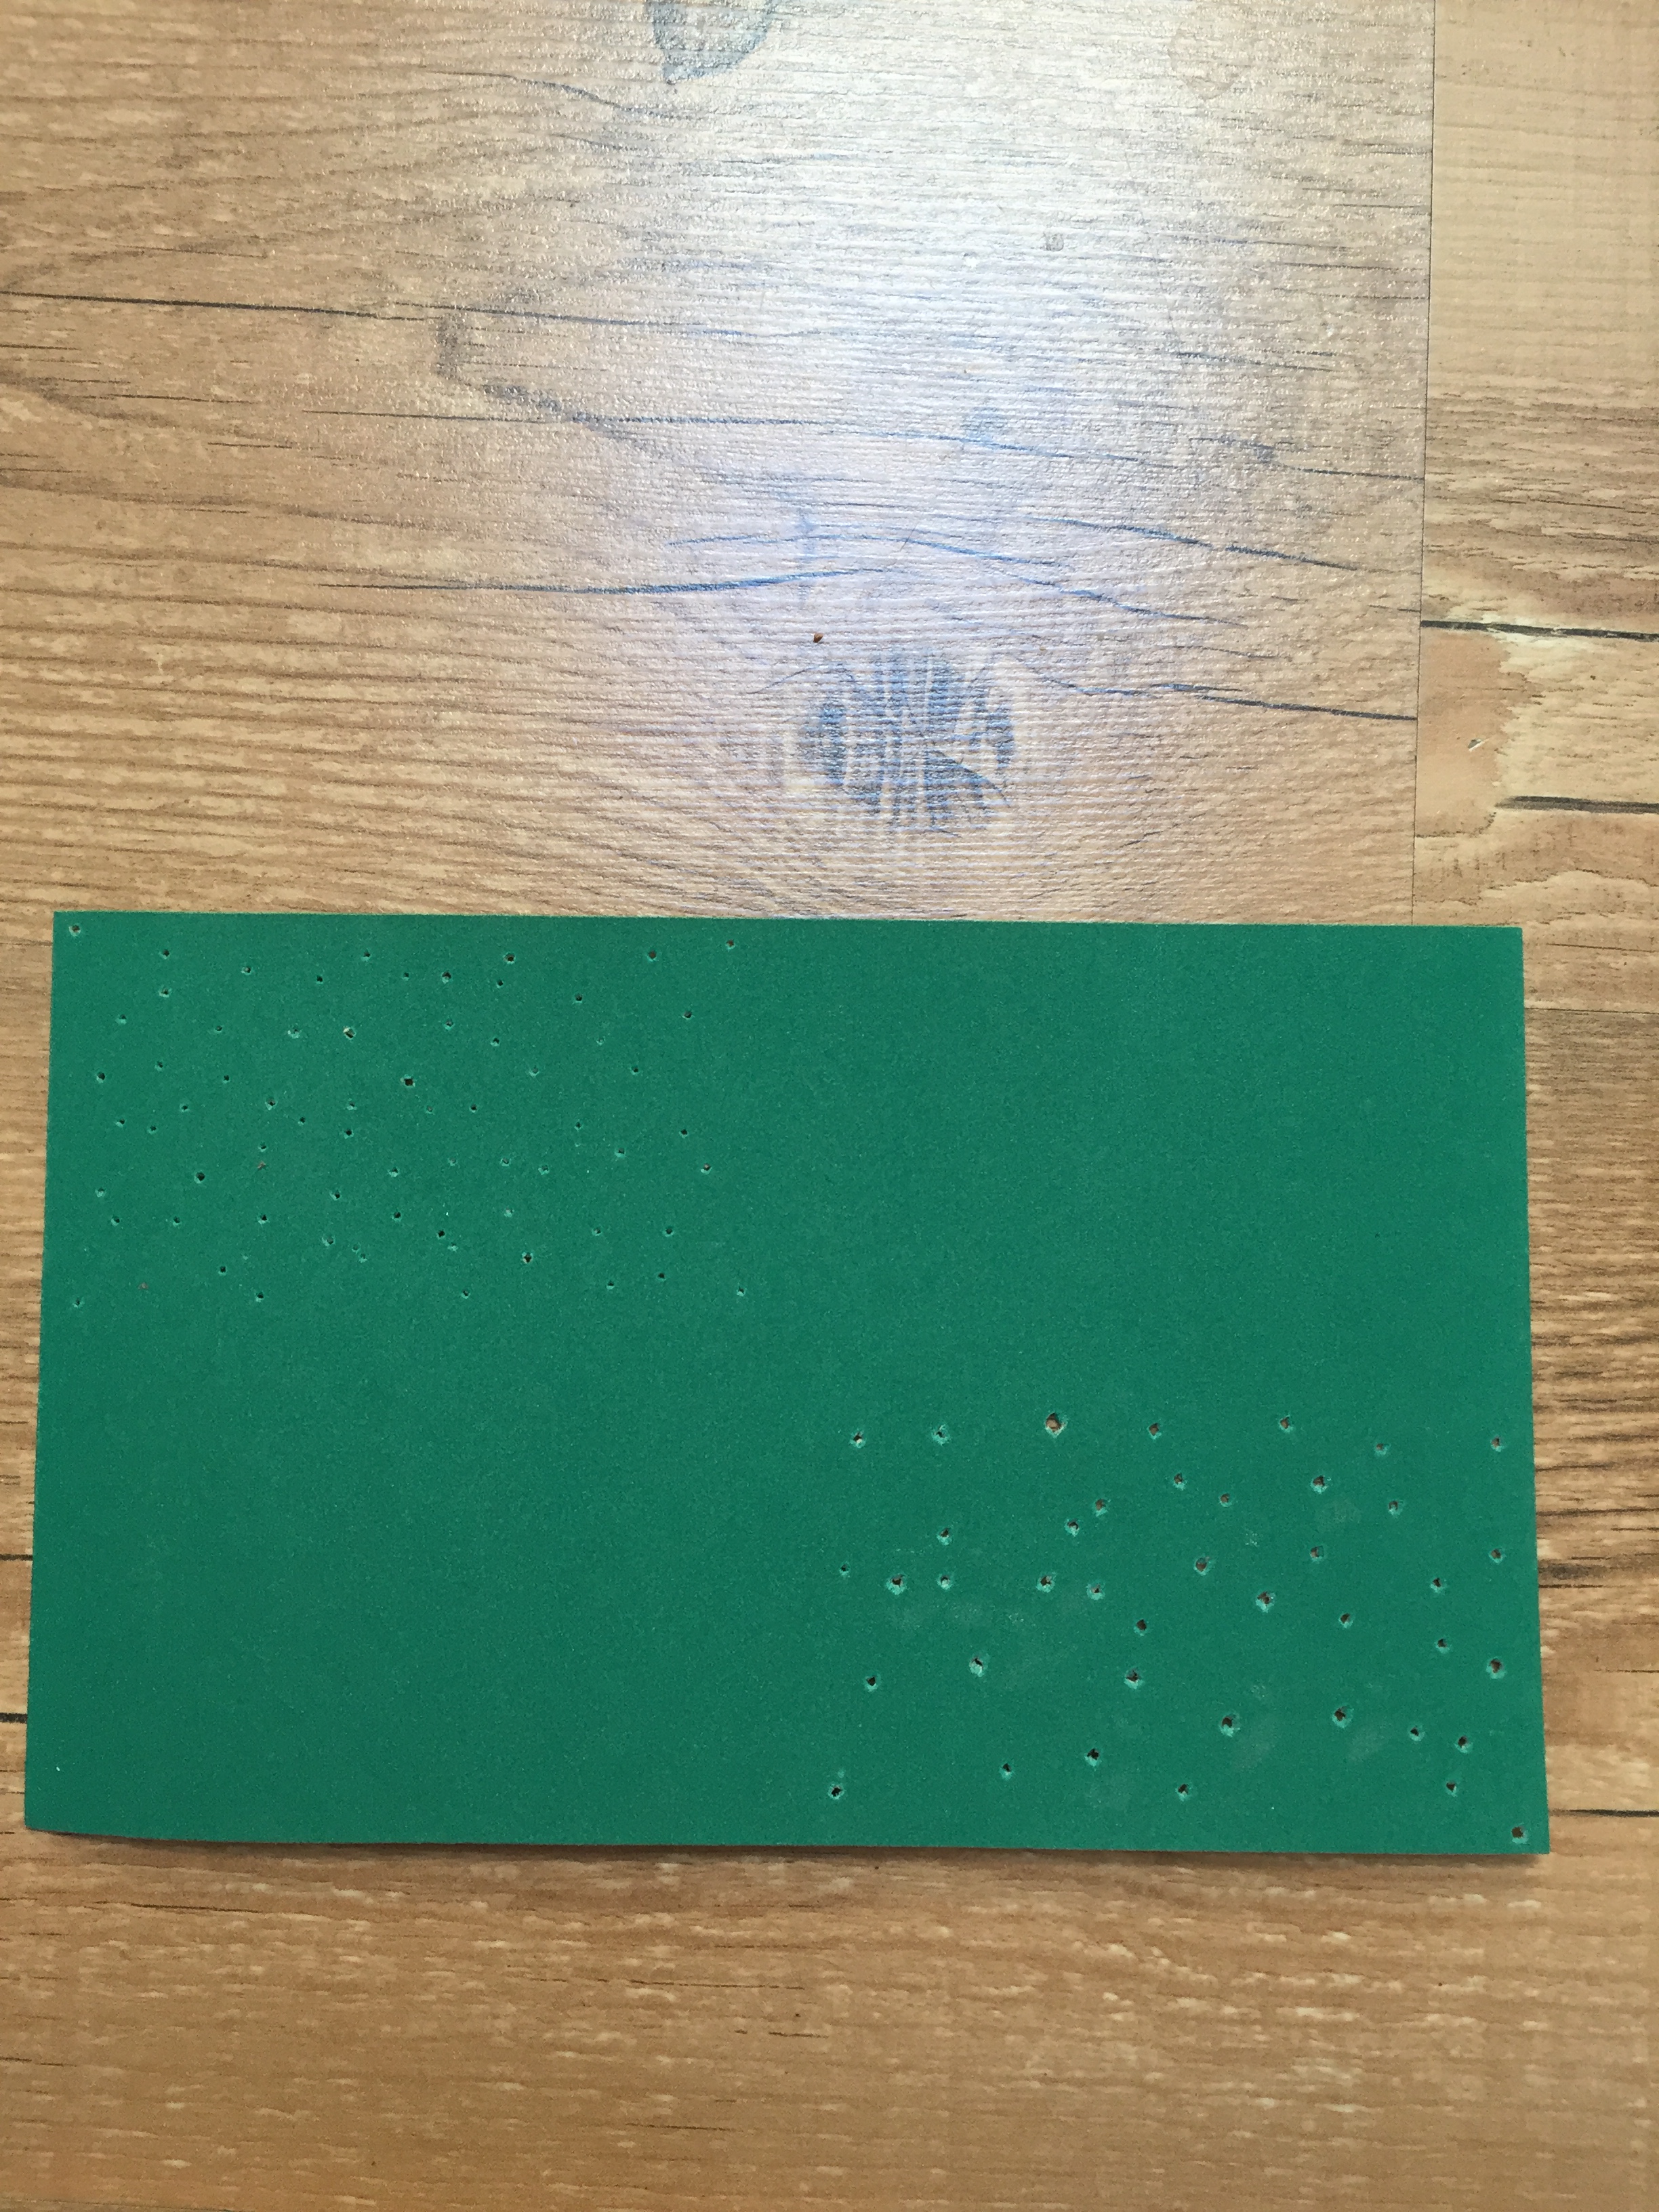
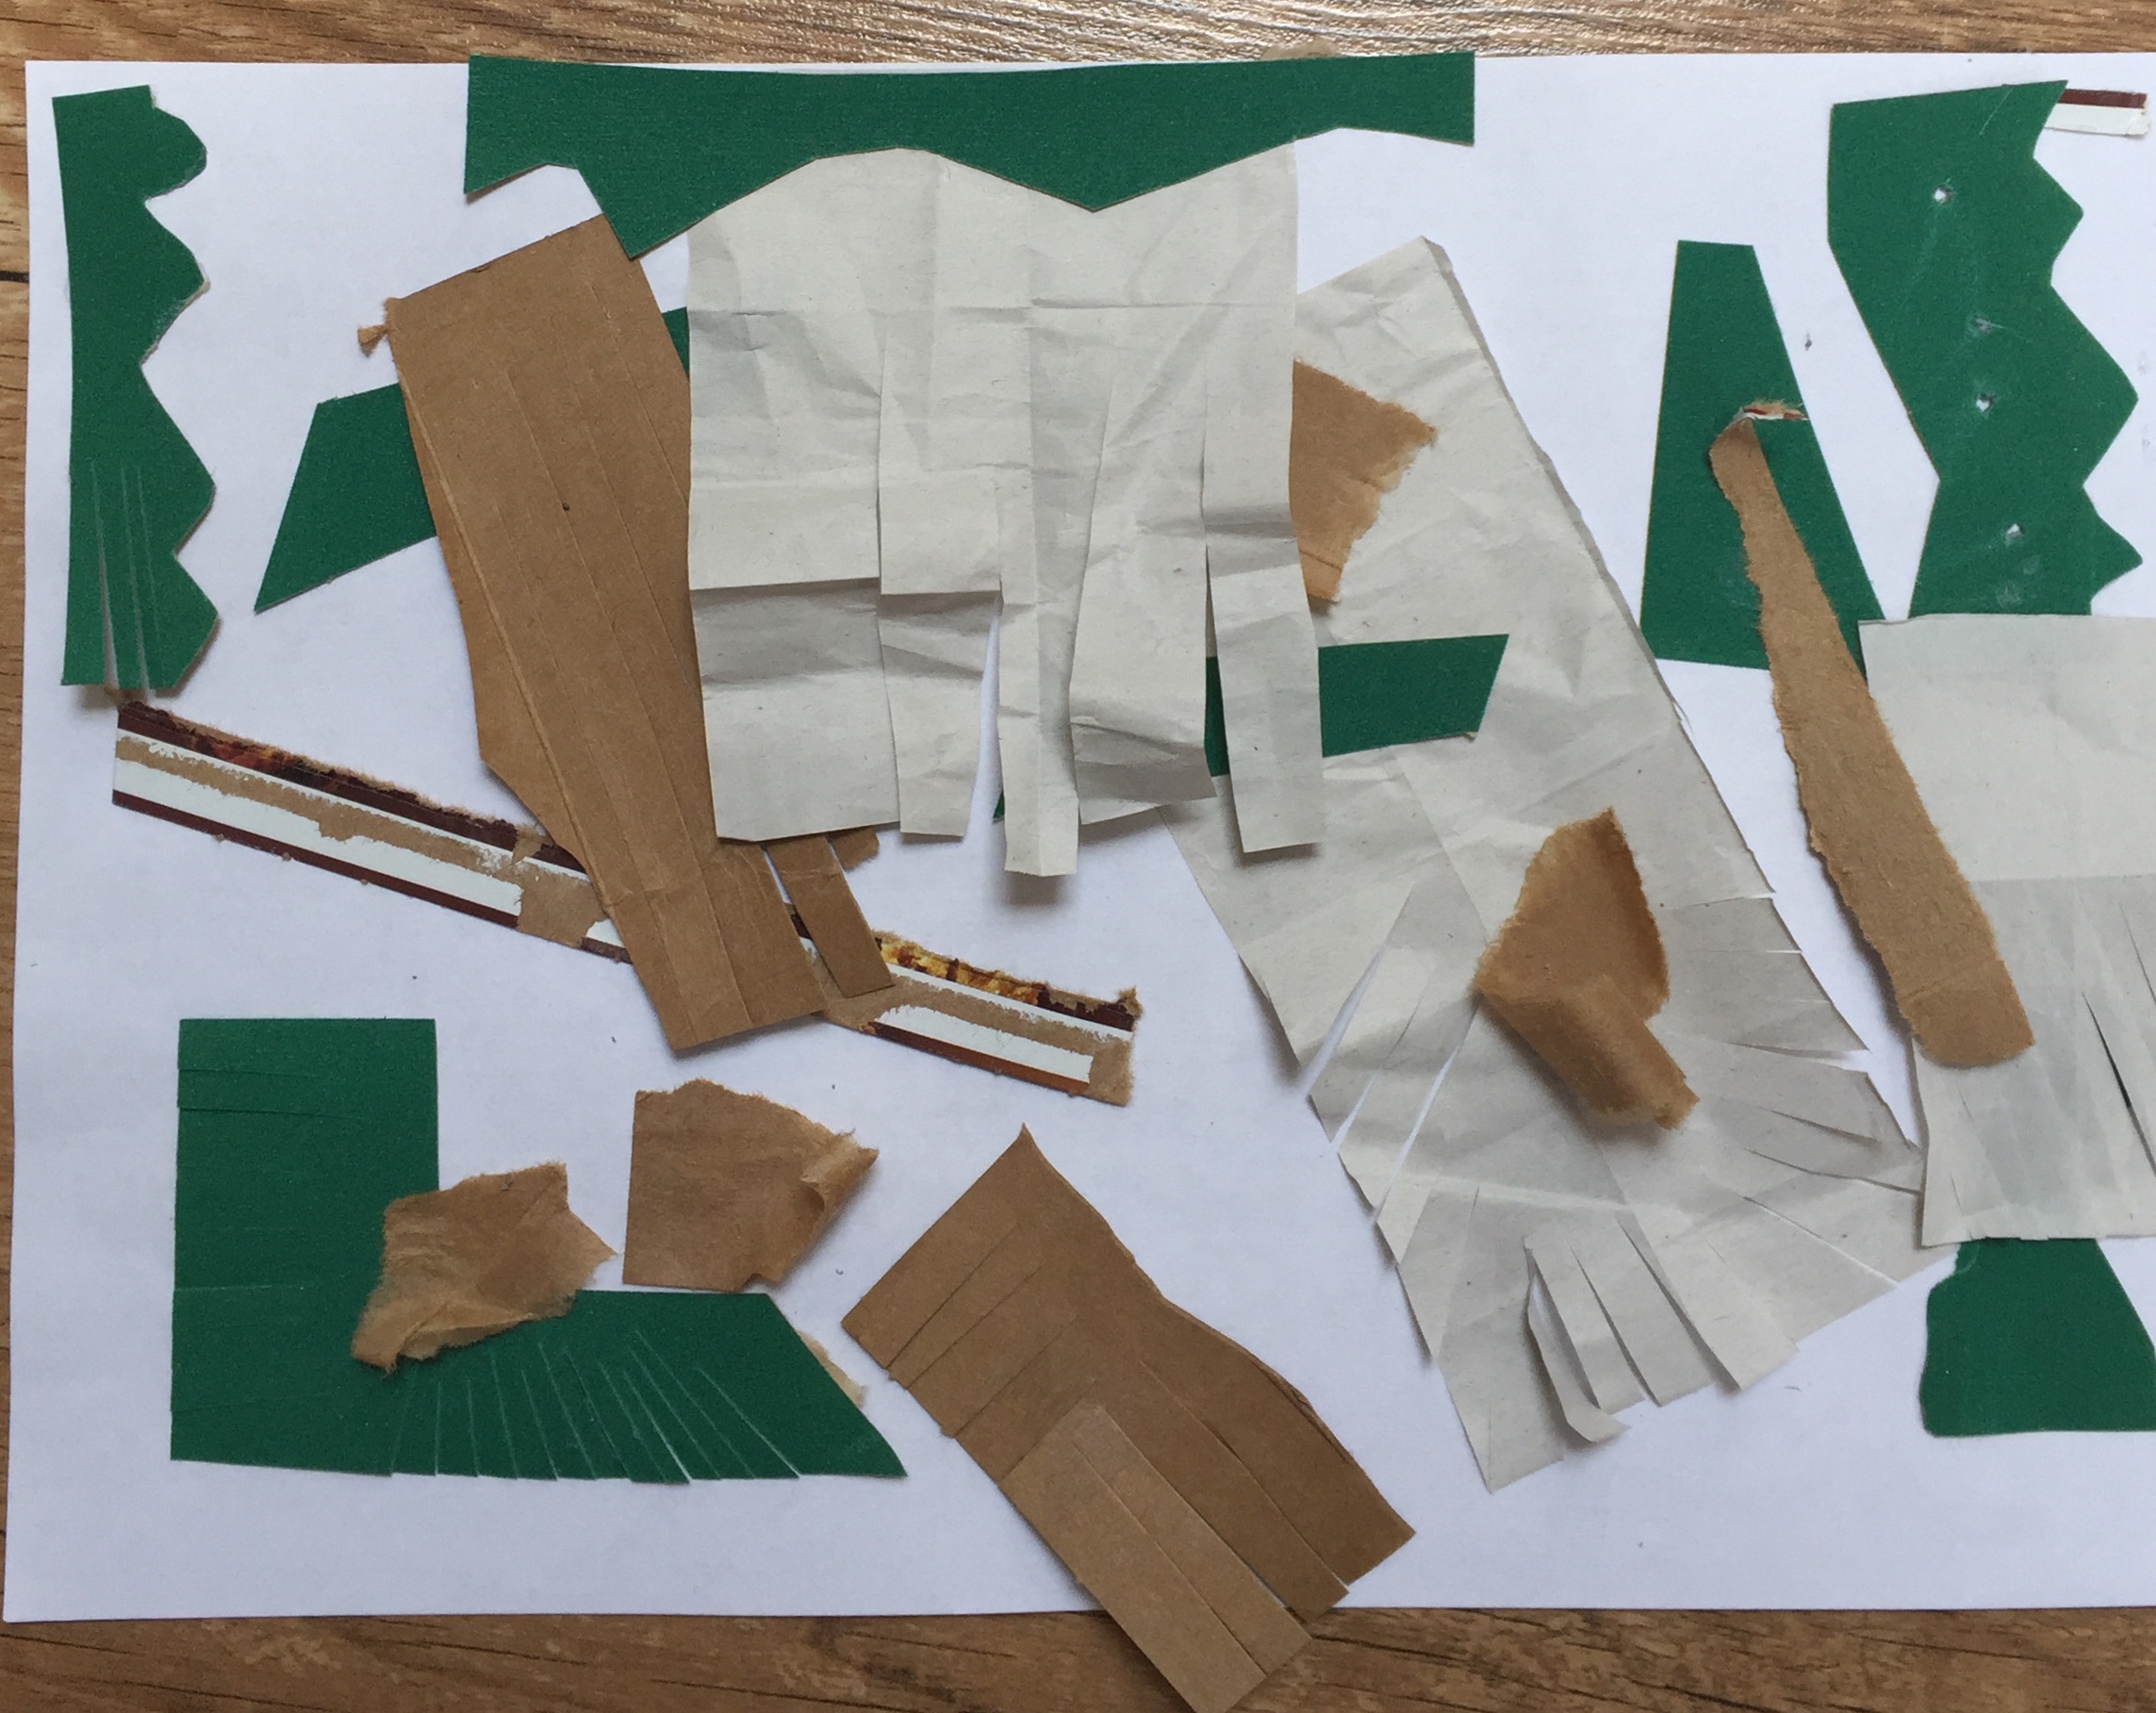
2.3 DRAWING WITH STITCH.
Moving forward to this assignment I’ve decided to follow a different route:
I ‘m cutting pieces from the paper manipulation assignment and then I will stitch them up.
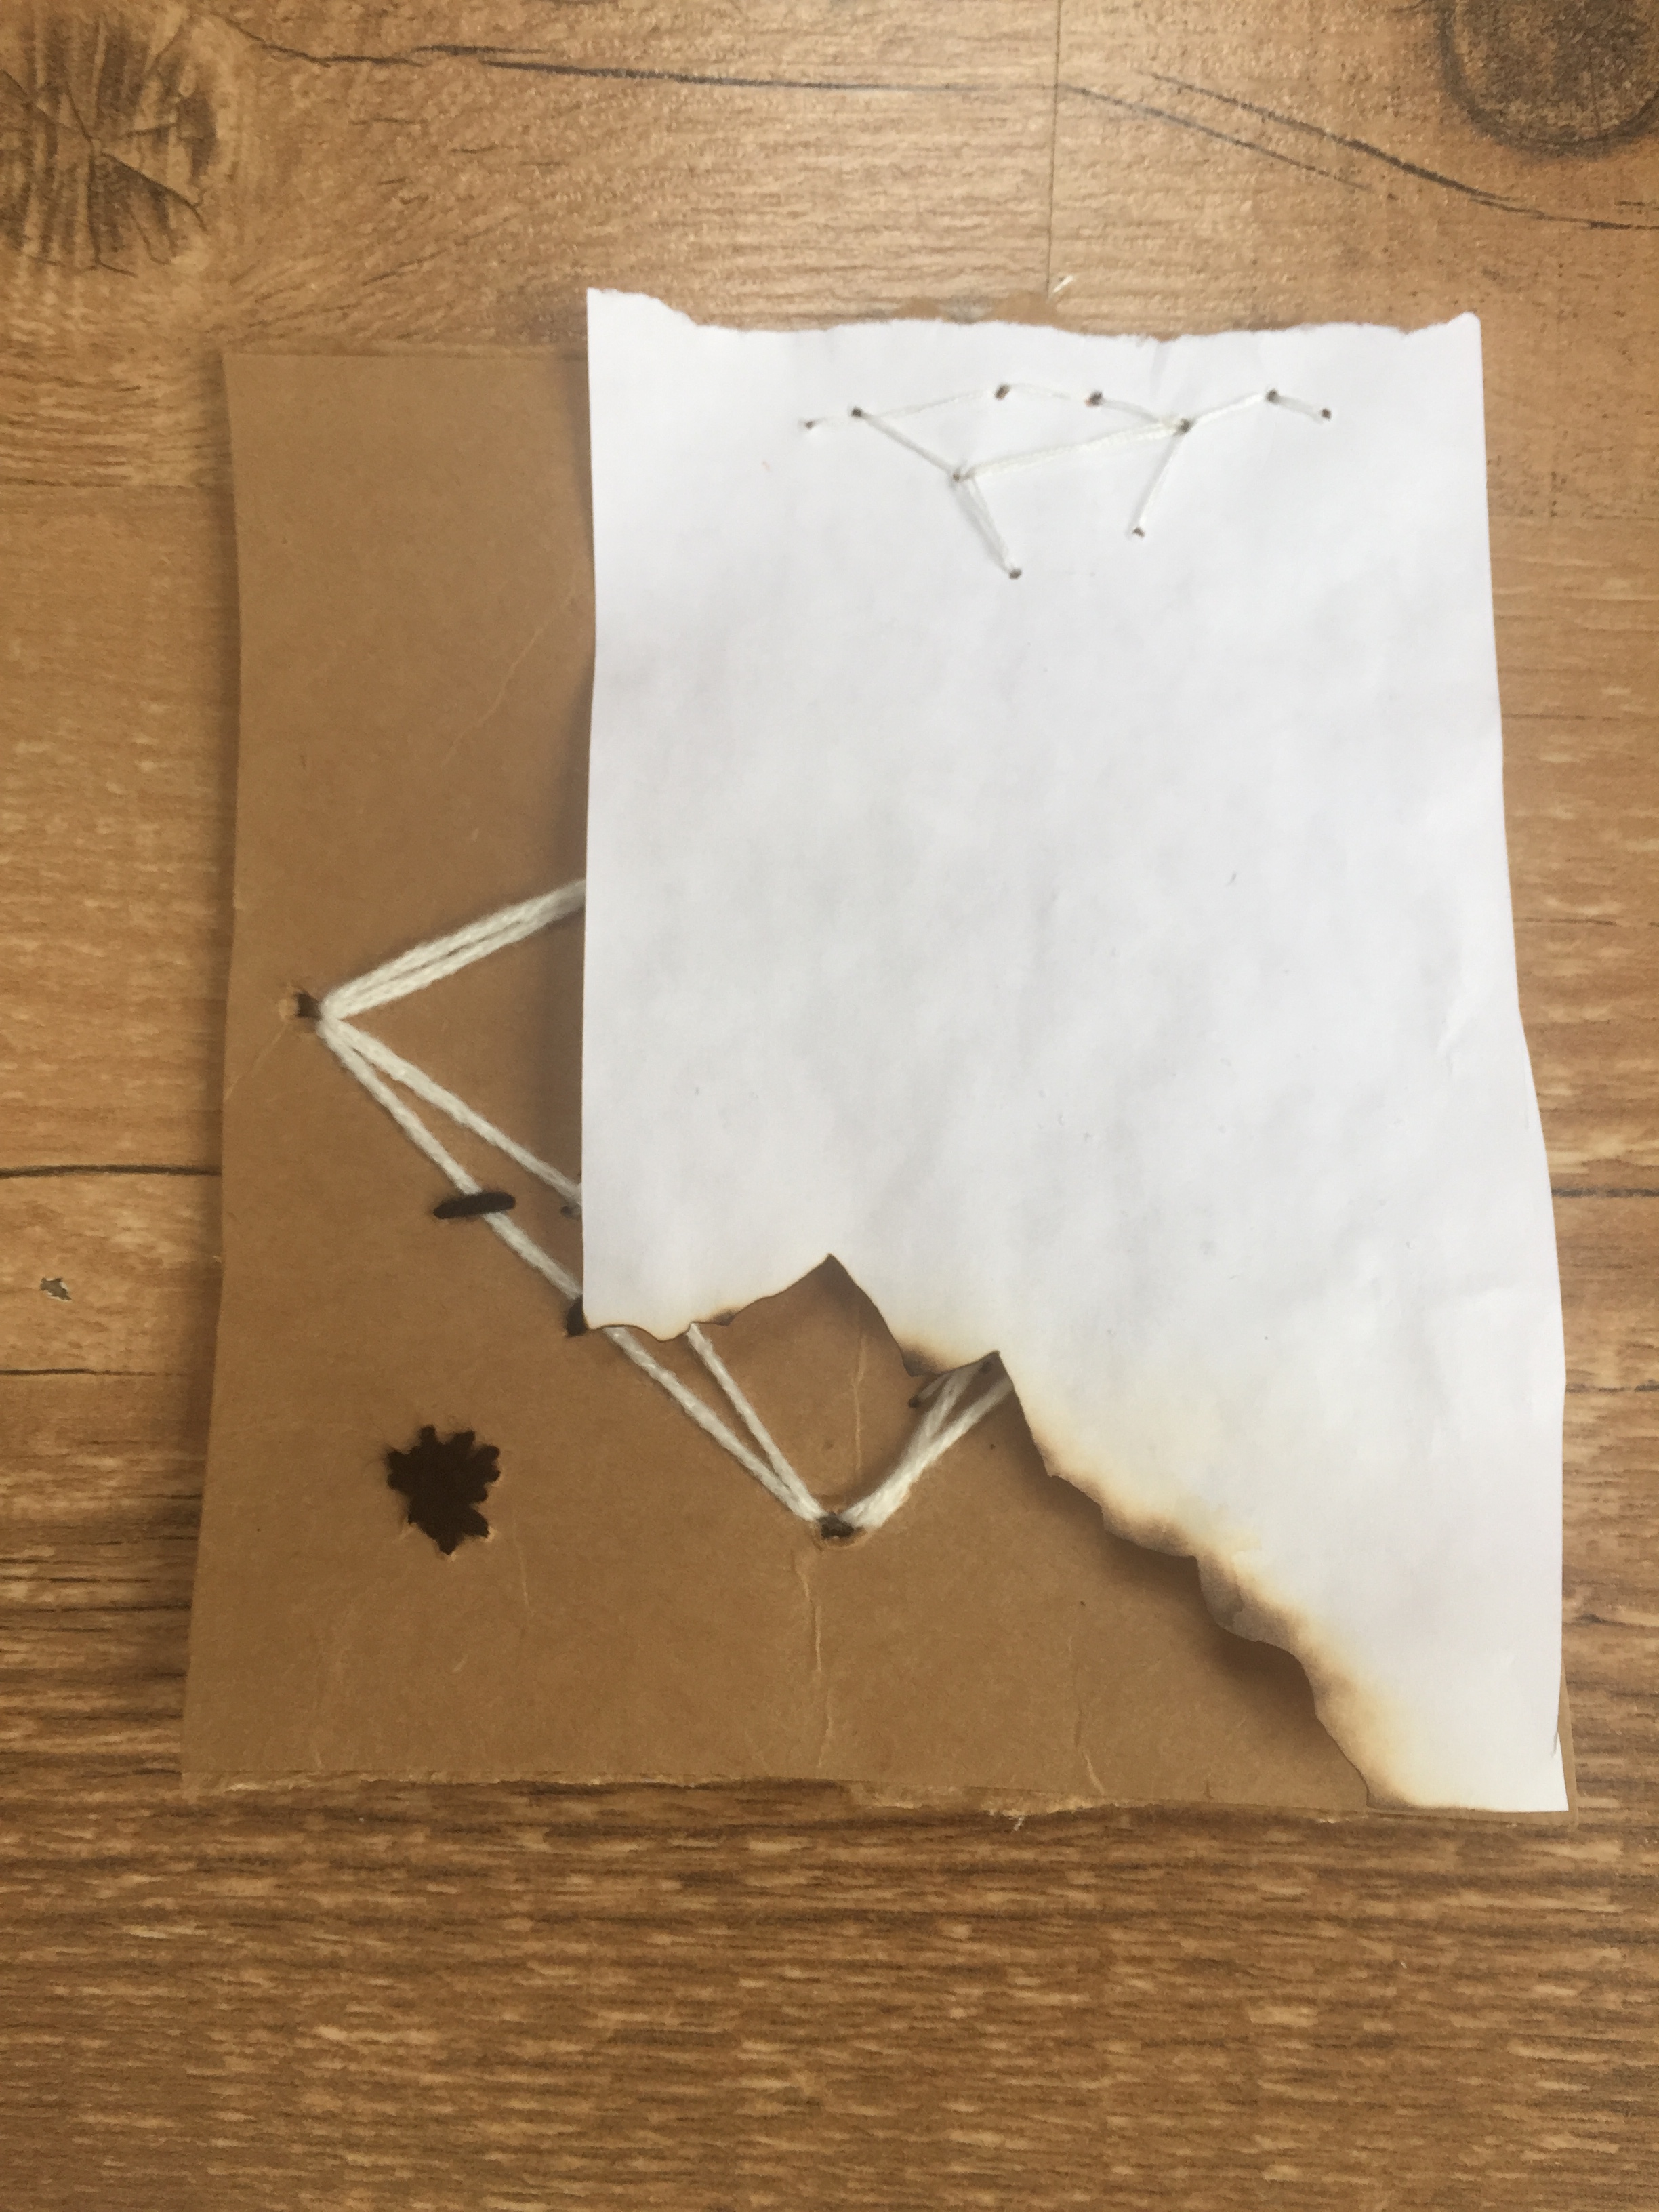
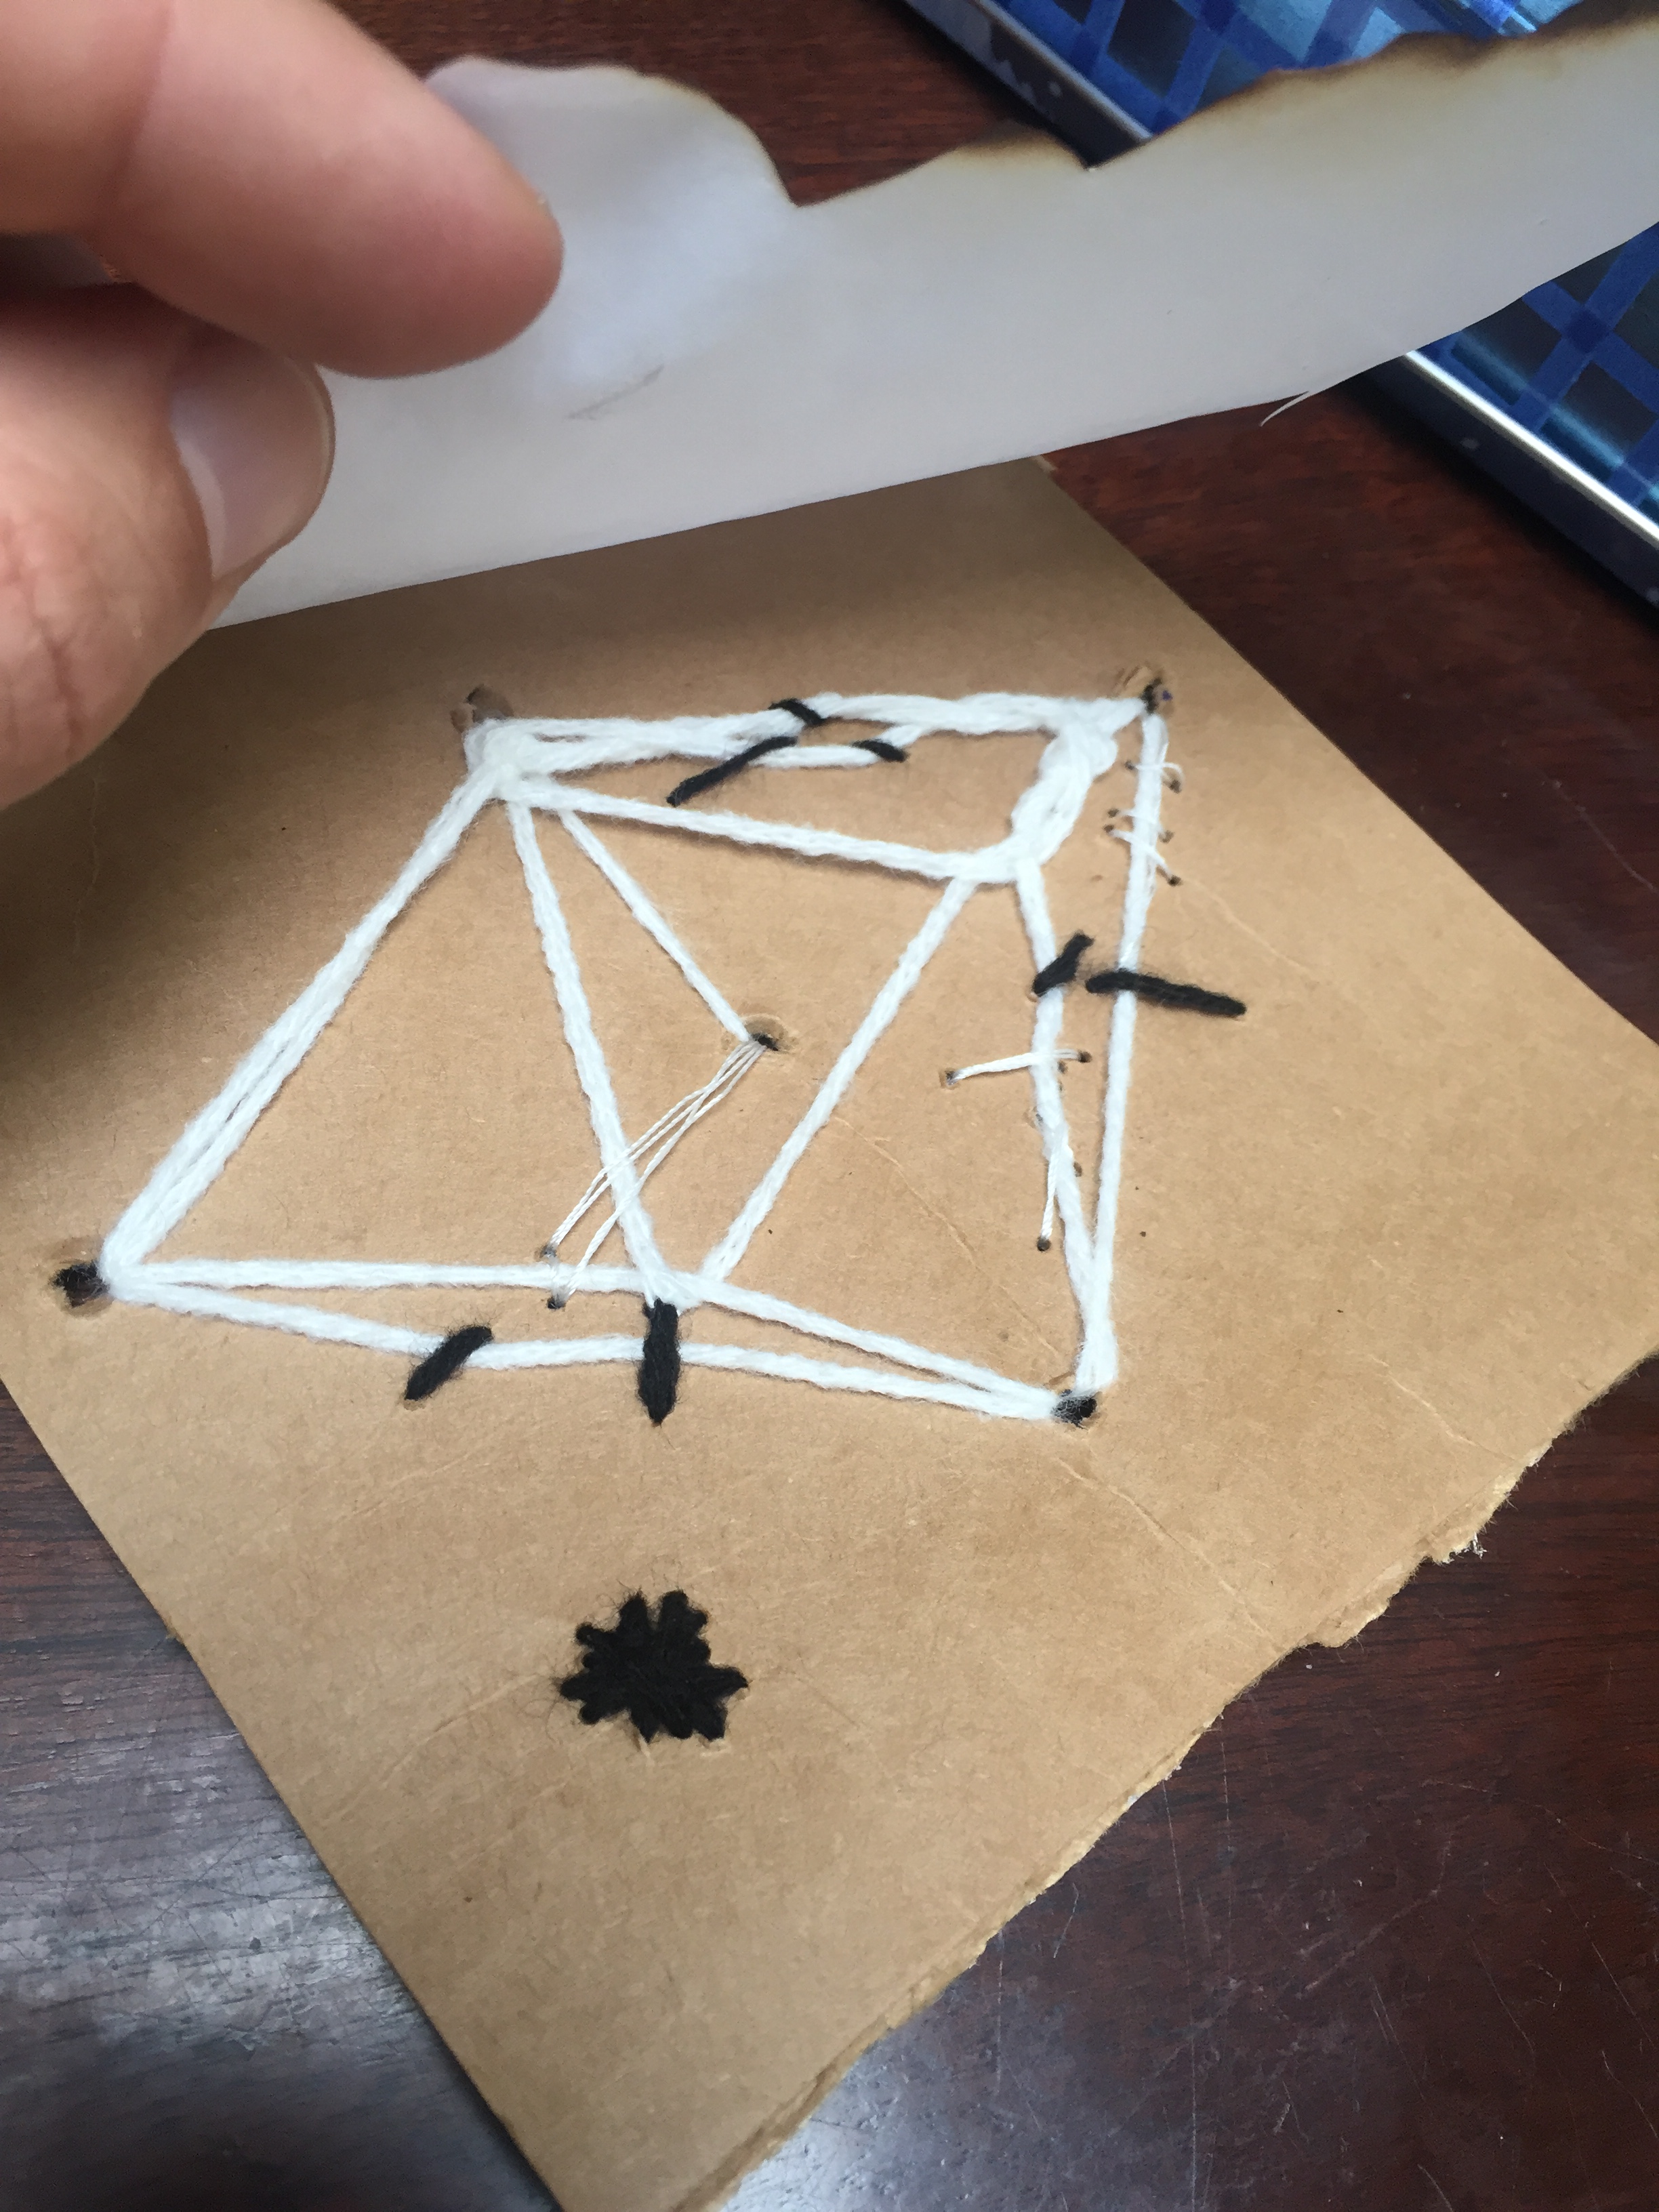
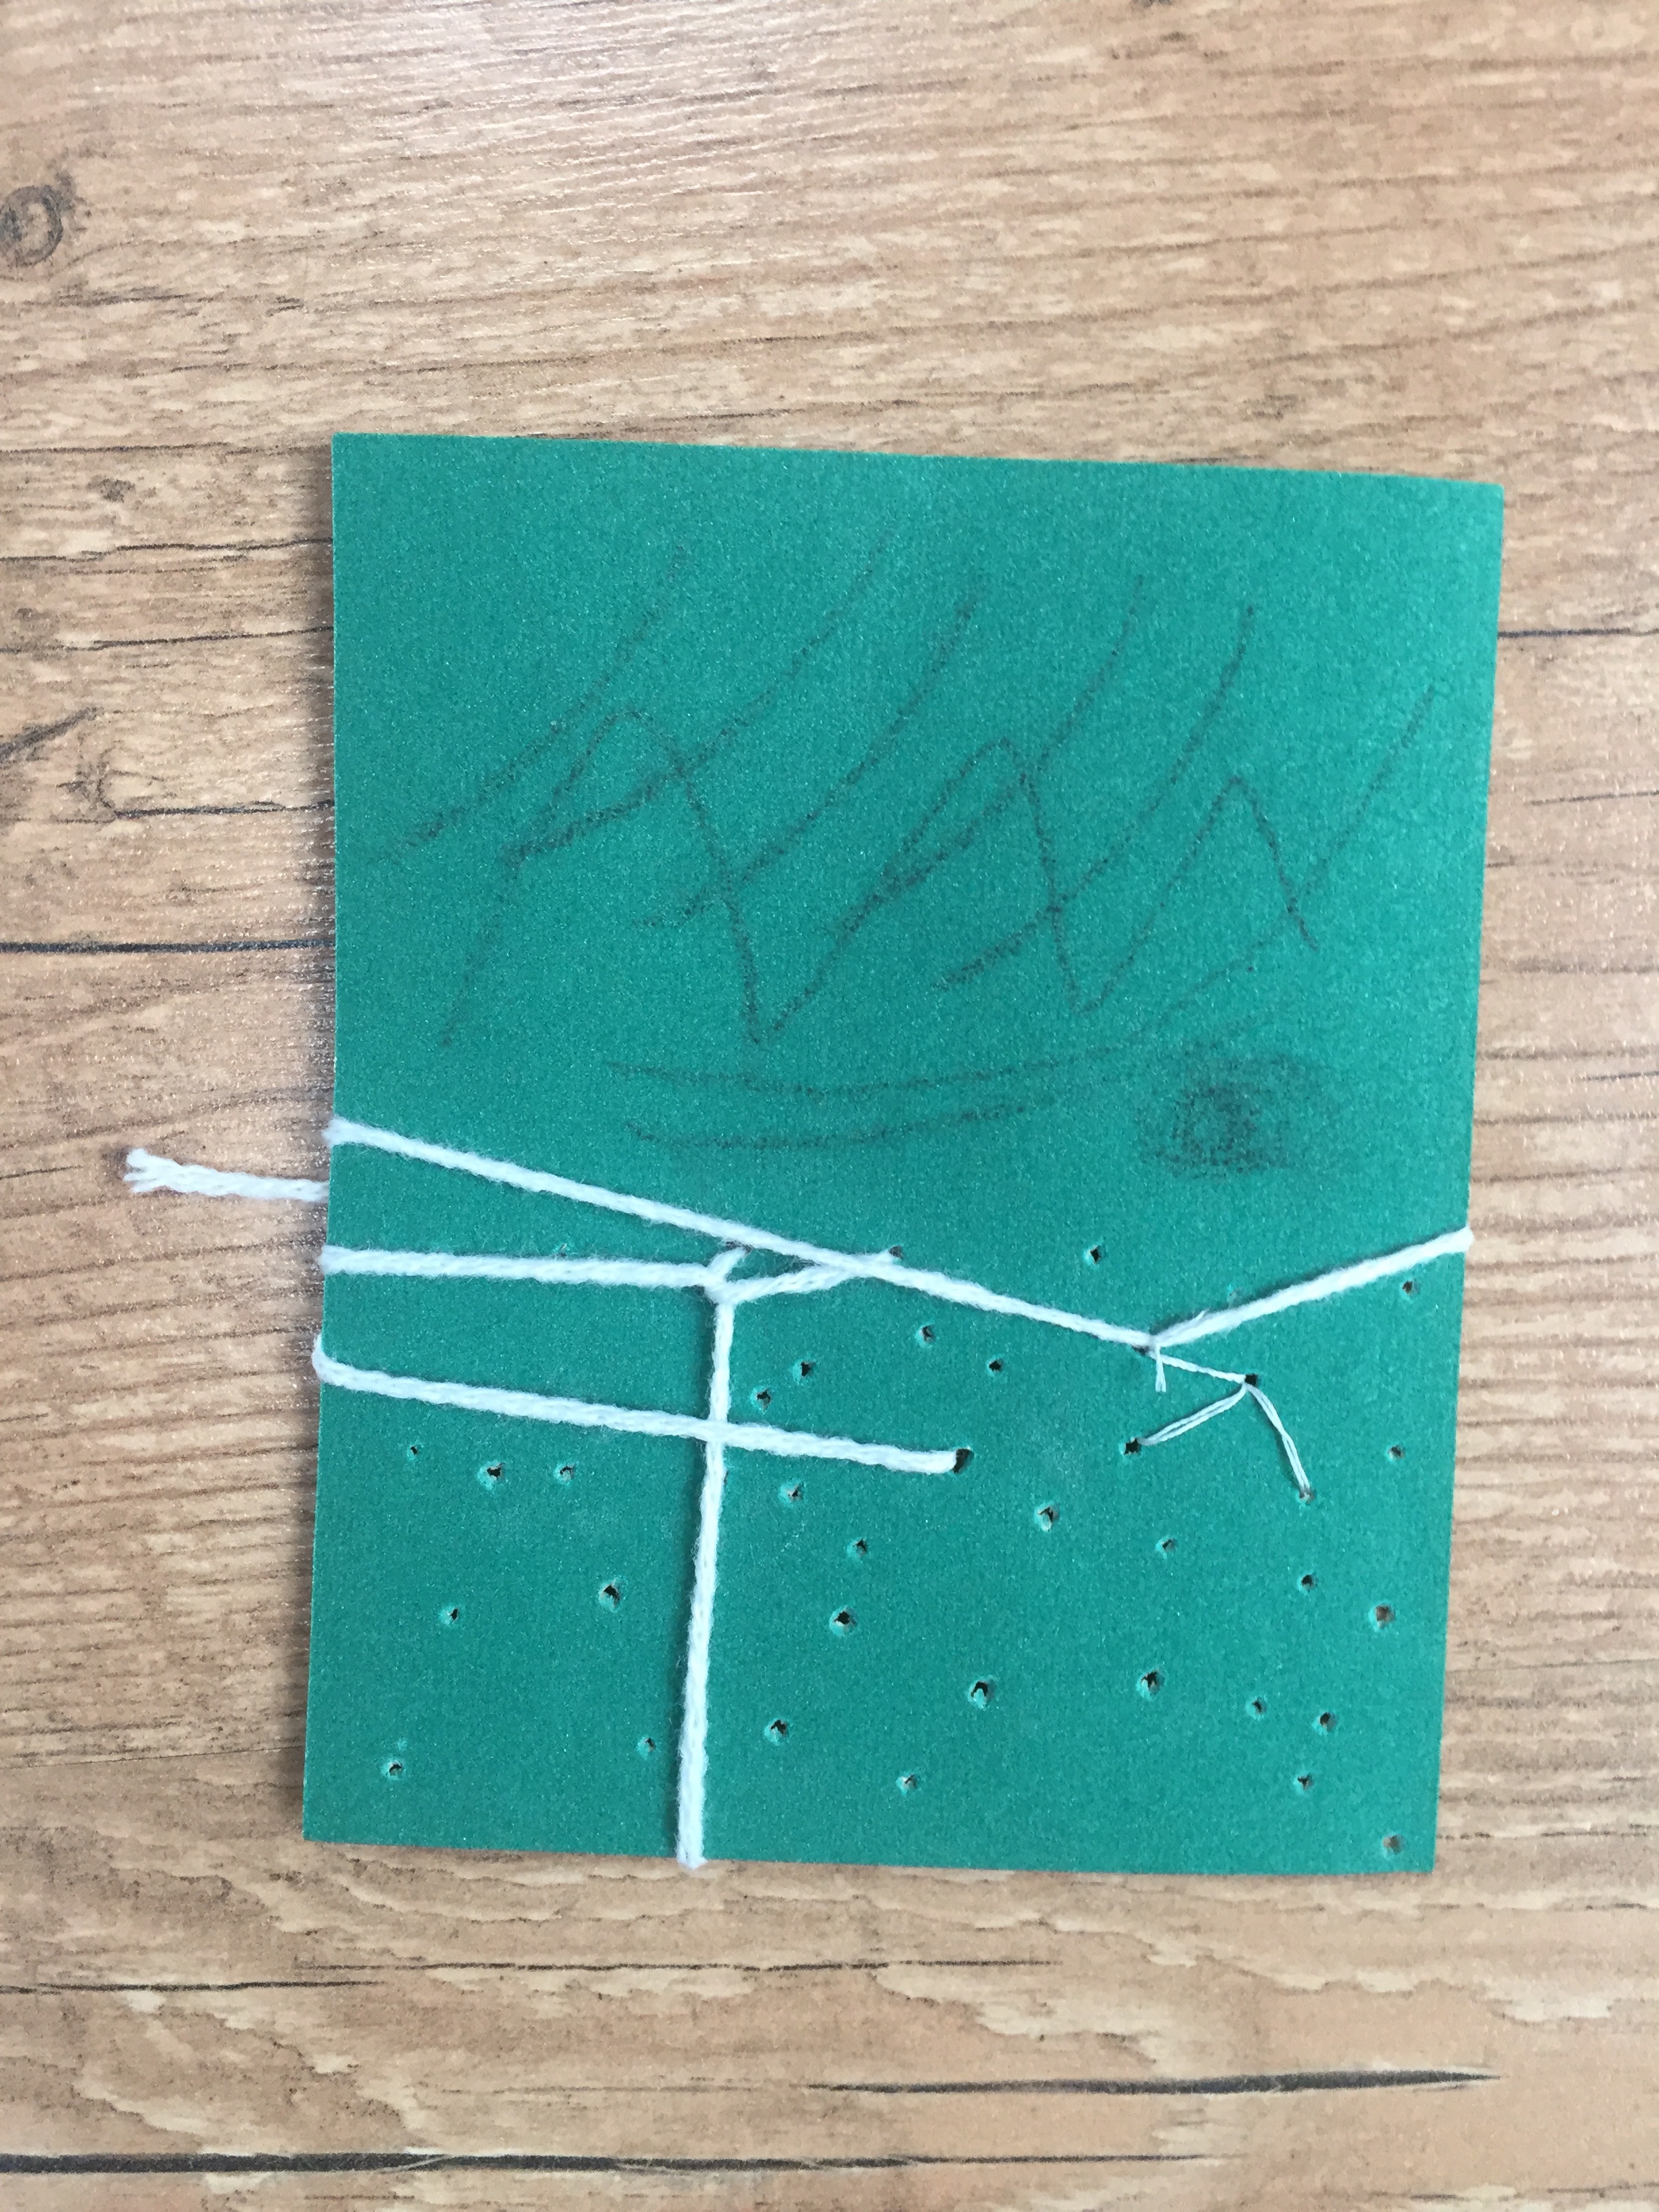


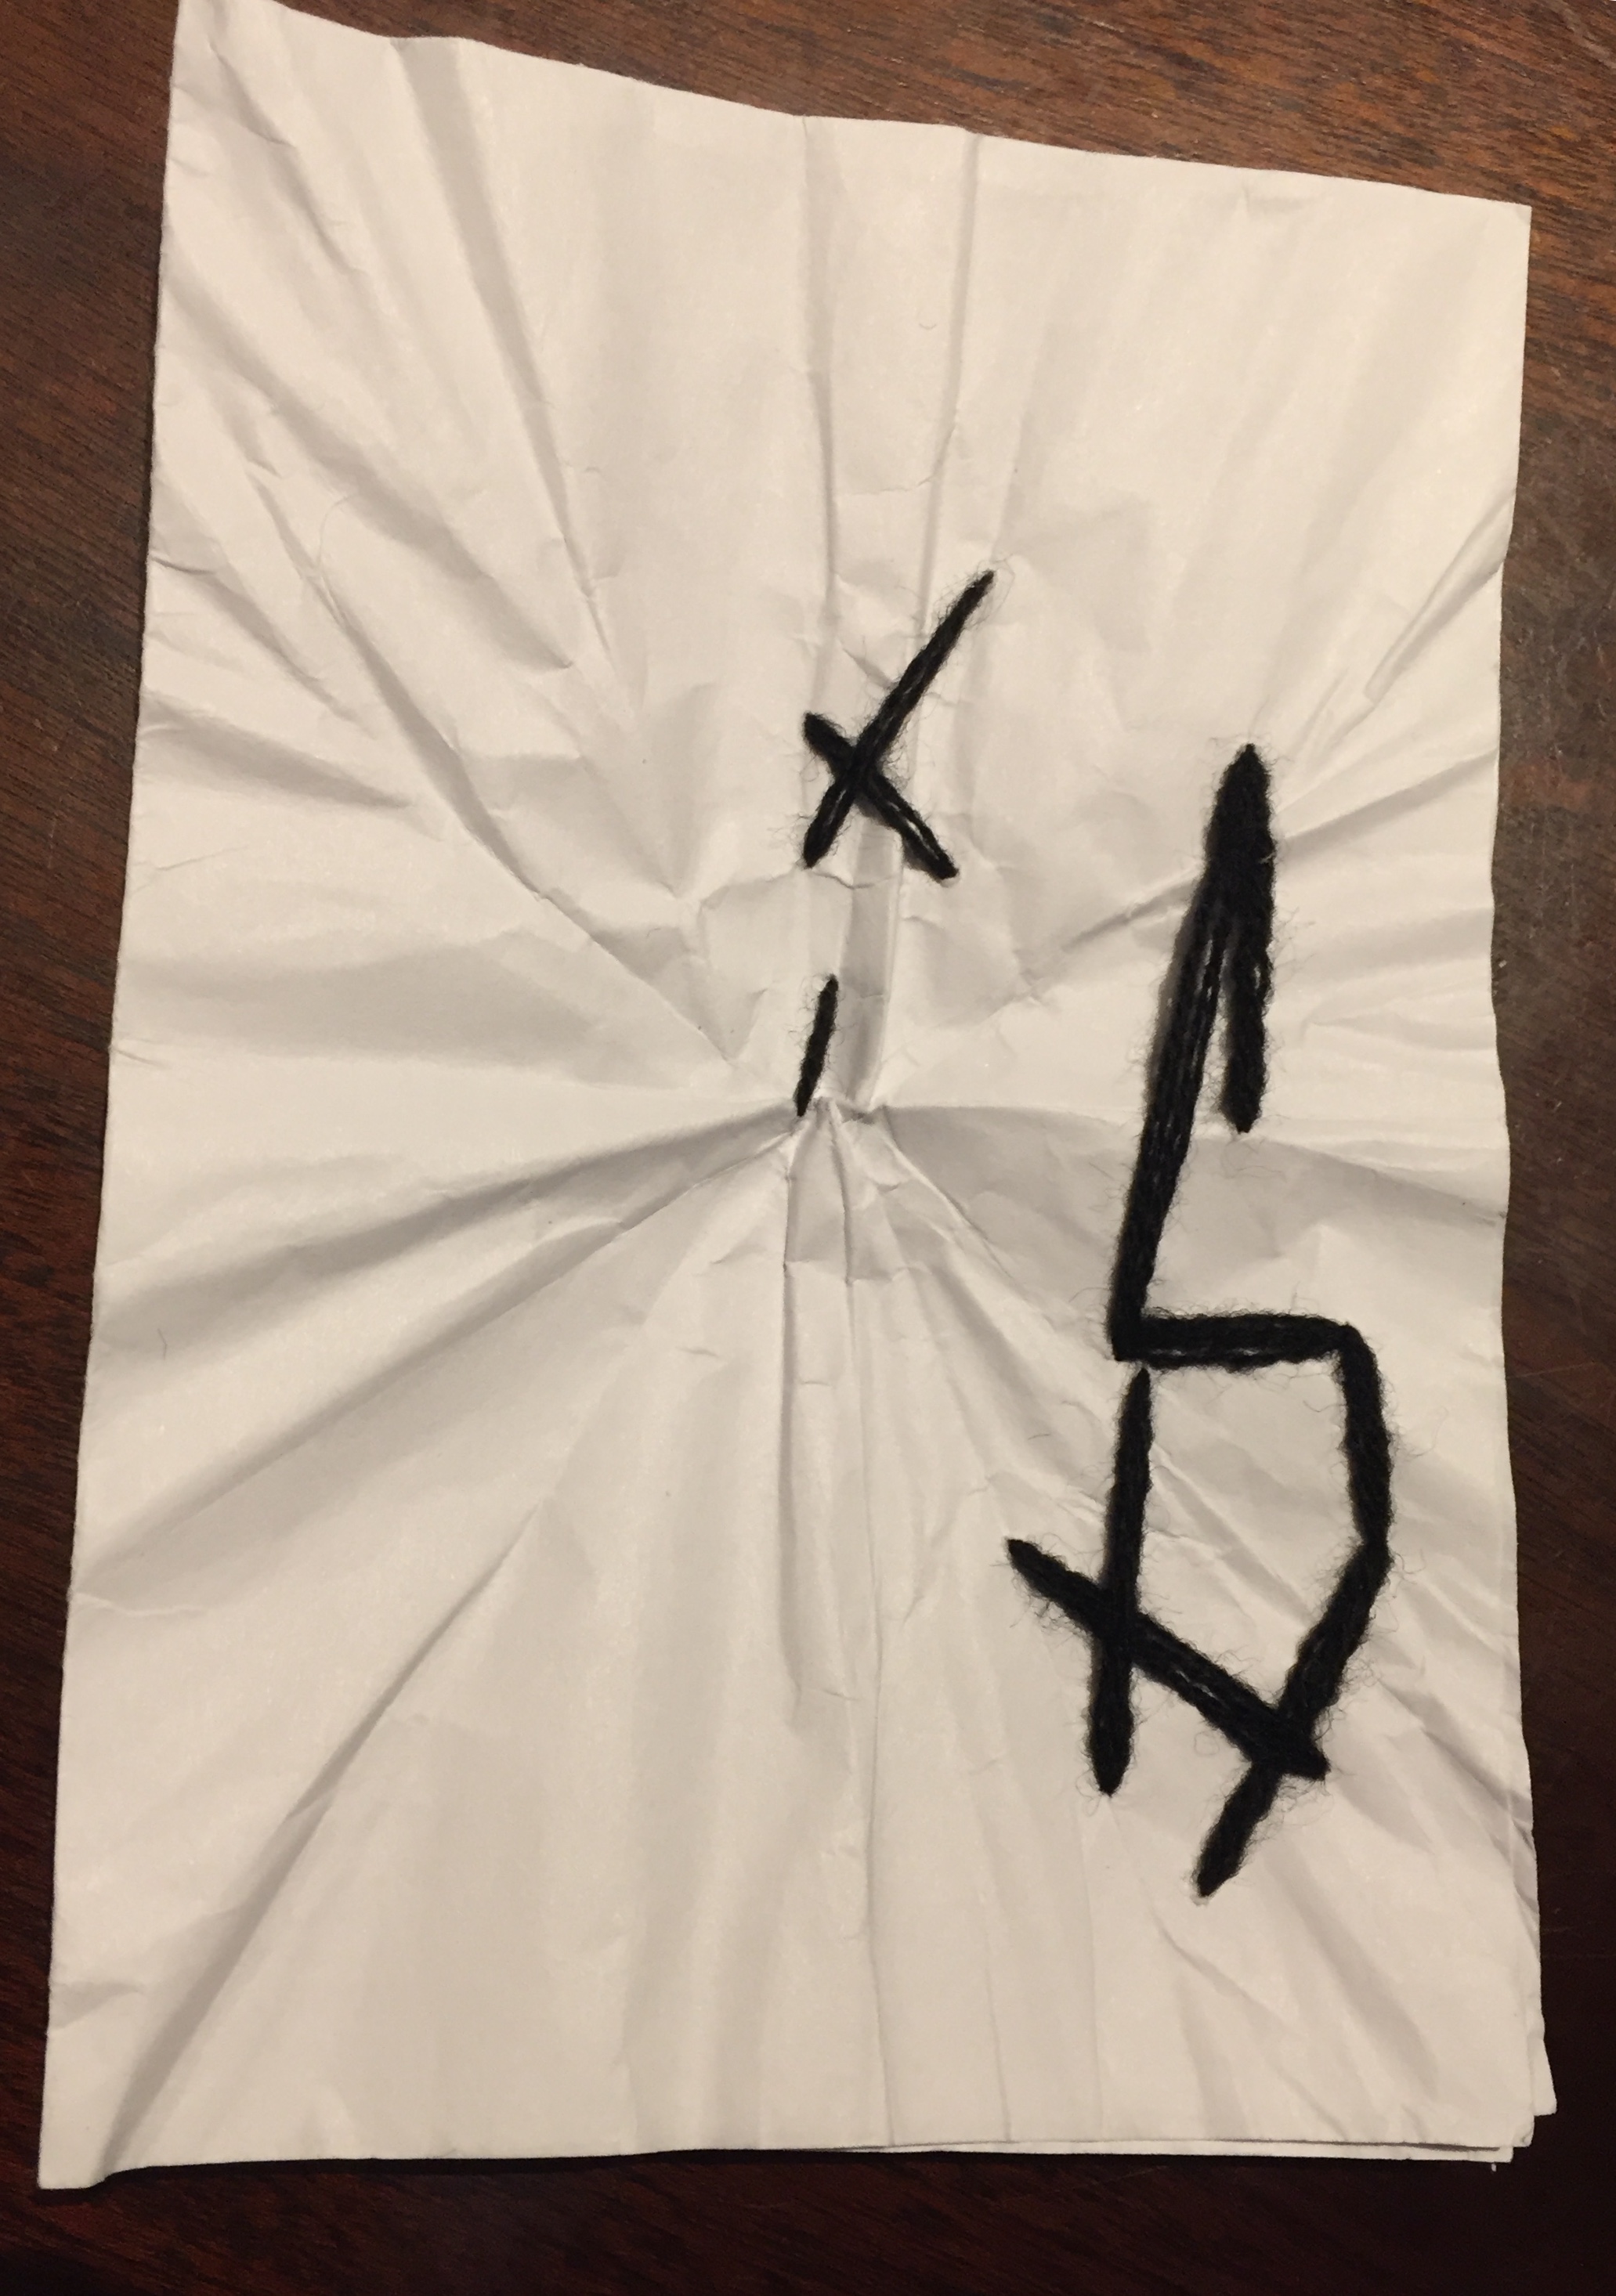


It was quite interesting process of seeing how paper is been transformed by stitching.Took me a while to figure ways around it but I’m quite pleased with what I’ve achieved.
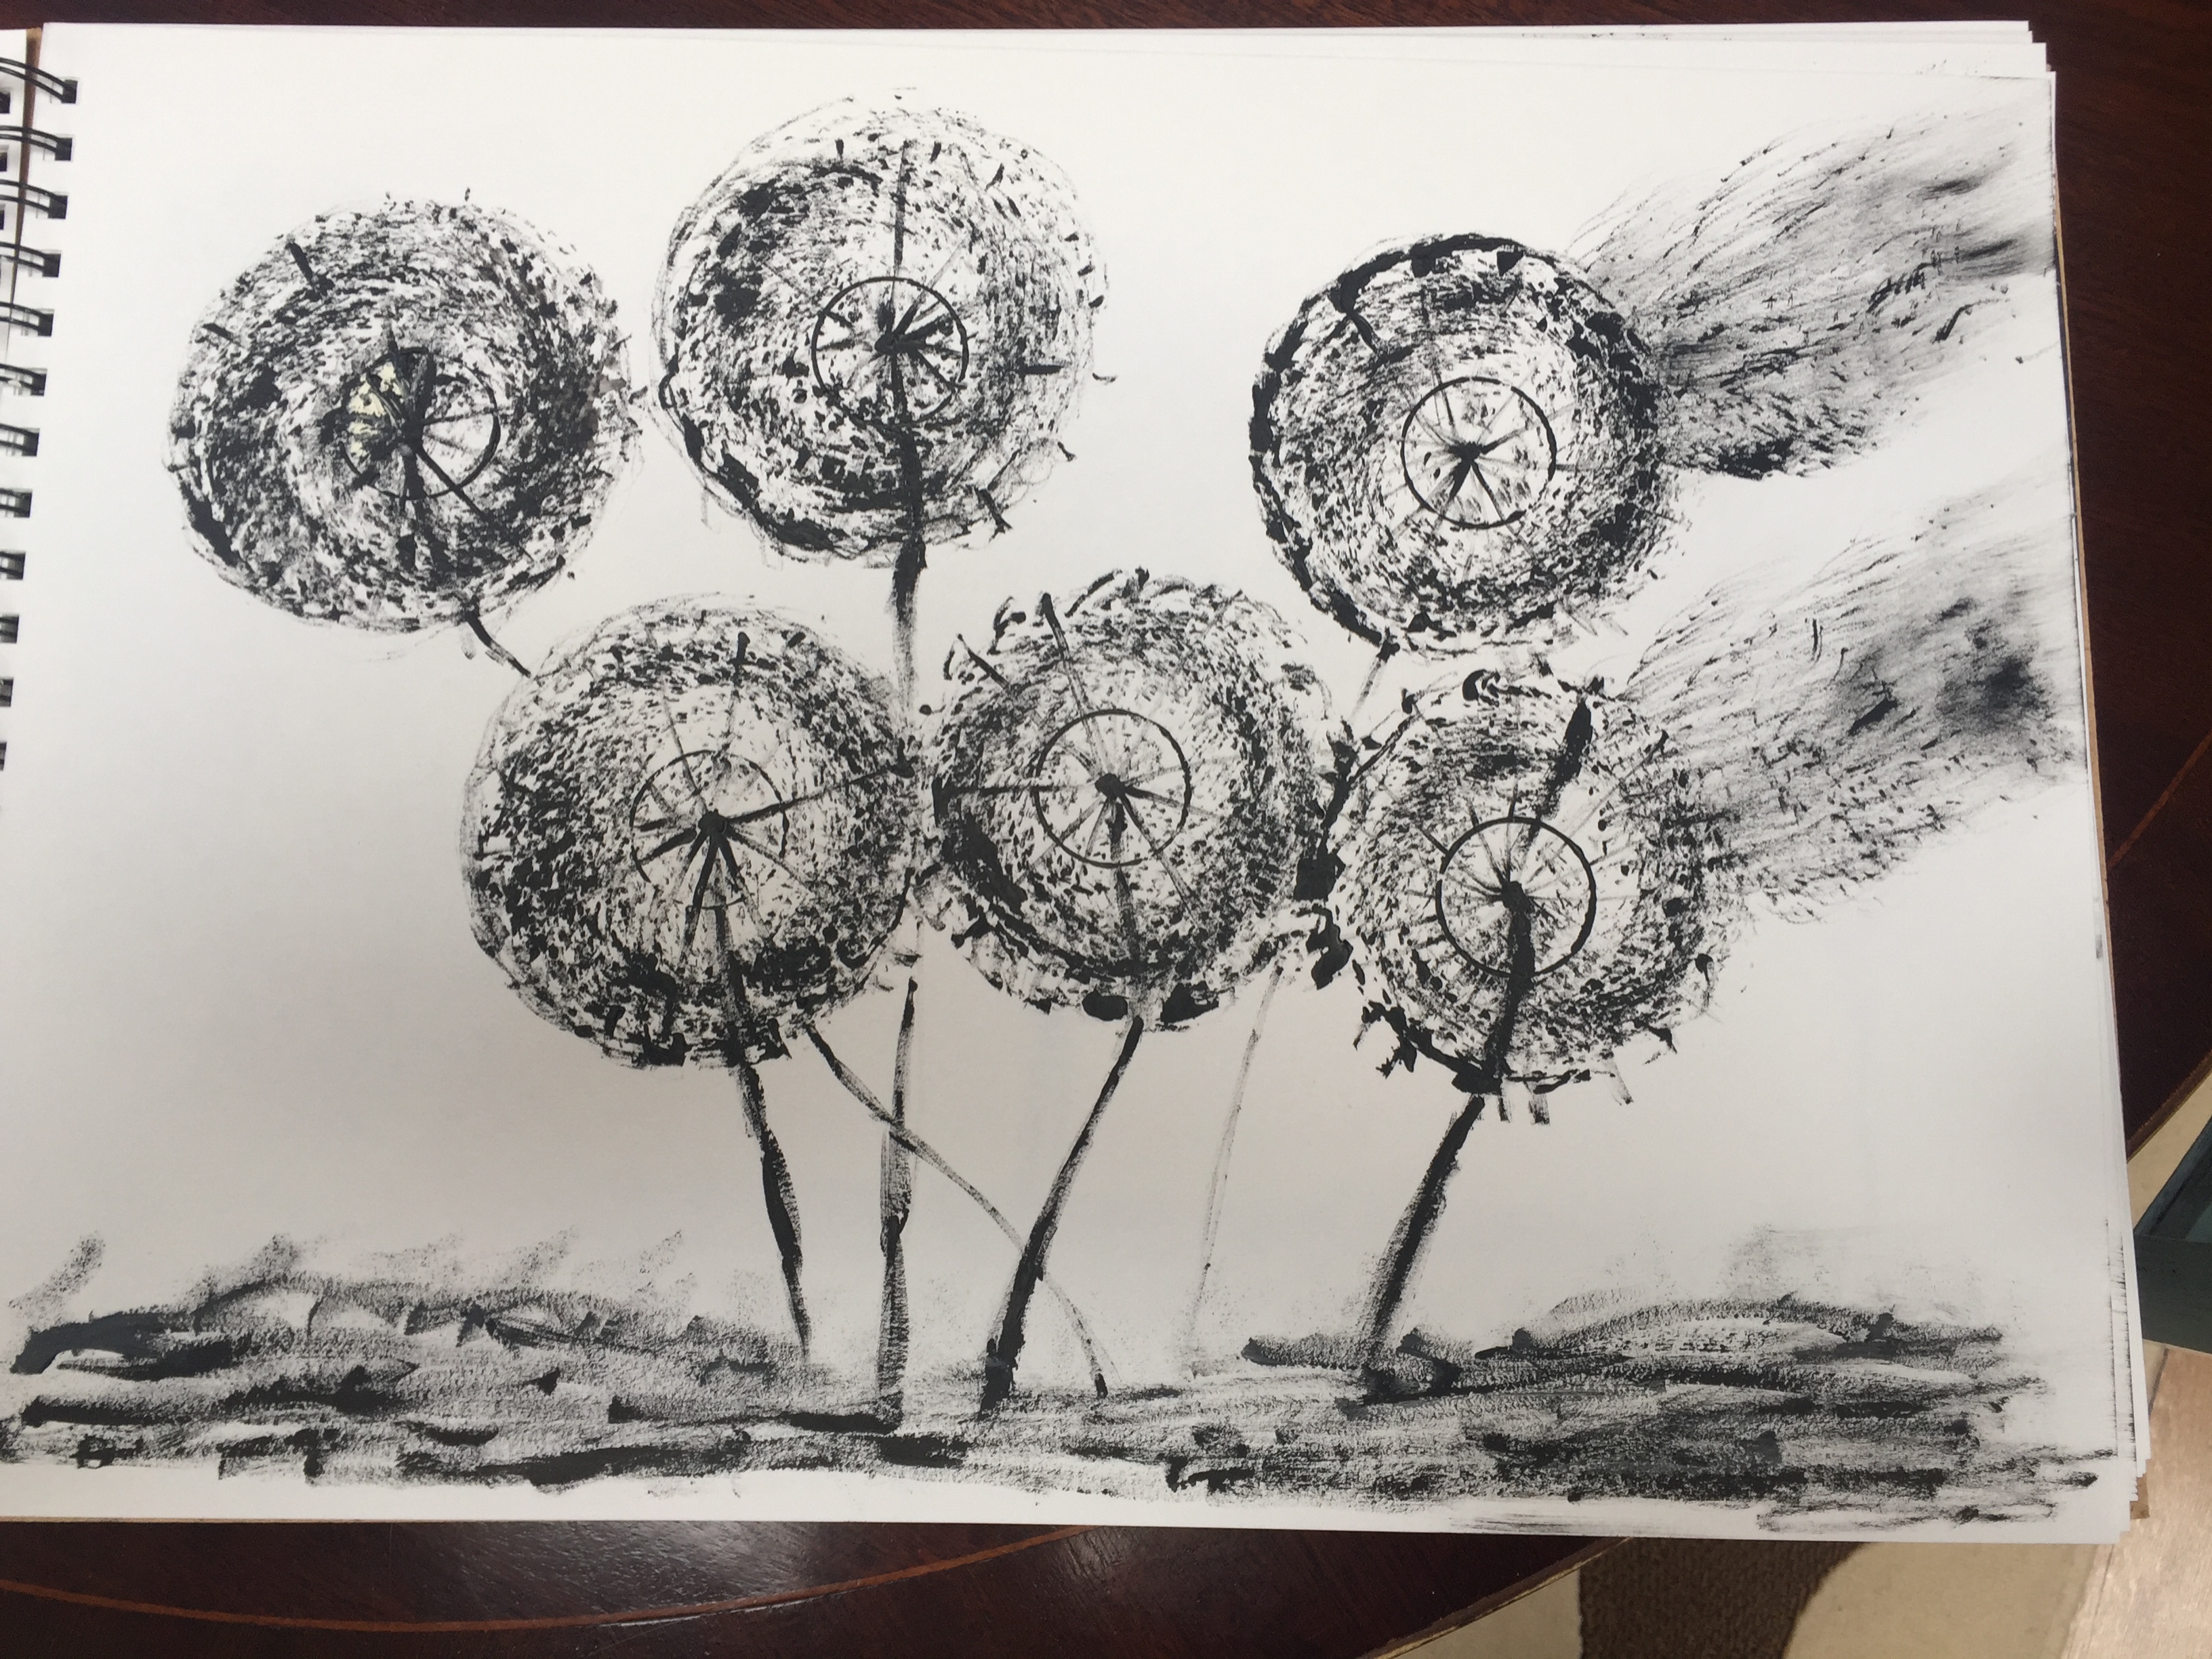
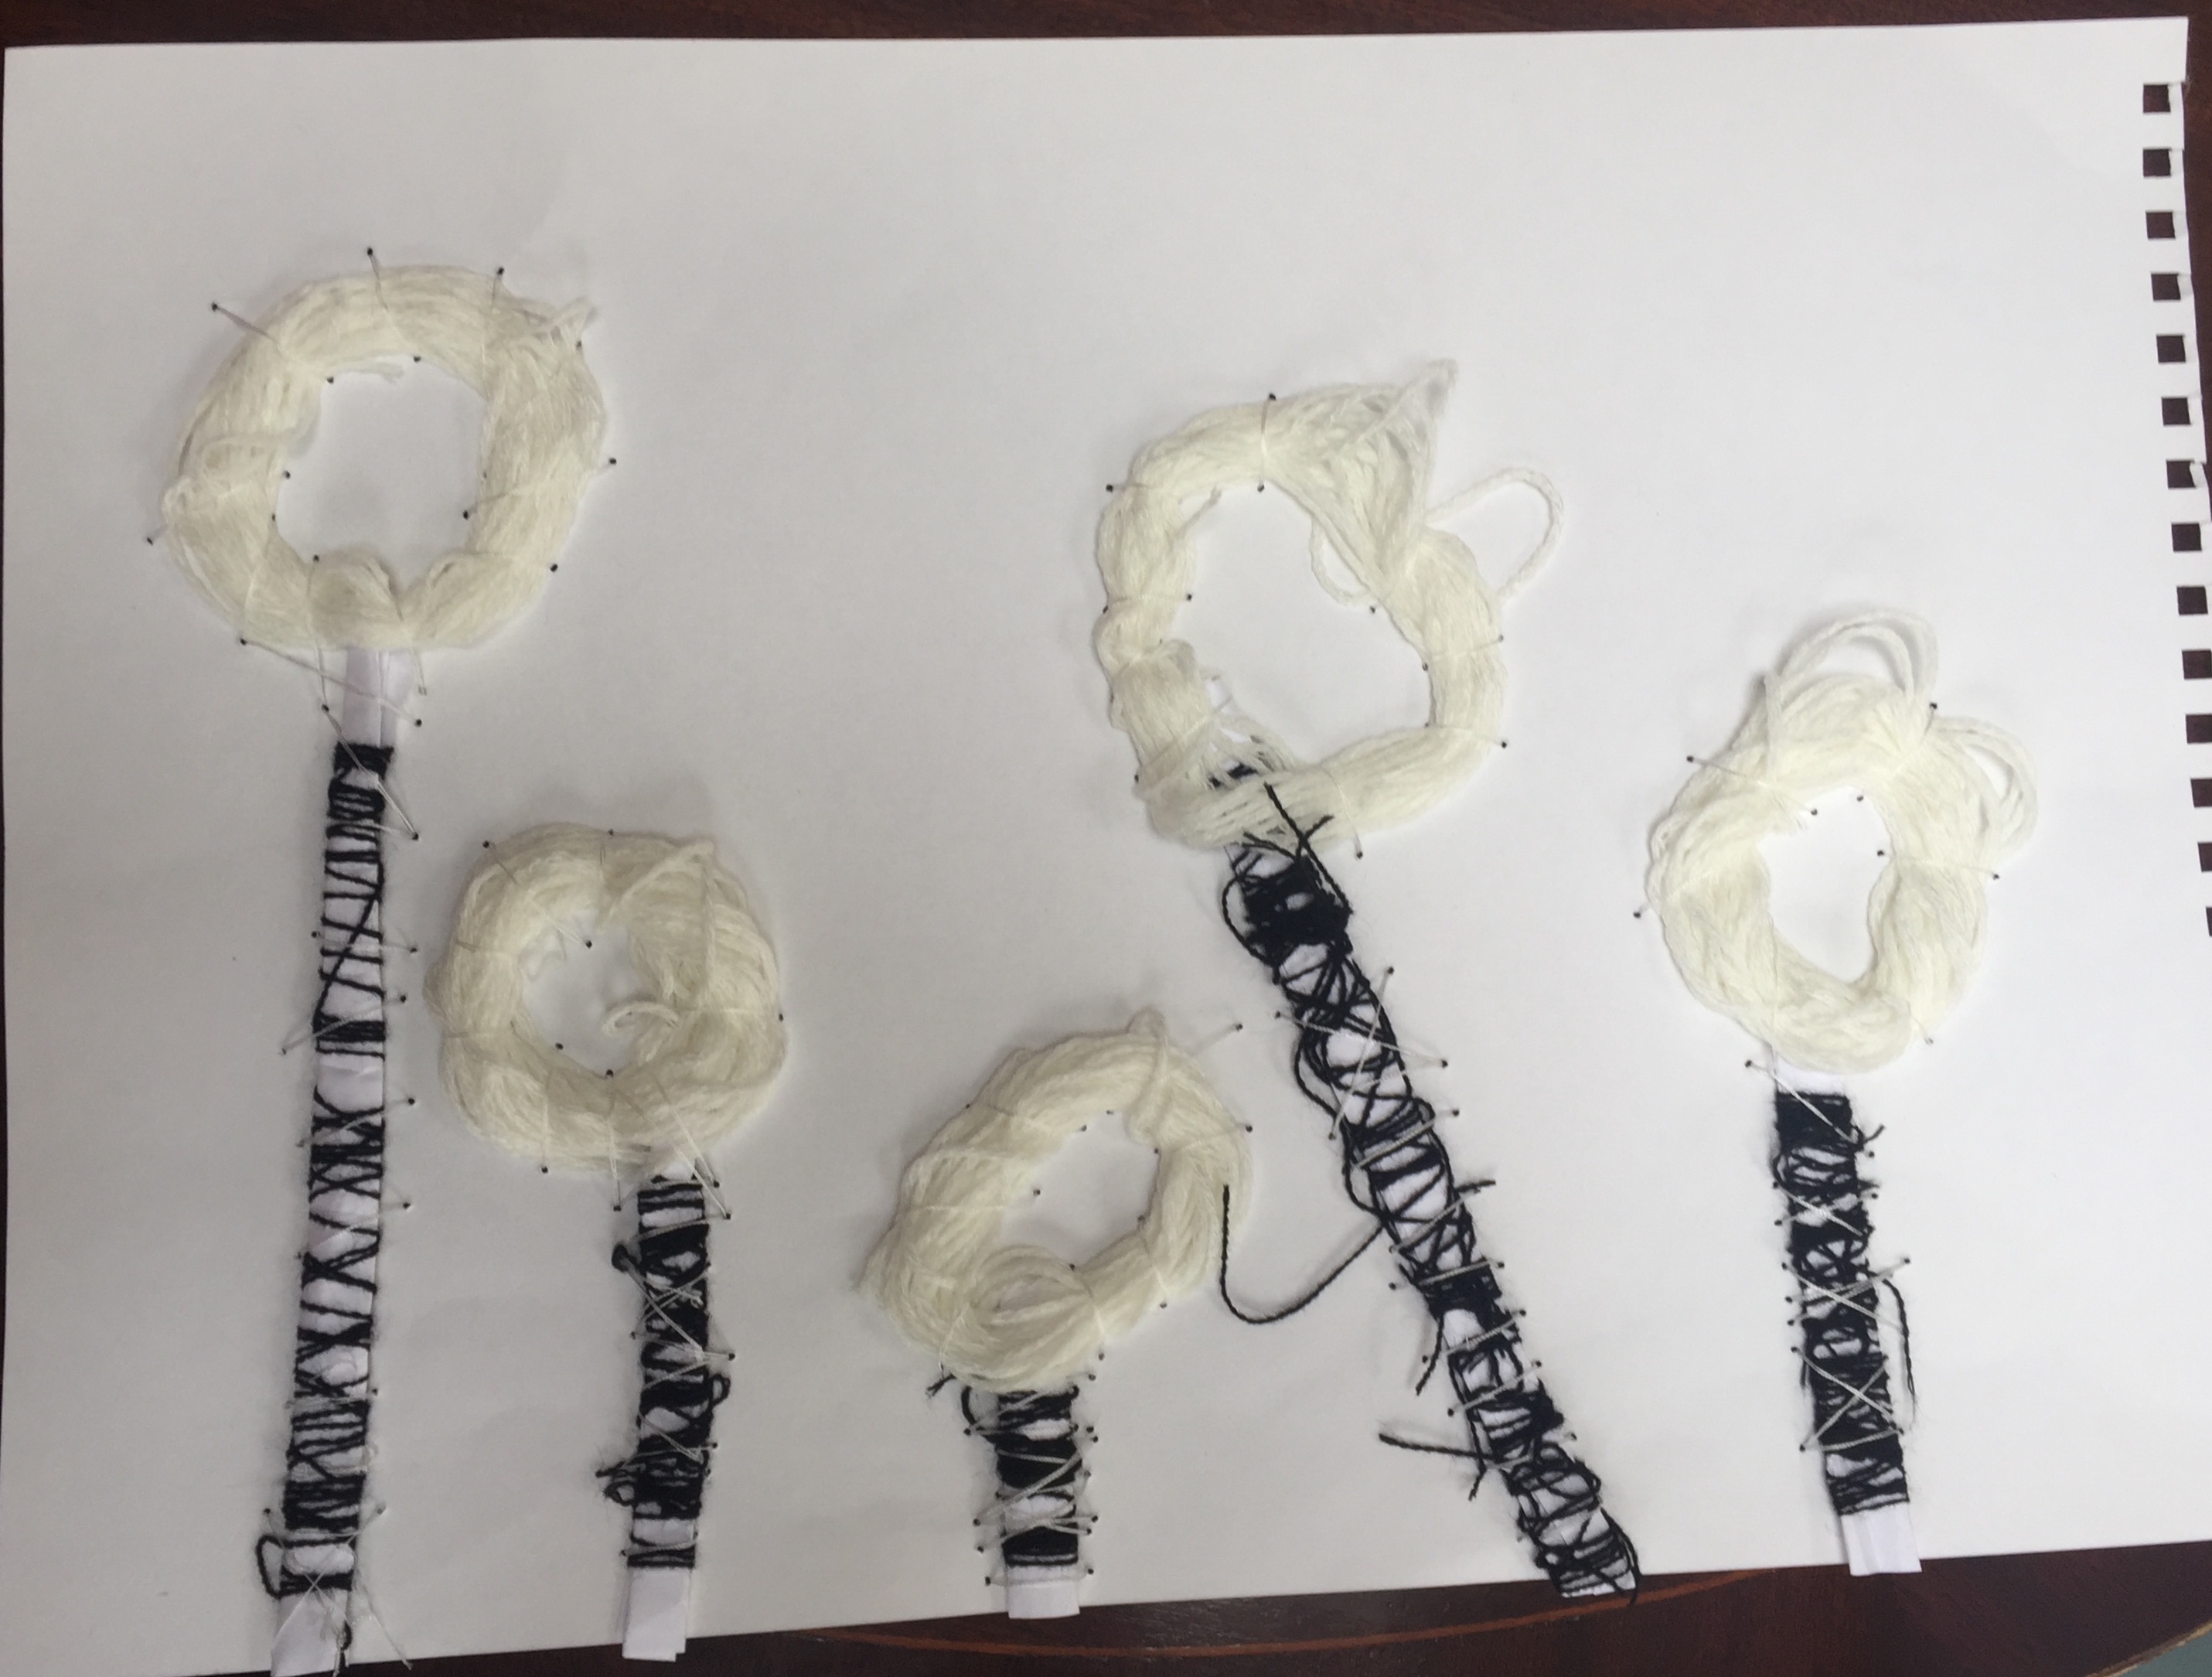
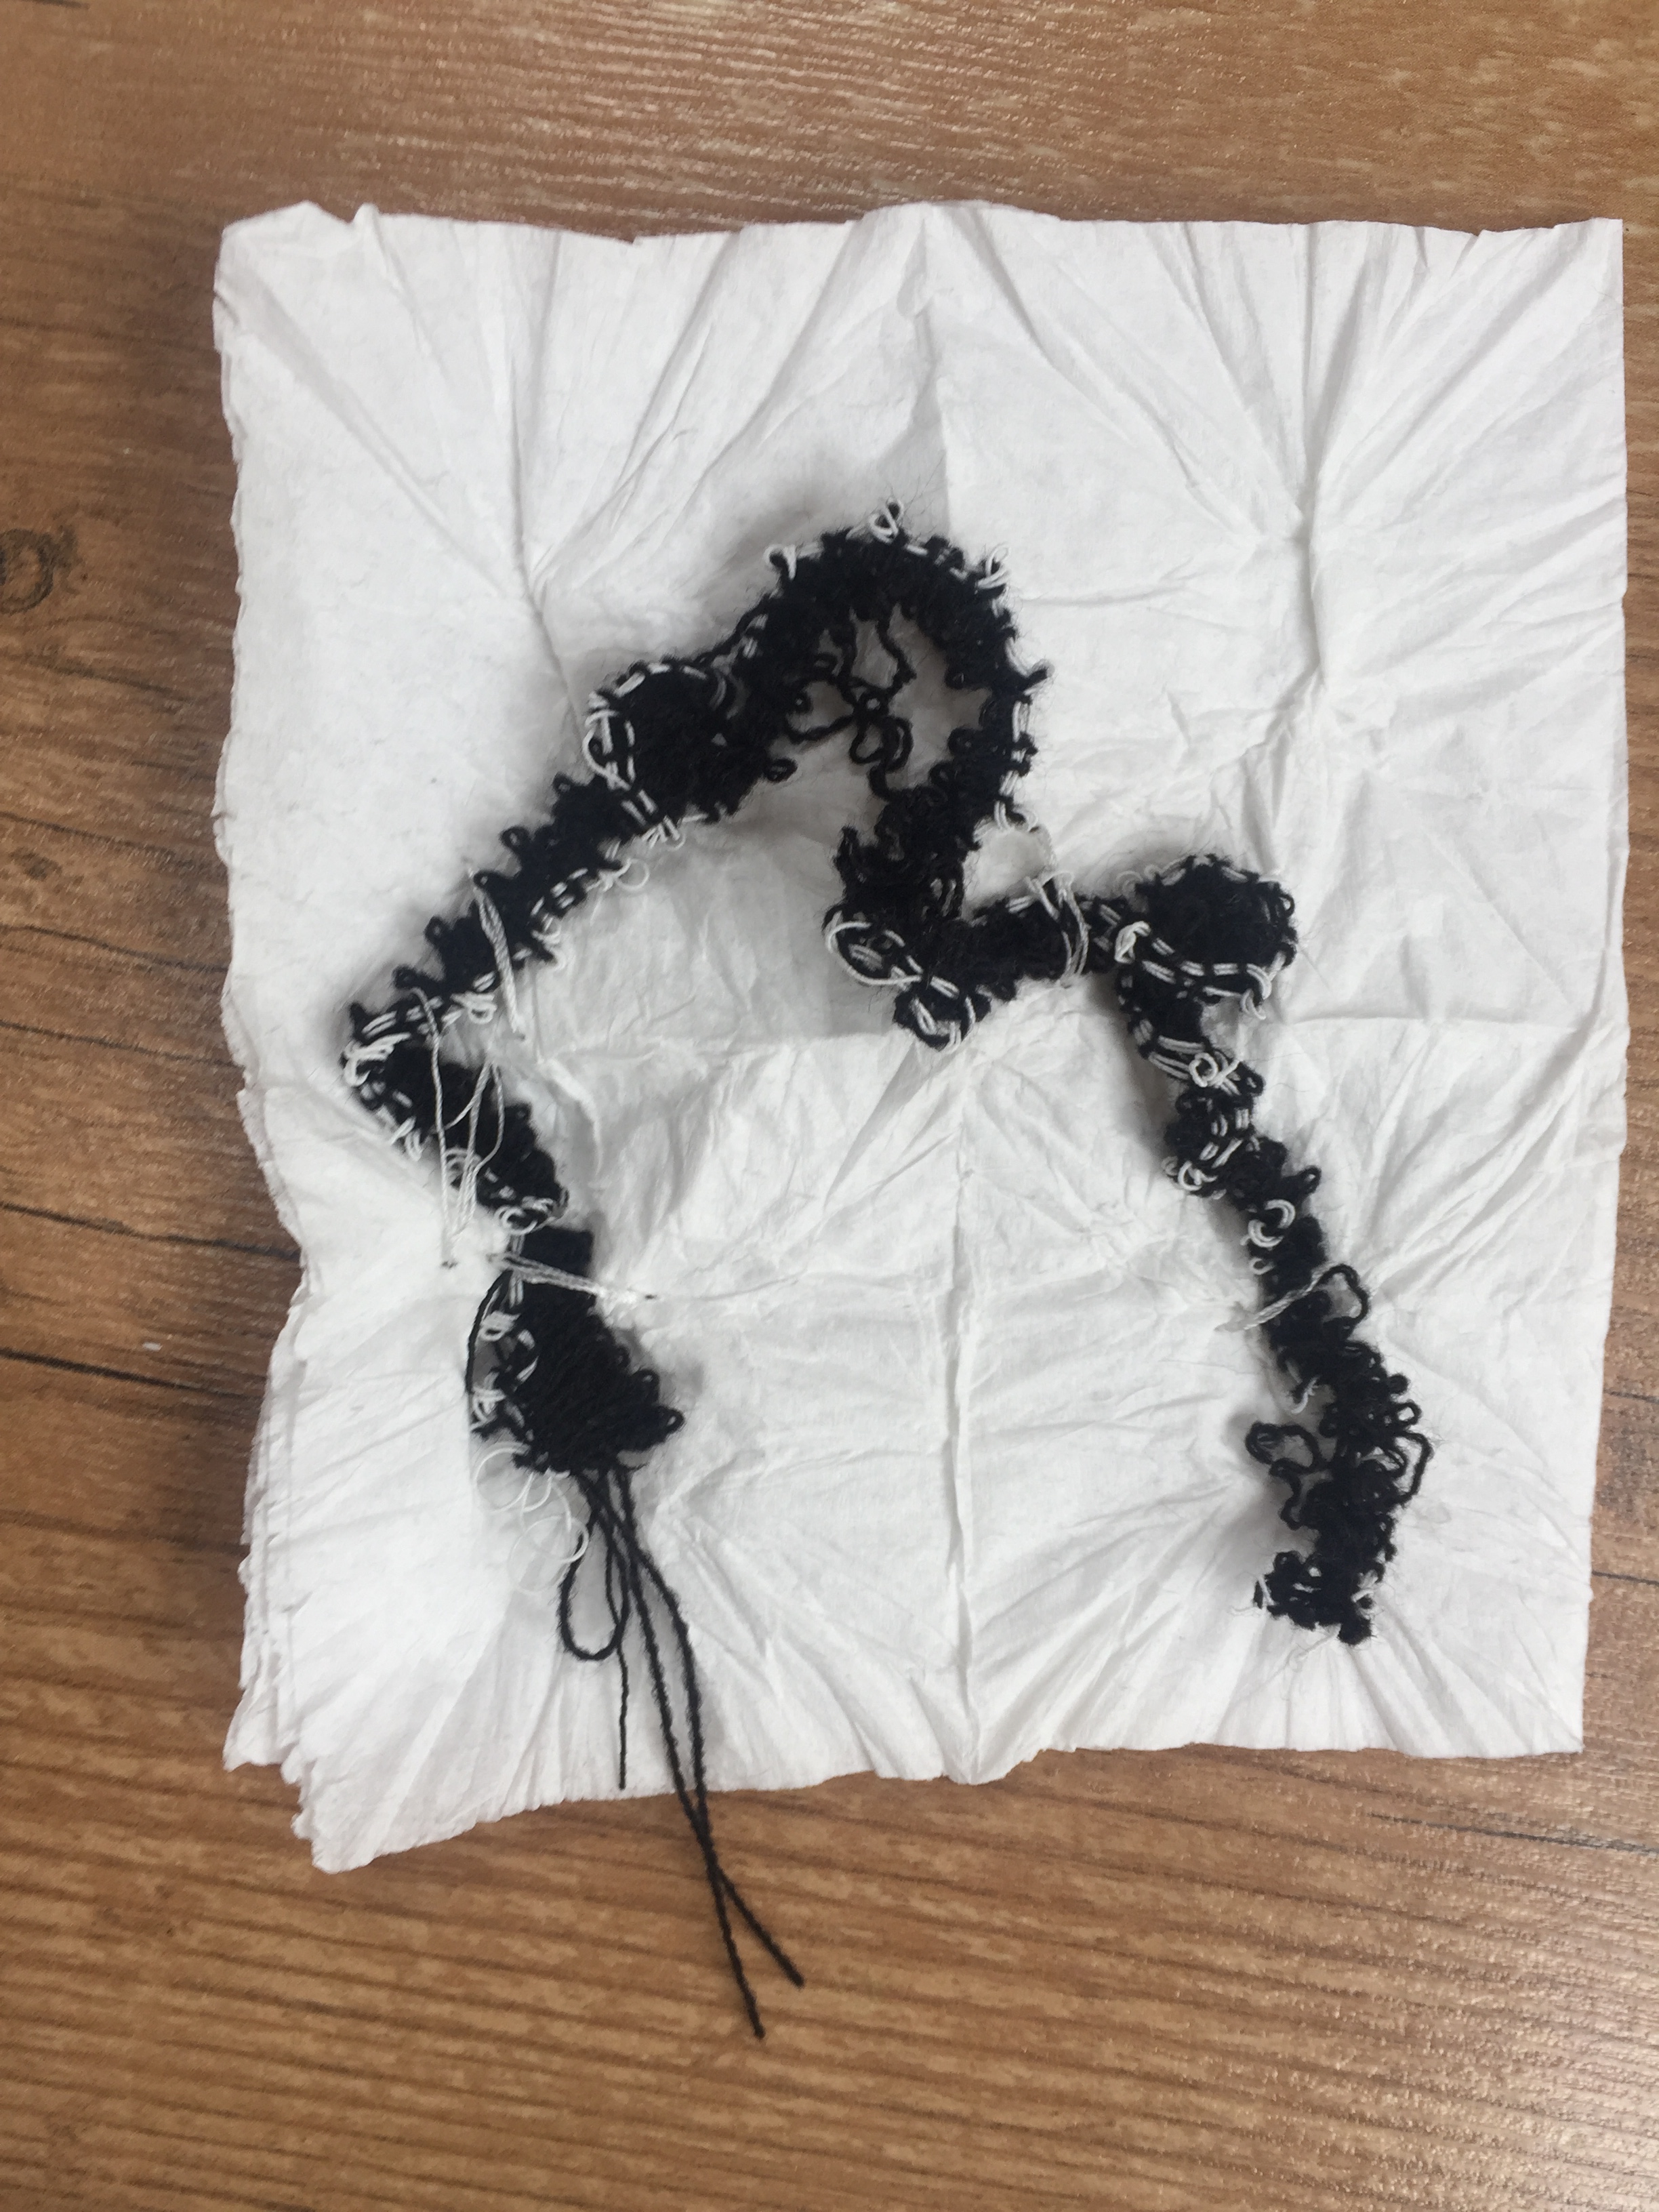
2.4 CREATING LARGER SCALE PIECES
As a first reference I use my dandelions: I wanted to create a round shape and as long as I was yarns for this I could achieve the soft and wool-like hand feel.