Stitching: Placed and spaced
<<To conclude Part Two of the course, in this assignment you’ll develop new stitched textiles work building on the stitched paper explorations you’ve just made. This assignment should feel like a relatively smooth transition from paper into textiles.
Aims:
Your aims in this assignment should be to:
• consolidate your exploration so far by creating a series of stitched textiles
• employ observational and compositional skills, as well as material and technique handling, in the creation of stitched textiles.>>
—–Following my tutor’s feedback regarding a proven record of the process of textile creation I’ve decided to start from scratch and follow his advice by using books he advised in order to overcome my difficulty and discomfort regarding drawing .
So my steps will be:
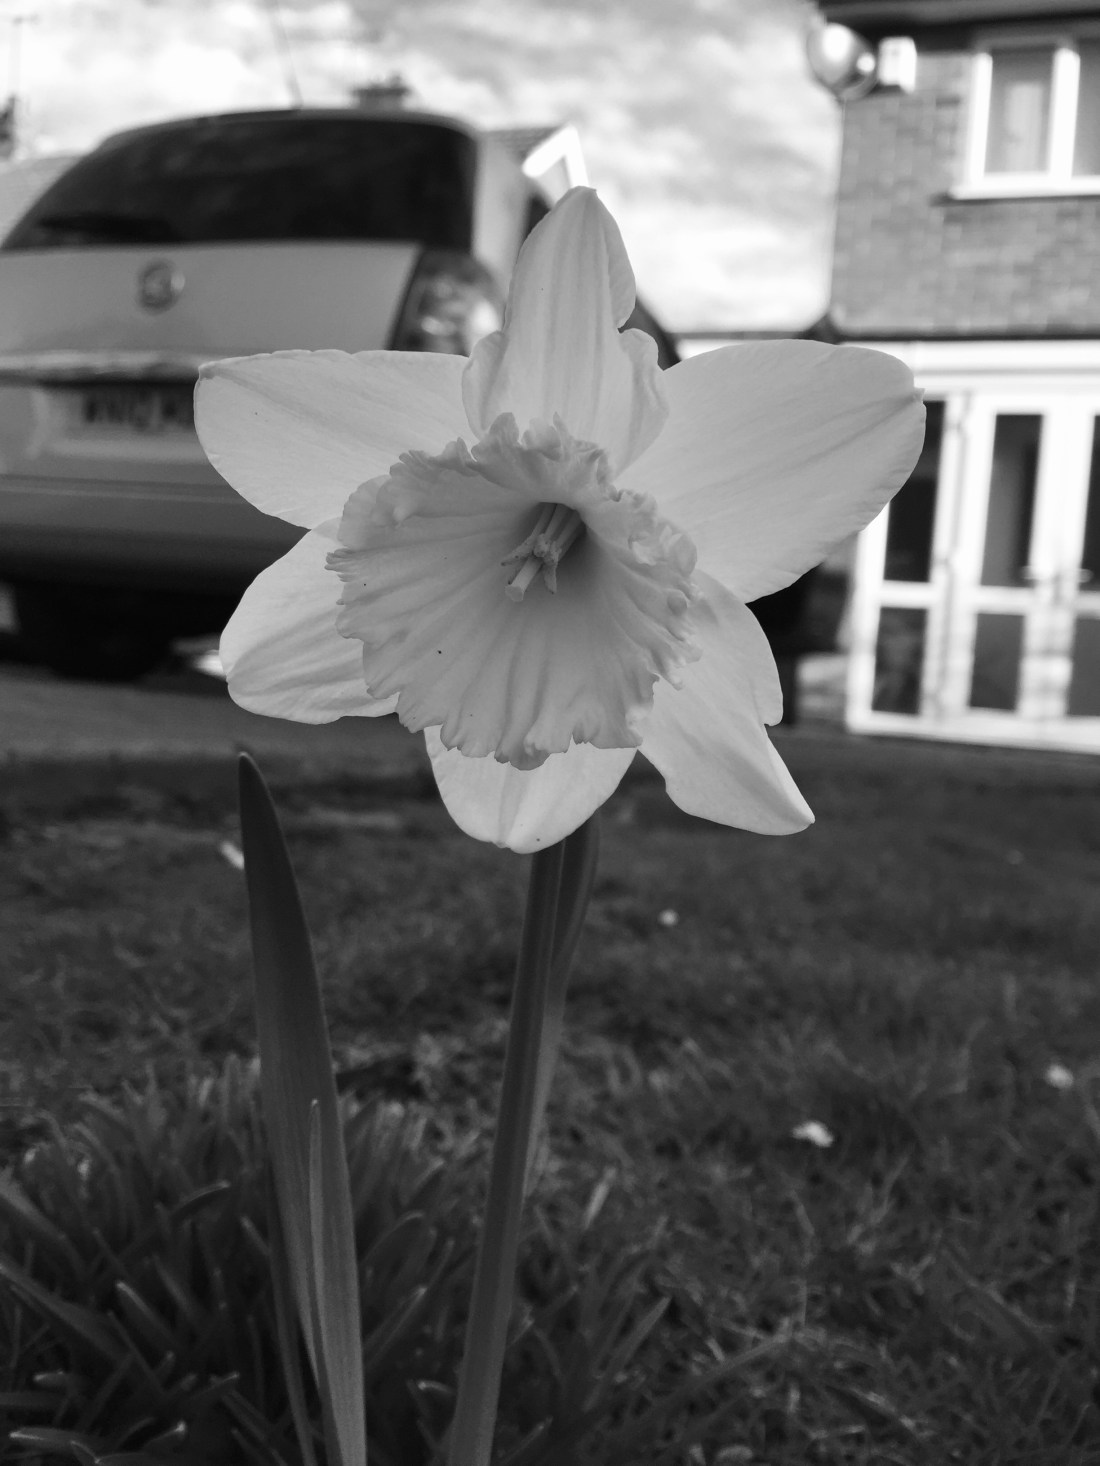
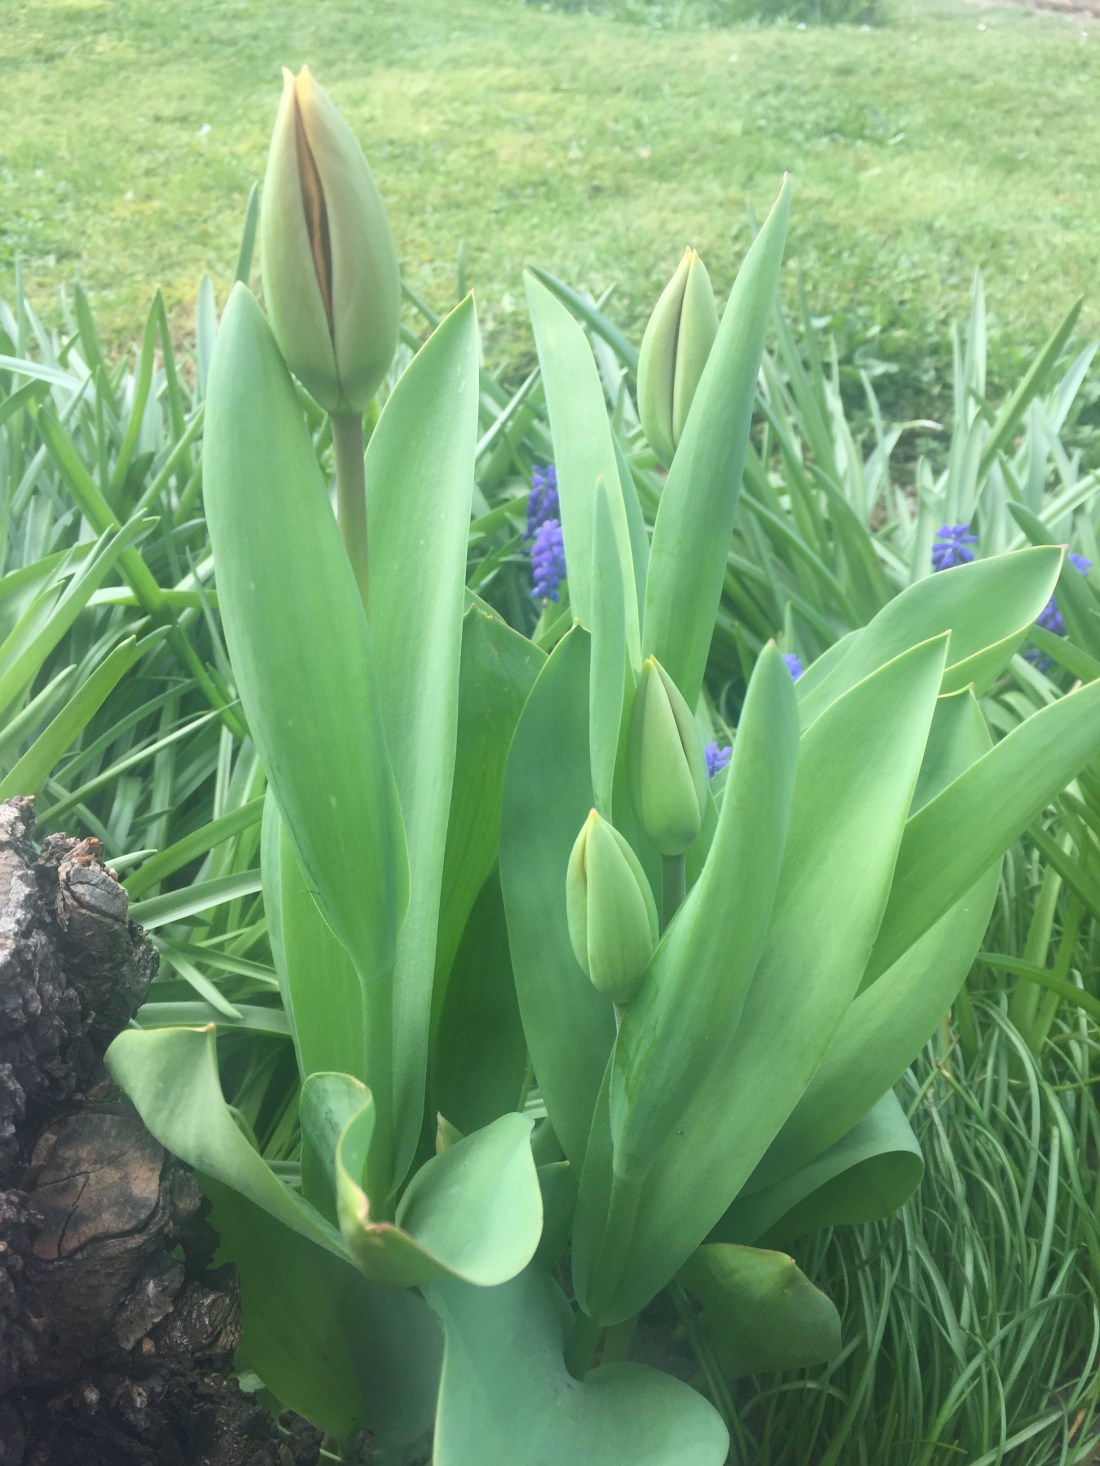
. take pictures of flowers
. draw them on paper
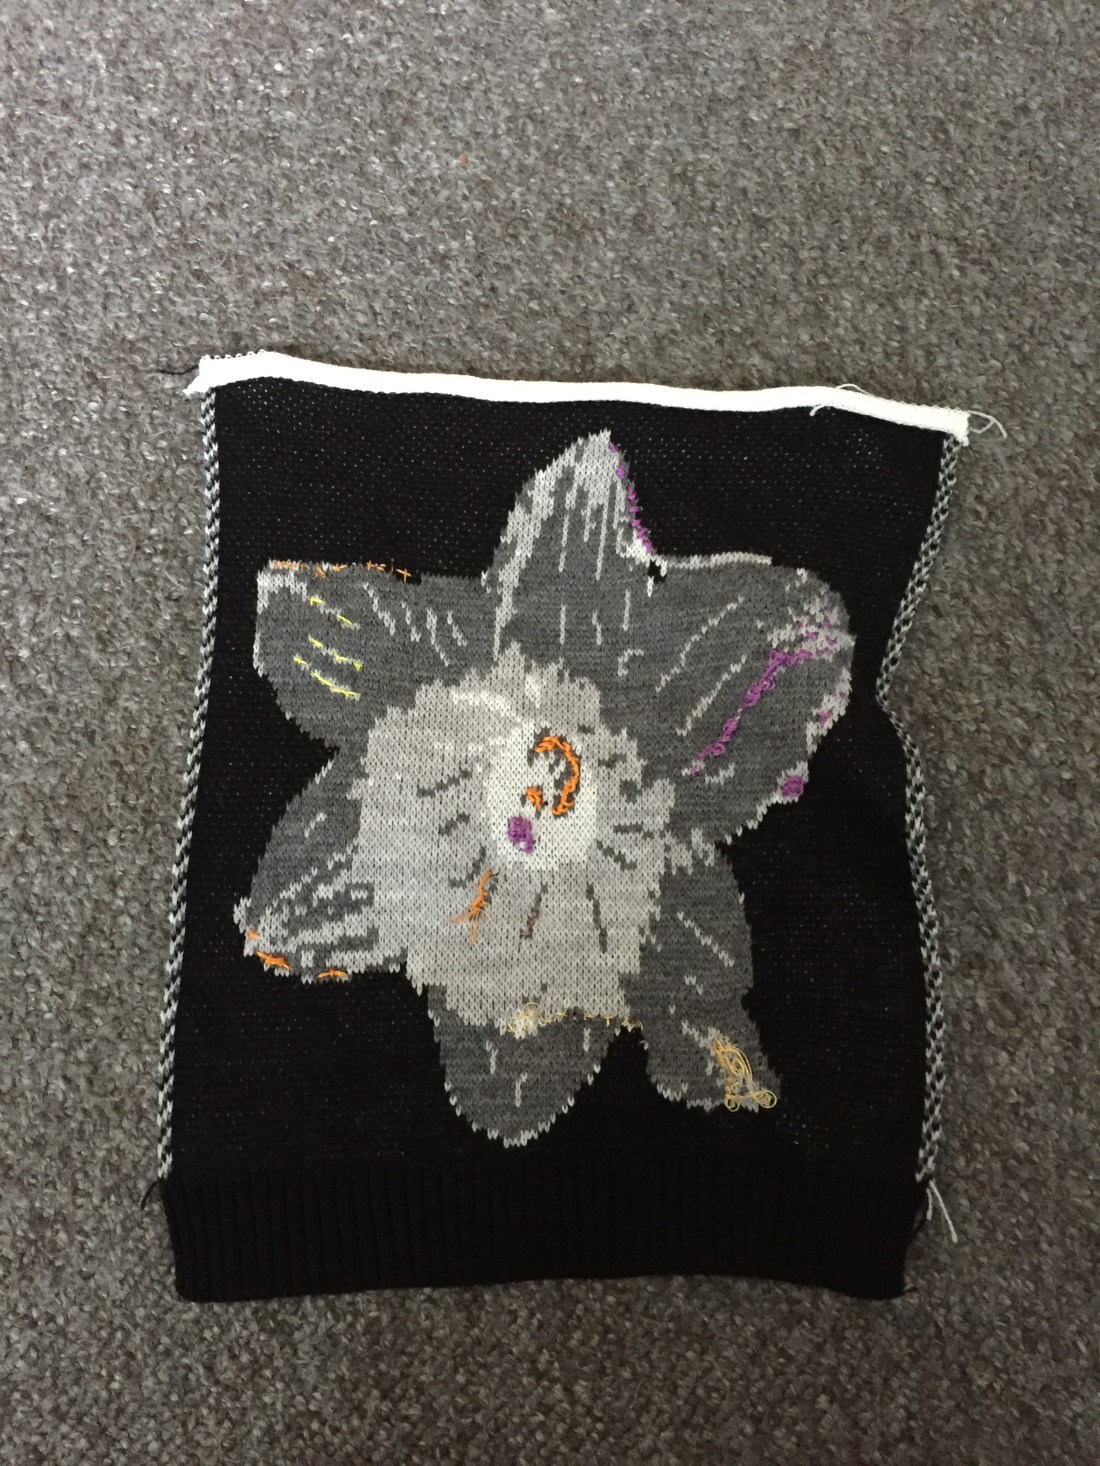
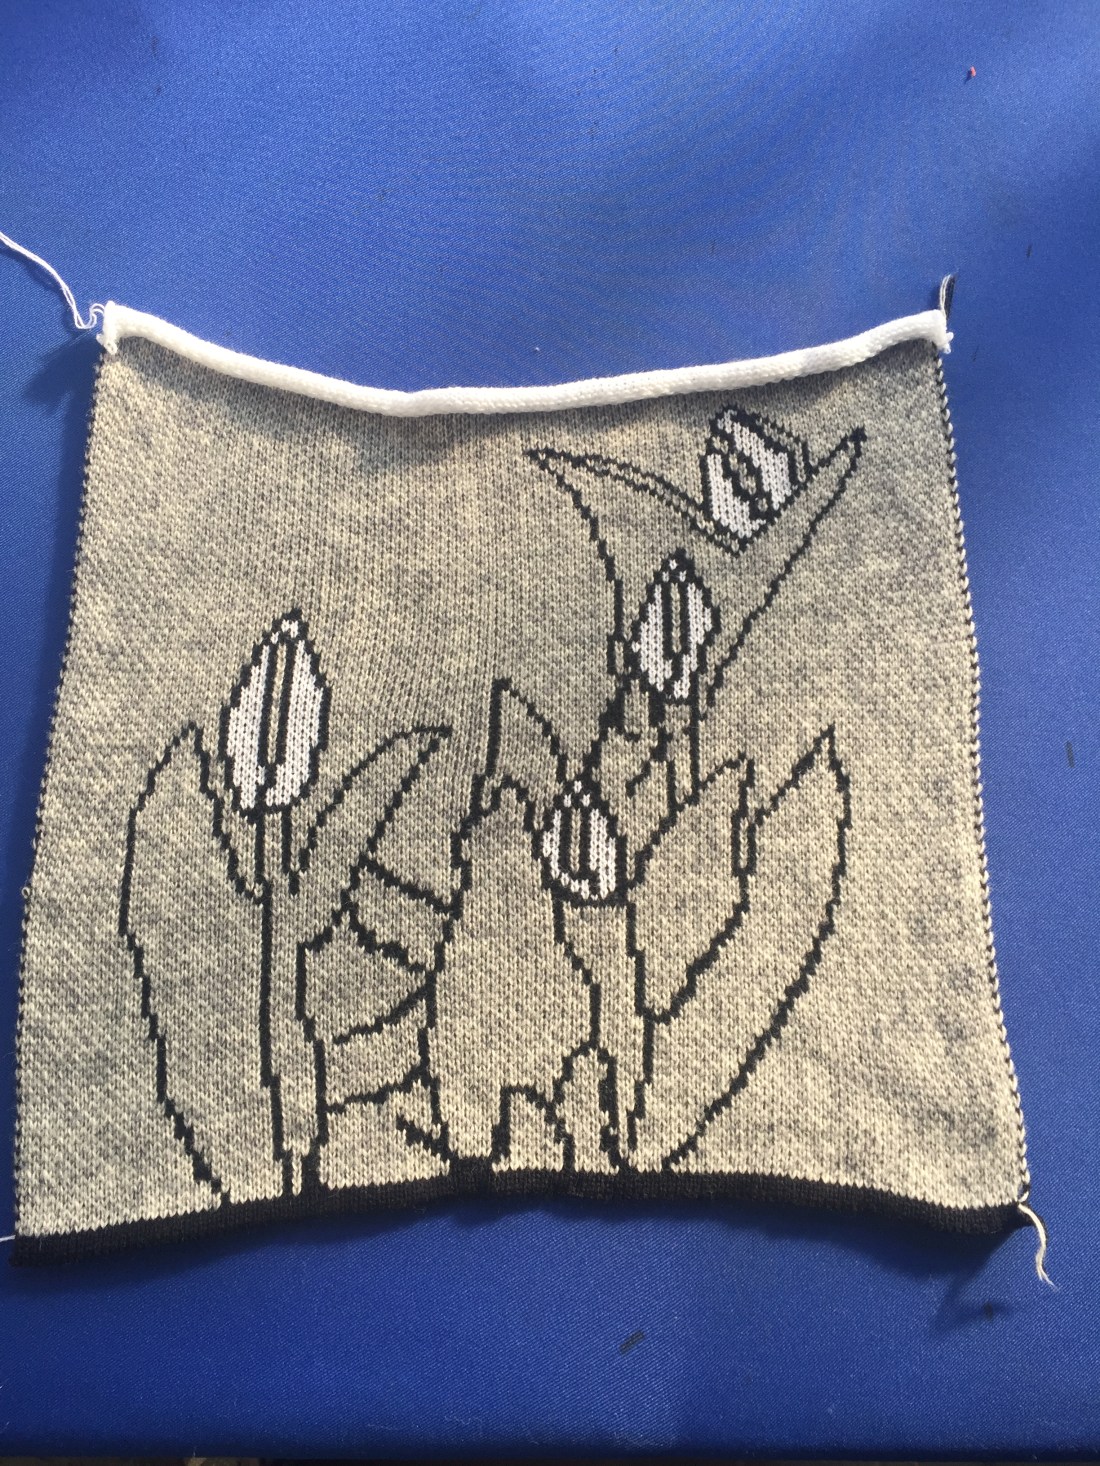
. create fabric using my drawing
and then do my stitching on them fabrics in order to add a personal touch and feel on them.
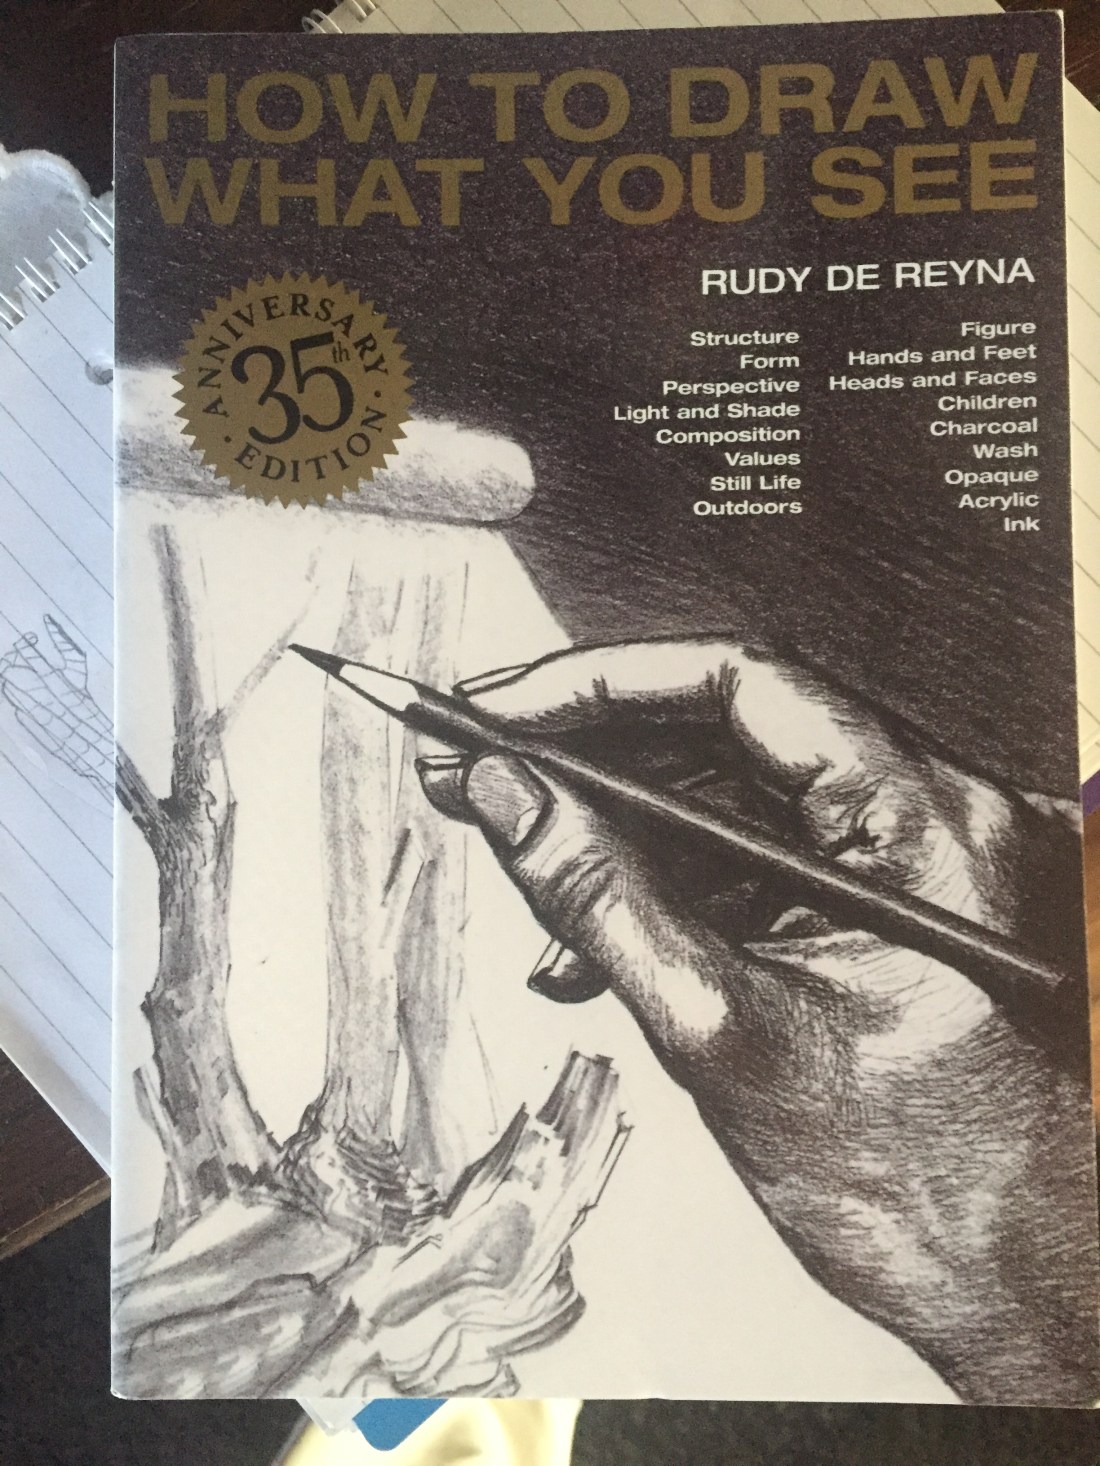
he first book I bought is: << DRAWING WHAT YOU SEE>> by RUDY DE REYNA which I found quite challenging as its mainly drawing with charcoal and developing different drawing techniques it is something I will definitely consider going forward but I still thing I’m an early stage painter at the moment and I needed something to unlock me up which leads to the next book…
It was a true revelation to me!!!
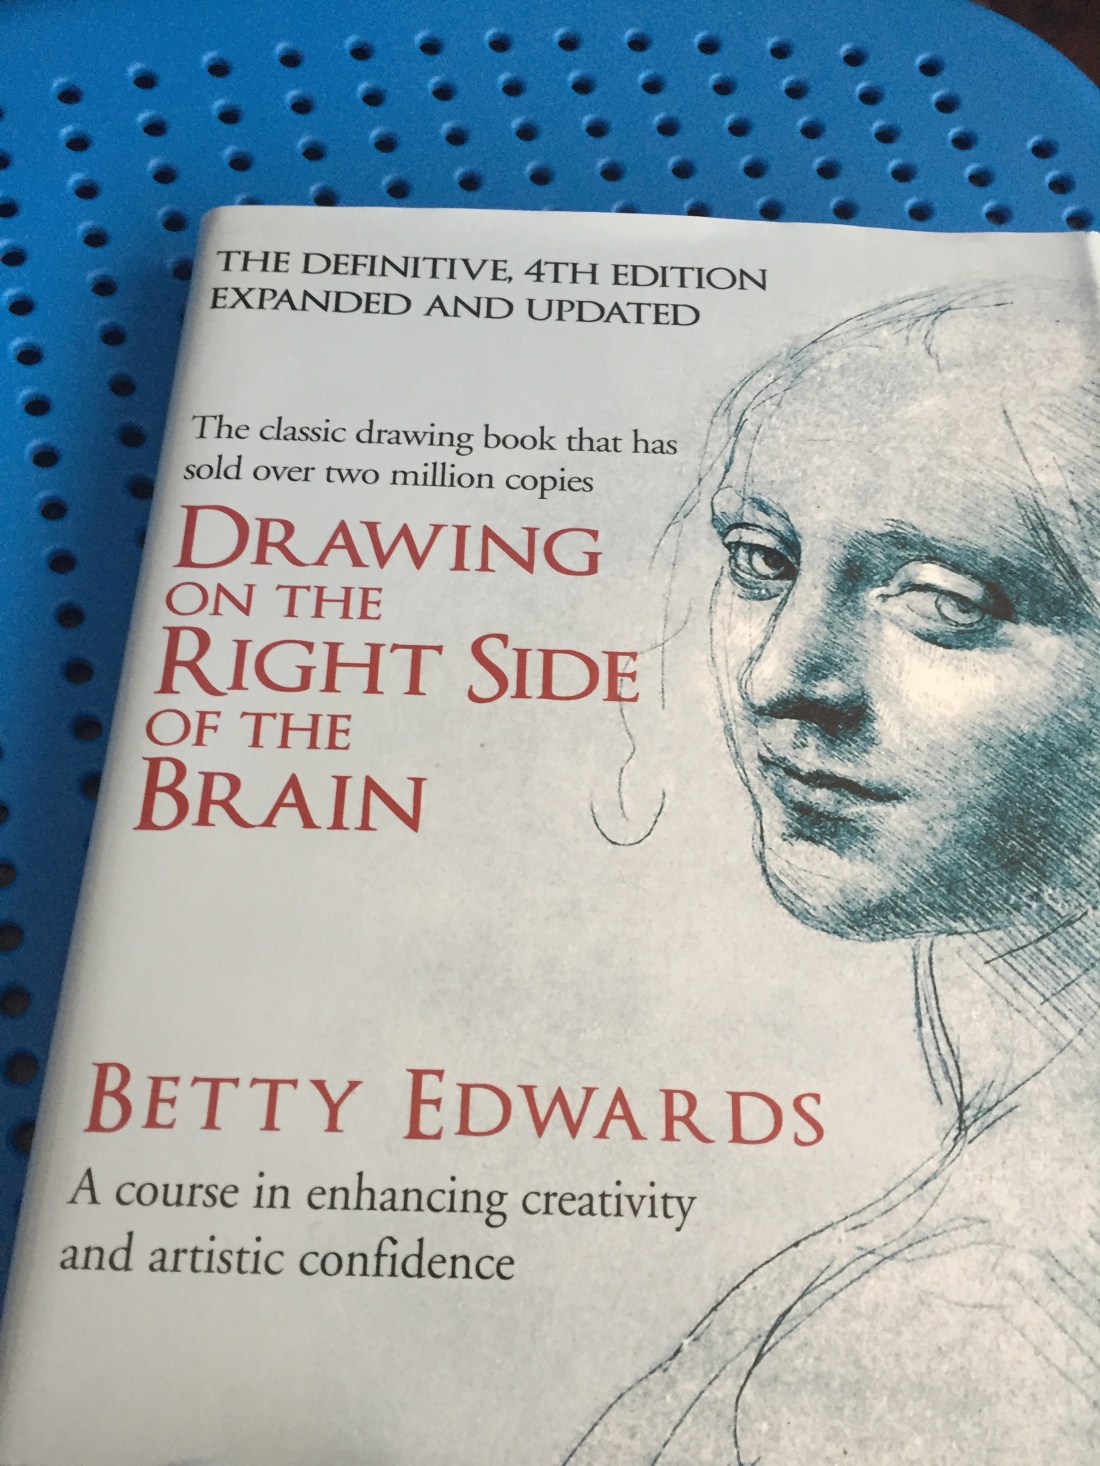
<<Drawing on the right side of the brain >>by Betty Edwards is a masterpiece!
This book has clearly explained to me why I was facing all this difficulties while I was trying to draw, the role of the left and right hemisphere of the brain, how left side is over-powering the right side and how to get in a R mode meaning confuse the left side of the brain so much that it shuts down and leaves space for the right to take over and help you use your skills to create.Amazing experience, which made me look and perceive things in a total different way. First time in my life I managed to copy a drawing by looking at it upside down!!!
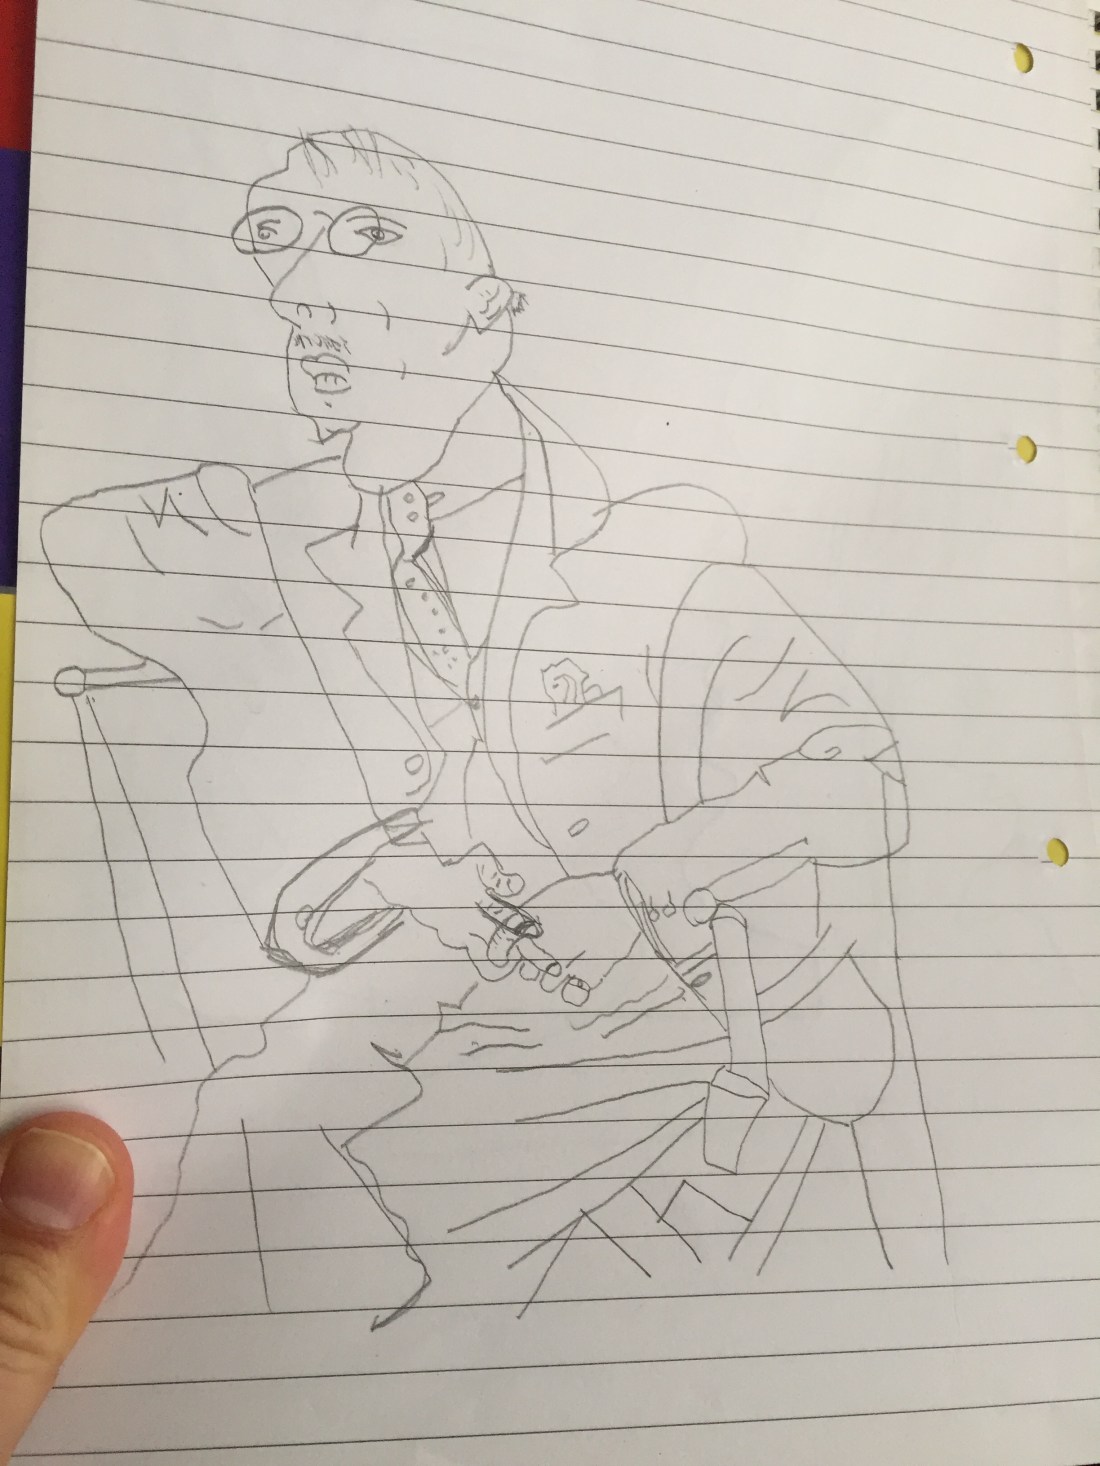
that was my initial drawing!I know it doesn’t look that great but I would never ever consider drawing near as that!
copy of a Pablo Picasso’s sketch of Igor Stravinsky.
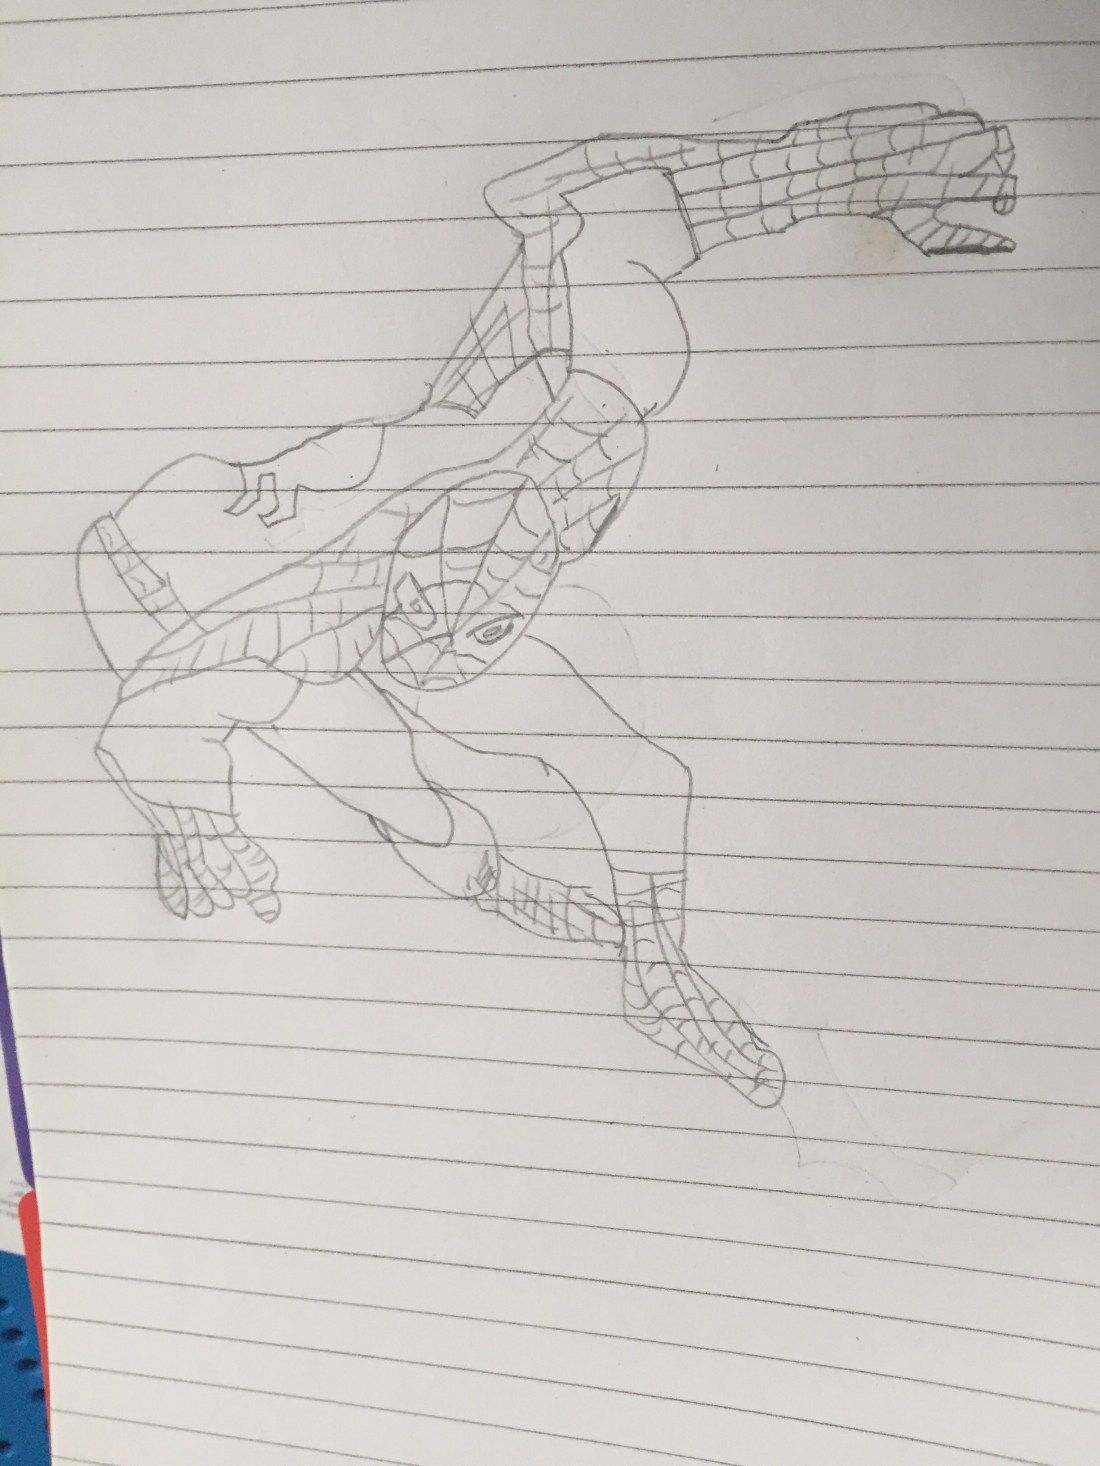
I COULD NOT BELIEVE IT!!!
So, being a bit more confident about myself, I went out to take pictures of flowers.
I’ve picked 4 out of many:
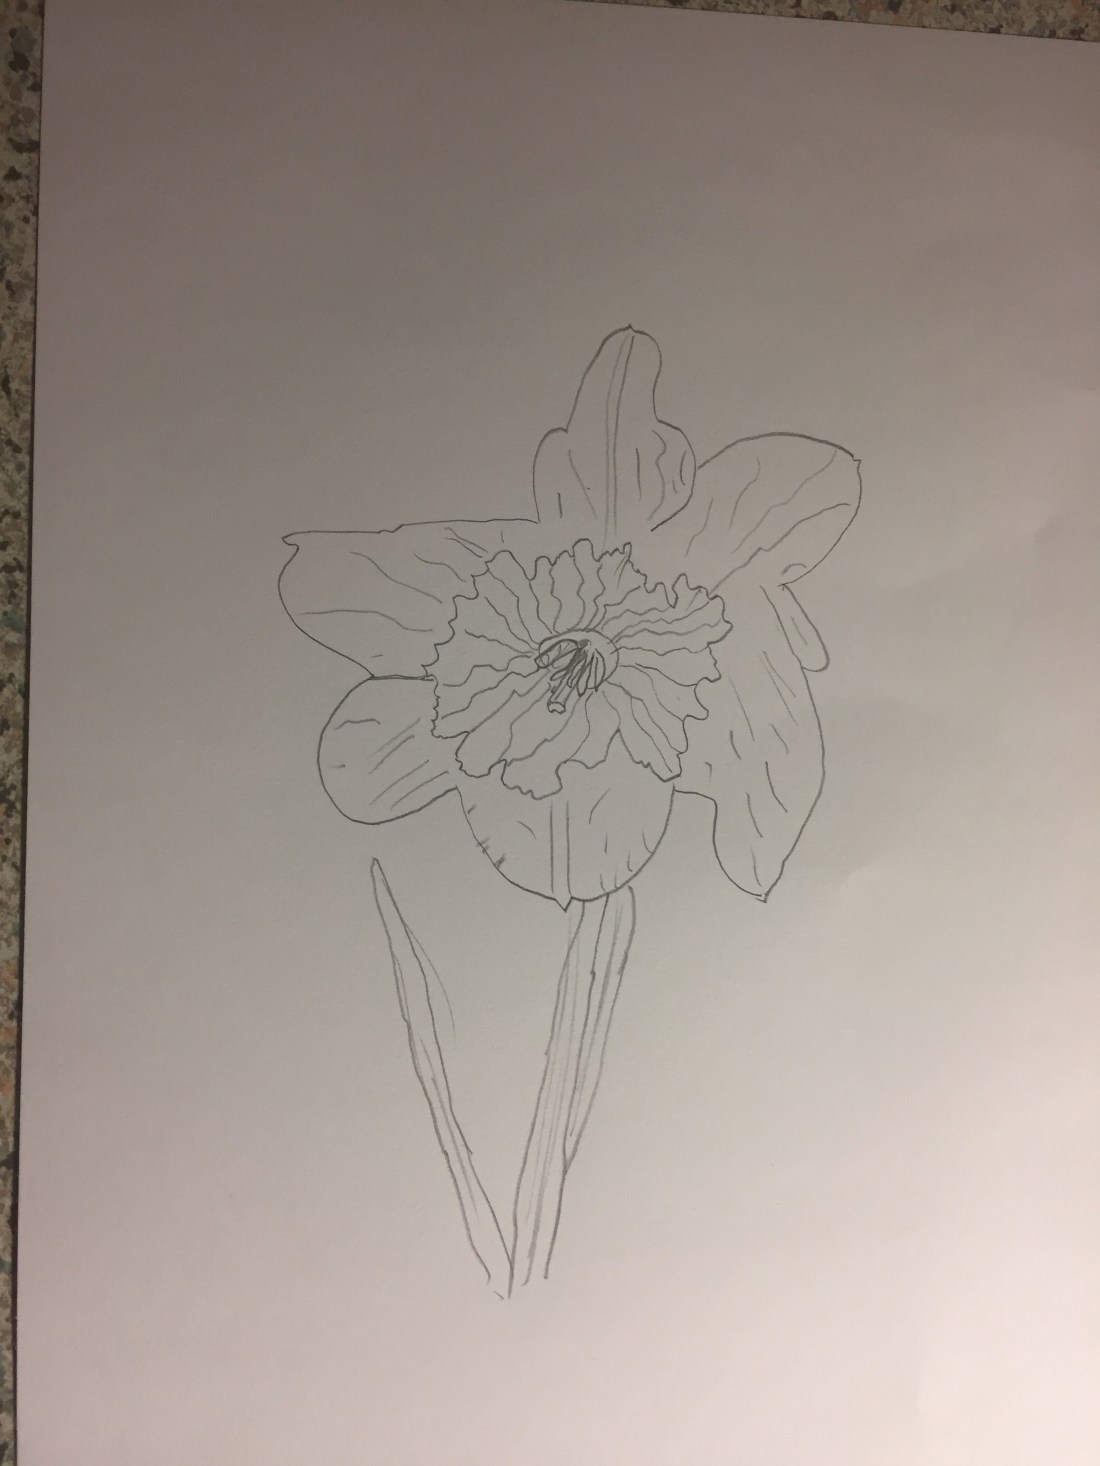


drawn on an A4 sheet.
I have decided not to proceed with the picture above as it looks a lot as the previous one so instead I will develop the following one.
I know I need more work on my drawing skills , but as a matter of fact I would’t even consider of drawing few weeks ago at all!!!

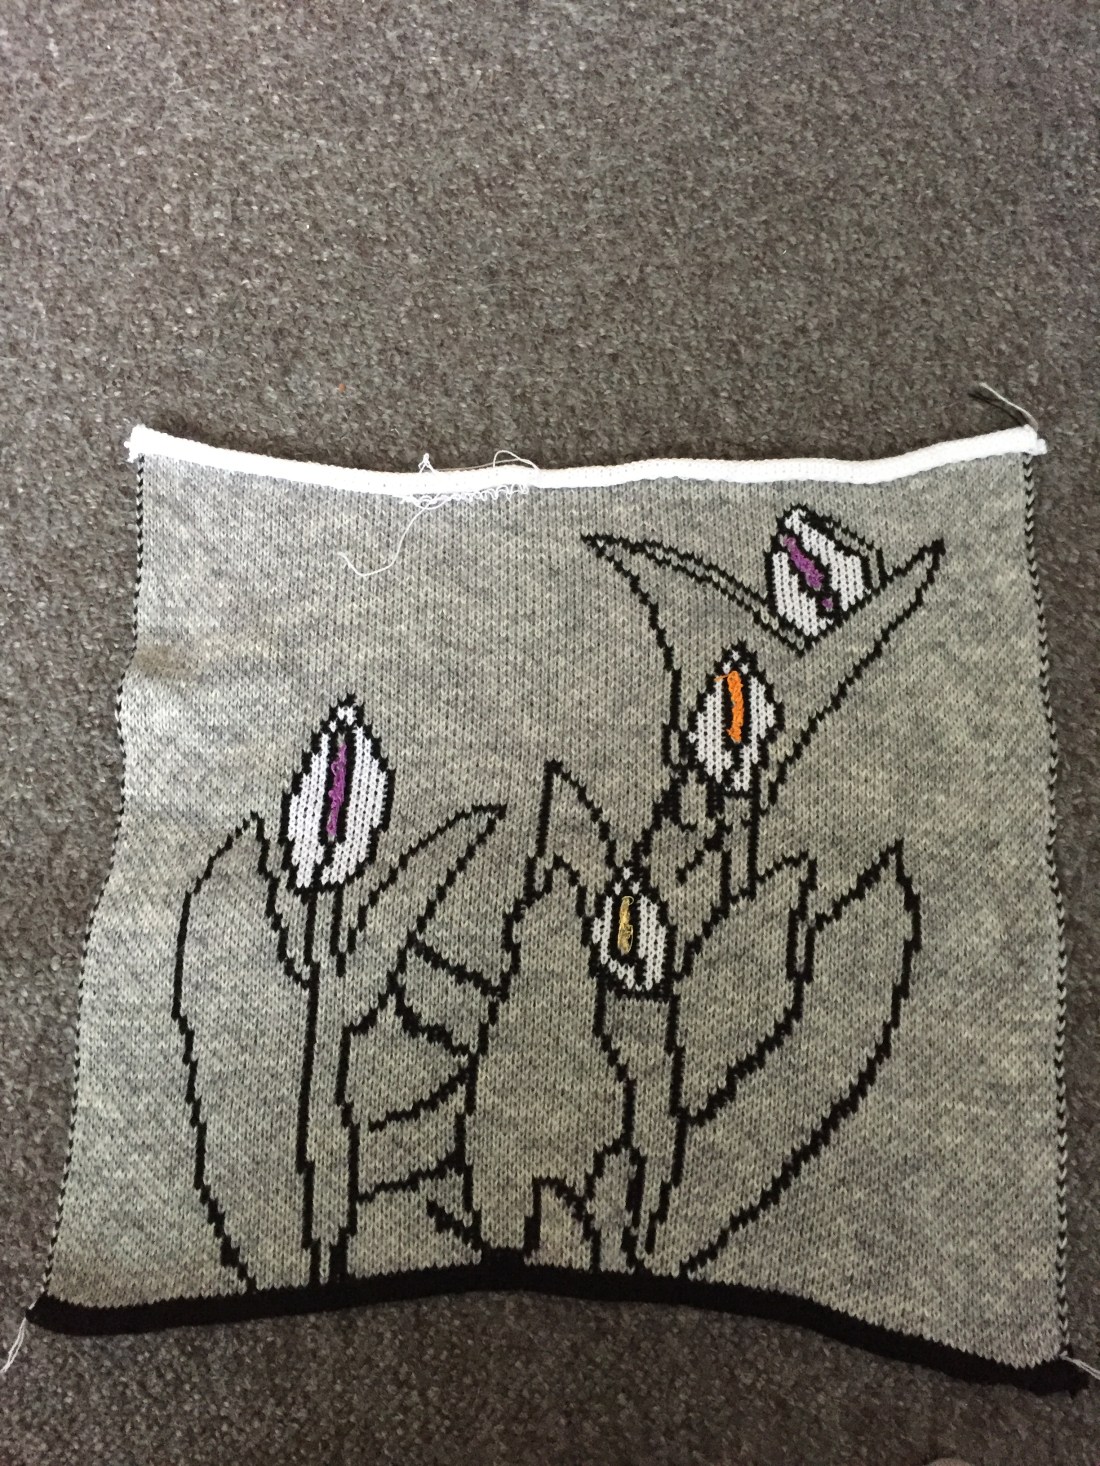
swatch after the buds being embellished by hand.
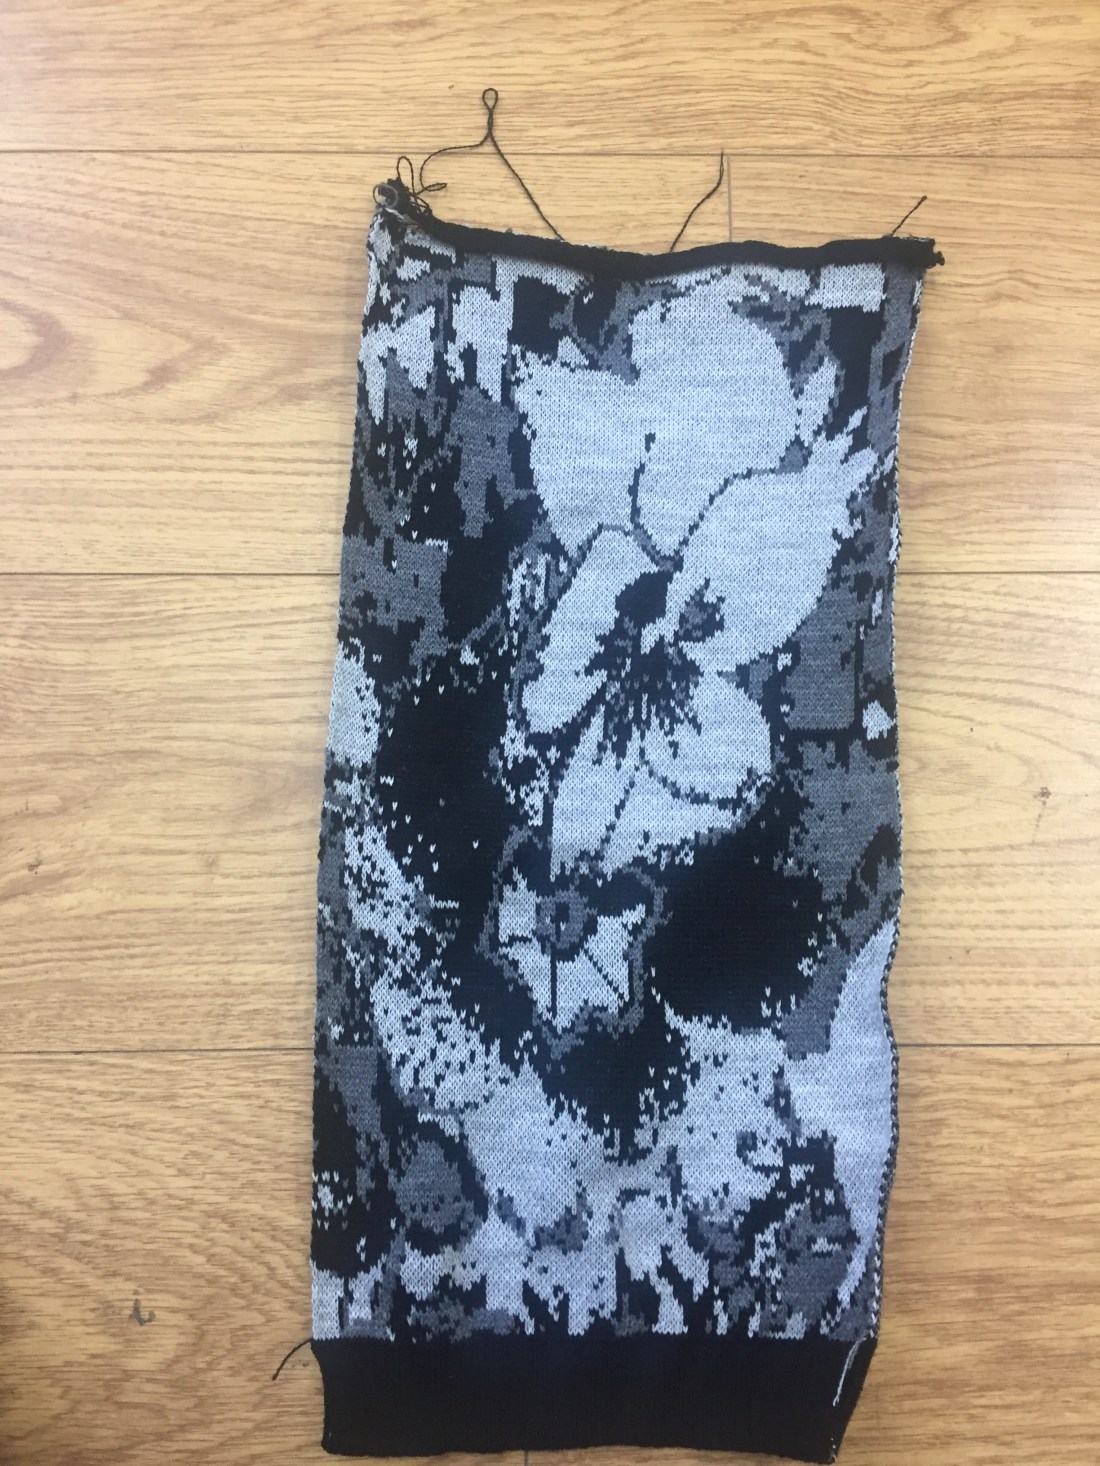
The reason I’m mainly working on black white and shades of grey is that I’m following the assessment’s directions; it suggests its an early stage for color to be used .