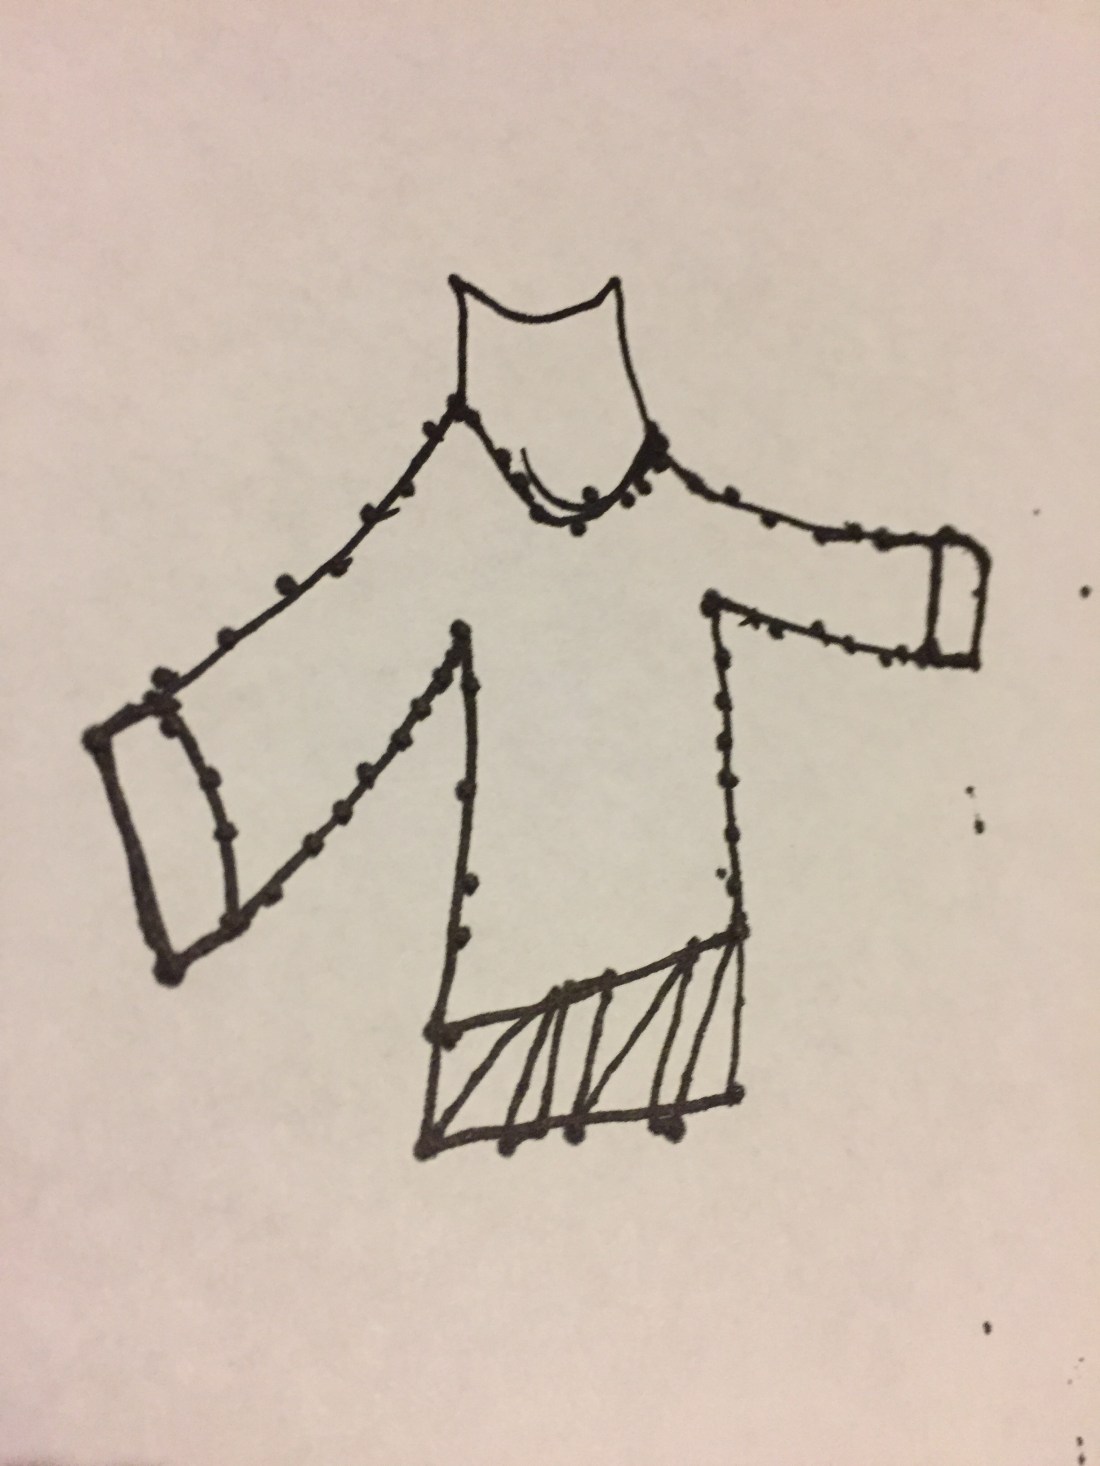
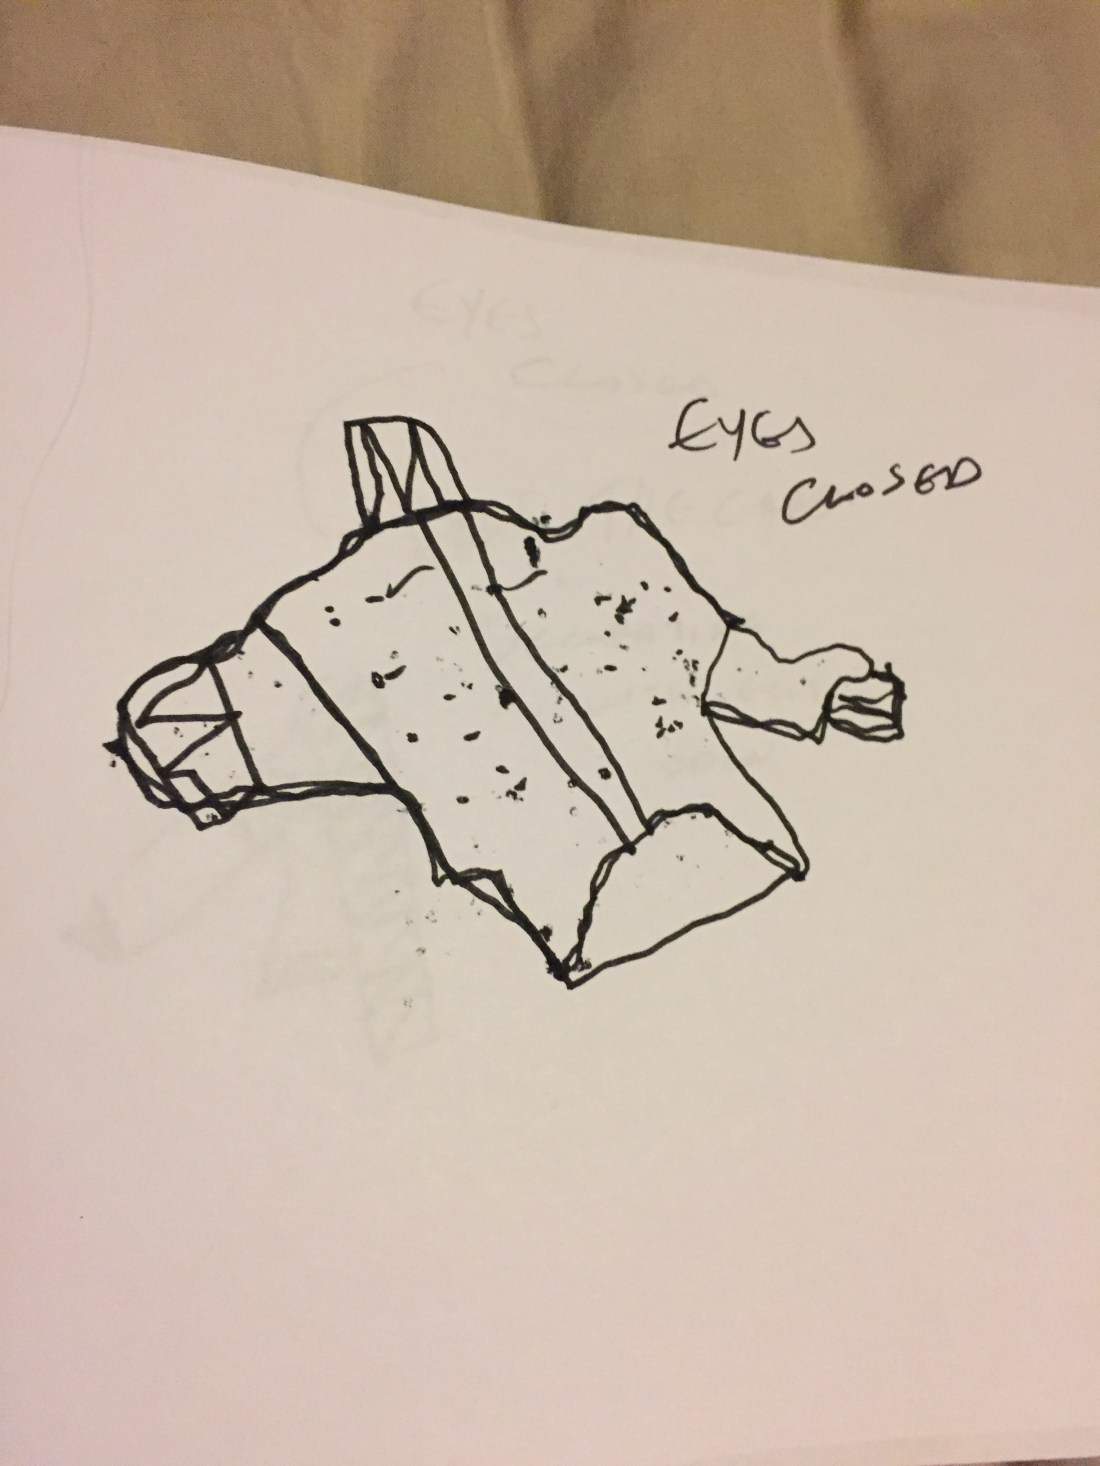
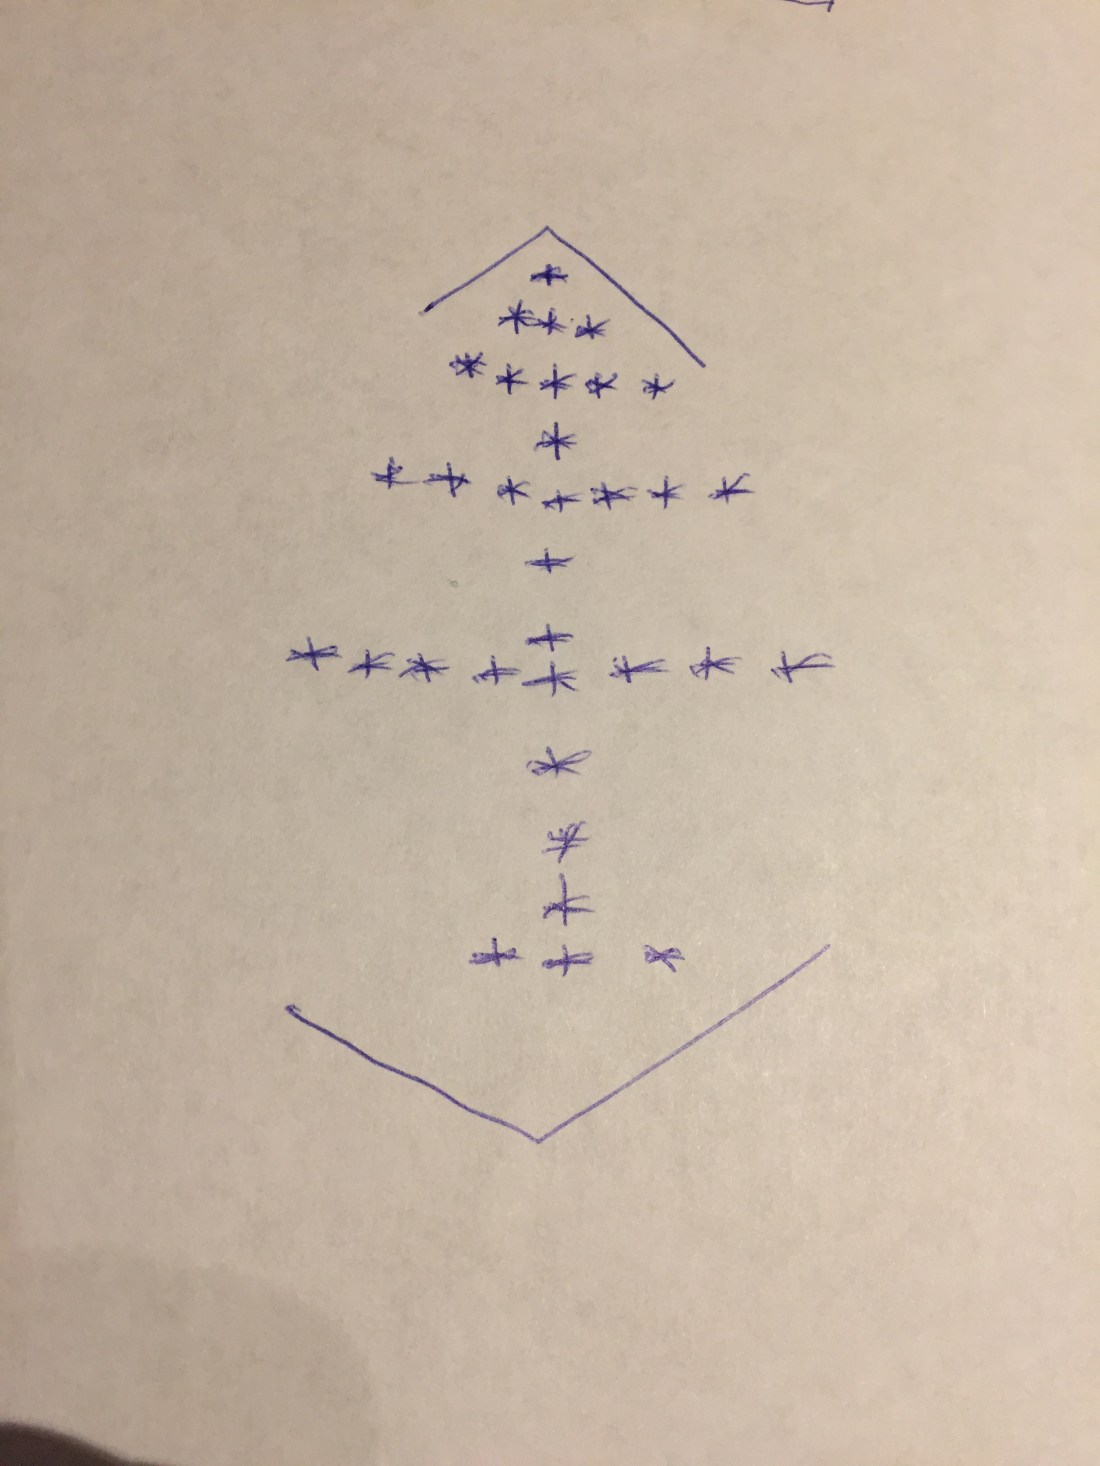
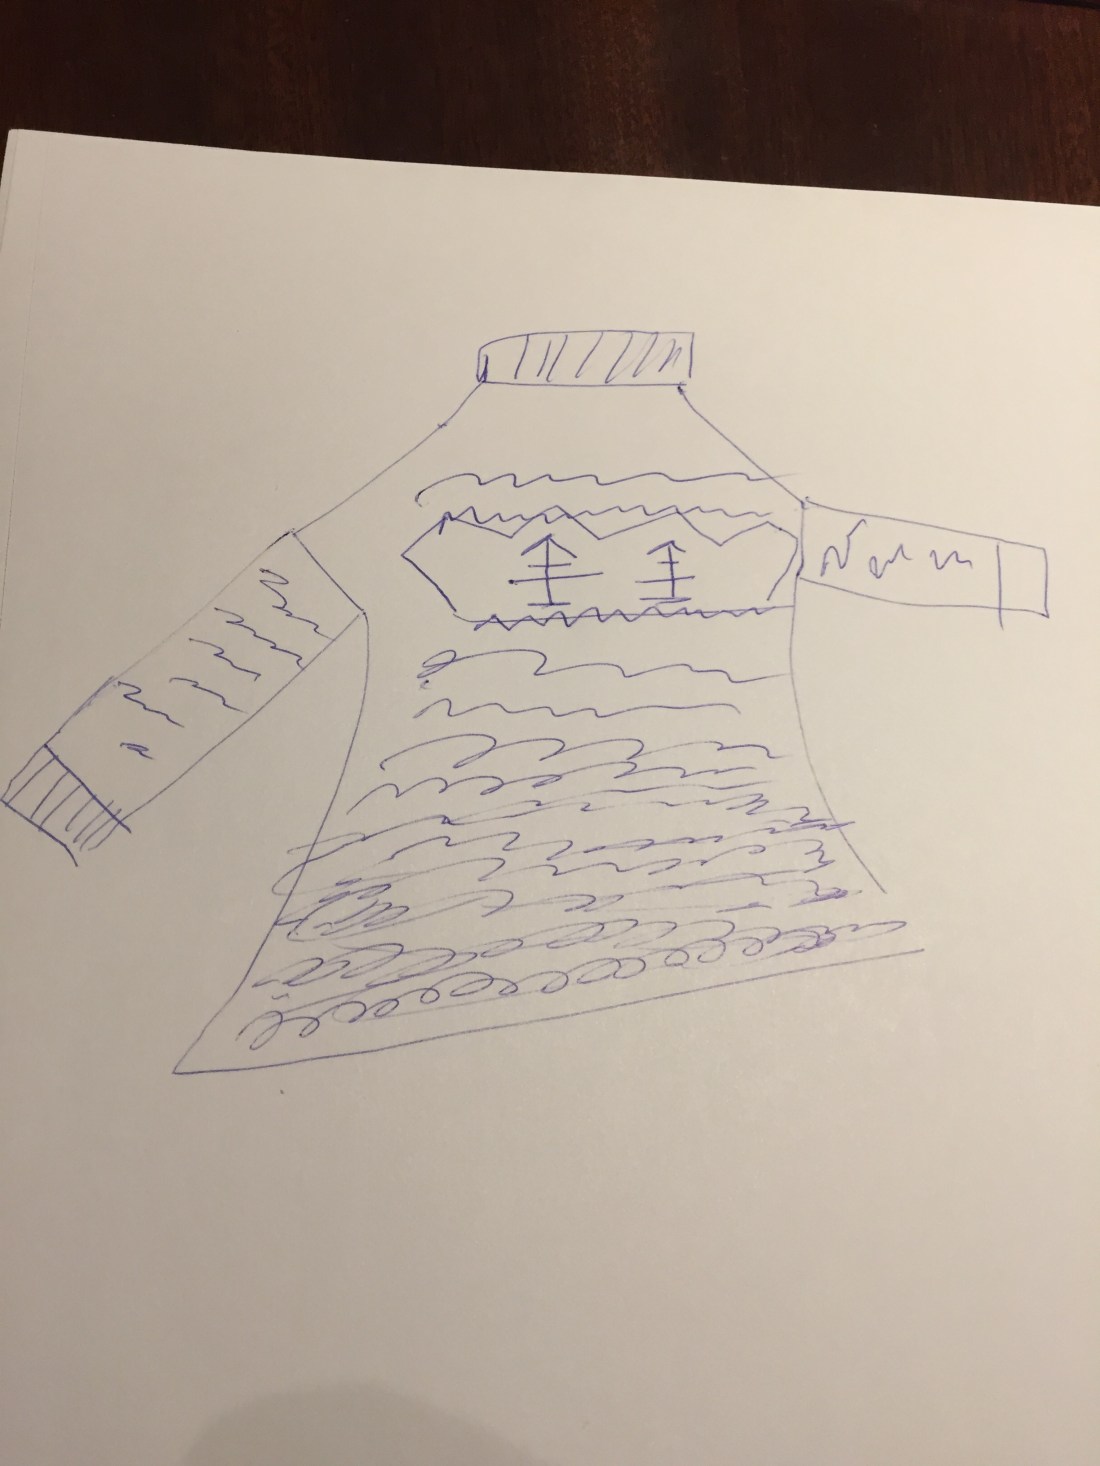
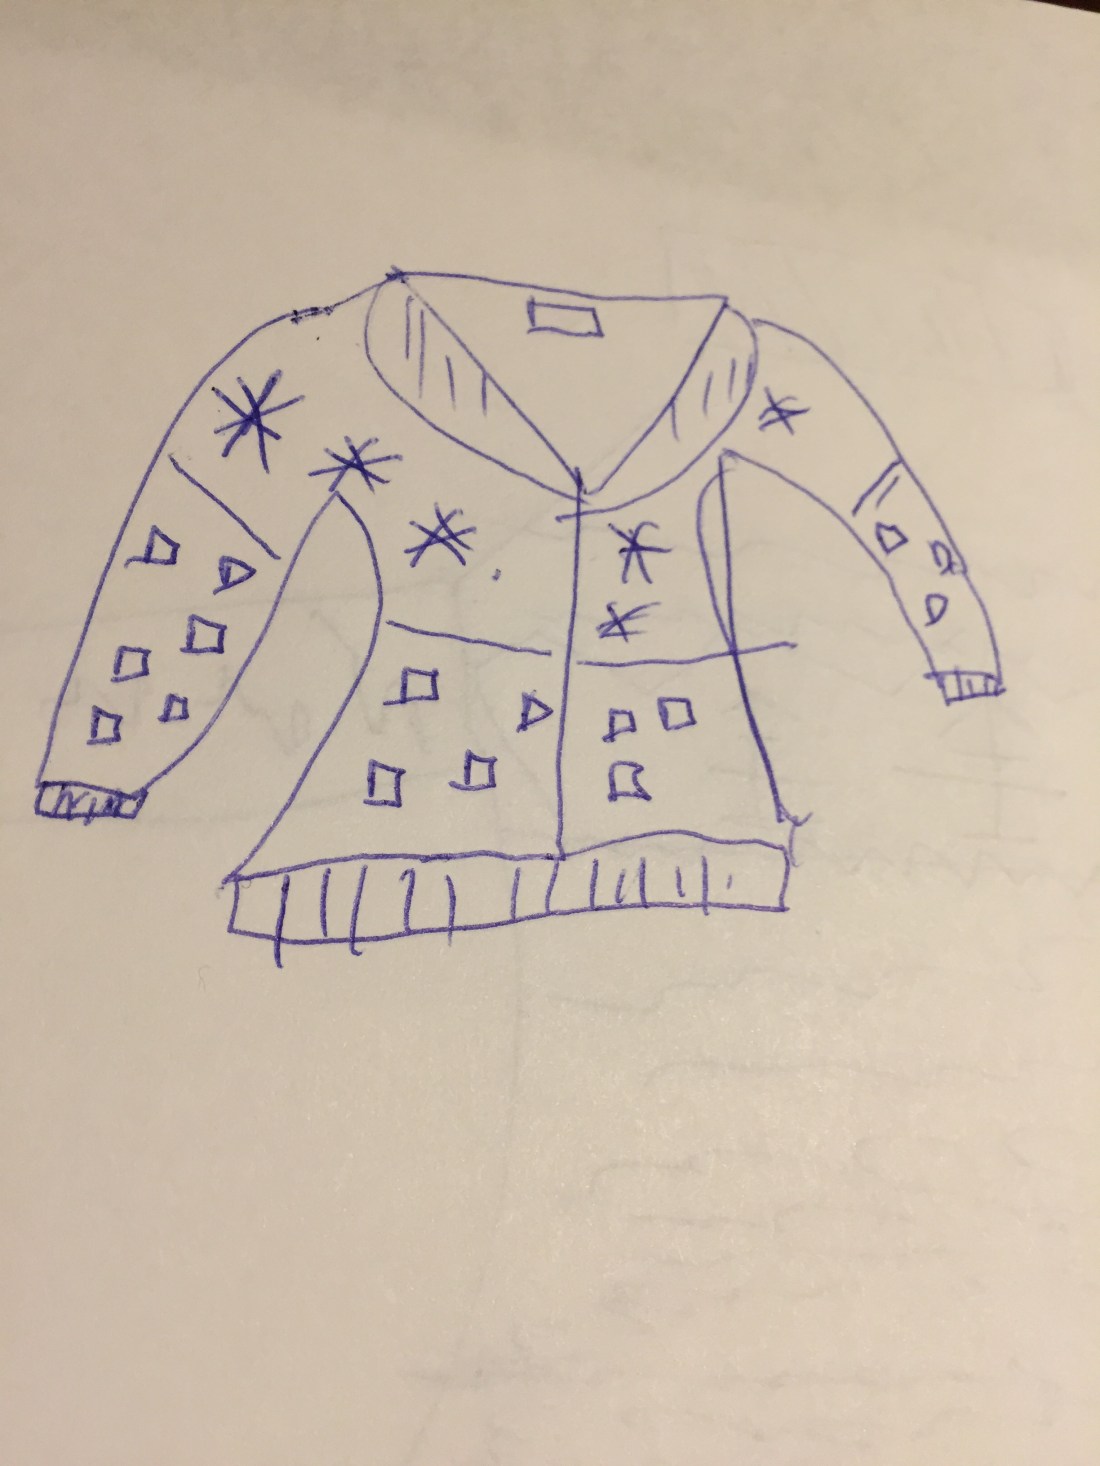
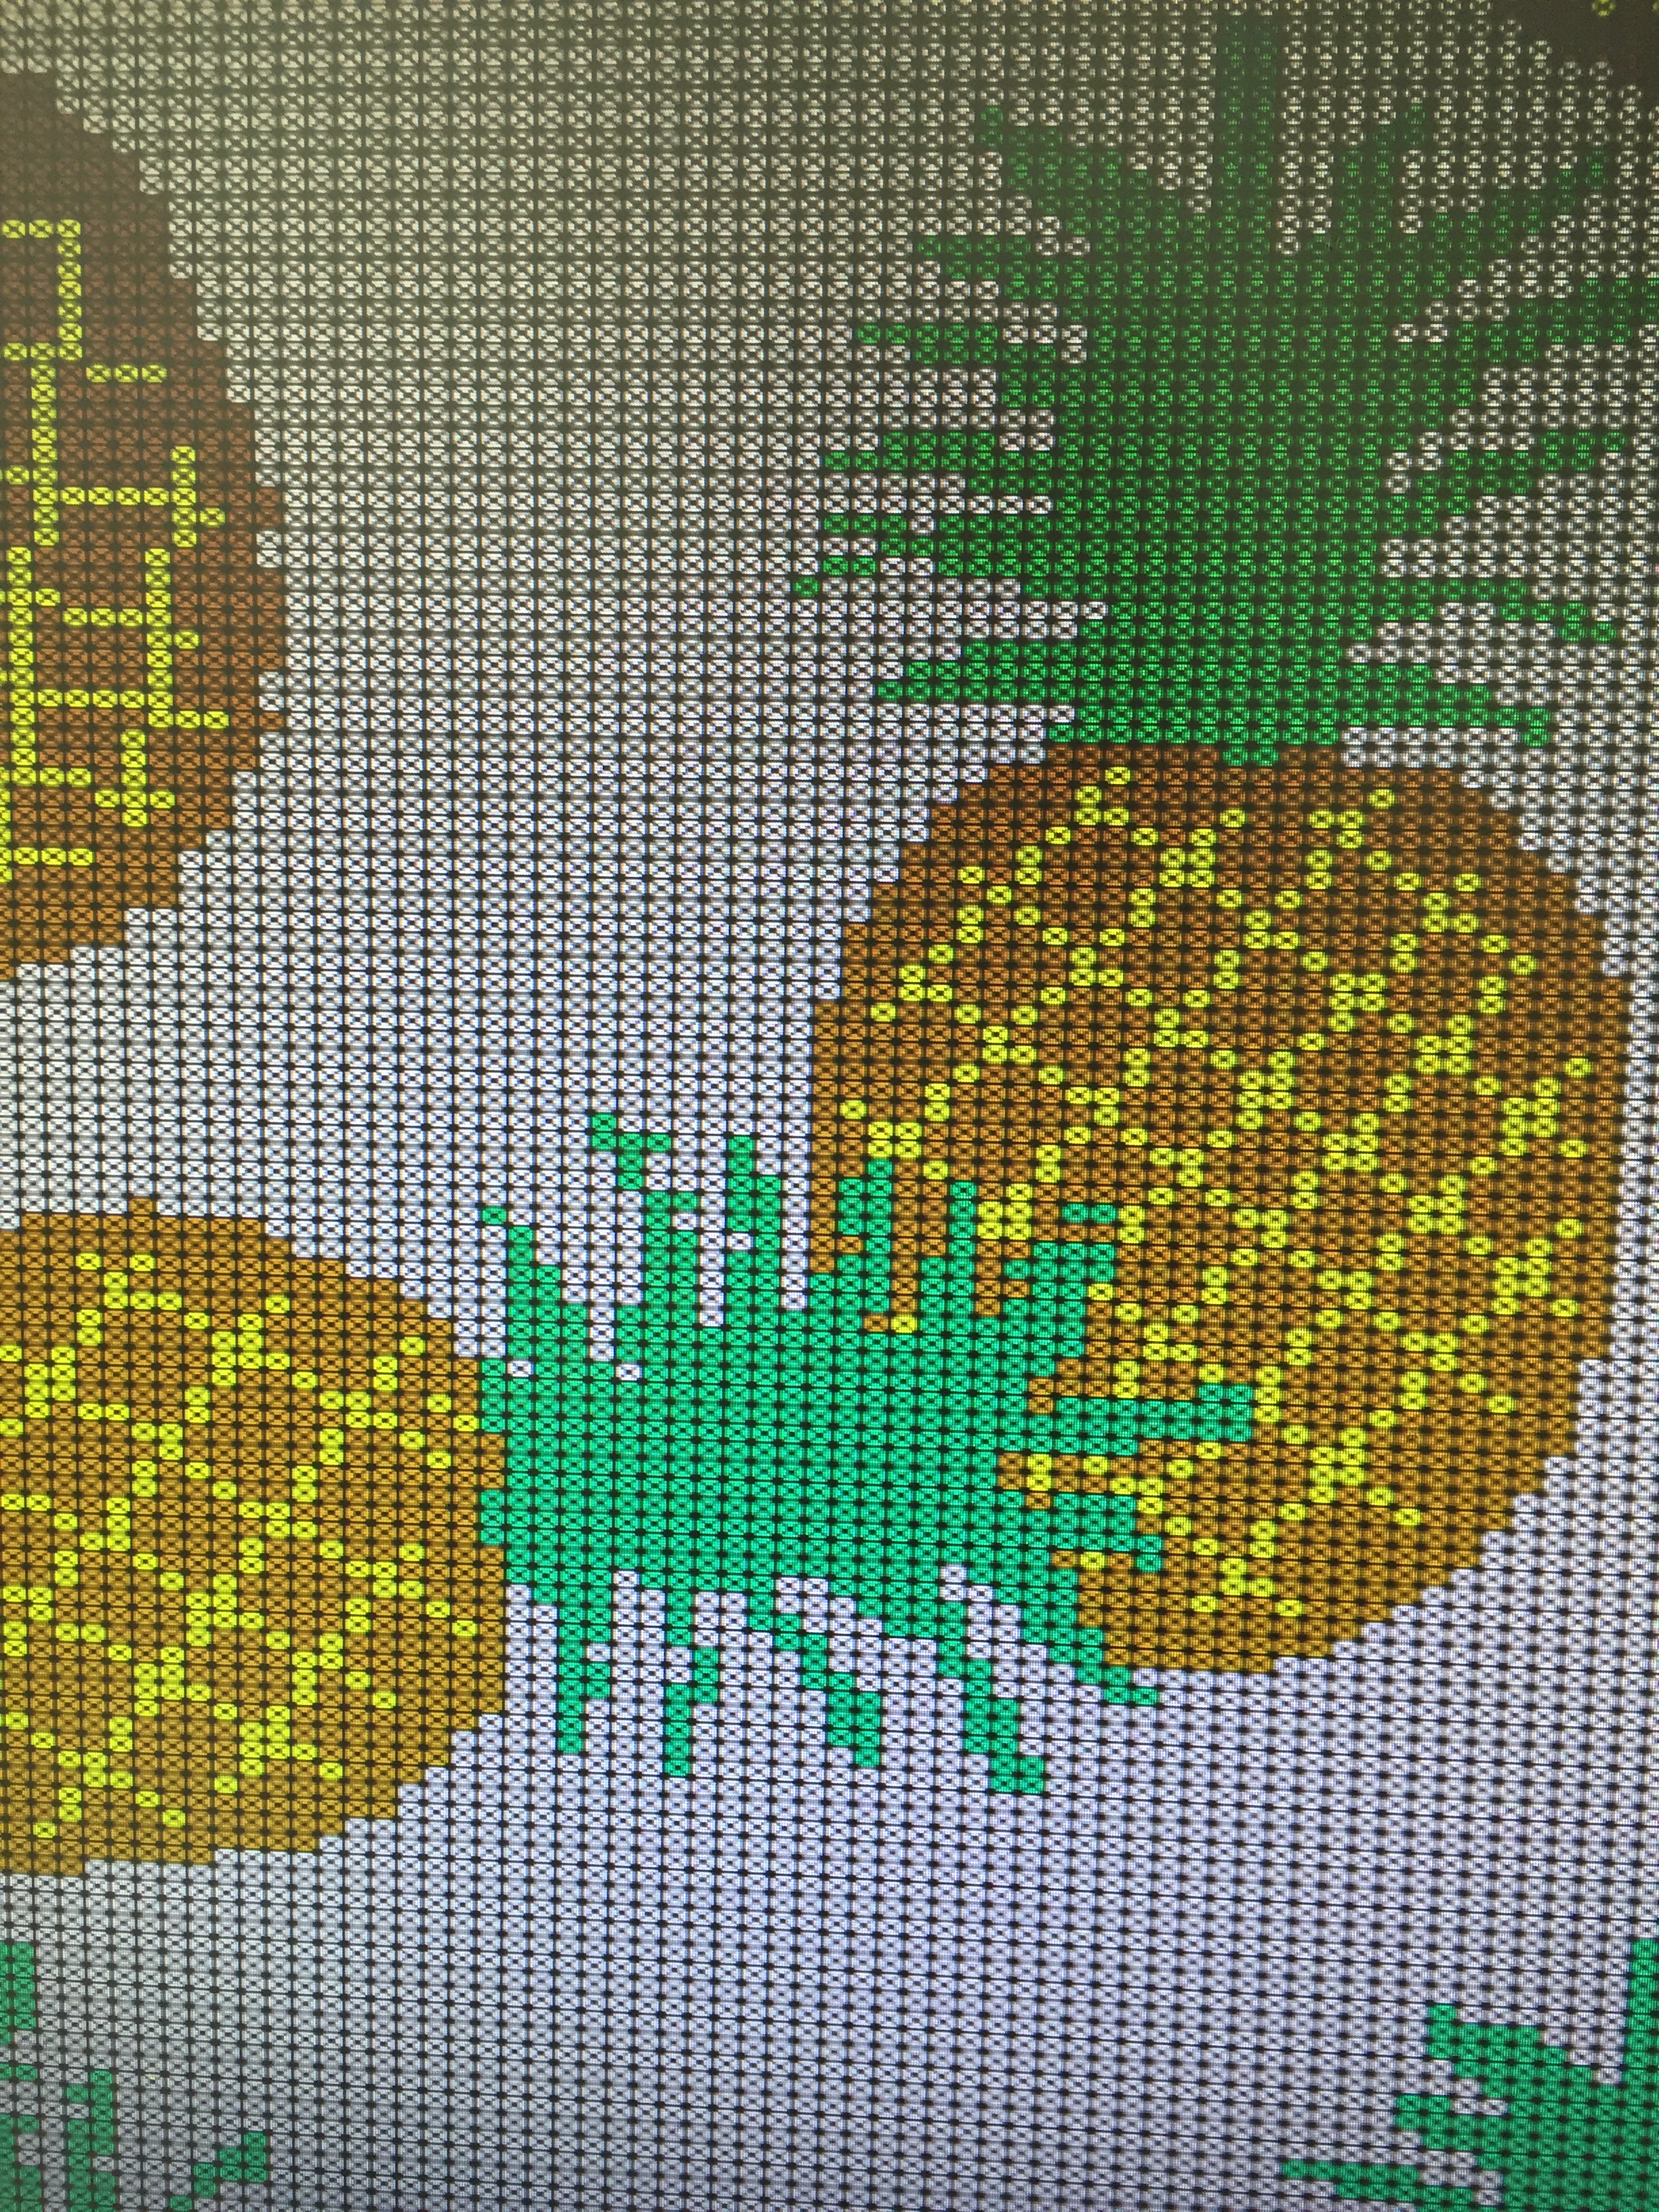
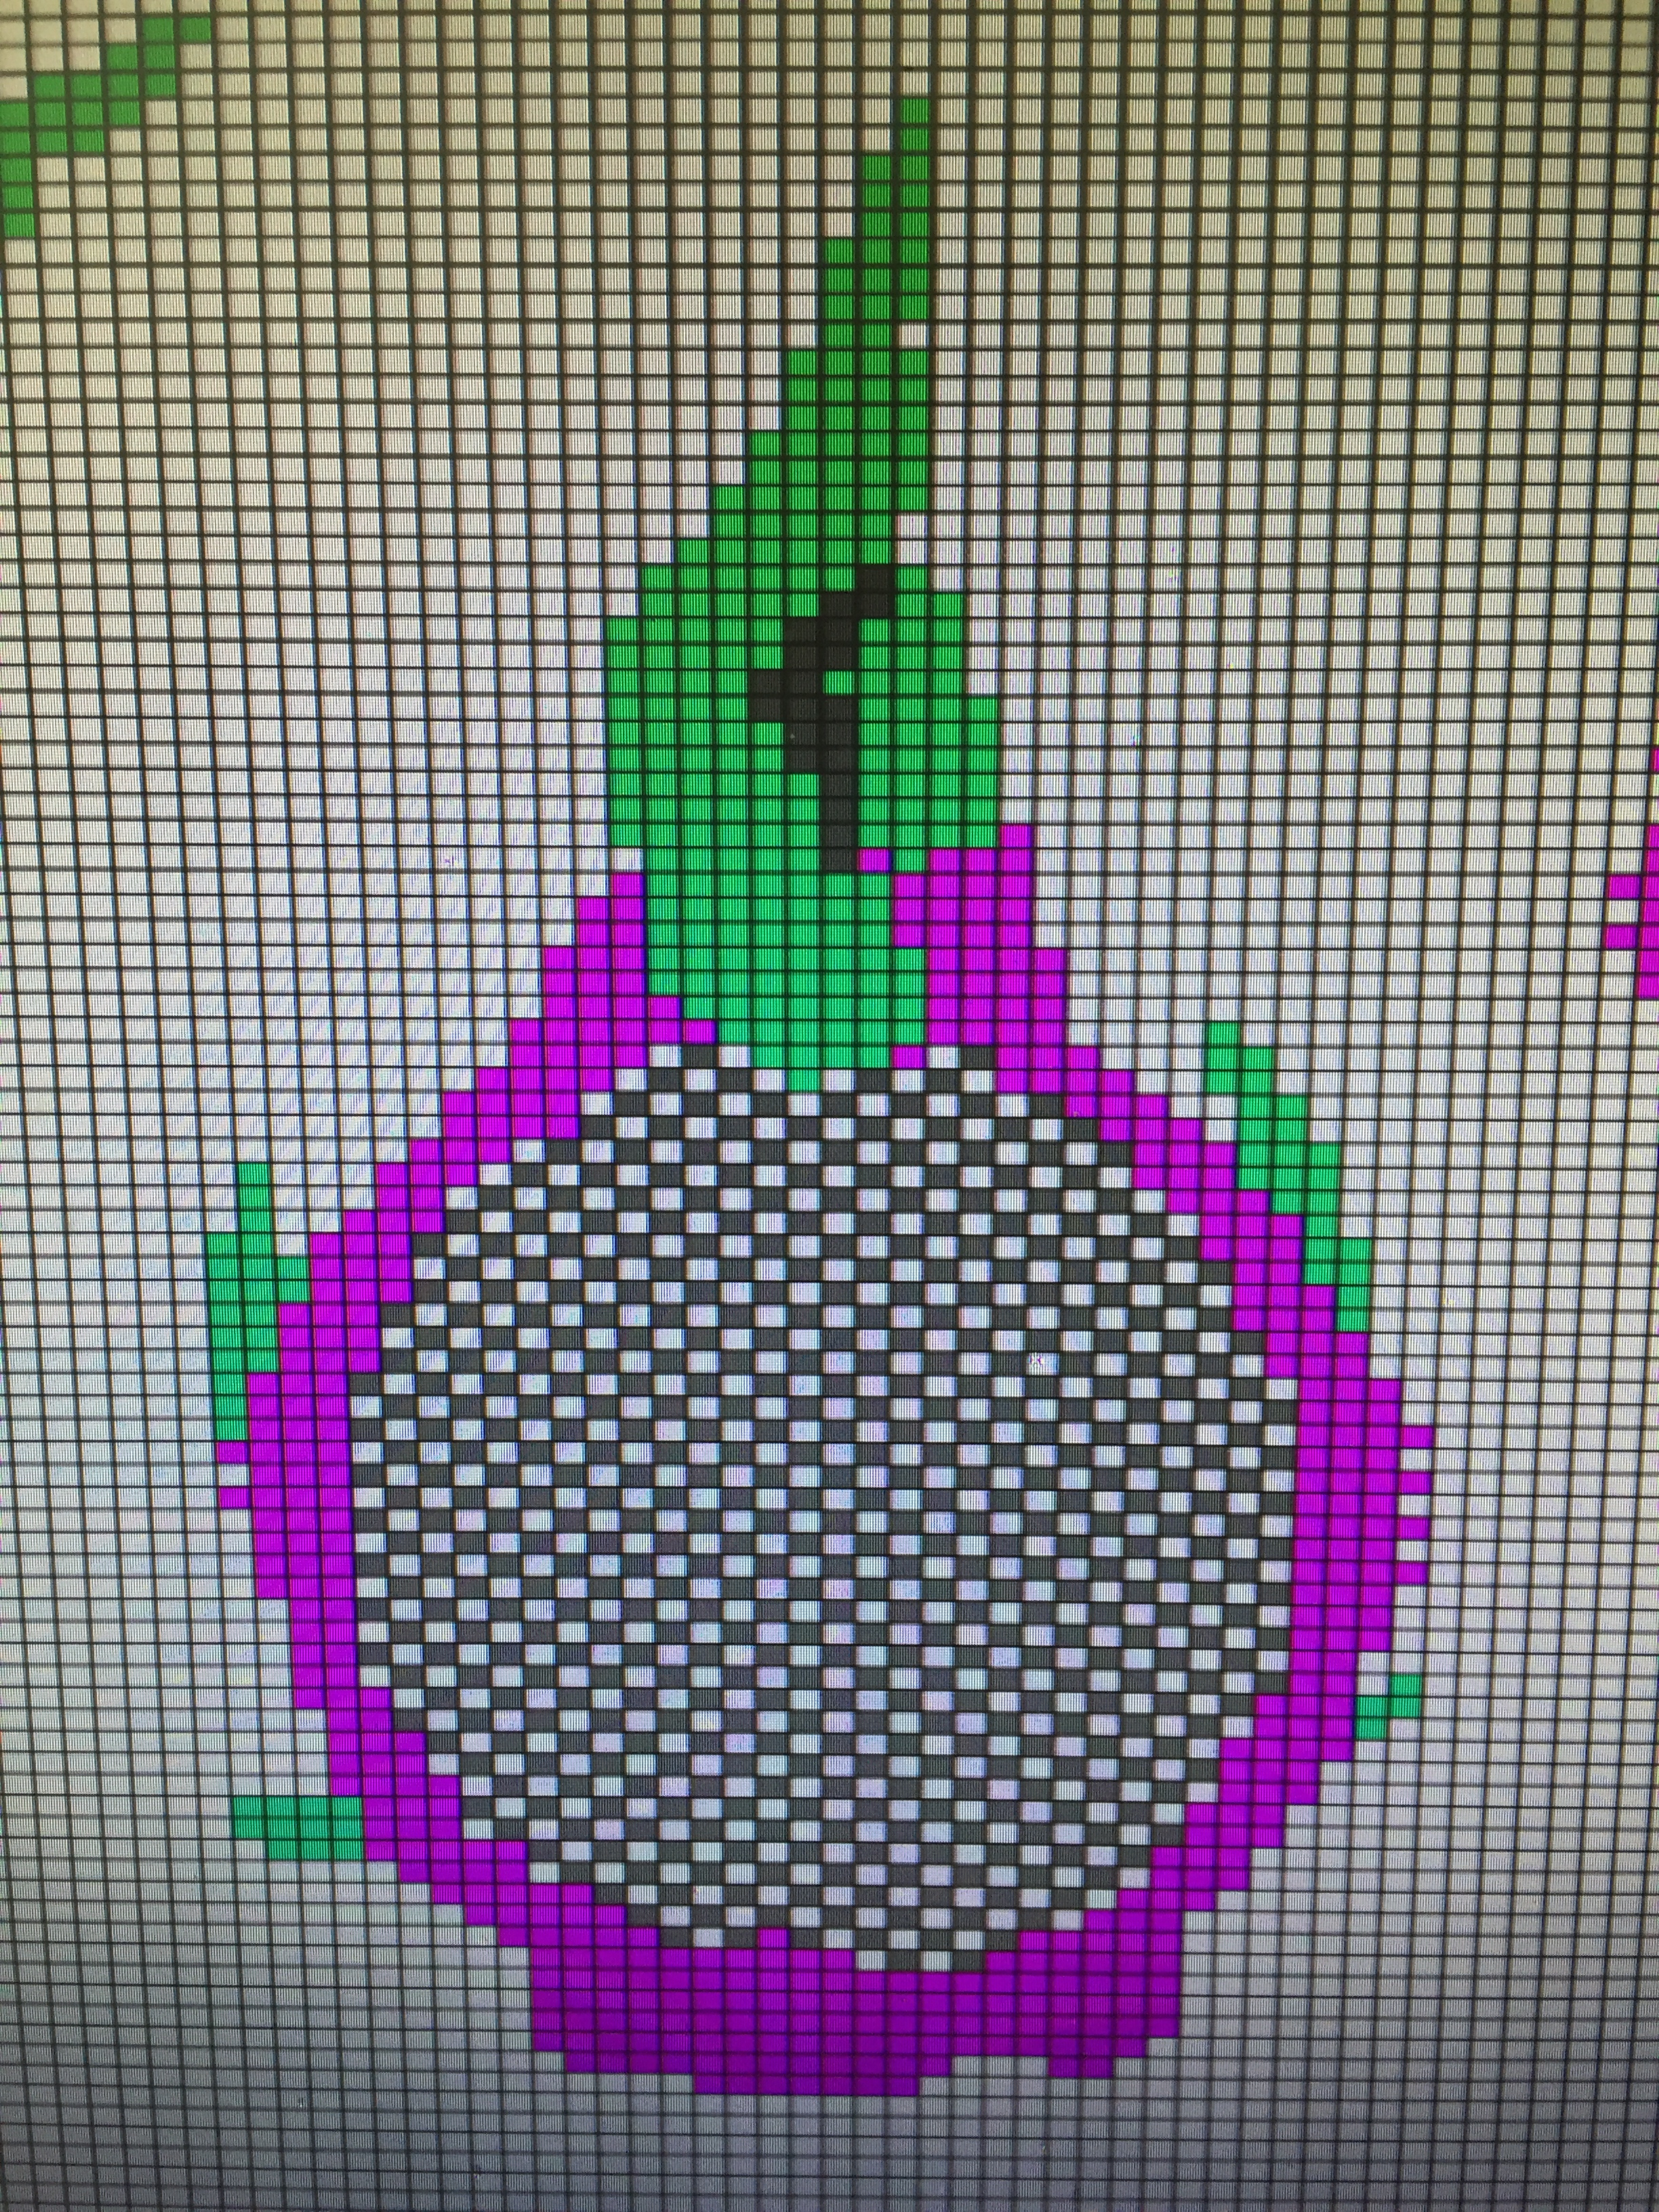
In this task we are asked to draw with stitch on the sketches we’ve picked on assignment 2.1.
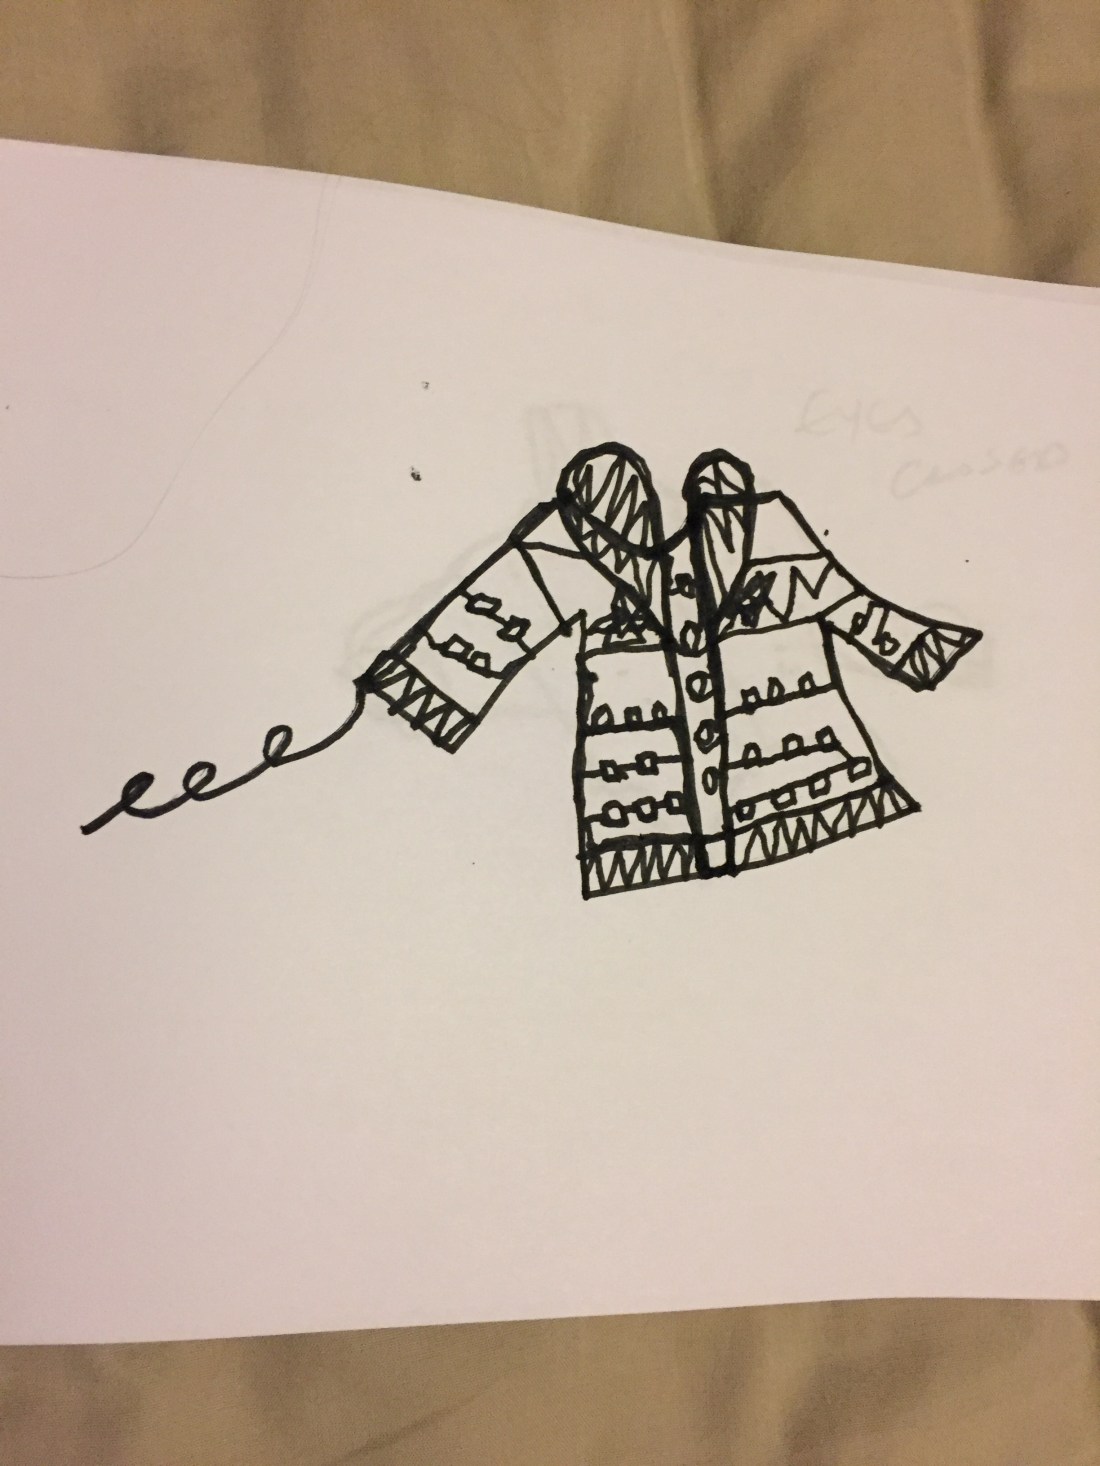
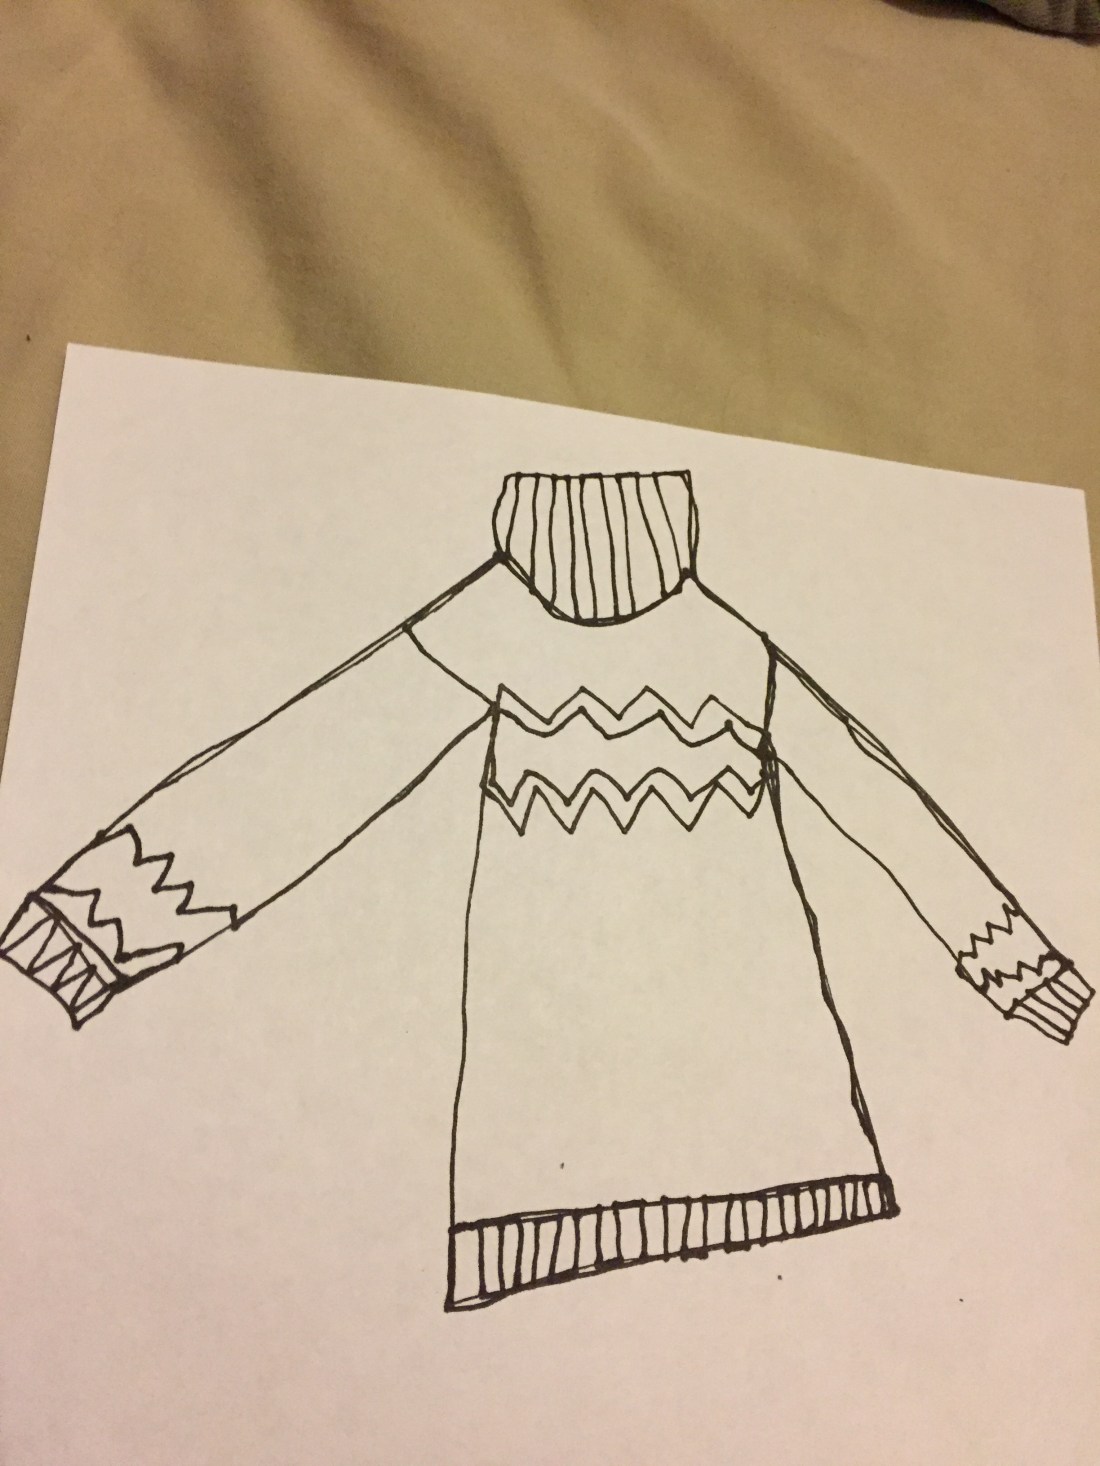
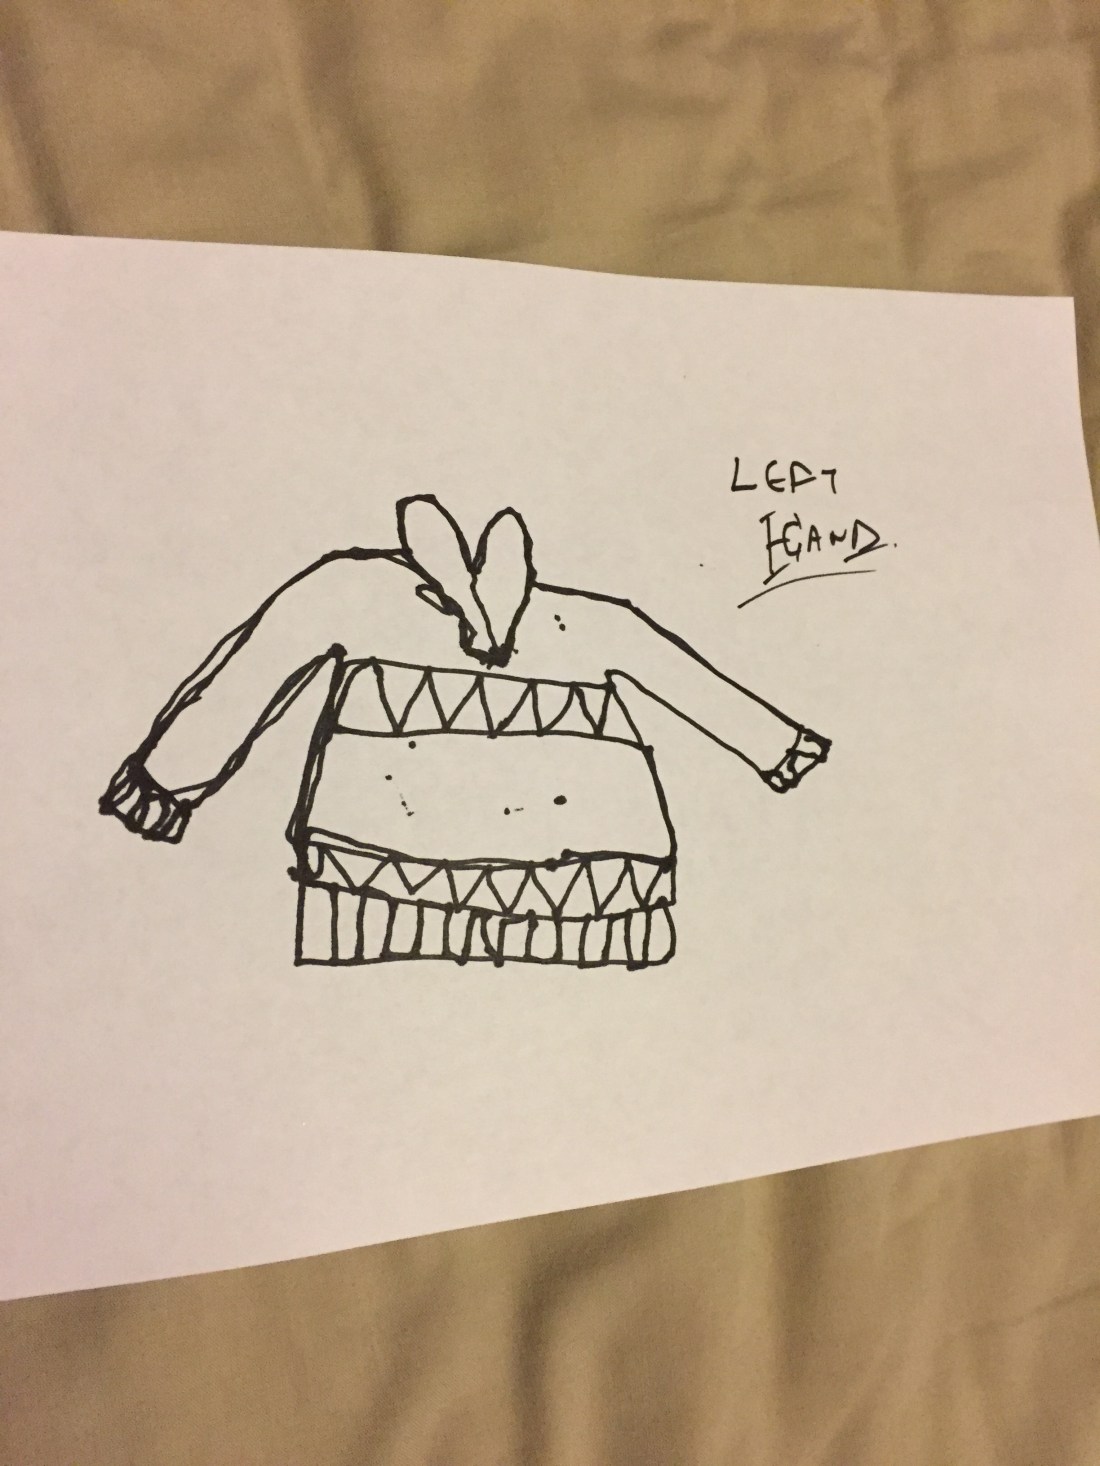
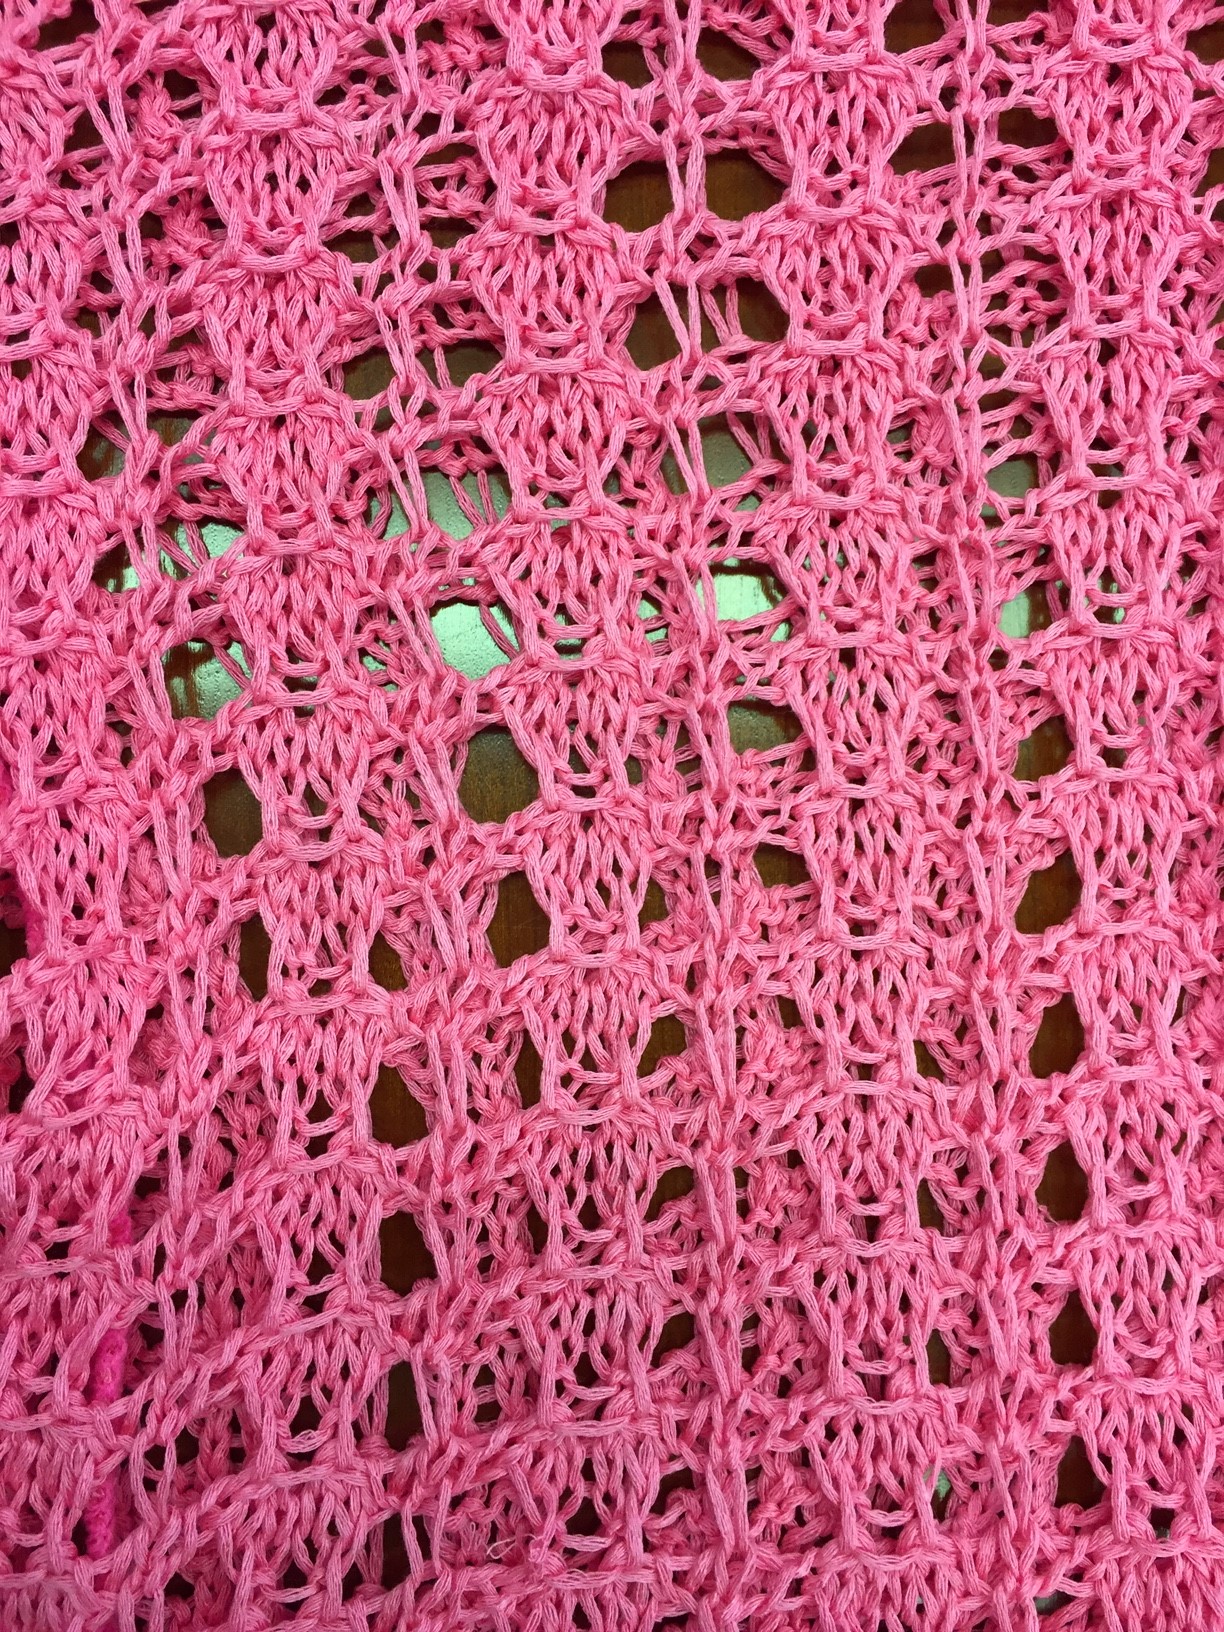
Having picked an electronic form pictures I’ve decided to literally draw with stitch: Use the graphs created and picked as a Jacquard and knit them all on the knitting machine!
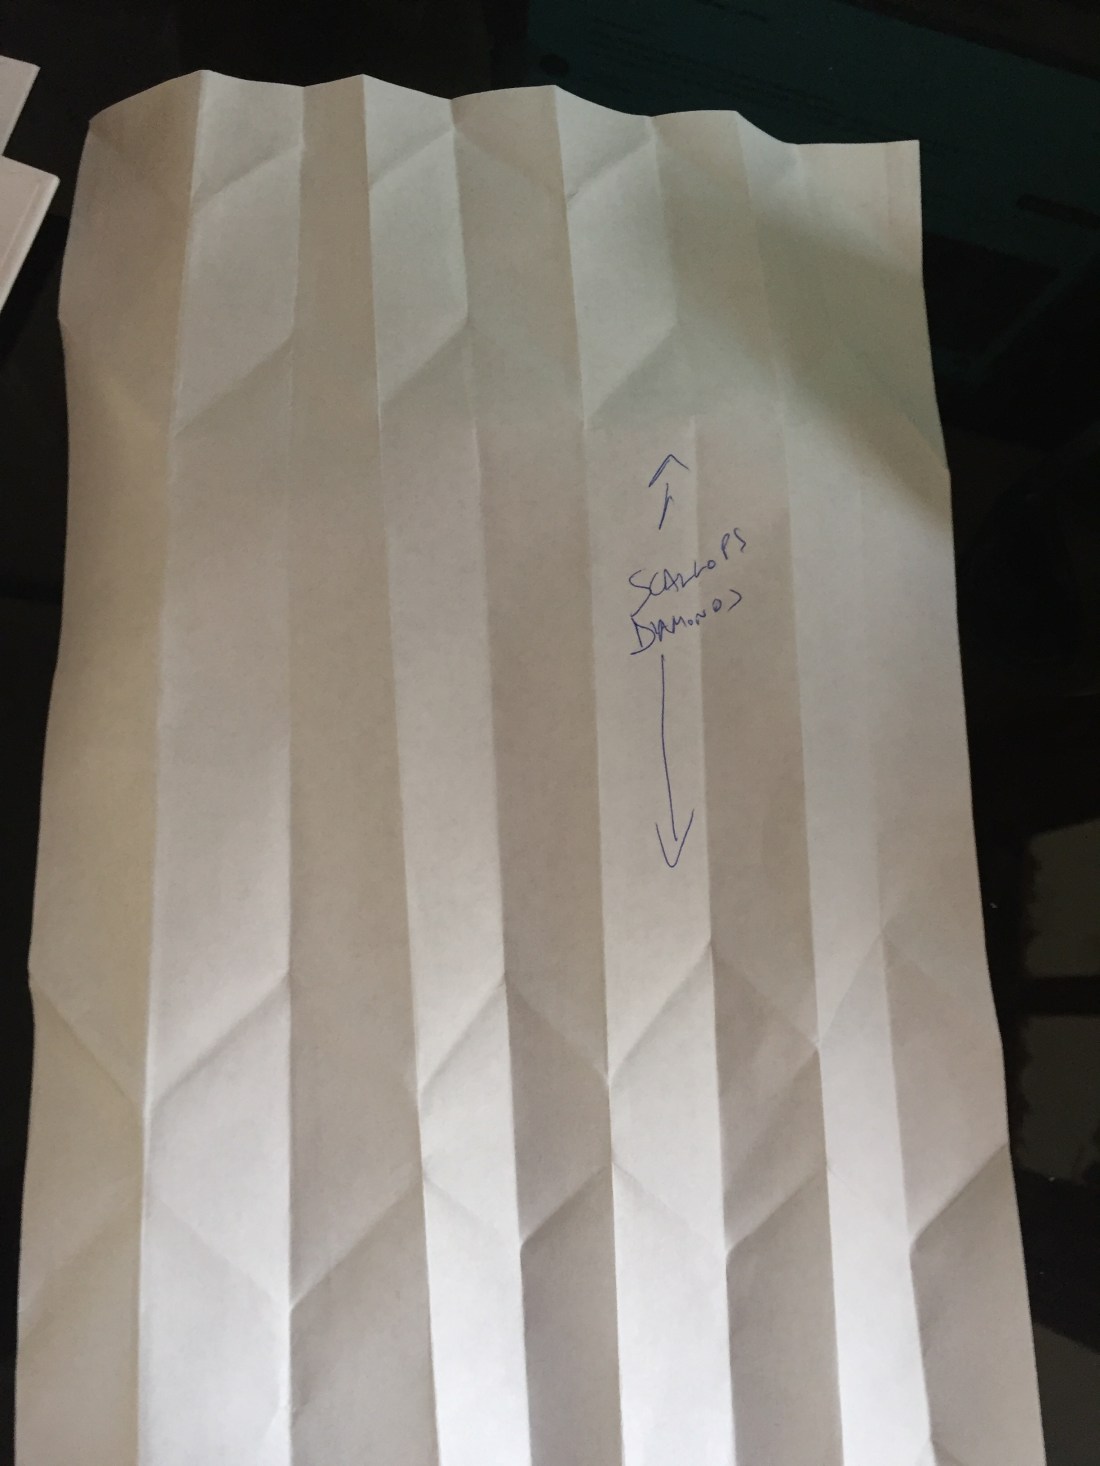
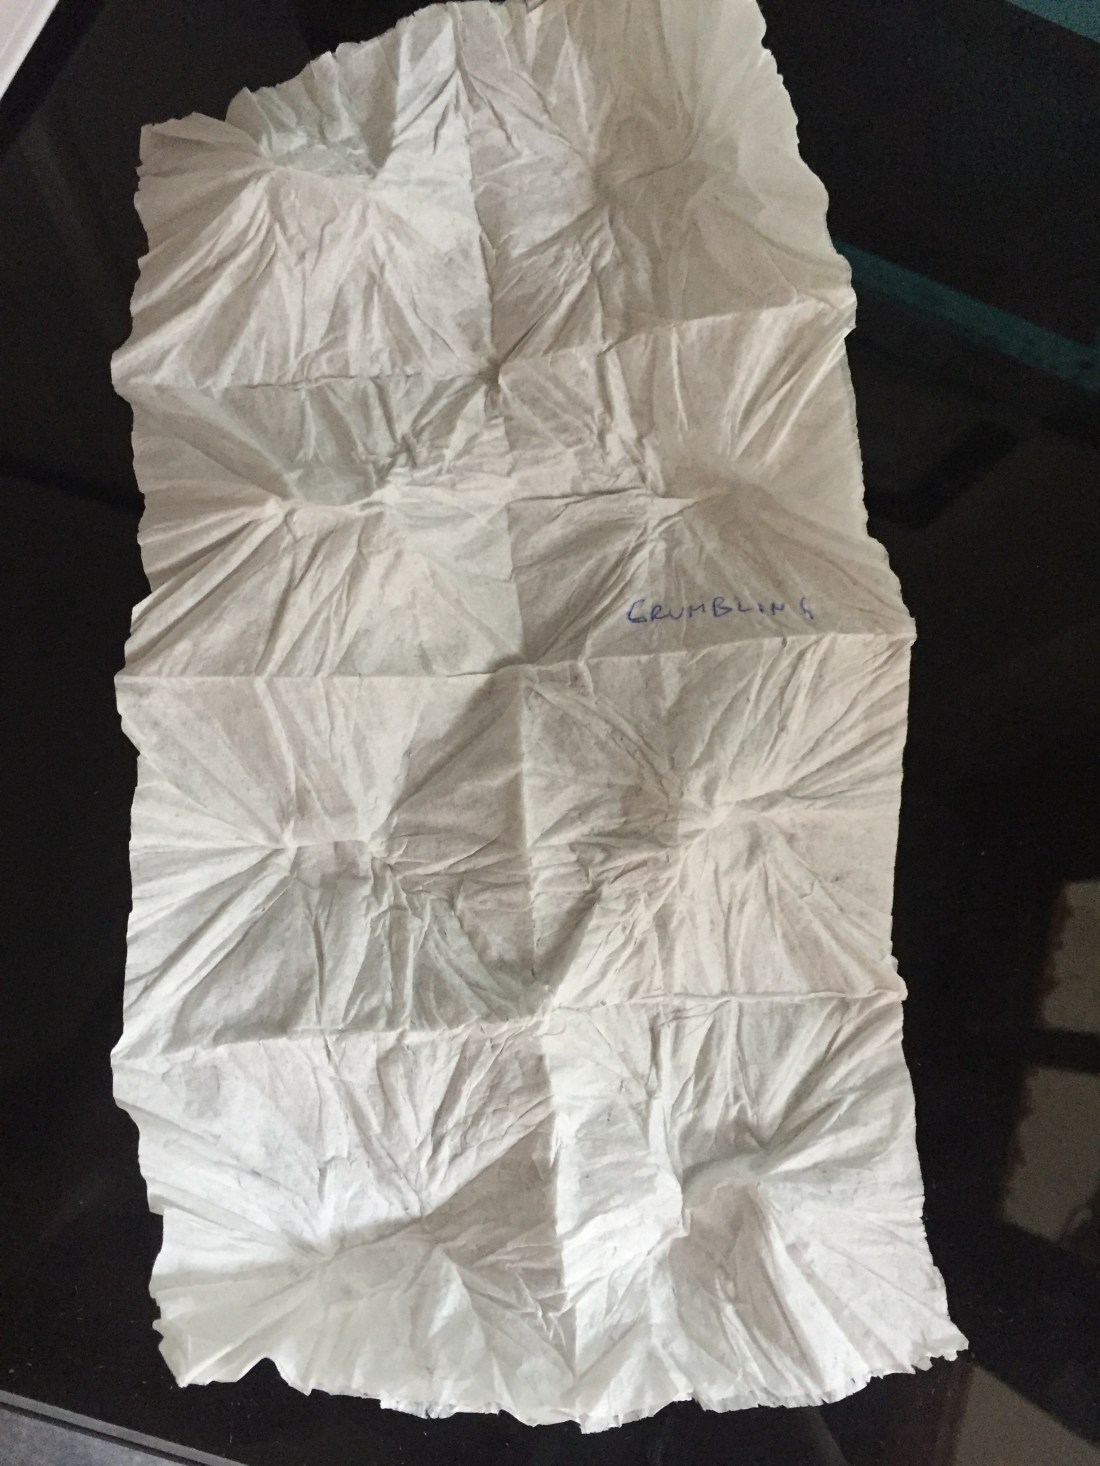
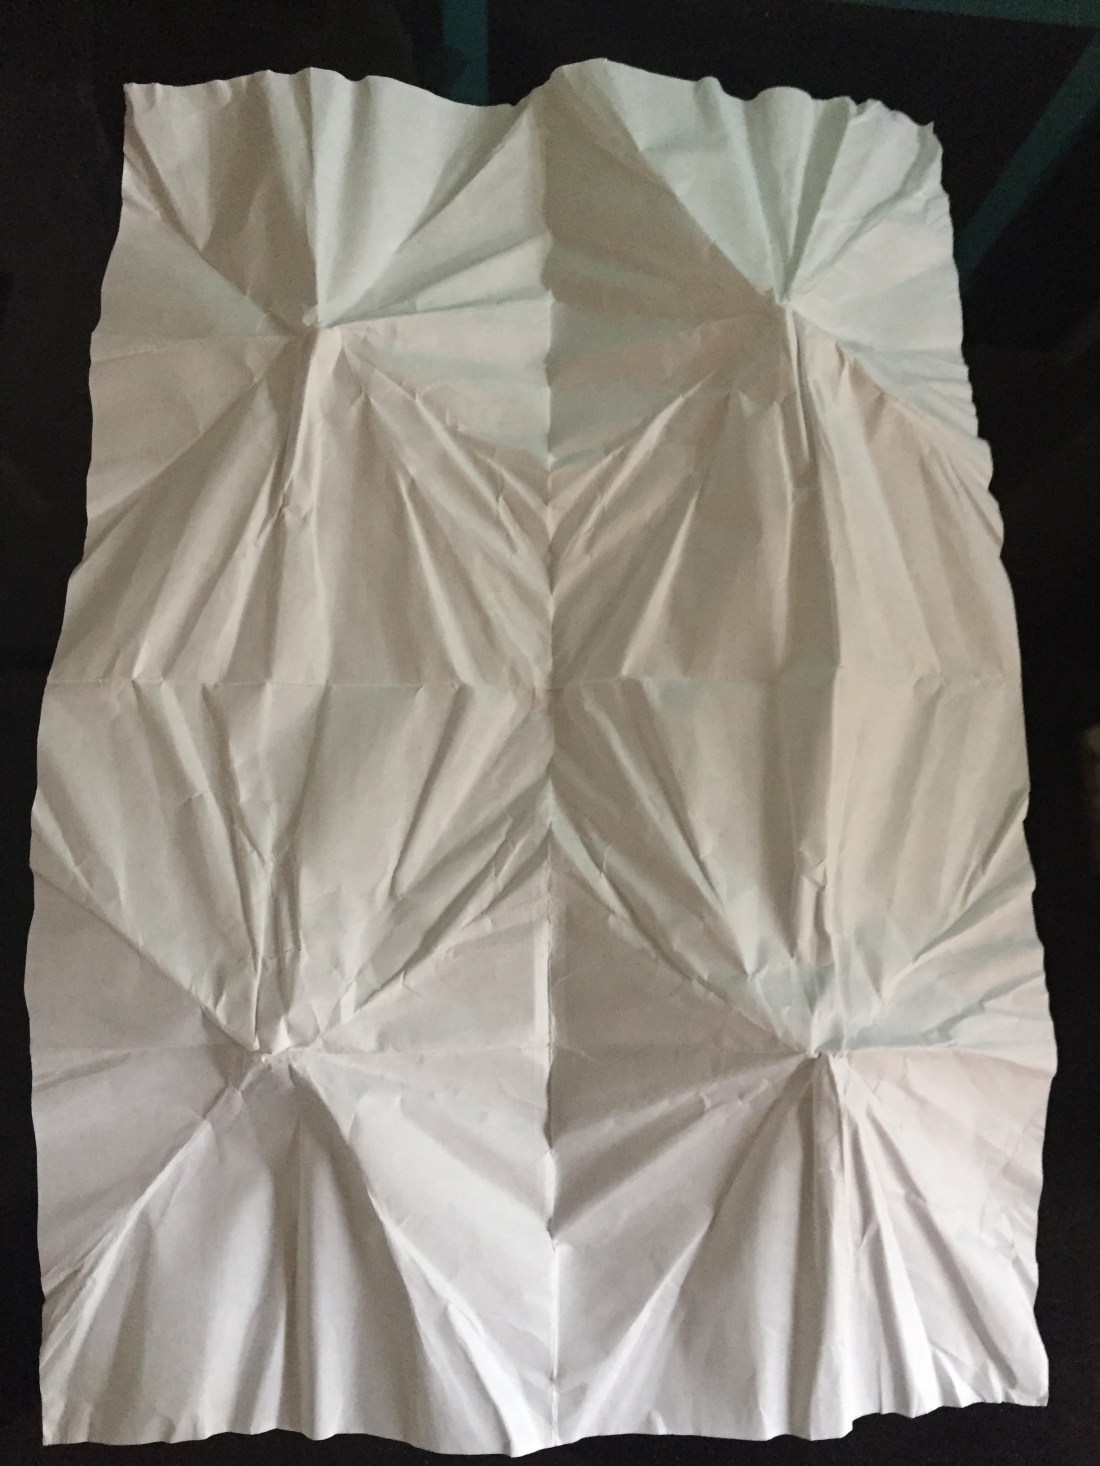
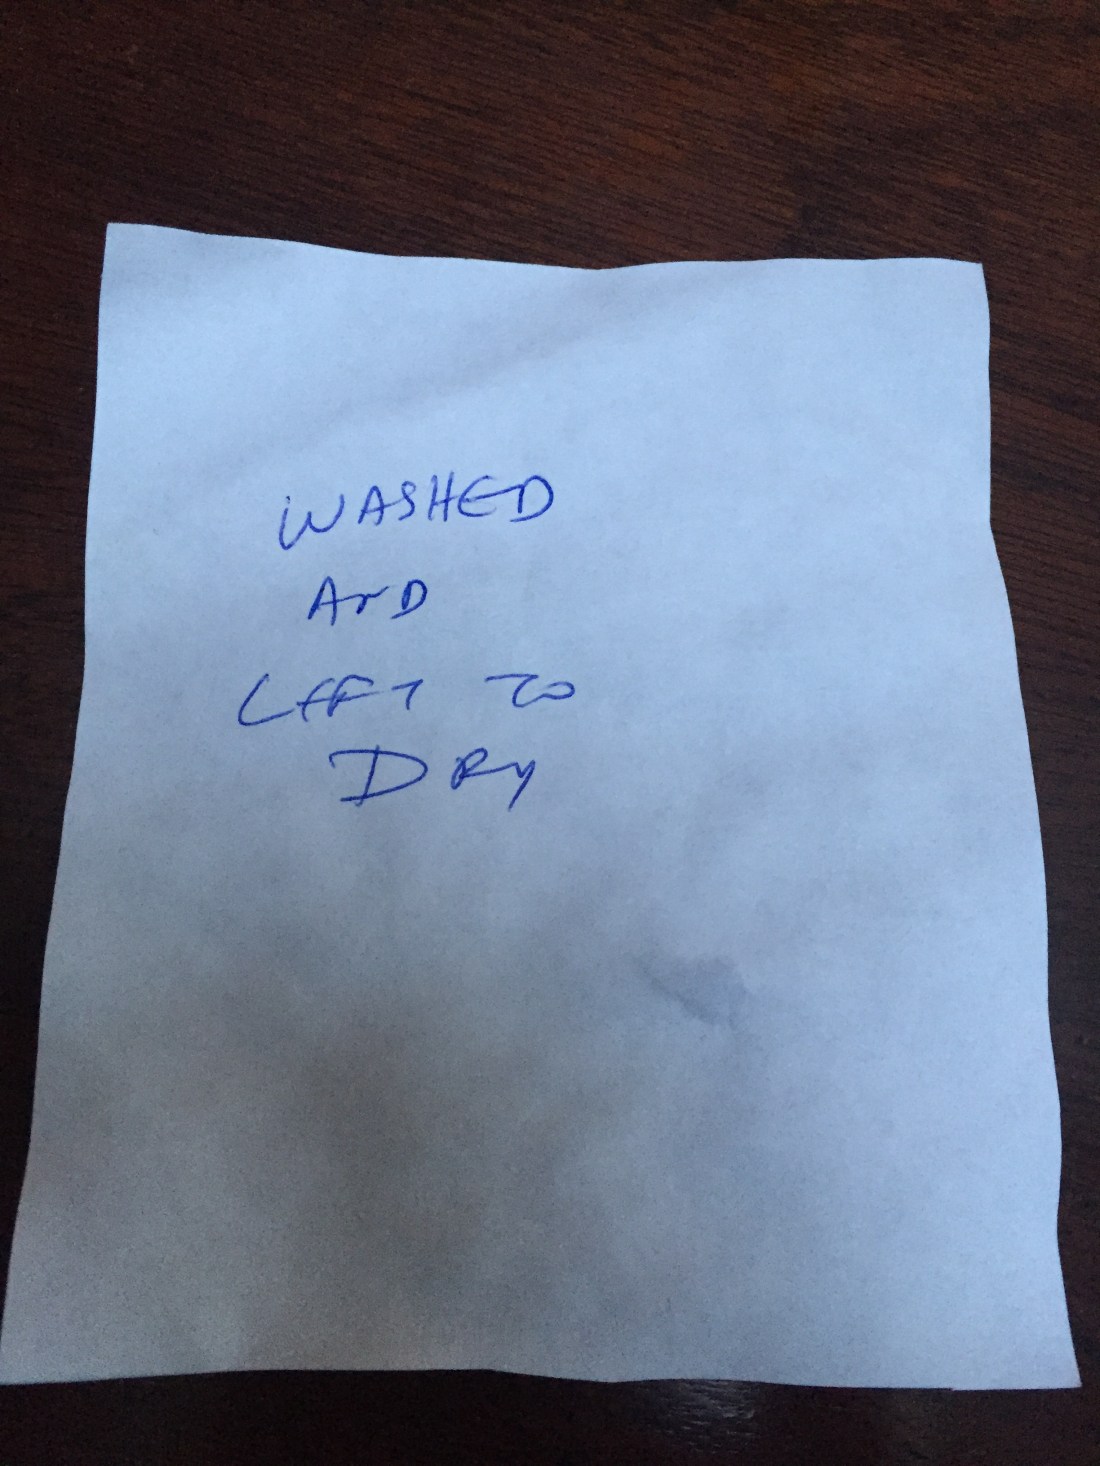
weaving technique using tissue paper in order to give a different texture and colorcrumpling using a soft tissuecrumbling using a normal paperpaper rolled and tasseled the texture changed dramatically when the paper was washed and left to dry
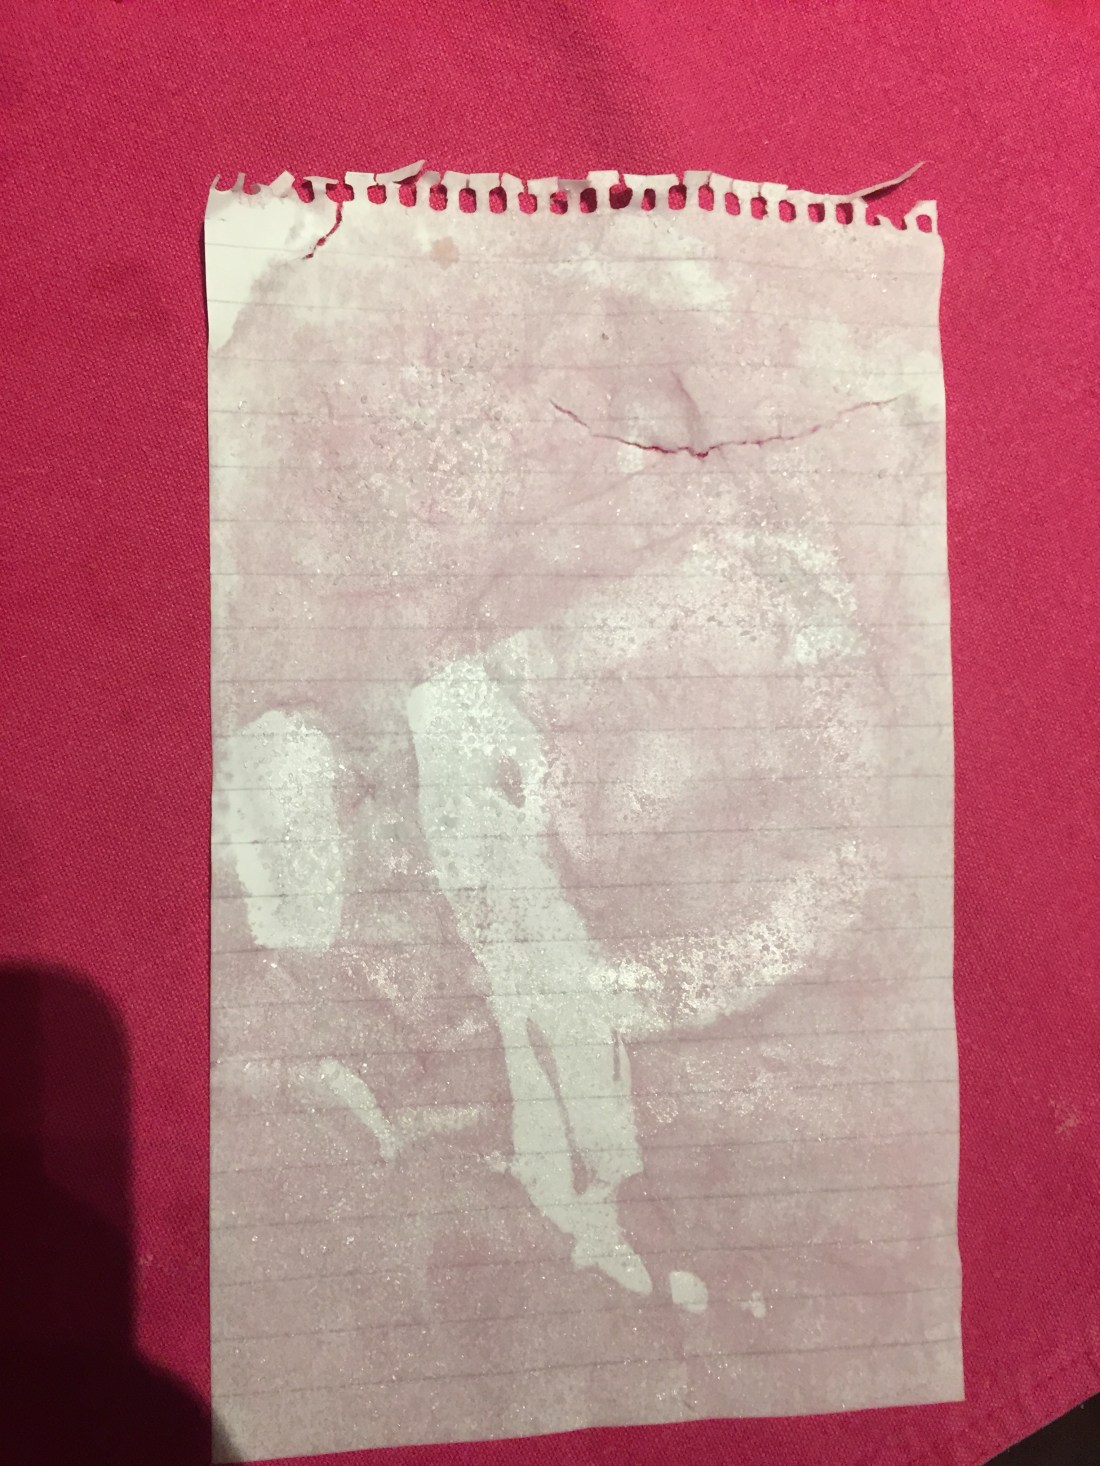
used exactly the same technique as above but the paper was wrinkled in my palm before washed and left to dry
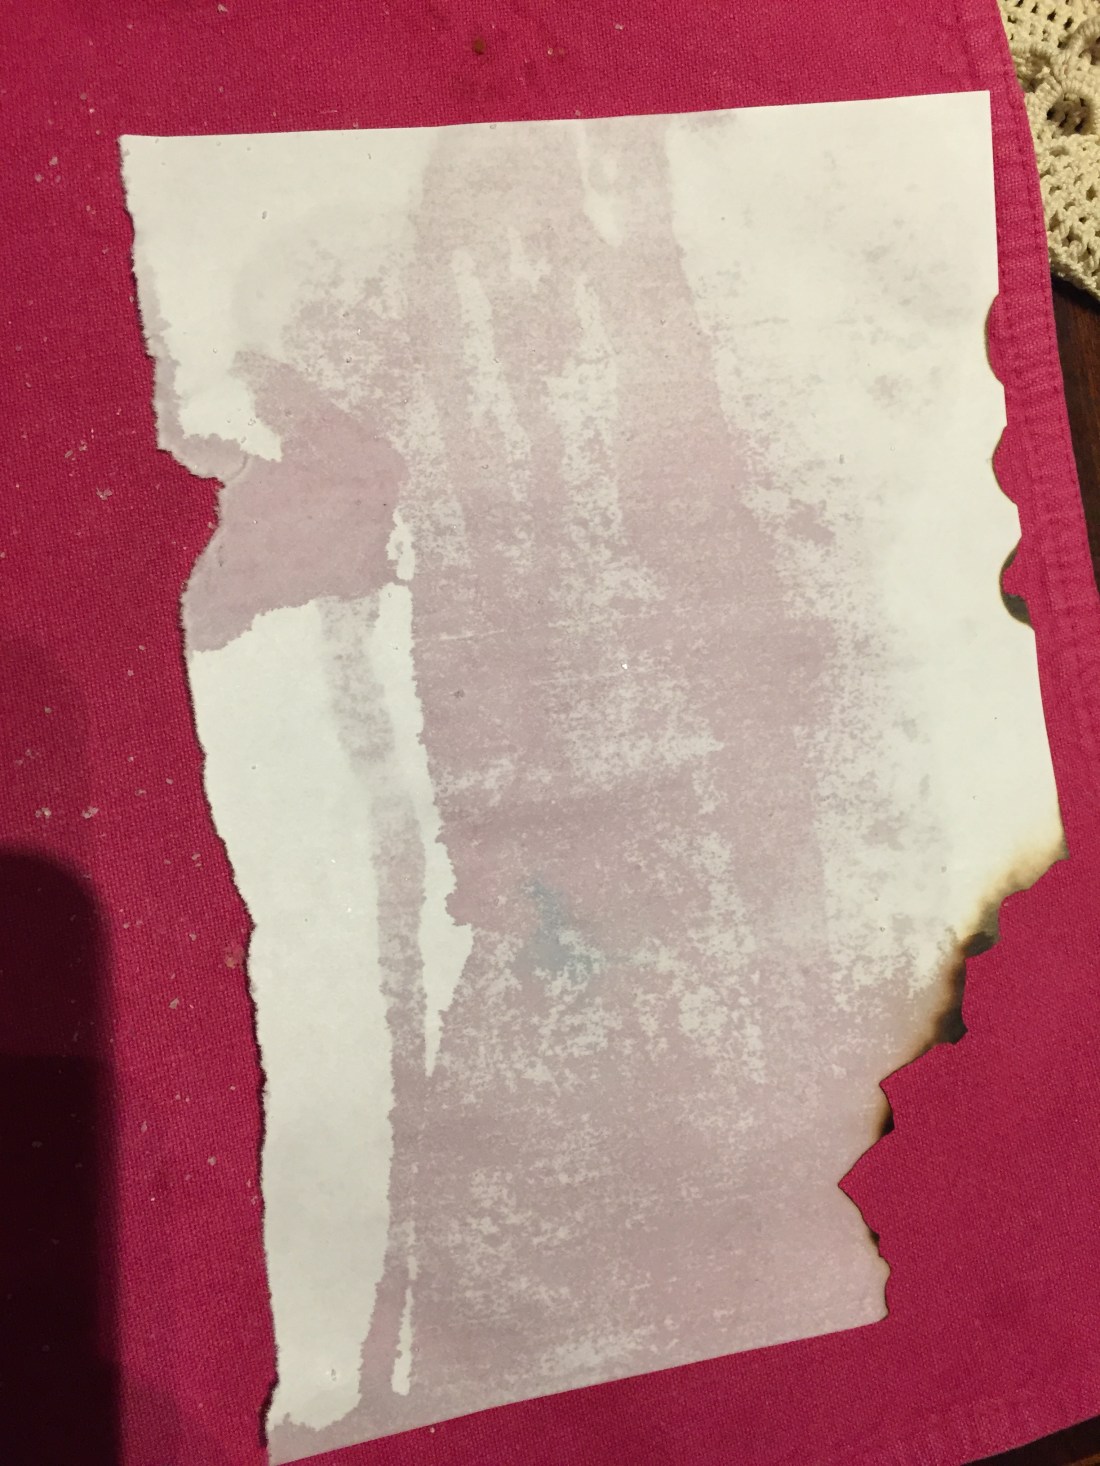
n this paper, I’ve applied water and then salt on the top which has super moisture absorbance in order to create different waves and motifs as it dries out
burning as well as water/salt techniquethis is how it looked when started to dry out
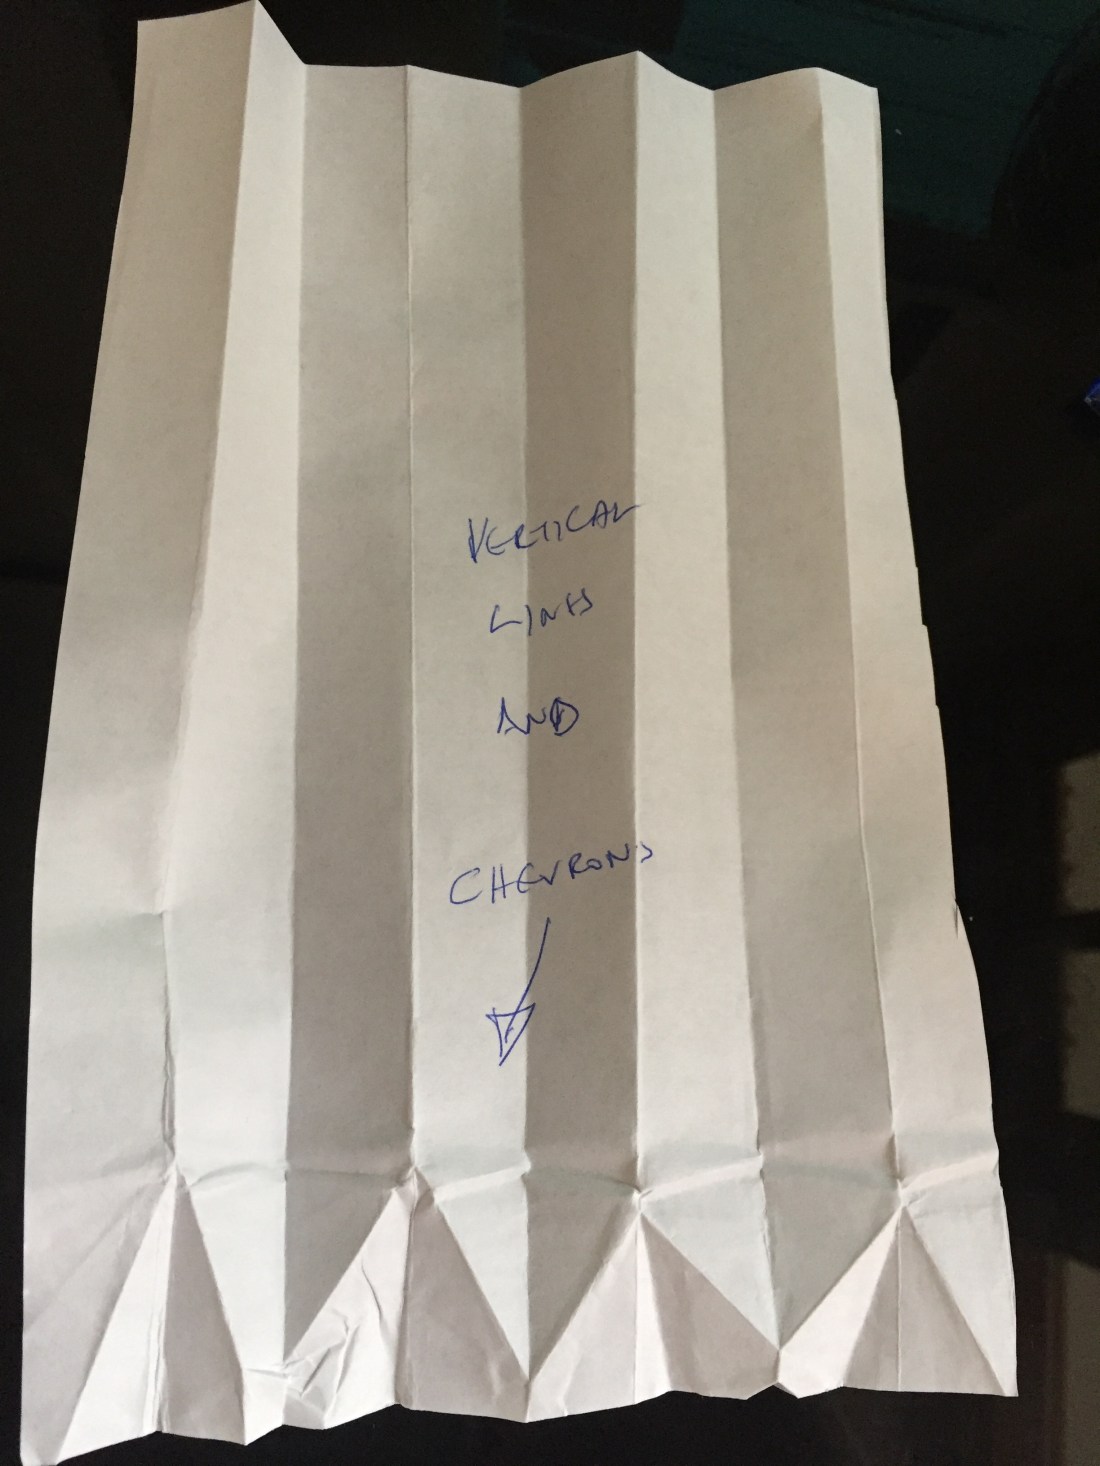
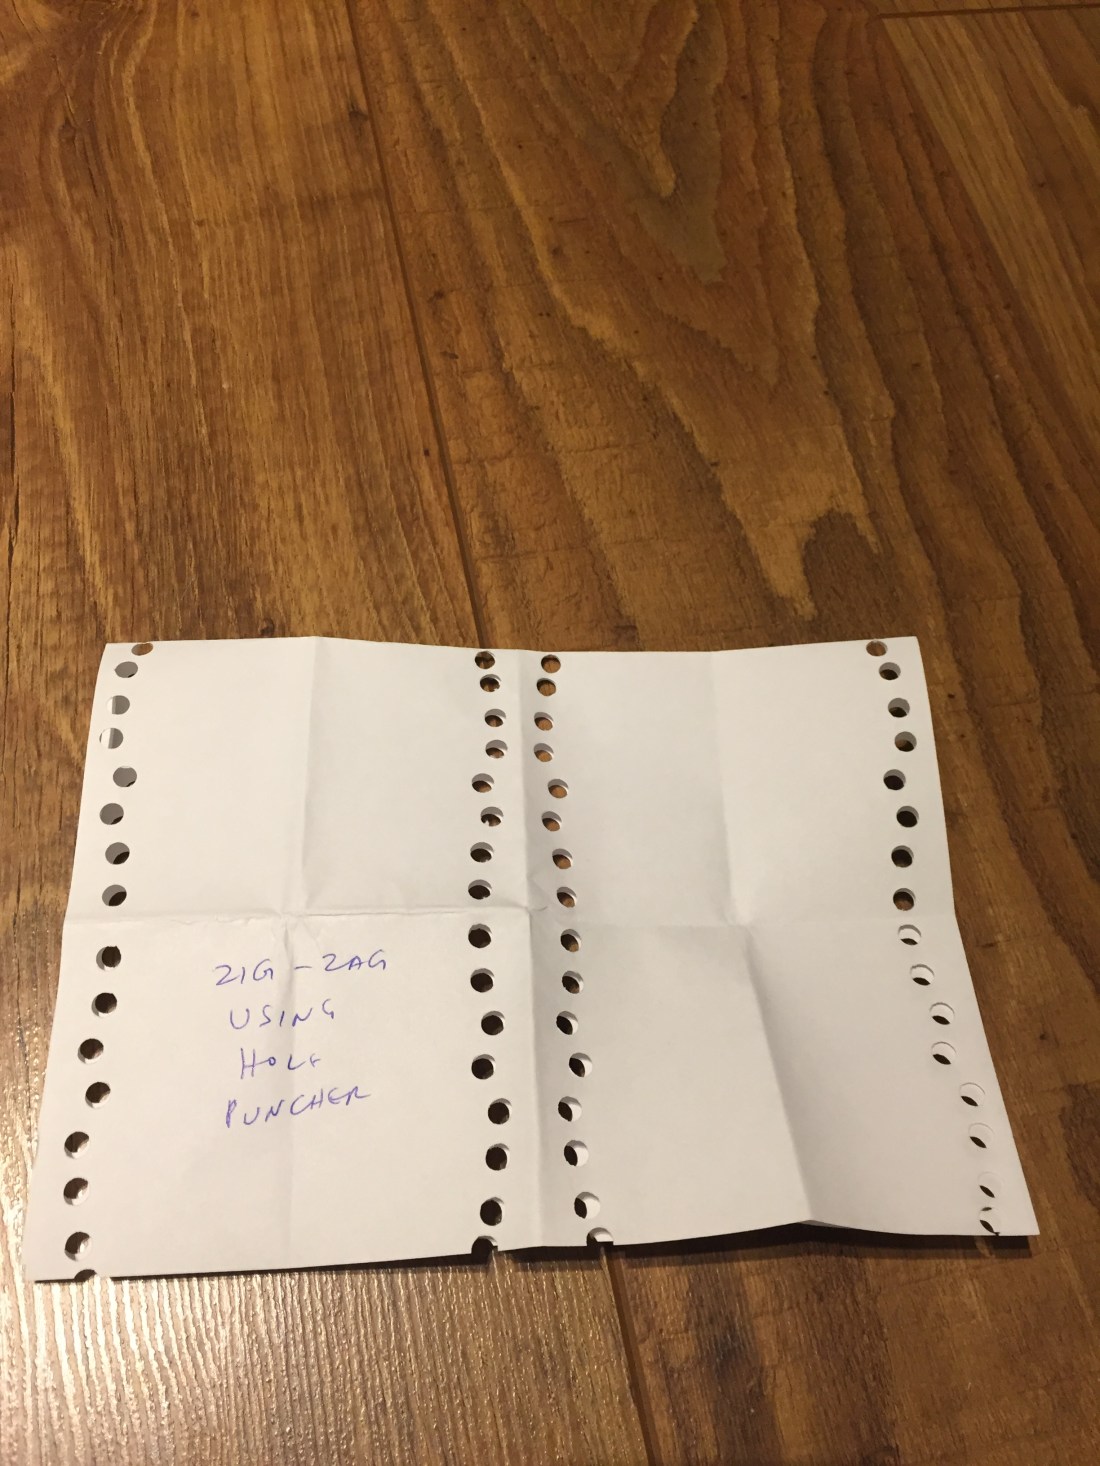
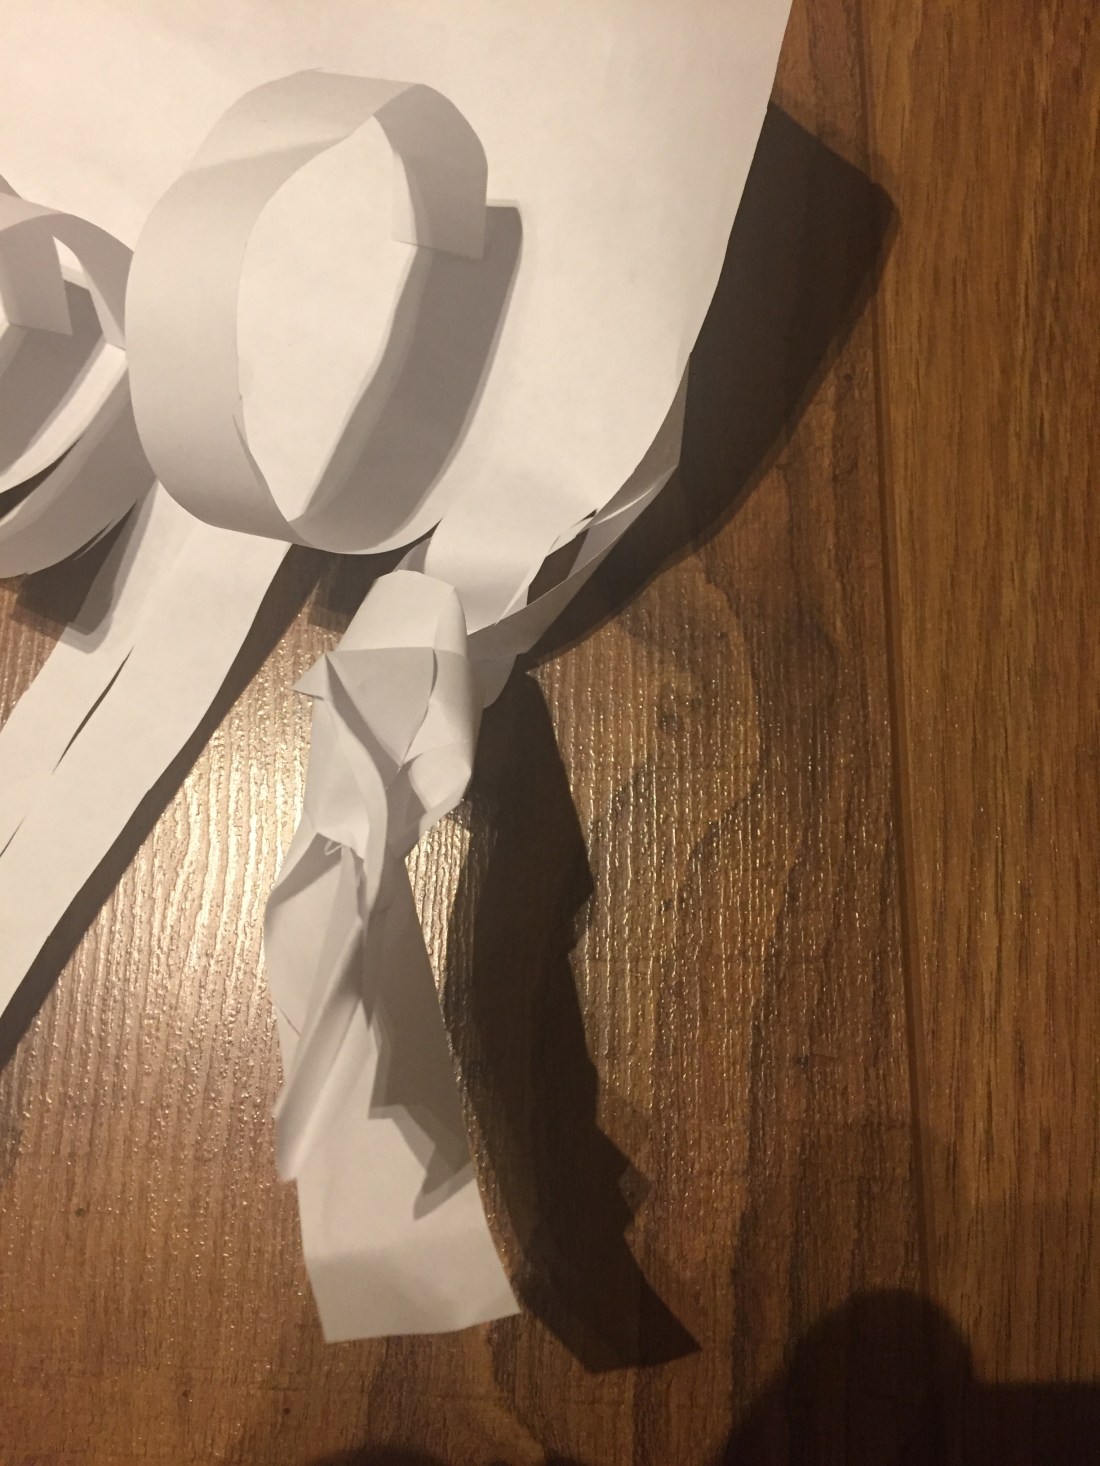
curly fringing
I’ve tried to create a sort of cable using the fringing of the paper but it didn’t work out because of the nature of the paper(too stiff).
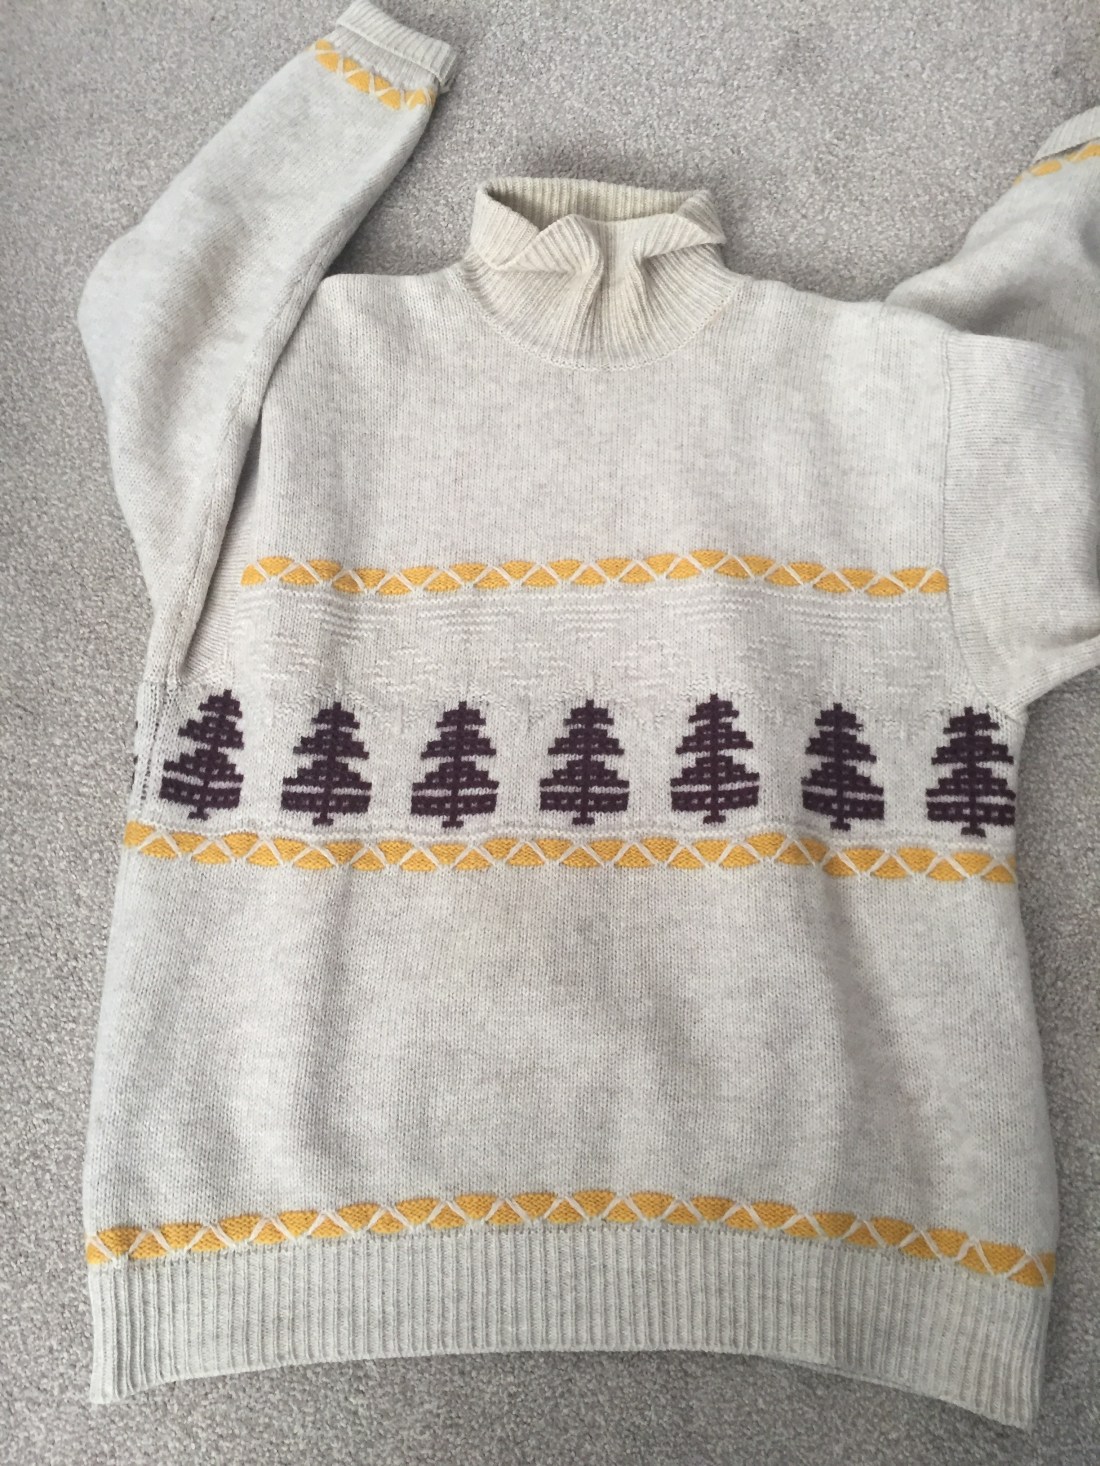
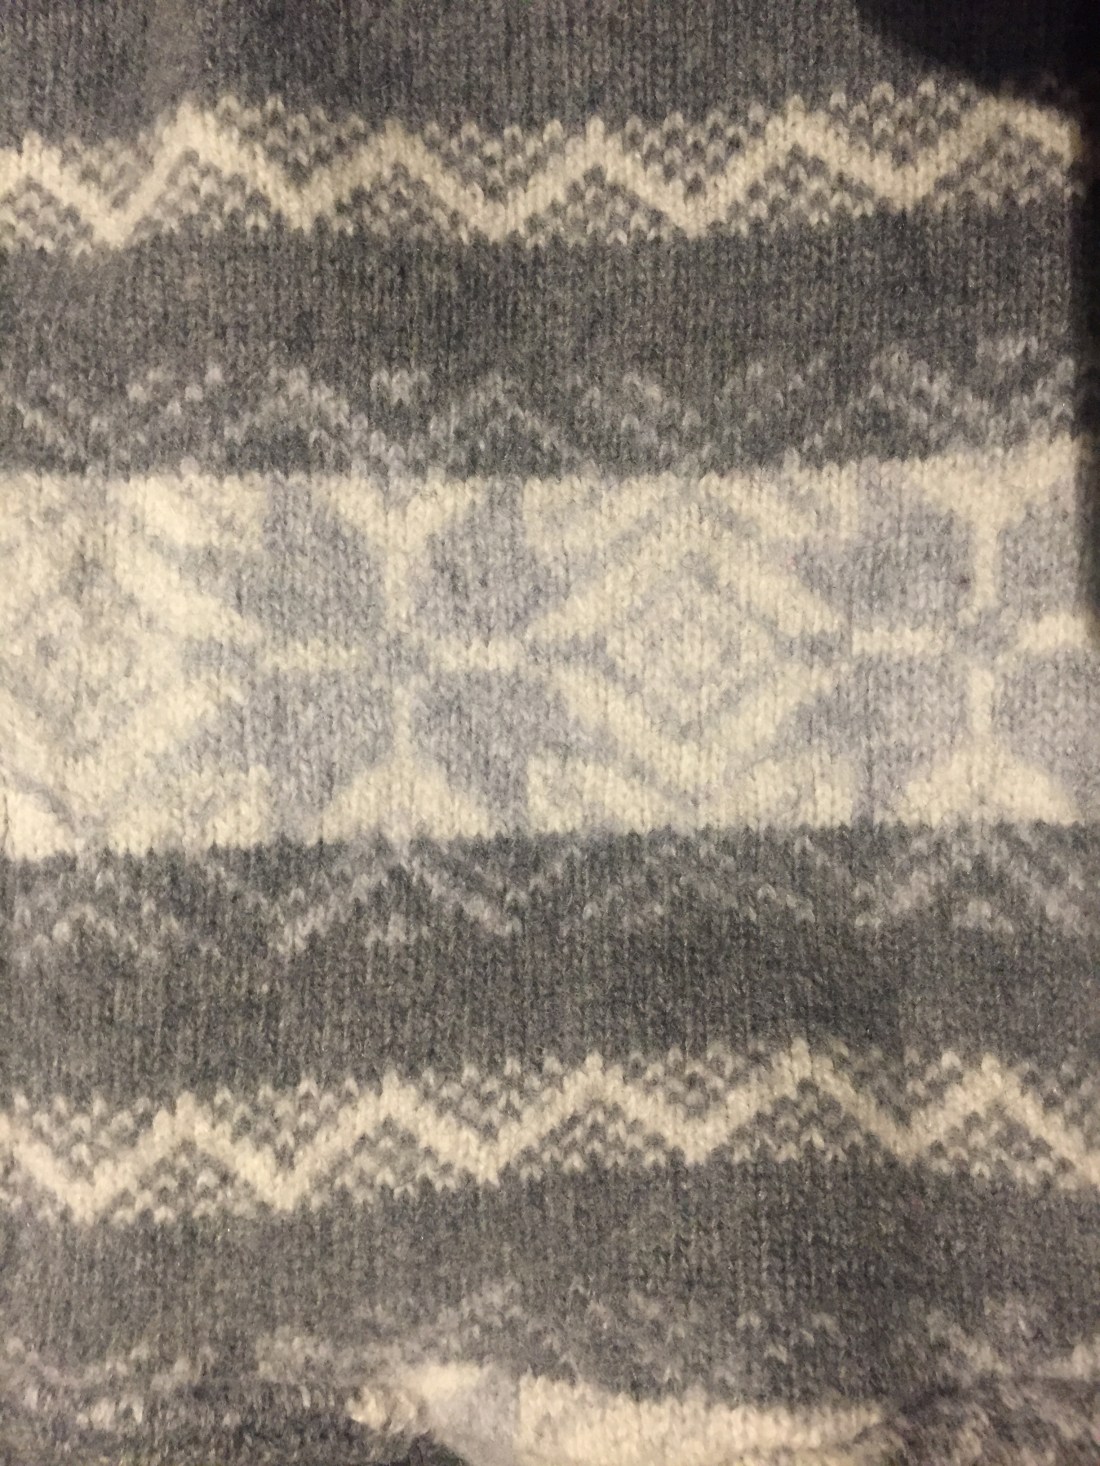
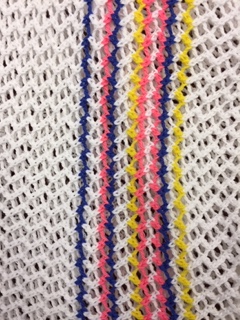
All the garments photographed (exercise 1.1) were knitted using 80% wool 20% nylon.
Woolly garments usually need to be hand washed due to the delicate nature of the fabric.
In the exercise mentioned above I’ve photographed jumpers made in Chinese knitting factories for Tommy Hilfiger and Benetton using flat knitting machines for knitting and linking machines for finishing .
It’s hard to trace where these garments wool is coming from.
It can be Shetland wool , coming from Scotland, wool made in China , or Italian wool and because it’s a natural fiber it still keeps it’s shape, the elegant look and soft hand feel.
All these heavily worn jumpers belong to me and have been in my possession for many years: especially the beige jumper is 26 years old and it still plays a significant part of my life especially in the winter time when it’s on. Dressing in it feels like I’m wearing a piece of history , my personal one!!!
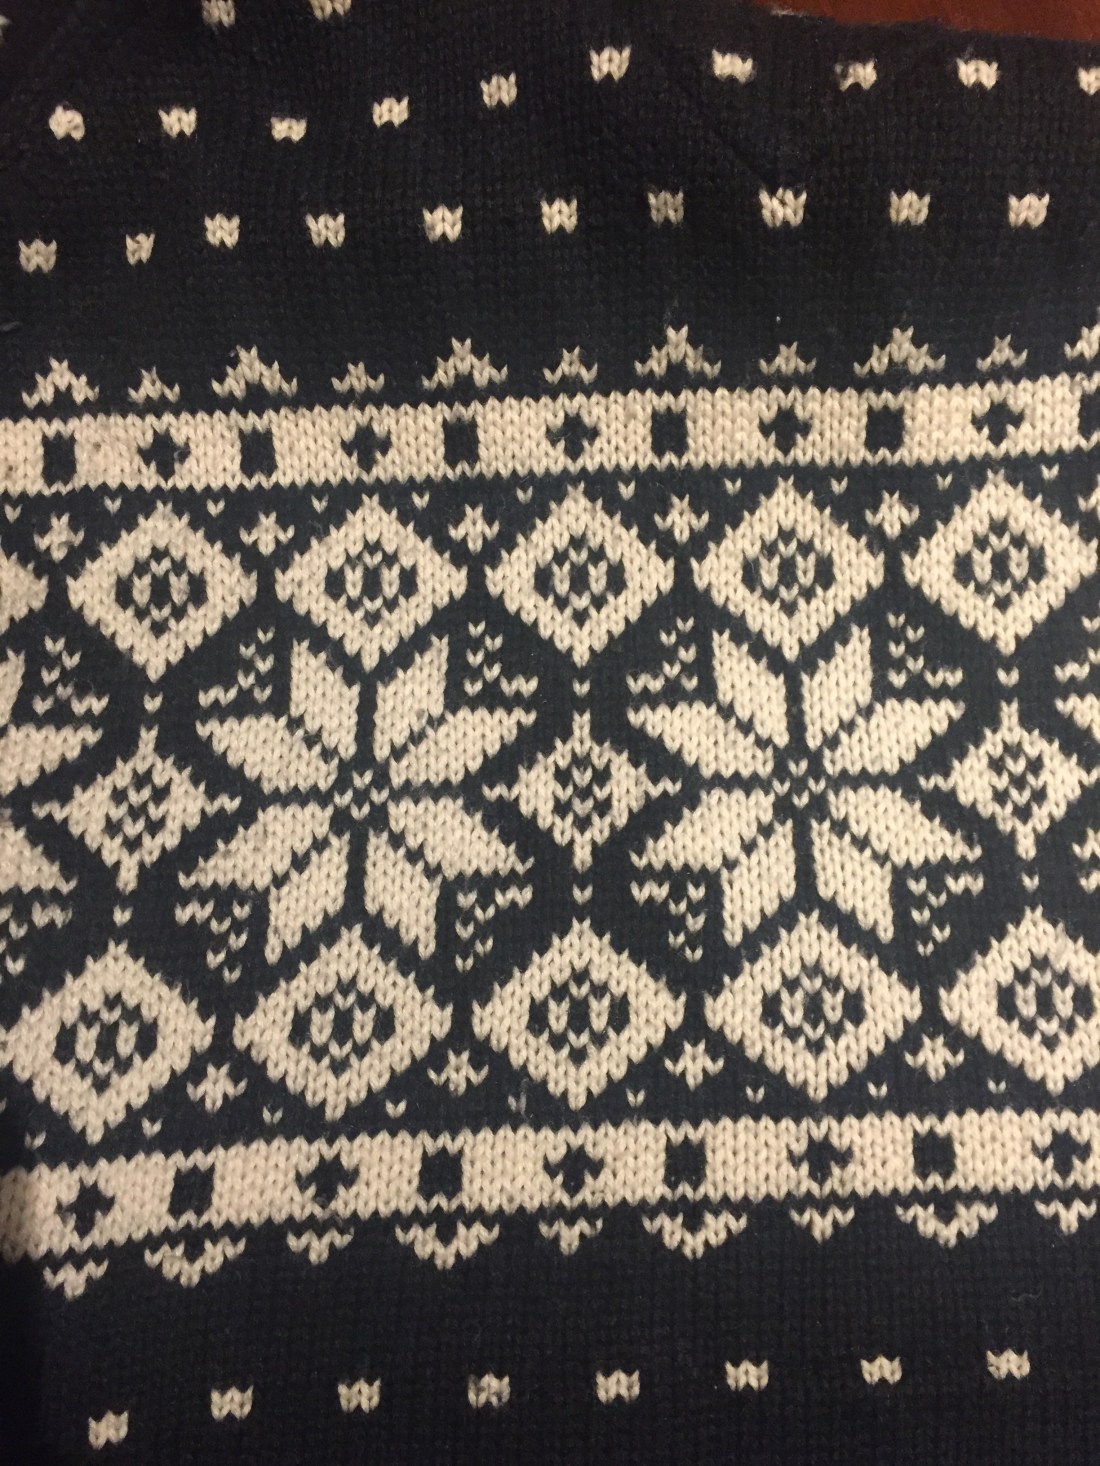
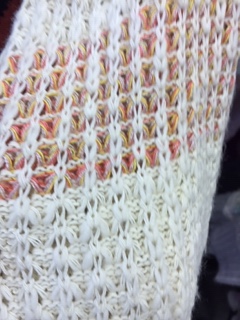
Fair Isle is a remote island situated between Orkney and Shetland to the north of mainland Scotland. Legend has it that Spaniards, stranded on the island after the break up of the Spanish Armada in 1588, taught the islanders to use the colours and patterns typical of Fair Isle knitting. However, there is also evidence that these design influences came from nearby Scandinavia.
The varied colours of Shetland wool have been a feature of knitting from this region since the 19th century. They came partly from the different breeds of sheep, but also from dyes. Madder and indigo gave red and blue, while lichens produced red, brown, orange and purple. Brightly coloured synthetic dyes, invented in the 1850s, increased the possible colour range but were used only in small quantities.
The early knitters produced stockings, caps and scarves. Sweaters in the Fair Isle style – as it’s known today – were not produced until the First World War. They are constructed by knitting bands of horizontal motifs from two different coloured strands of wool. The patterns are made up of motifs such as crosses, diamonds and eight-pointed stars.
There was a vogue for Fair Isle sweaters during the 1920s, thanks in part to the Prince of Wales, who wore one as part of his golfing attire, although natural shades like brown, grey and white were then preferred. The look continues to be regularly reinterpreted on the catwalk – the American designer Ralph Lauren included a Fair Isle sweater in his first collection.
Taking on board that I have to re create yarn out of different substances using techniques applied before, I have decided to work with used materials , giving them a second life in a different form,twisted with ribbon mainly to show a yarn formation.
Following the assignment instructions I’ve uploaded pictures of the whole process, the whole transformation.
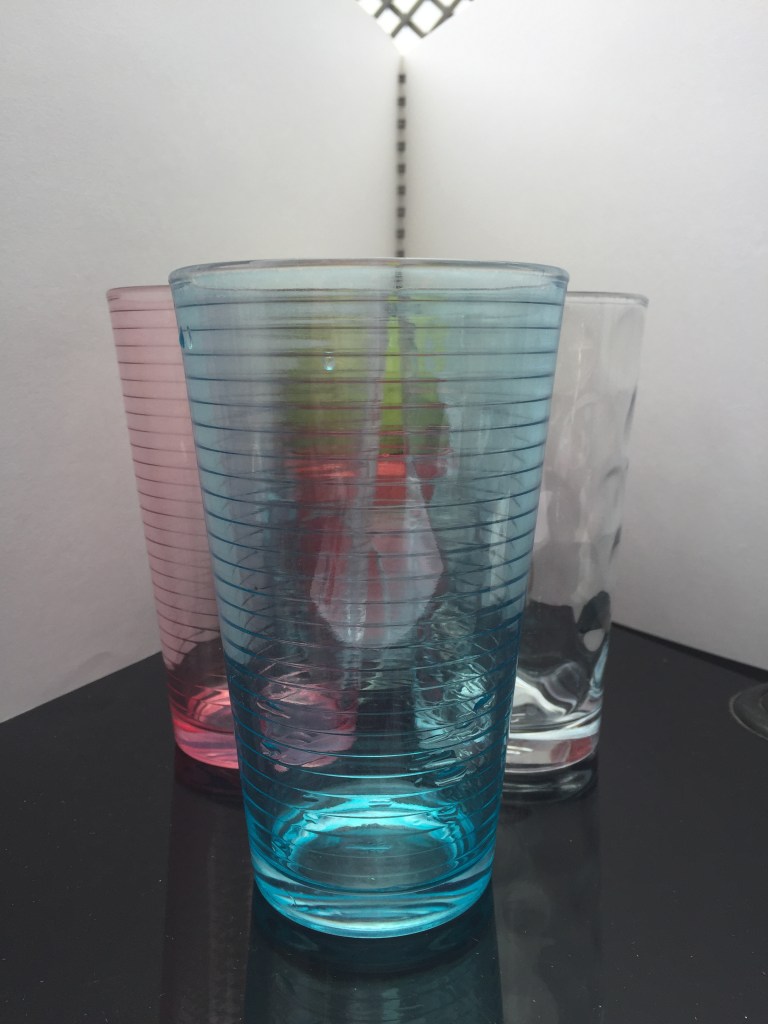
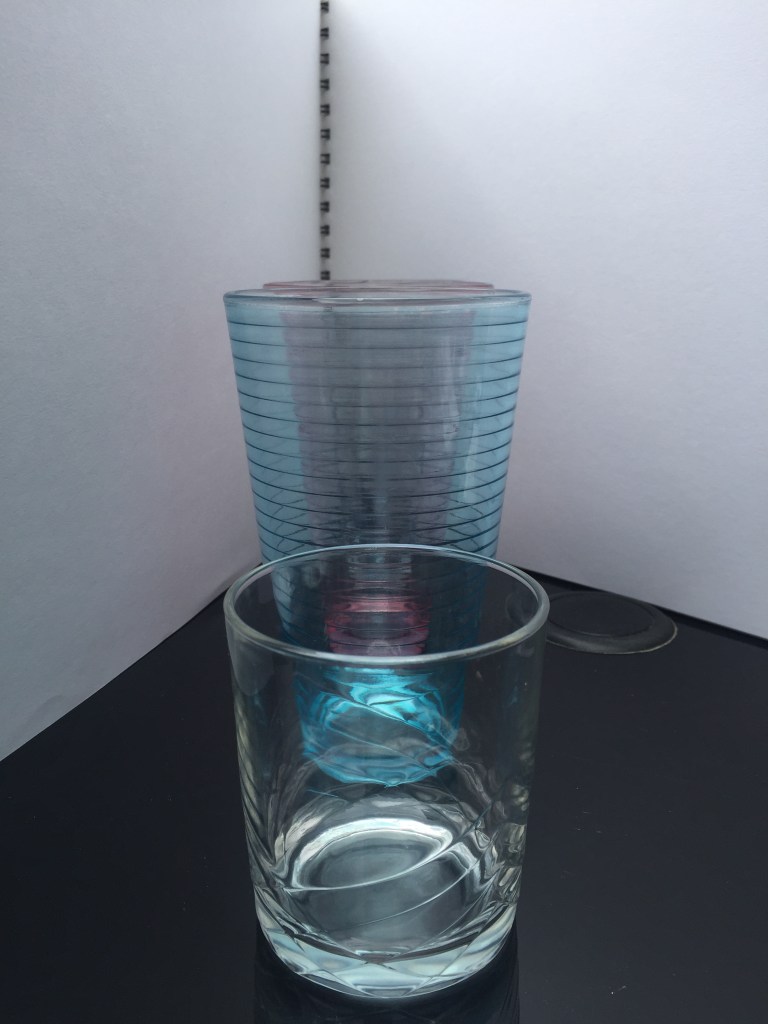
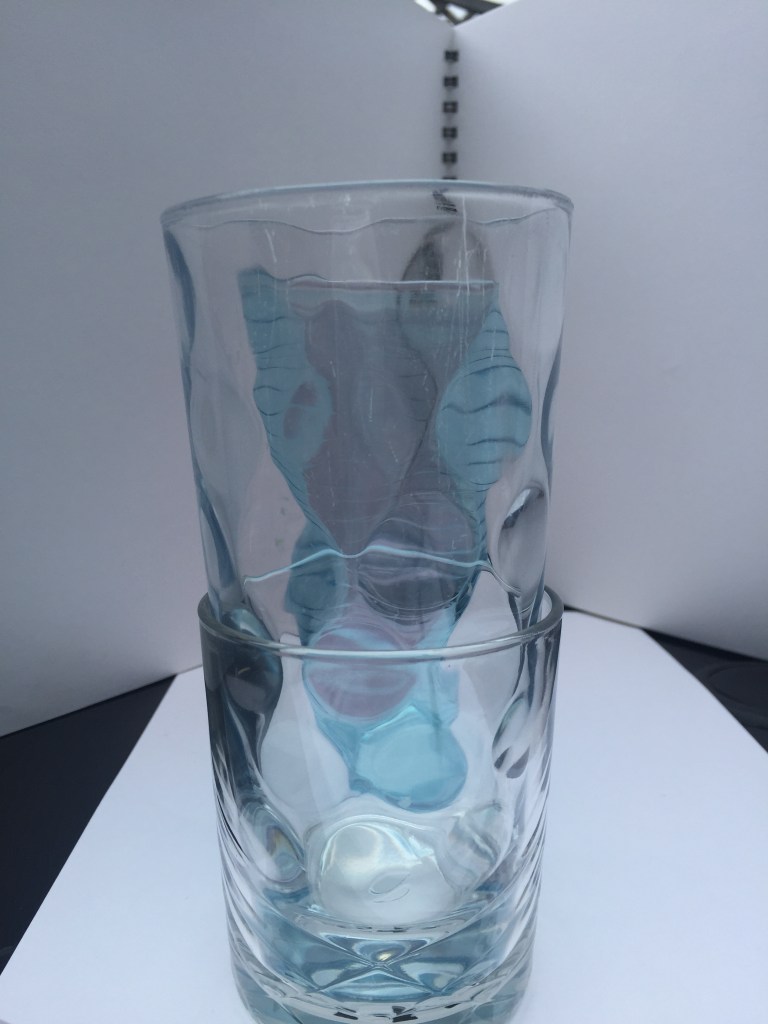
In some cases I have also tried to capture the same object in different environments and see how colour works under different lights:
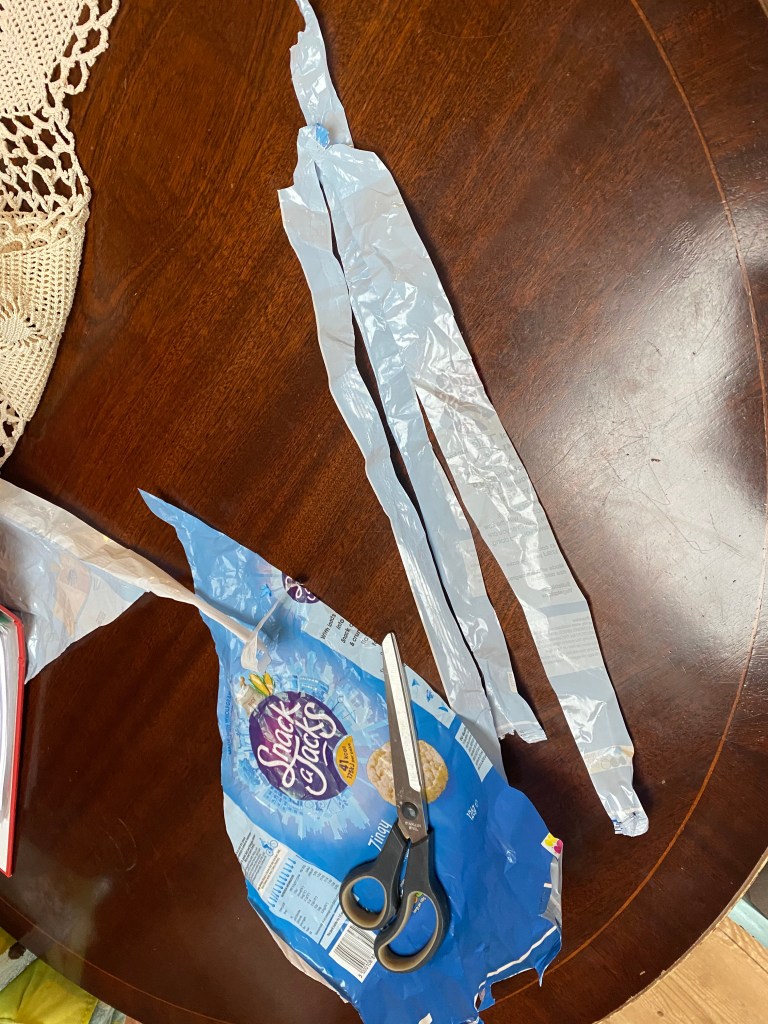
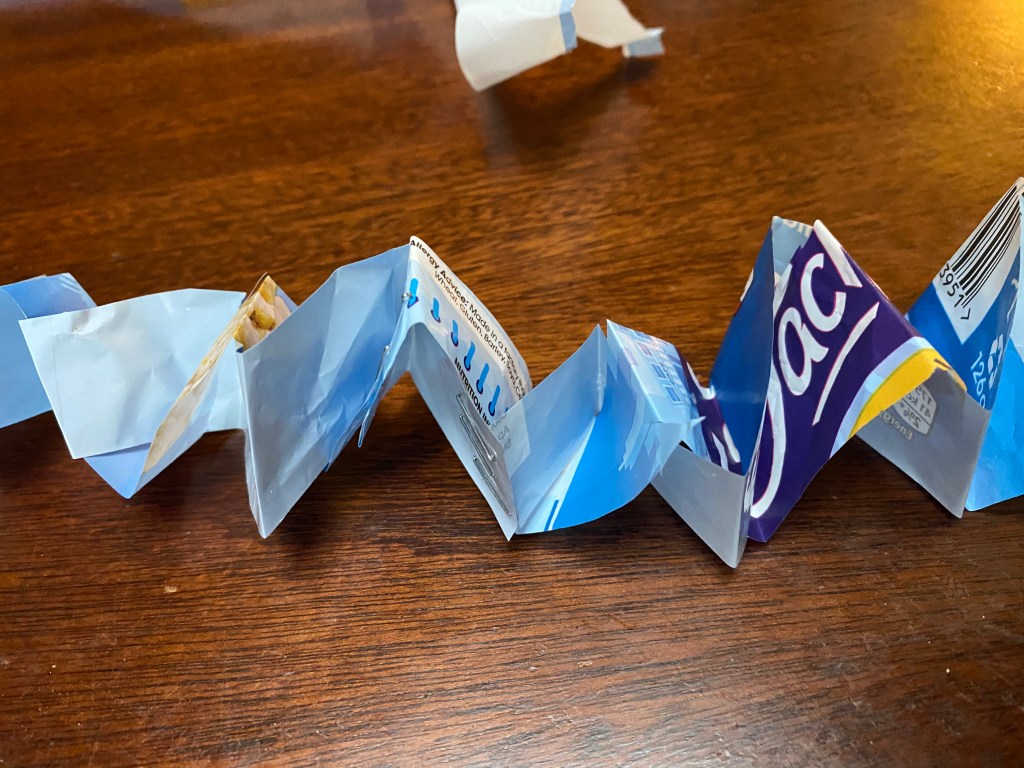
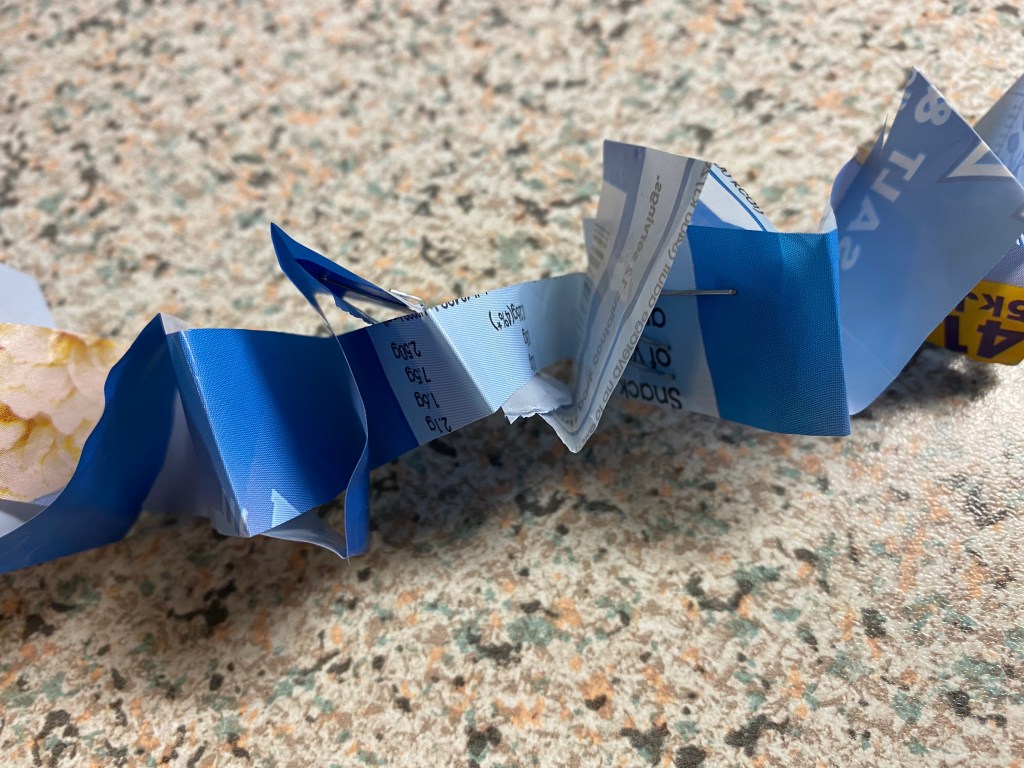
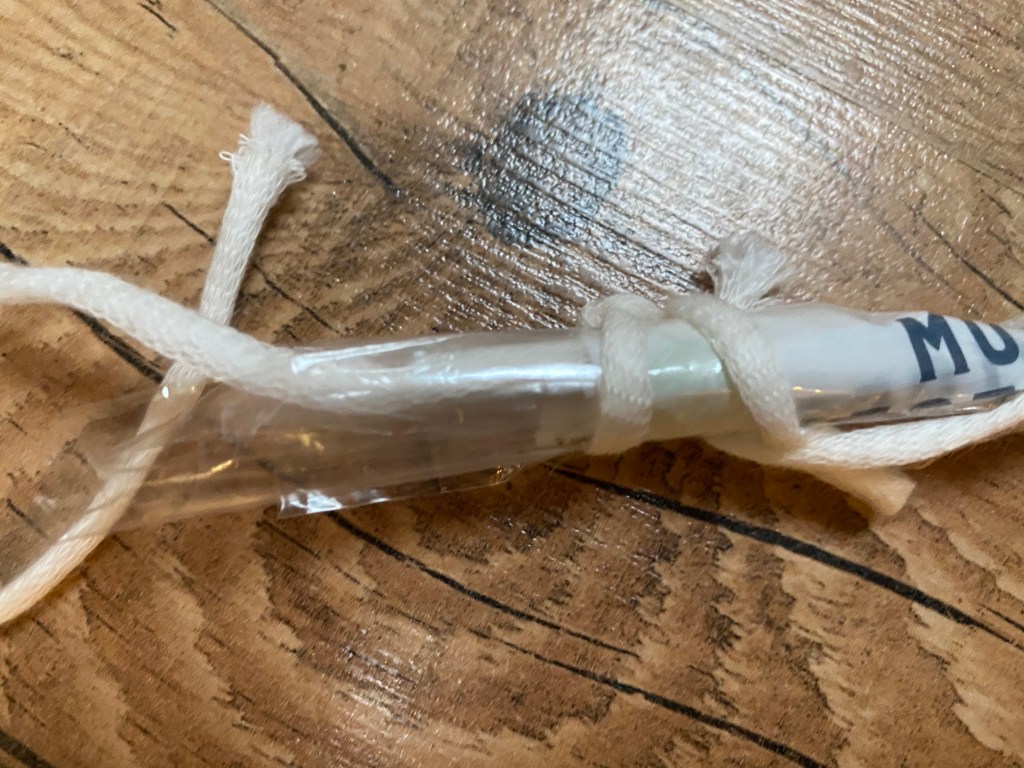
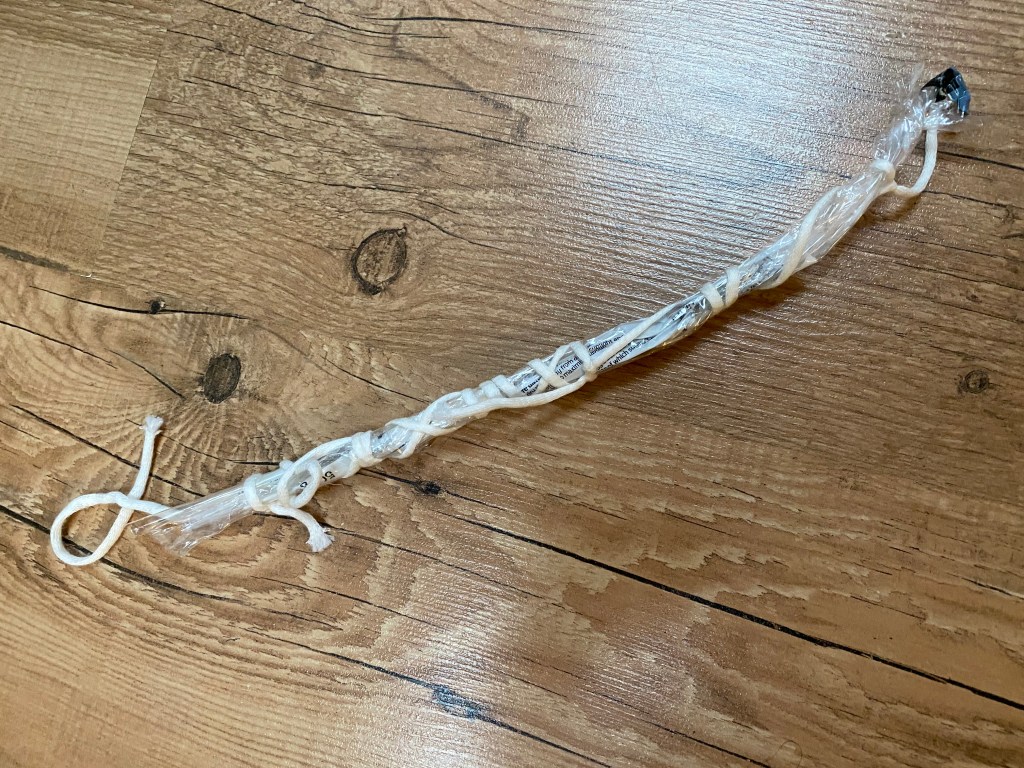
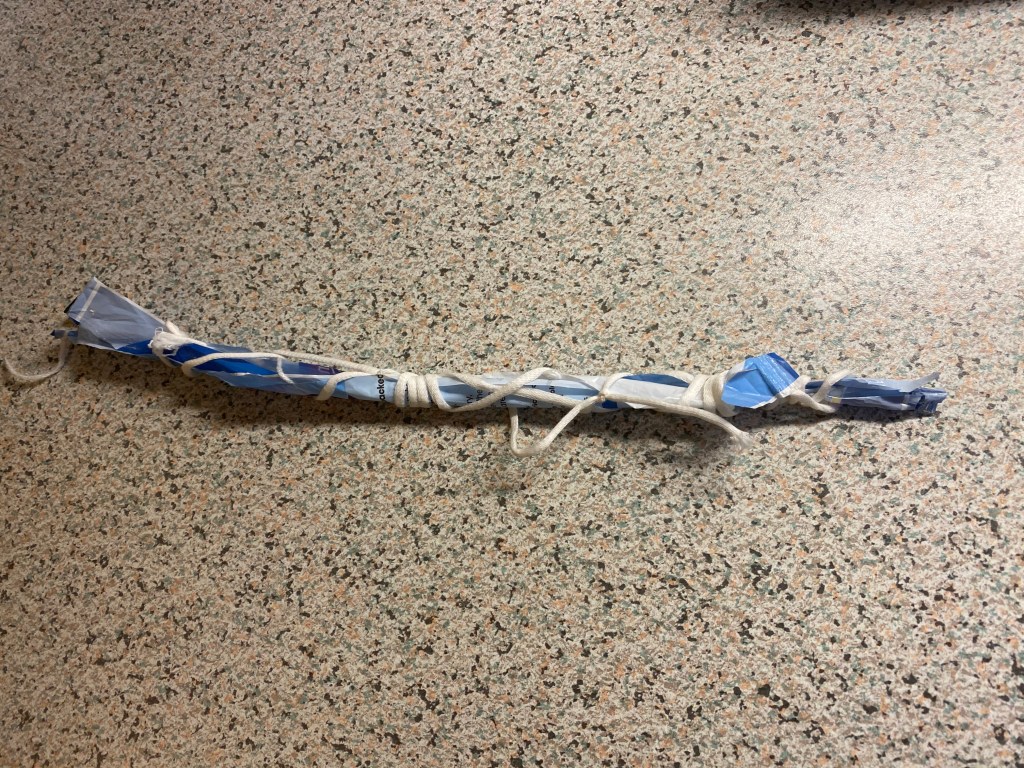
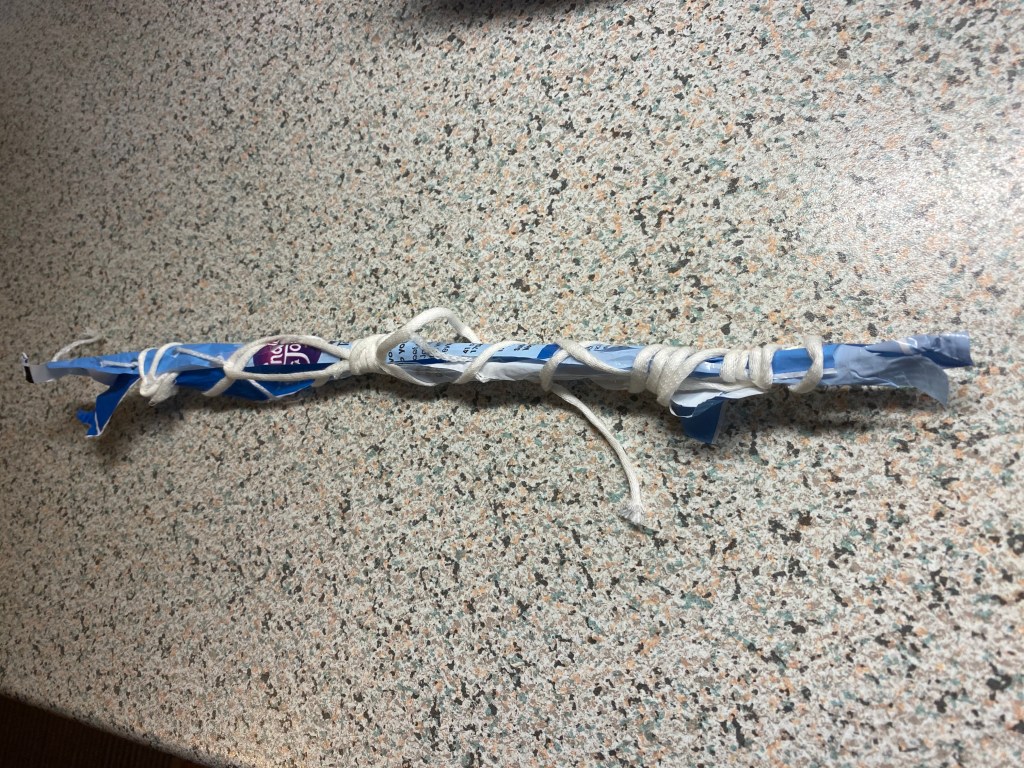
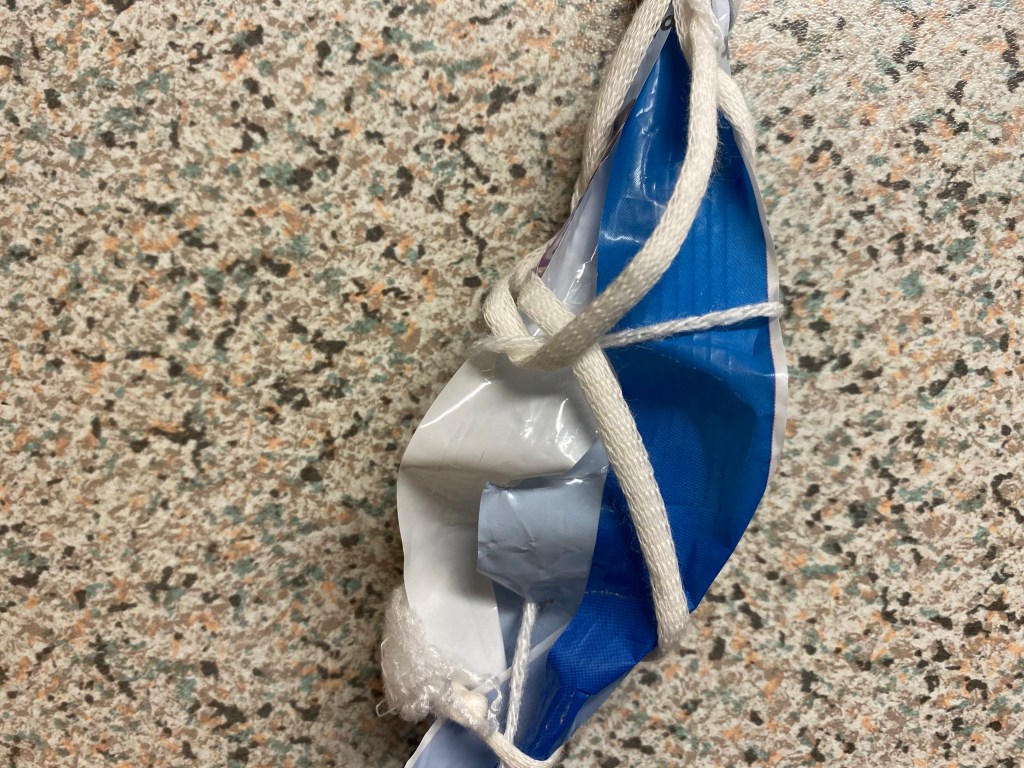
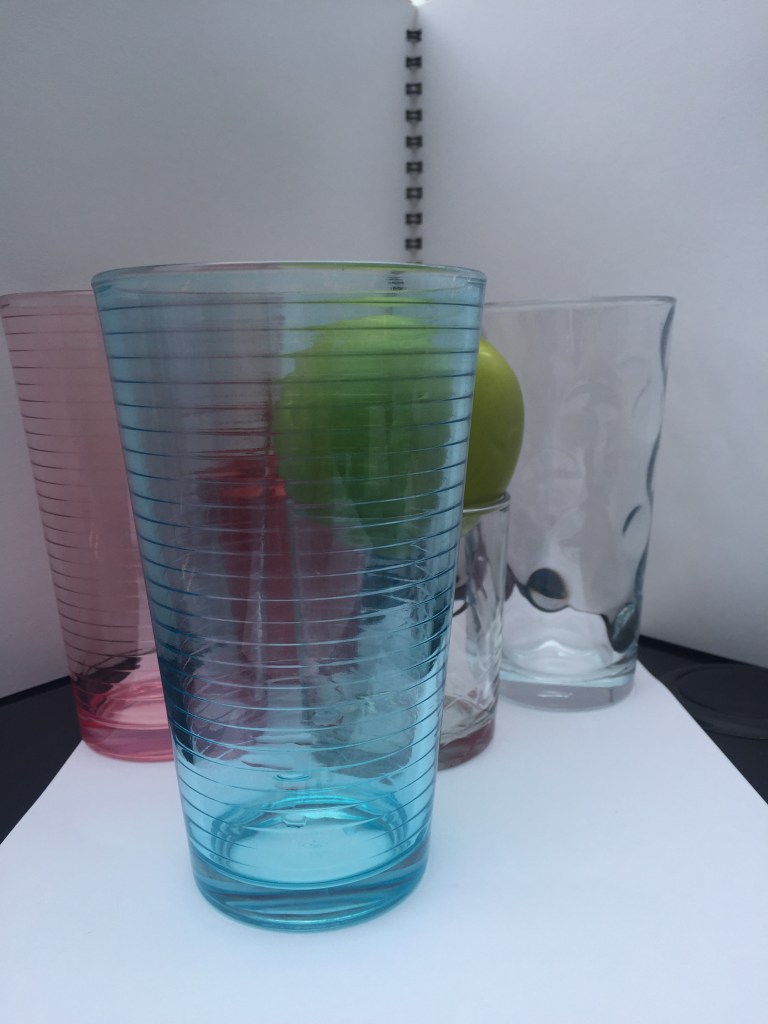
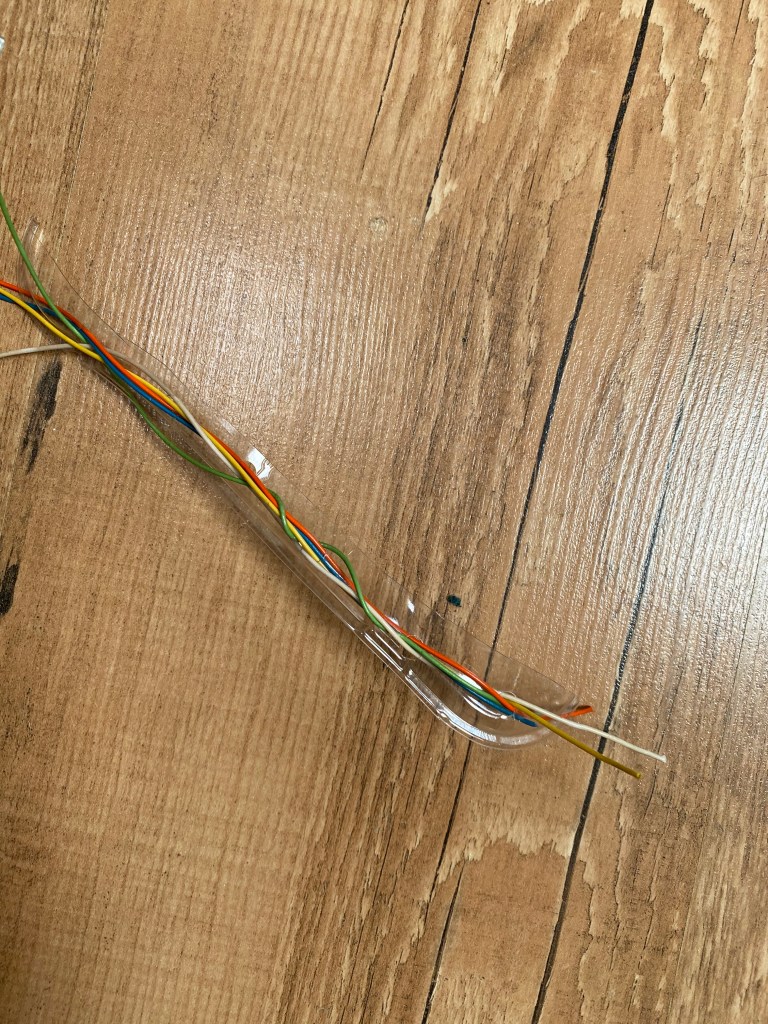
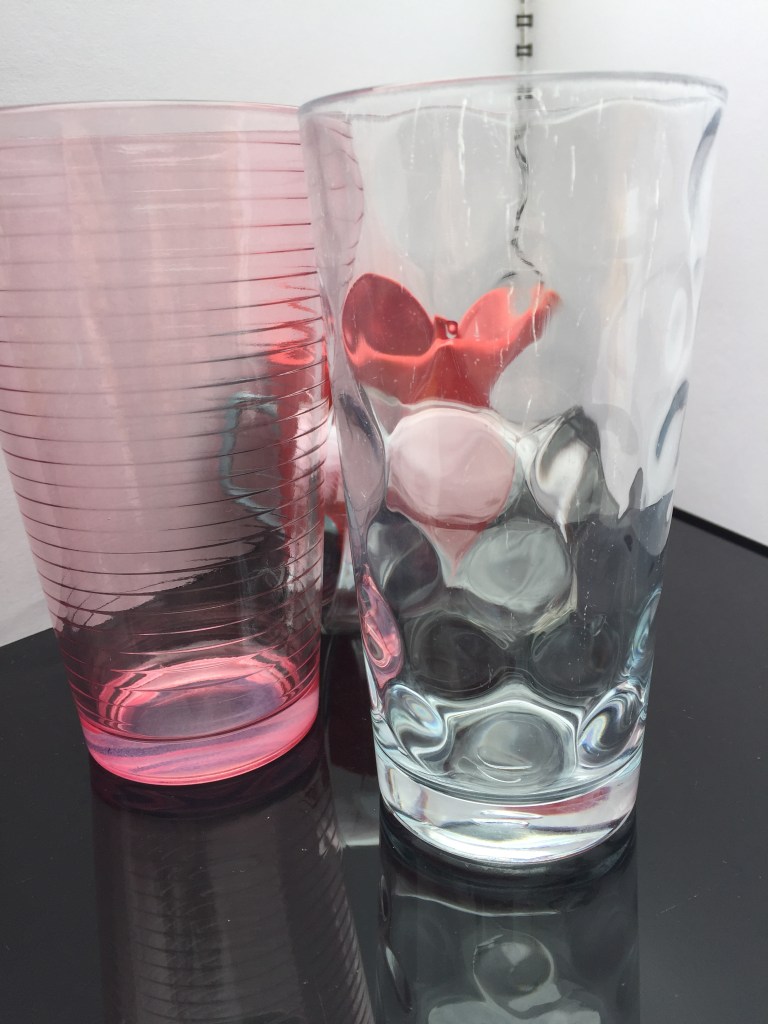
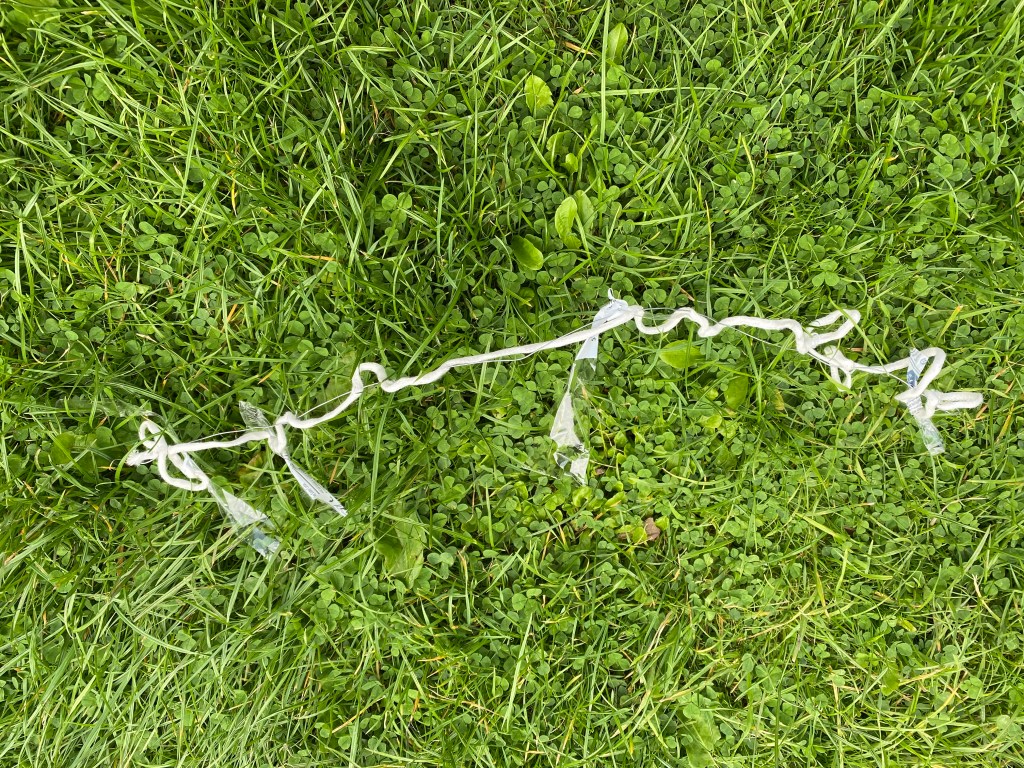
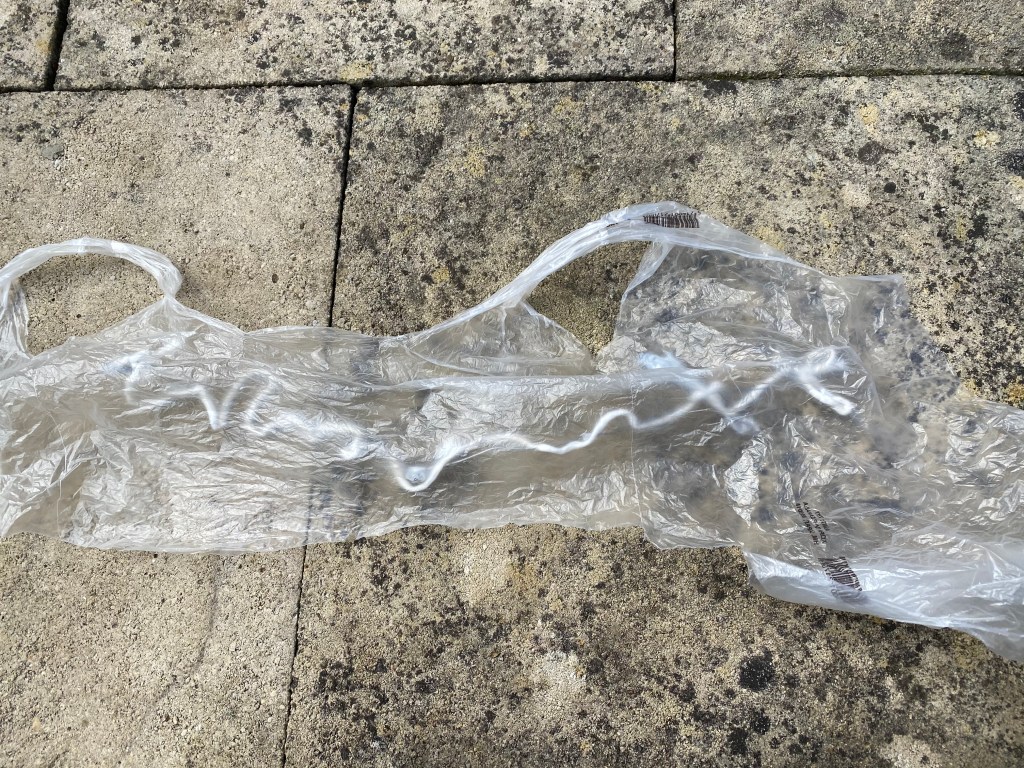
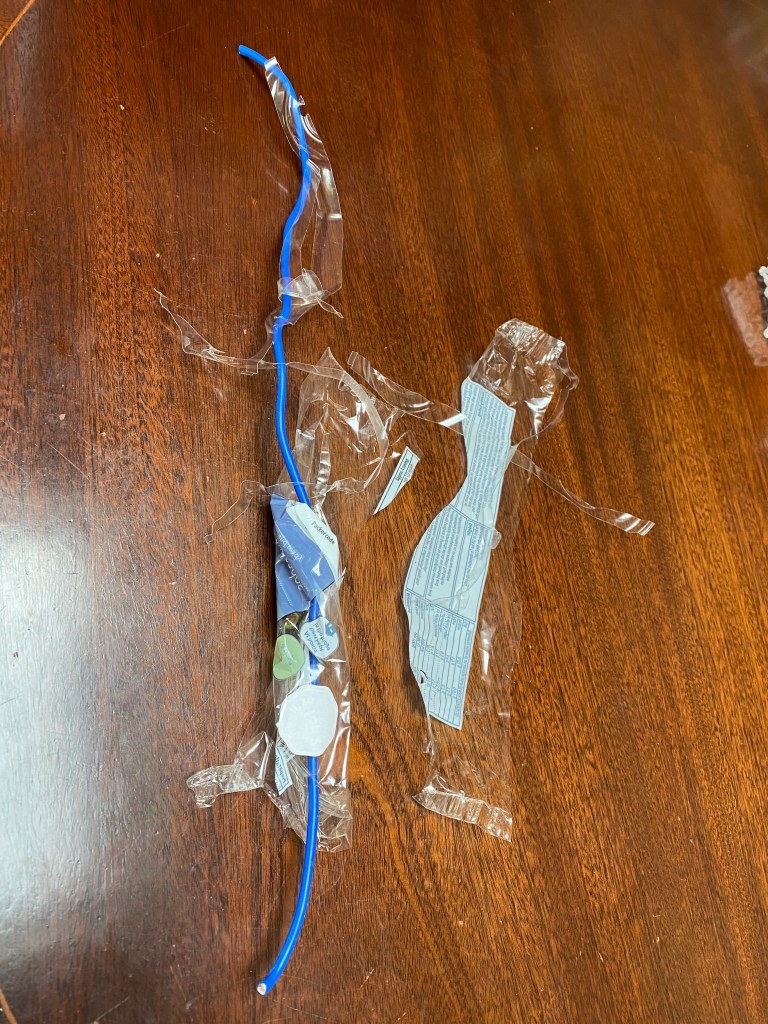
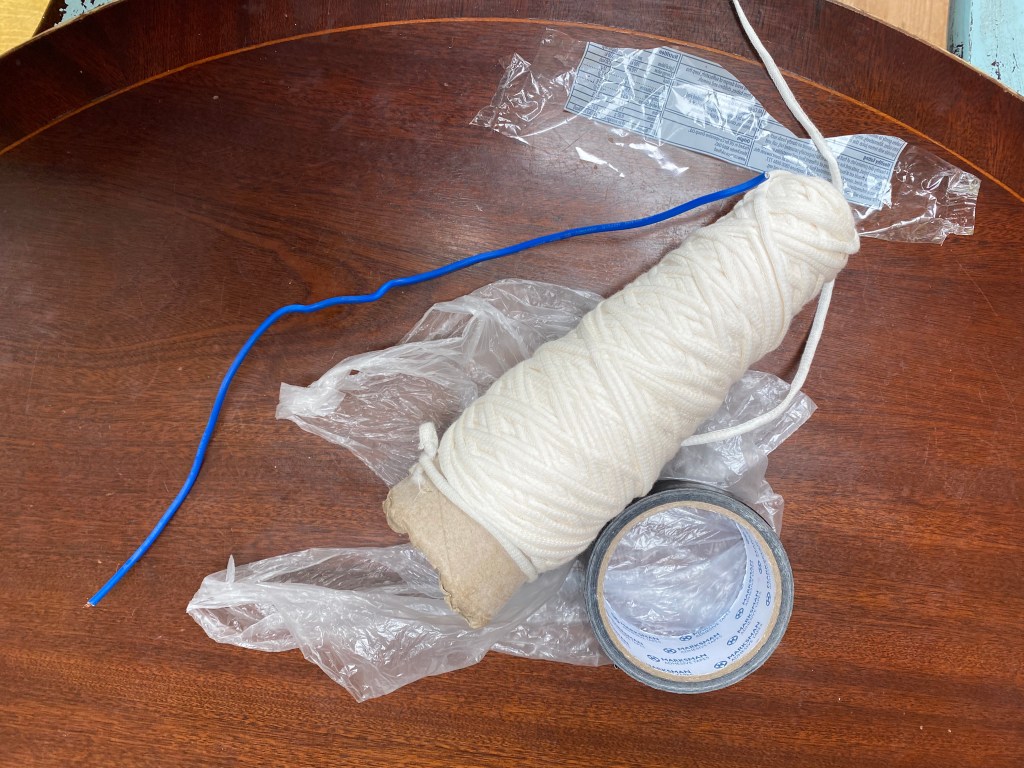
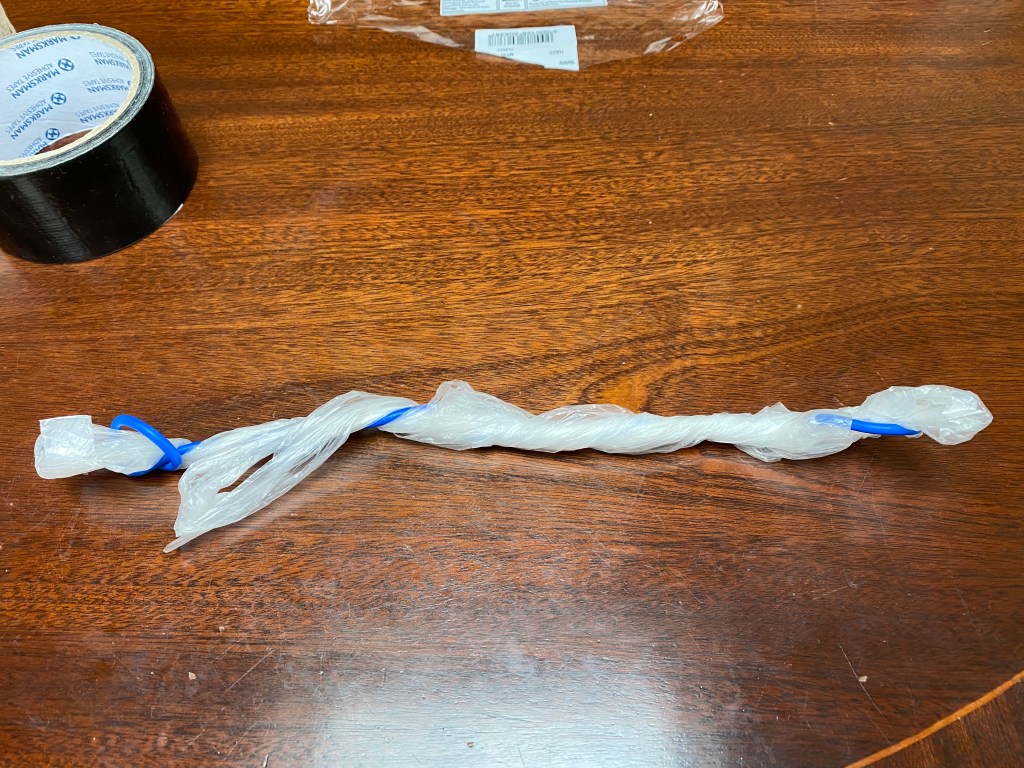
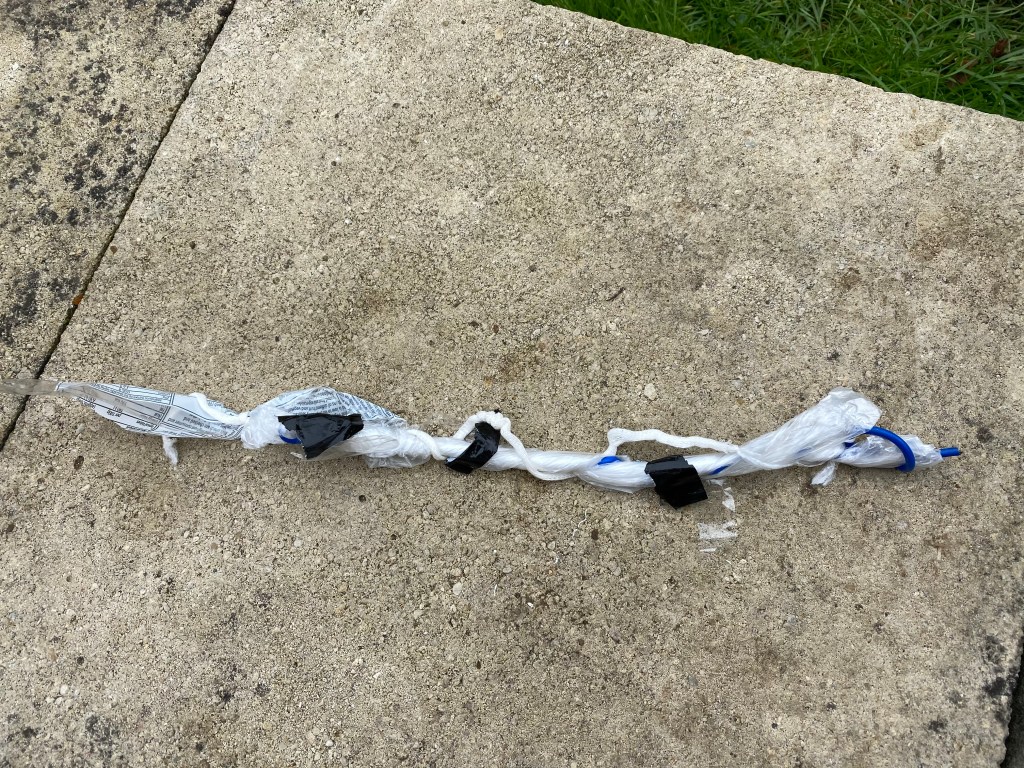
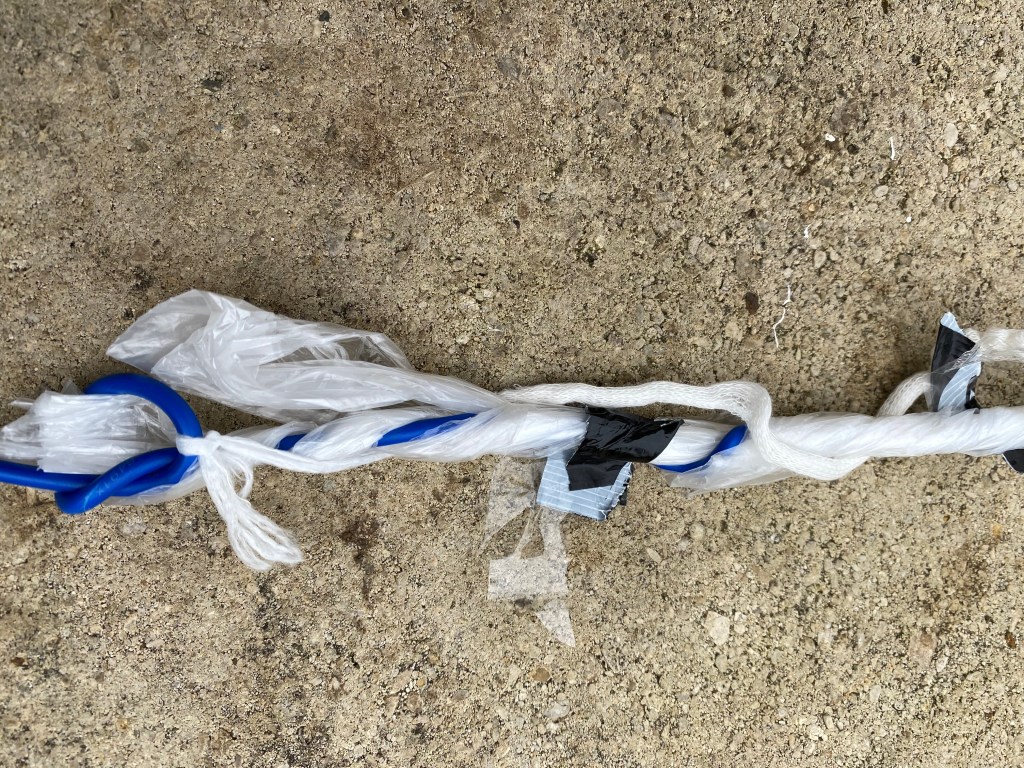
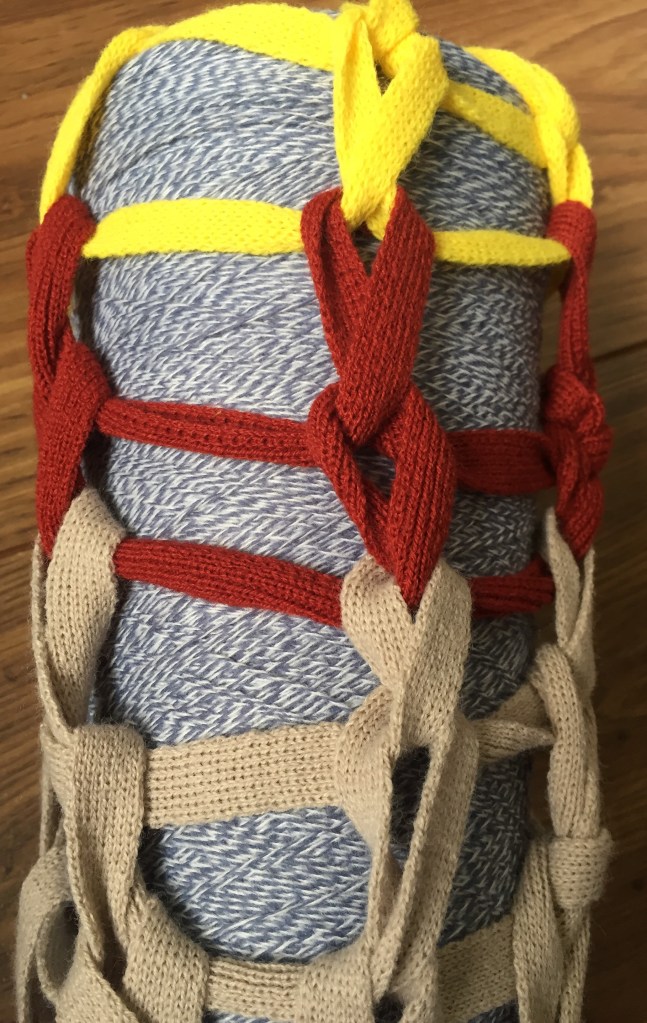
I’ve stapled the strips together in order to make them longer and then I’ve used origami technique to twist them.interesting how colour is perceived when film twists as well as when its photographed on a different surface.used wrapping film with ribbon to show the transparent along with binding effect knotting to bind elements togetherused wrapping strips again along with ribbon. With a help of a hole puncher I’ve made holes to feed the ribbon through.I would see that as a marl-twisted yarn using a ribbon as a bonding elementused a cable this timeI’ve removed its ends just to keep the main body of it. Loved the colours! I’ve also found a transparent fruit tray to replicate the glasscut the tray into strip and by using a hole puncher I’ve fed the wires throughplastic filmtwisted around to give a semi transparent effectit’s interesting how all these wires merge to form a ”twisted yarn” I wanted to capture black along with transparent materials this time…used fence wire this time along with yarn , which I’ve pierced through to waves and a creasing look.I’ve attached plastic film to add more volume and body onto the wire.photographed on a natural environment looks like the wire is floating on the grass! used a semi transparent plastic bag to cover it up and see how the whole concept looks like and how daylight looks through photo lens in a different background. Works like a colour filter! shows only white. —————————————————————————————————————————————————————————– blue is the colour that captures my eye here.used the remaining strips of the plastic food tray and an electric cable:again, wanted to add volume and texture by using the wire as a base to build onto.semitransparent film is always helpful to use wanted to wrap just part of the wire to see how it looks and how light works this time. waves.semitransparent along with transparent texture . Light works in different ways!same materials , different formationblue again is the dominating colour.used black tape to part cover and replicate the black surface on either side of the picture.neutral col yarn as a bonding element all components twisted together
Using transparent plastics in different forms (film , bags , food trays) and converting them by binding them together into a yarn formation I’ve tried to replicate the glass and the way light reflects on as required from 3.3. To my great surprise it also helped me understand how certain elements like wire is perceived (which is the main material in some cases) and how simple techniques like piercing through or binding on different substances transform or hide its properties by making it look less stiff and heavy as well ,as mentioned before ,it’s form has been changed from smooth and shiny into textured and bodied.
It was time for me to be in ”safer waters” meaning create something out of yarn:it’s something I totally understand and it seems familiar .
I always loved to experiment as well as to create things in a bigger scale.
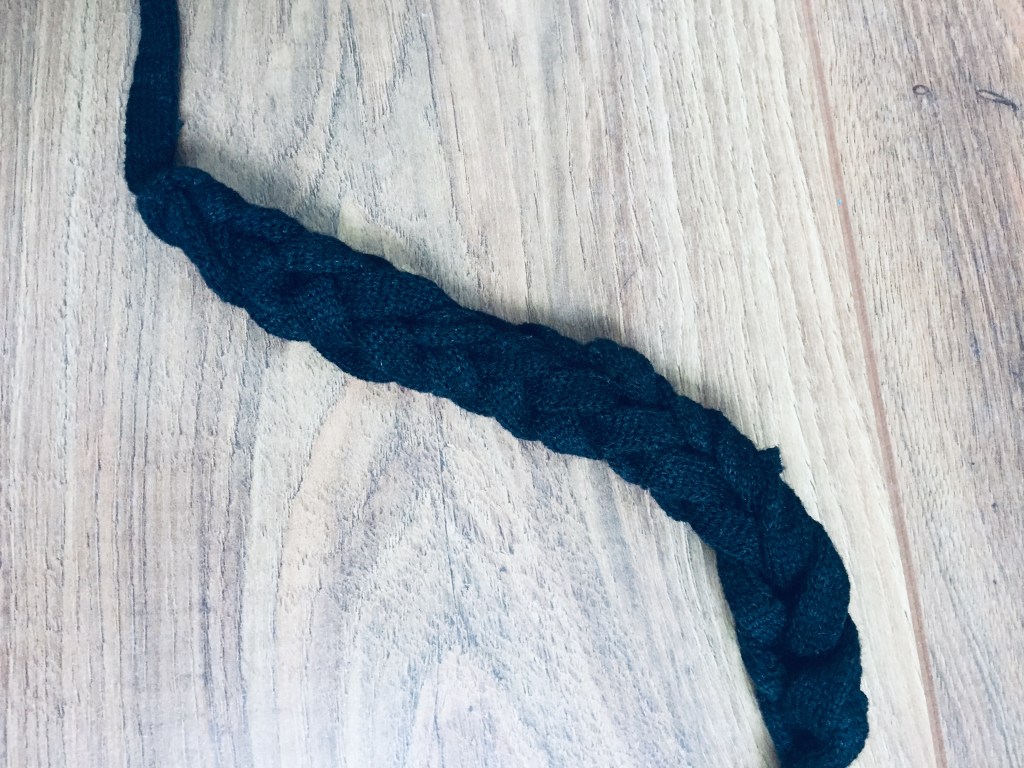
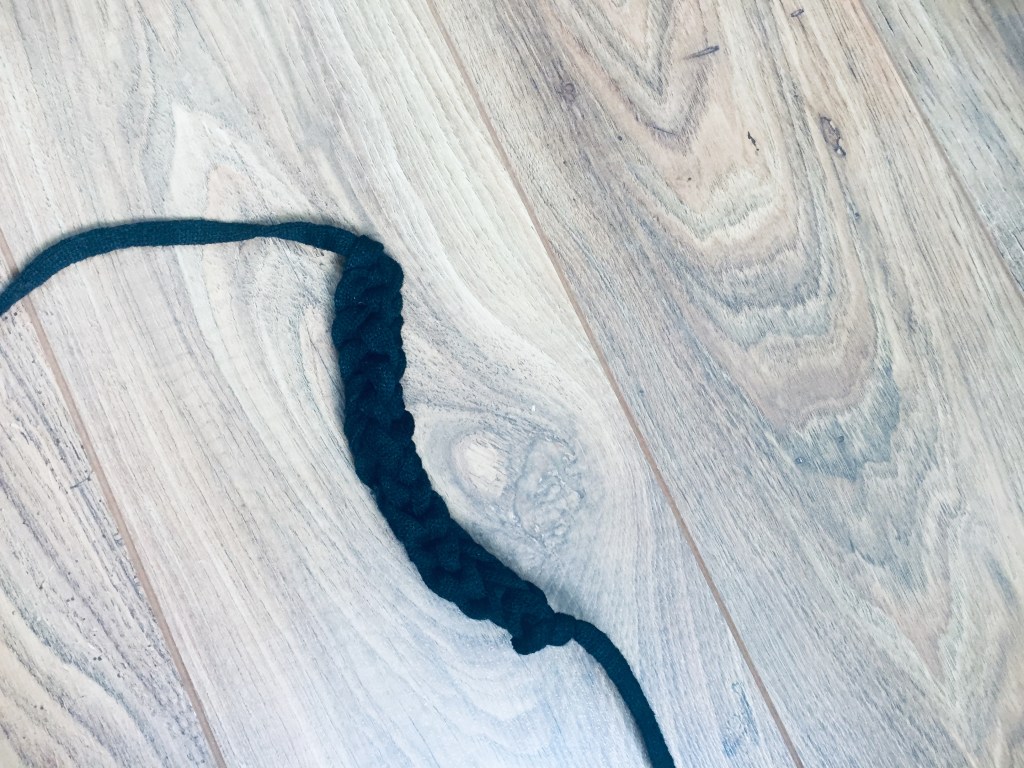
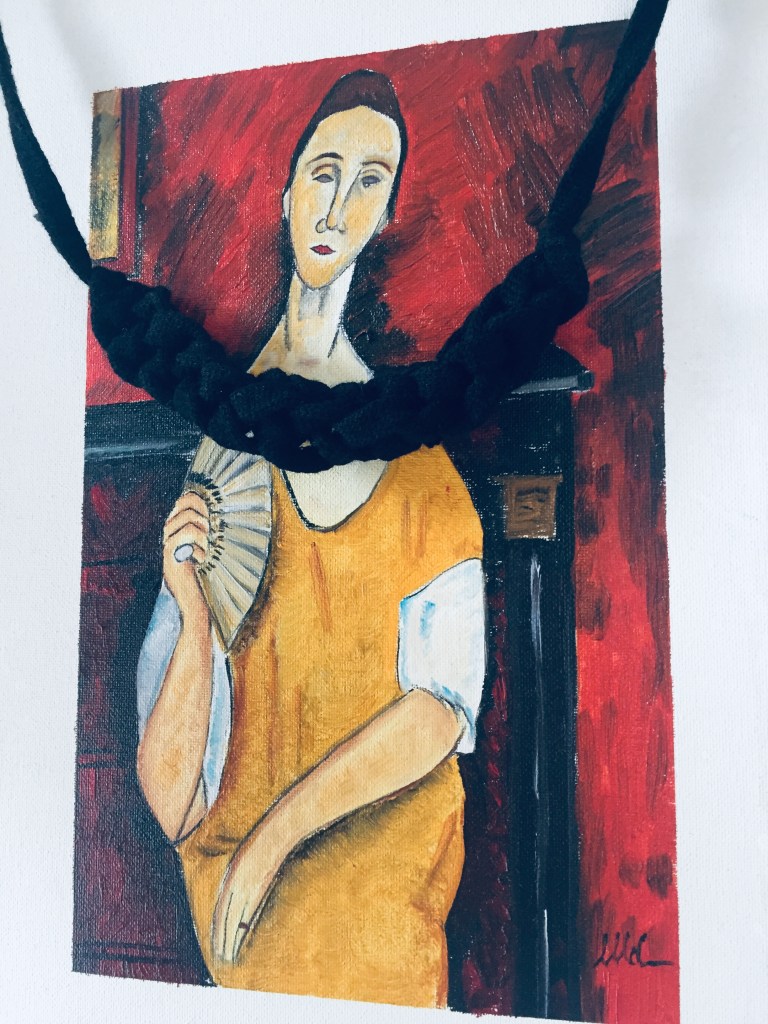
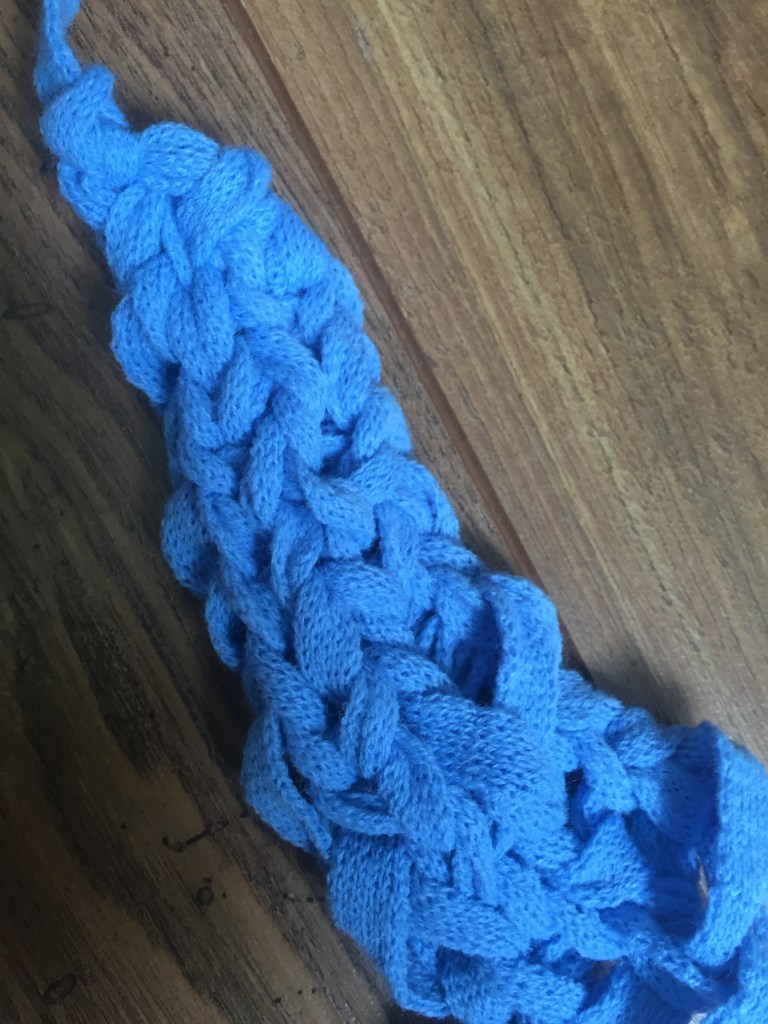
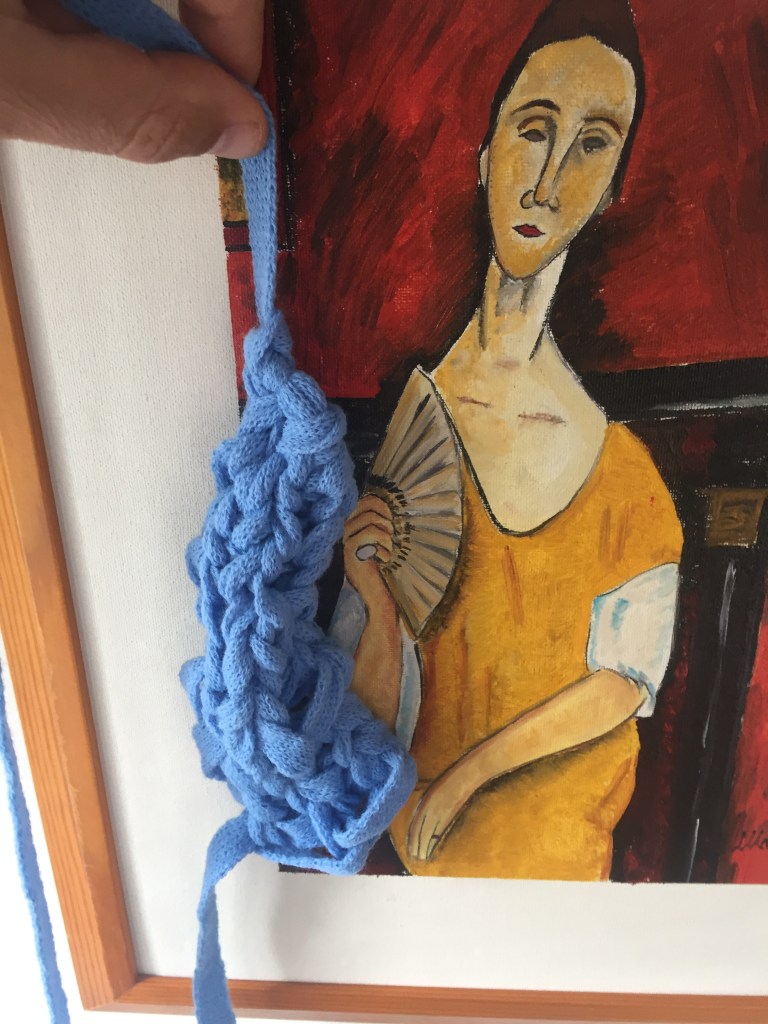
In this case I’ve knitted ribbon in different colours and sizes on an automatic strapping machine and I’ve use it as yarn to play with, making sure it has a loose reference on the painting I got inspiration from .
Also, to be more experimental,I’ve used different knitting media,media I have never used before in order to see how things work and in a way re invent knitting sequences:
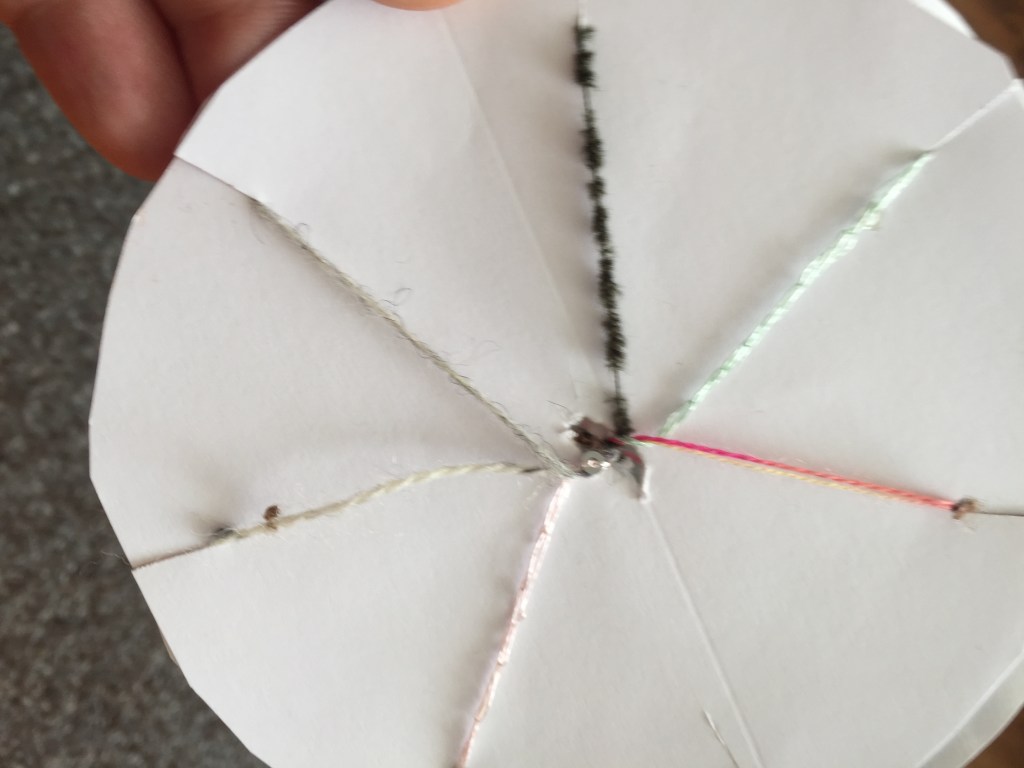
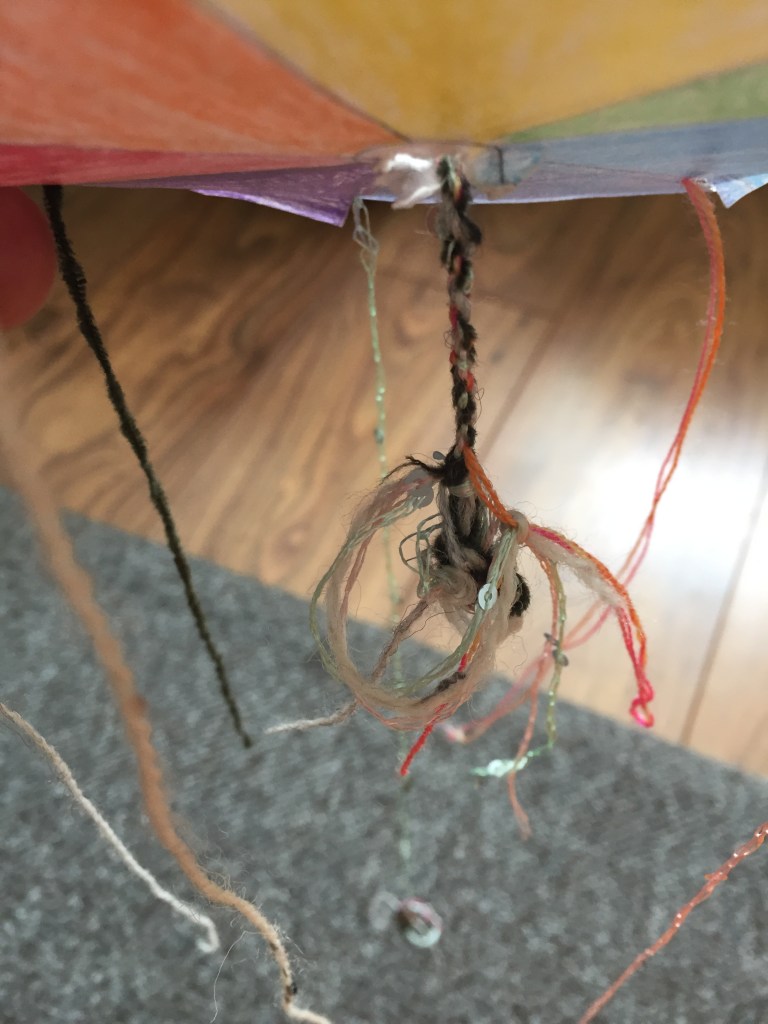
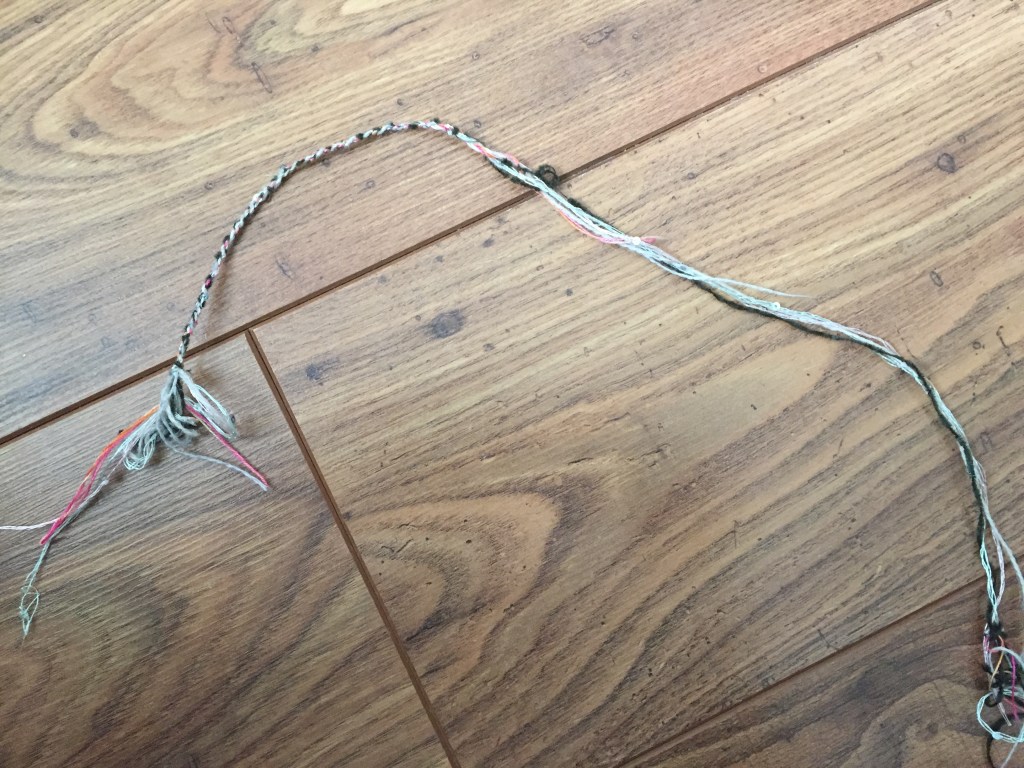
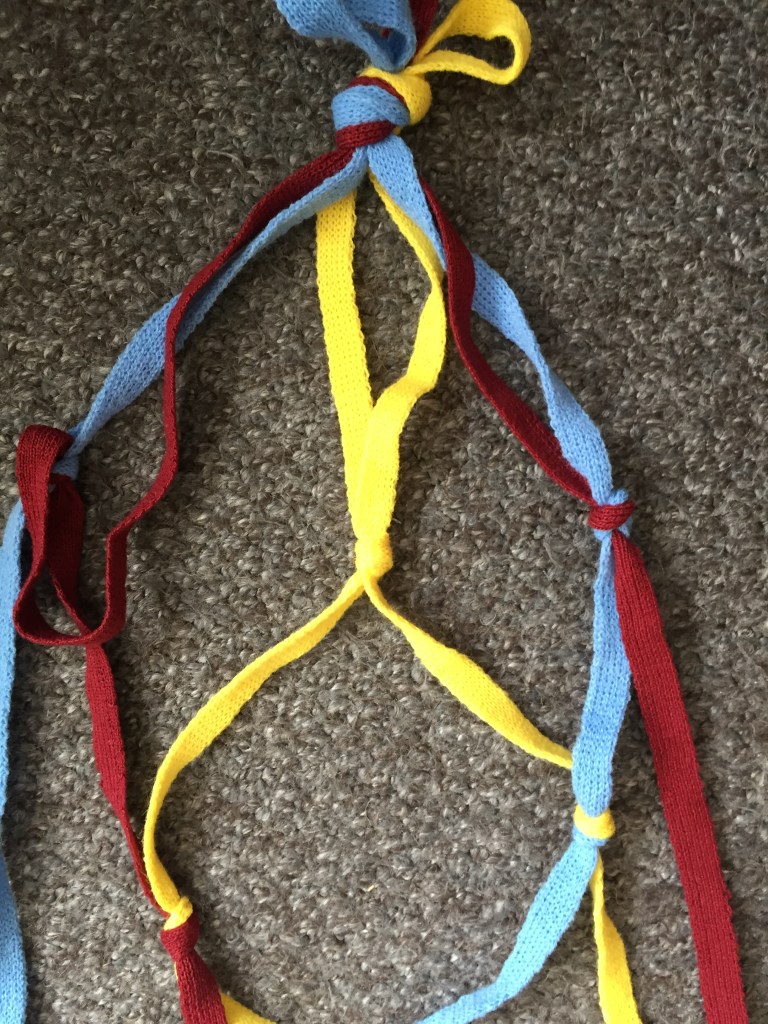
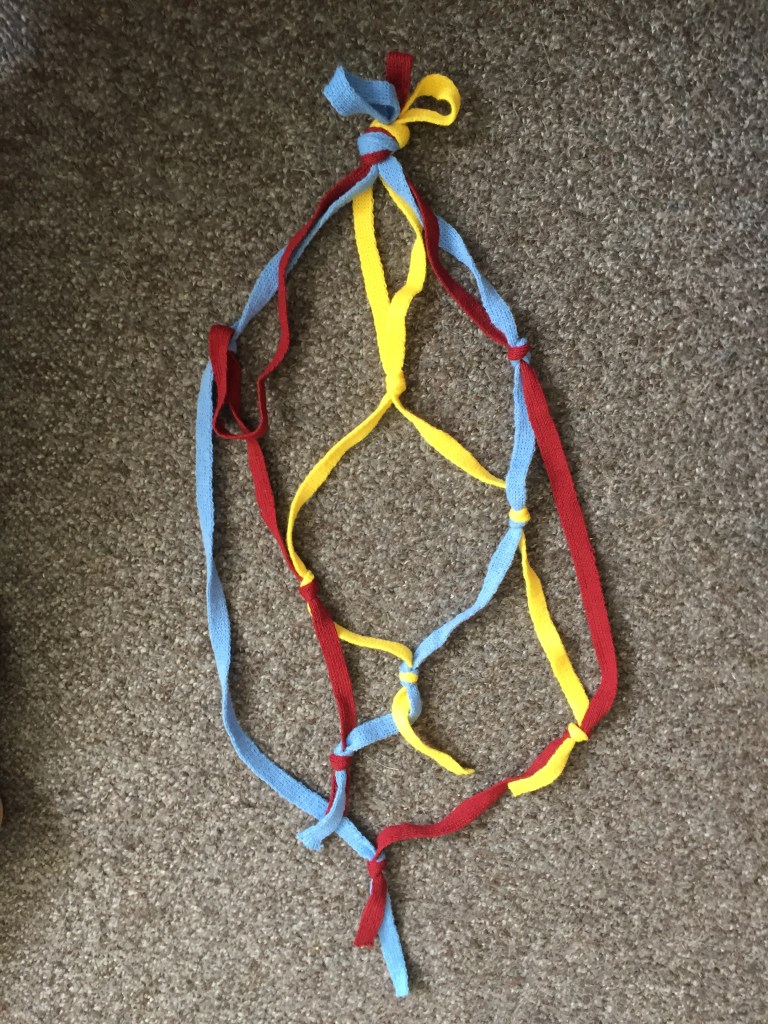
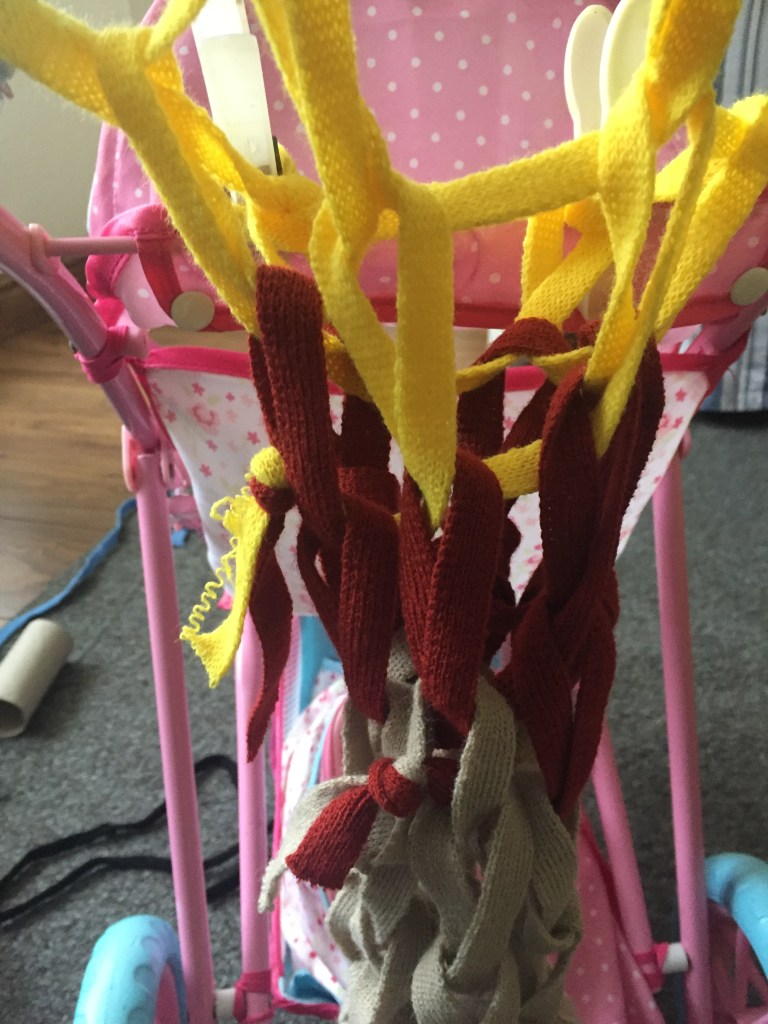
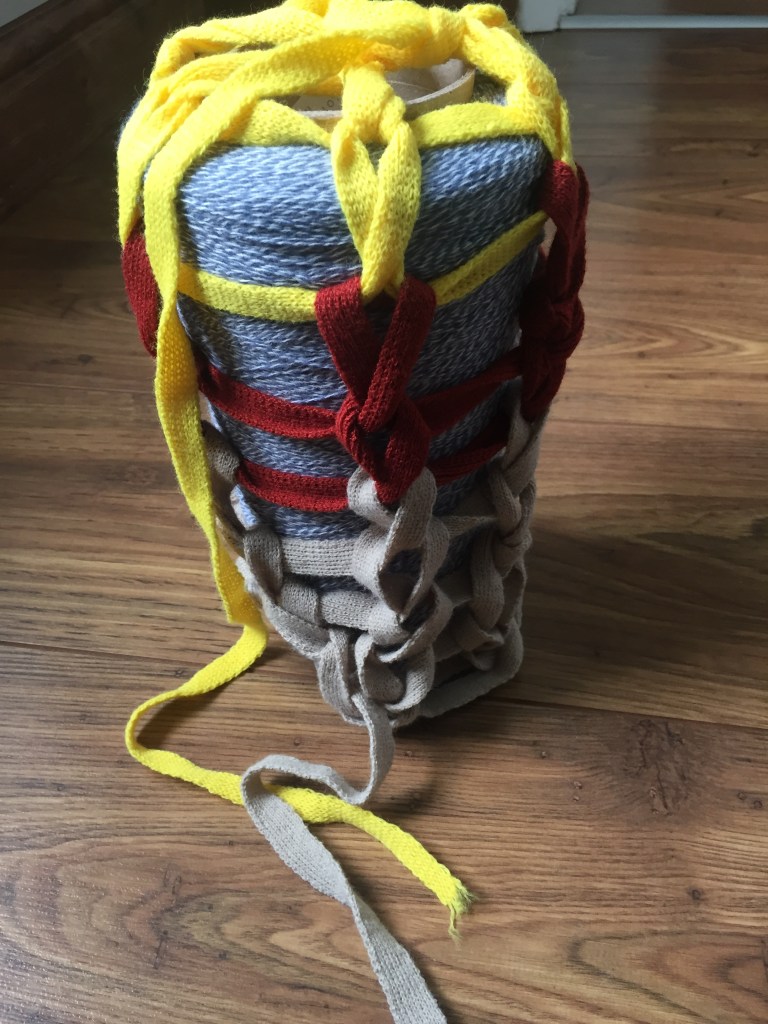
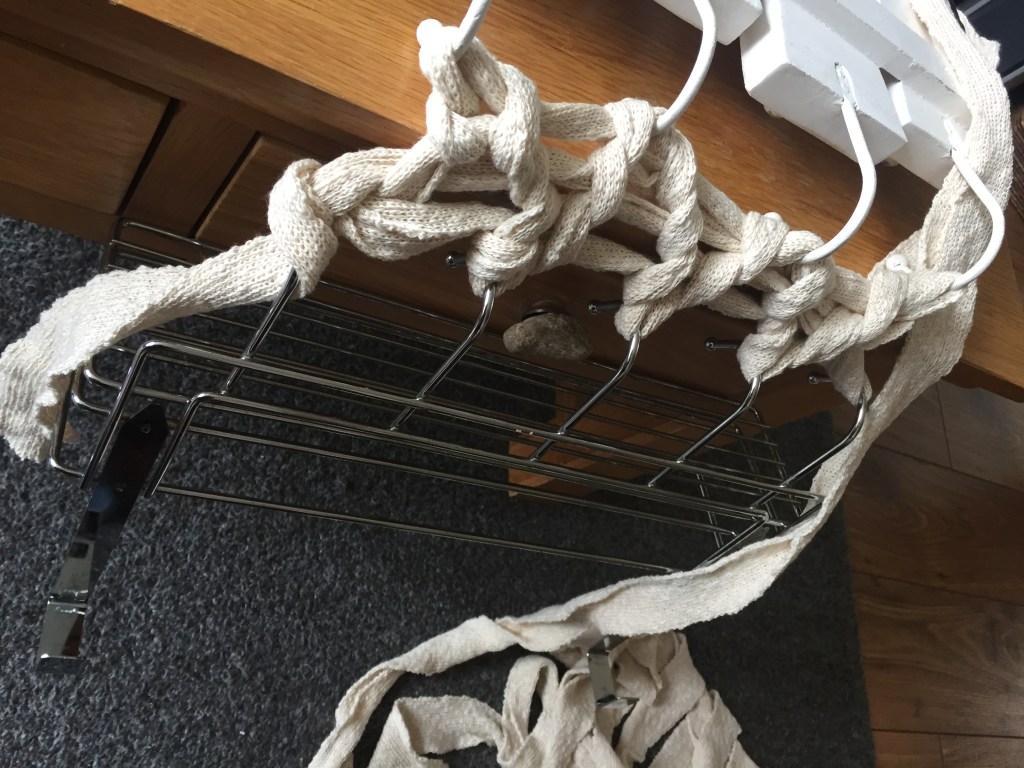
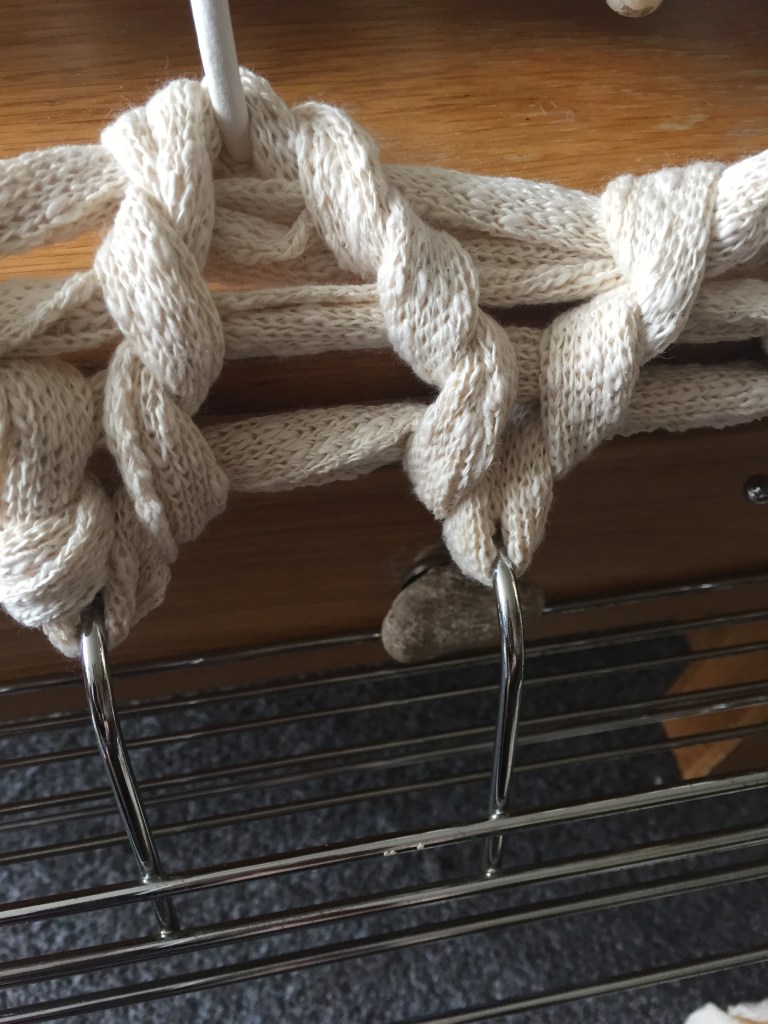
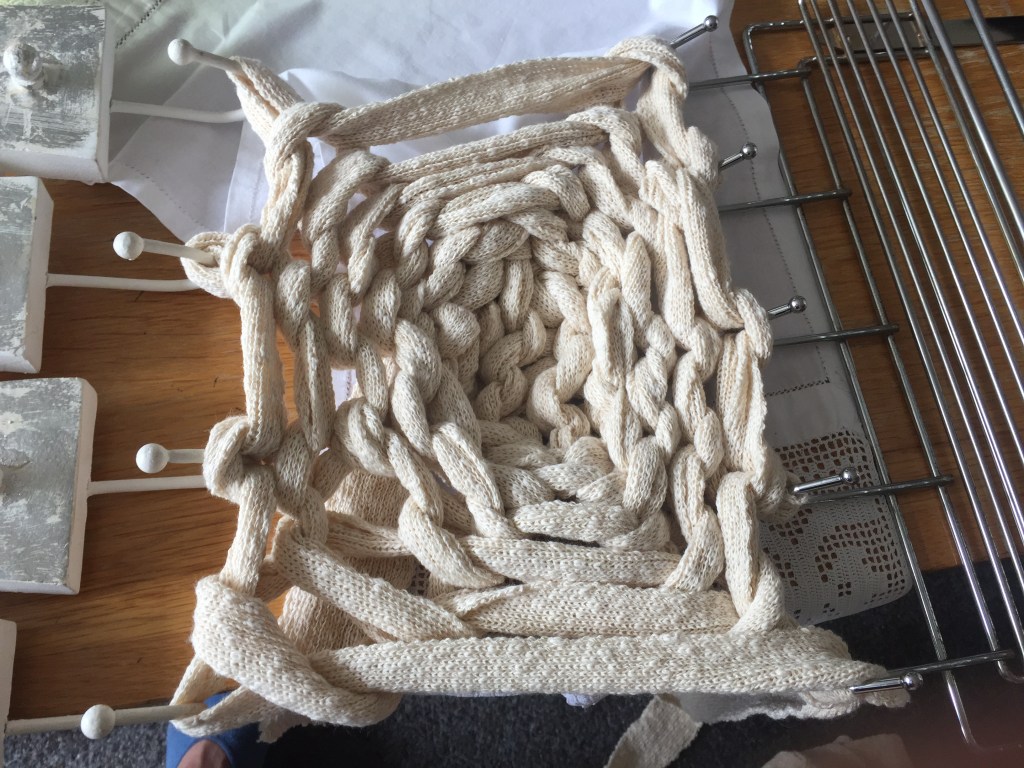
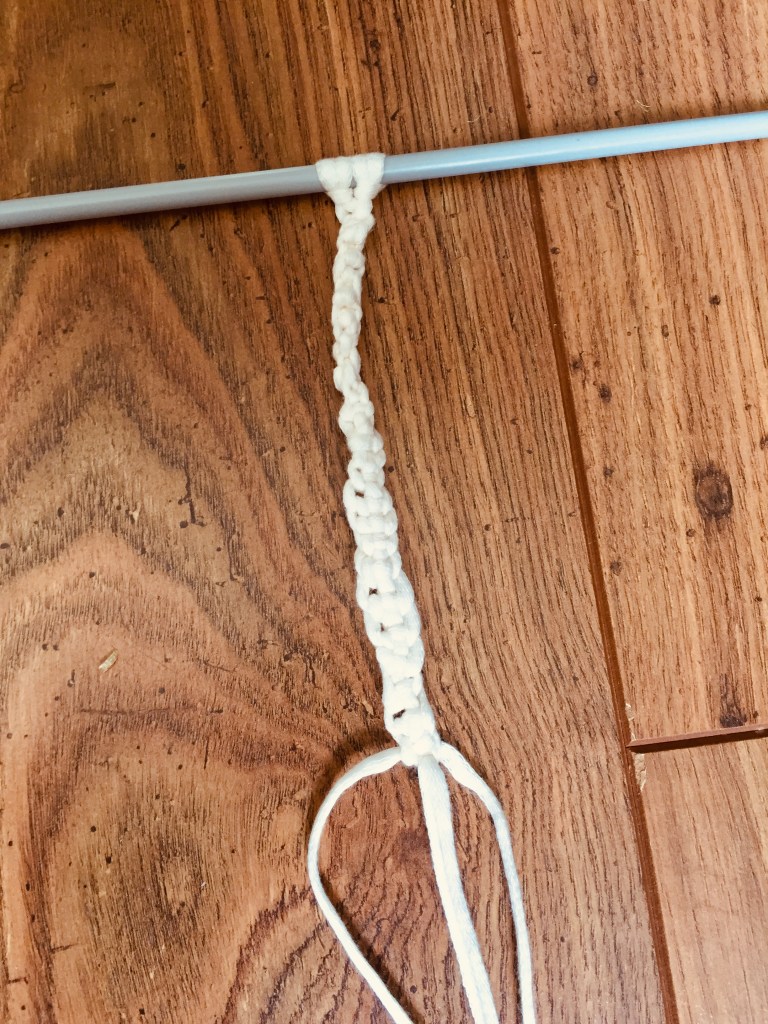
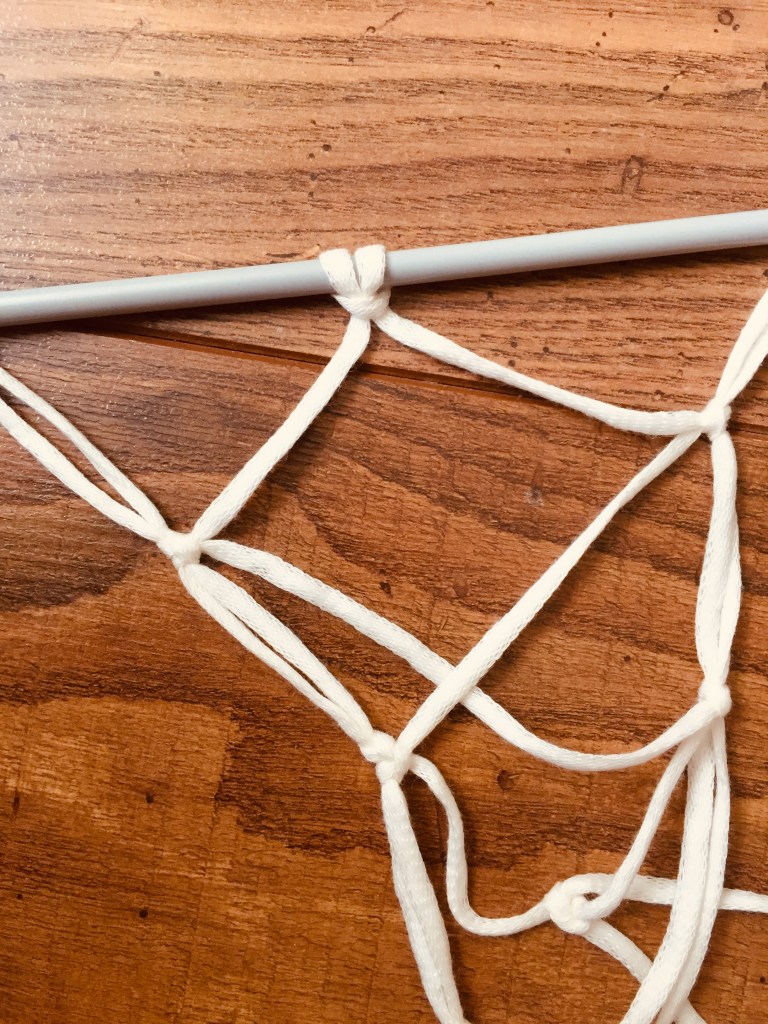
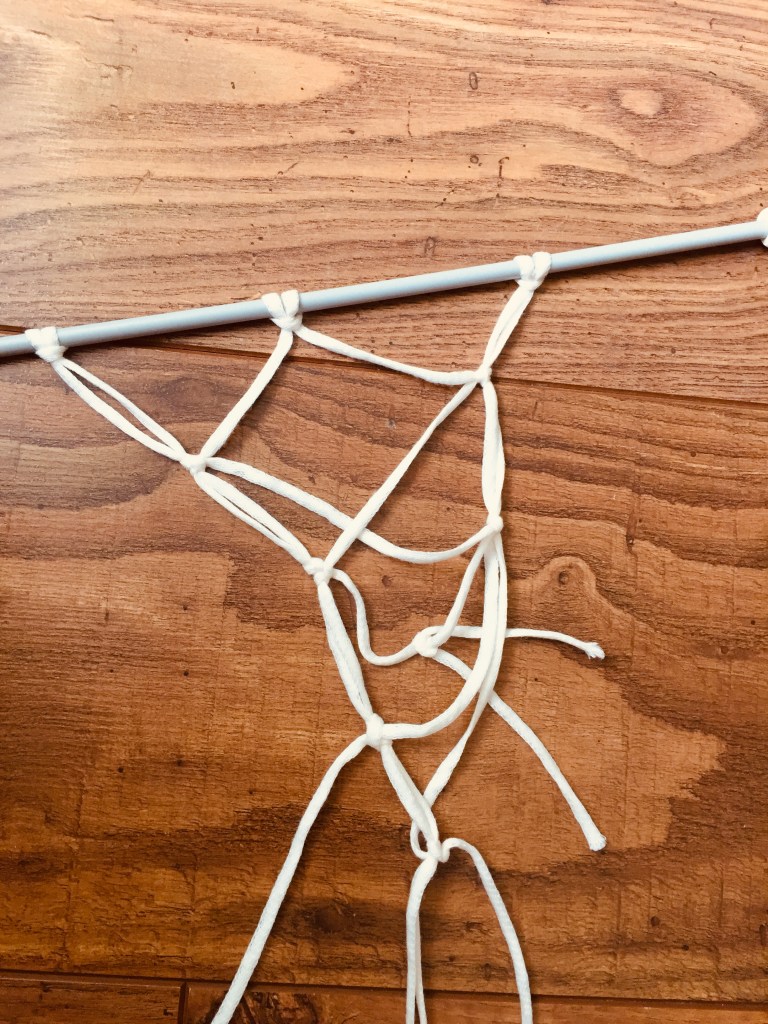
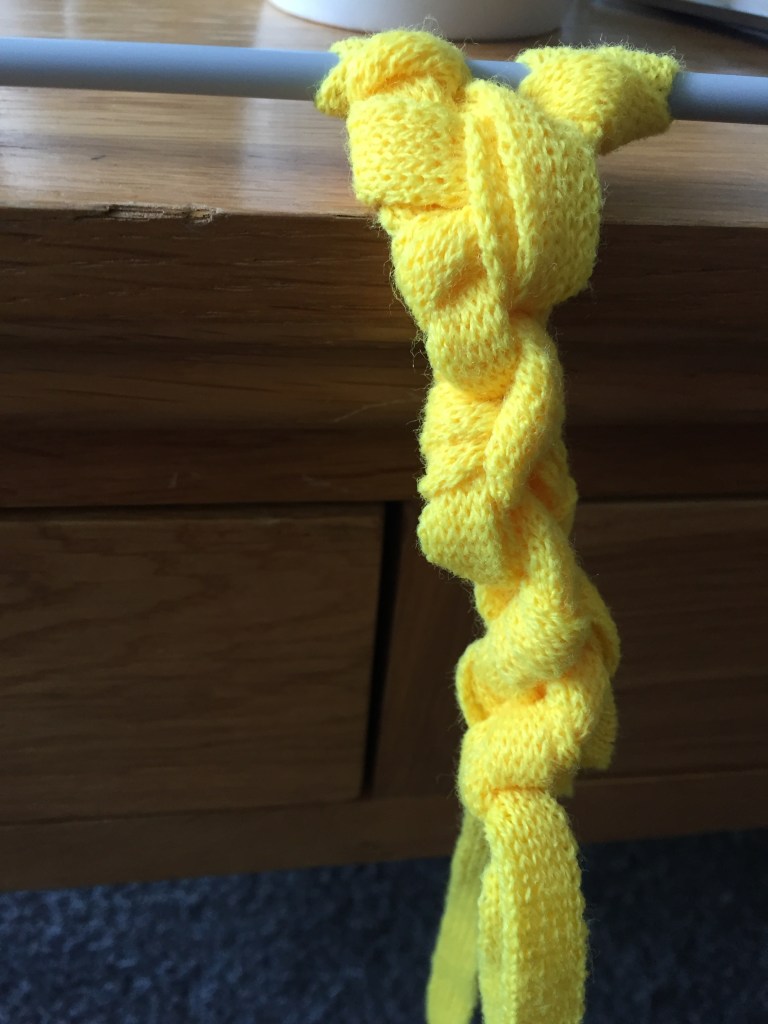
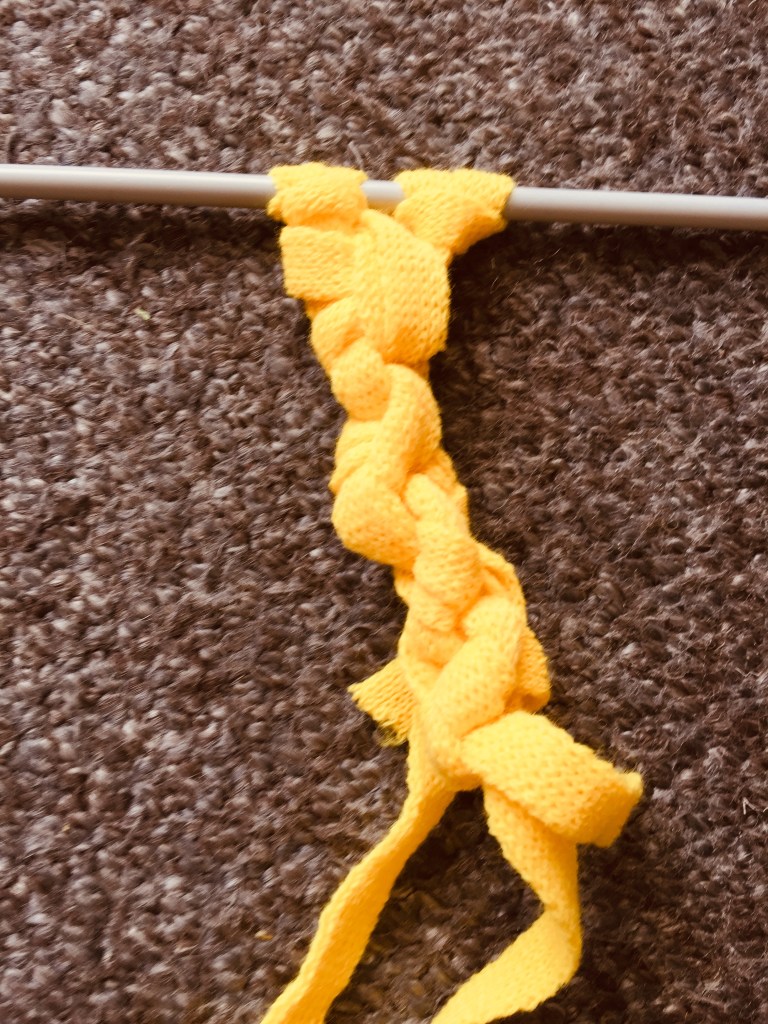
2 finger knitted ribbonA necklace?4 finger knitted ribbontried to match the sleeveused my daughter’s circular form Kaleidoscope to apply cross knitting technique.sequin yarn was one of the ends used. I was quite happy with the marl effect :It can be worn as a bracelet to match the ring worn by the lady on the painting.Knotting :using different(reference painting inspired) colours made me see how each binding element can ”travel” through this technique. Set my daughter’s push chair with pegs in a circular form to experiment with French knitting. refers loosely to the painting I had 5 cm cotton ribbon and after a small survey in the house I ended up using hangers knitting needles: I’ve literally reconstructed a basic flat knitting machine .Fabric looks like an old top, and stitching technique refers on the top worn by the lady with the fan. knitting machine shape: front and rear bed.Mecrameexperimented on knotting :top part tighter knots, bottom part slacker knotting.horizontal larks head Macramemacrame-knotting
I thoroughly enjoyed this part!!!
Working with knitting machines on a daily basis, generating stitches and knitting techniques almost ”mechanically” and ”automatically” without putting extra thought onto them ,sometimes makes me disconnect from what I’m doing (the fabric/garment) whereas working towards this assignment and using pegs, hangers or even my fingers, and hand fed yarn onto my ”needles” made the whole process more personal and original. It gave me the pleasure of handcrafting: made me appreciate something I’m doing everyday even more and helped me connect with a skill that has been around for thousands of years allowing me see everything from a different ankle.
Walking around the house looking to find new knitting media was an absolute fun as it made me think out of the box , and even though I know the knitting game quite well , it was like I was reinventing the whole process. This-new-invented media has helped me to knit in larger scale and literally magnify my work where all knitting elements seem zoomed in .
Macrame on the other hand showed me a different perspective:knot/stitch creation happens rather vertically than horizontally (knitting) and due to the fact that it is knots and not loops gives a different texture and look. Knots cannot be unraveled as loops can , they create a smaller surface but macrame laces can expand and sort of ”interact” to each other with different binding and knotting techniques.
Great experience , great pleasure … looking forward for the next assignment .